
DIY Plant Labels
Need to label the plants in your garden or herb garden? Make these easy DIY plant labels using oven-baked clay, letter stamps, and copper wire.
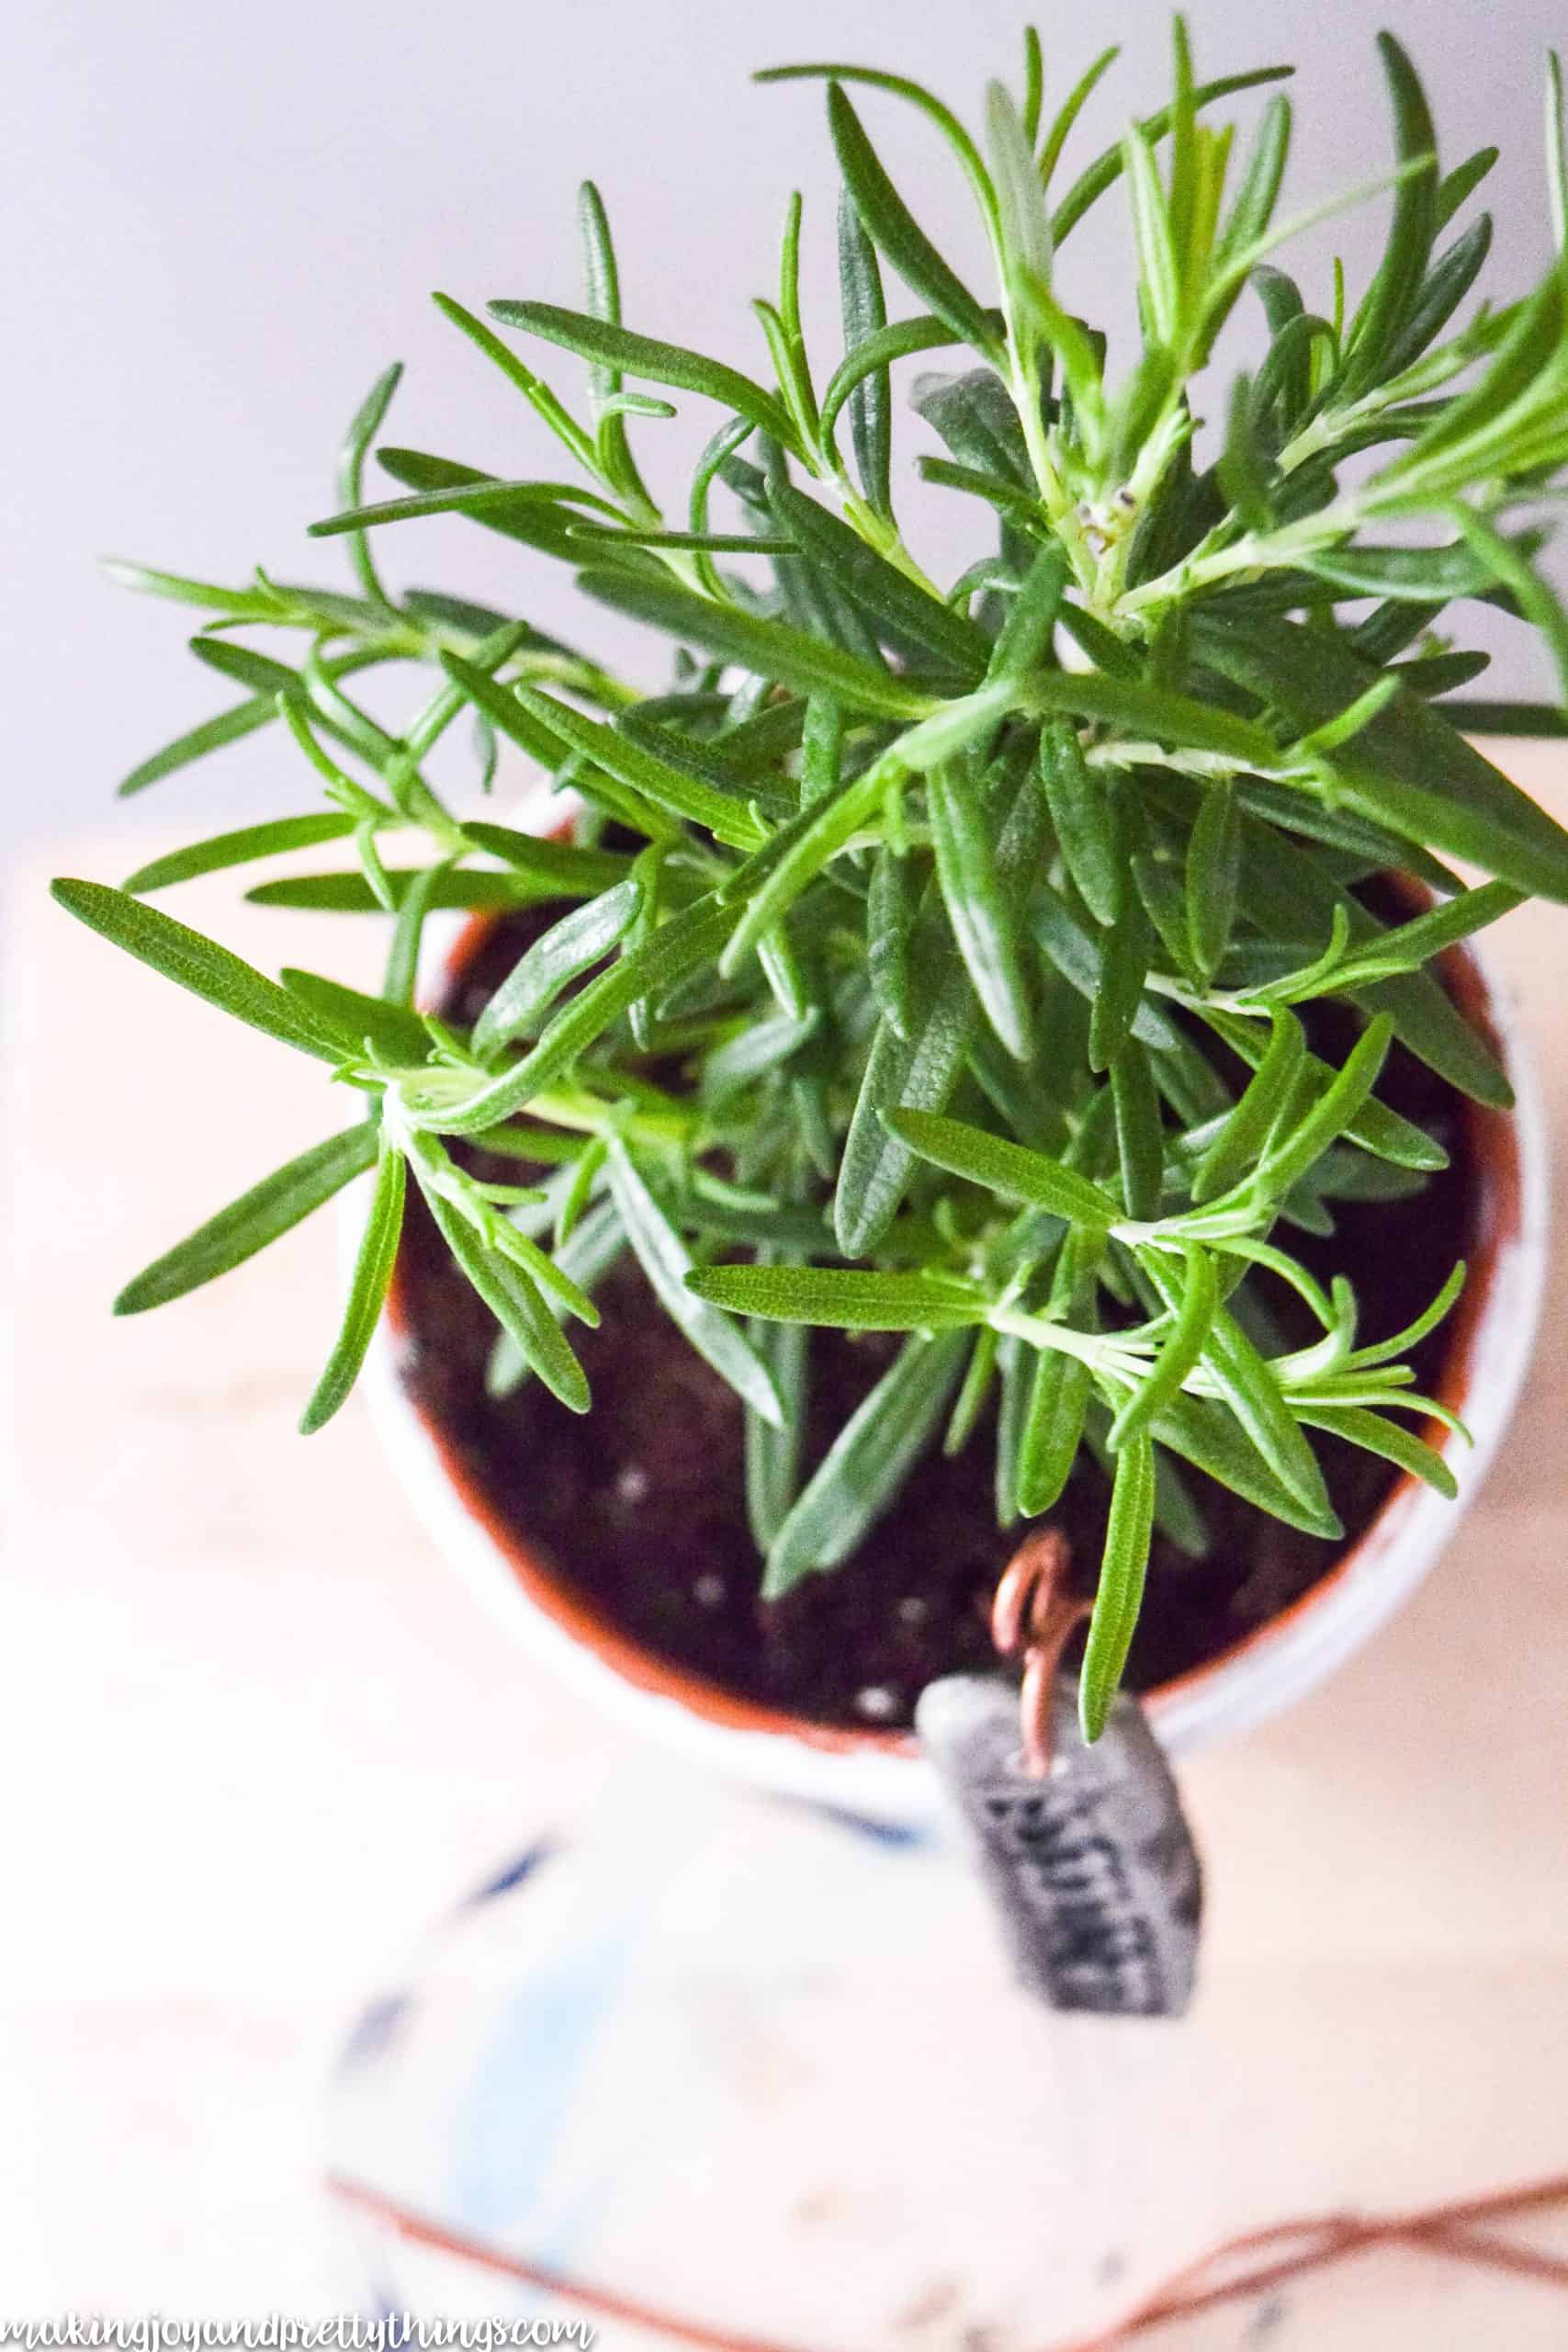
I’m so excited to share these cute DIY Plant Labels today! They are the perfect addition to our new hanging herb garden!
I stumbled across some unique and beautiful DIY plant labels made out of all types of materials.
I knew I wanted to use oven-baked clay (instead of air-dry clay, learn the difference between polymer and air-dry clay here!) and letter stamps, and that’s all I had in mind when I started. The end result is amazing and I really just made it up as I went along.

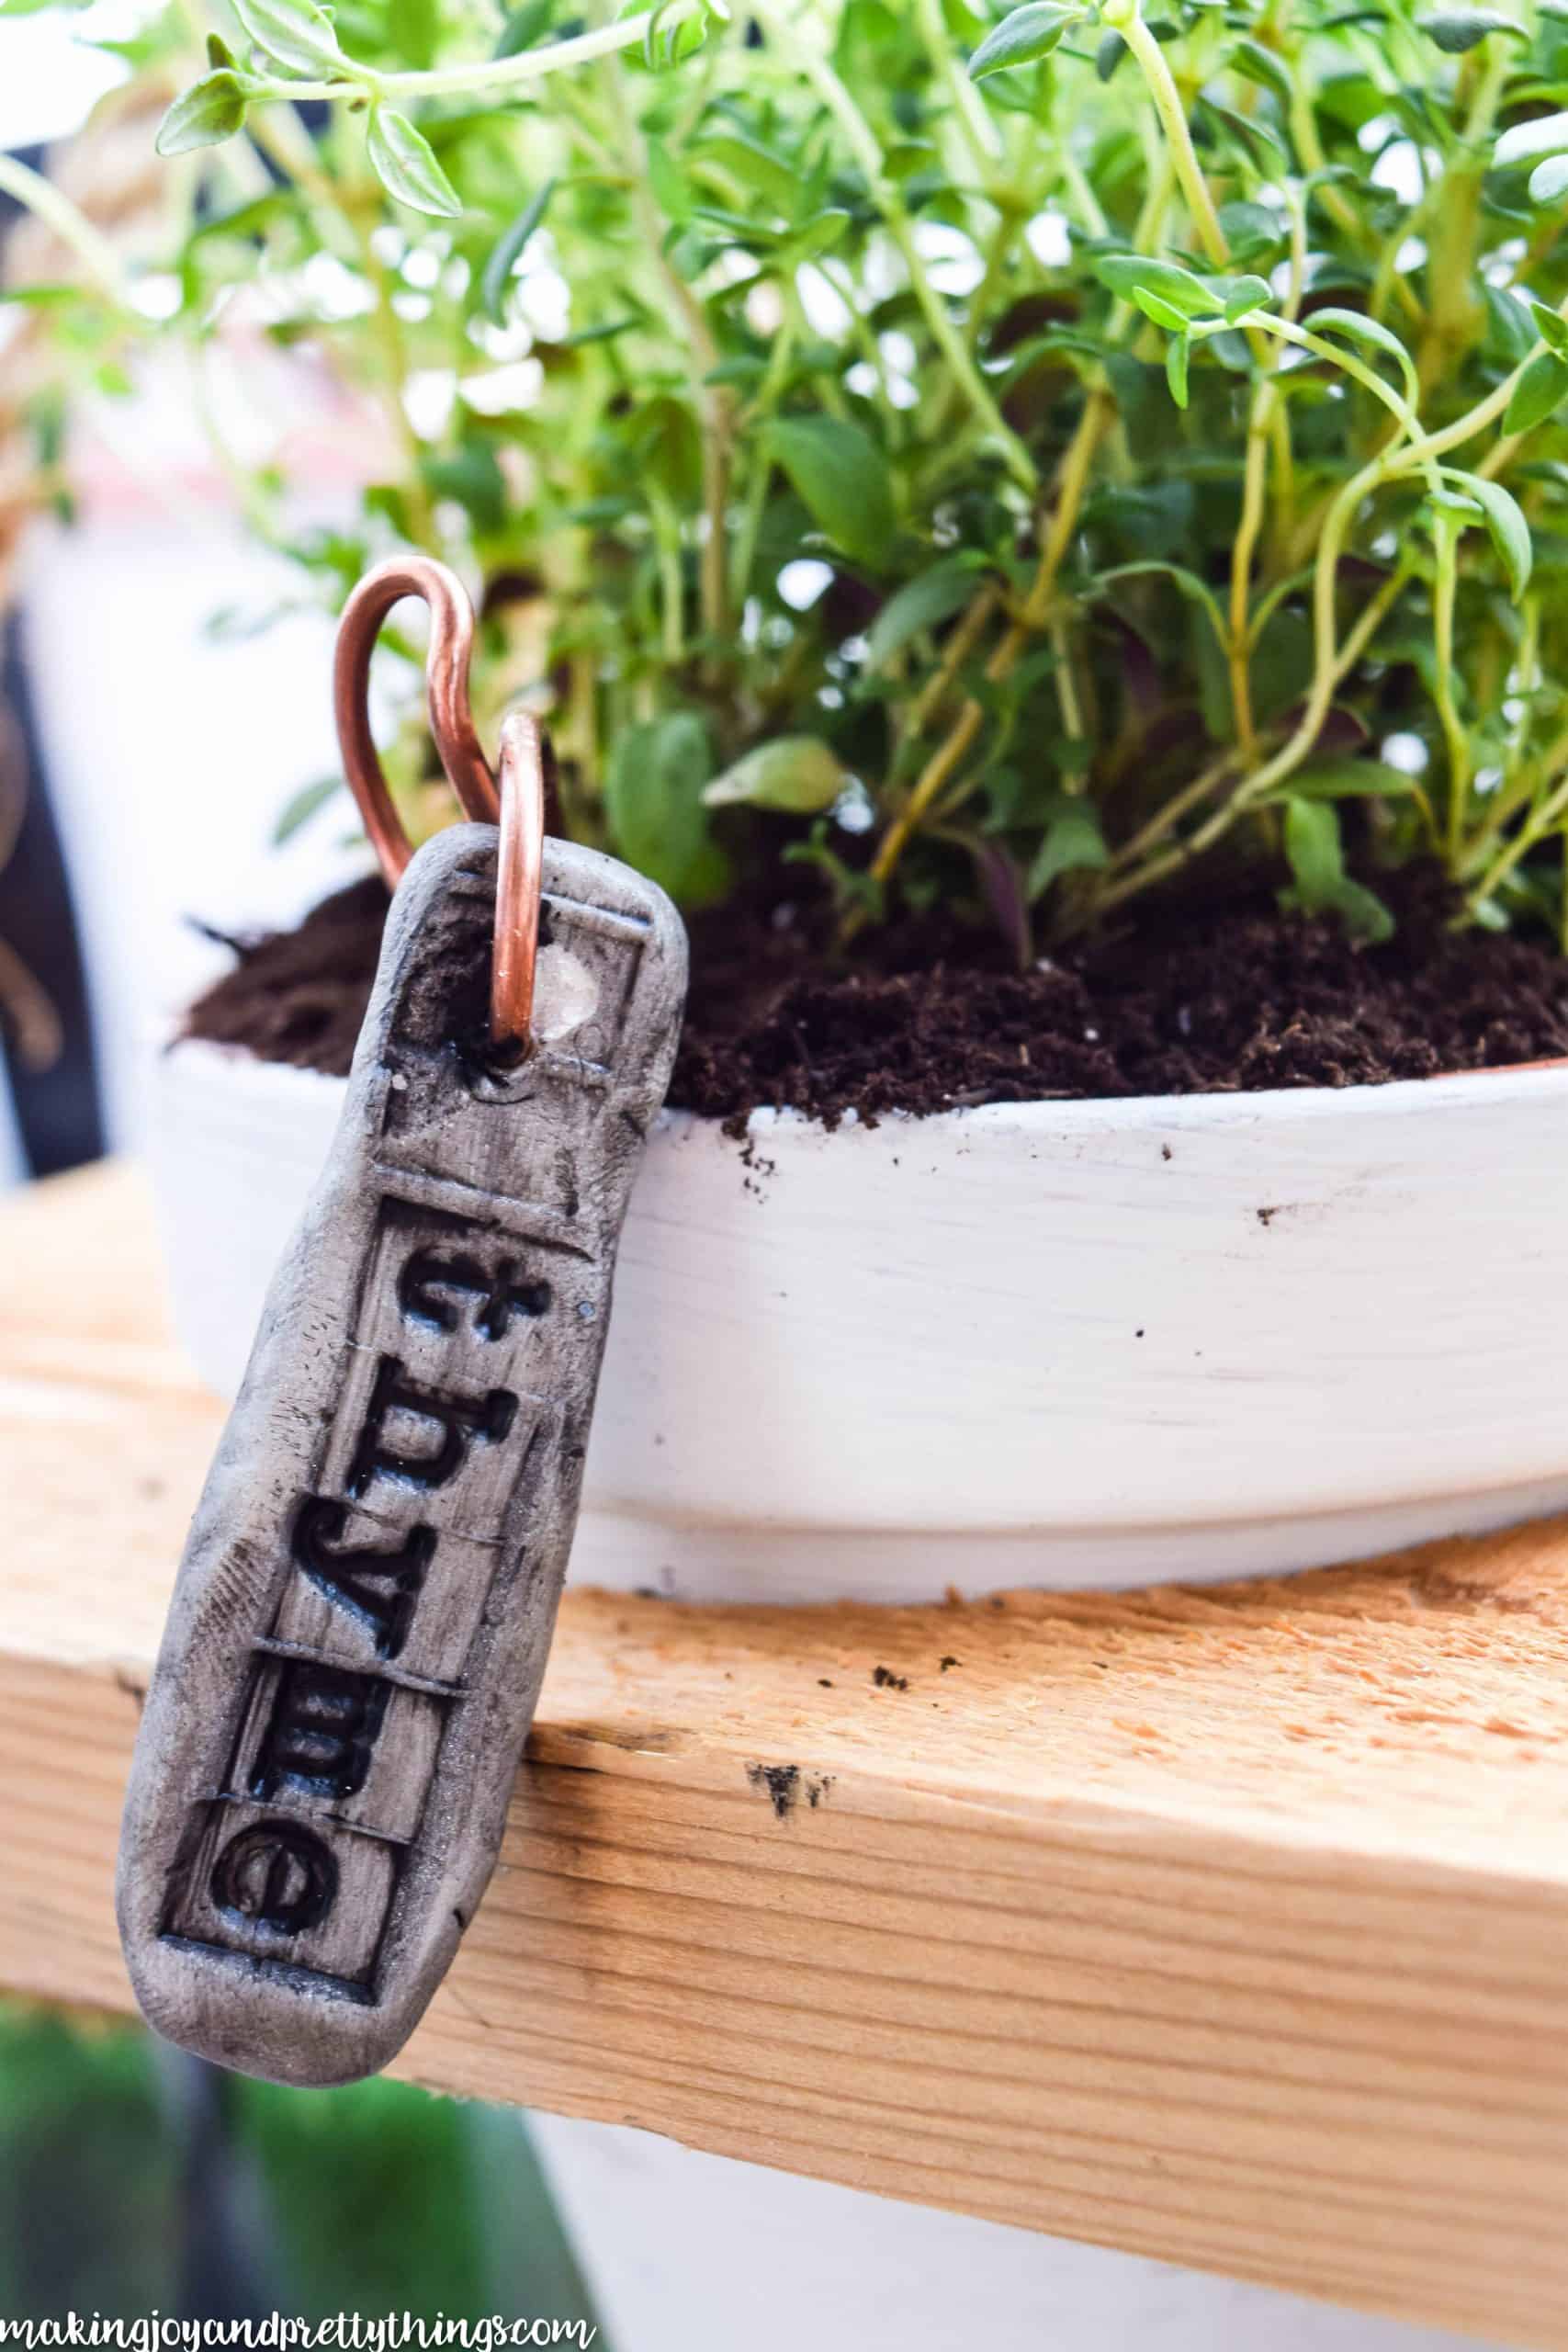
You guys, I’m pretty sure I didn’t use the letter stamps correctly. I didn’t shape the clay in perfect rectangles with zero bumps or imperfections. I even broke a chunk out of the thyme and oregano markers.
But, I am IN LOVE with these garden markers.
They are so perfectly imperfect (if that makes sense?). I hope you guys think so, too!!
I think my favorite part is that every one of them looks a little different. If you’ve read any of my posts before, you know I love projects that can be uniquely interpreted by different people. And this is no different.
This post contains affiliate links. Please, click here to read my disclosure policy.
Supplies for DIY plant labels
- Recollections 36pc lowercase alphabet set (similar)
- Sculpey III Oven-Baked Clay (I used the “pearl” color; I used 1 & 1/2 small packages for 8 garden markers)
- Copper Wire
- Black acrylic paint (similar)
- Linesman Pliers
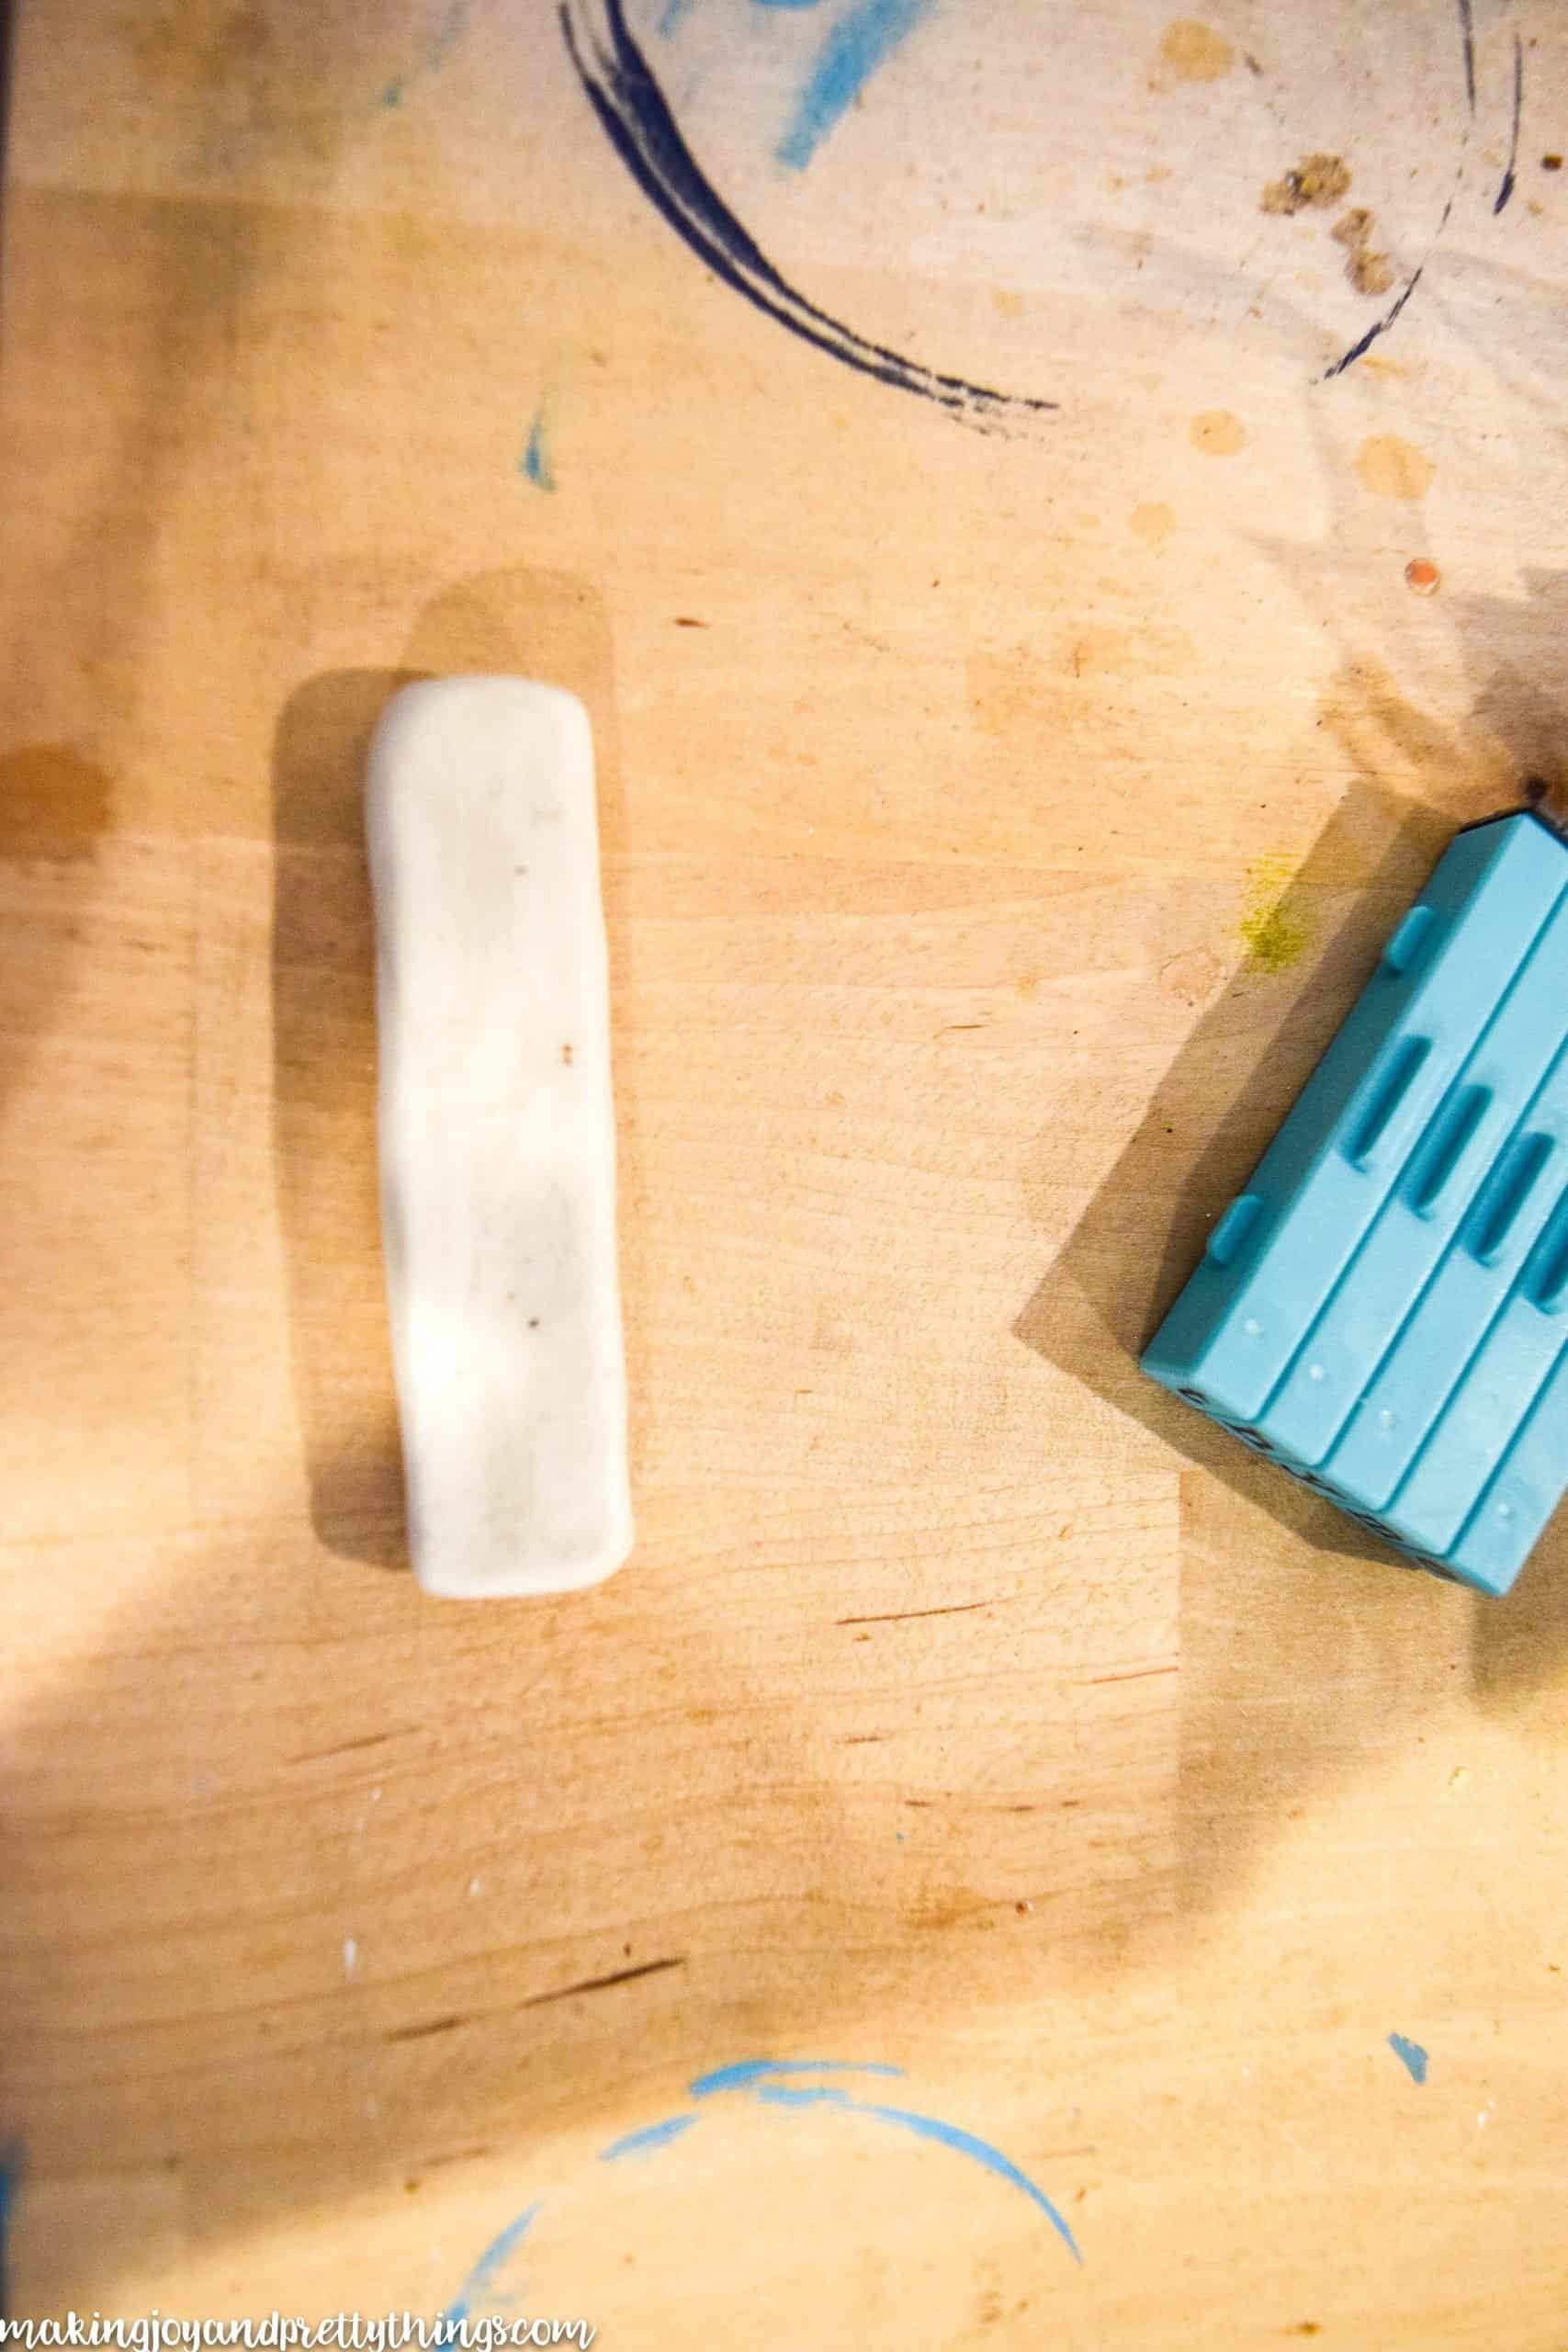
Step 1. Shape clay for DIY plant labels
I started by just playing around with the clay to get a feel for it. It’s much thicker than Play-Doh and does take a bit of elbow grease to get exactly how you want it. The smaller the amount you’re using, the easier it is to manipulate.
I bought the clay tools they sell and didn’t use them once. They are useful if you want to have something precise, perhaps making a square and needing sharp, exact edges.
I simply used my fingers to make a long rectangular shape and made 8 total markers using about 1 and 1/2 small packages. They were ~1/2 in thick and 2.5 inches long (and this is a total estimate, no exact measurements were done).
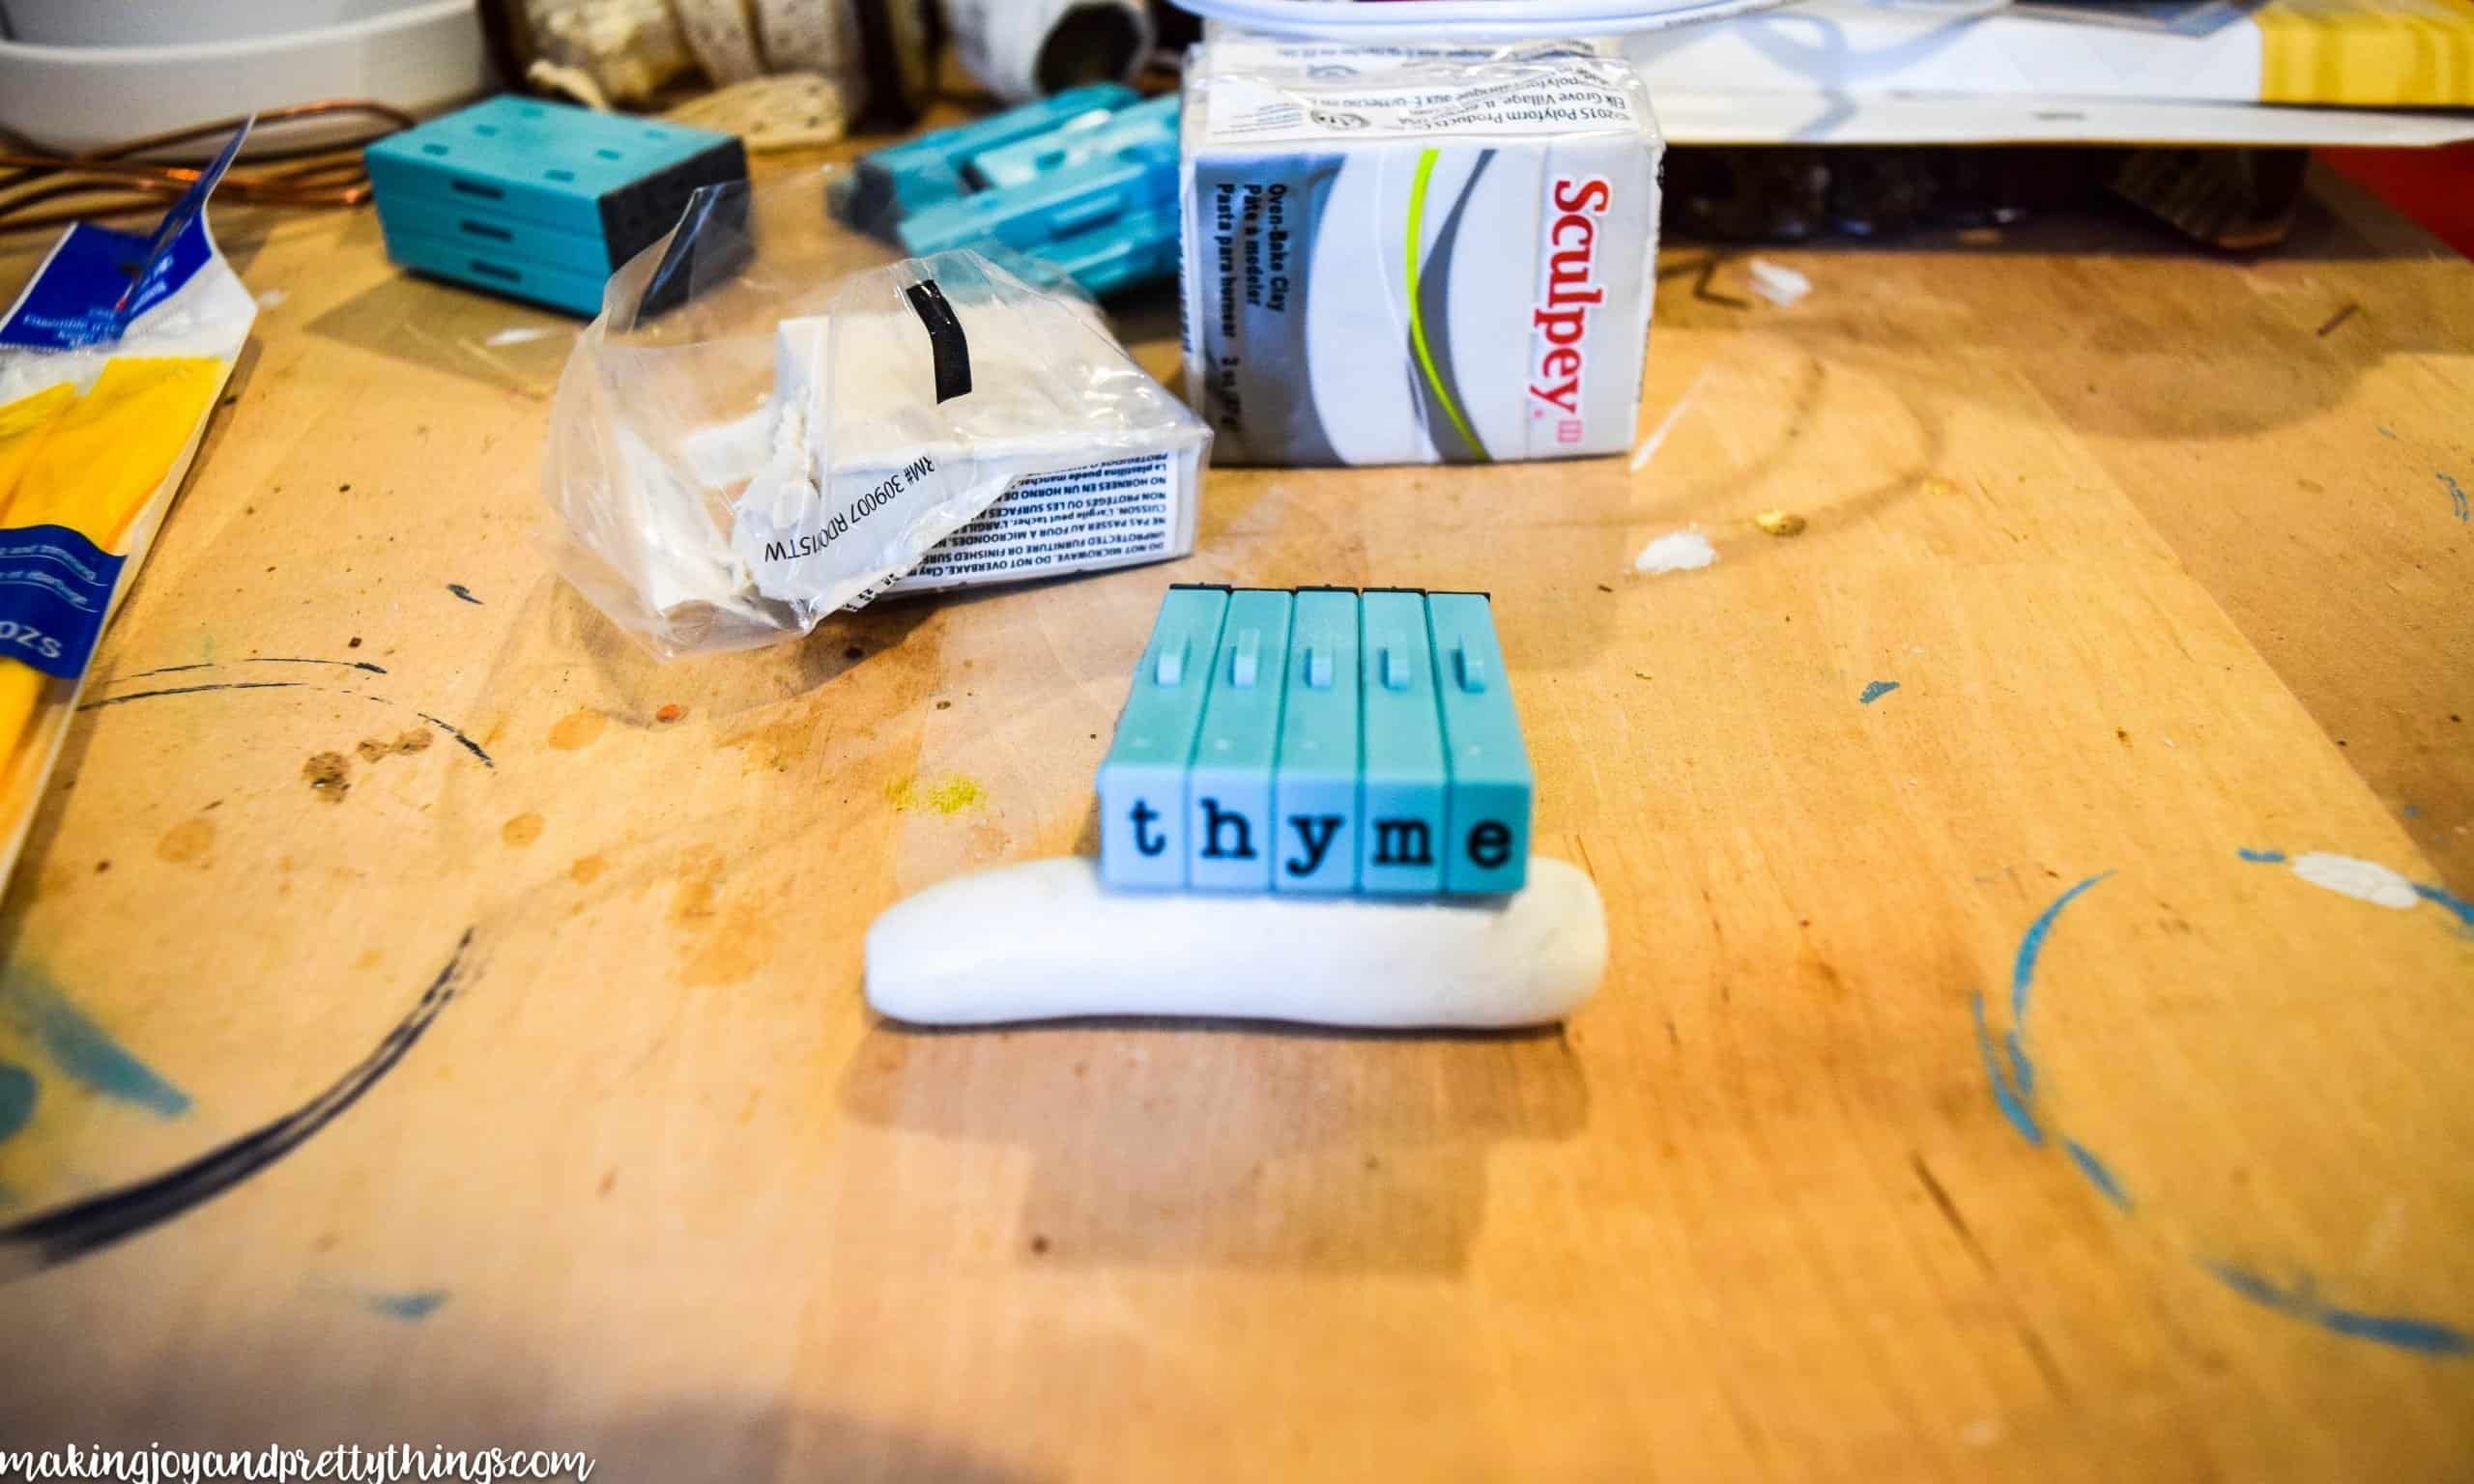
Step 2. Stamp into the clay labels
I’m crazy in love with the lowercase letter stamps. They are AMAZING. The letters click together so they’re evenly spaced, and I have allllll the heart eyes for these.
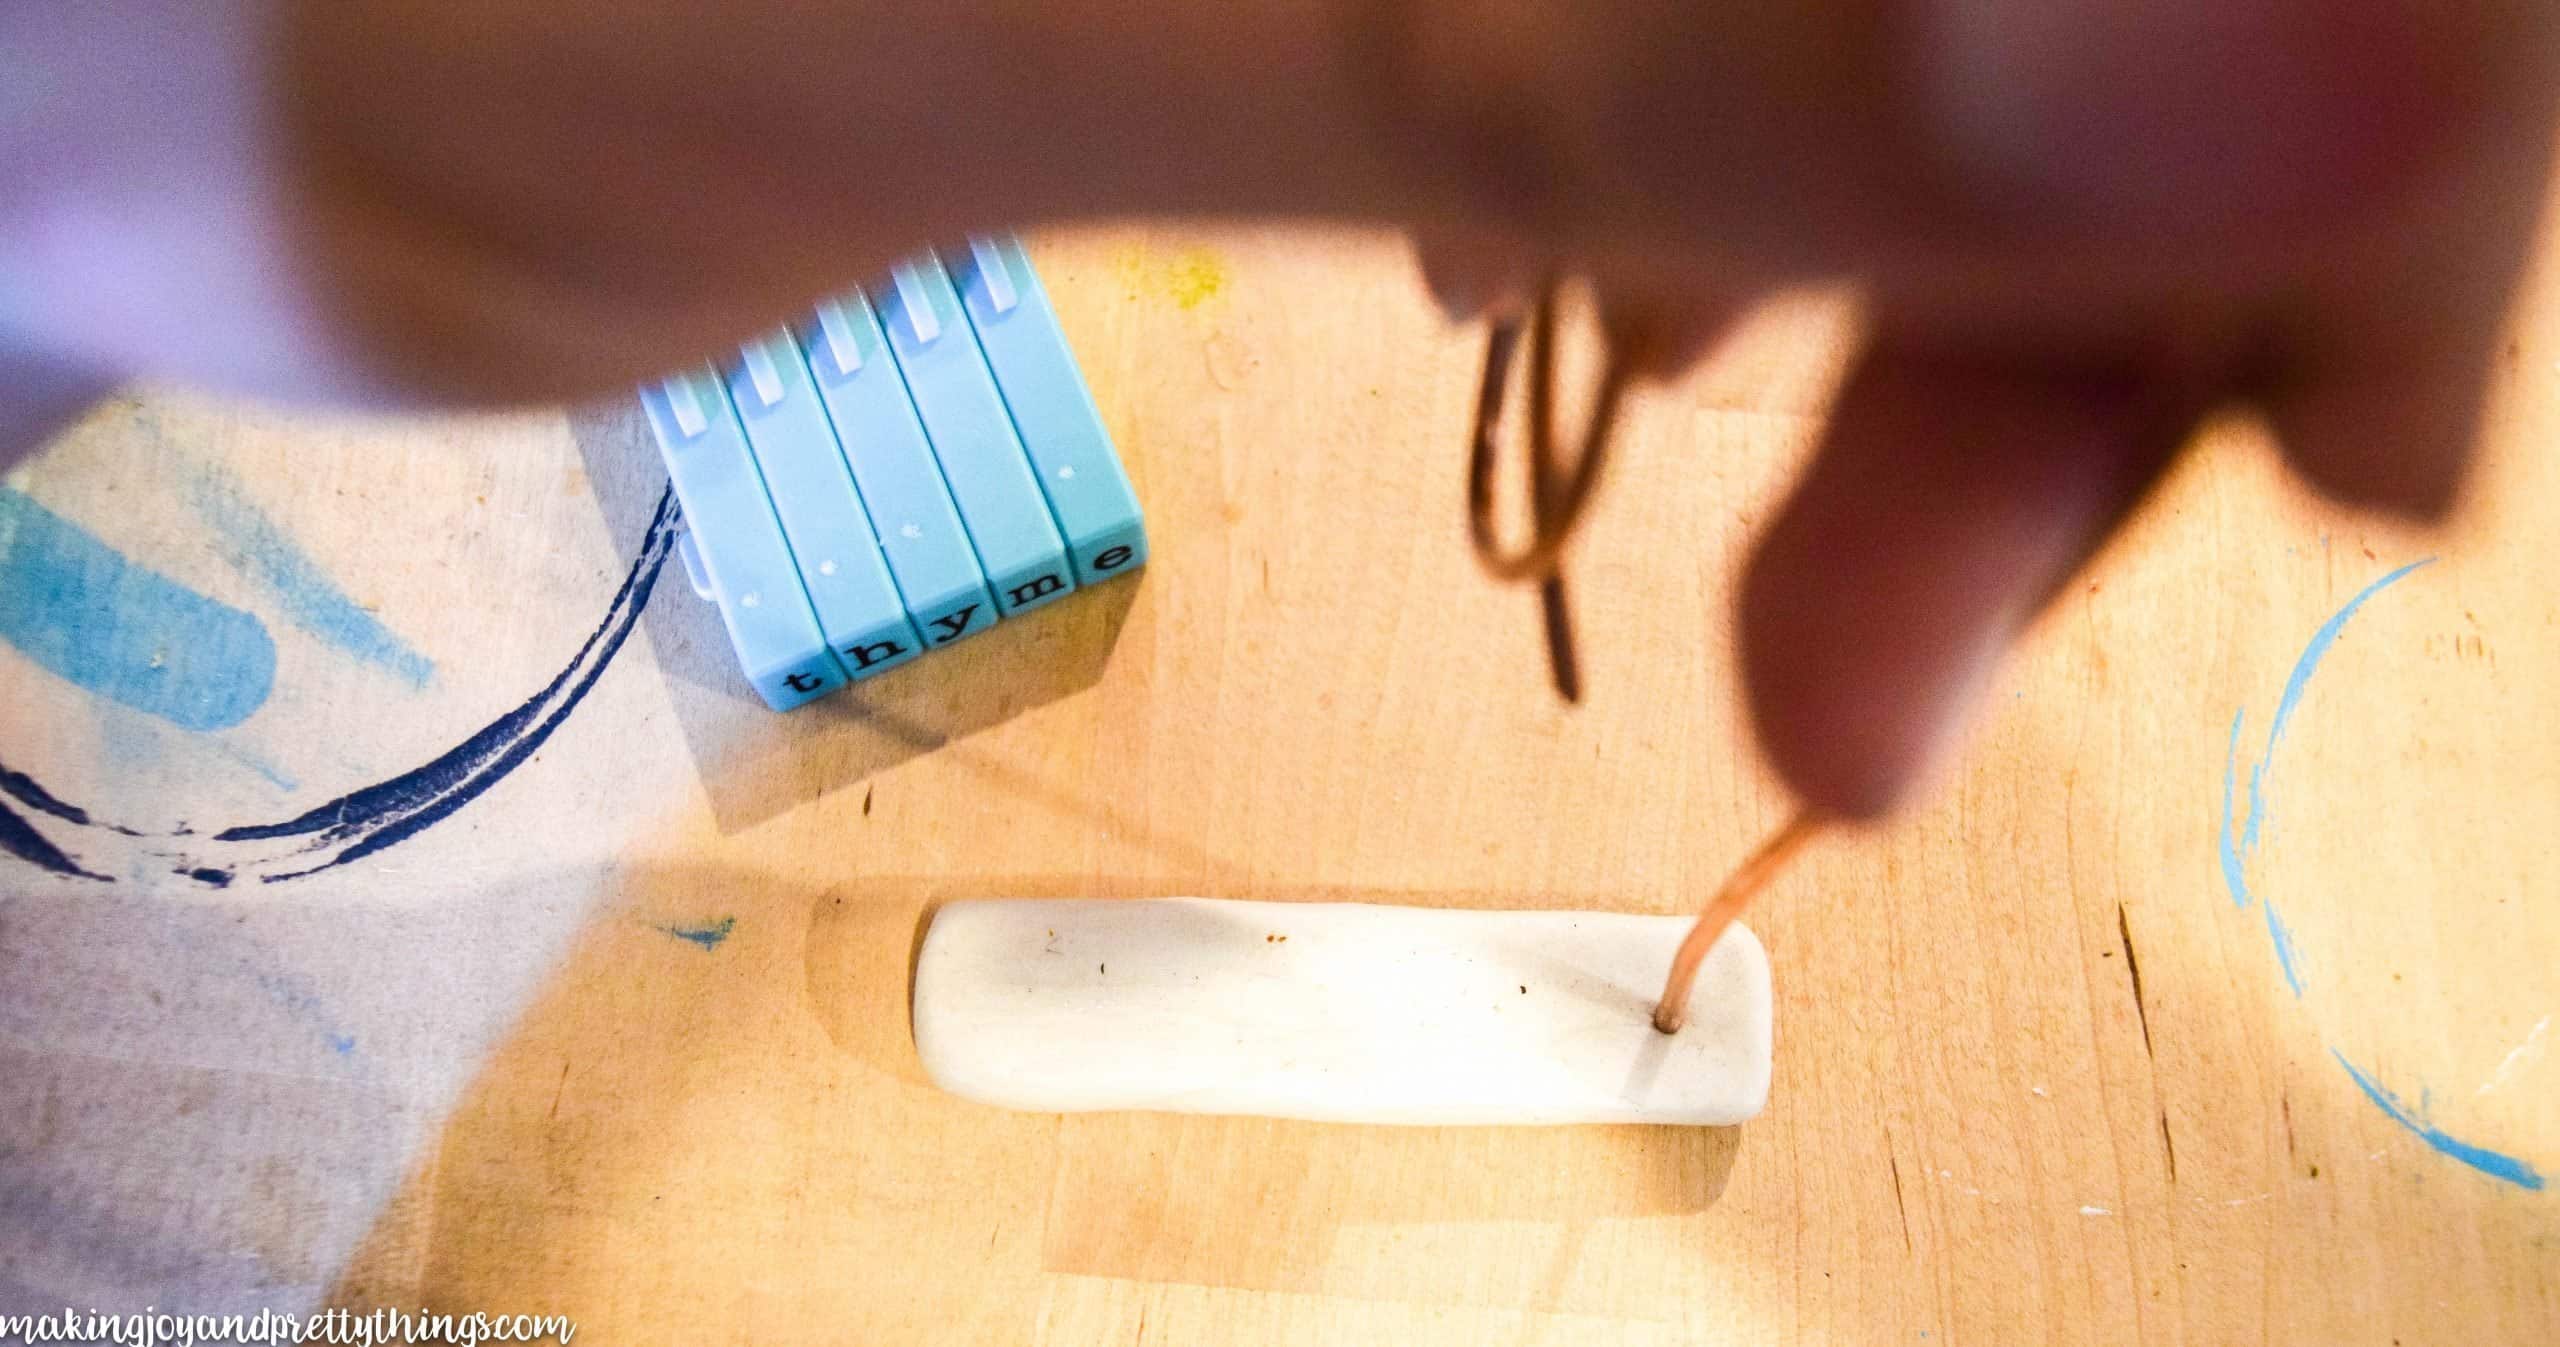
I made sure before I stamped the word on the clay that there would be leftover clay at the end to put the copper wire through. Guess that’s a complicated way of saying “don’t make the word too long on the clay”.
Once I had the word lined up, I poked a hole close to the edge of the clay (but not too close). In hindsight it would make more sense to stamp the word then make the copper wire hole, but, this mama was trying to get this done during nap time and clearly wasn’t thinking…
Step 3. Bake the clay labels
Here’s what they looked like before baking:
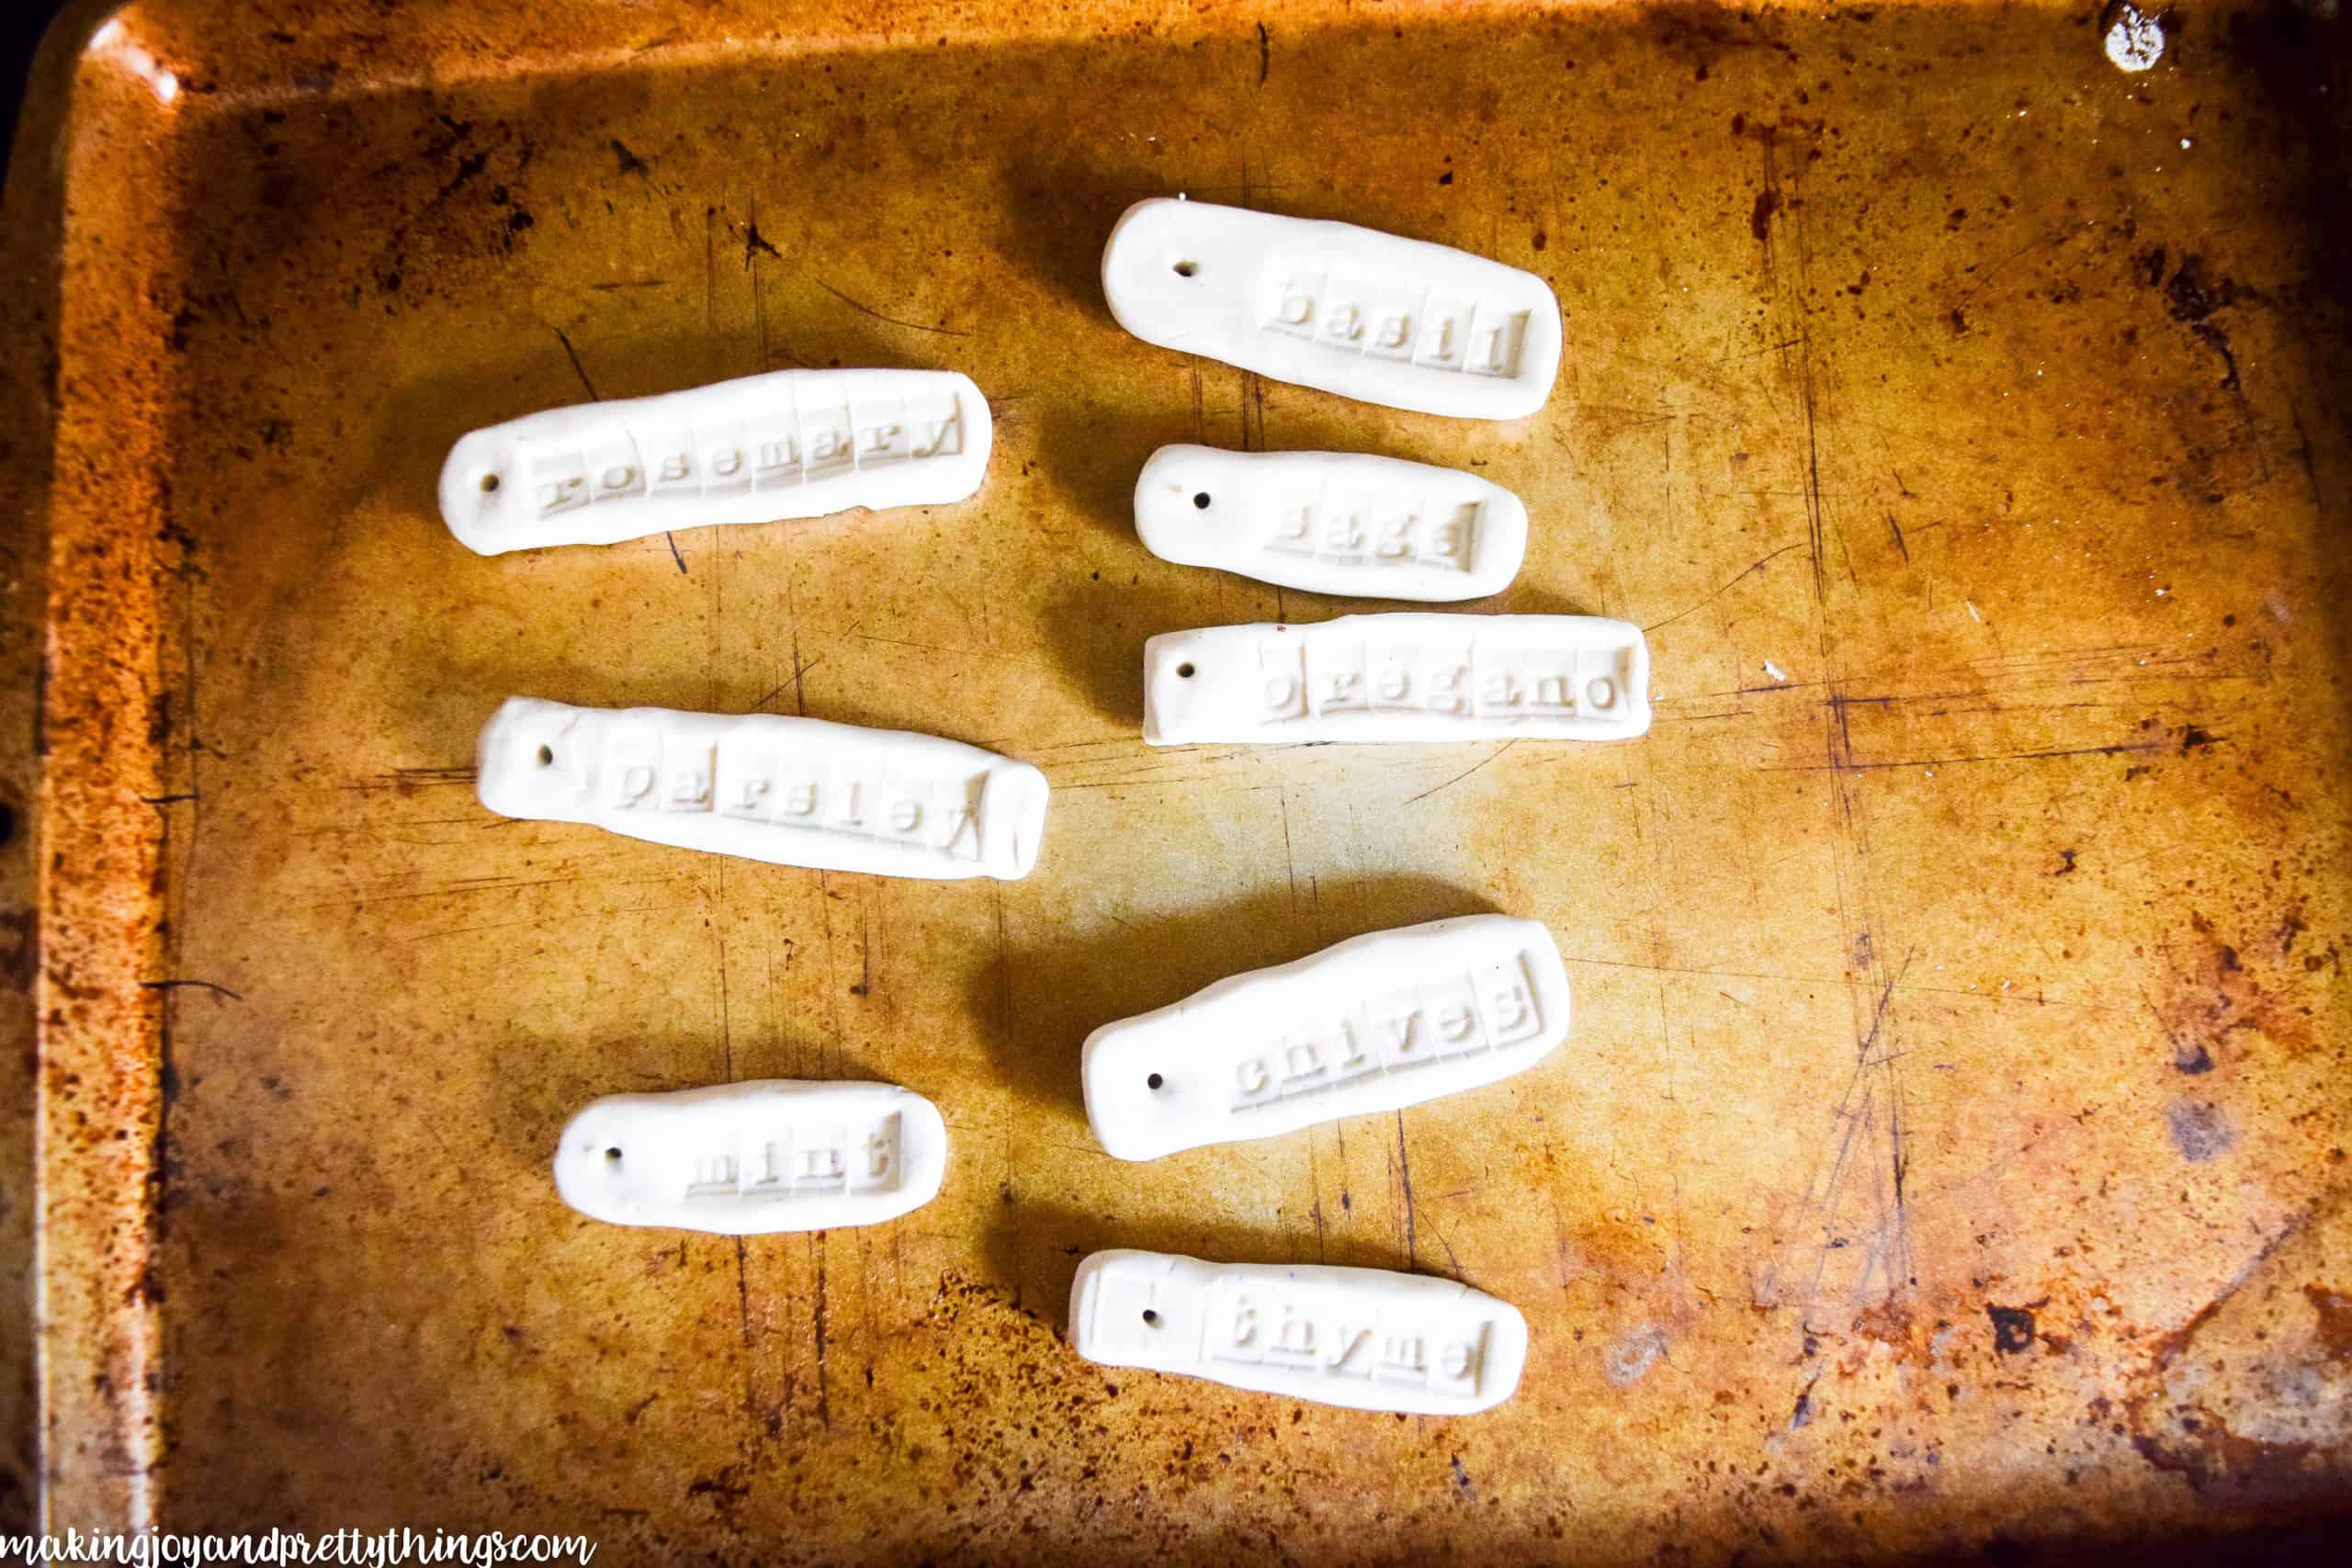
They are all different, all unique. I mean the oregano hole is not centered, the mint one is way fatter than the others, and what happened to the “a” in parsley?? It really didn’t matter to me because I love how different they are.
If I made another set of 8, they would all look different than these. Have I mentioned I love that they’re different 😉
Step 4. Paint the DIY plant labels
Once they were baked (following instructions on the package) and cooled, I tried to paint inside the individual letters with a very fine brush. Girl, that was a mistake.
I do not have the patience (or apparently a steady hand?) to do that.
My amazing father-in-law was over at that point working on our stairs. He is one of my absolute favorite people and he shares my love for design. Except my FIL doesn’t like the distressed look. The HORROR!!
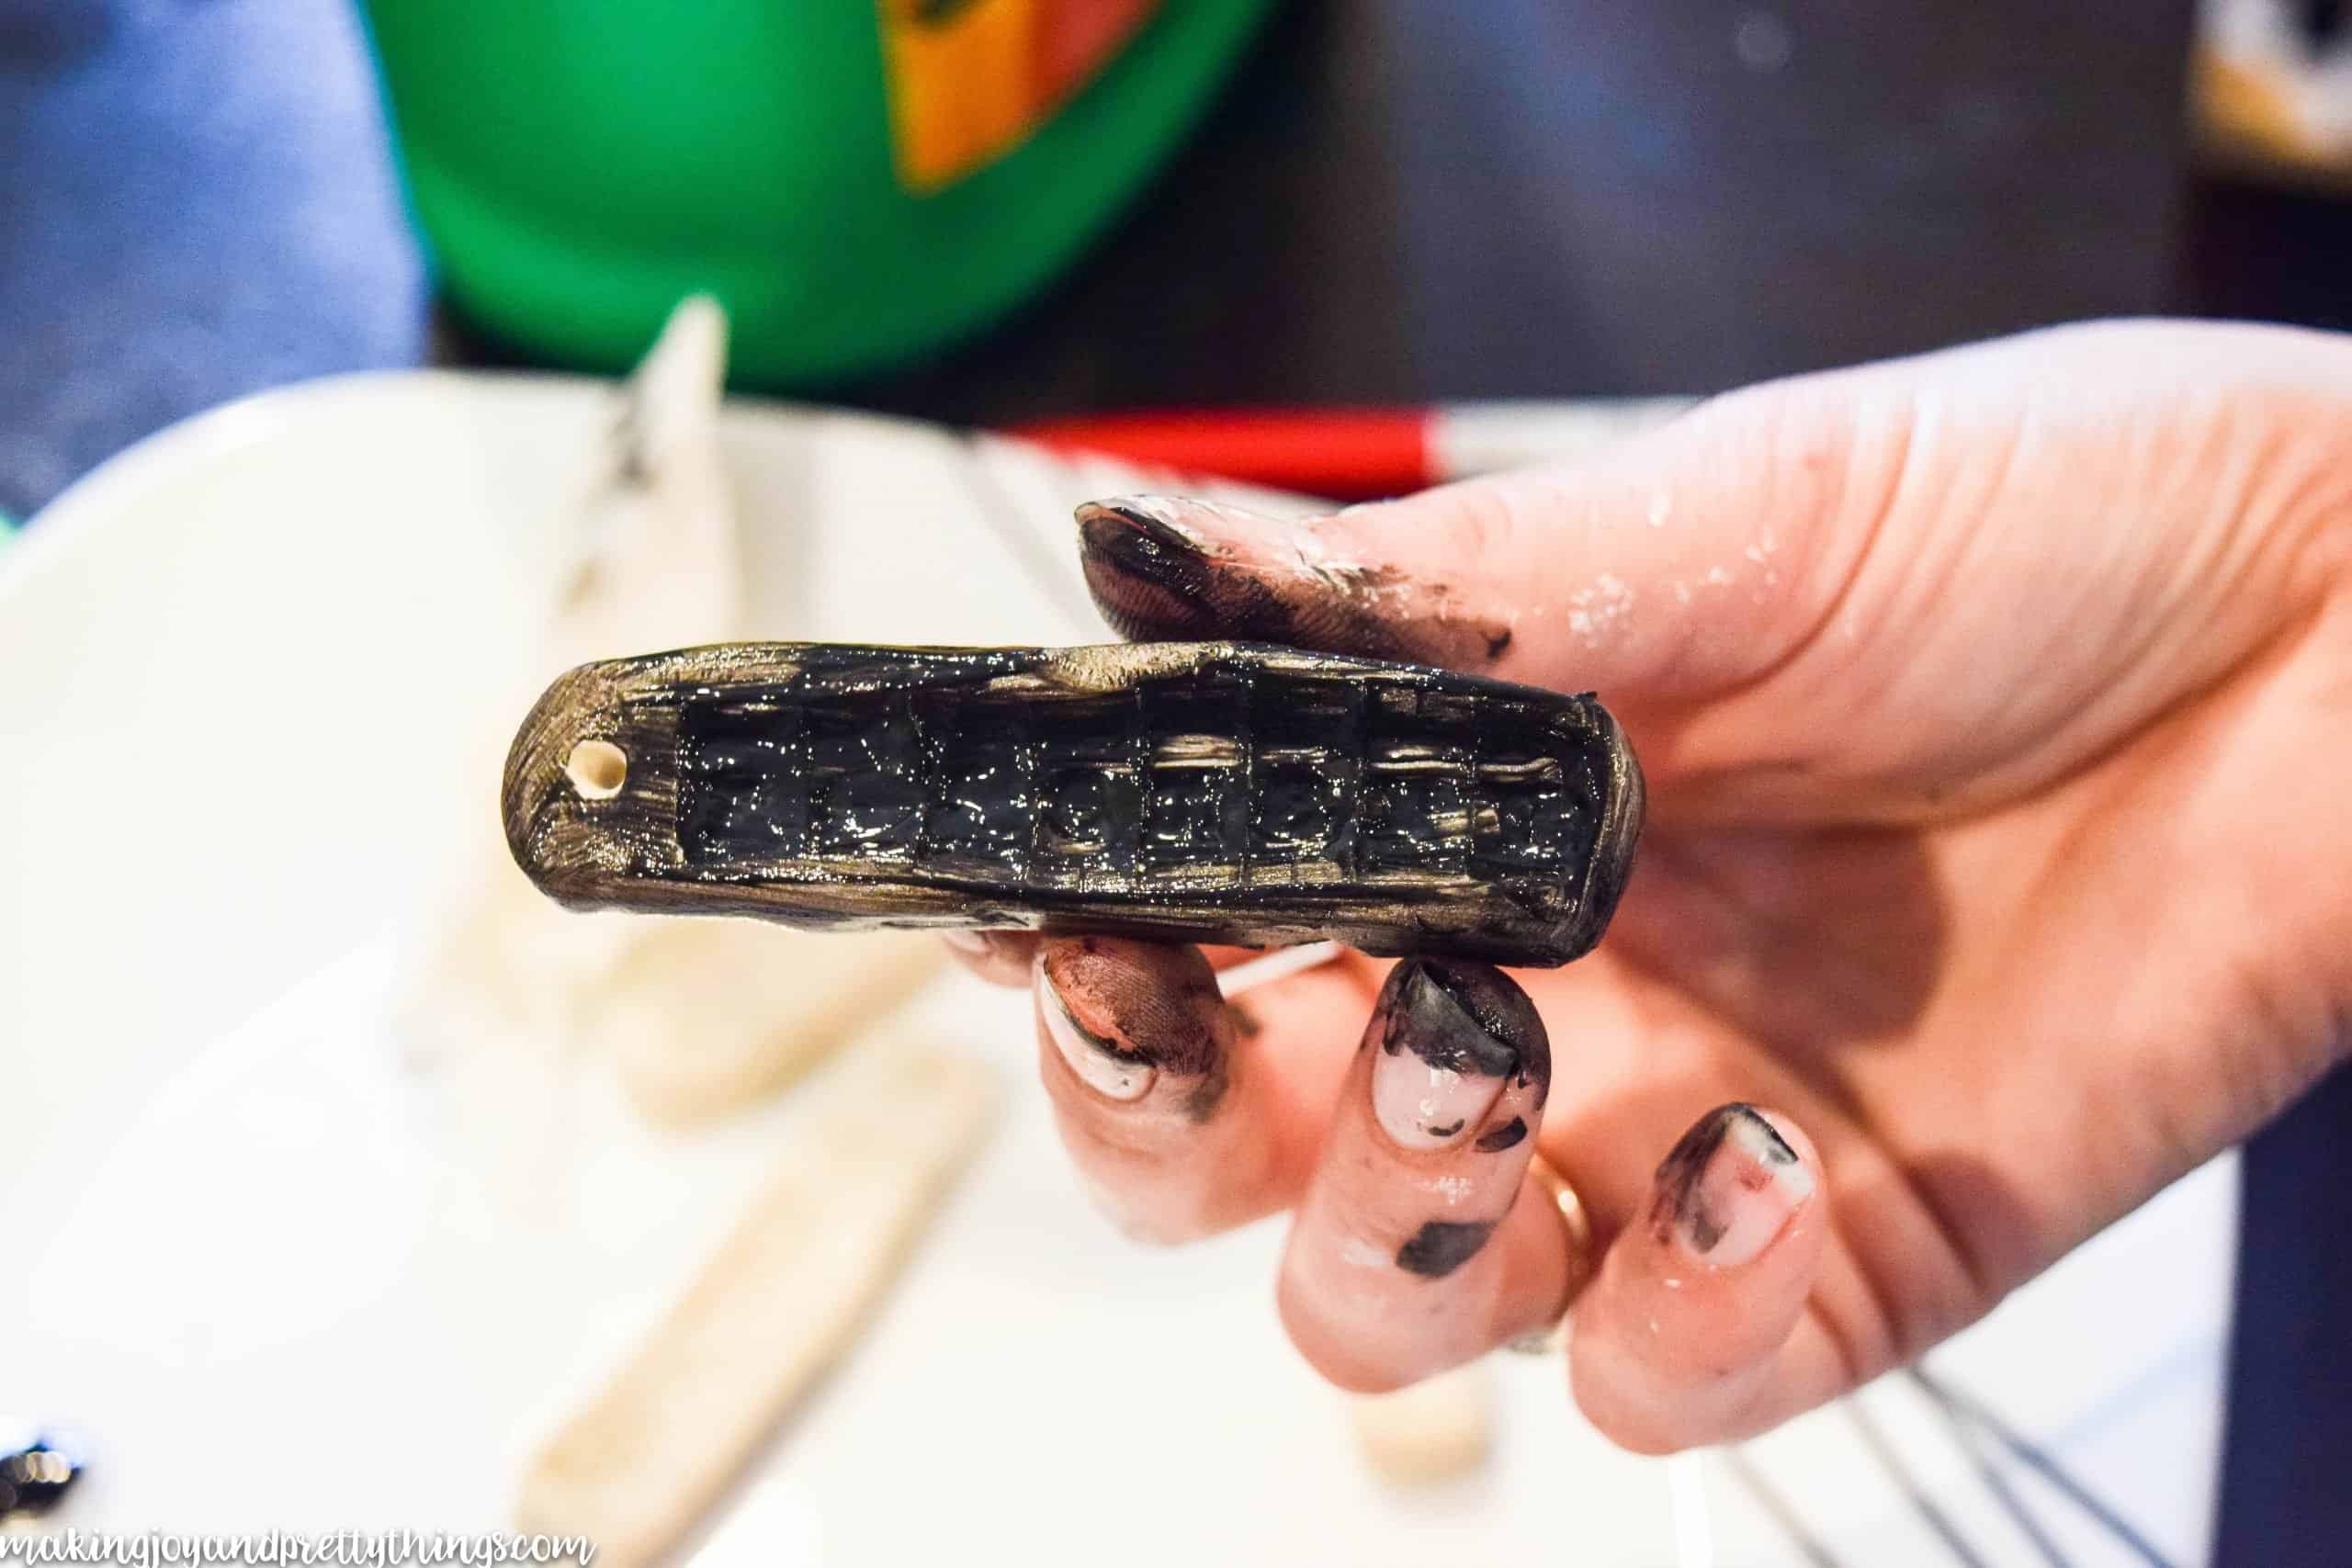
Anyway…he told me just to rub the paint over the letters and since they were pressed into the clay, the paint would stay inside the letters and be easily wiped off the remainder of the clay. Brilliant!
Armed with another old white t-shirt of husbands (how many of these do we have??), I globbed the paint into the letters of each marker. I then used a clean portion of the t-shirt and wiped around the remainder of the marker.
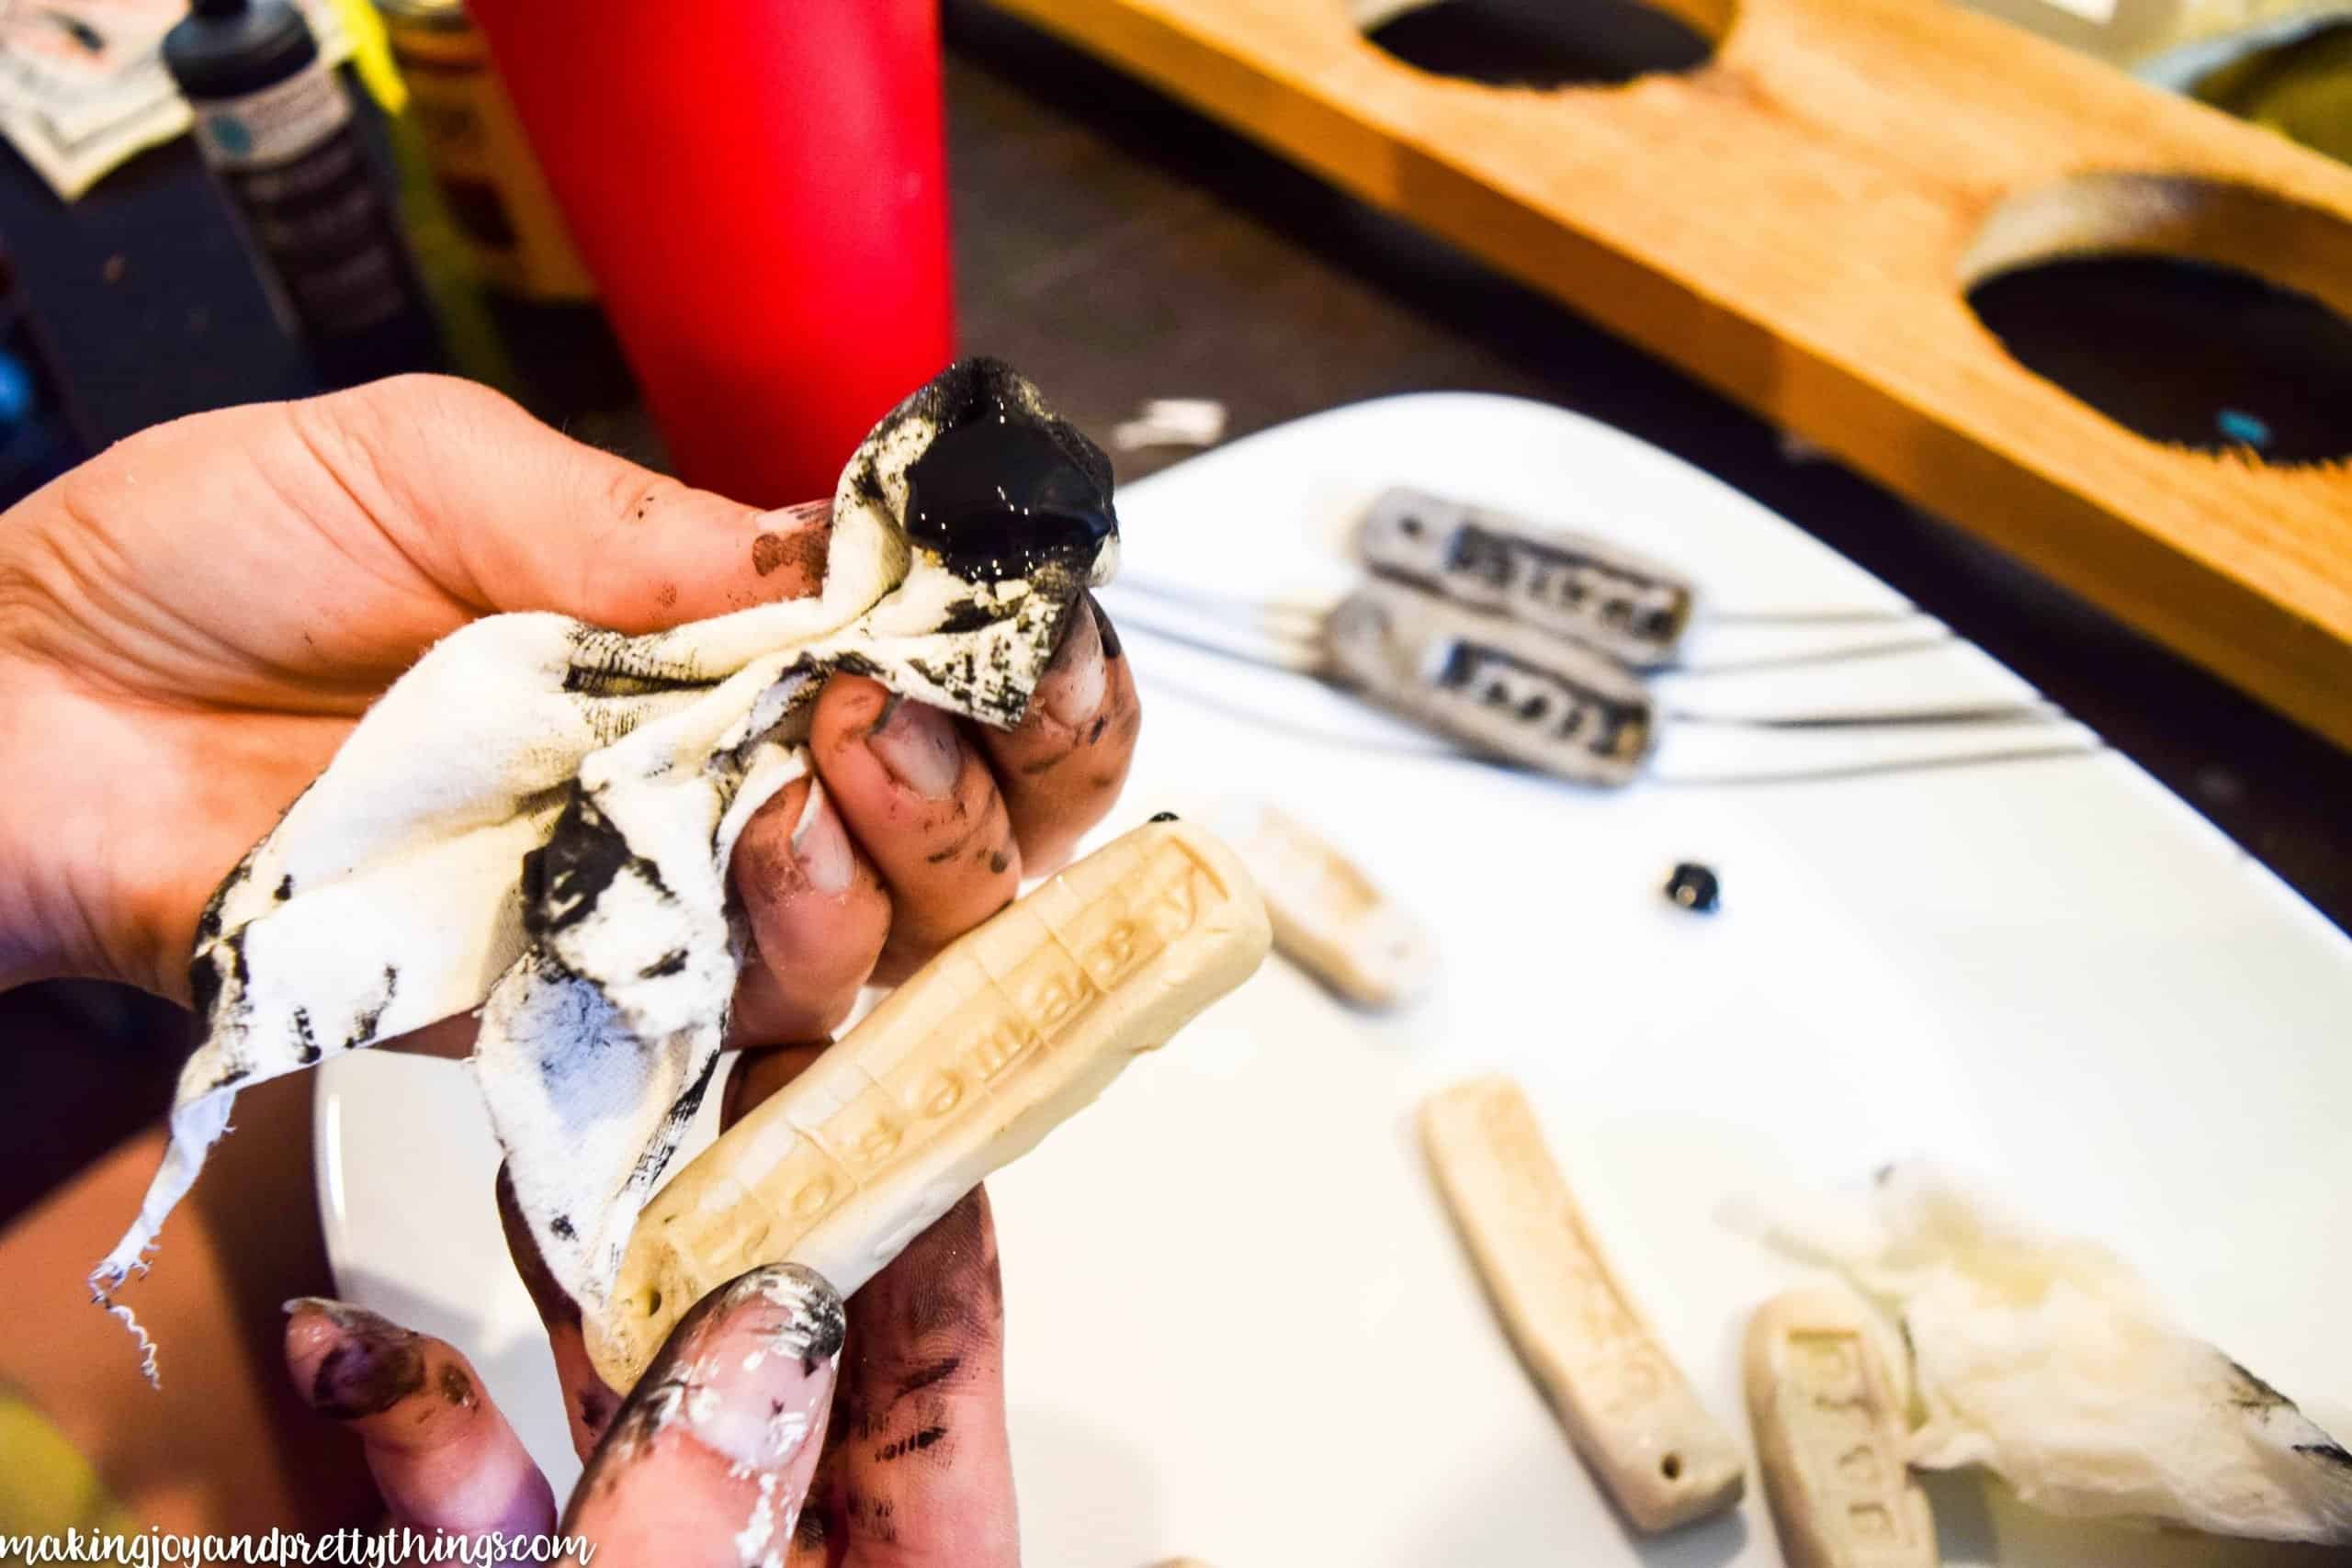
I made sure the paint touched every part of the marker, for a uniform look. And, yes, that is a dinner plate I’m using. Oops 🙂
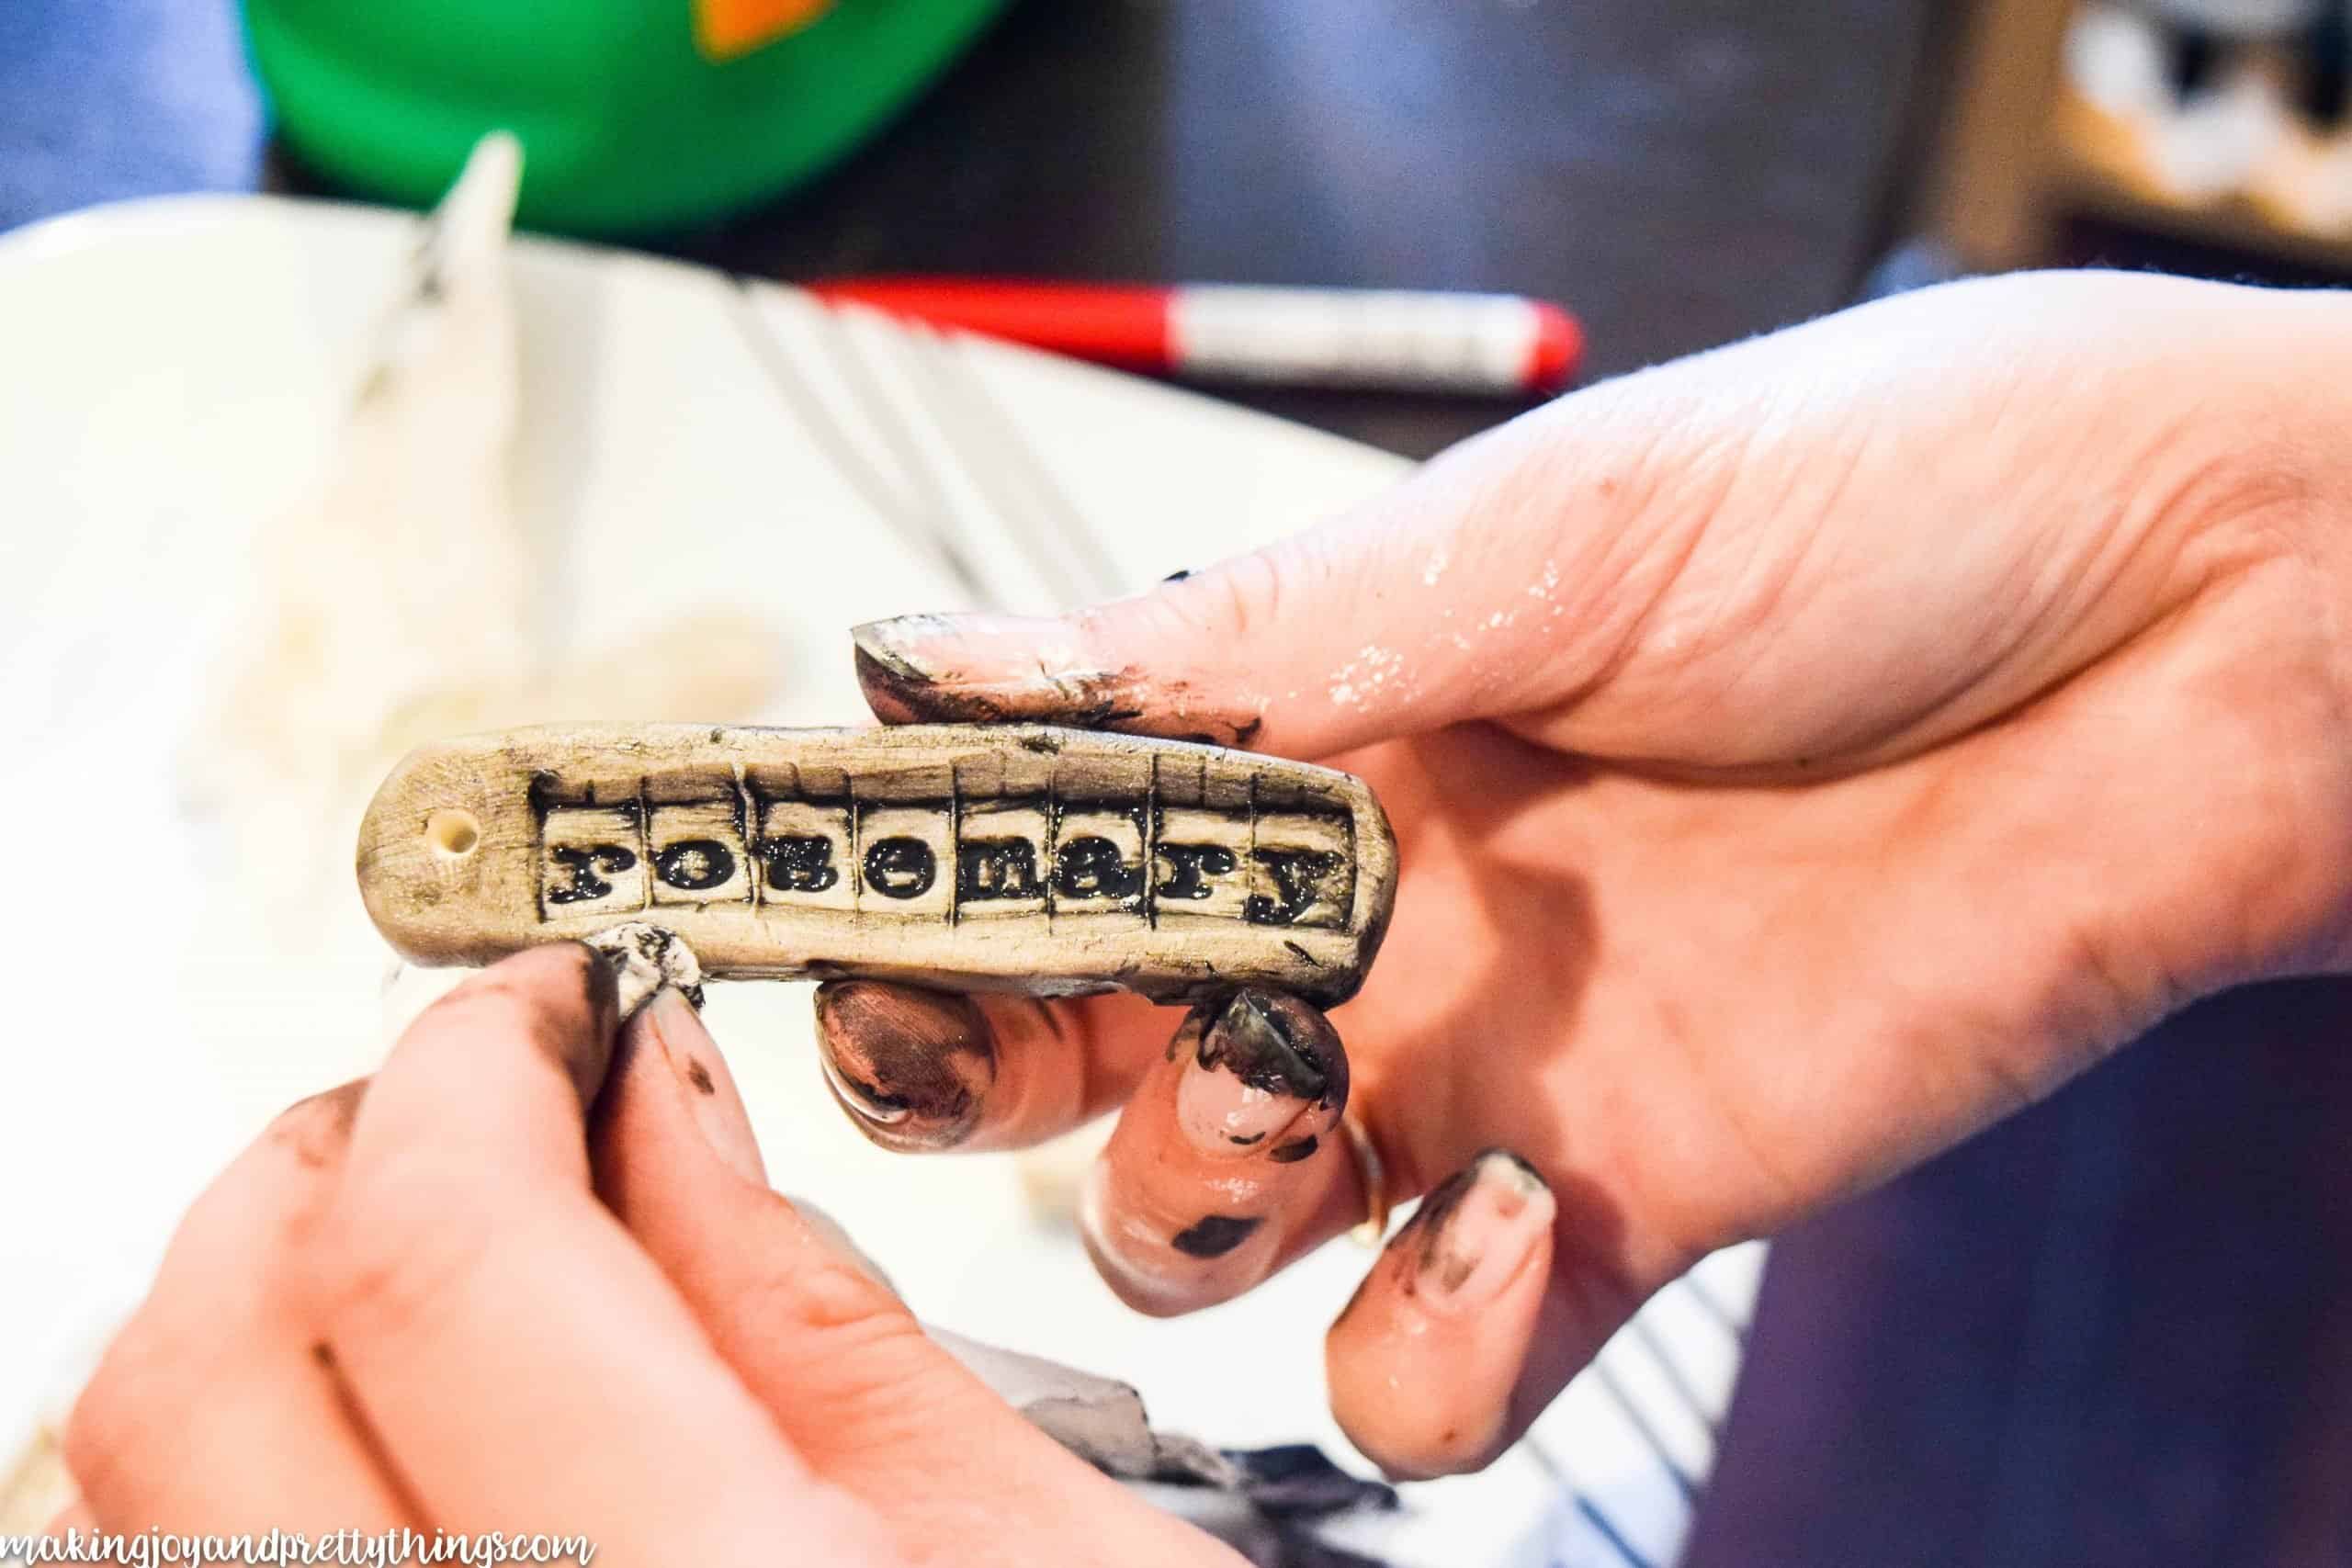
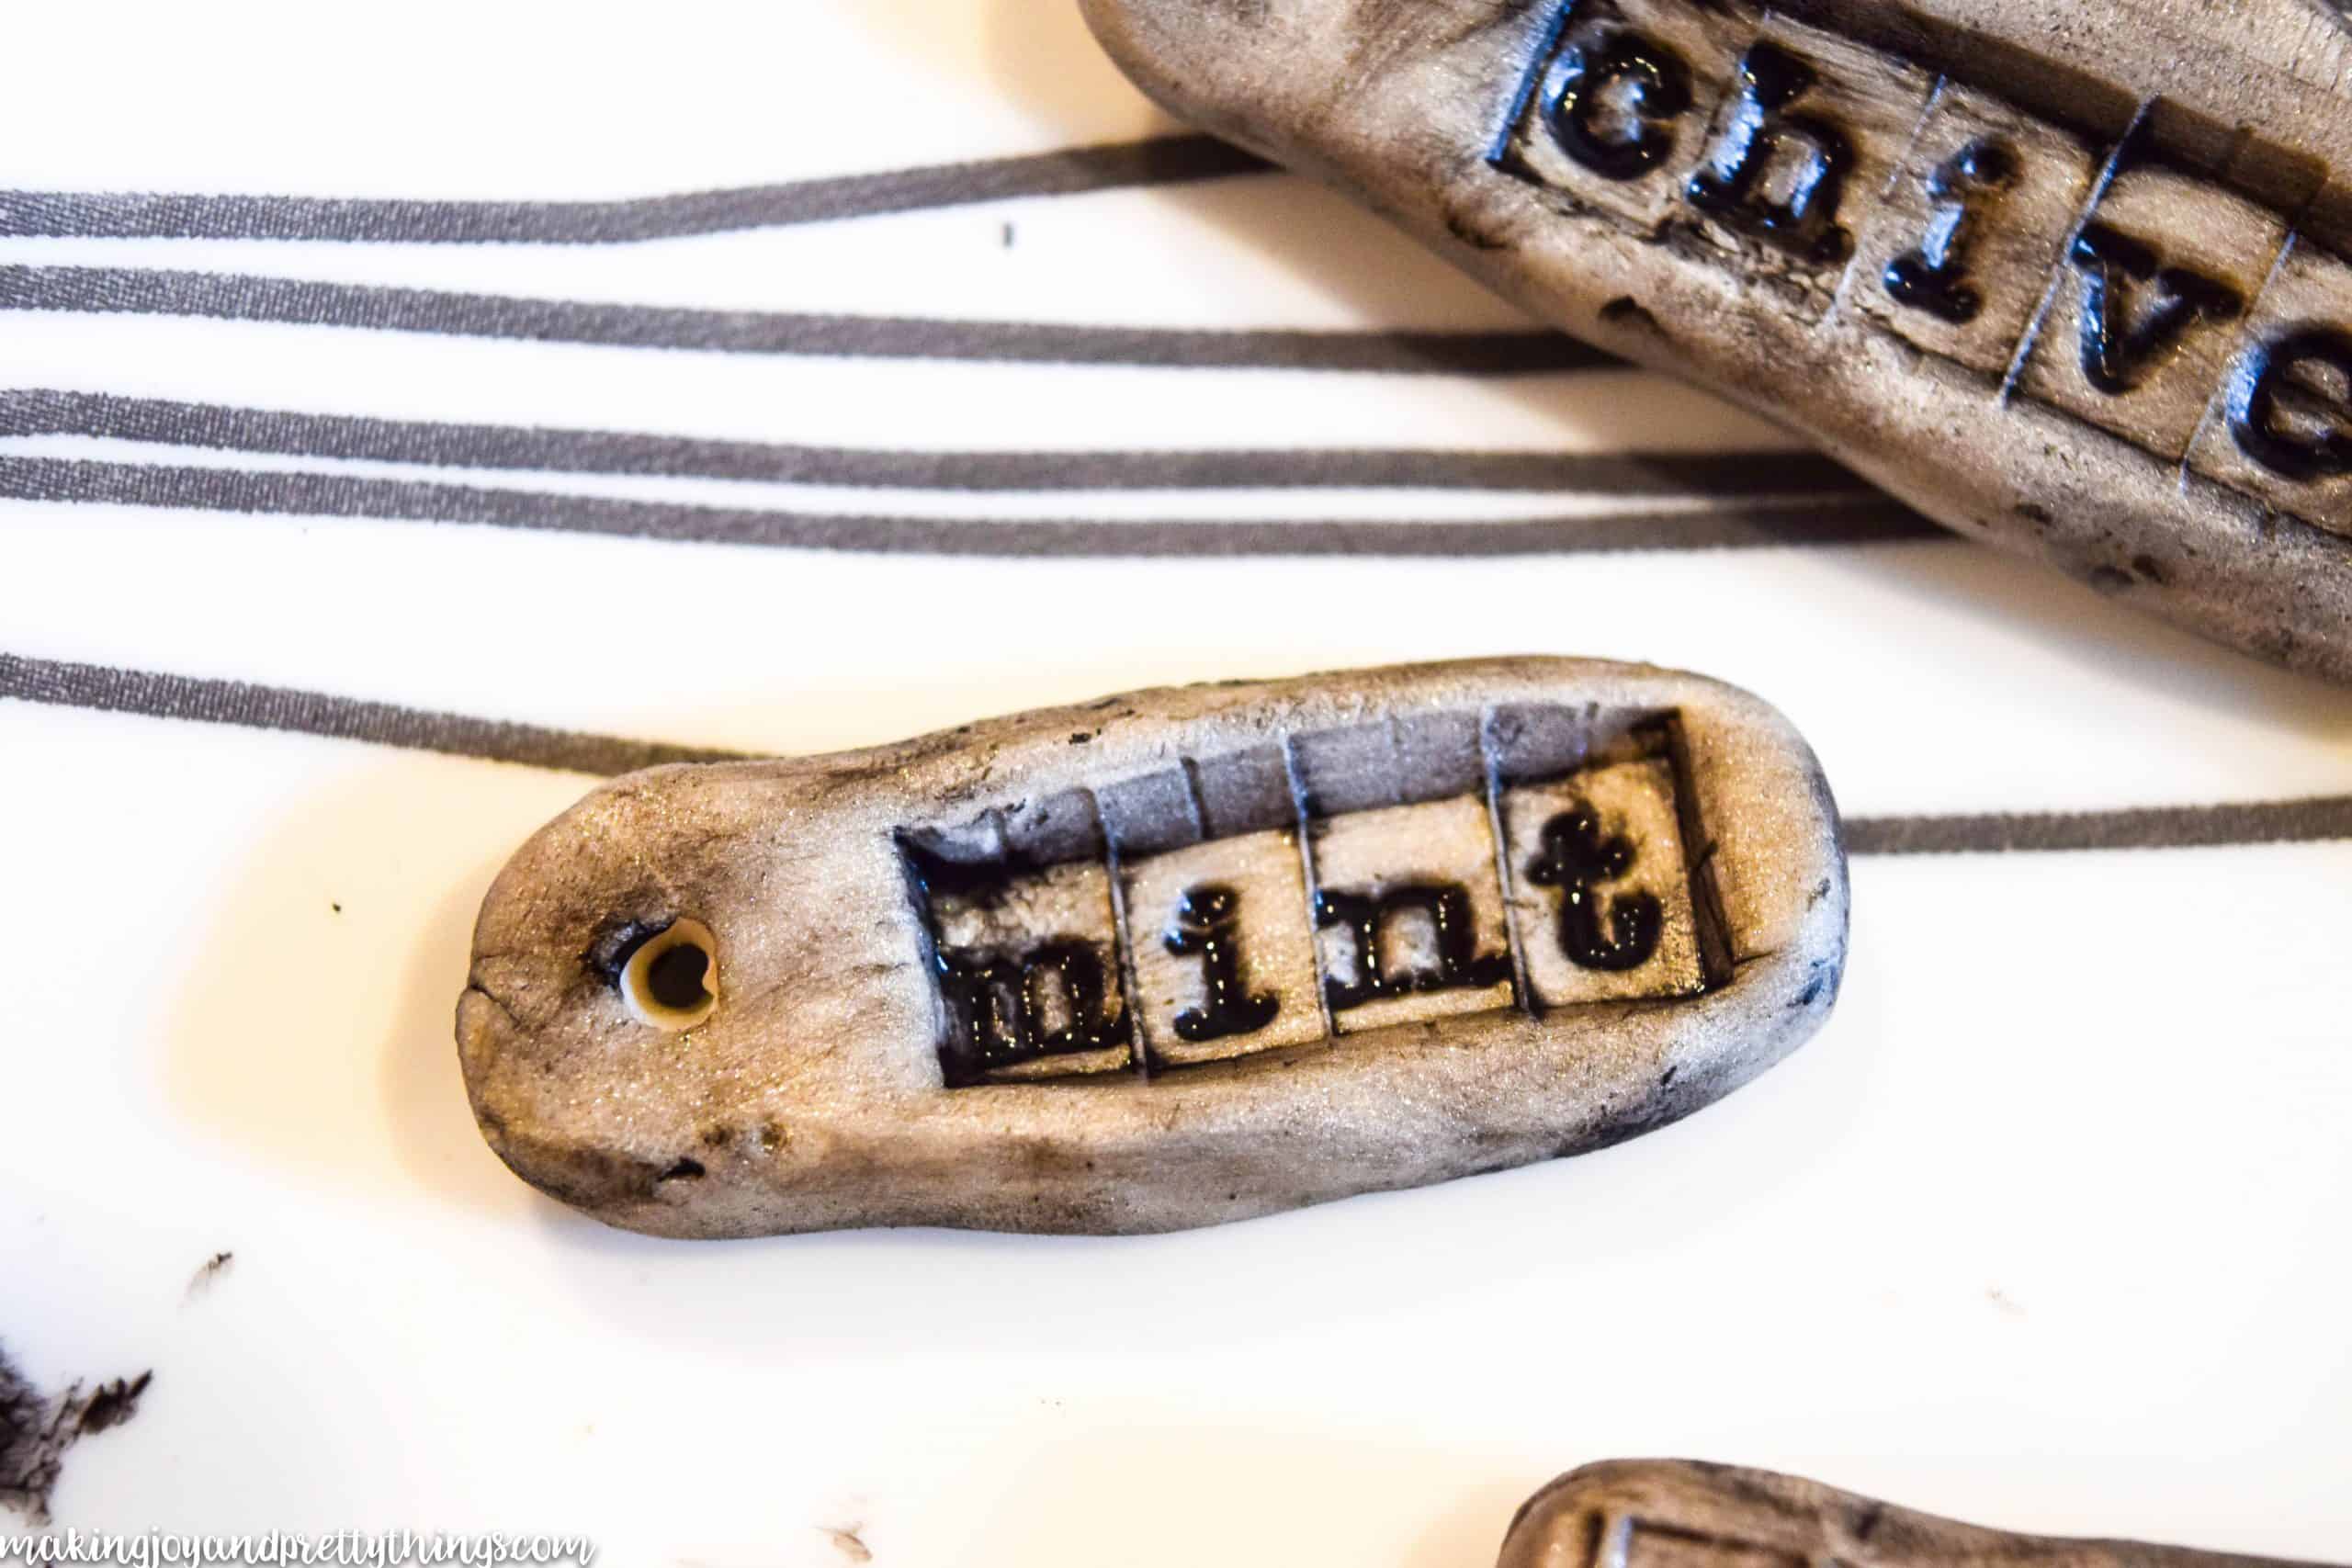
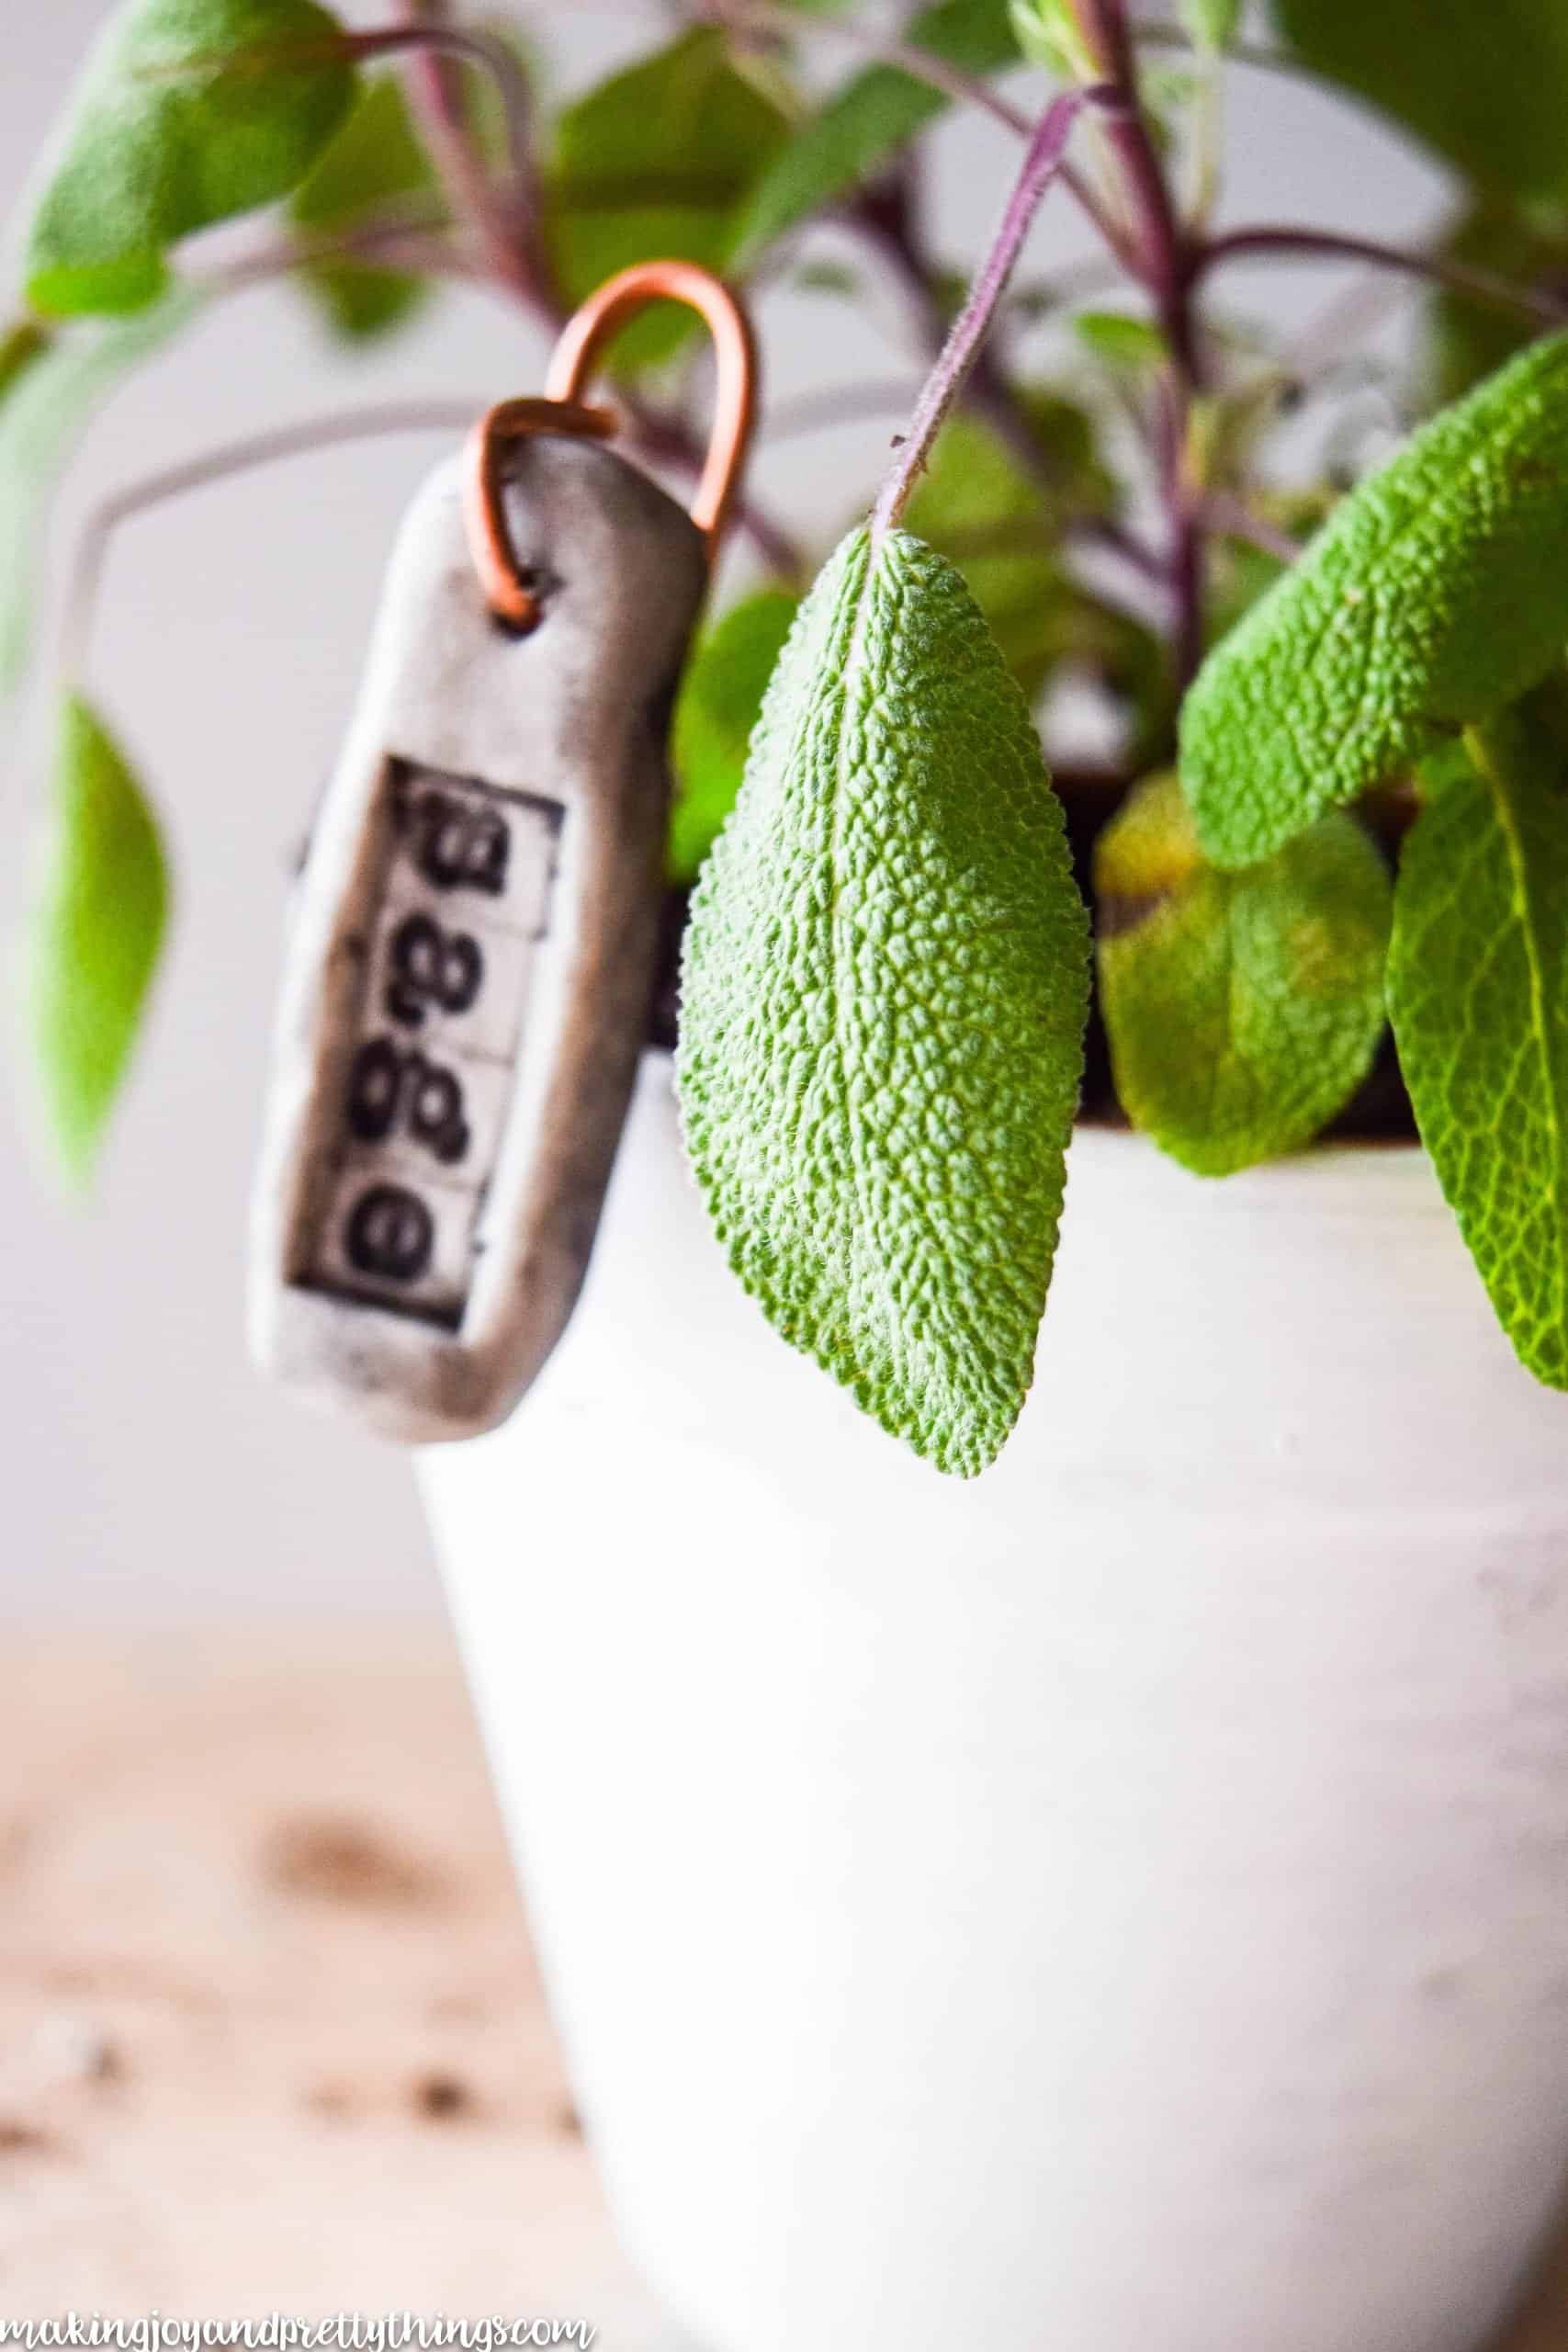
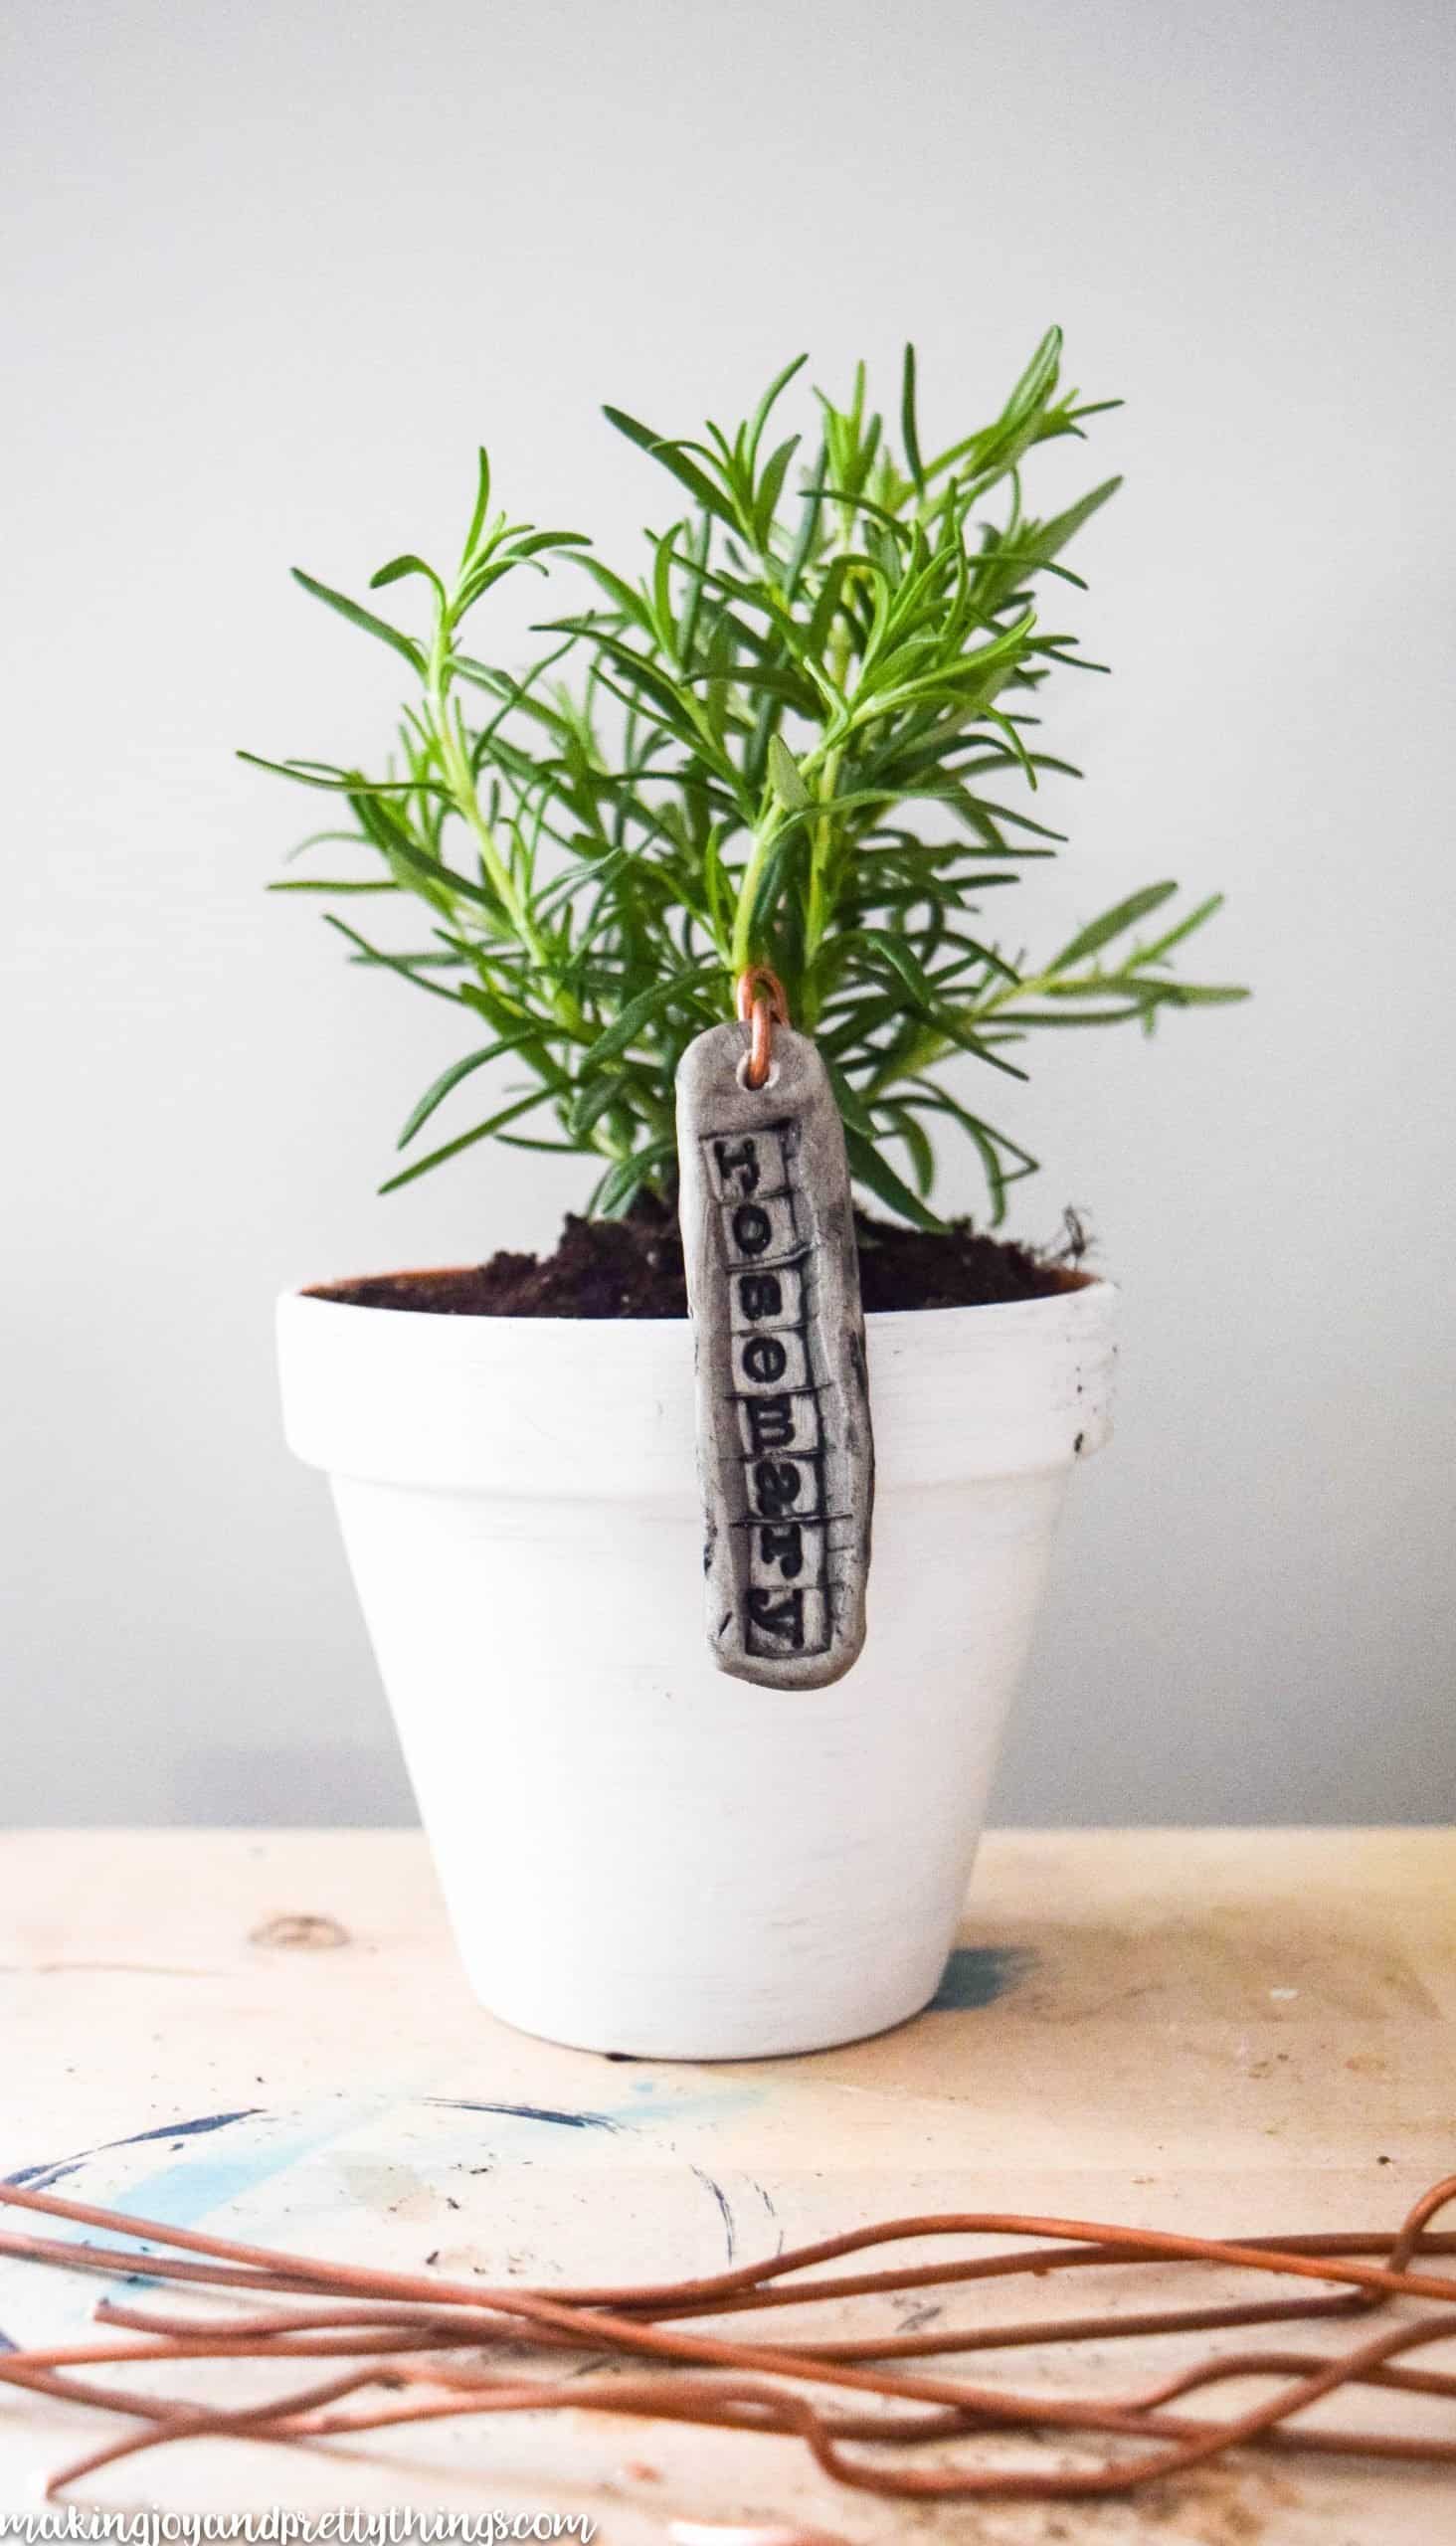
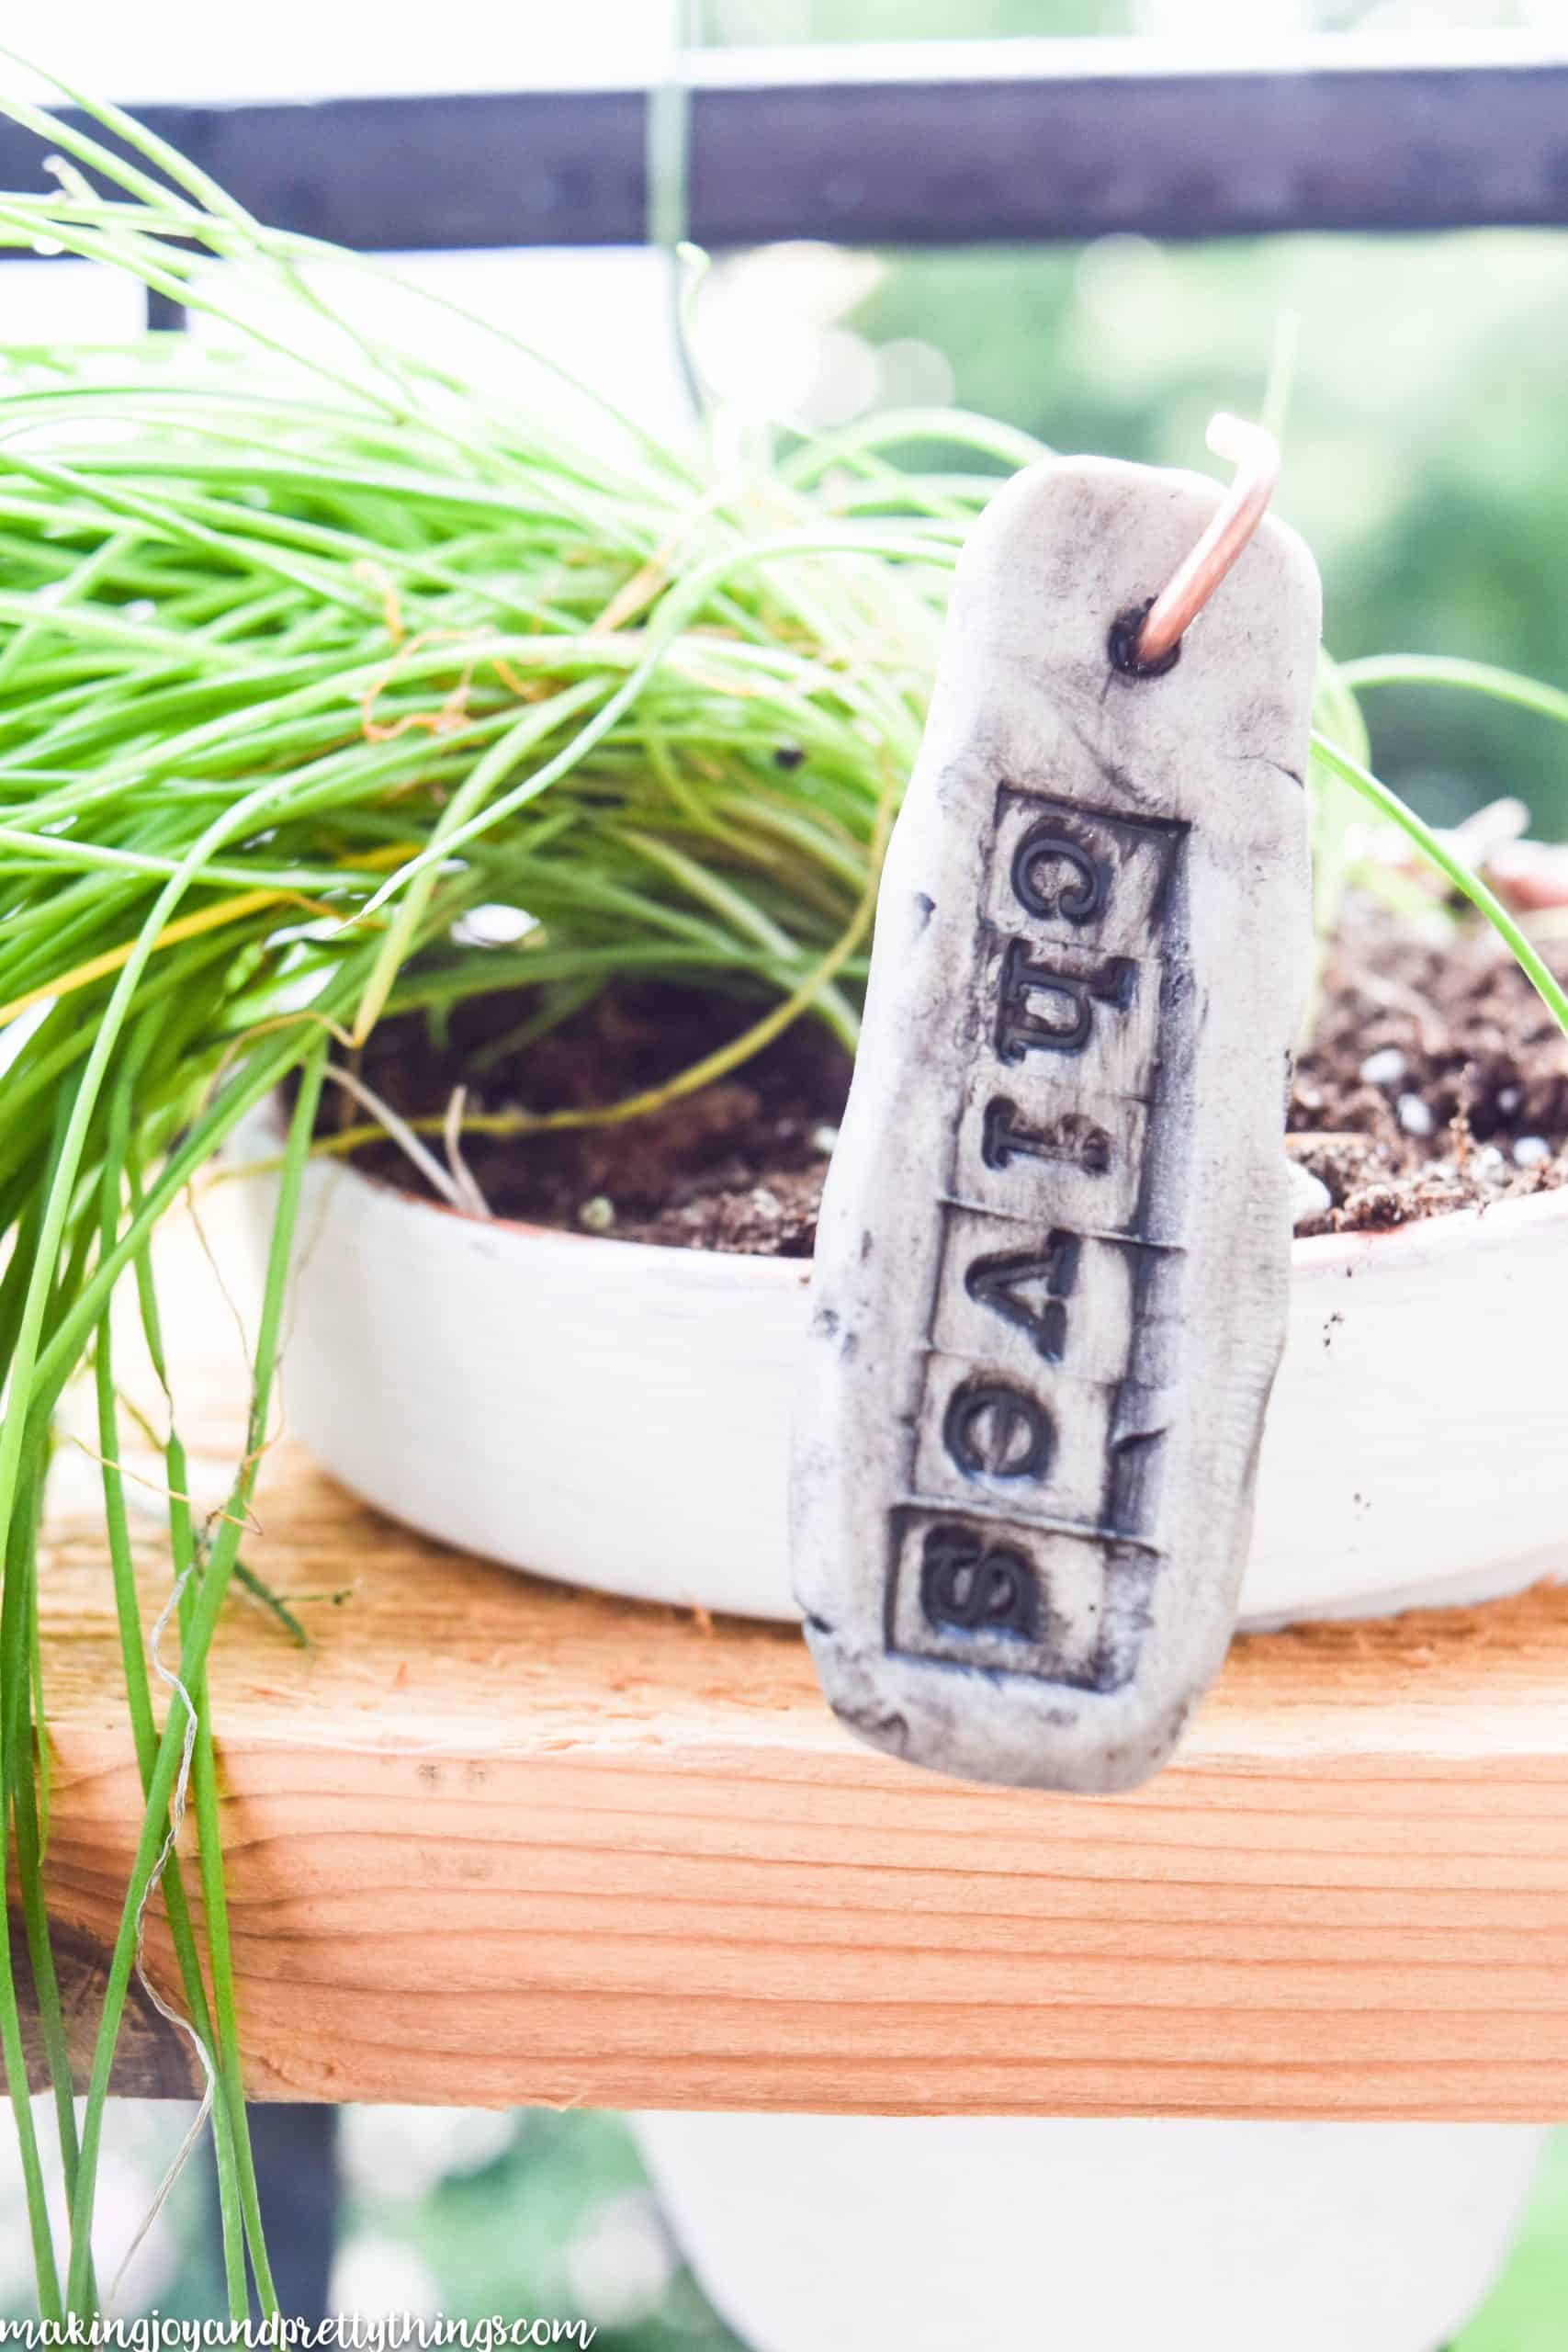
I love how it turned out!! I think they look exactly like little stones. Not at all the look I was originally going for, but, I love the result.

I think the sage is my favorite 🙂
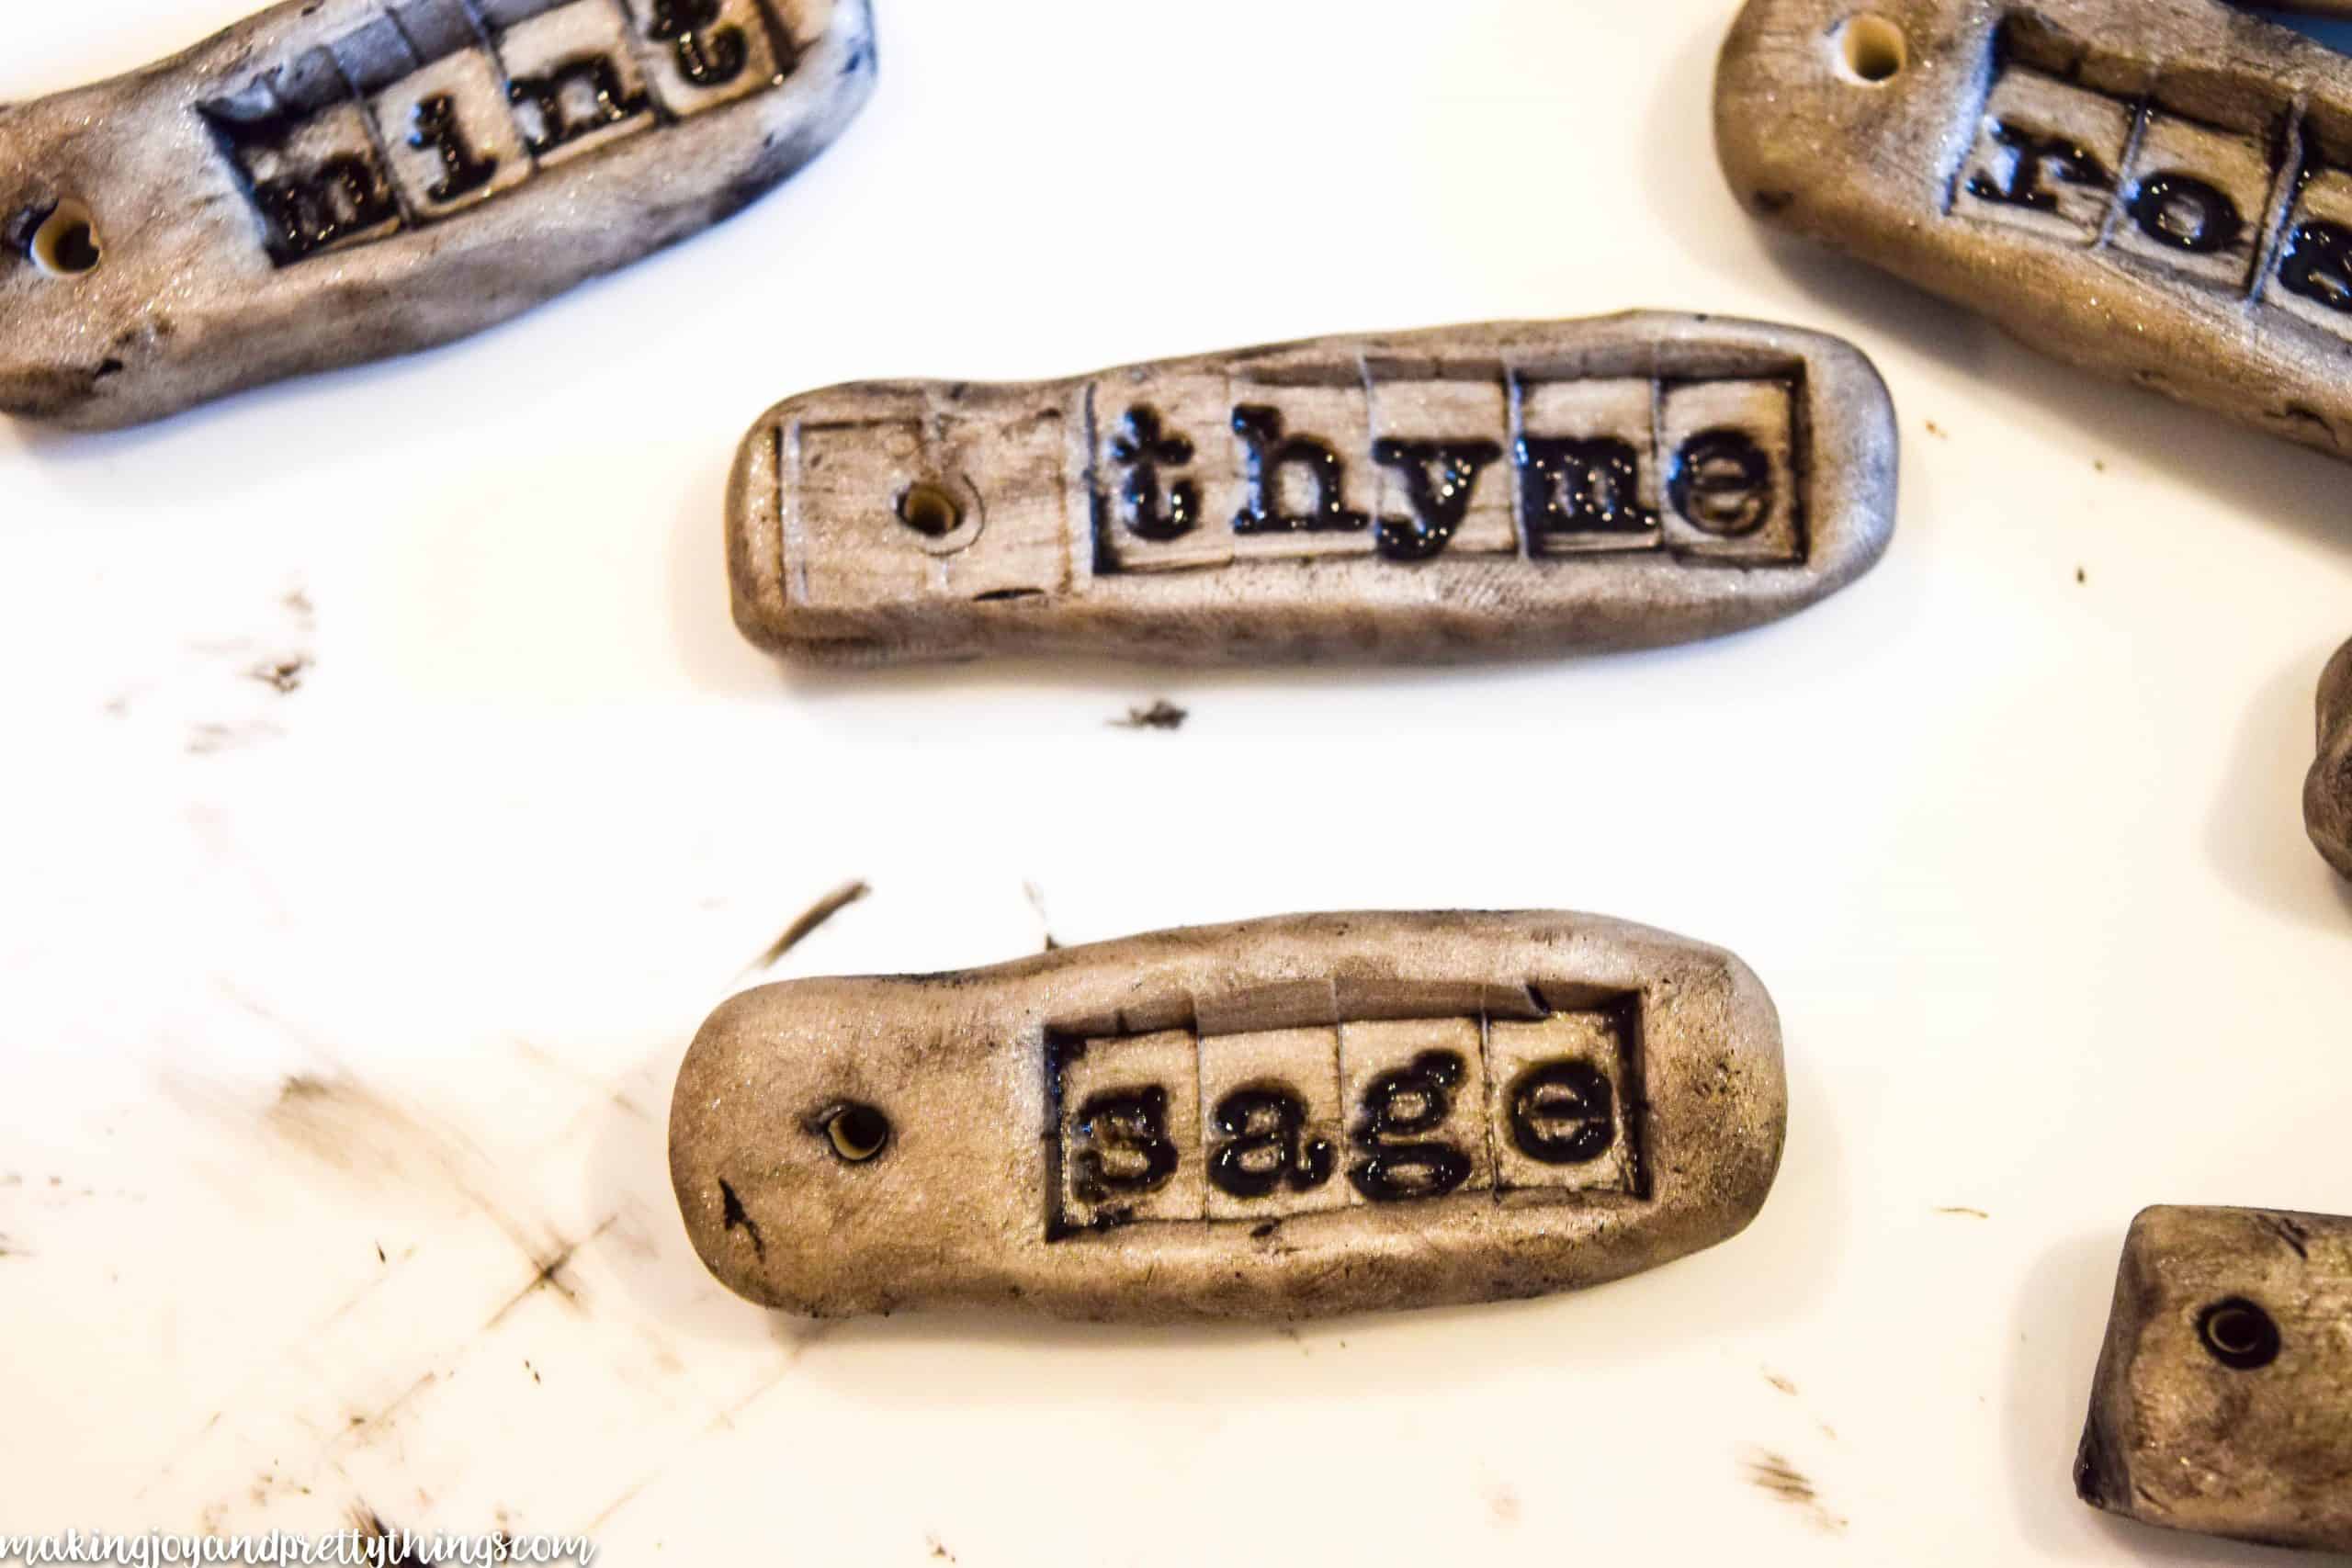
Step 5. Insert copper wire into the plant labels
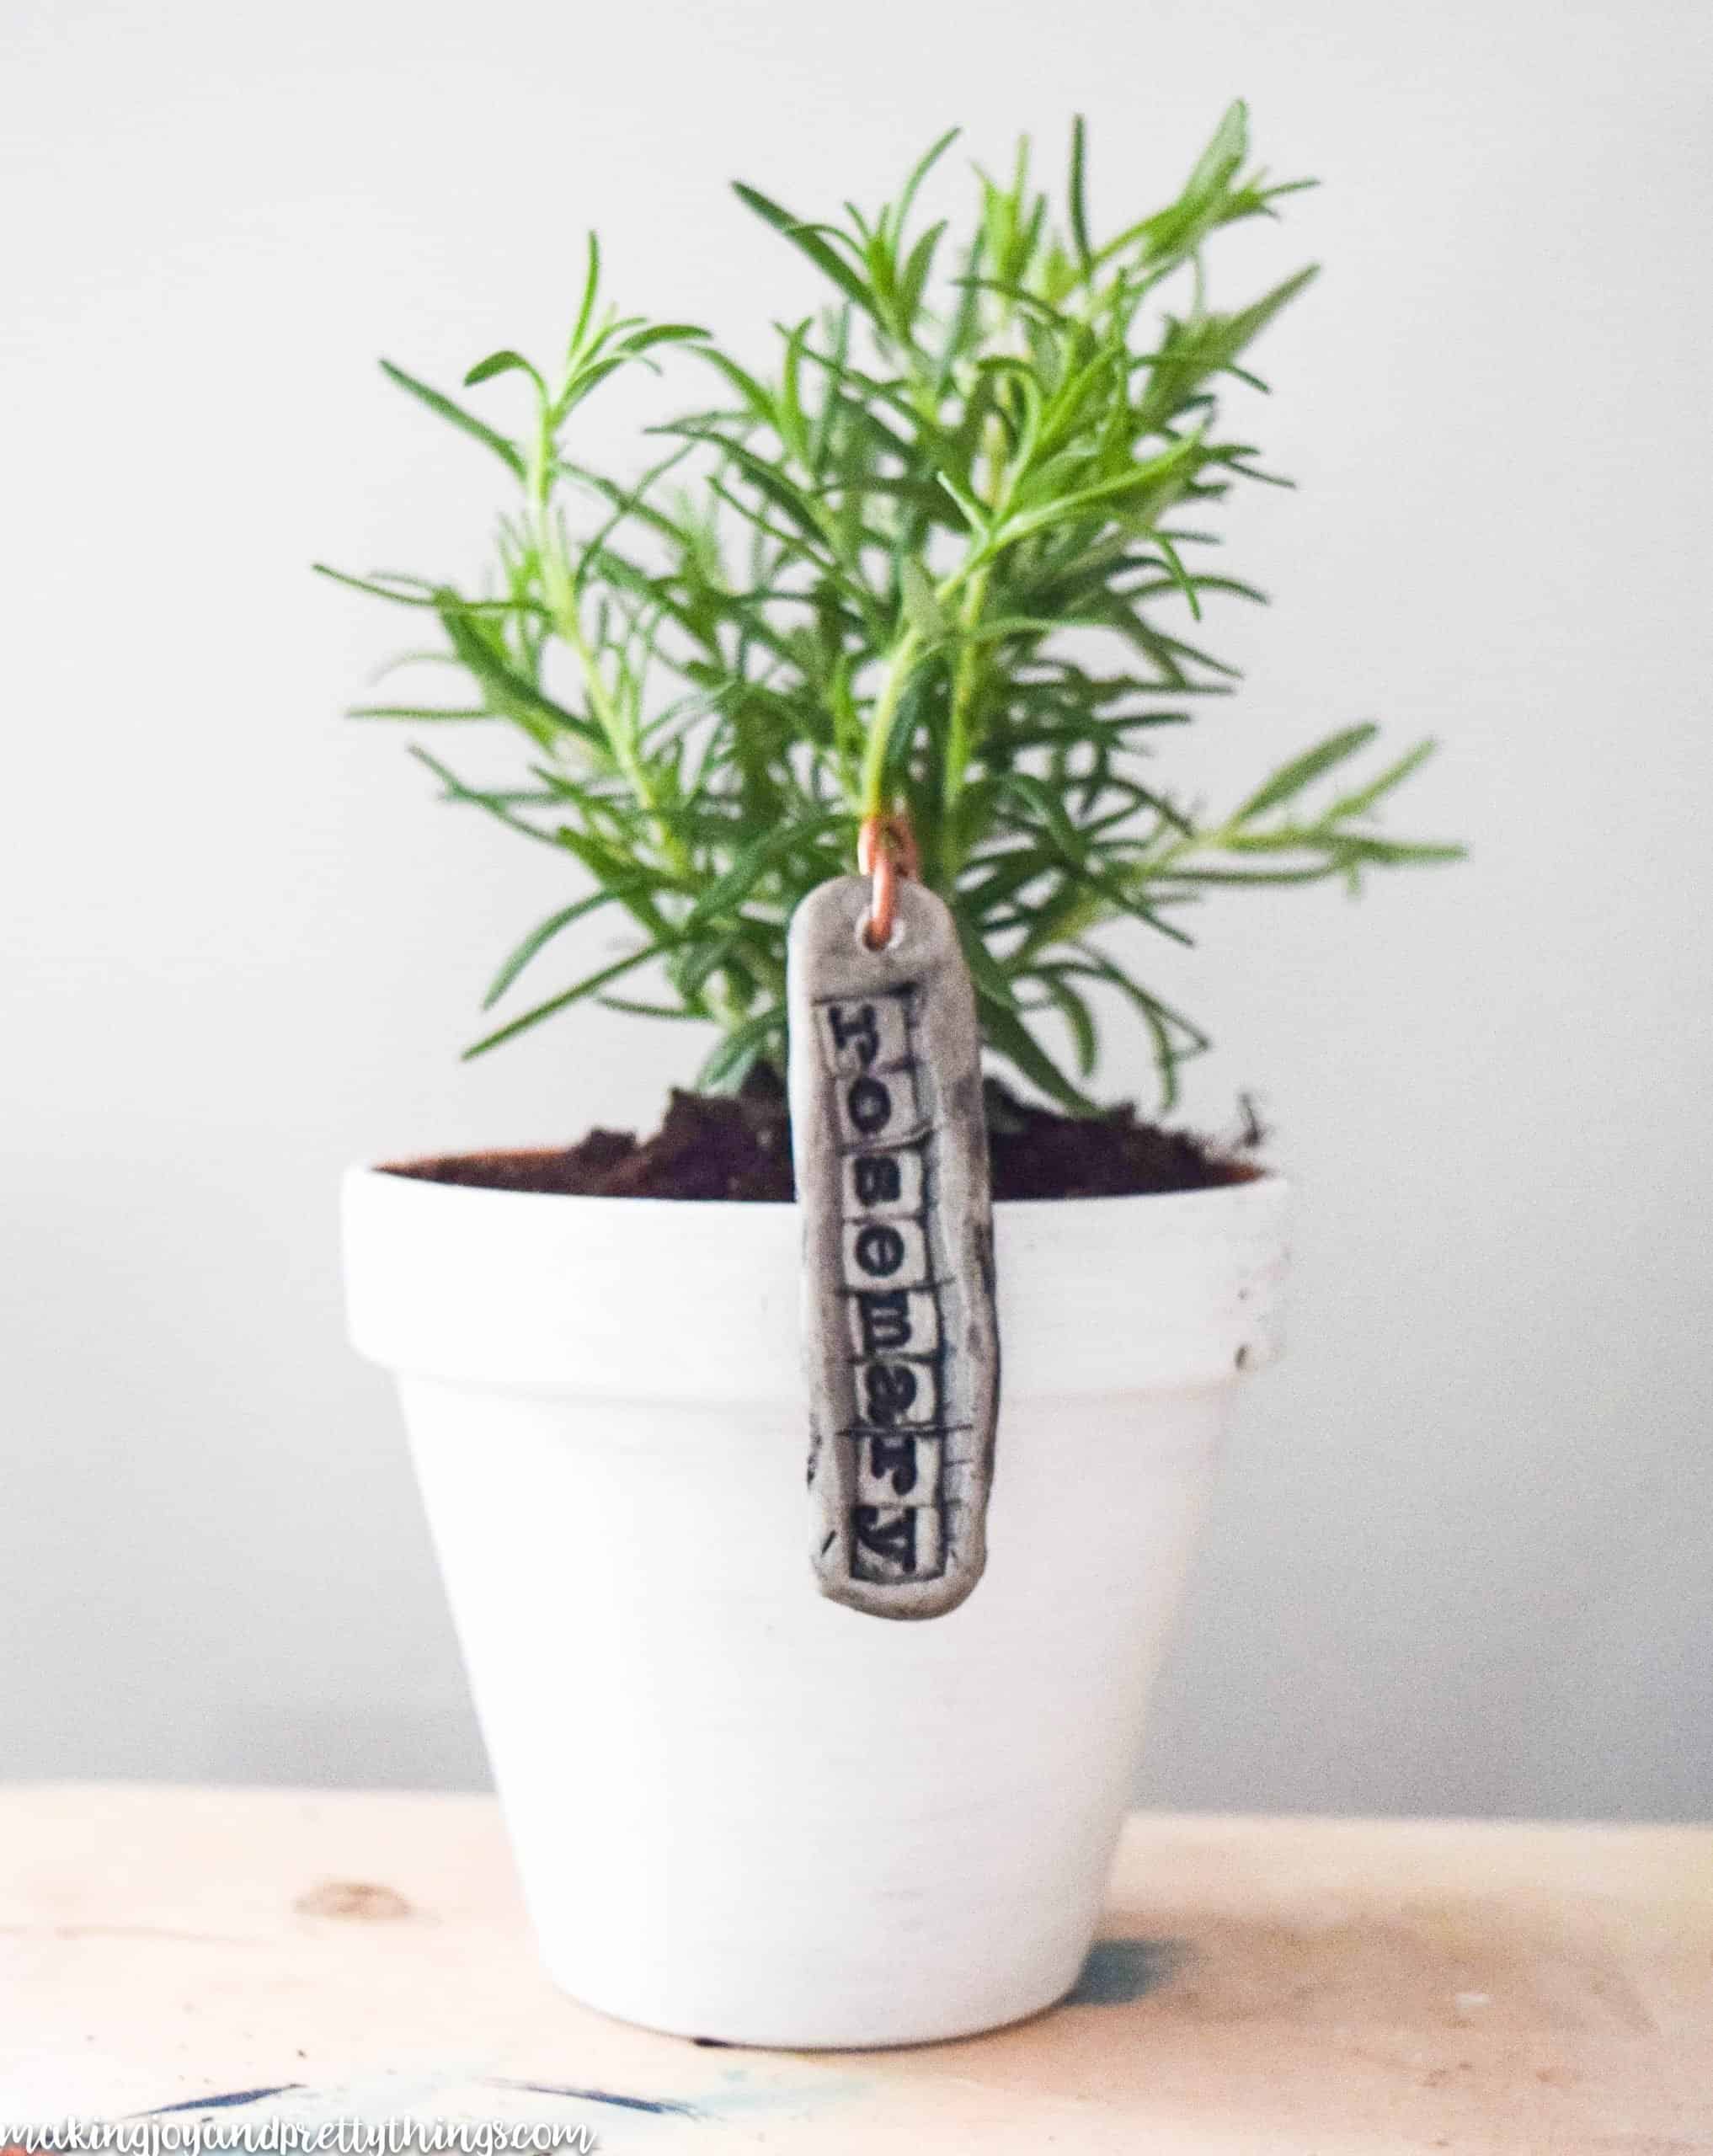
The last step was to stake them in the pots with copper wire.
The length of wire you use is going to be based on the size of your pot and how far out of the pot you want the wire to come.

I used linesman pliers to cut equal lengths of copper wire. What the heck are linesman pliers, you ask? I’m sorry I have no idea. My husband told me to use them. They cut the wire and I could use the pinchy part to twist the end of the wire.
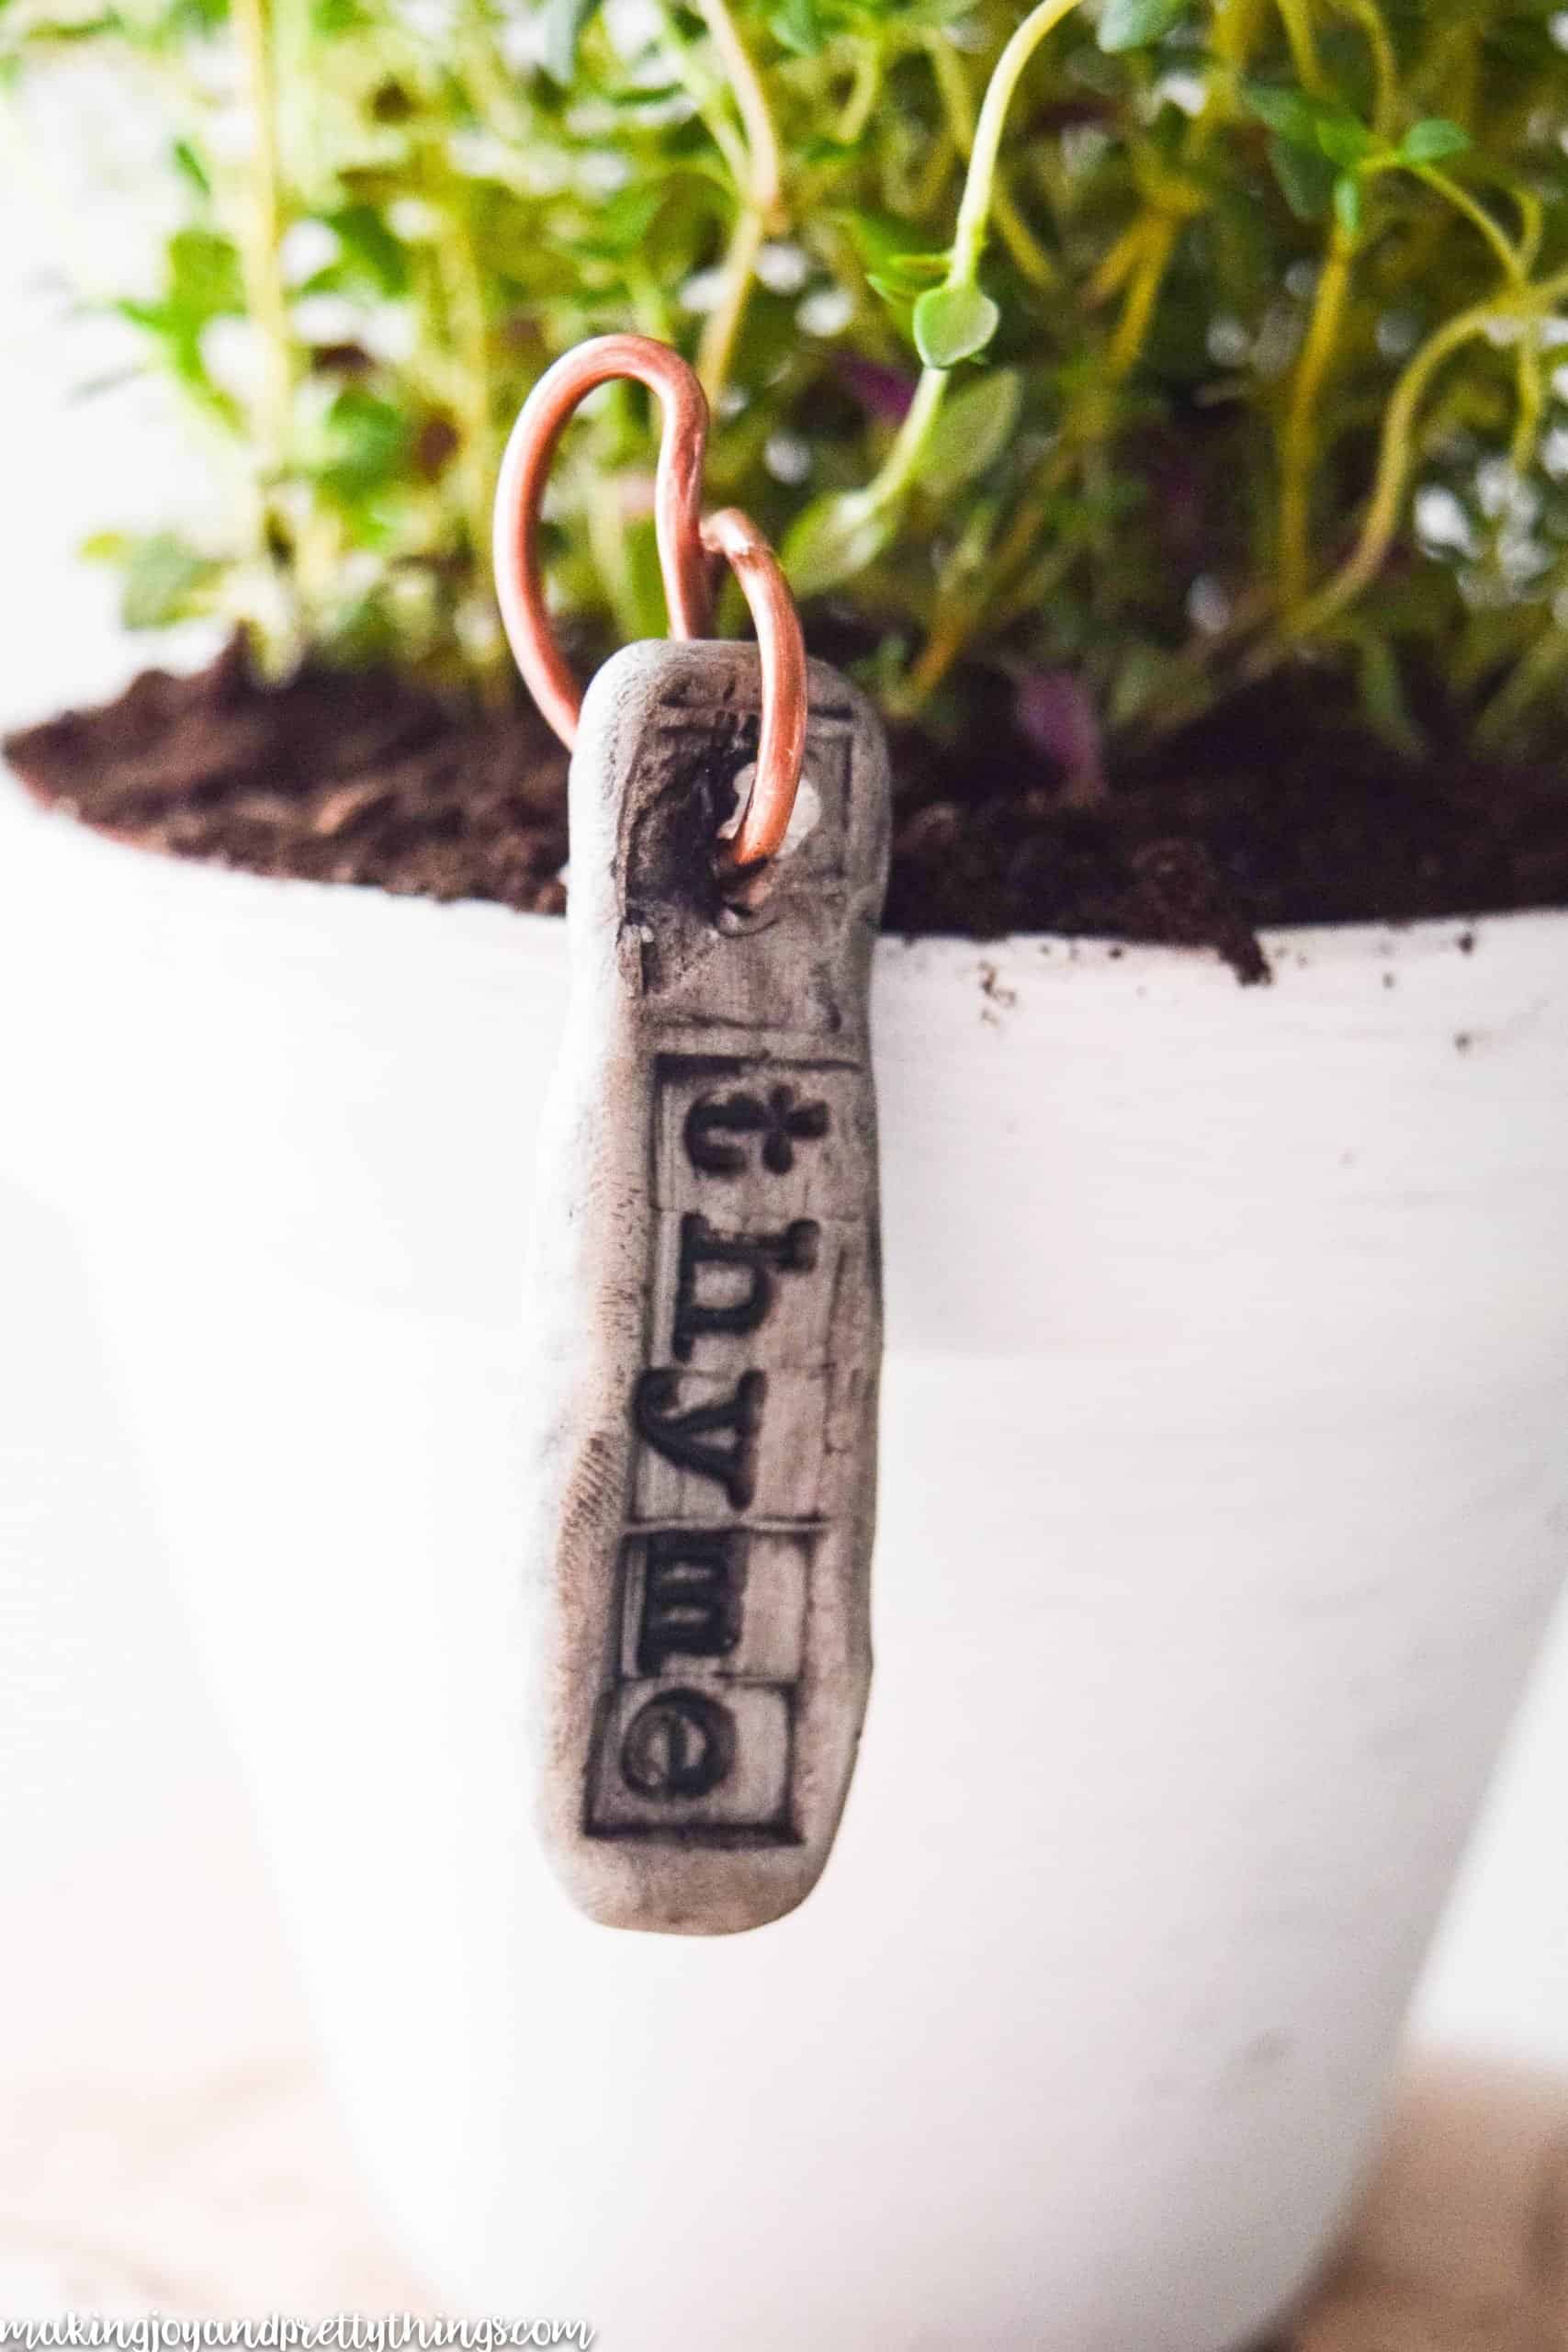
I made a little loop about 3/4 of the way up the wire, just as a decorative touch.
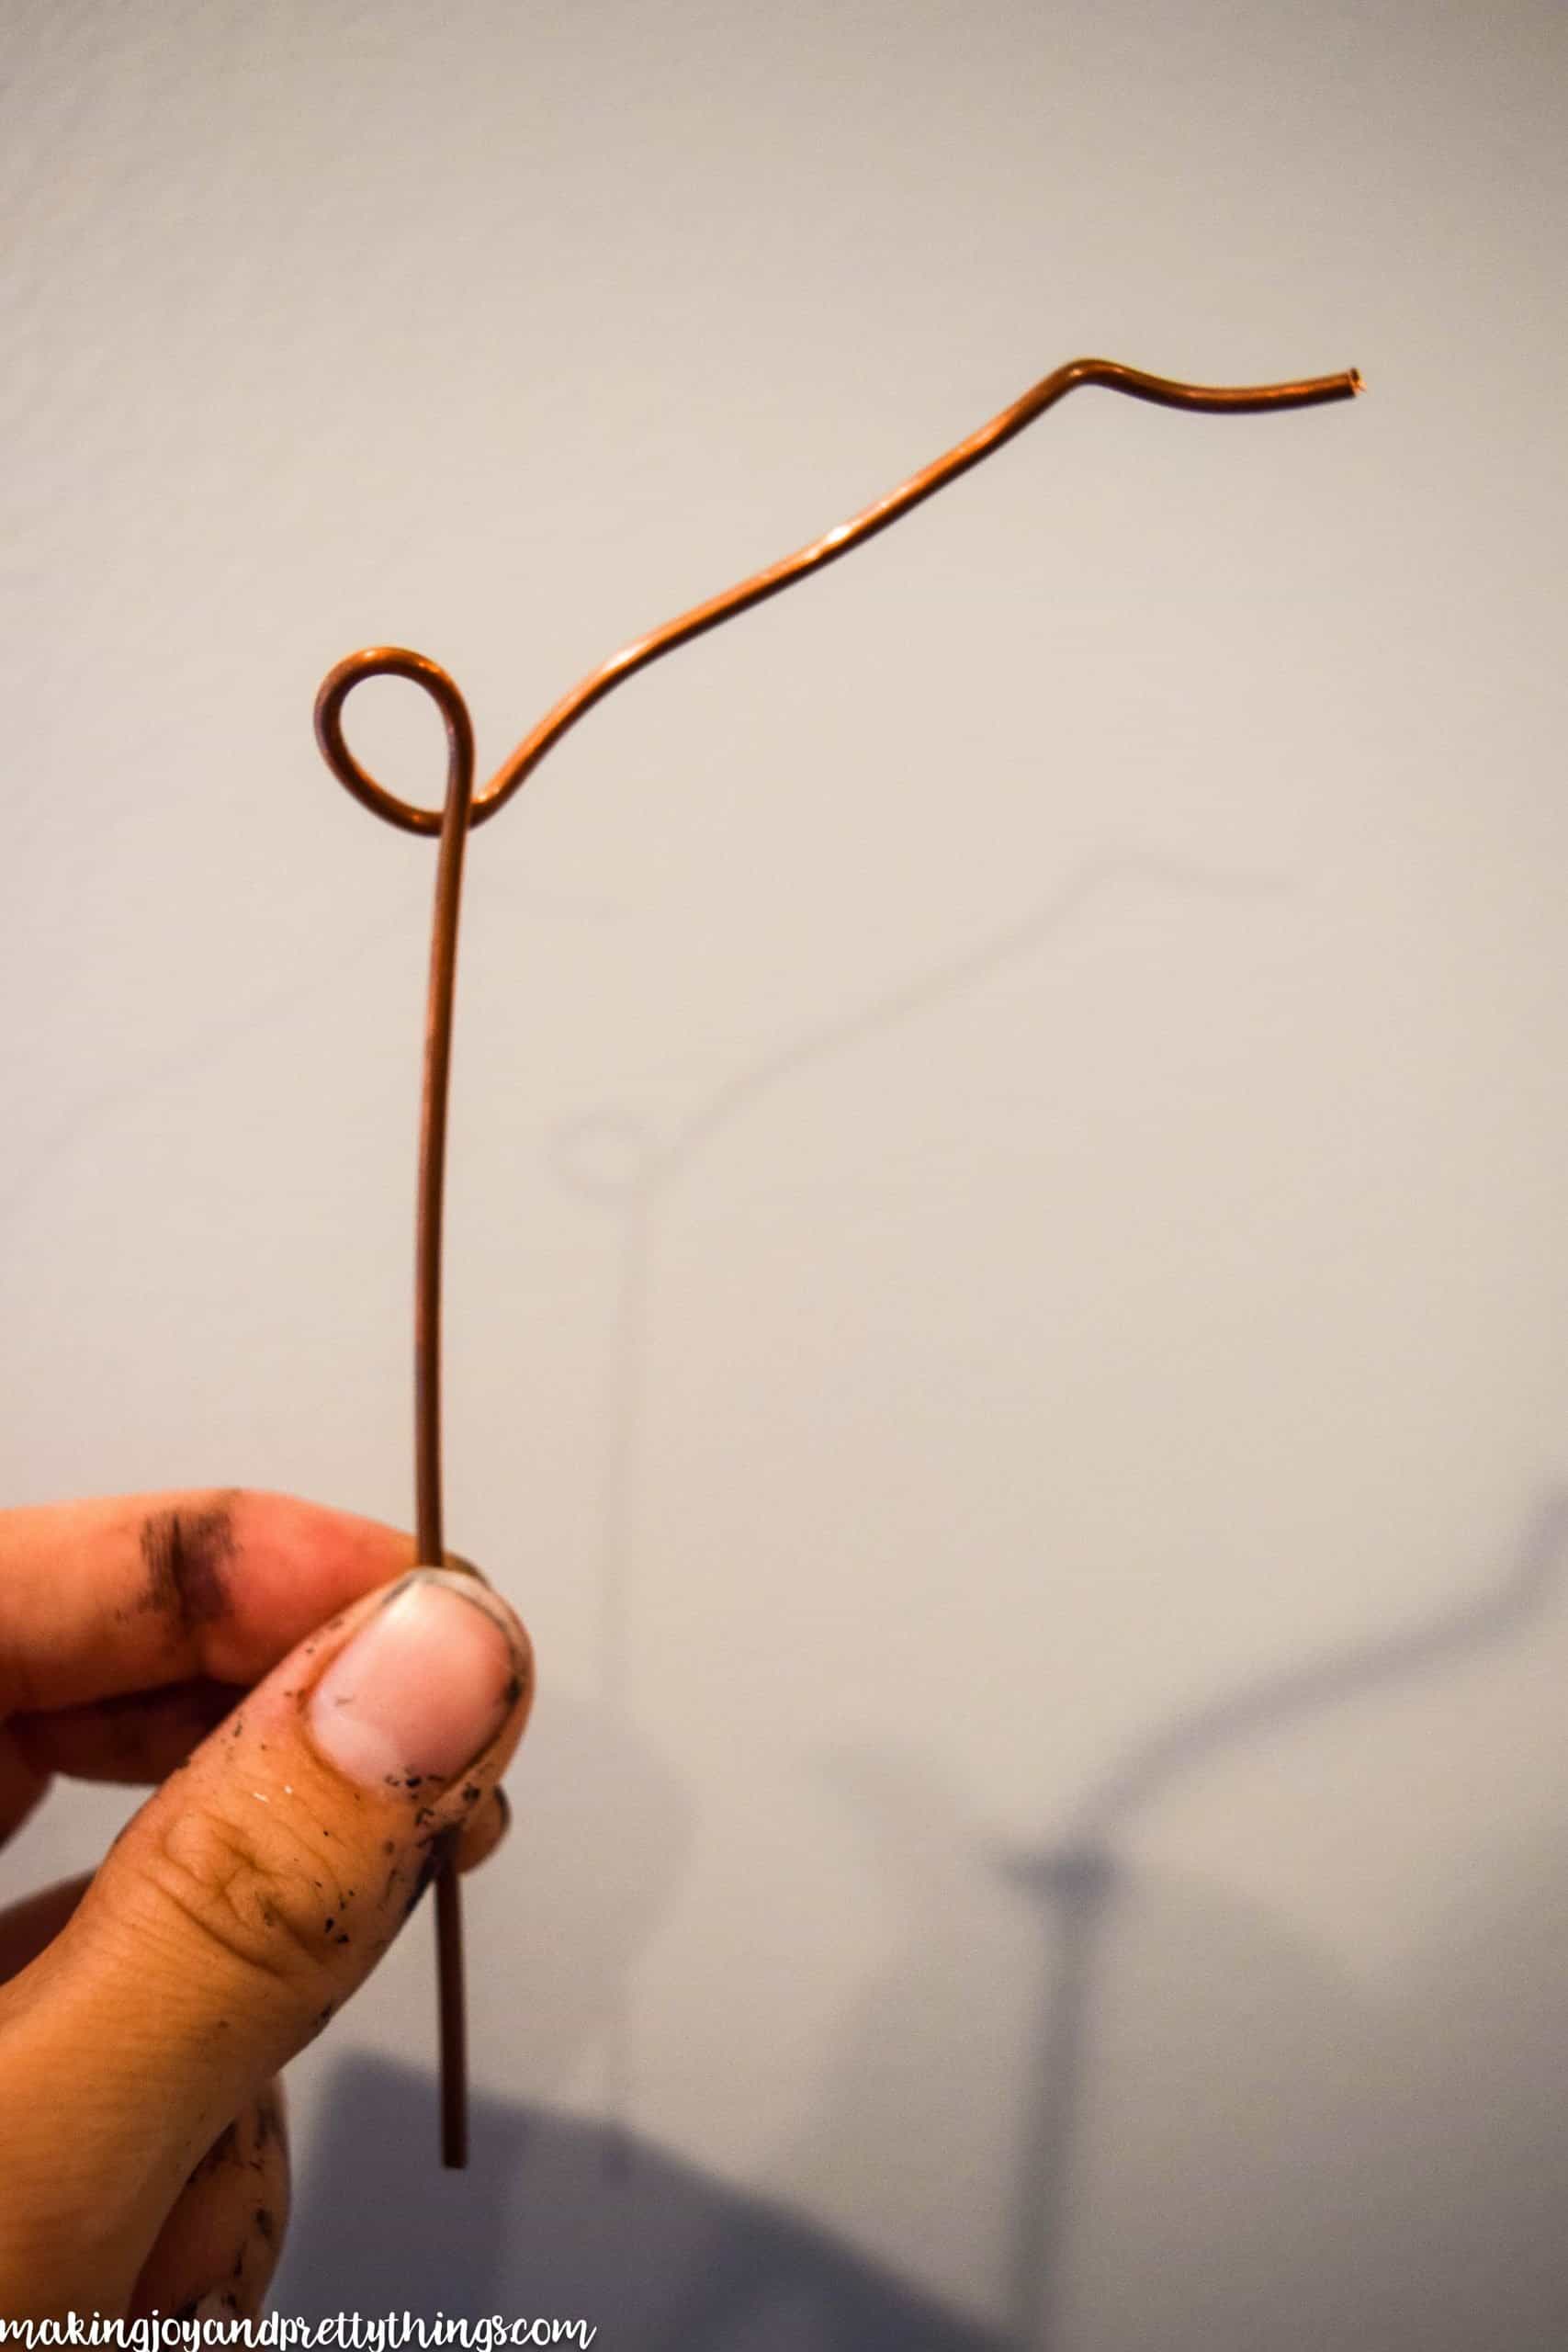
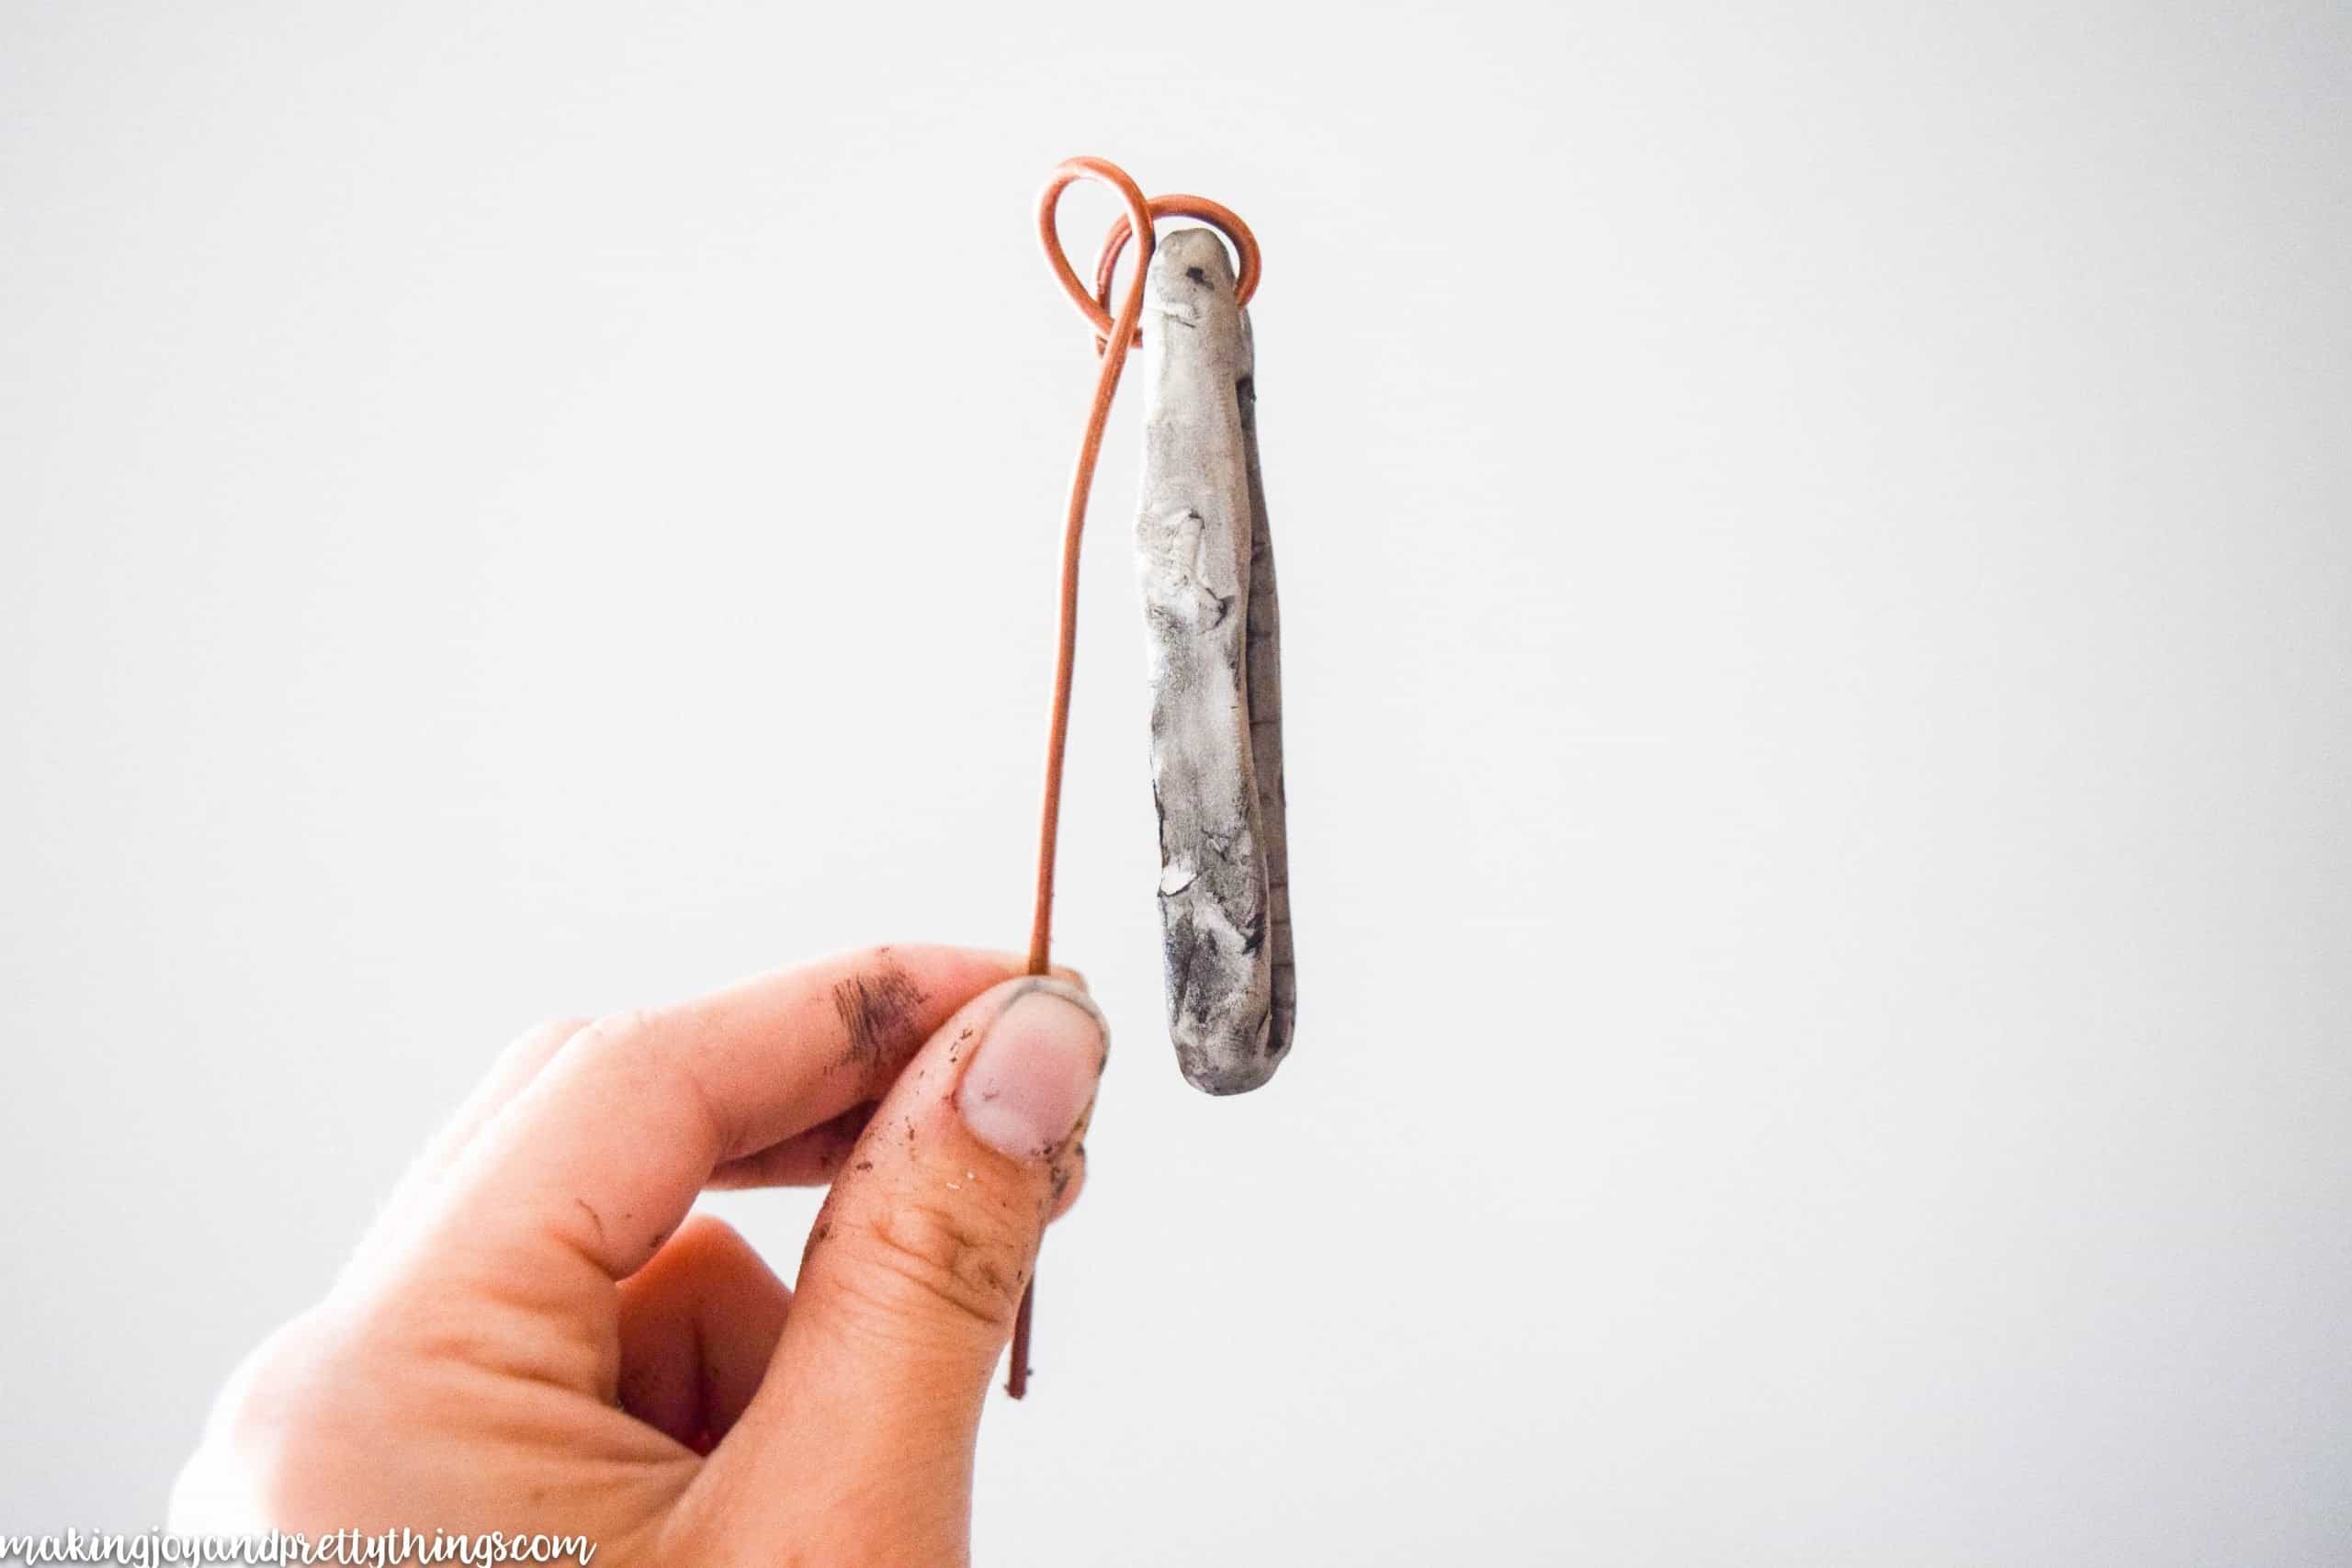
I then pushed the wire through the hole in the clay marker and used those linesman pliers (what type of name is that??) to curl the remaining wire back over the top of the marker and tucked it by the loop.
Be careful with the wire! The ends are sharp and of course, don’t use it when it’s being used for electrical purposes!!

And, there you have it, folks! I hope you love it as much as I do.
Remember, it doesn’t have to be perfect. The best part about making /anything/ is that it can be uniquely YOU!
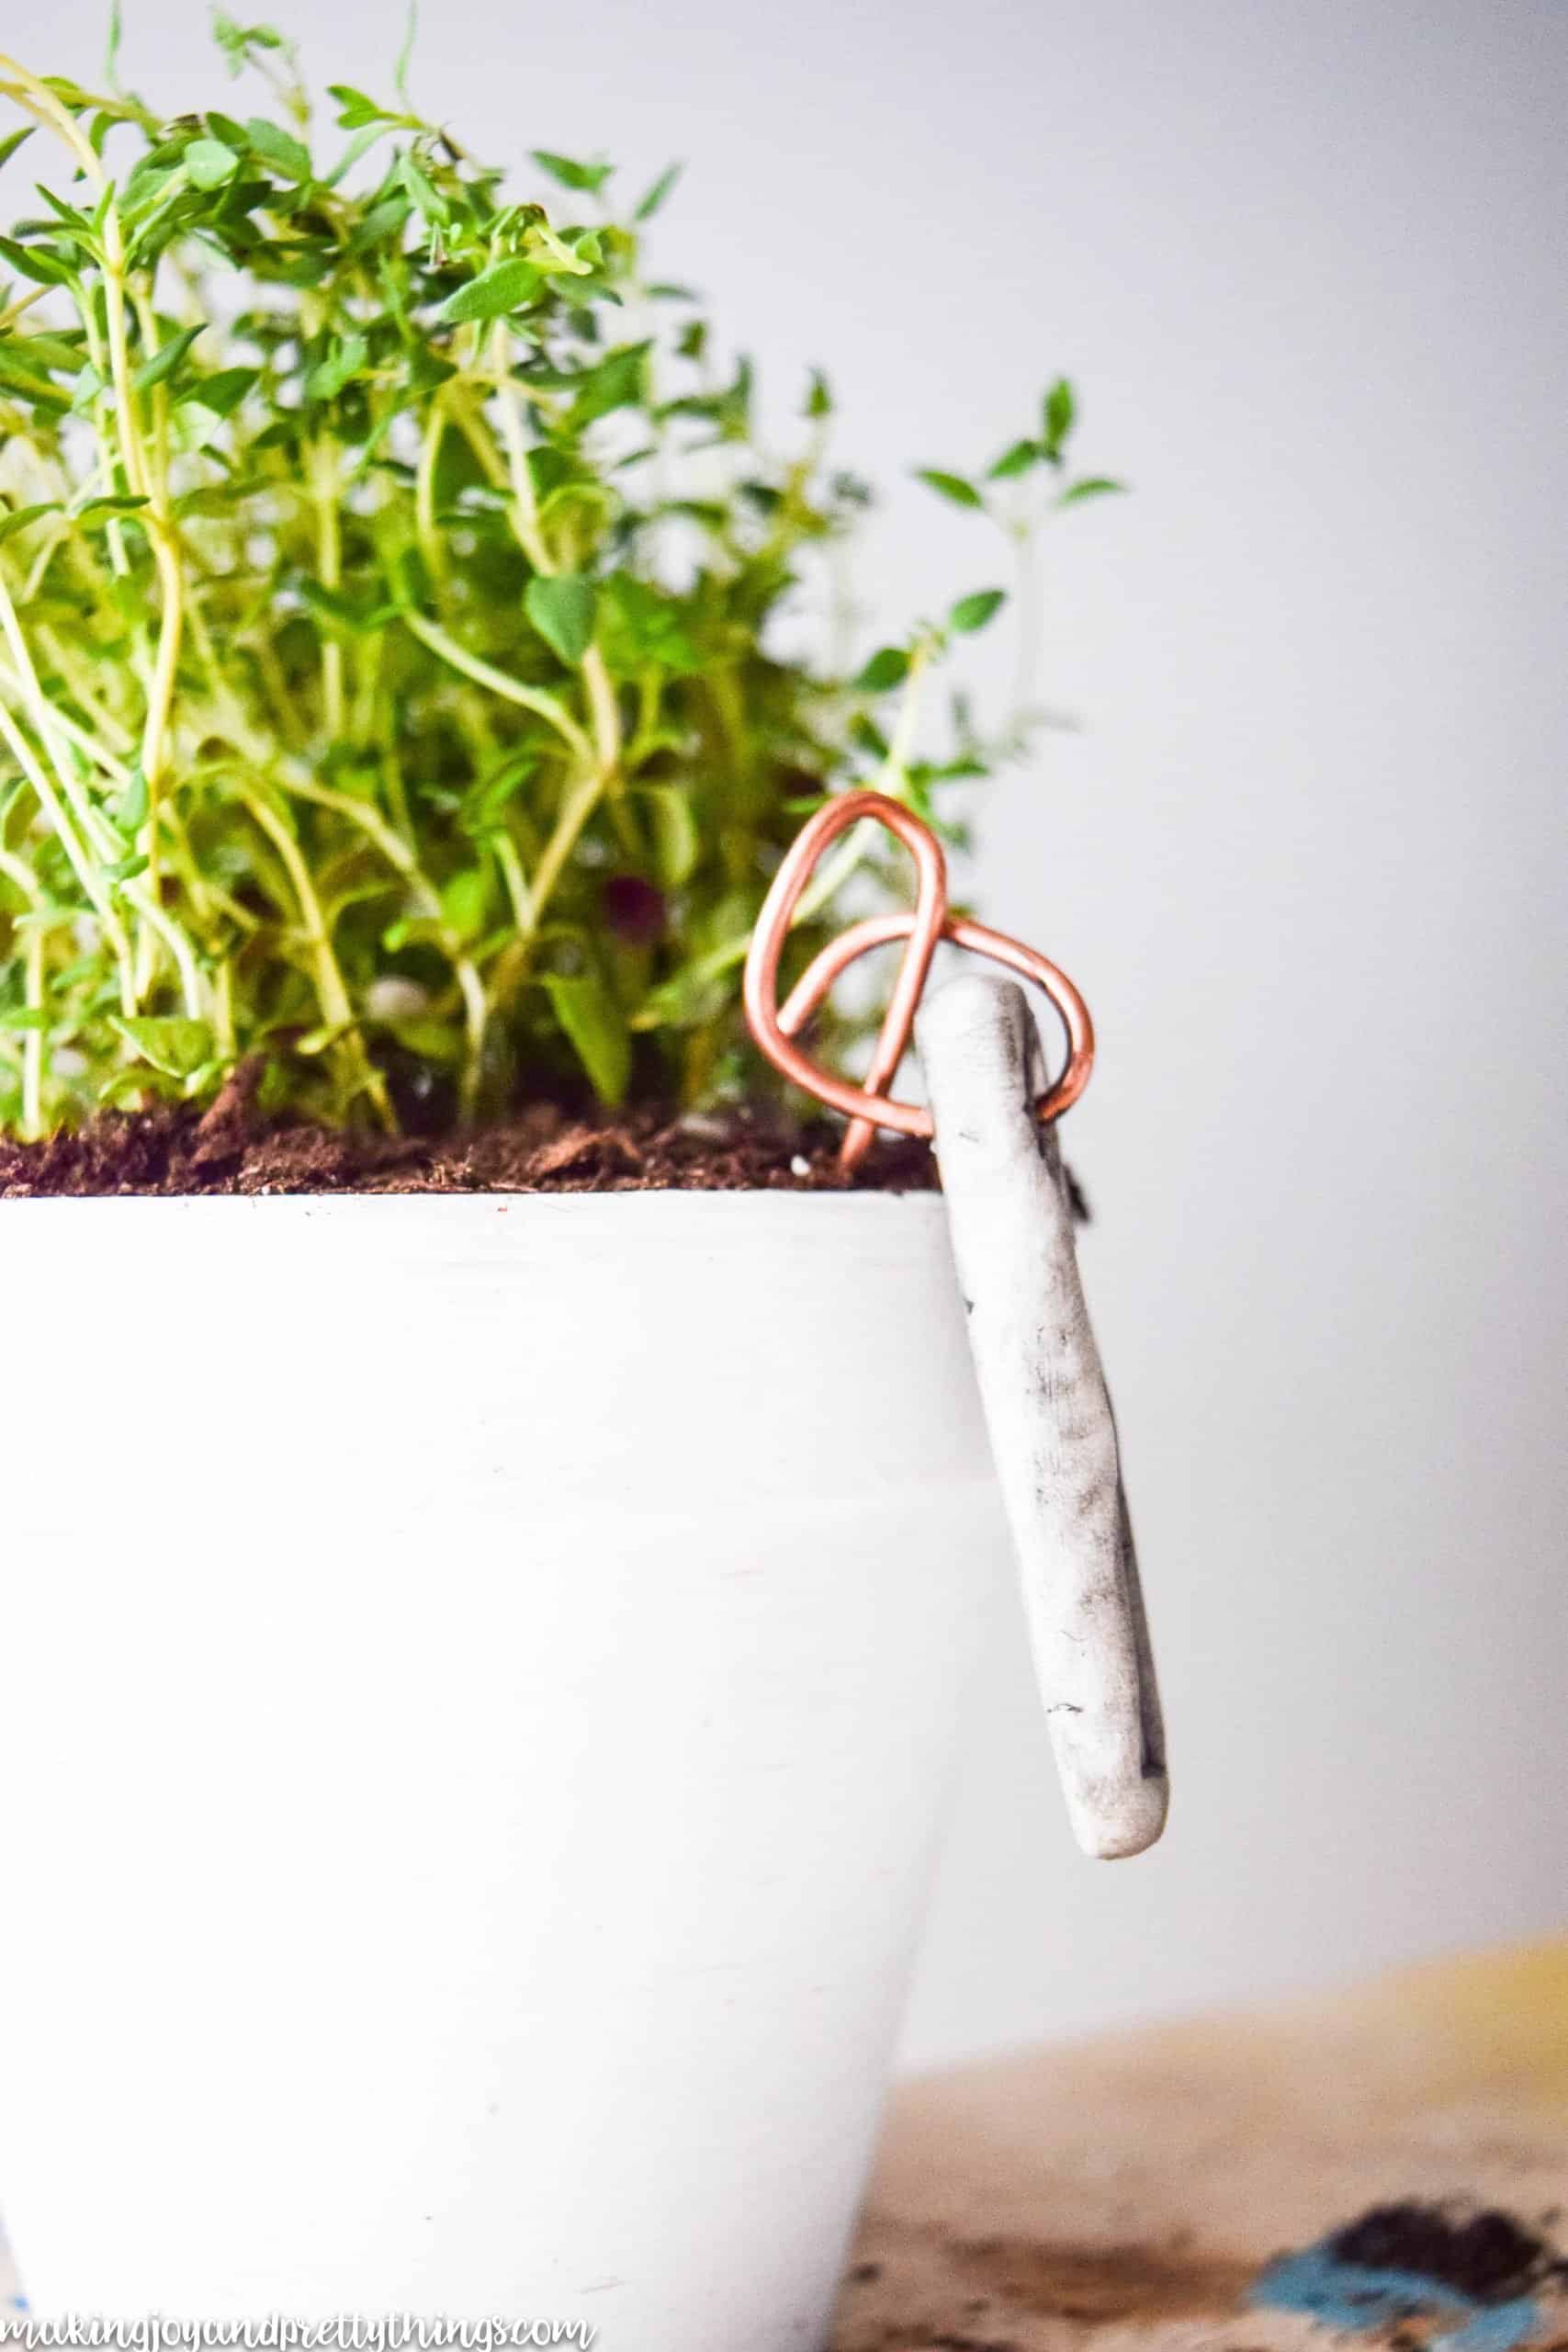
I love how the copper contrasts with the black paint on the clay markers. And how that looks against the chalk white of the pots.
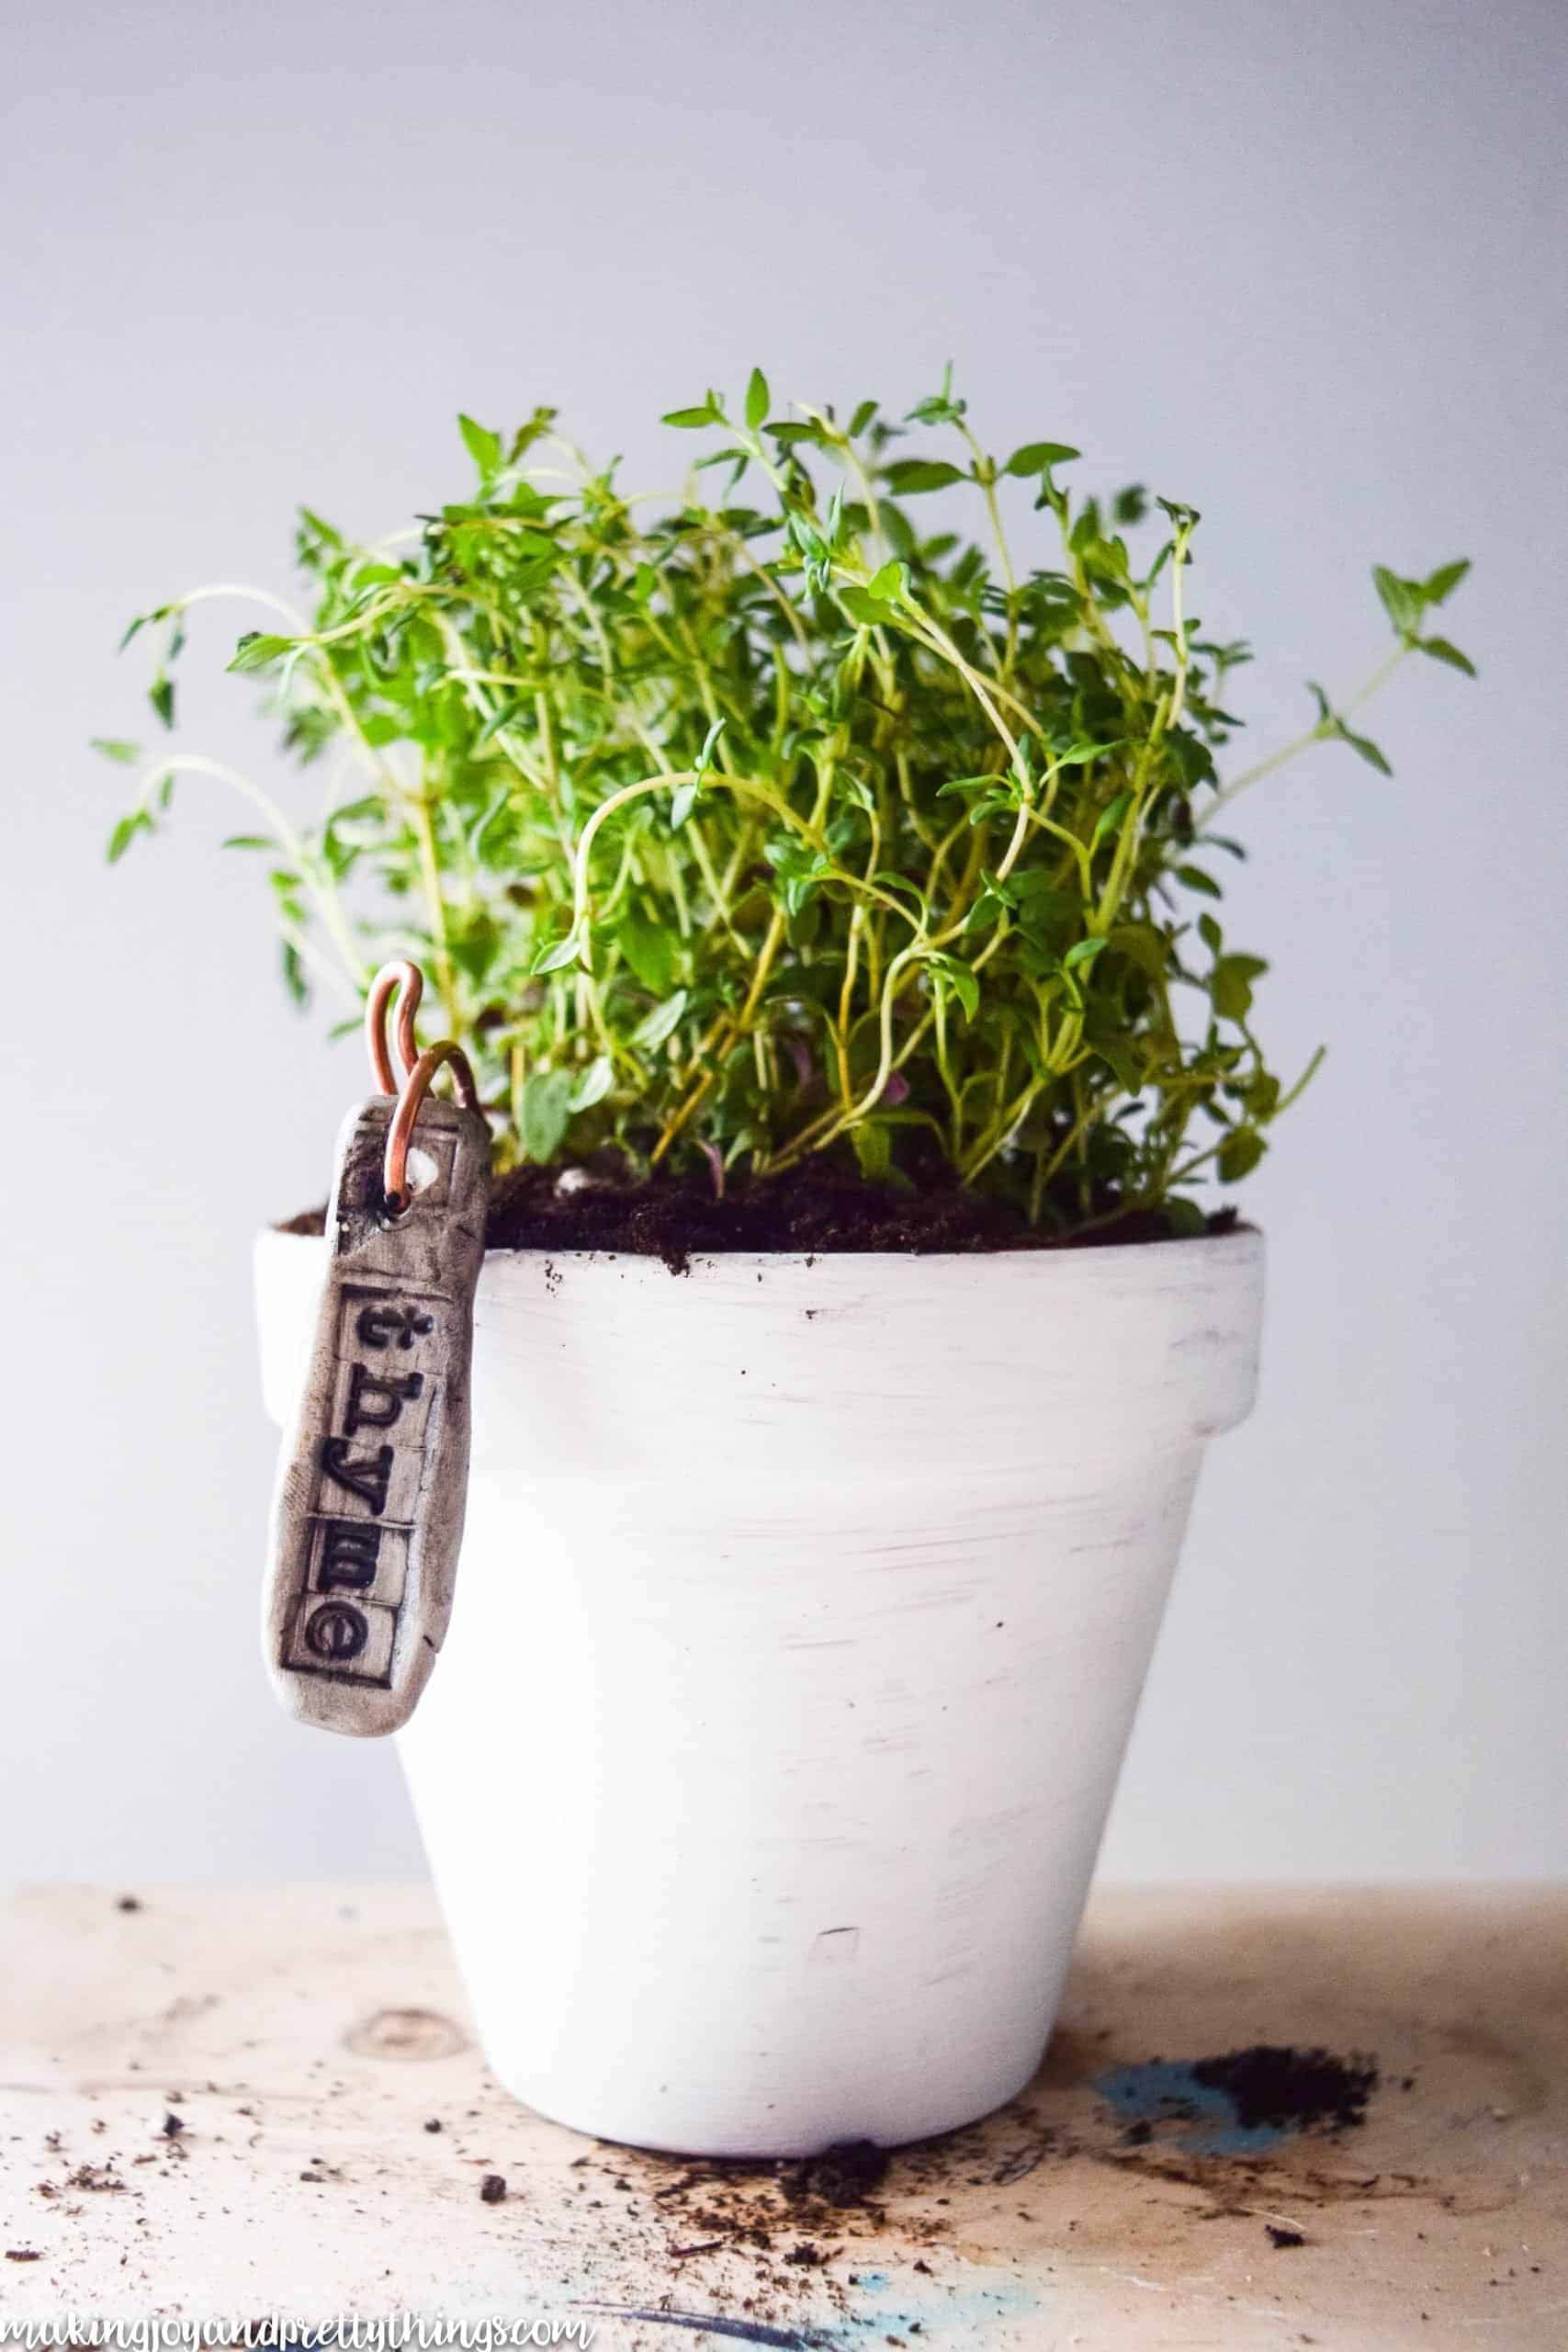
A little sneak peek of the finished project…Hanging Herb Garden…post to come soon 🙂
I’m so glad to finally share these with everyone. Do you have any favorite garden markers? Have you tried the oven-baked clay yet?
Thank you SO much for stopping by. I hope everyone has a fantastic weekend.

DIY Plant Labels
Materials
Tools
Instructions
- Shape clay for DIY plant labels
- Stamp into the clay labels
- Bake the clay labels
- Paint the DIY plant labels
- Insert copper wire into the plant labels
This is genius! I have never tried something like this before. Once, I used chalkboard labels and wrote on them with regular chalk. As soon as the rain came it washed the labels all away so my herbs was all mixed up:(((
Haha! I love chalkboard labels, just wanted to try something different. I love how they turned out!