
DIY Herb Garden for Balcony
Have you ever wanted to try out your green thumb but don’t have a yard or space for it? With this DIY herb garden for balcony you can tackle that new skill today and without the traditional yard required!
Hello, friends! A few weeks ago I shared some DIY Garden Markers I made using oven-baked clay. Well, those cute garden markers made their home in a DIY hanging herb garden that I’m SO excited to share with y’all today.

You guys, I’m not going to lie, this requires way too many power tools, in my opinion. I had to enlist my husband to complete the first few steps, so please stick with me!
I found this DIY hanging herb garden on Home Depot’s website, and I was in love! We pretty much followed those directions for drilling the holes in the pots.
How To Create A Herb Garden for Balcony: Step-by-Step Tutorial
This post contains affiliate links. Please, click here to read my disclosure policy.
Supplies for an herb garden for the balcony:
- 3/4″ x 6″ Cedar Board
- 3 1/2″ x Hole Saw
- 1/4″ Drill Bit
- Everbilt 1/4 in. x 50 ft. Natural Sisal Rope
- 8 4″ Terra Cotta Pots
- Rustoleum Chalk Paint in Linen White
- Potting Soil
- Various herbs; I used sage, parsley, chives, oregano, thyme, mint, basil, & rosemary
- Herb Garden Markers
Step 1. Drill holes in wood boards for the herb garden pots
Here are a few tips for making the boards:
- Start with cedar boards. Cedar is naturally water and mildew resistant which makes it perfect for outdoors and watering. Plus, it is GORGEOUS and has amazing character for being wood you can buy from Home Depot.
- Clamp the boards down when you’re cutting the holes. My husband had to really put some oomph into cutting the holes for the pots and the board was flying all over the place. Clamp that baby down so it’s easier to cut!
- Don’t stain the wood!! While sanding and staining the wood would give it a more finished look, I truly love how rustic and natural the unfinished cedar looks.
Depending on where you are going to hang this herb garden you’ll have to size it to your space. Make sure you have enough space on your cedar wood for the pots evenly spaced and enough room for the rope.
When cutting with the hole saw, mark the middle of the circle and let the drill bit guide you. You can also use a piece of scrap wood underneath the holes to avoid chips and breaks in the cedar.
Once you drill the holes for the pots you move on to the ropes. Simply measure about 1″ from the end and side of the board in each corner, make marks, and drill out the x with the 1/4″ drill bit.
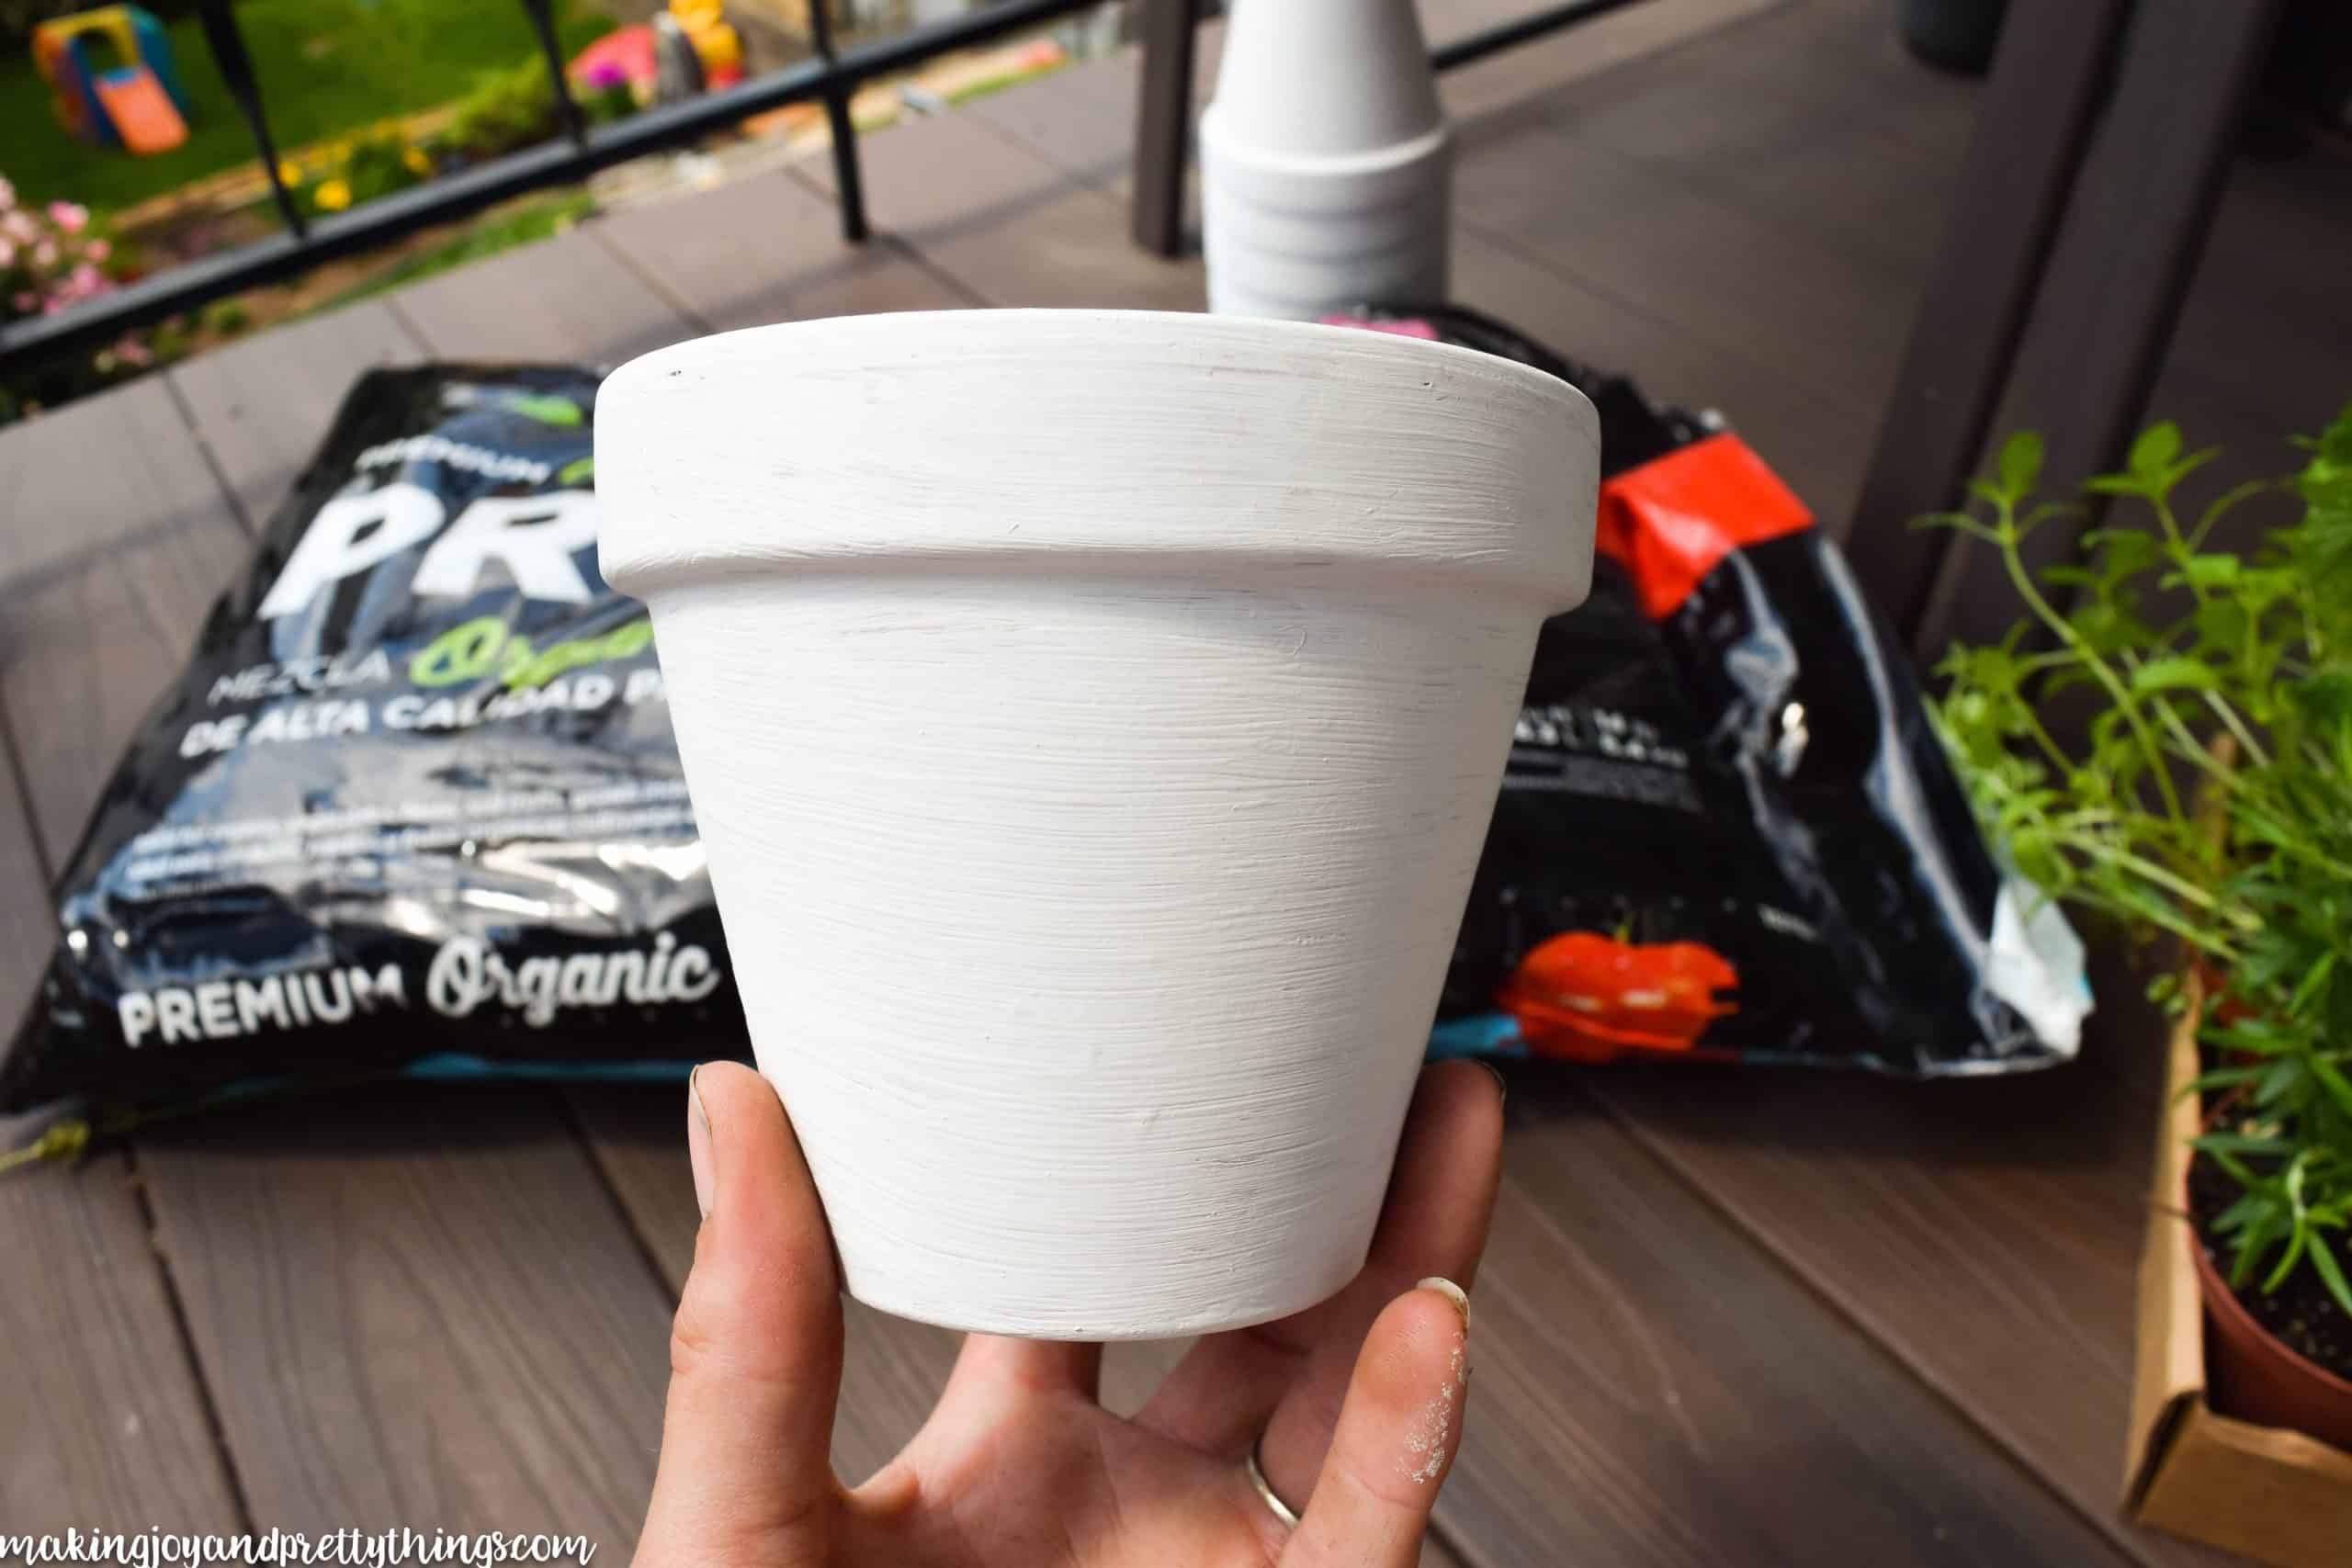
Step 2. Paint the herb garden pots
With your cedar board made next start painting the terra cotta pots with the chalk paint. I used a regular brush so that there would be streaky lines in the paint (as seen below).
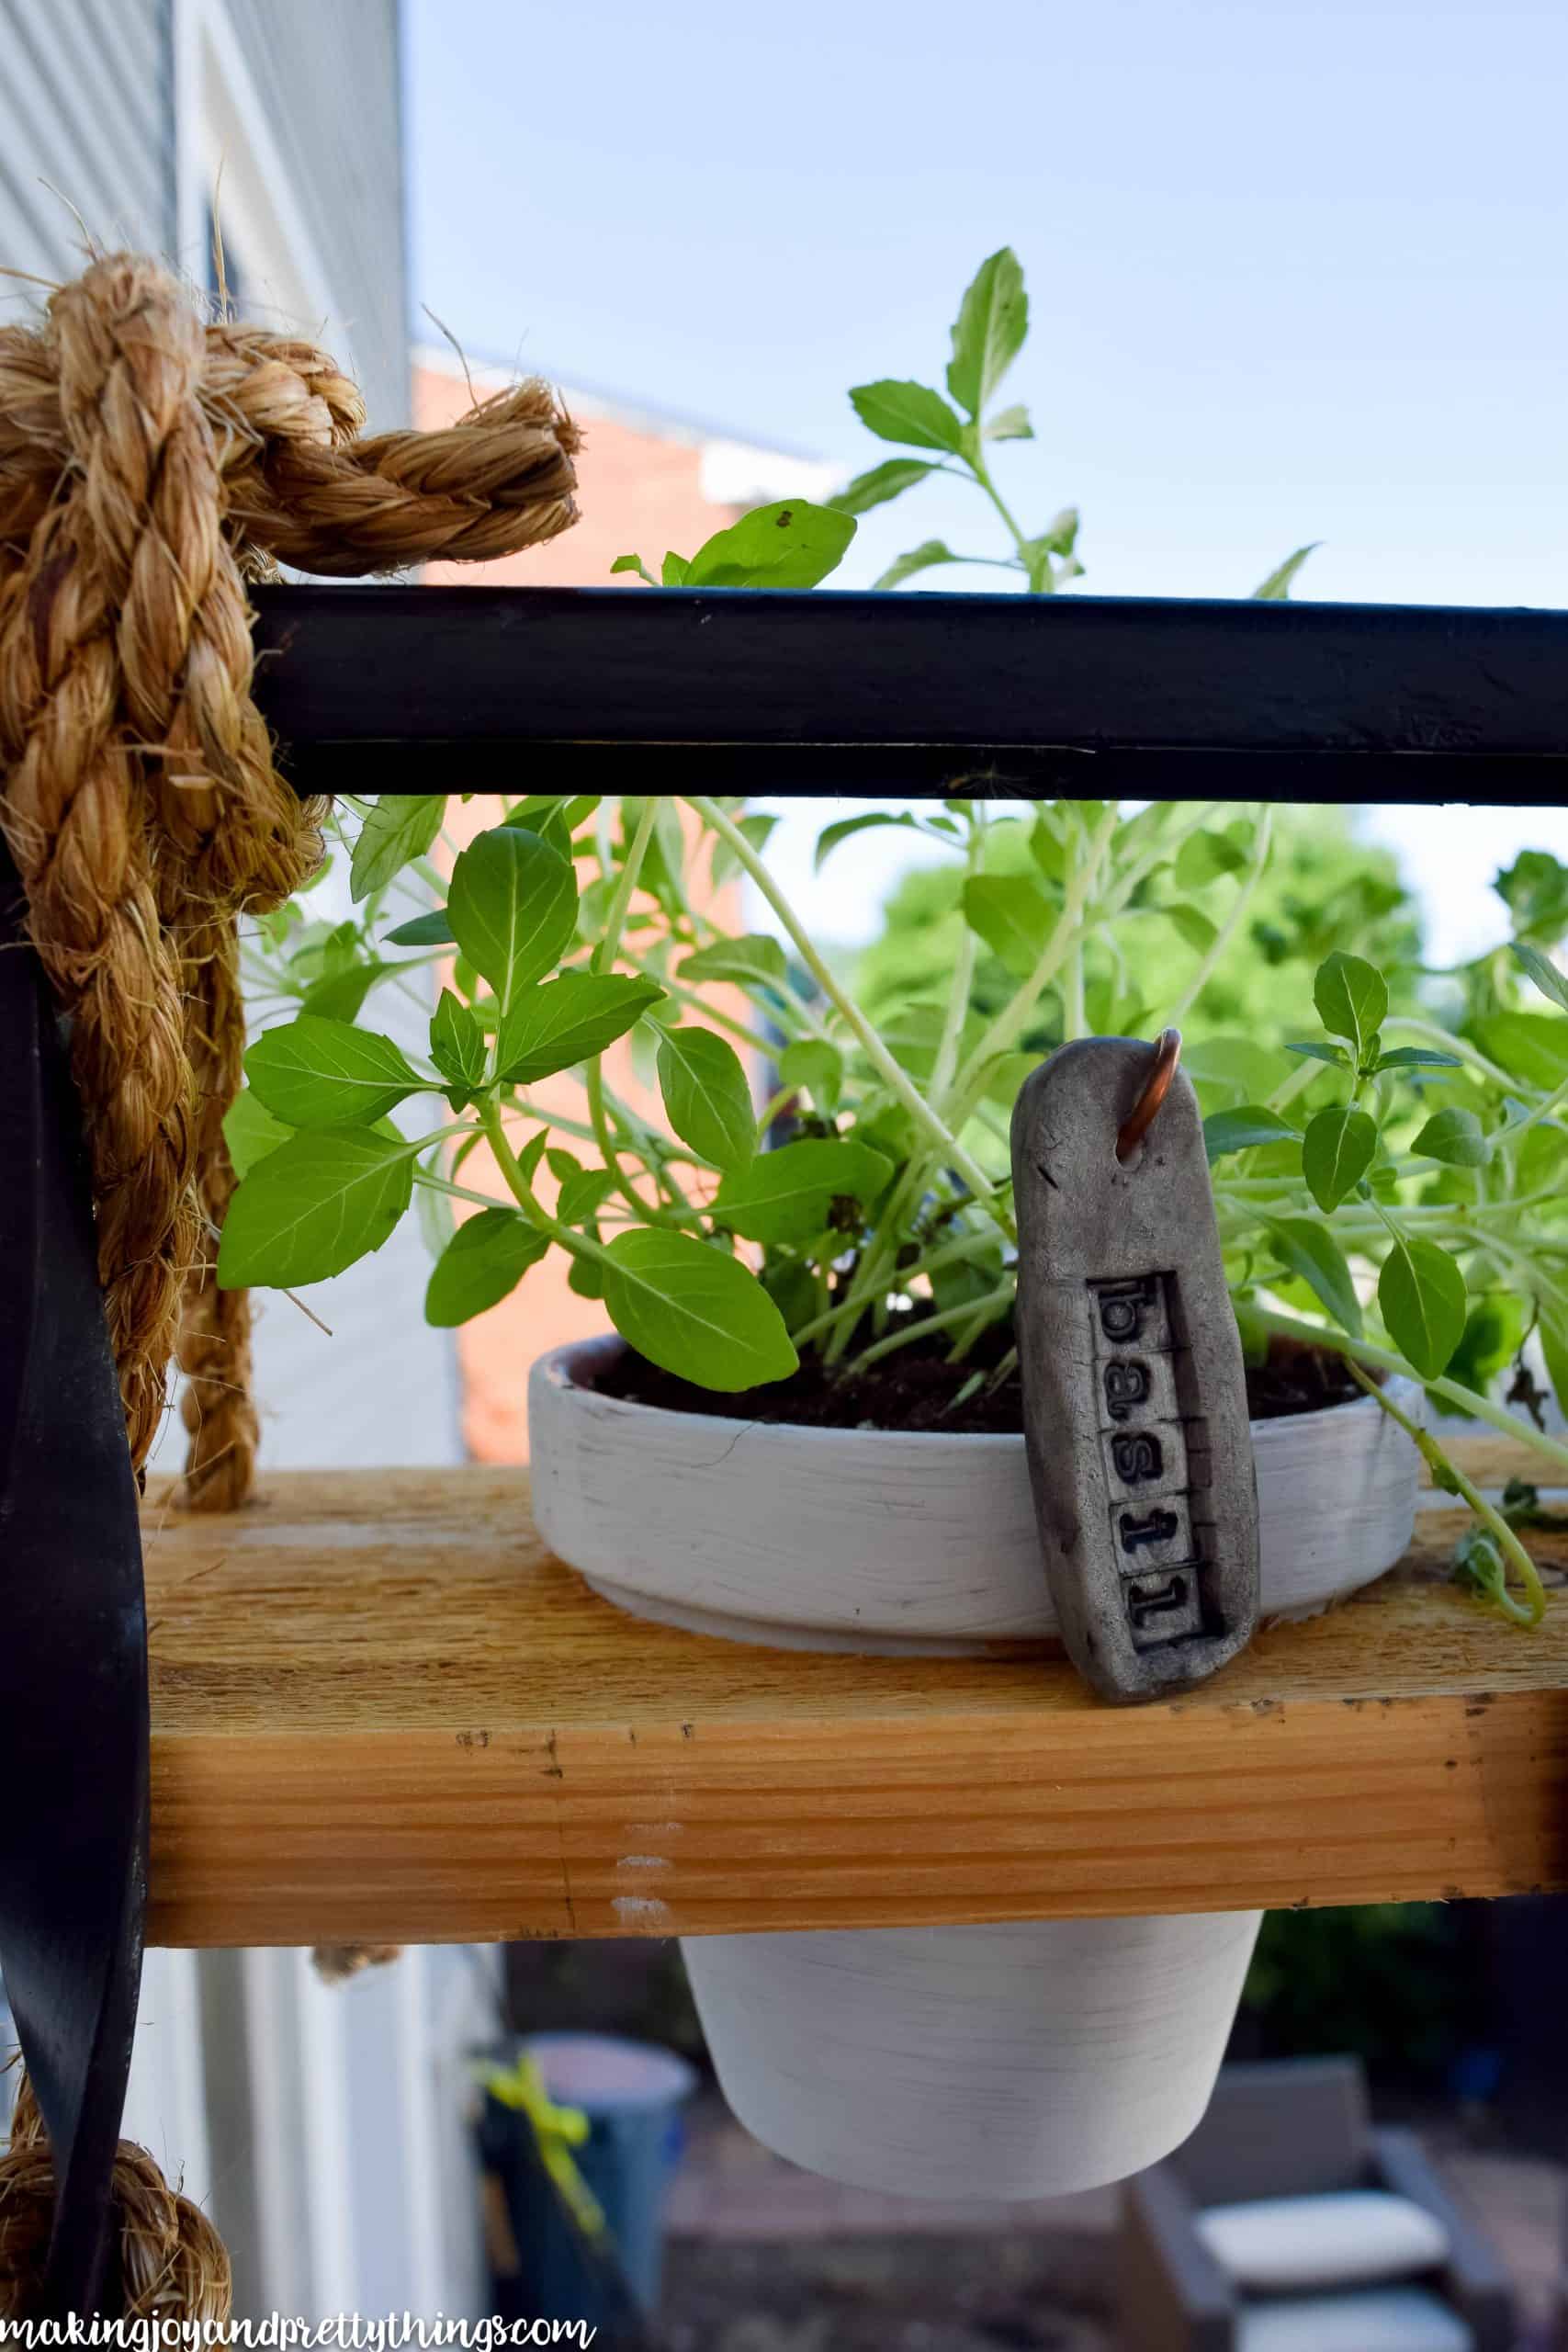
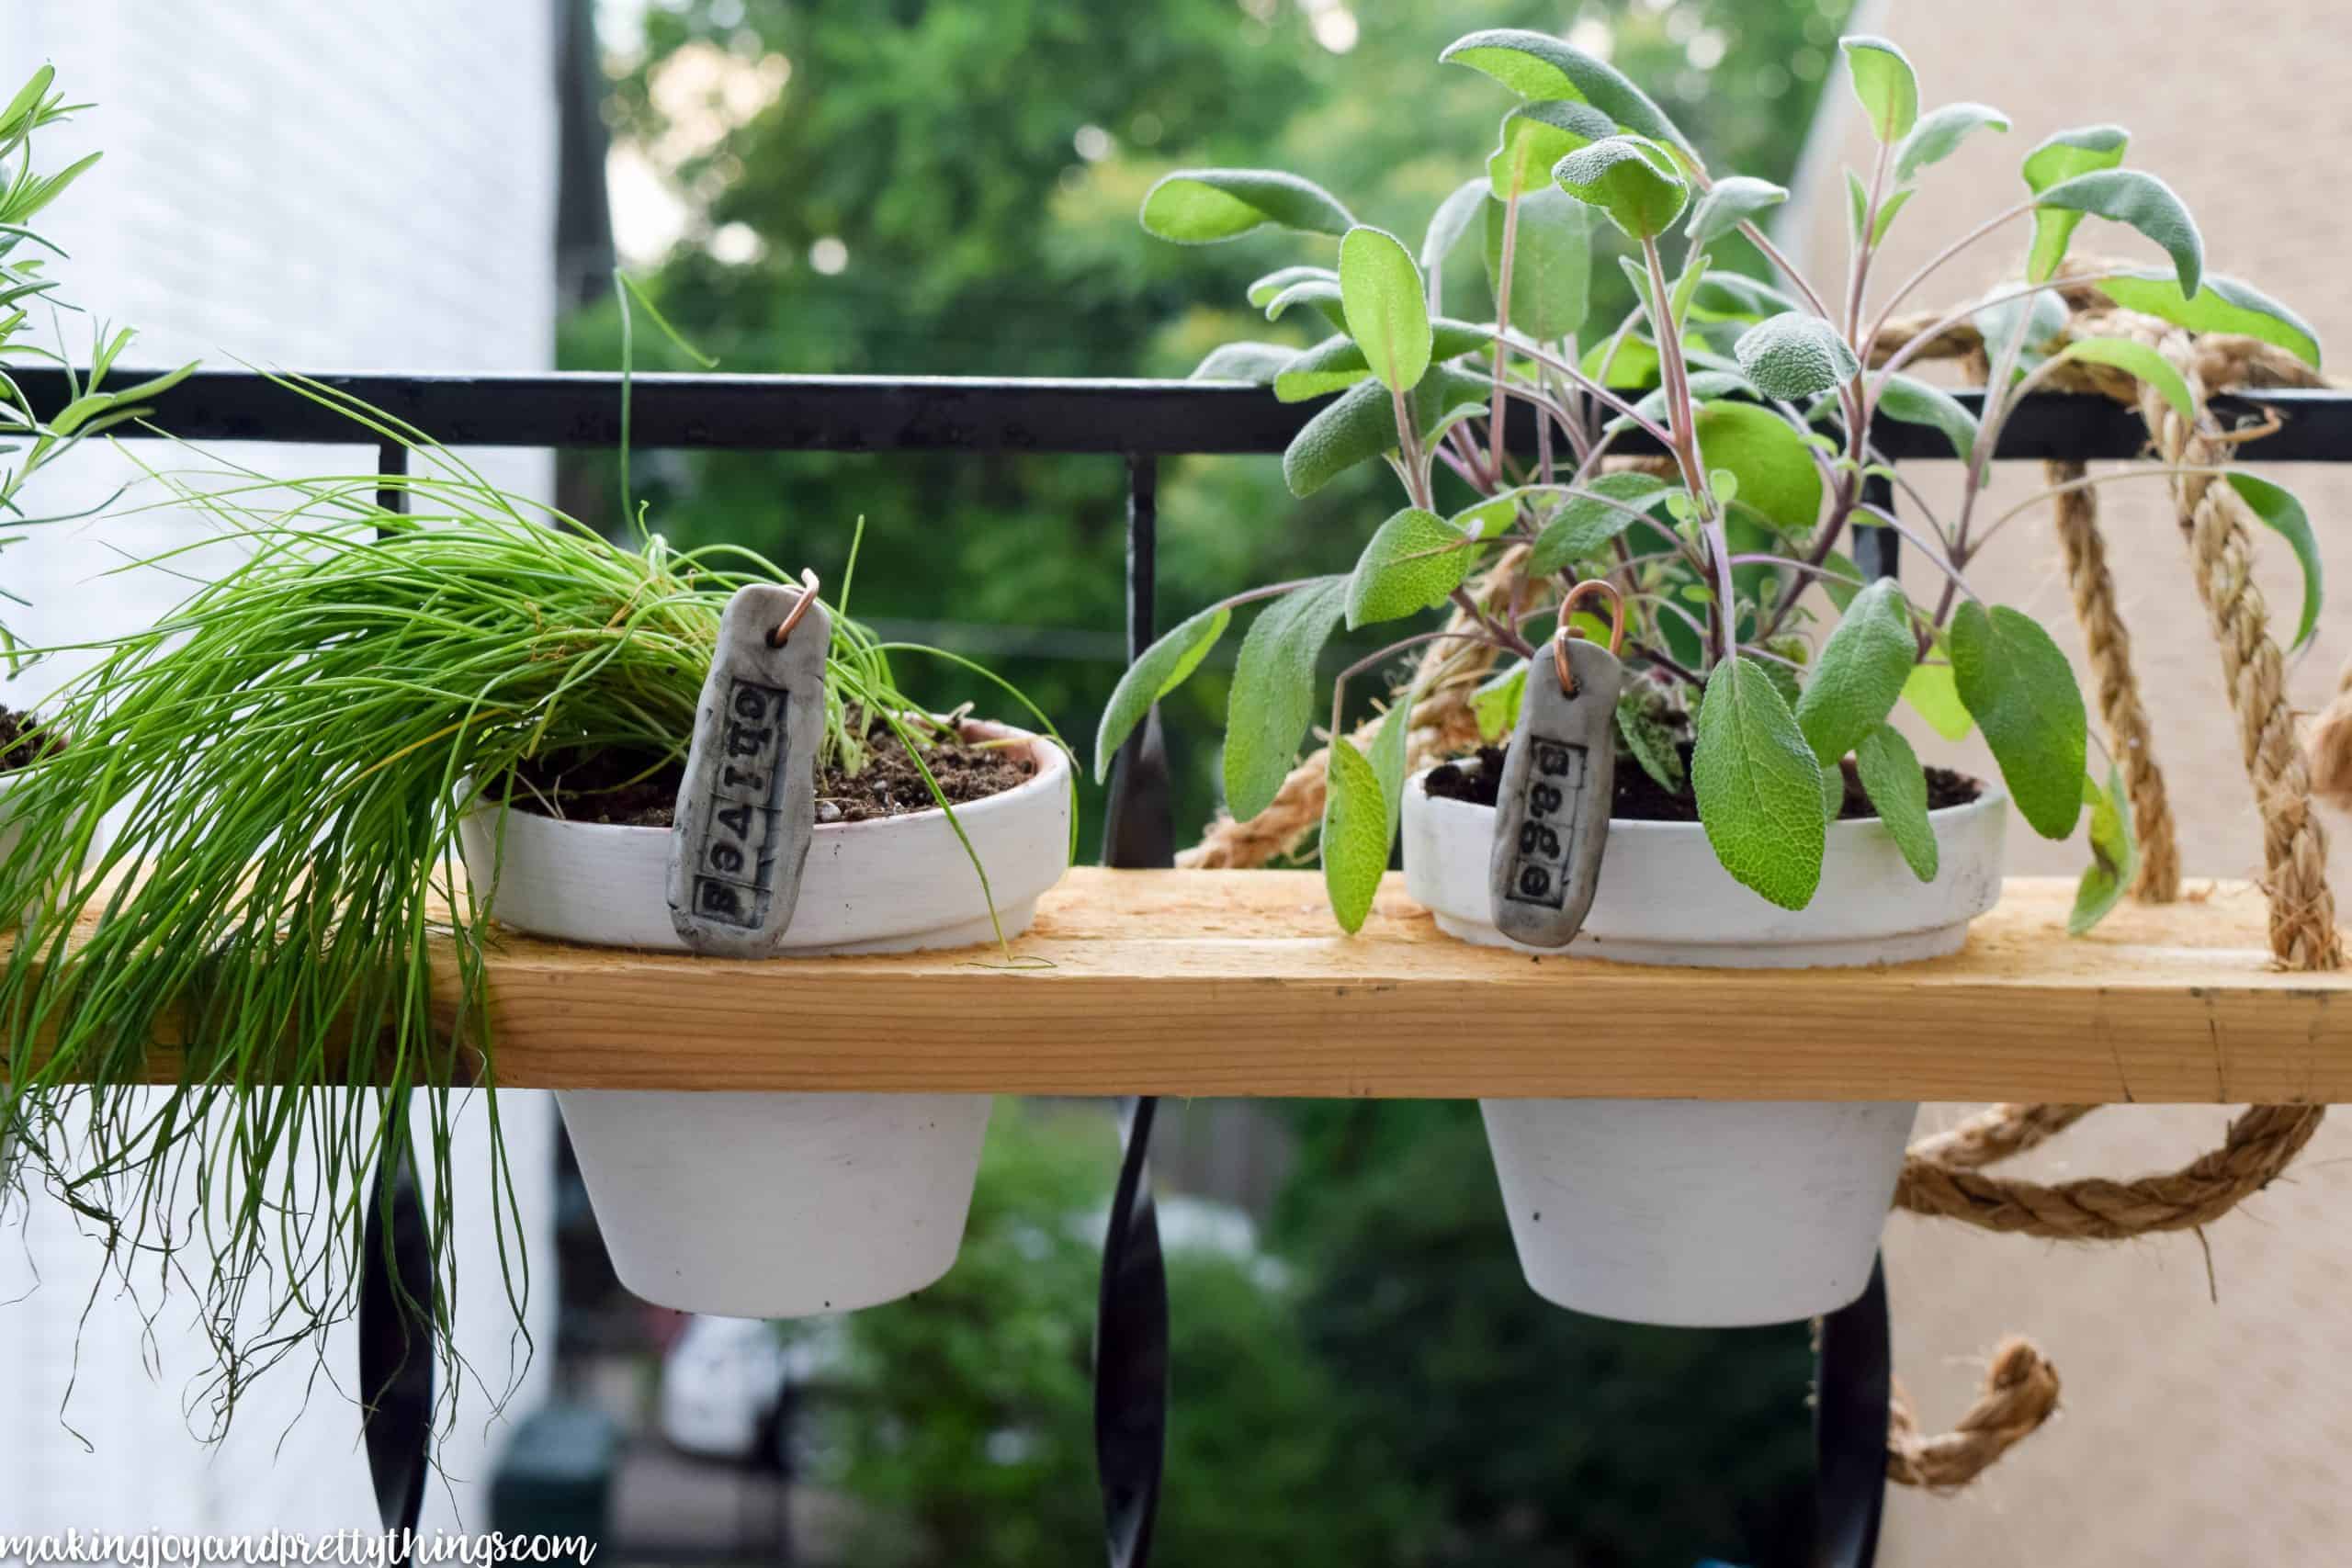
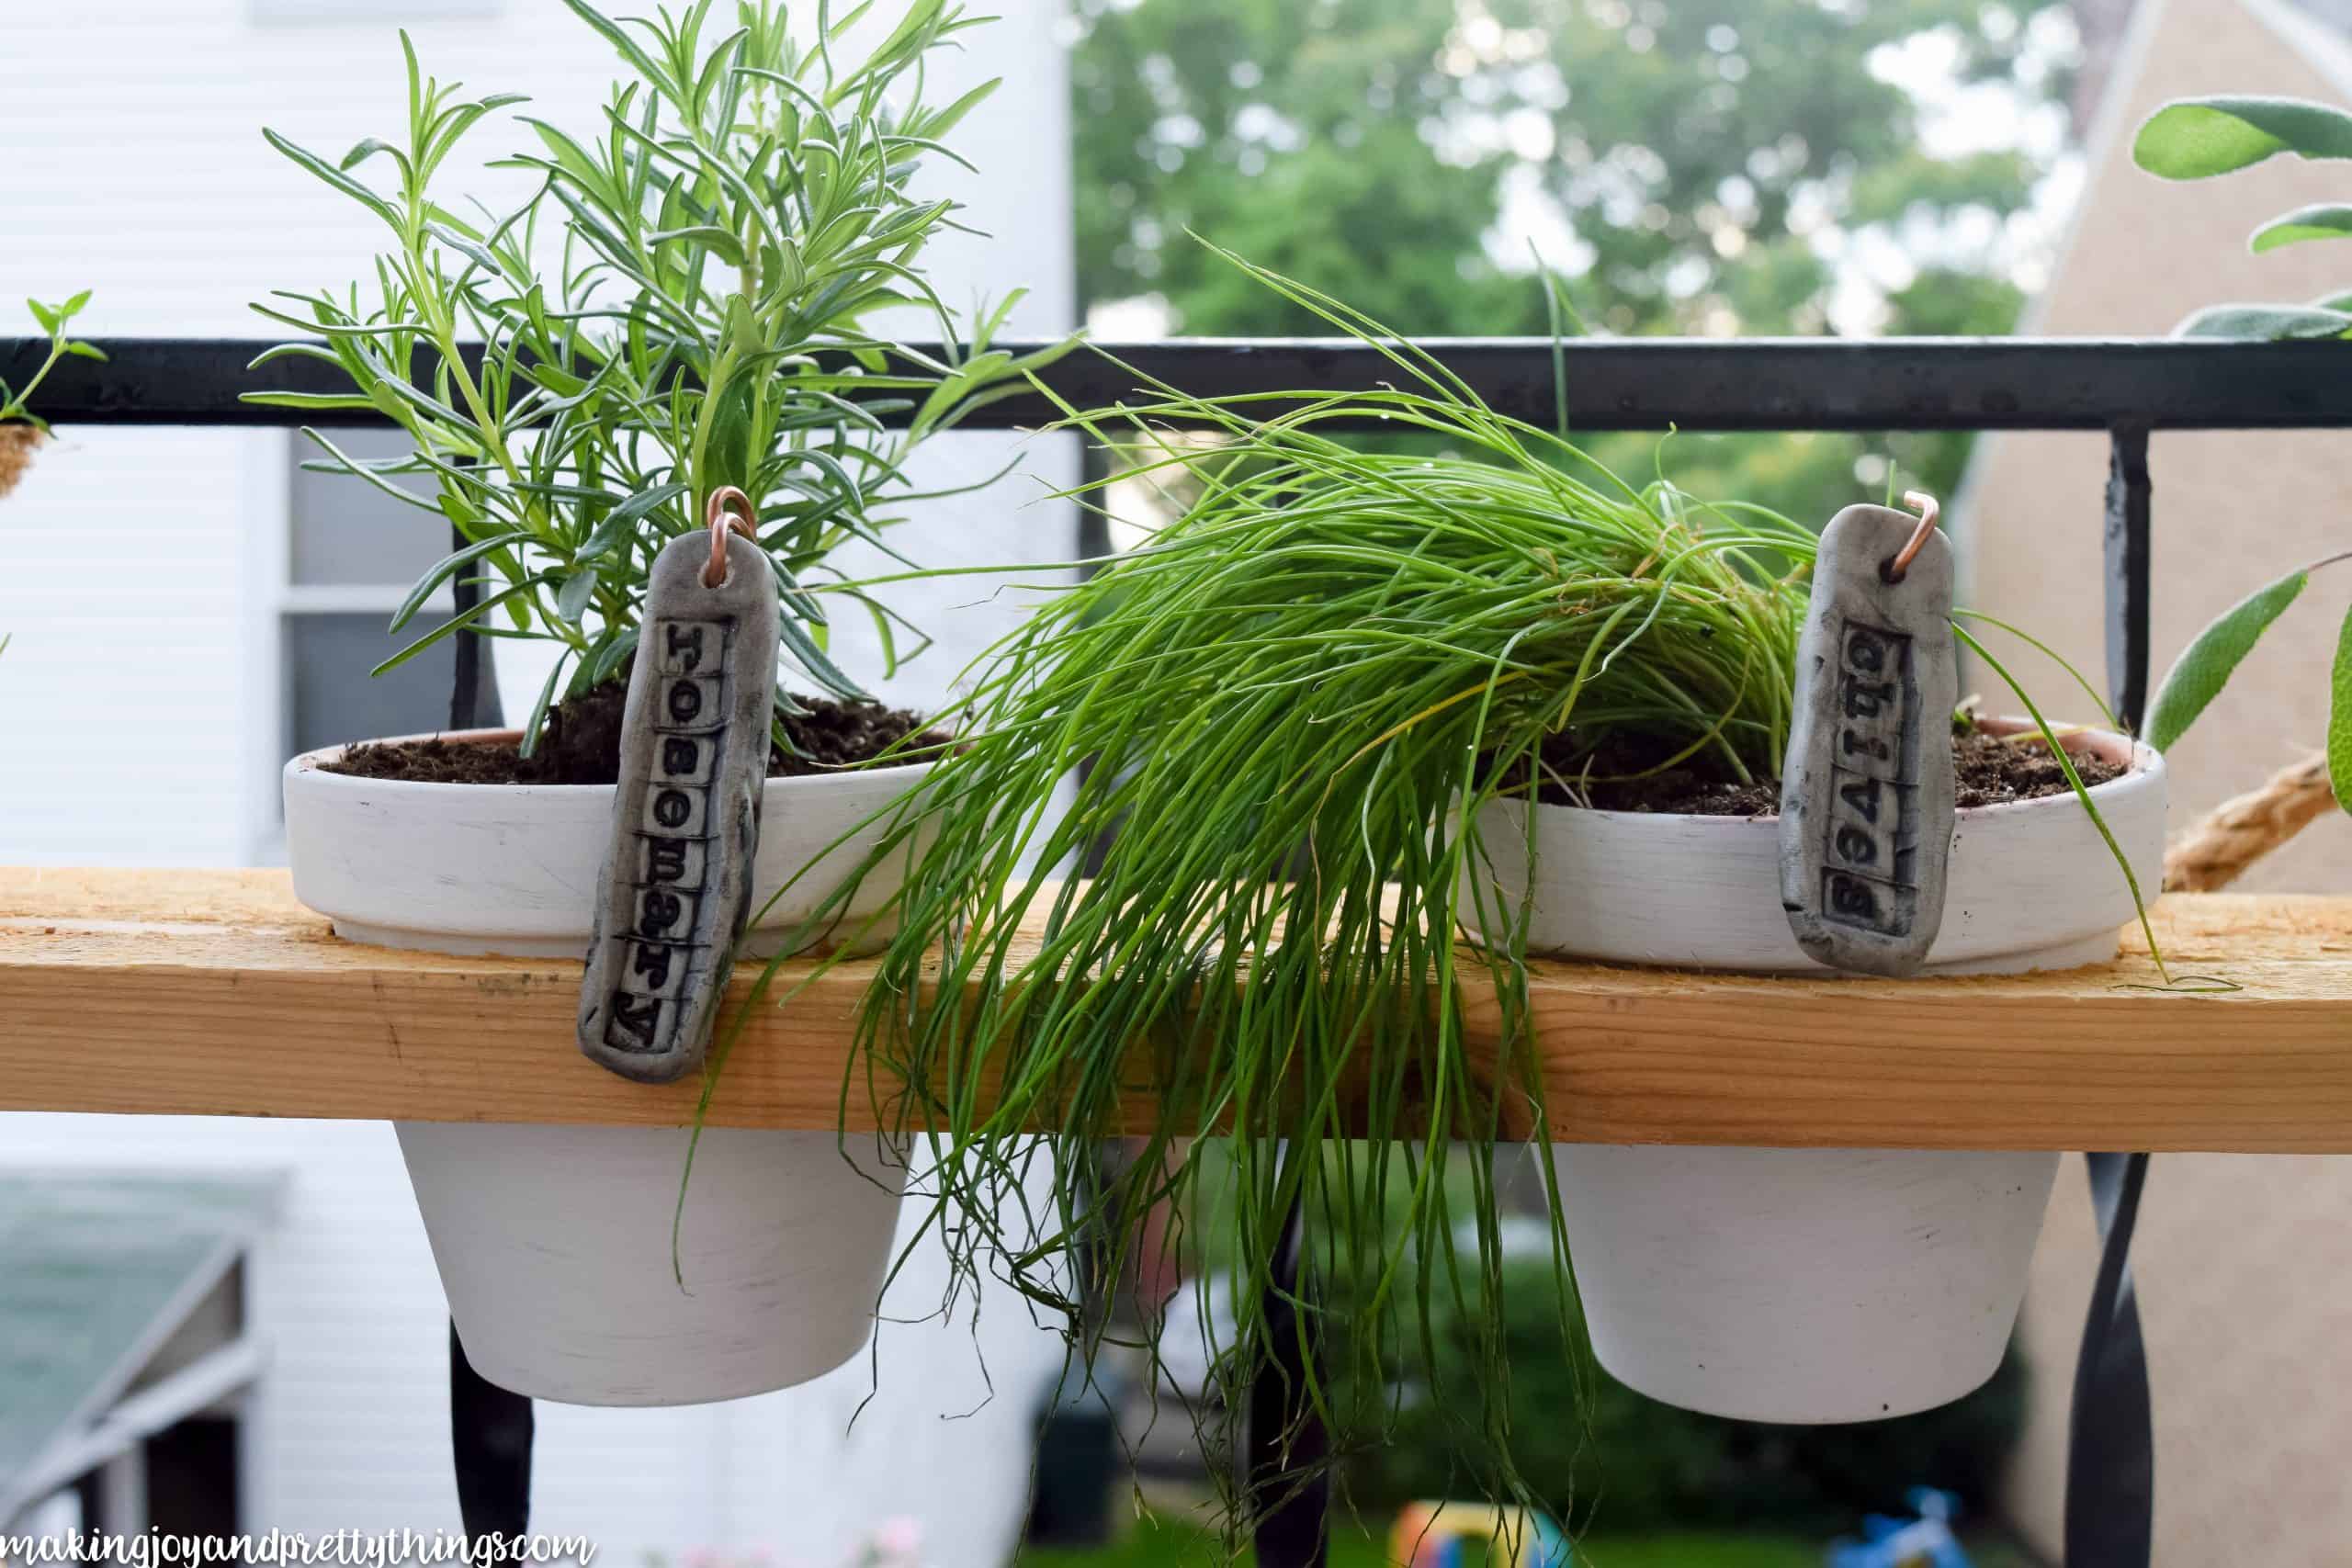
Step 3. Plant your herbs in pots
Look at these herbs!!!
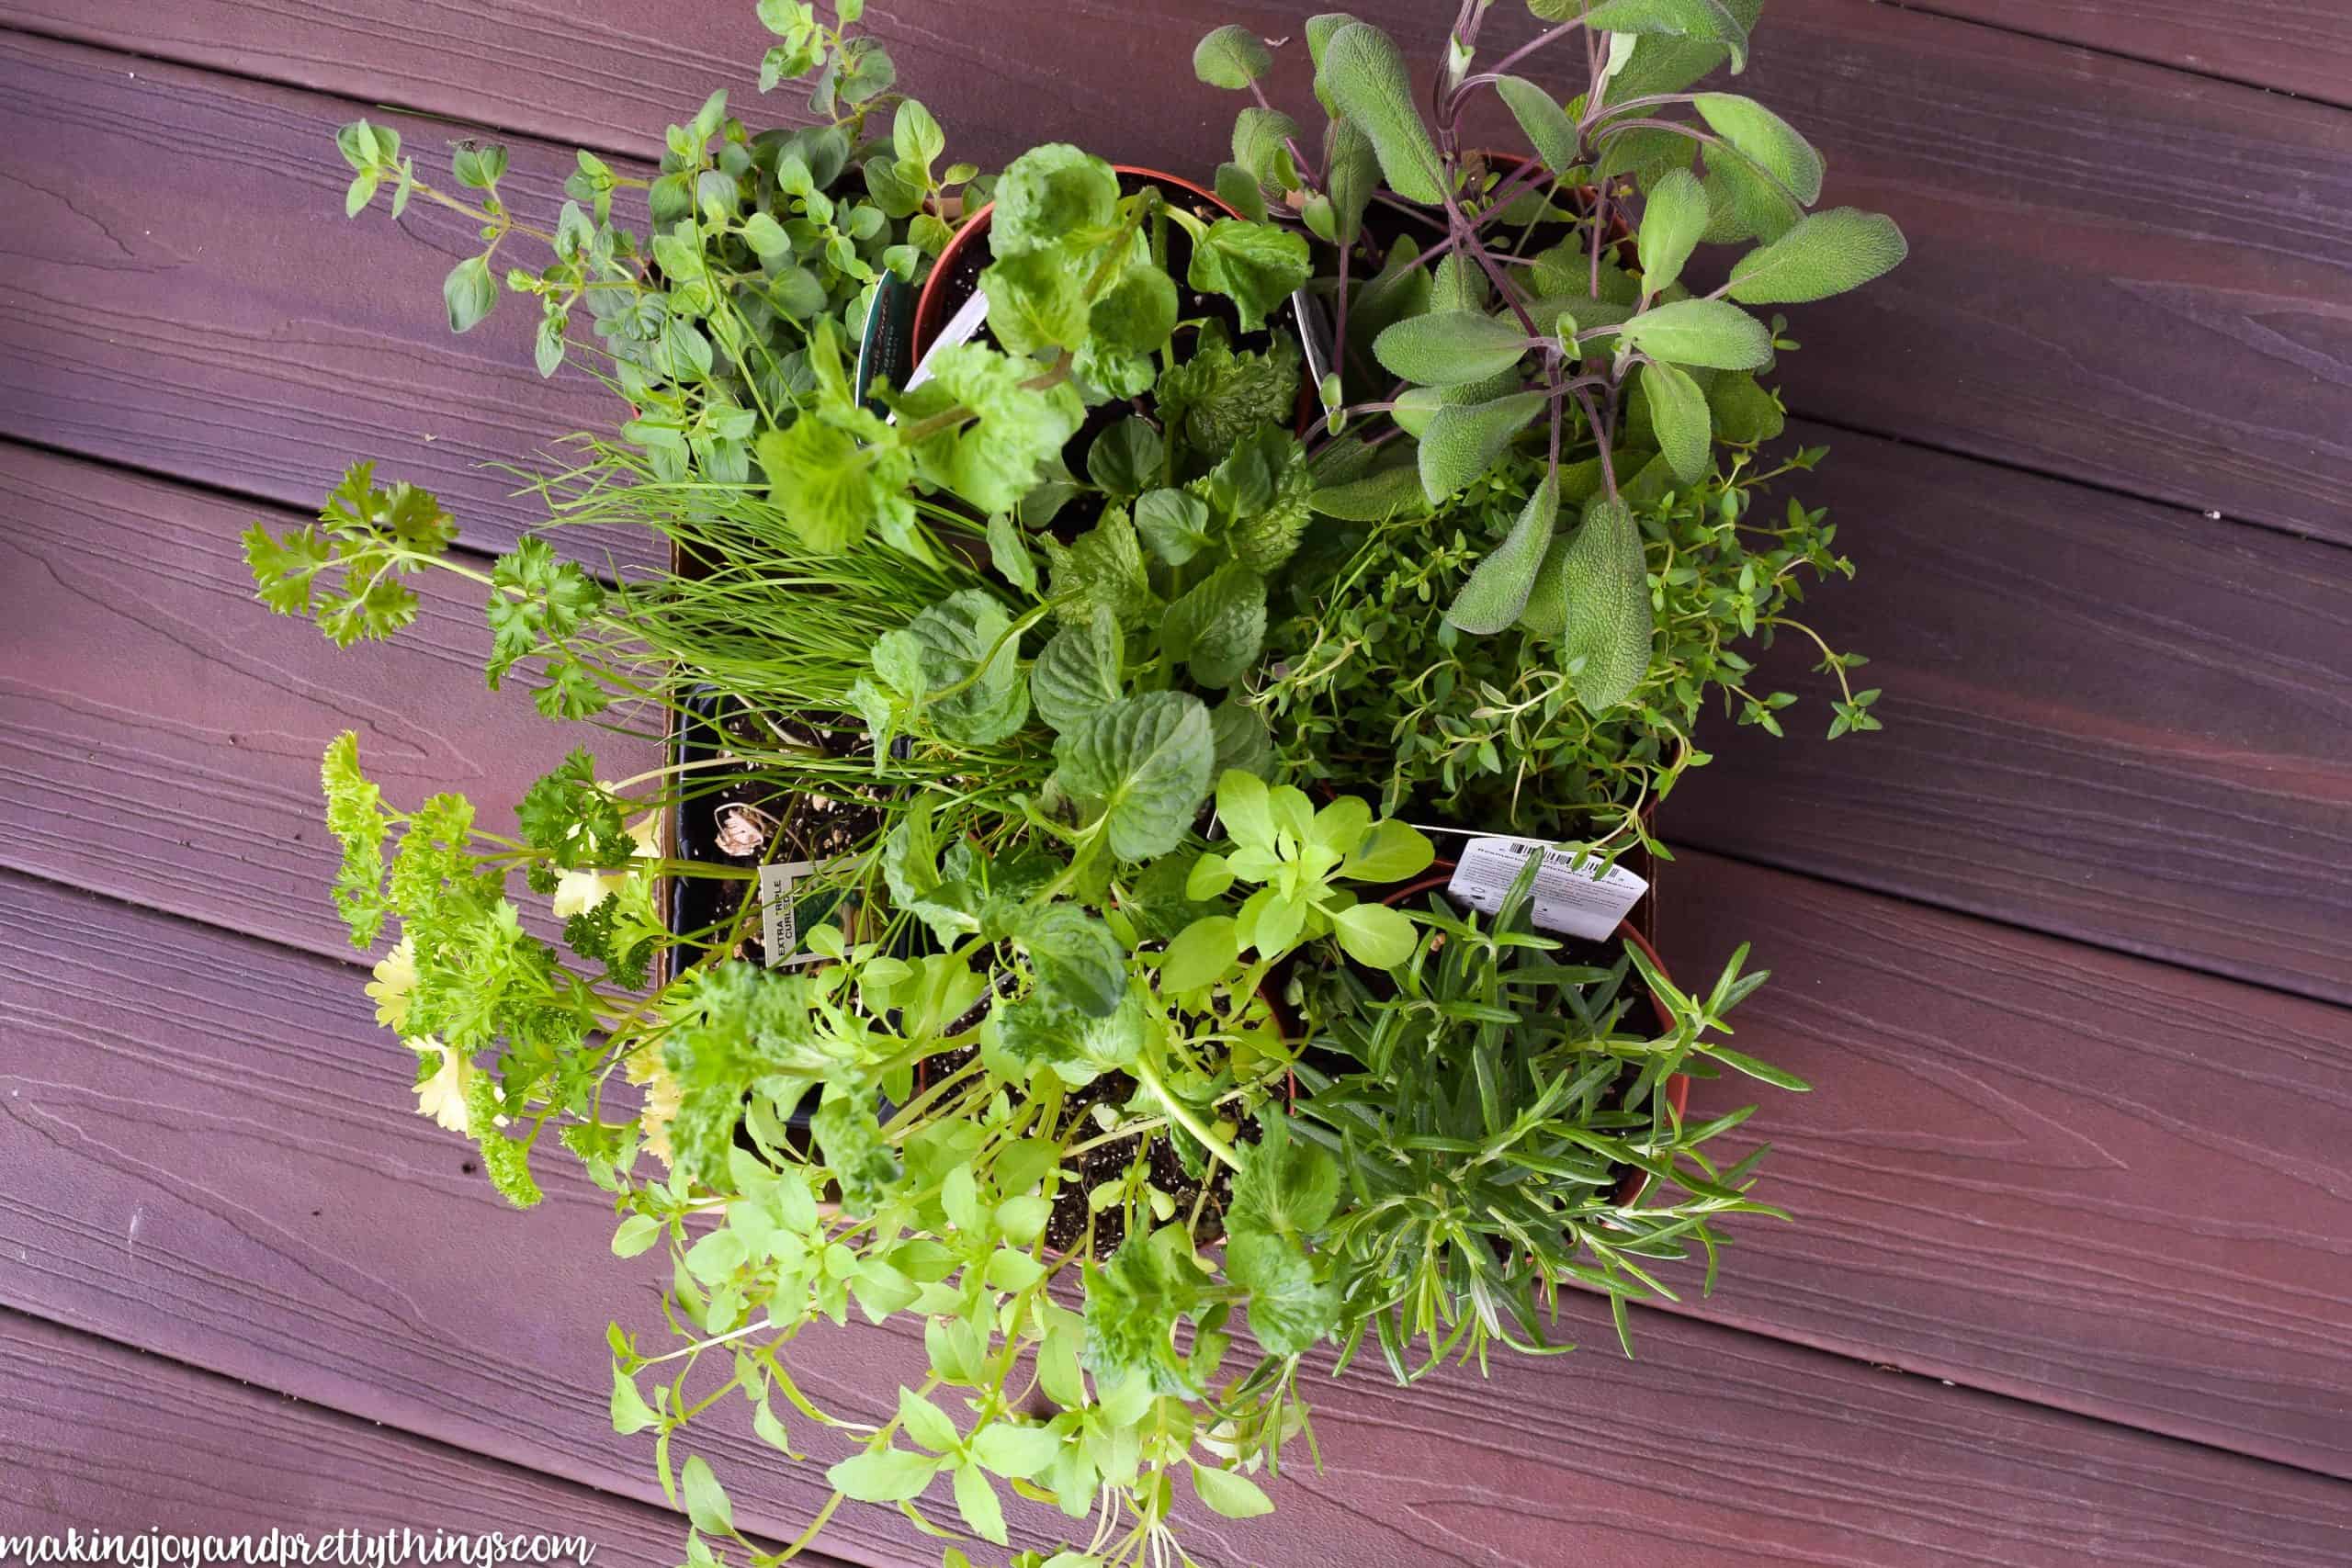
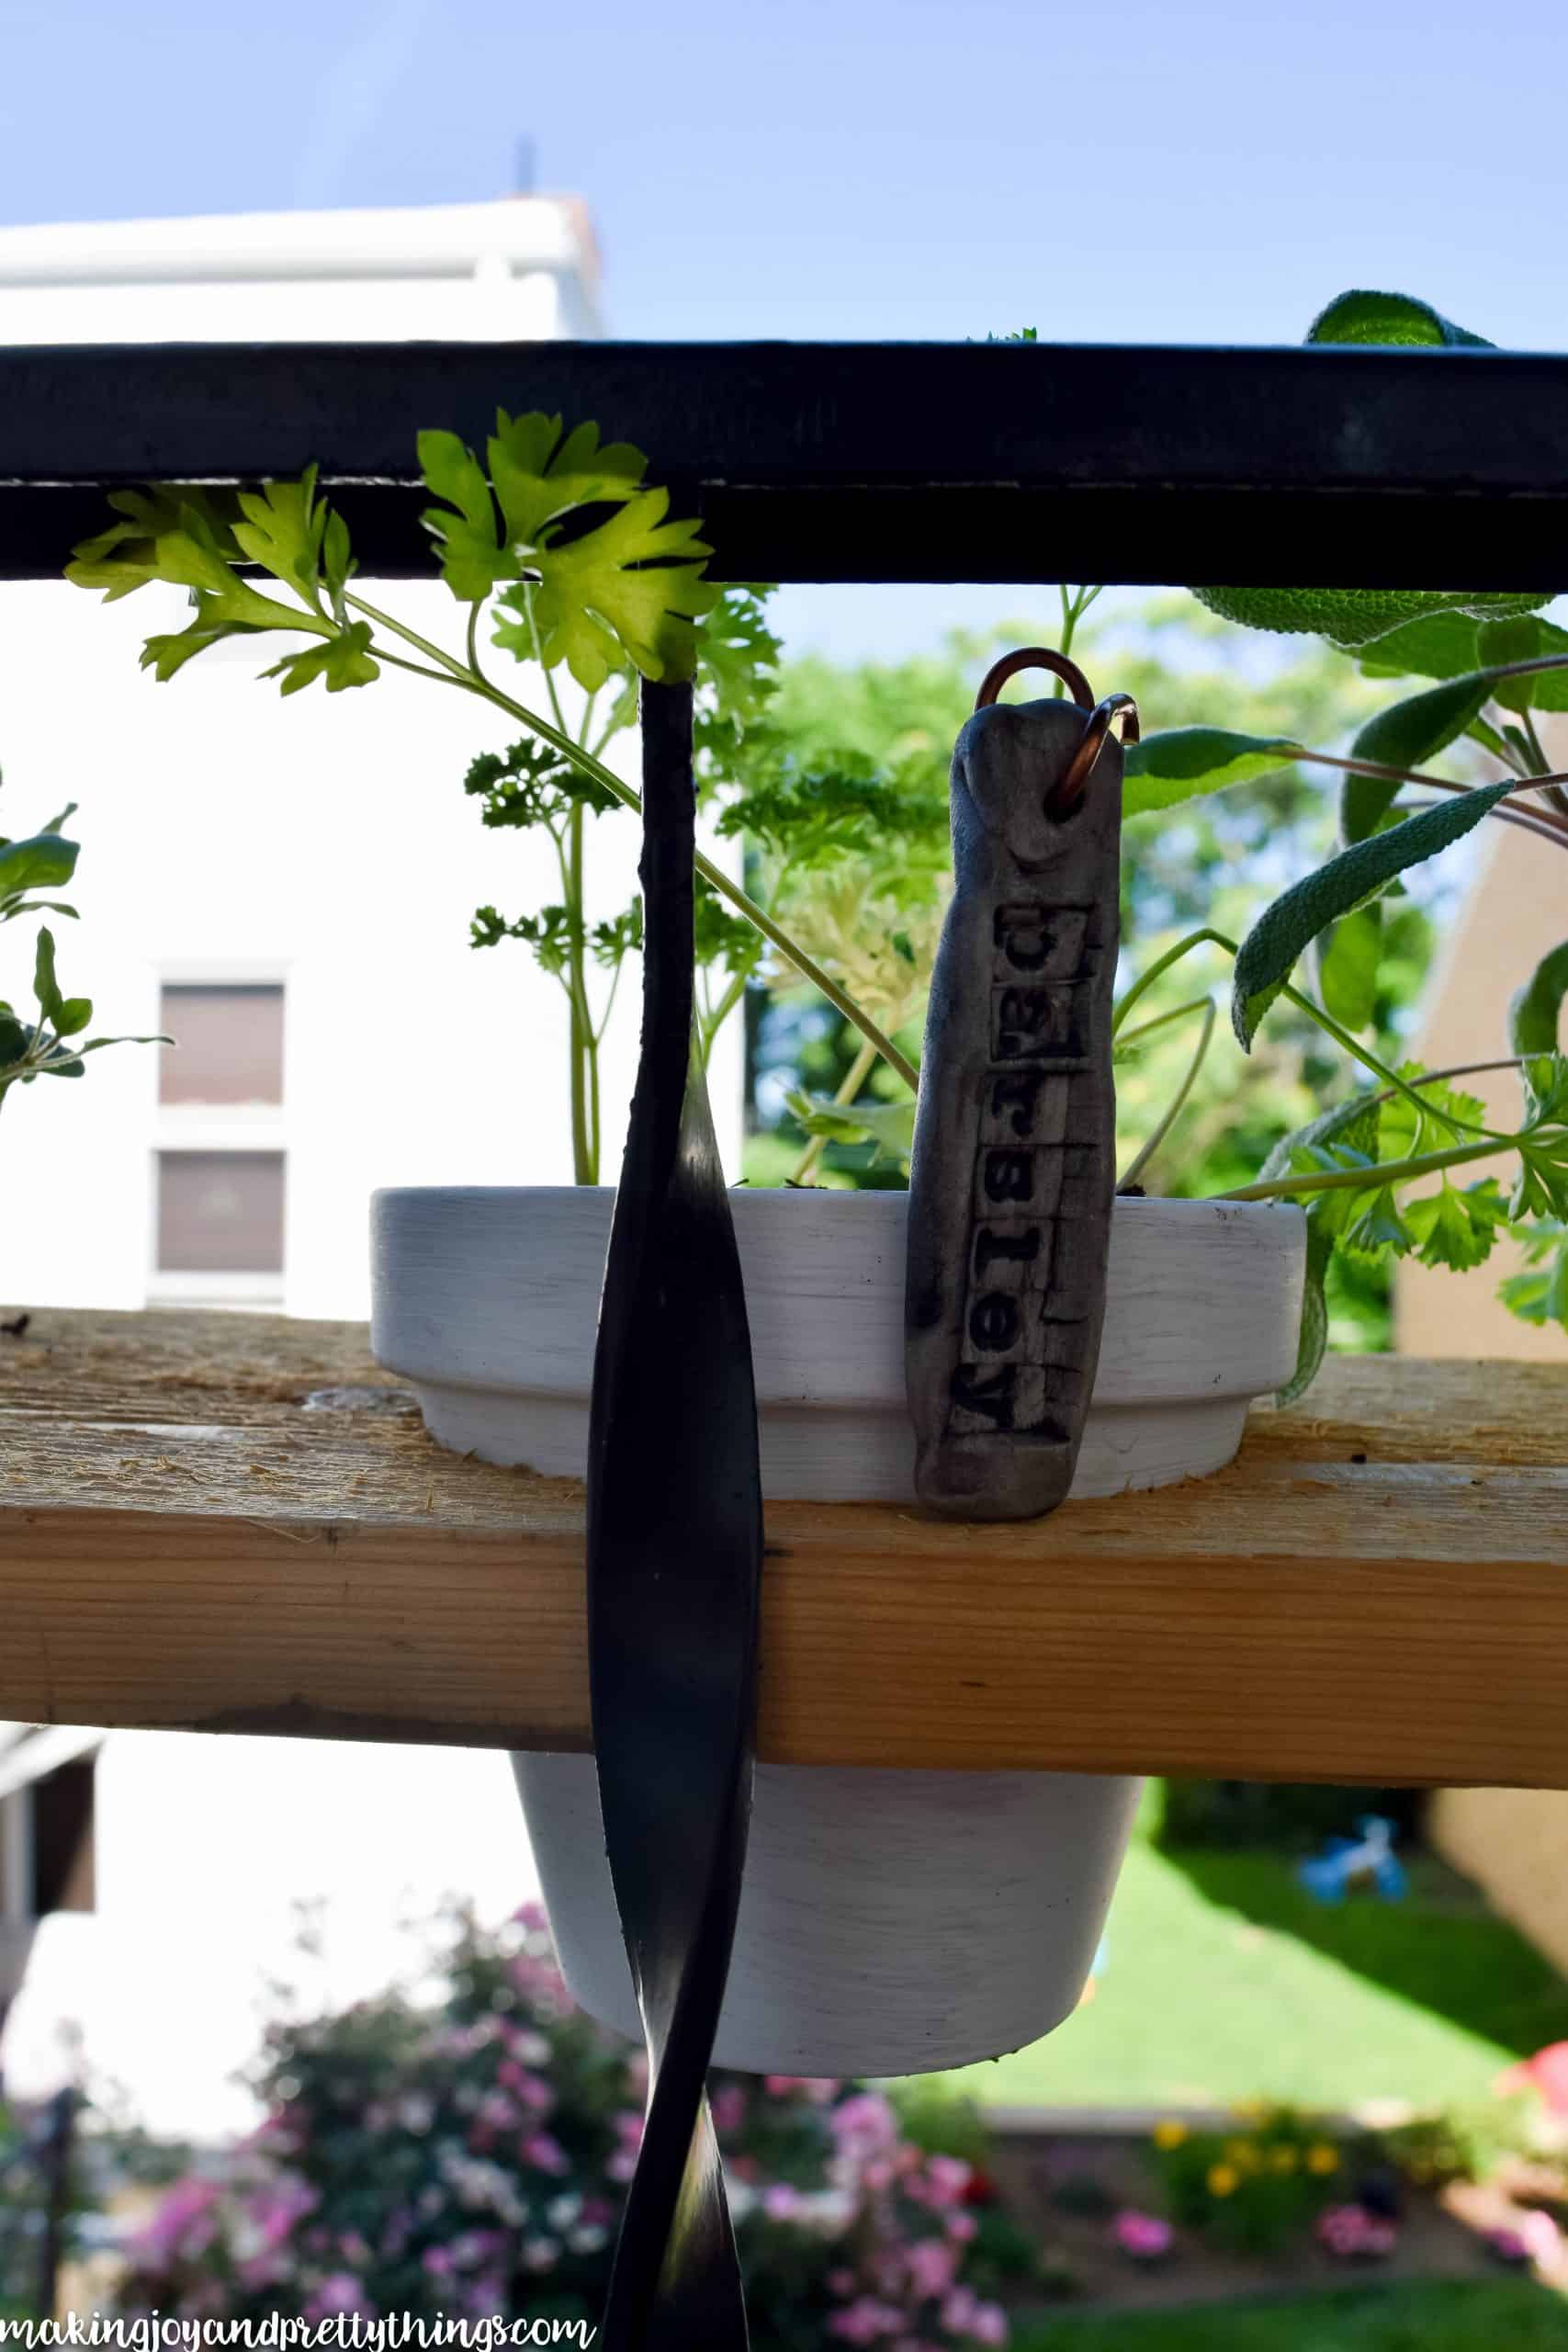
Once the pots were dry, I planted the herbs and added in my DIY garden markers!! Love how it looks already!
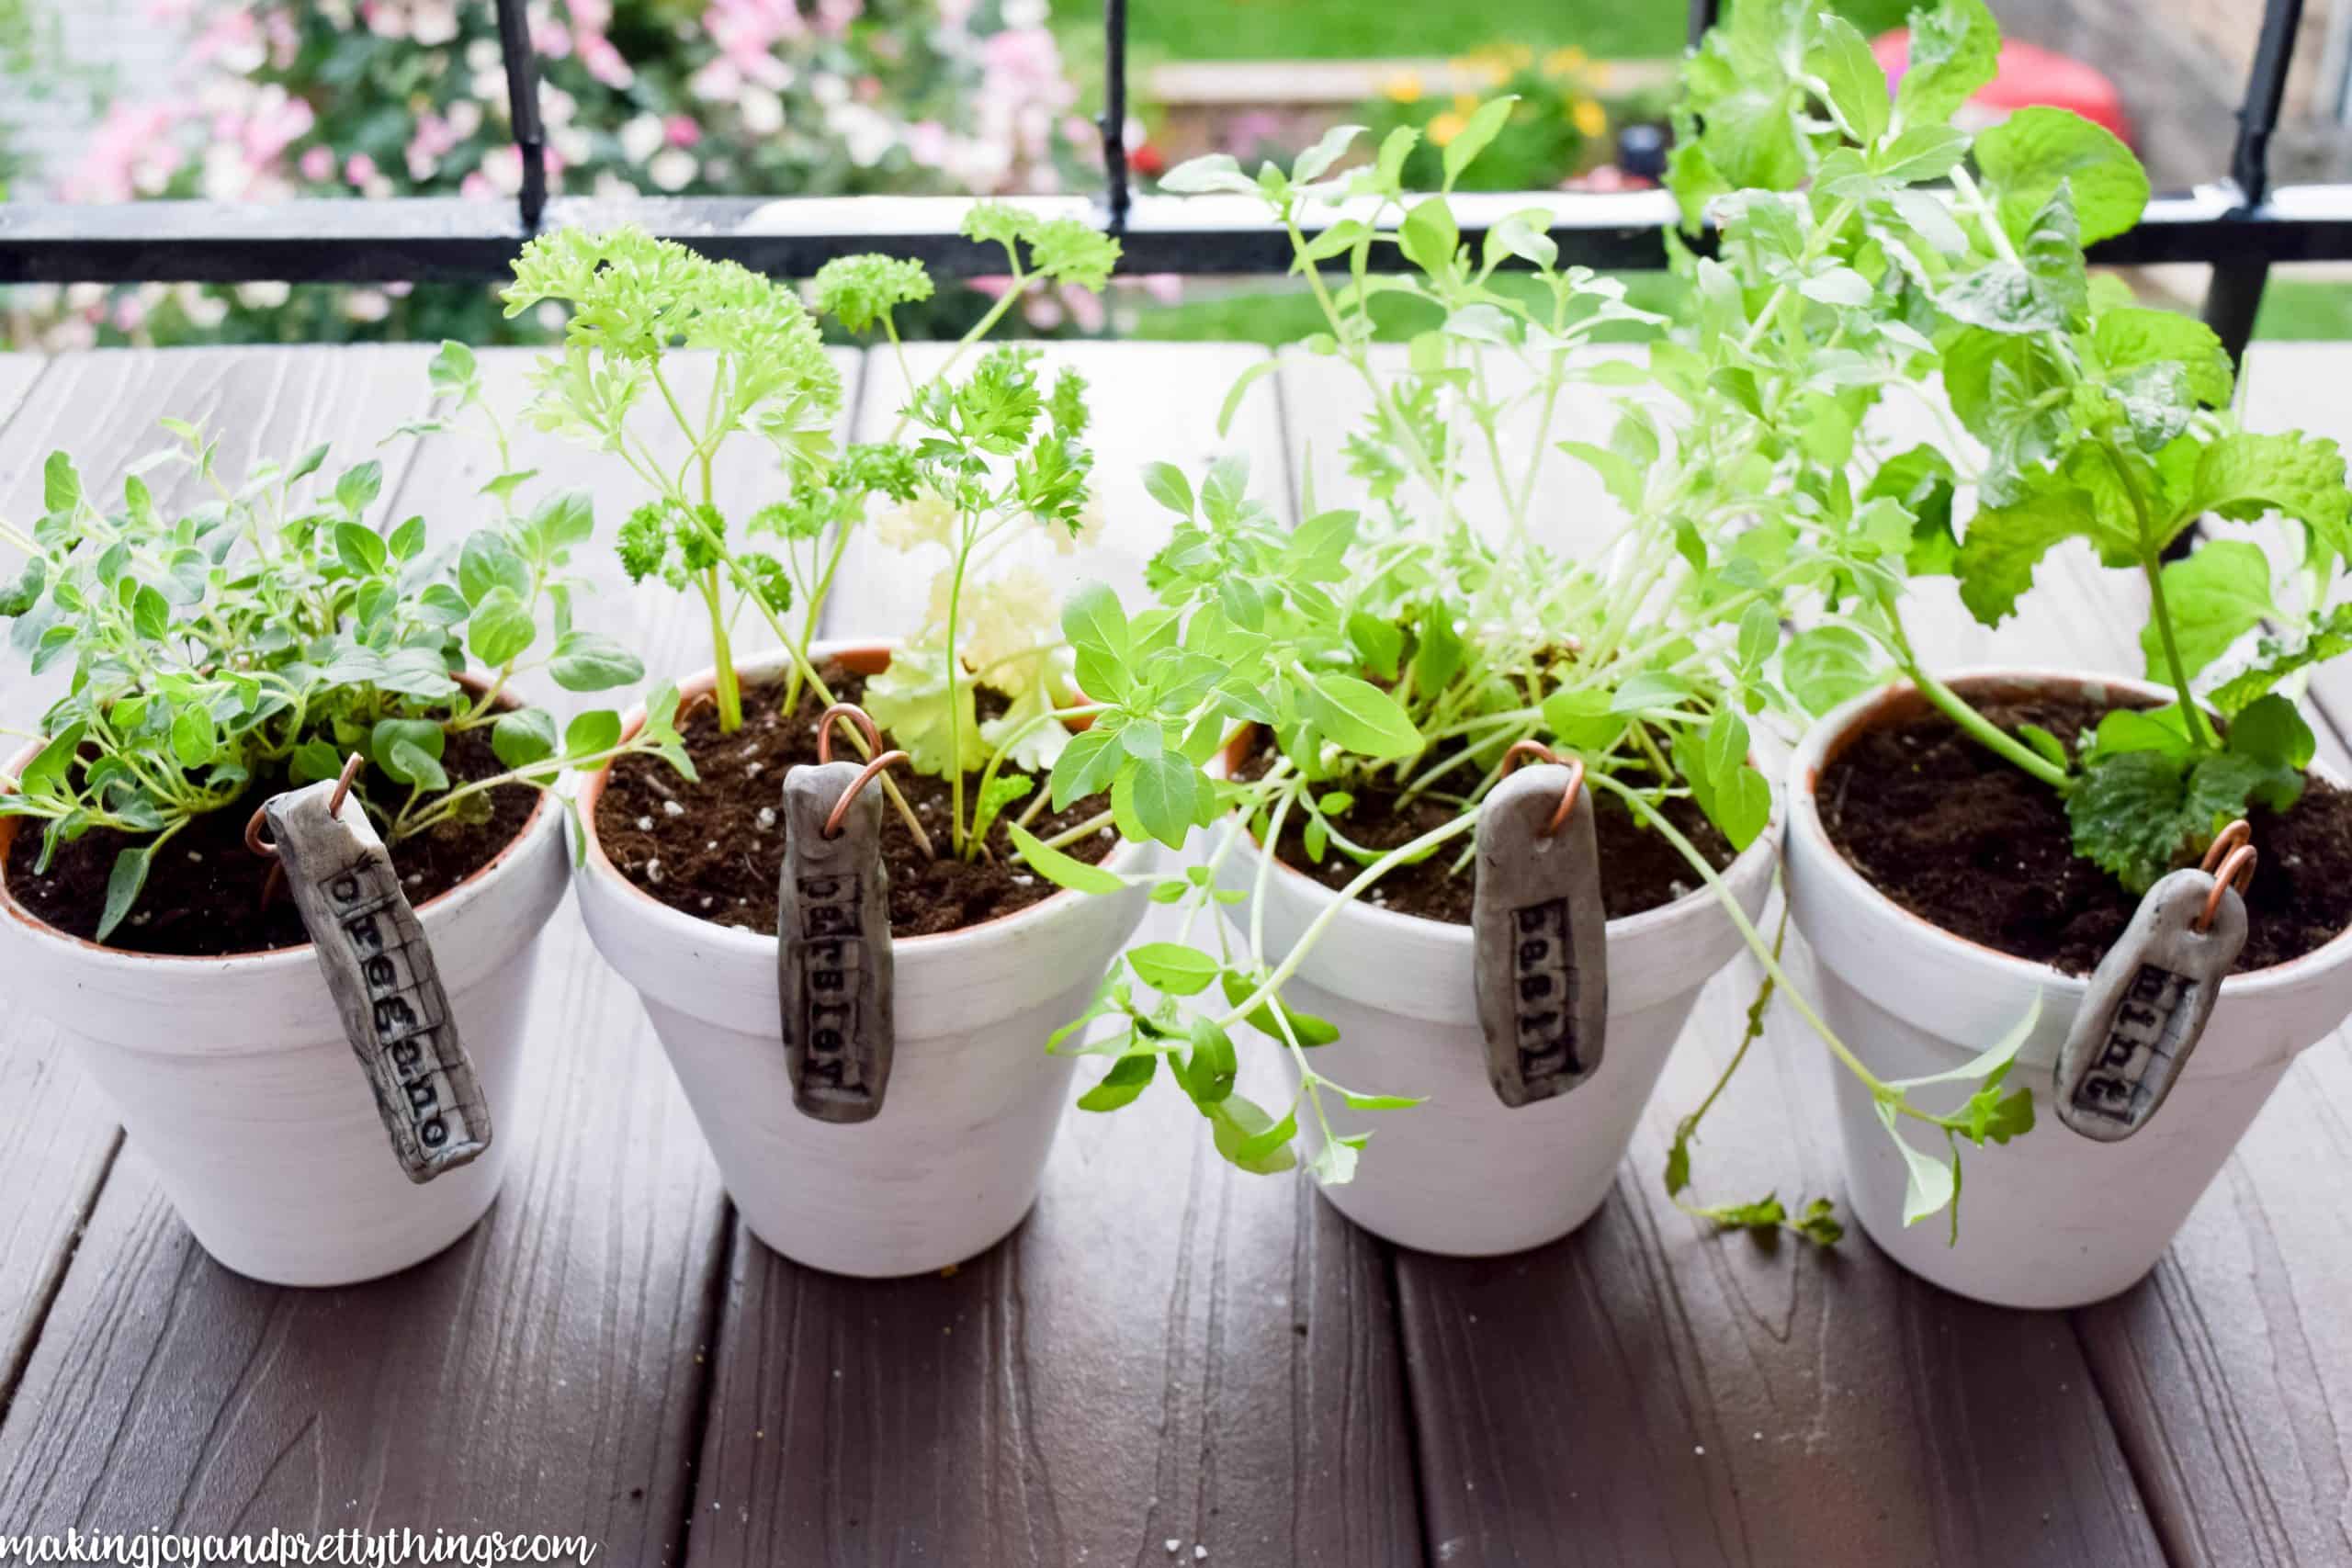
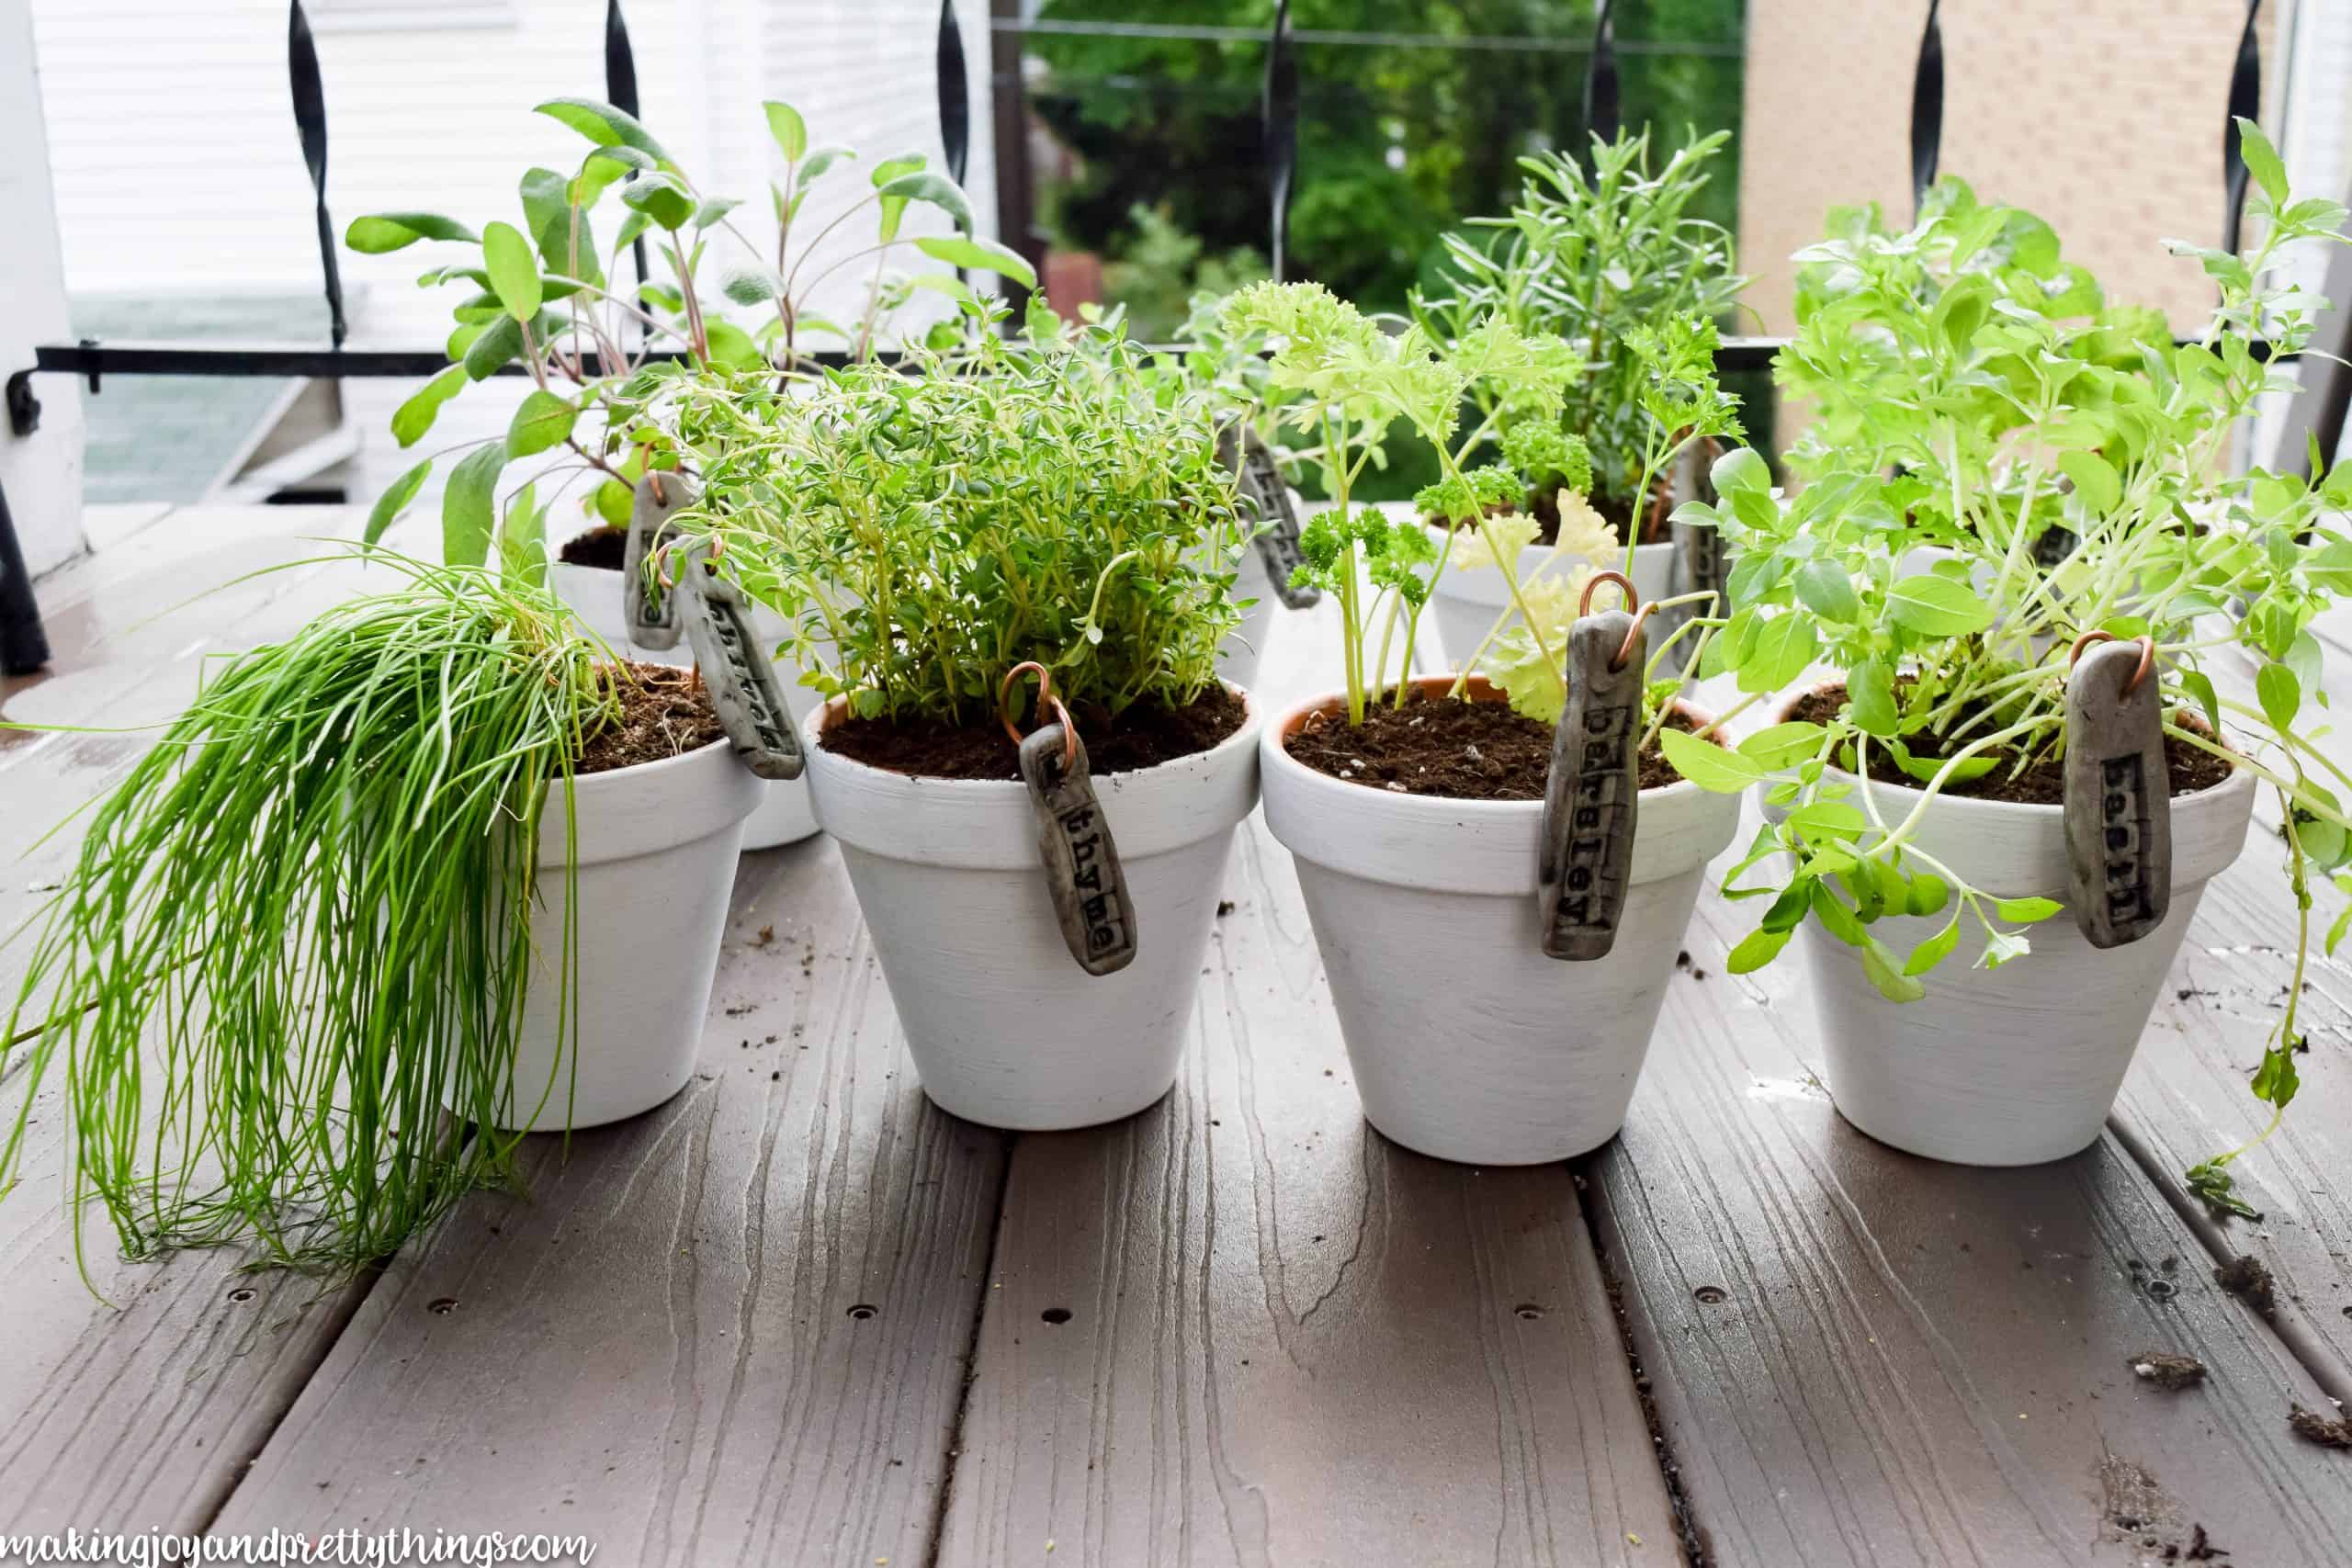
These next few pictures were taken at night after the kiddos were in bed. So they are a little darker than I would like but hey I have to get this stuff done when the kids are asleep!! 🙂
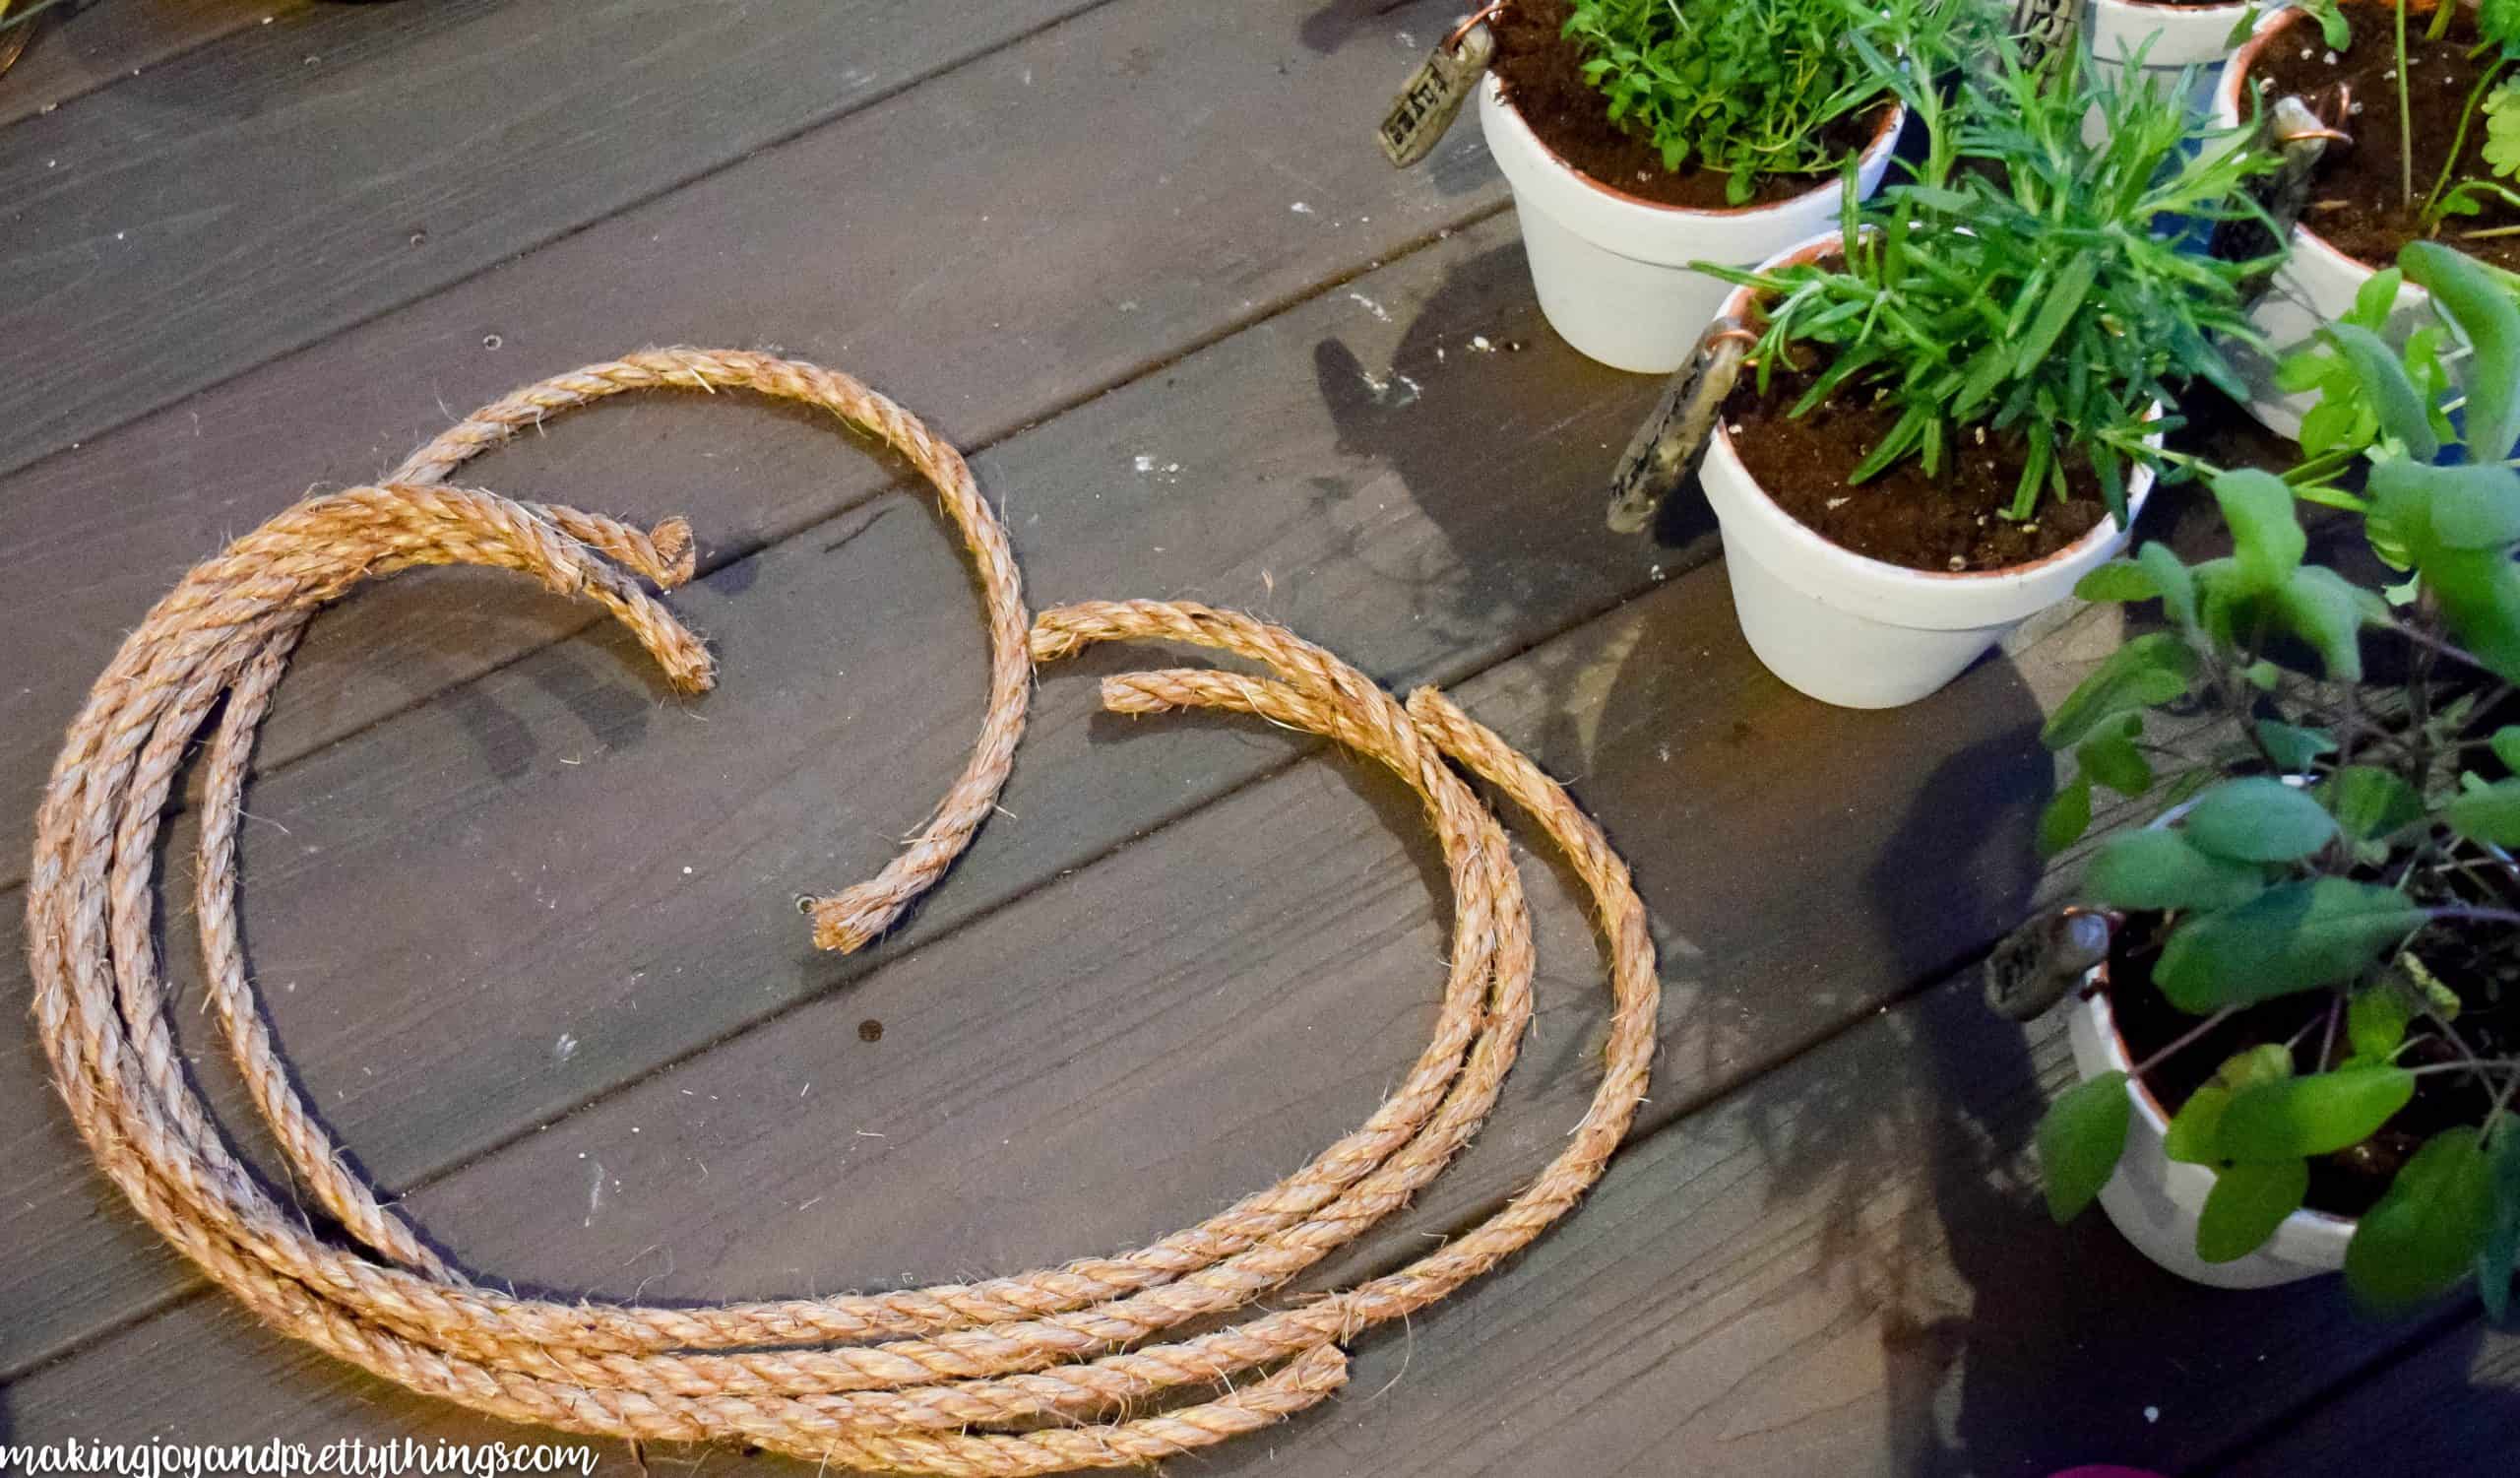
Step 4. Add rope to your balcony herb garden
We used regular ‘ole scissors to cut our sisal rope. This rope is great for the project because it’s natural and rustic looking, matching the cedar boards!
We cut 8 pieces of rope about 24in long each. You need 4 pieces of rope for each board.
You will then string the rope through each of the holes. My husband found if you twist the rope in a clockwise manner while pushing, the rope slides through easier. I don’t know, I just shoved mine through…..
(AHHH look at those boards!!! So pretty)
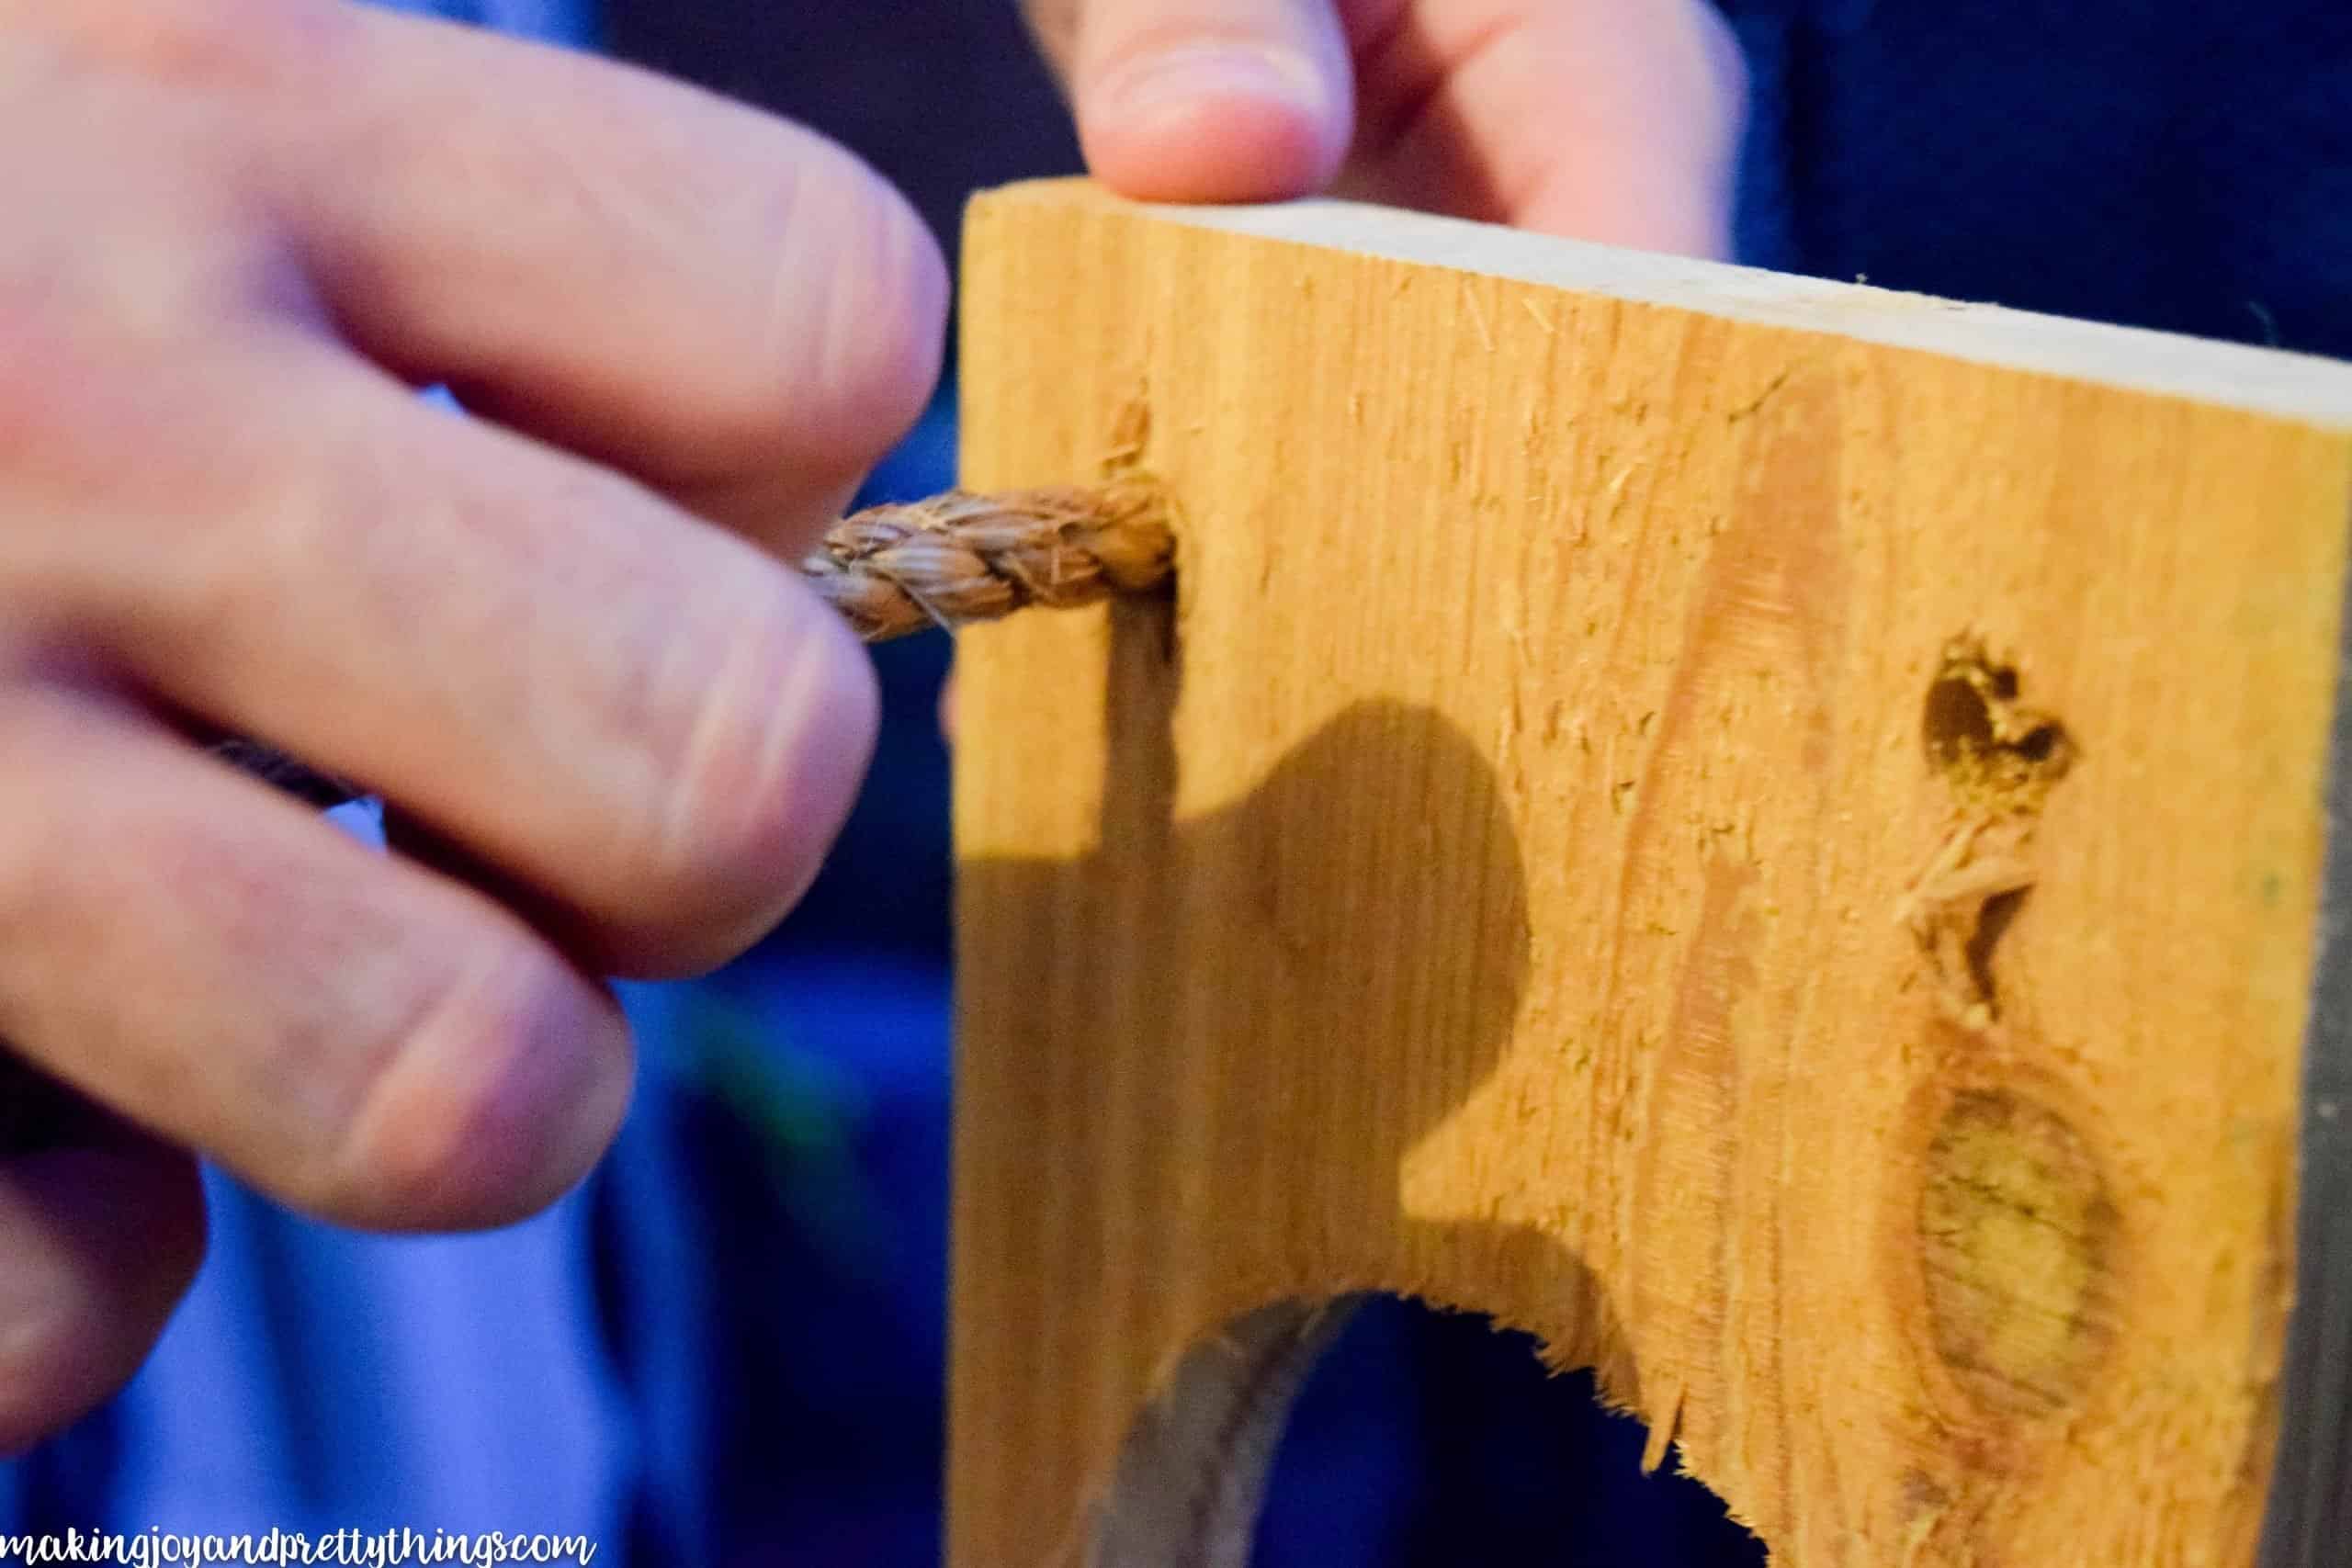
So, on the cedar, there is a more rustic-y side and a more finished side. We chose to have the rustic side face up. So you want about 3/4 of the rope on the unfinished (or top) side and the remaining amount on the finished (or bottom) side.
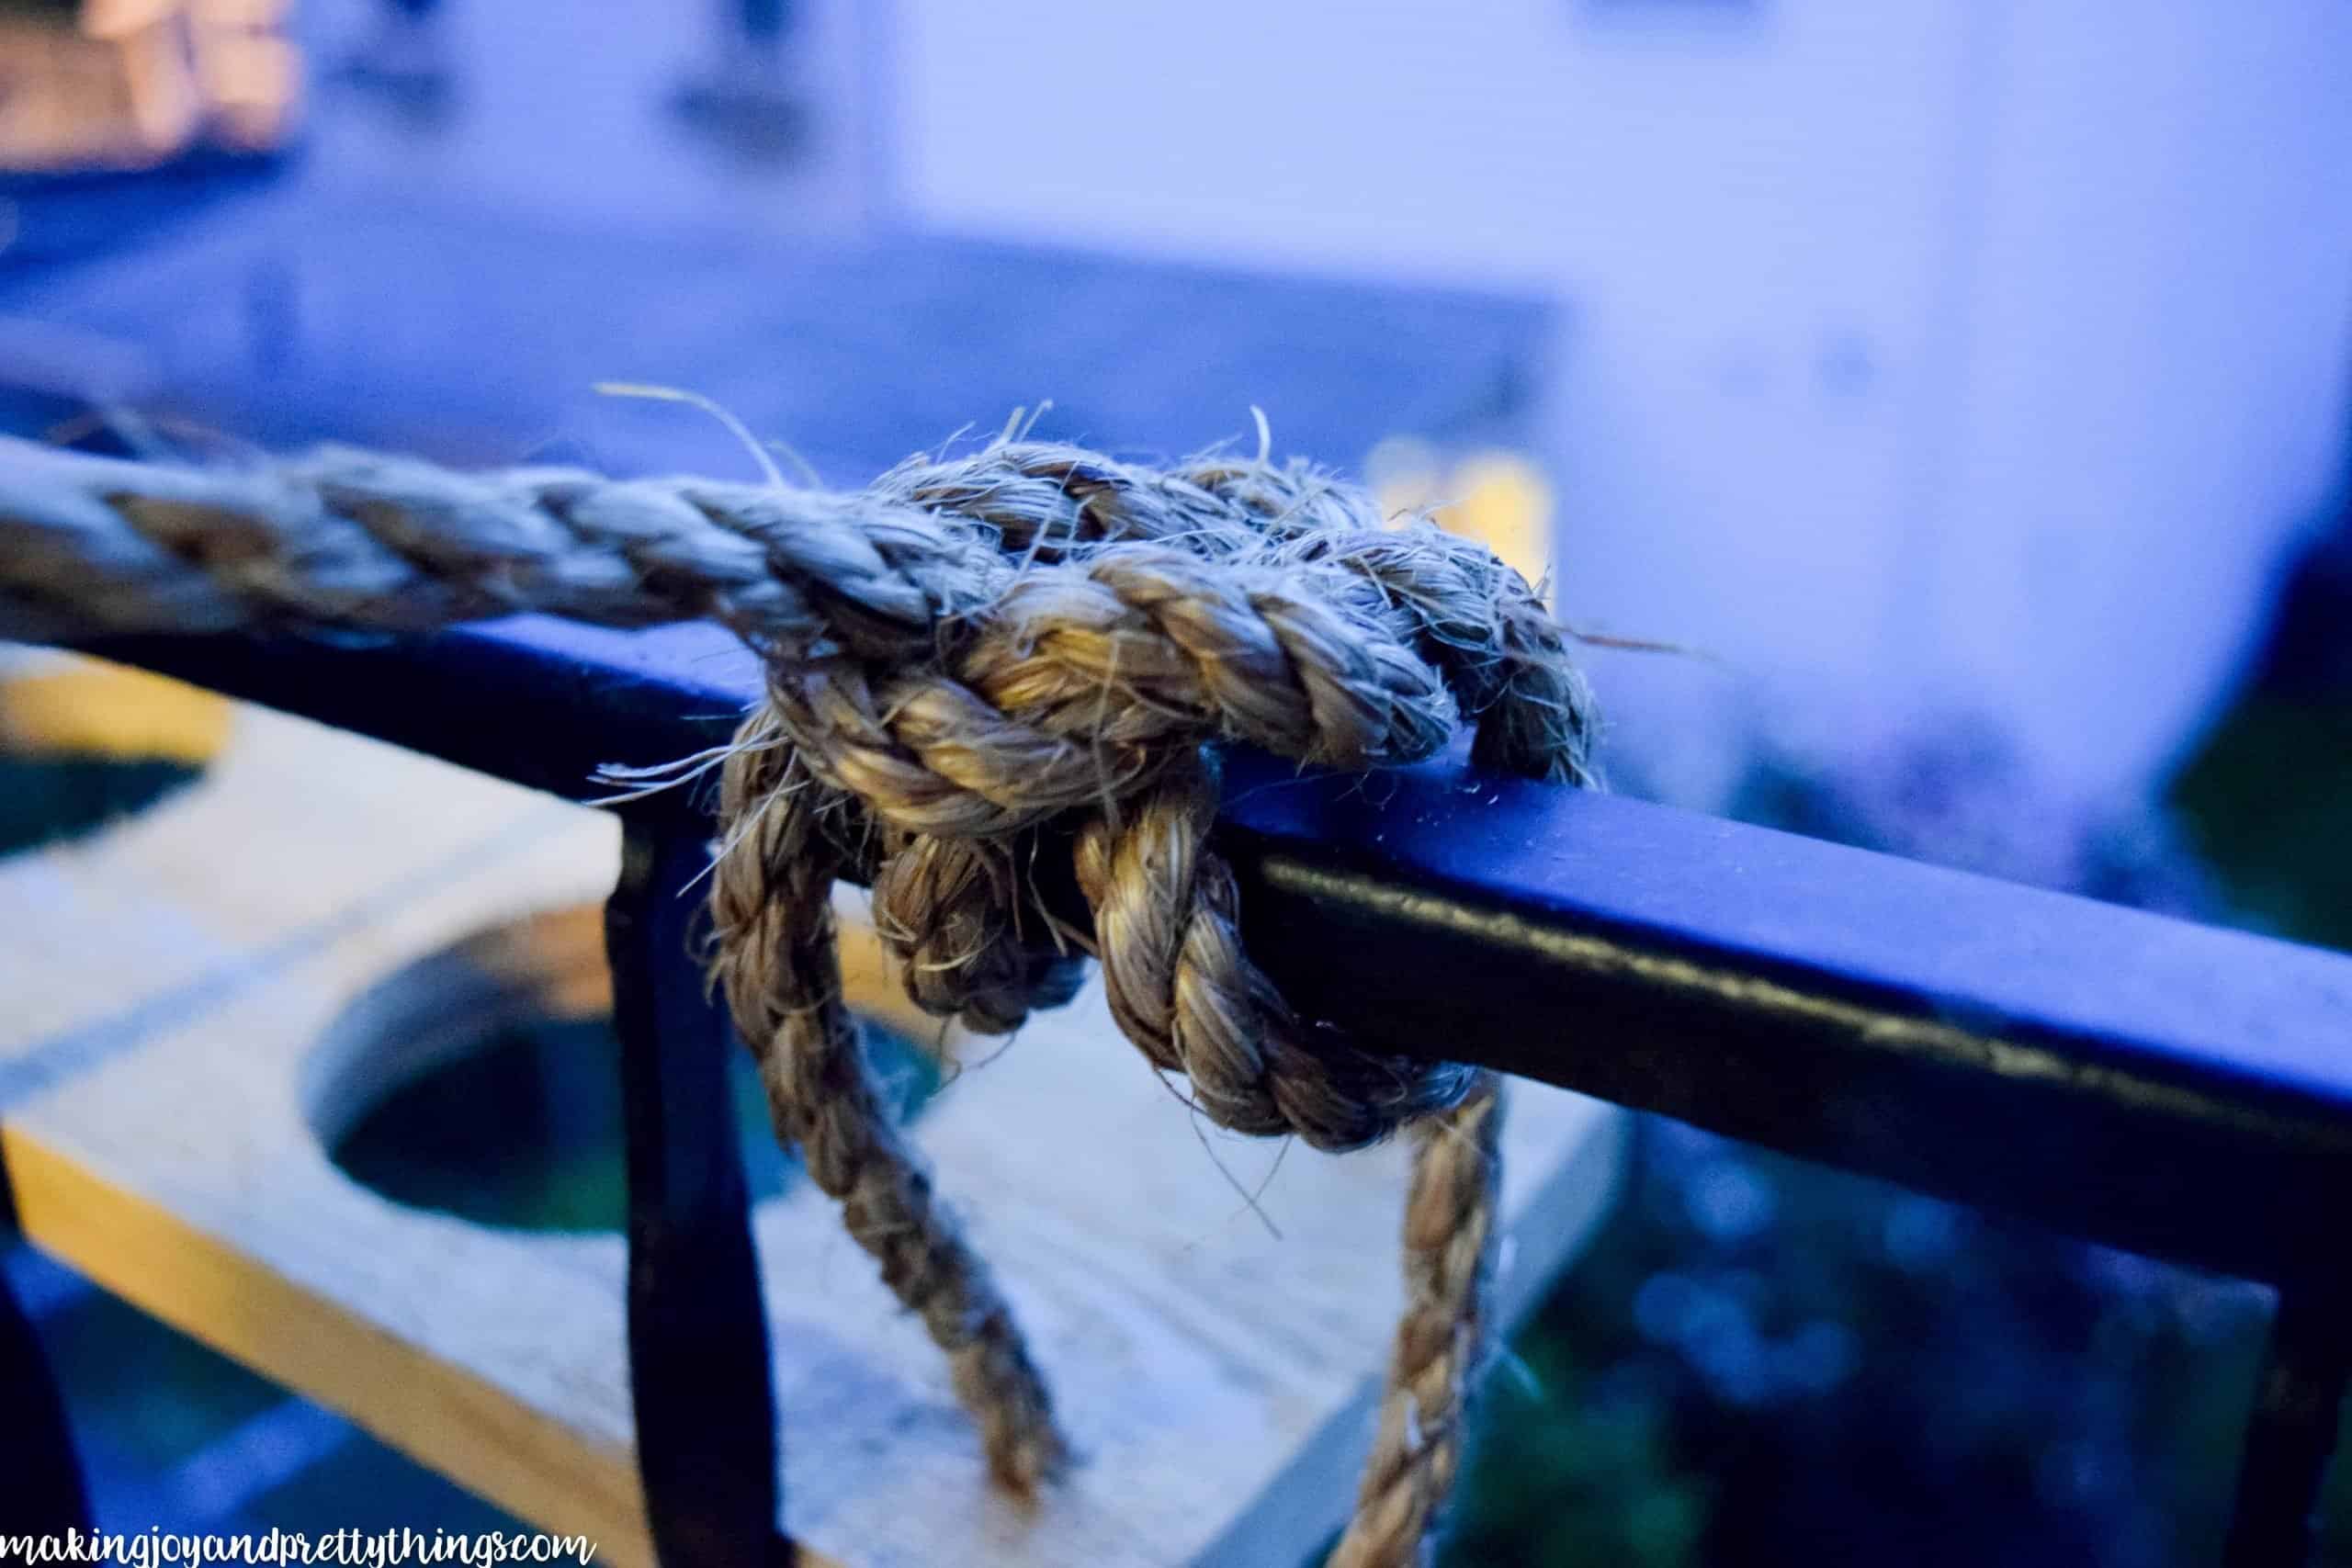
Then, we tied a knot on the bottom side of the board. You’ll need to make a knot for each rope on the board (so 4 knots total for each board).
This is a regular “pull the rope through a circle” knot. Nothing fancy.
Once you have your bottom knots complete, it’s time to hang it!!
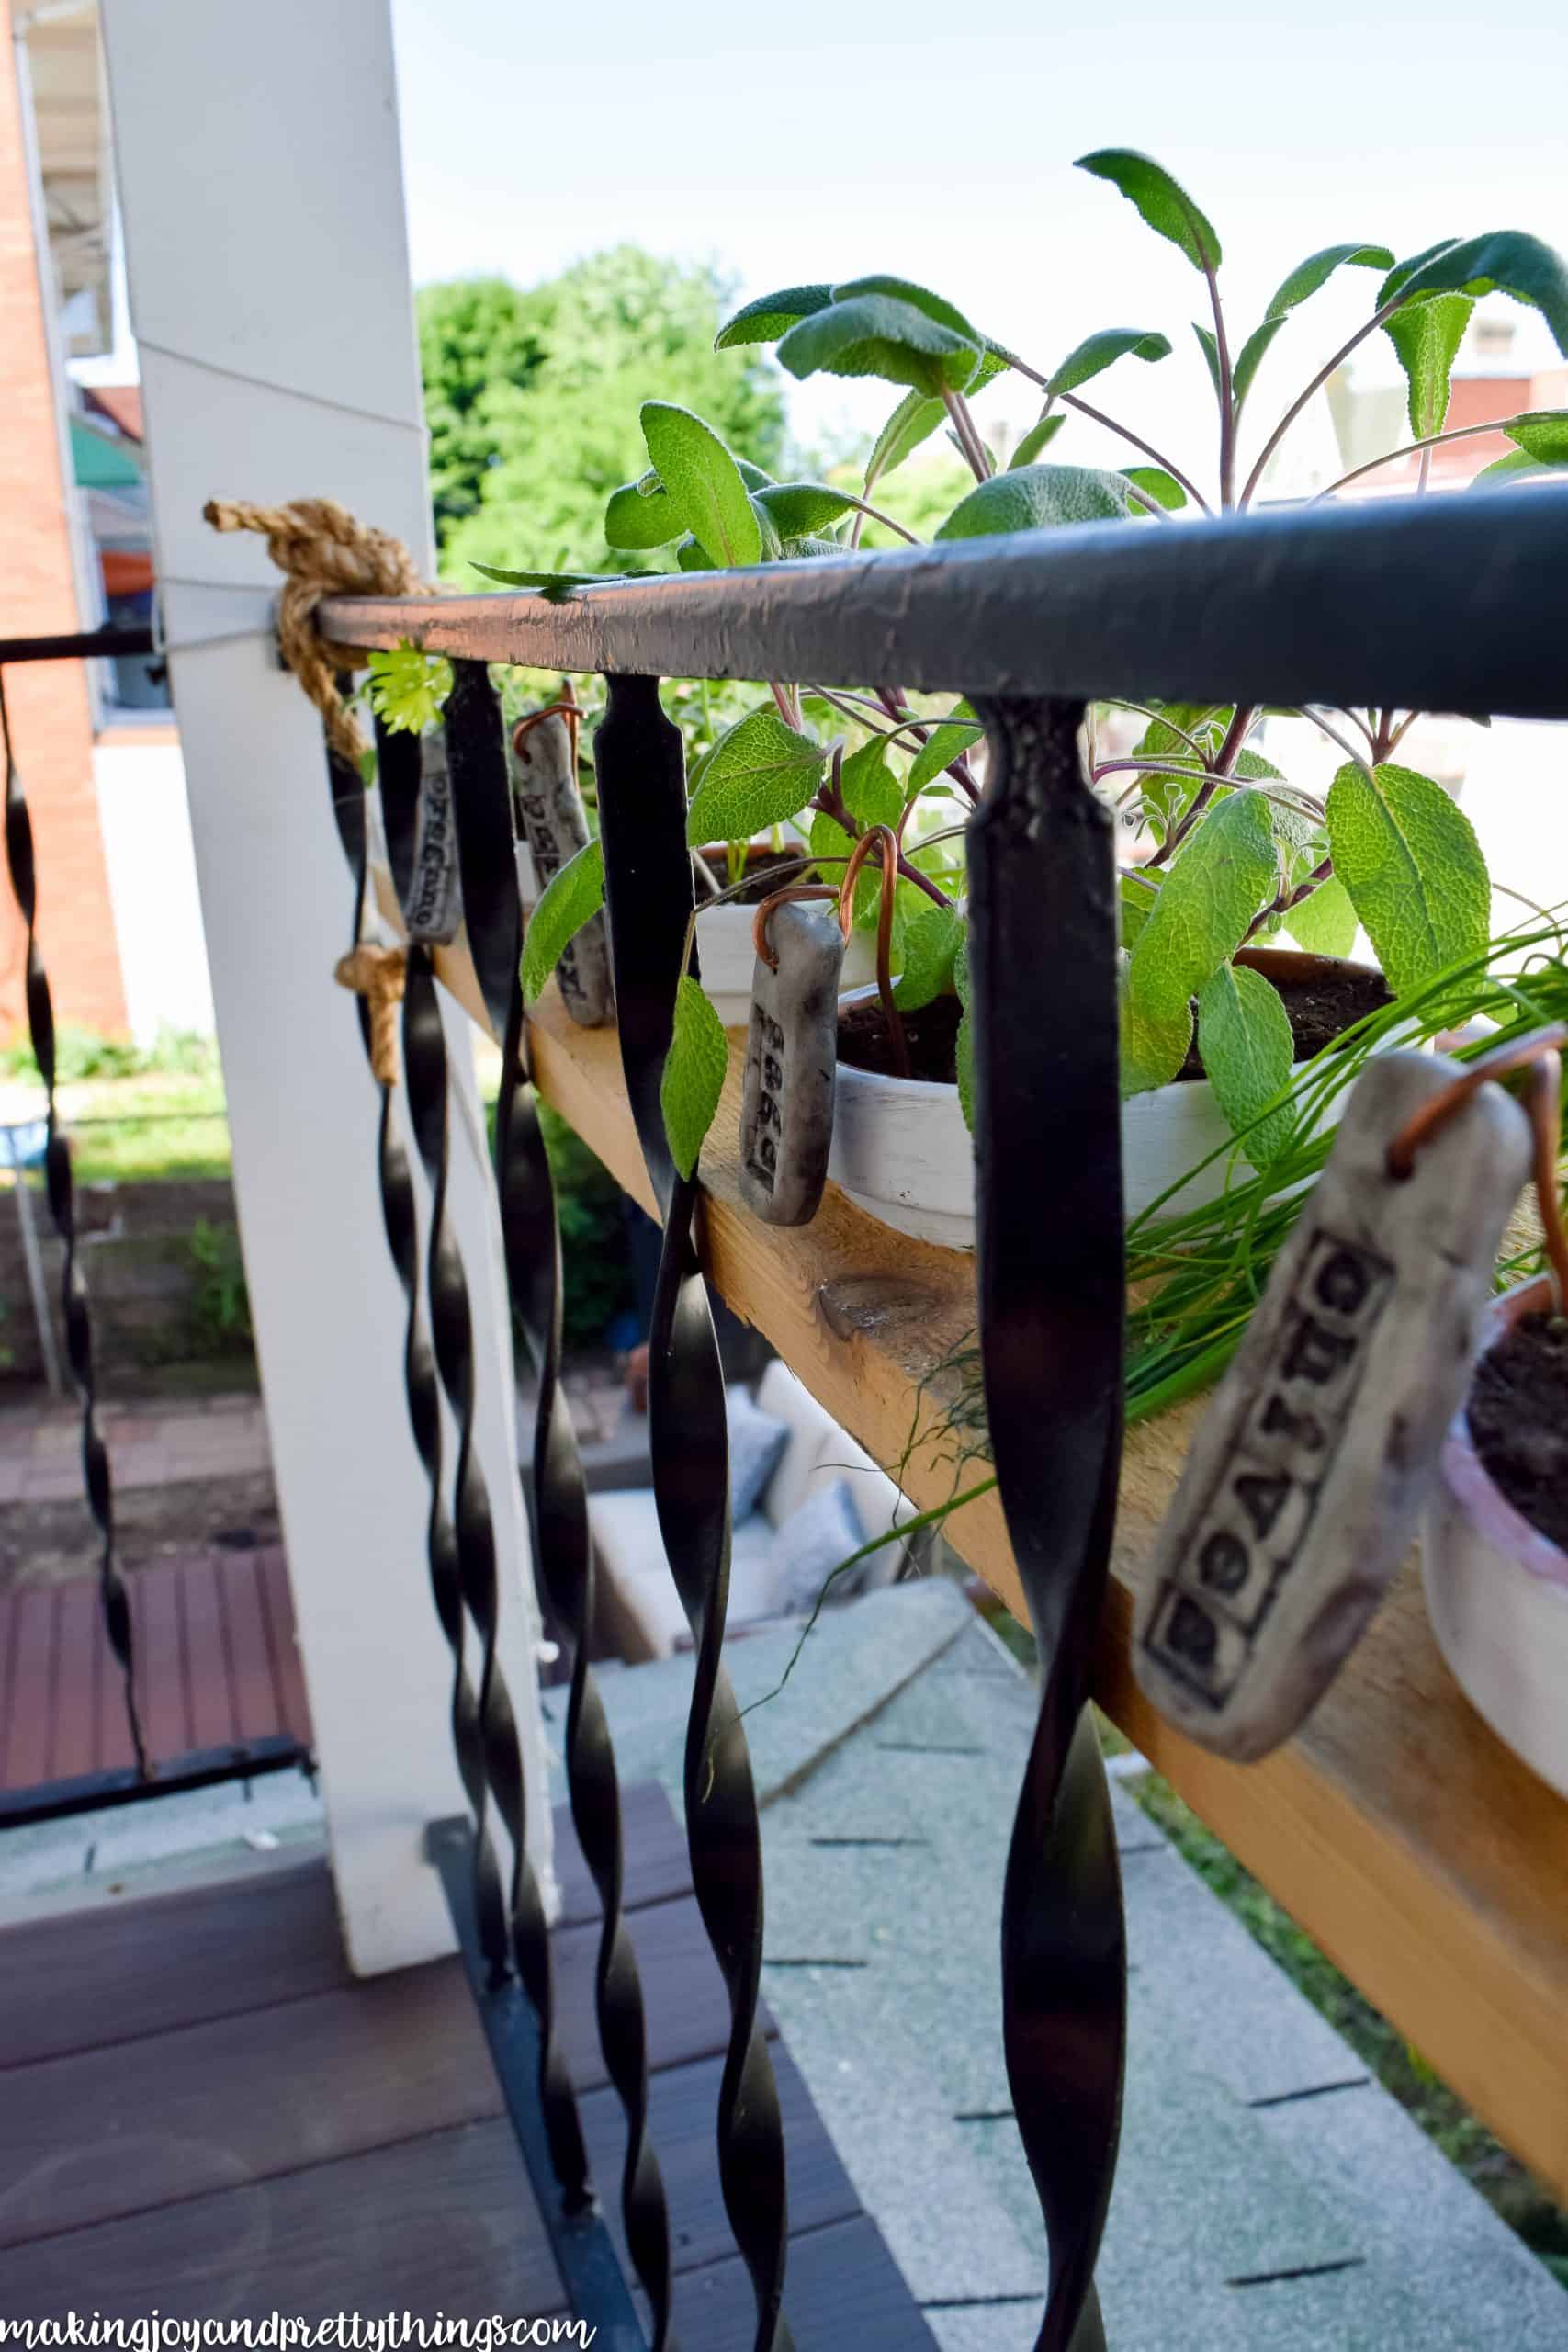
Step 5. Hang the cedar board with the rope
We have a great iron railing that was perfect for this project. You may need to figure something a little different out for you, depending on what your railing looks like. Feel free to reach out to me with any questions!!
This is definitely a two-person job because you want to make sure it’s level.
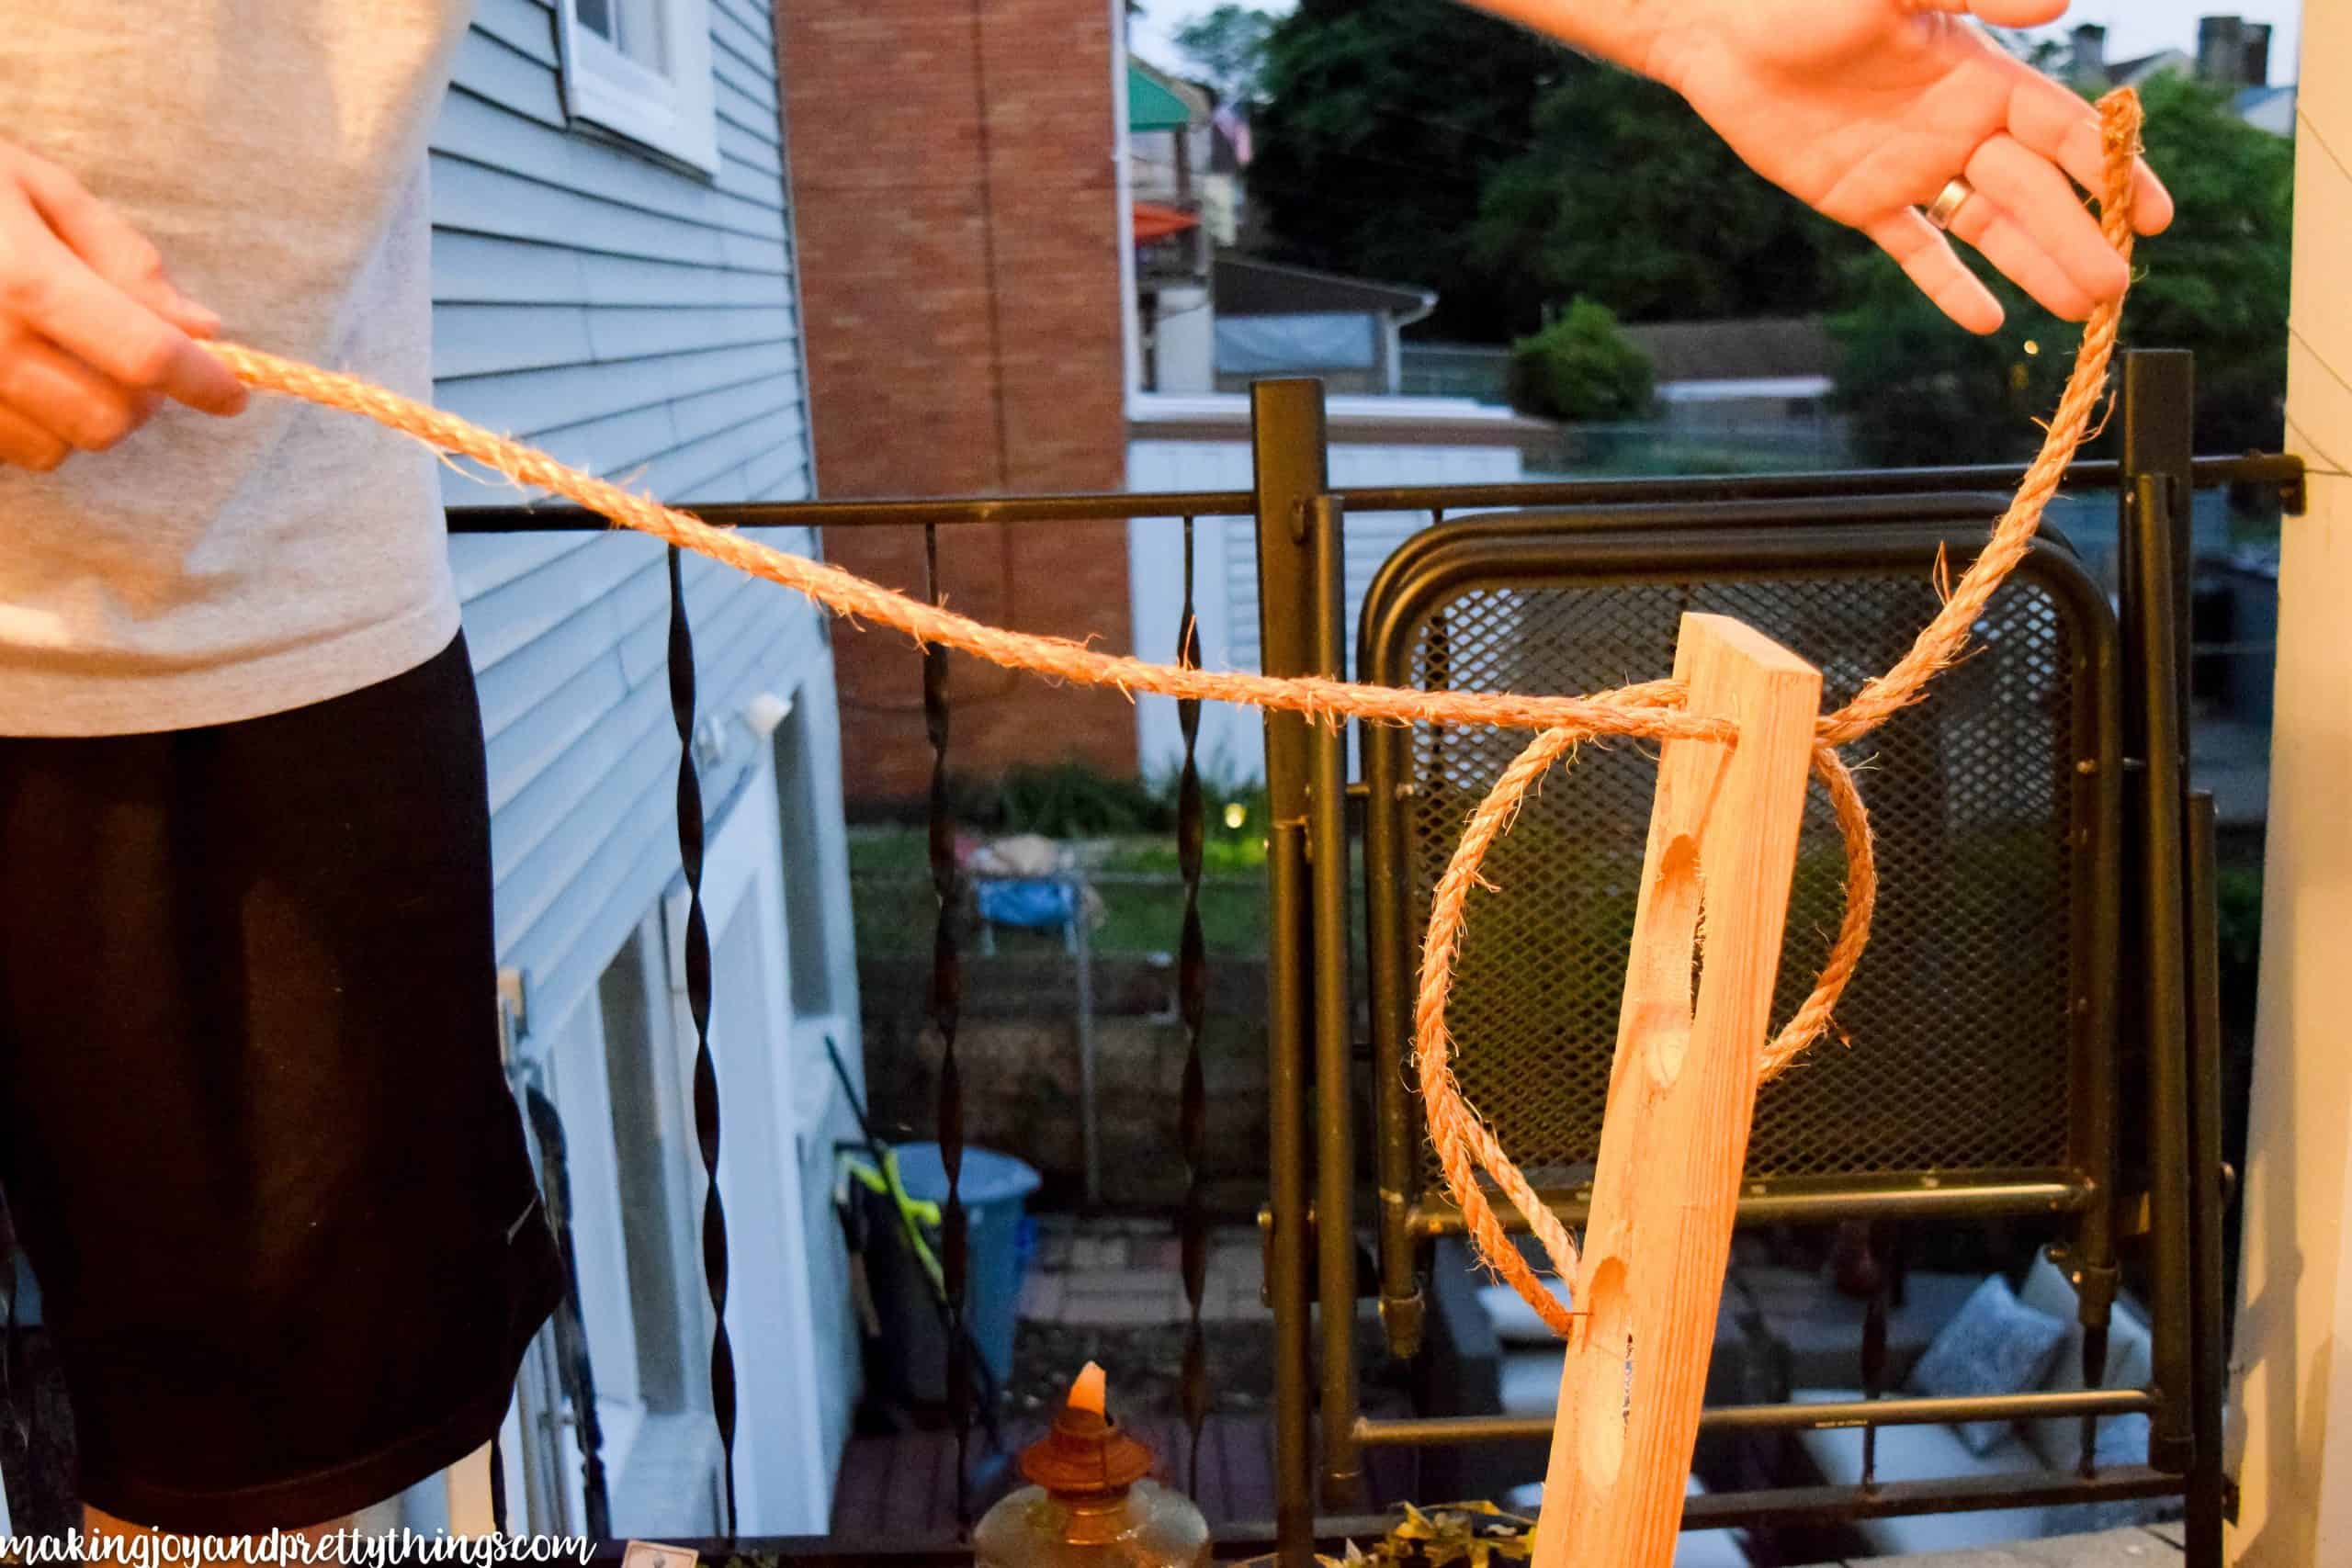
Starting with the rope on the unfinished (or top) side:
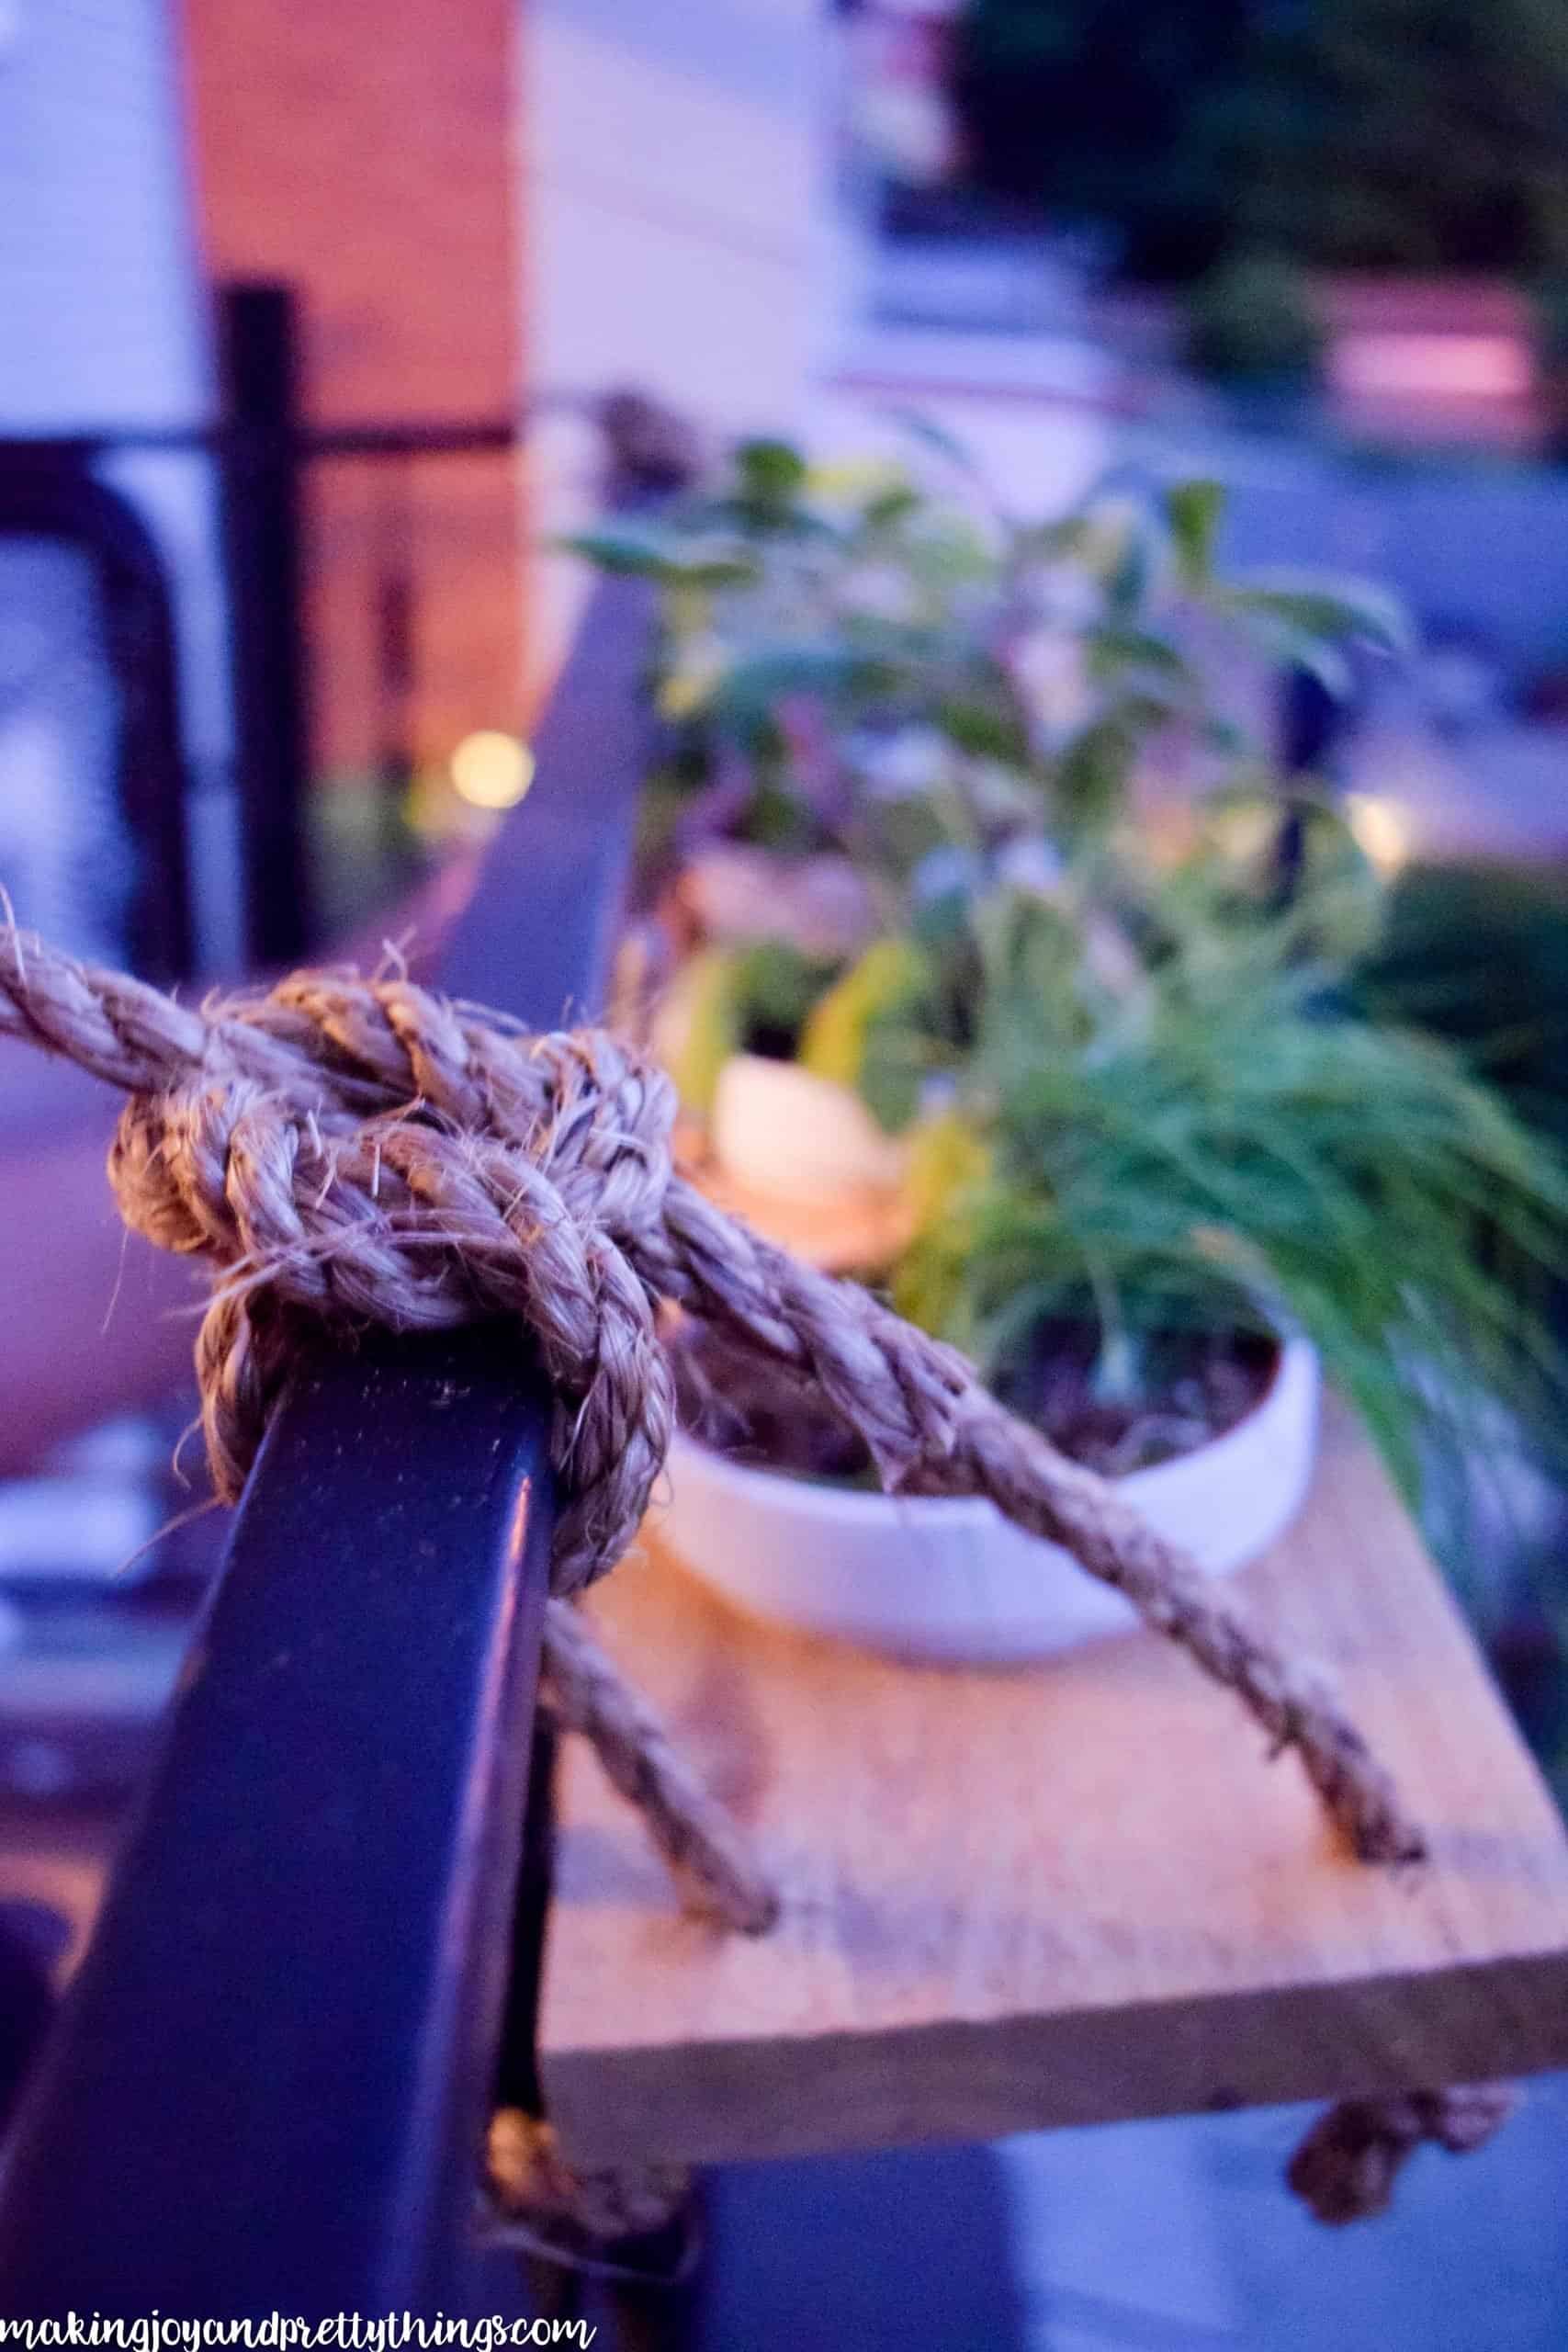
1 person will hold the board and the other will begin tying a knot with BOTH PIECES of rope to the top of the balcony. My husband did some weird knots here, but all of my were just regular knots as before.
Finished tying both upper knots before moving on to the bottom.
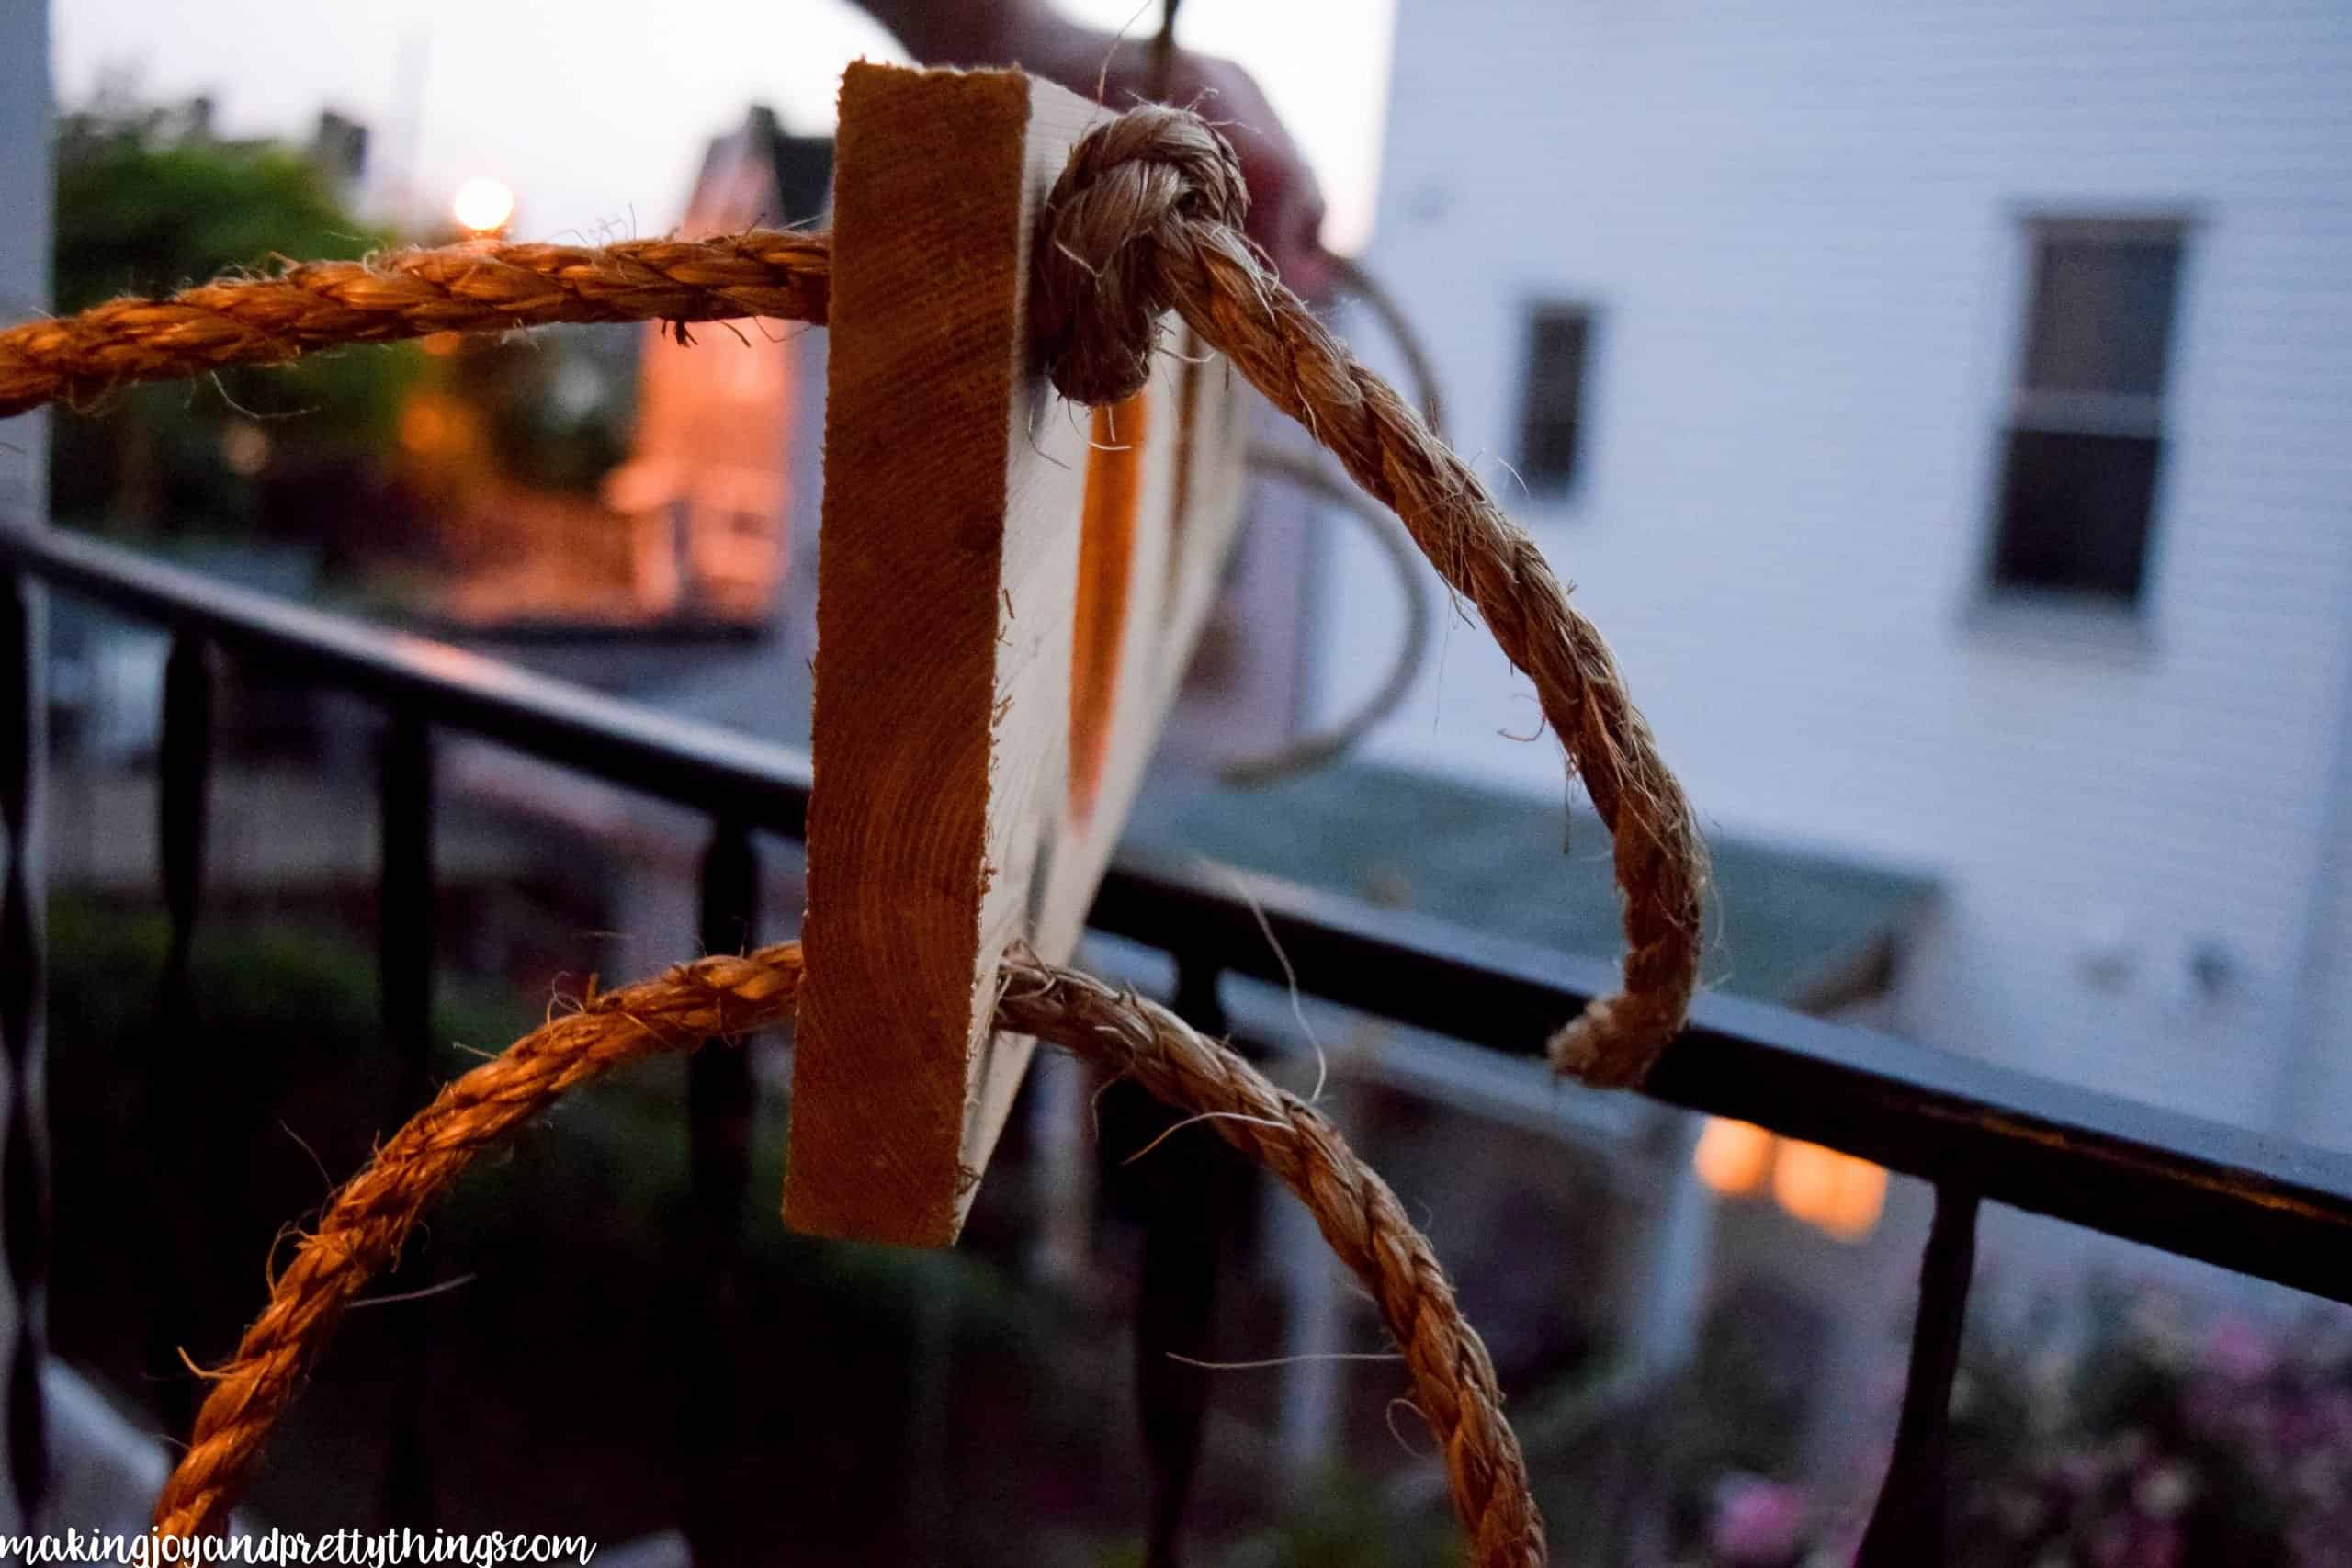
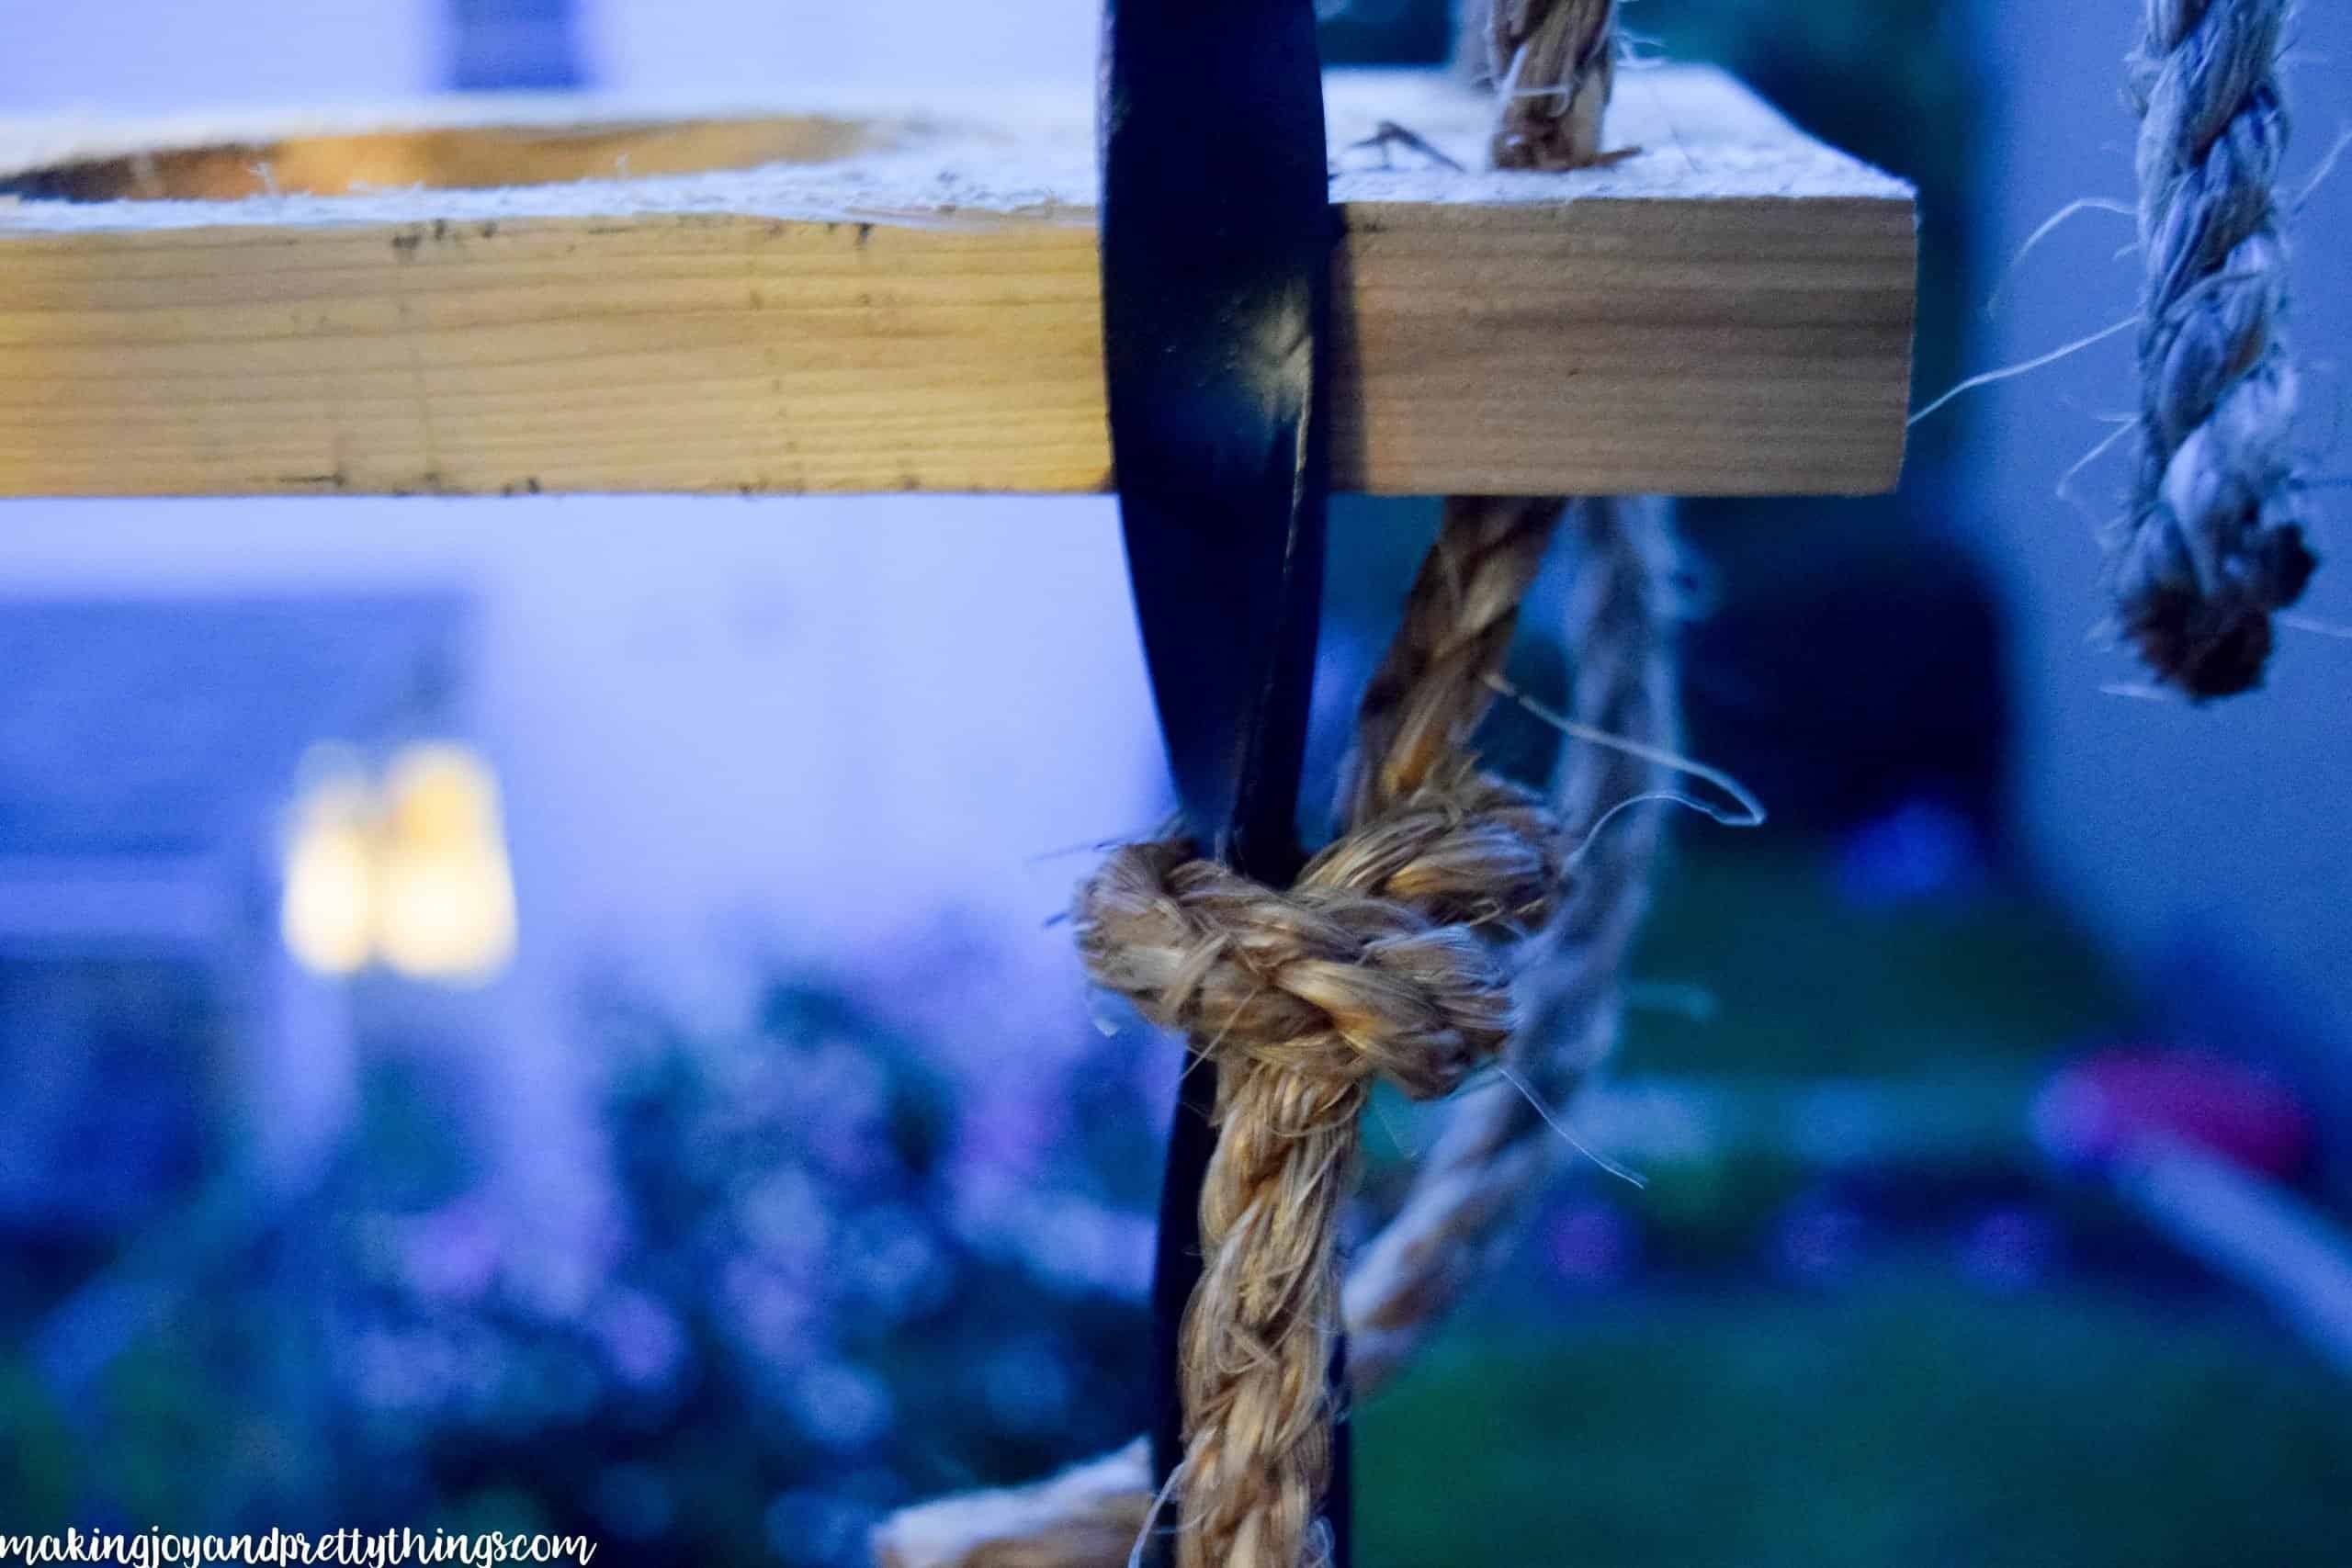
Then you’ll tie ONE bottom piece (below the knot you tied before) to a post on the railing.
You want to pull it pretty tight so that it’s not blowing in the wind. You don’t want those herbs flying out! Try to make it as level as possible. But, if I’m being honest, mine aren’t 100% level….
The last piece of rope that is in the front of the wood face down will just get cut so that all that remains is the knot you made before.
All that’s left is to trim the rope (leave about 1″ of rope at the end of each knot).
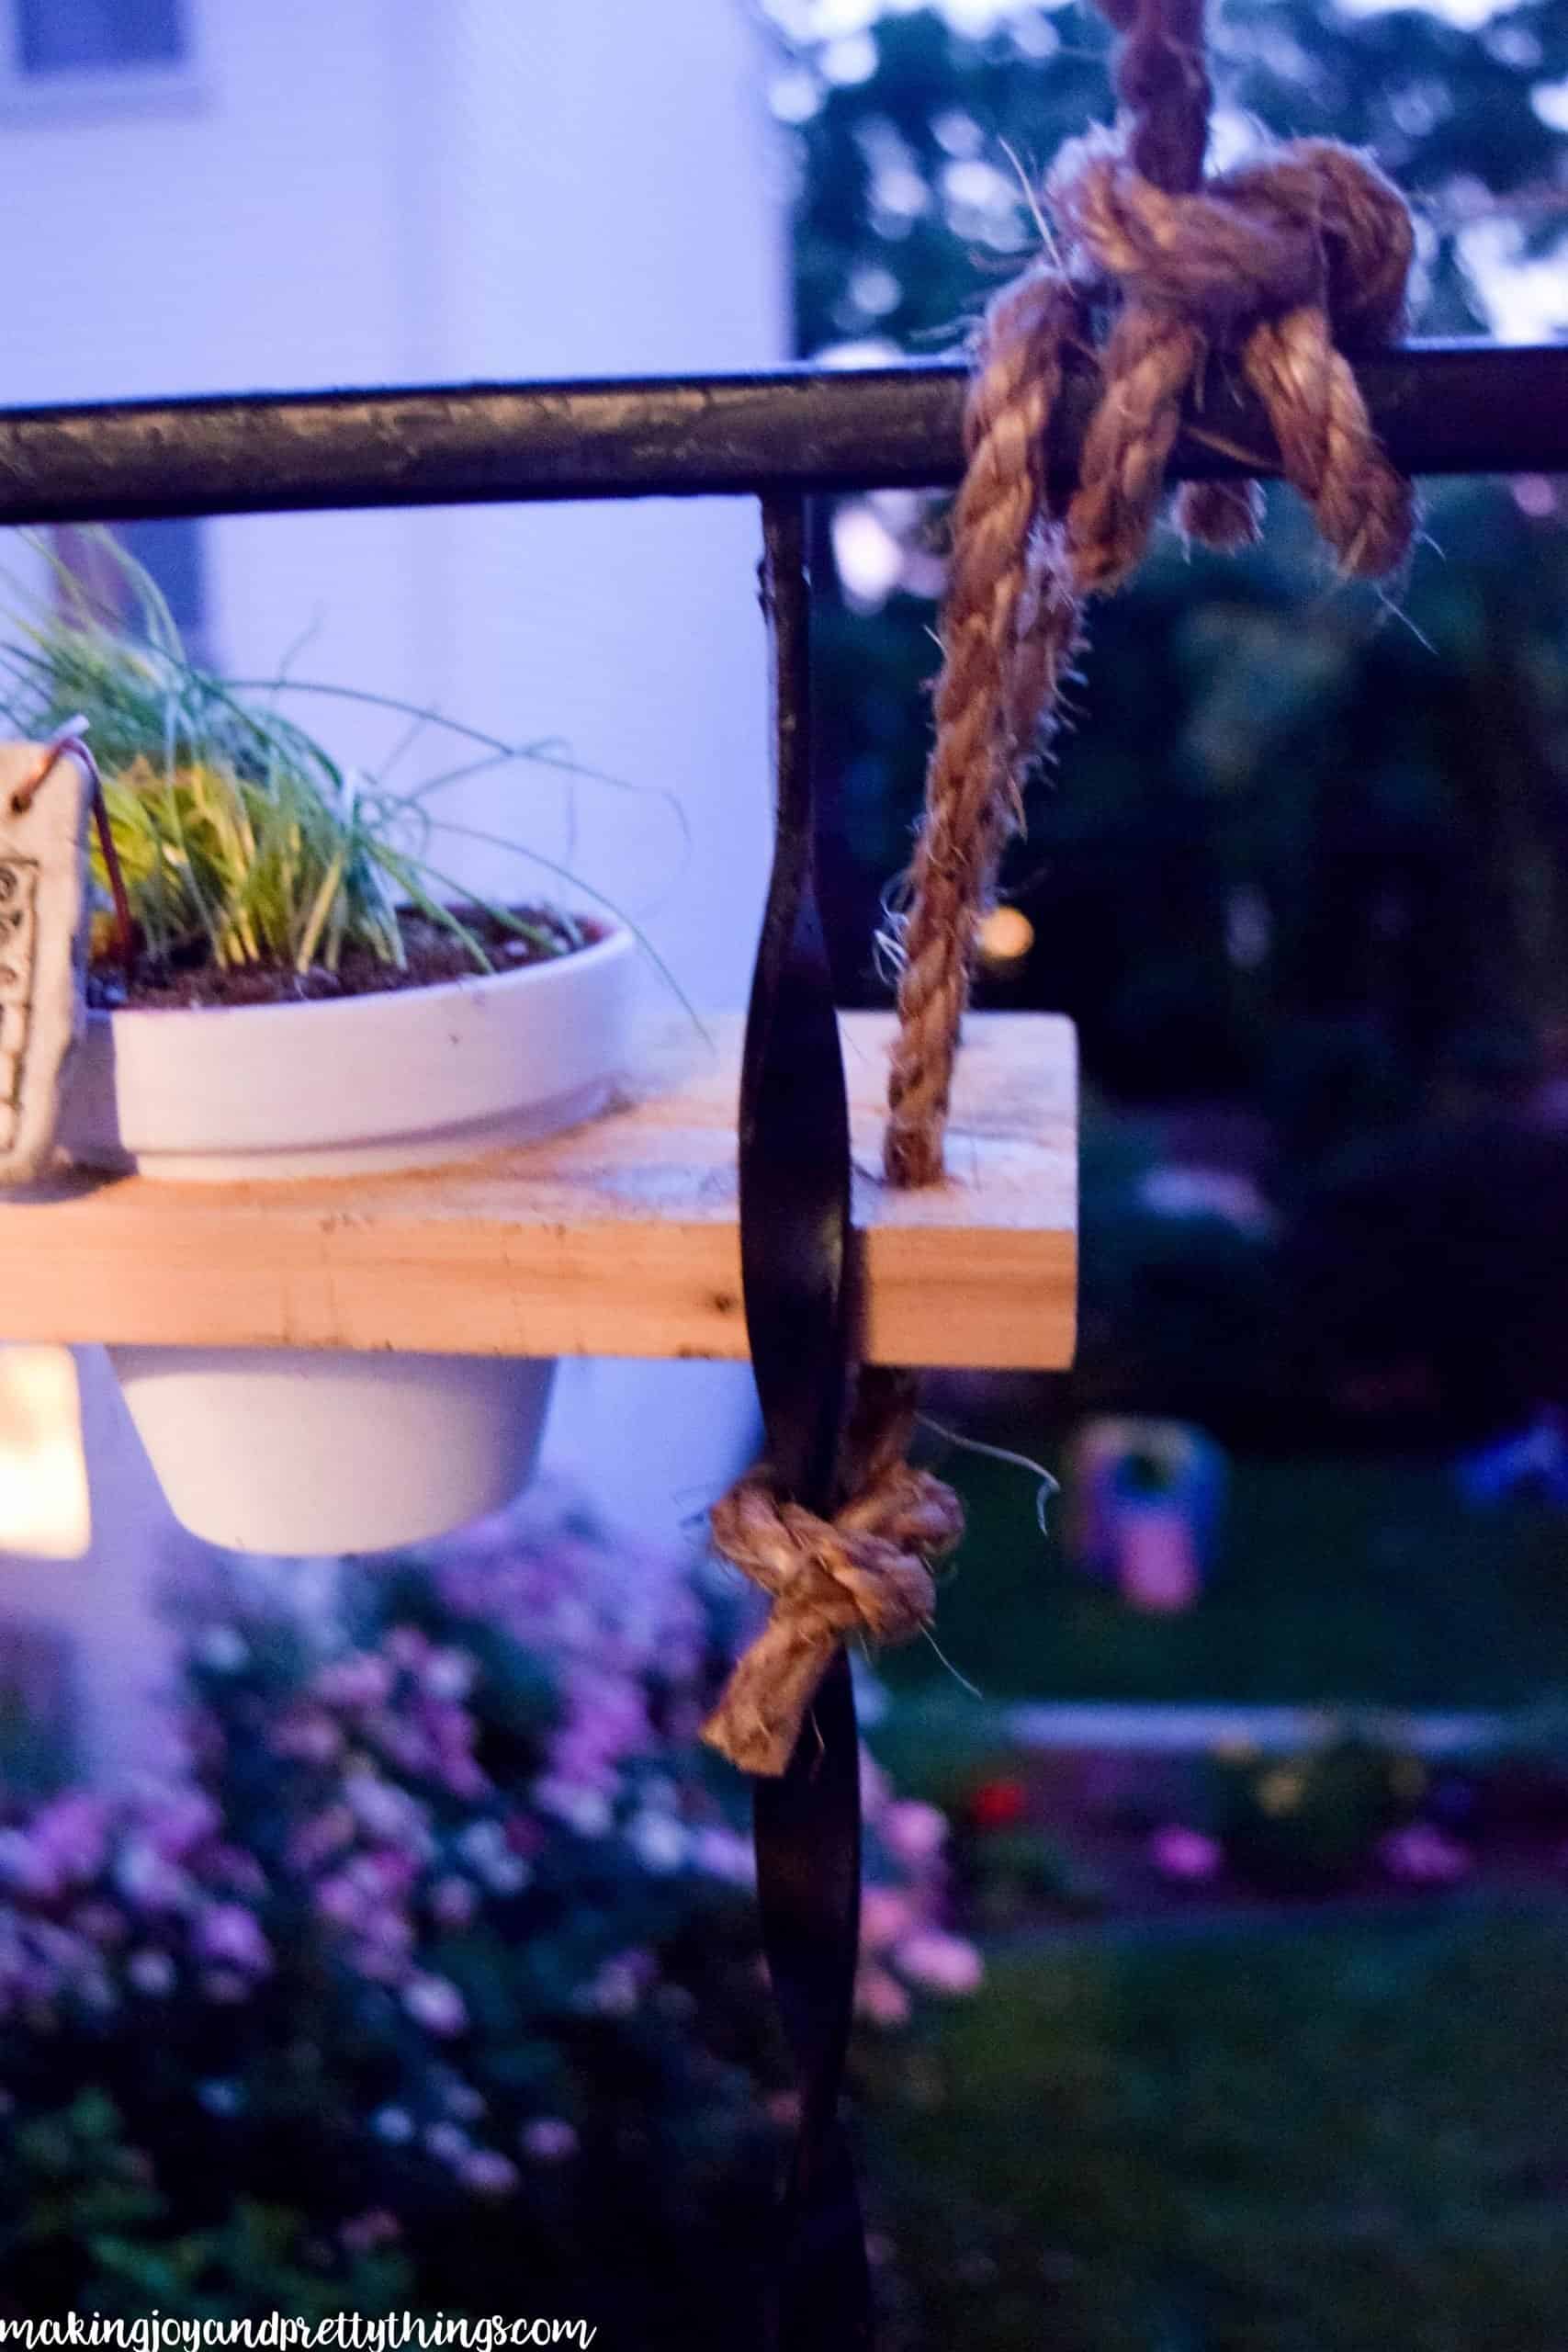
Then, insert your beautiful herb pots!!
Oh hey, back to daylight!!
You guys, I would have liked to hang this on the inside of the railing, but, little fingers would come and destroy all my hard work.
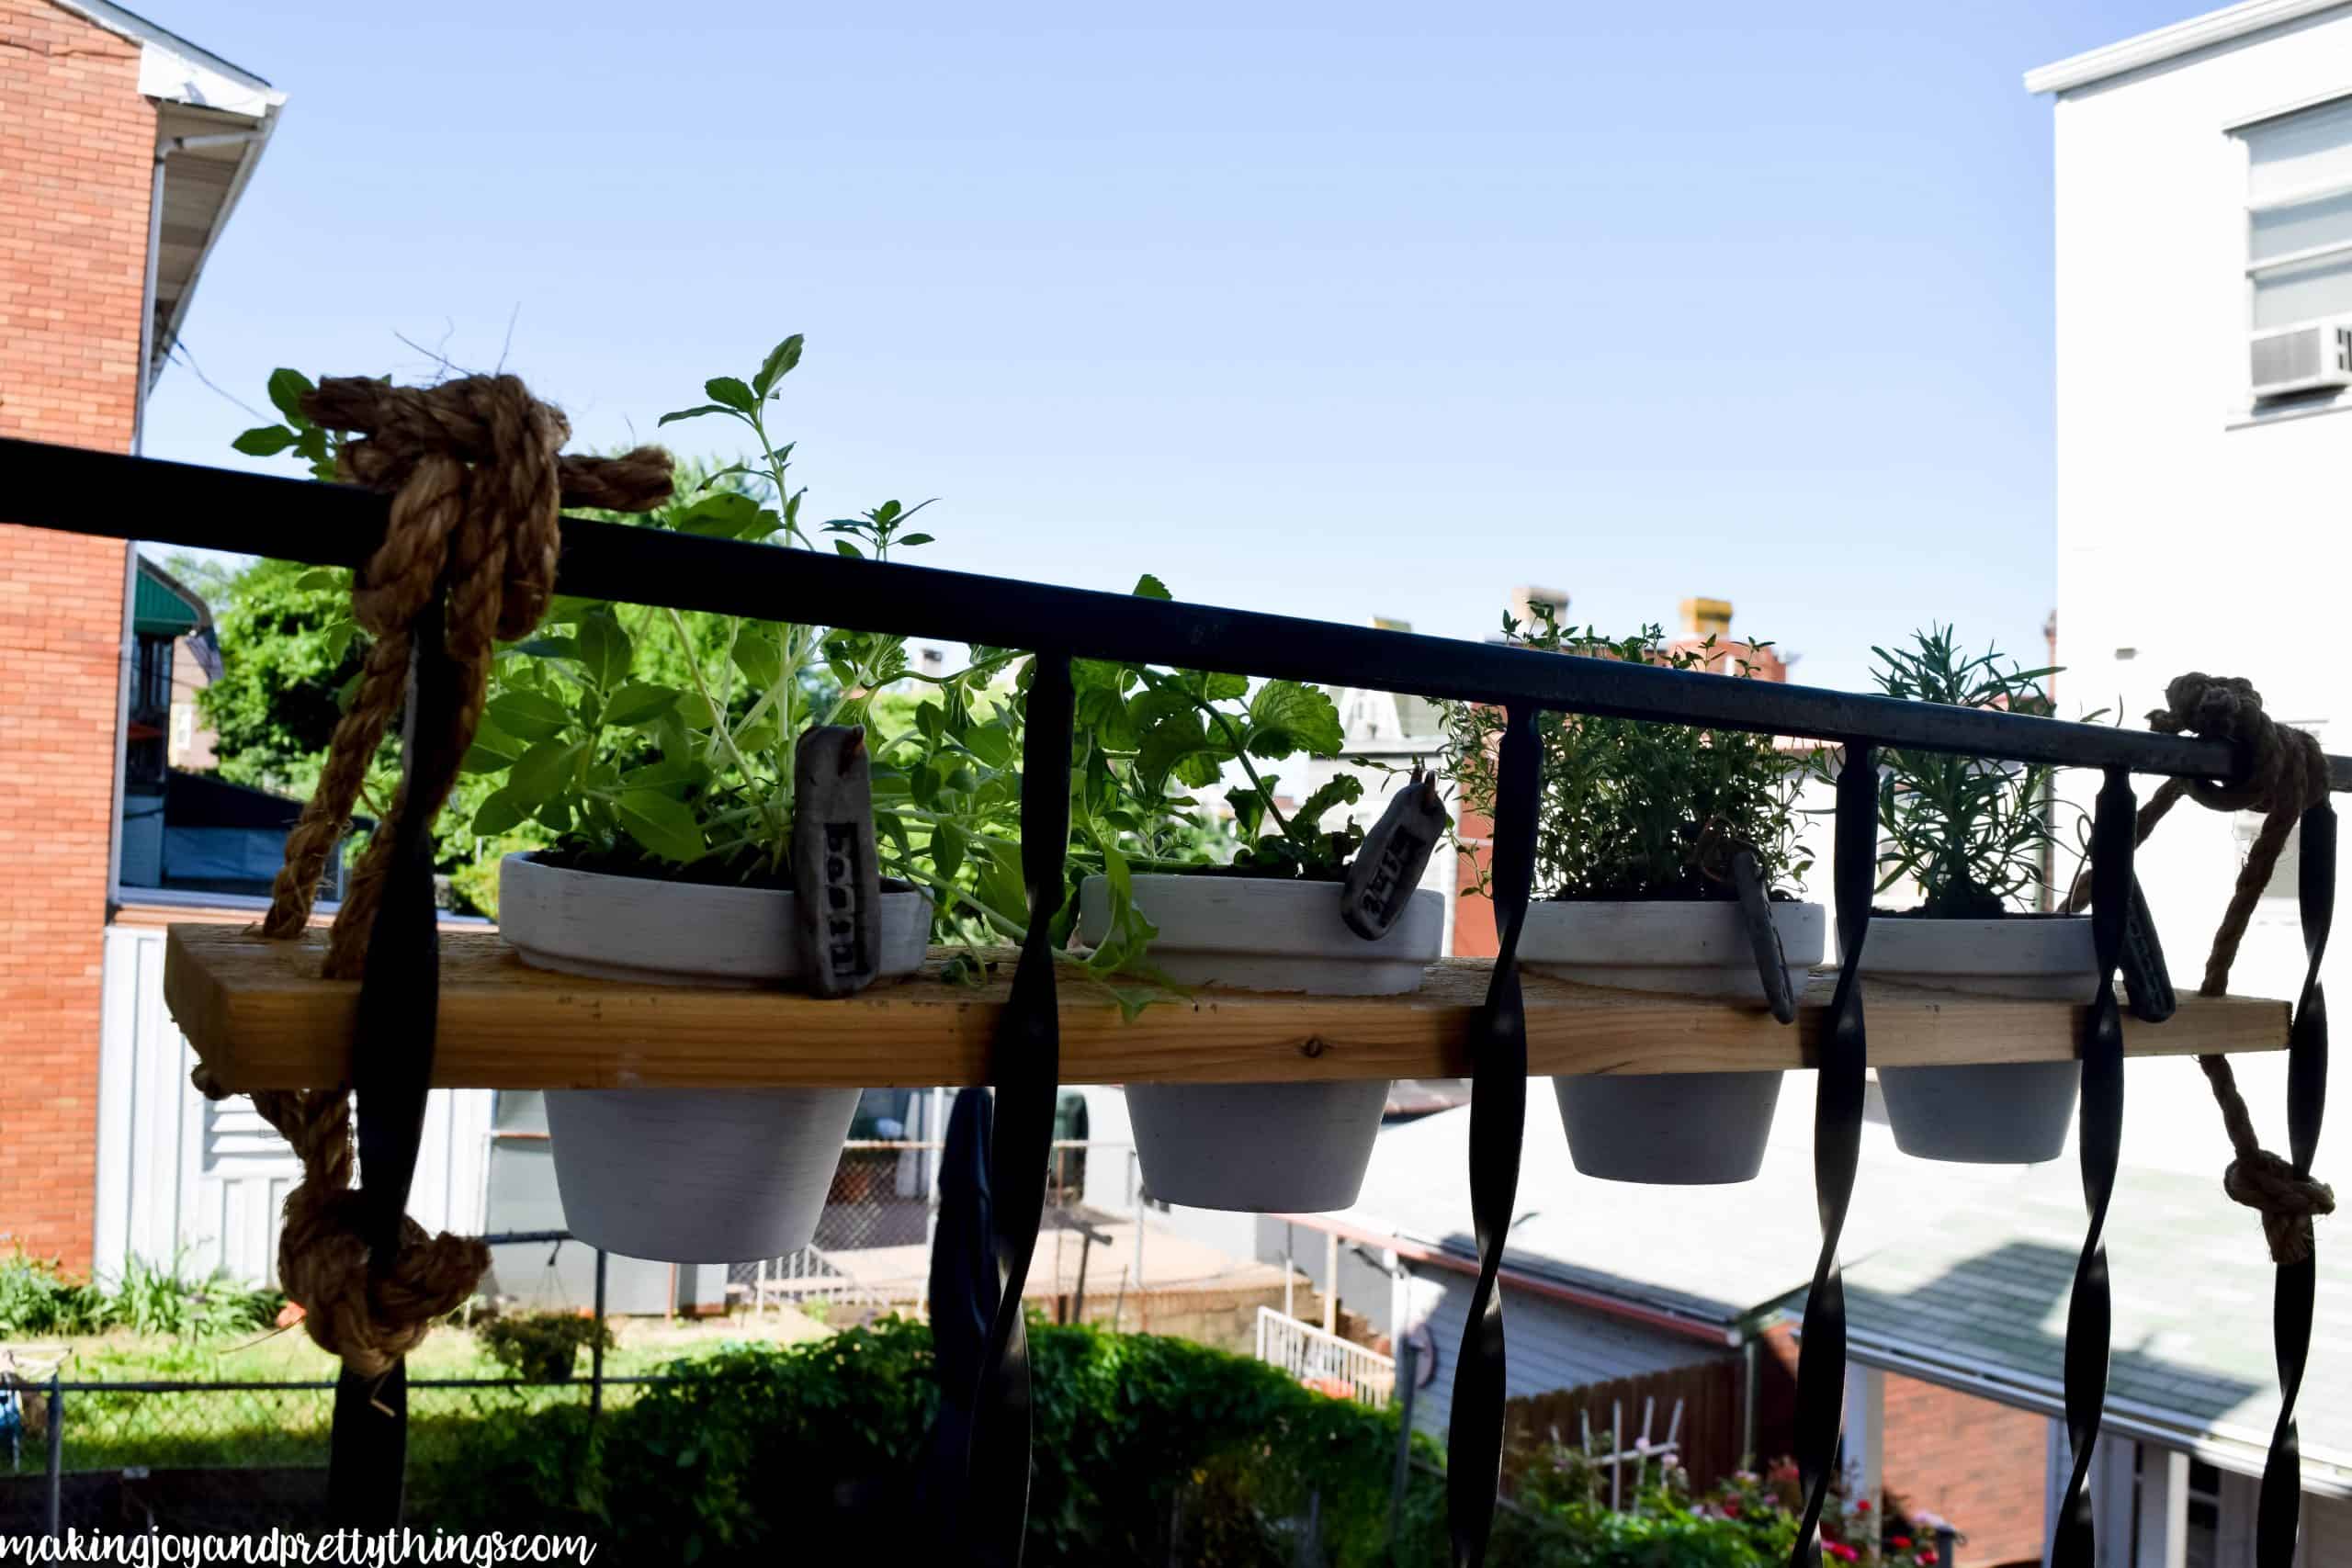
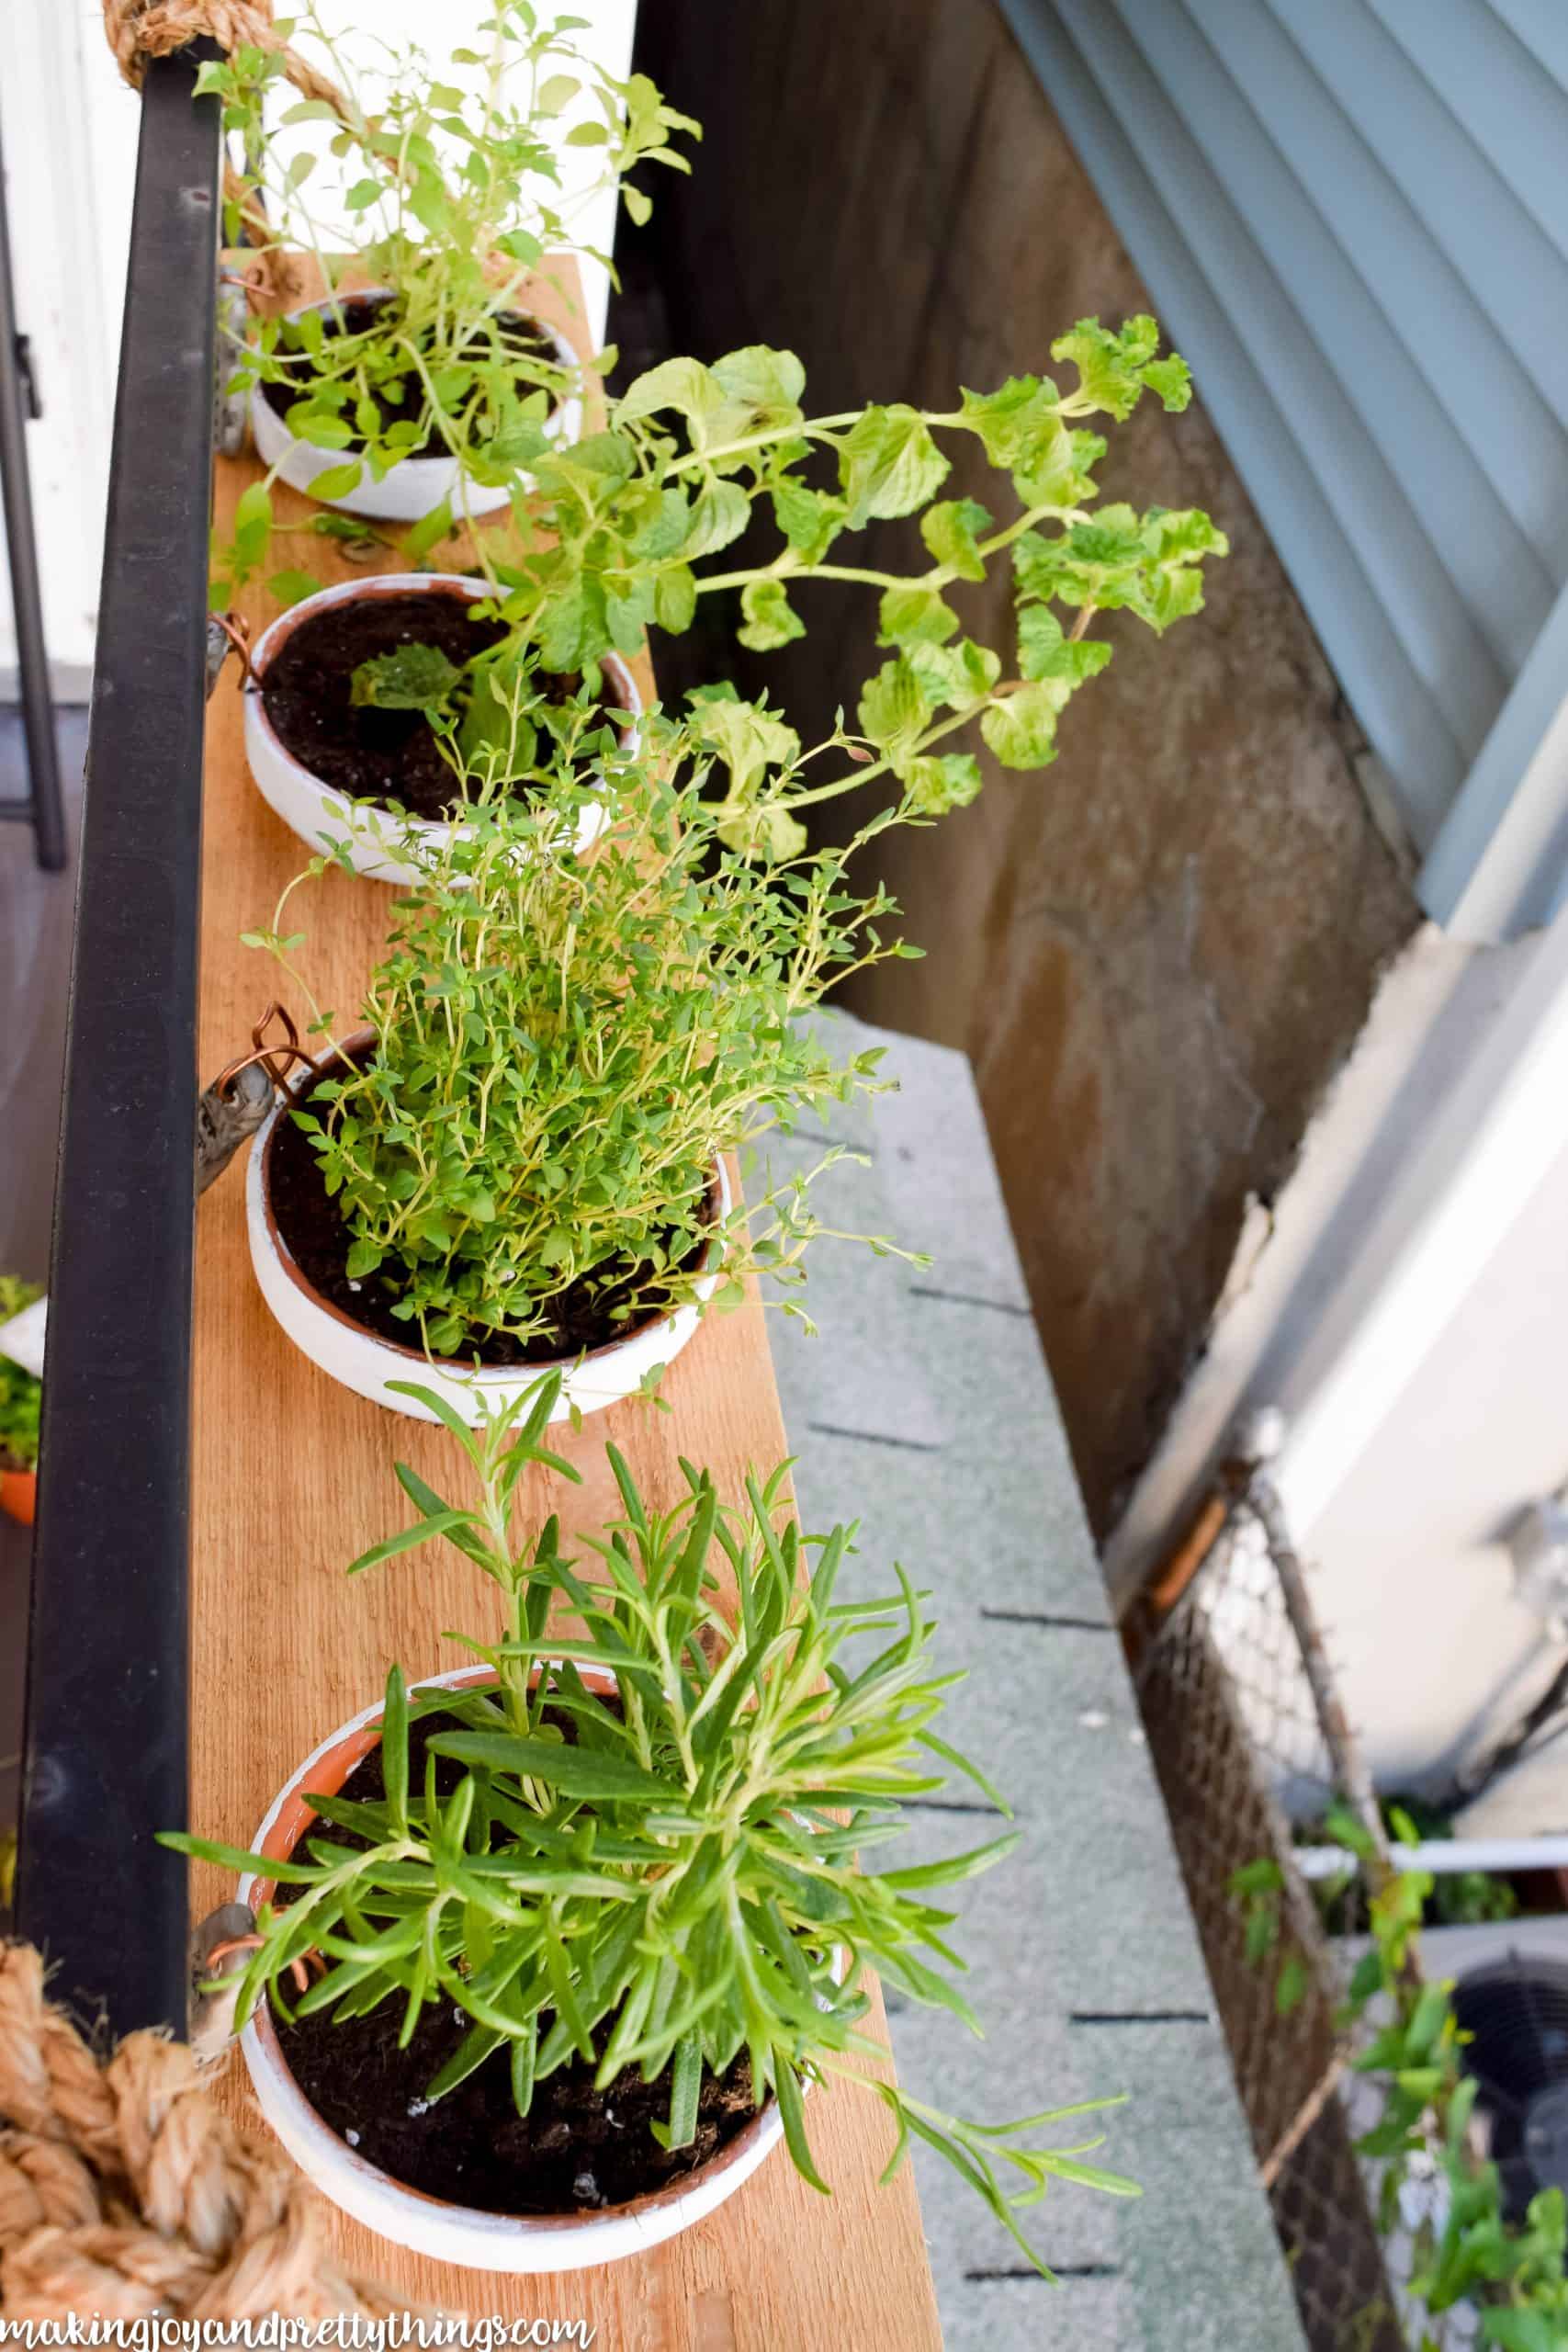
I’m loving how the hanging herb garden turned out! It’s easy to come out and pull a few herbs for cooking. So far I’ve used the mint for lemon/mint water (or mojitos!!) and parsley for turkey burgers.
That’s all for today, guys! I hope you try this out or are inspired to make your own herb garden for balcony. Thanks so much for stopping by!
Wishing you a joyful day!

DIY Herb Garden for Balcony
Have you ever wanted to try out your green thumb but don't have a yard or space for it? With this DIY herb garden for balcony you can tackle that new skill today and without the traditional yard required!
Materials
- Everbilt 1/4 in. x 50 ft. Natural Sisal Rope
- 8 4" Terra Cotta Pots
- Rustoleum Chalk Paint in Linen White
- Potting Soil
- Various herbs; I used sage, parsley, chives, oregano, thyme, mint, basil, & rosemary
- Herb Garden Markers
Instructions
- Drill holes for the herb garden pots
- Paint the herb garden pots
- Grab and plant your herbs
- Add rope to your balcony herb garden
- Hang the cedar board with the rope

![DIY Aged Black Pottery Using a Vintage Vase [Thrift Store Challenge]](https://www.makingjoyandprettythings.com/wp-content/uploads/2020/02/diy-vintage-vase-34-1.webp)


SUCH a great idea Sarah! So handy to have your own herb garden AND not have to give up your balcony space to do it!
Thanks so much Kristi!! I’m so happy with how it turned out!!
Love it! I’ve been thinking of making rope shelving similar to this as well!
Thanks Cristy!! It was easy to make. I would love to see what you come up with!
Oh my! Girl you rock at what you do! And to have your husband helping you is an added bonus. We tend to drag them along in this blog thing of ours – don’t we. But we are doing the stuff for home anyway so it’s all good:) Your herb garden is beautiful! I have never done a hanging herb garden but would love to have something like this (without me making it, of course). Your photos are lovely, night time and all!!!
Thanks Zan! Yes he does all the power tools (for the most part) and I do all the designing. We make a great team 🙂
It turned out super cute! I love the raw wood look with the rope. The natural green elements of the herbs are awesome!
Thanks Colette!! The natural elements (wood and rope) are my favorite!
I love this project! I’m also crazy about your cute herb markers, too!
Thanks Lora!! It was a lot of hard work, but it paid off!
Such a great idea, Sarah!! Love that it’s so handy to just get your own herbs!
Thank you, Kendra!! I’ve been loving the herb garden this summer.
Fantastic idea! We’ve just had a deck built at the rear of our home and a vertical styled garden would be an ideal addition for one end of the deck to allow for that beautiful greenery to finish it off. Thankyou for this D.I.Y. idea