
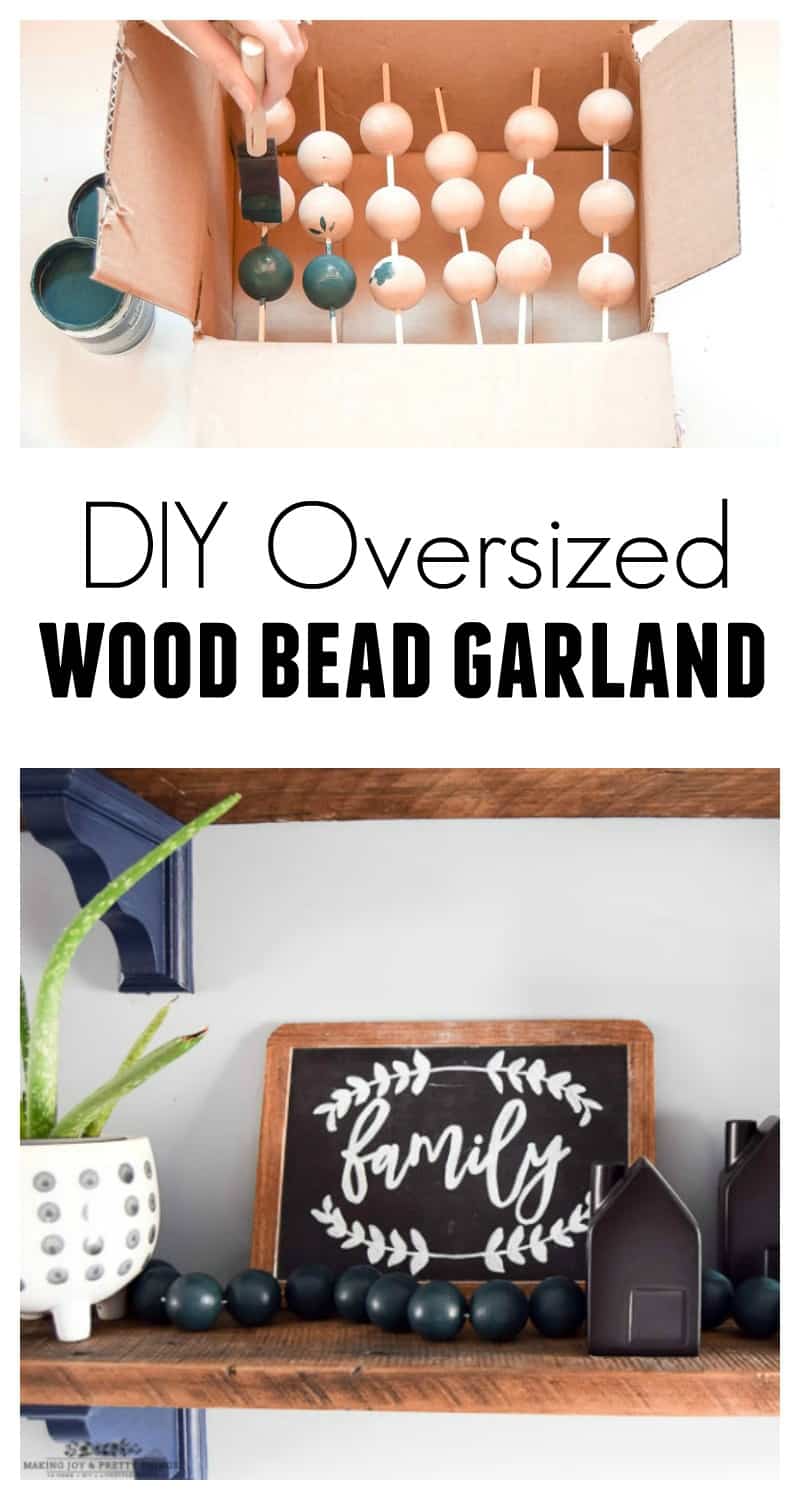
DIY Wooden Ball Garland
Follow along as I make this DIY wooden ball garland that’s great for any occasion and style. The garland is simple and easy to craft as well!
Today I’m making a simple DIY wooden ball garland that’s so easy to make and perfect for styling open shelves.
I LOVE wood bead garland. While I guess they “technically” fall into a farmhouse/rustic style category, I think you can use them with any style. Especially when you change out the color!
You can actually buy your own wood bead garland for relatively cheap! Here are a few of my favorites:
Last year, I even made my own farmhouse-style wood bead garland! It’s an embarrassingly easy tutorial if you want to check it out 😉
I wanted to switch it up a bit for this wood bead garland and make something a bit more modern.
On a trip to Michaels, I found these giant wood balls. After a quick call to my husband to make sure he could drill through these, I snagged 3 bags with a coupon (a total of 18 balls)!
This post contains affiliate links. Please, click here to read my disclosure policy.
How to make a DIY wooden ball garland – step-by-step tutorial
Supplies
- If you can’t find 1.5″ wood balls in store, they’re sold on Amazon, too
- Paint (I used Behr Thermal)
- Foam Brush
- Twine
- Drill (we used 5/32 bit but any small size bit will work)
- little wood sticks
Step 1. Drill Holes in Wooden Balls
First, you need to drill holes in the wood balls. *BE CAREFUL*
Tightly hold the balls on top of a scrap piece of wood (we used a 2×4). Using the scrap wood provides for a clean hole when the drill bit exits the ball.
Then line up the drill bit with the center of the ball as best as you can. It won’t be perfect. Start drilling slowly until the hole is started then you can increase the speed until it’s drilled through.
Step 2. Insert Wooden Sticks
Once the holes were drilled, I used little wood sticks I had for whatever reason ( #crafthoarder ) to string the wood balls on. Then, I stuck the sticks through the sides of a cardboard box so it was easy to paint!
I chose the pretty green color because I have about 15 sample paint colors from trying to choose a color for the bathroom vanity.
Figured I should use them somewhere! Any color would do and that’s where this DIY can fit into any style. Use hot pink if you want! If you need some help deciding check out these 2023 Current Paint Color Trends by making manzanita
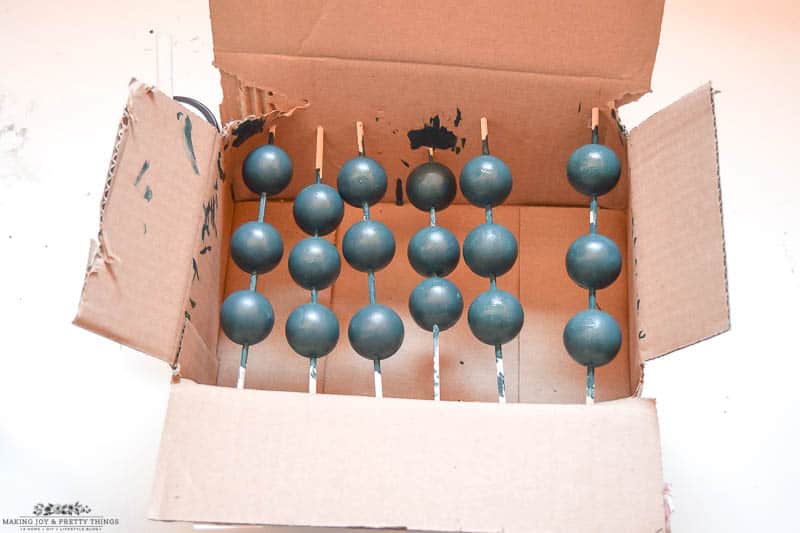
Step 3. Paint the DIY Wooden Ball Garland
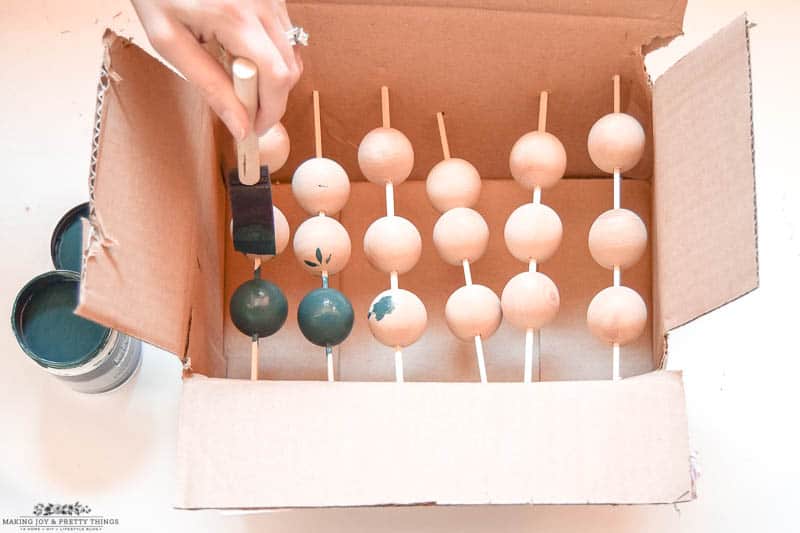
It was easy to spin the balls around on the wood stick thing. They were all painted in 10 minutes! I did go back and do a very rough second coat to make sure they were all covered!
Step 4. Remove Sticks and Thread Twine
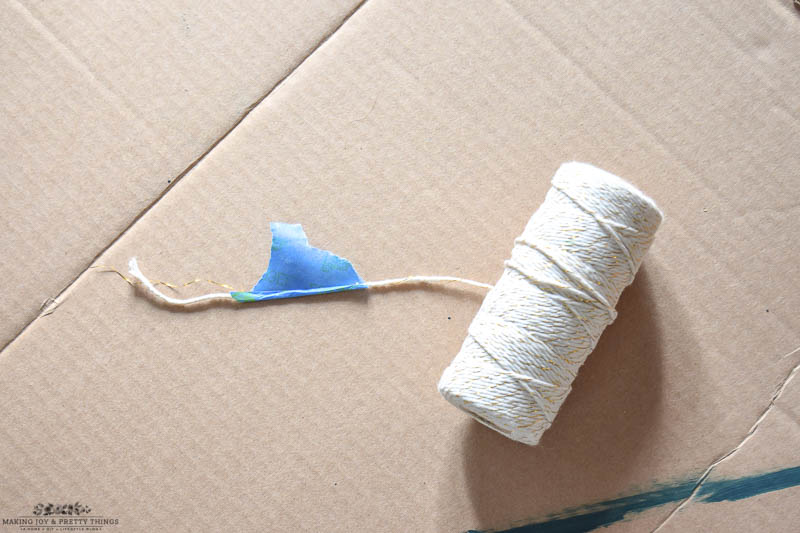
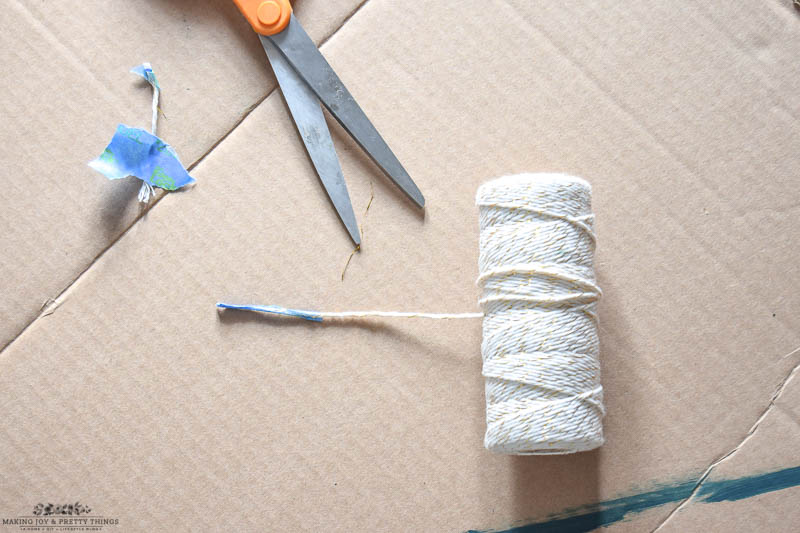
Once they were dry, I wrapped an end of twine very tightly in painter’s tape. If you wrap the twine a little farther in from the very end, you can snip off the unraveled ends and make it even easier to string.
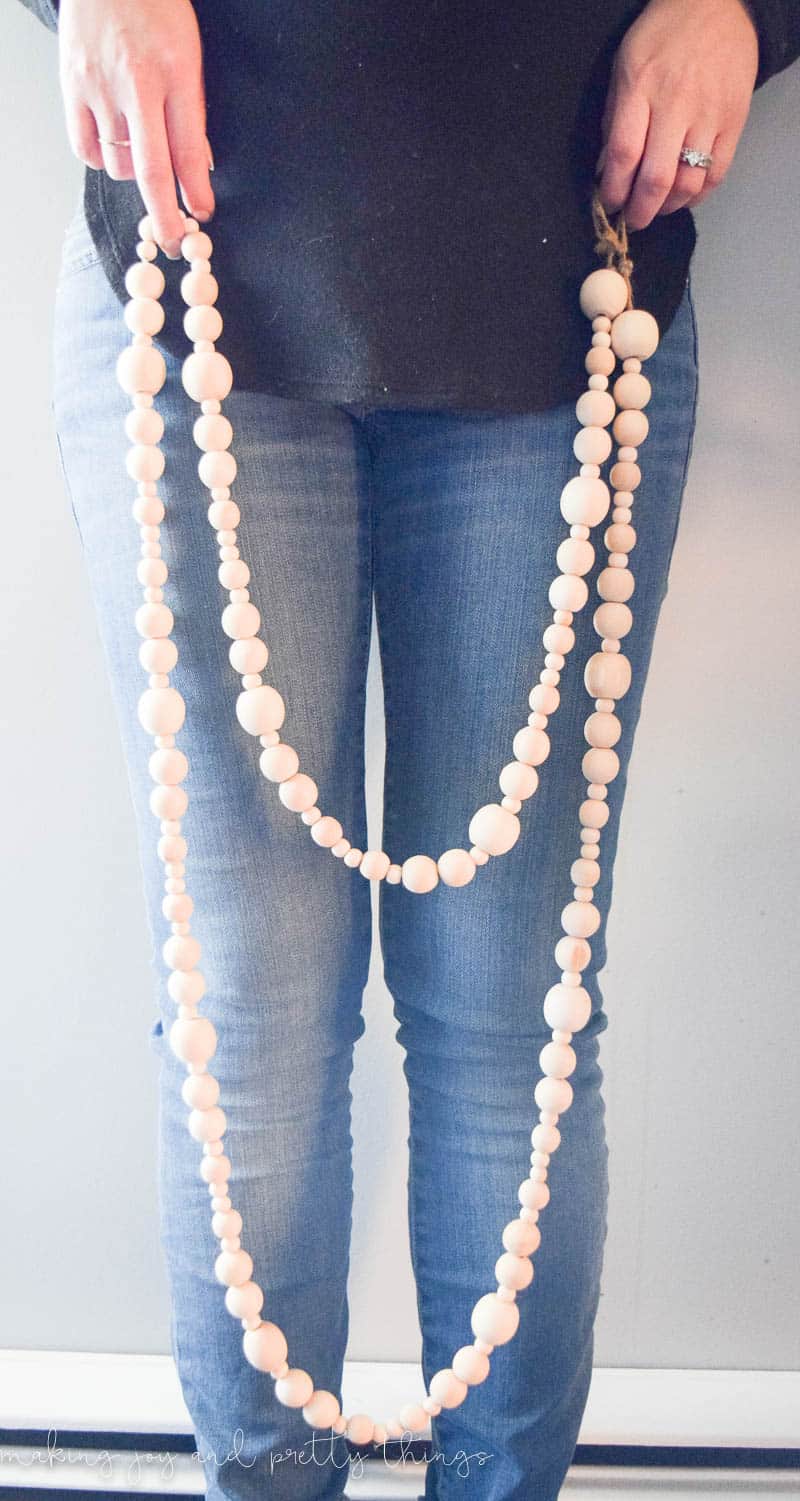
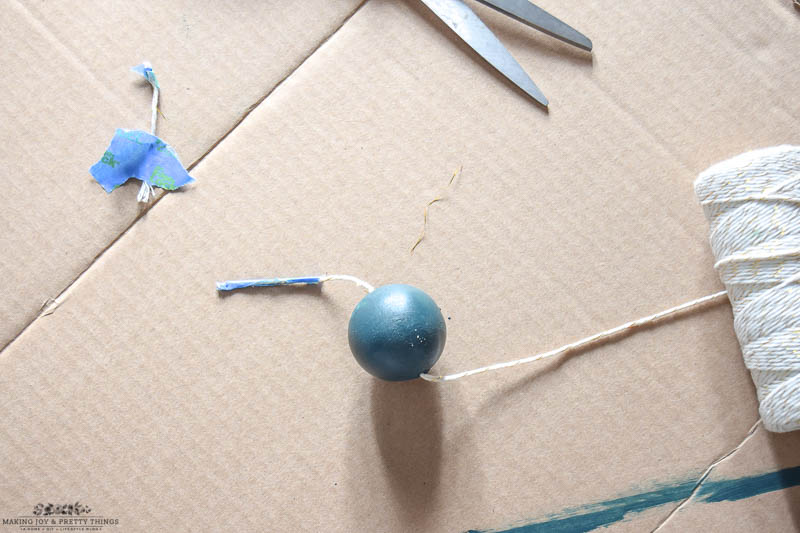
Then, I simply strung all the painted beads onto the twine!
Step 5. Secure Wooden Balls with Knots
Once they were all strung, I tied a couple of knots on each end so they wouldn’t fall off. I was going to make a tassel to go on either end but I’m happy with them just being plain for now.
I tossed them up on the DIY farmhouse shelves (still a favorite of mine!) alongside this chalkboard lettering sign. They’re the perfect addition.
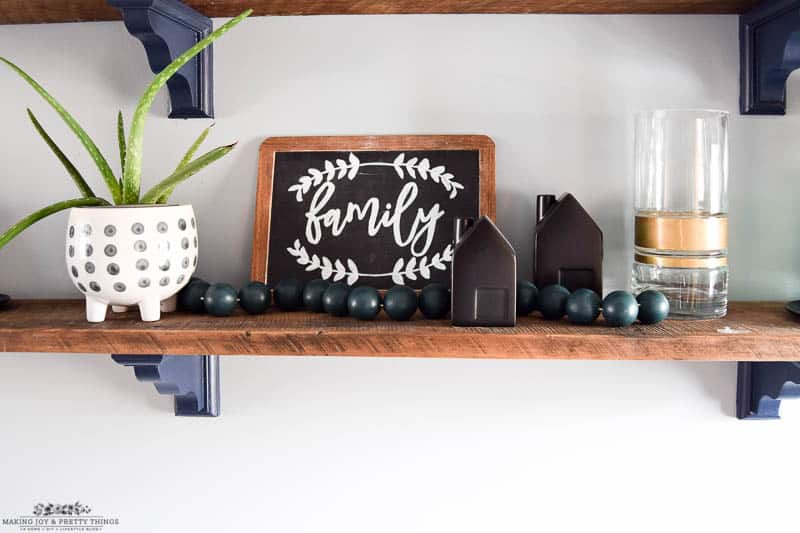
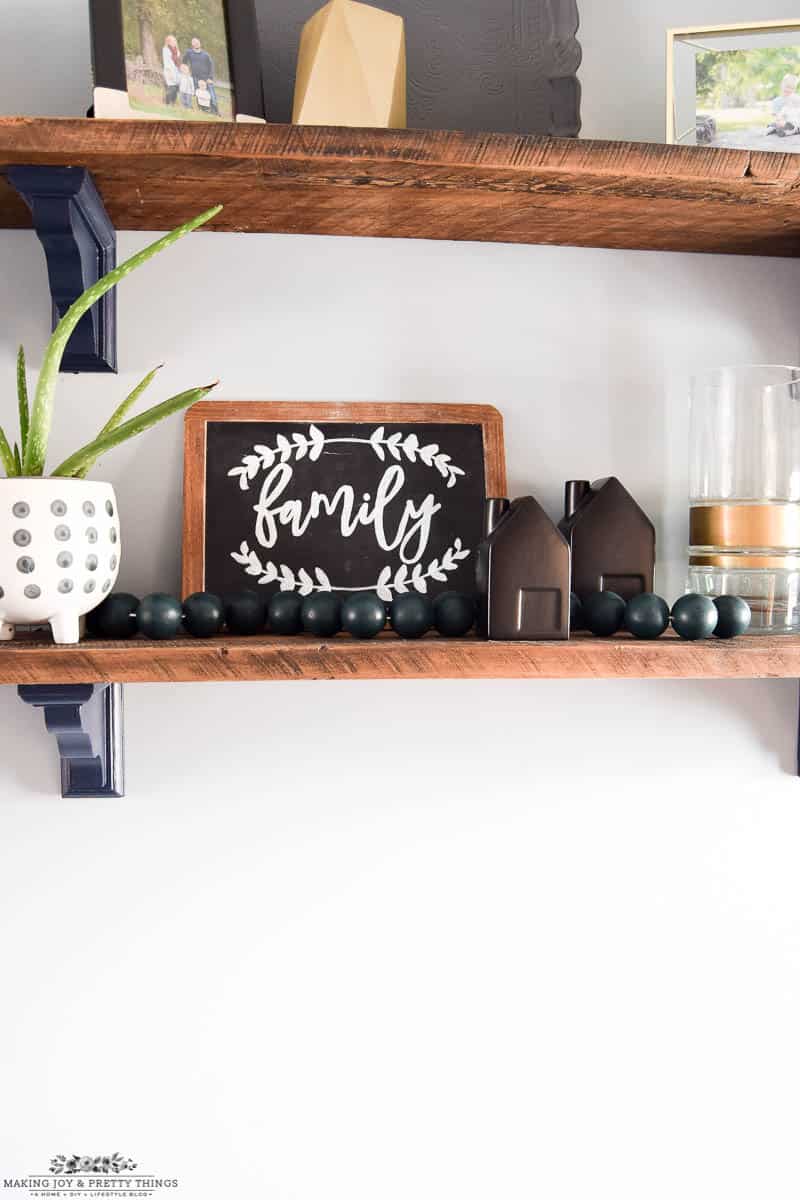
They just add something to the shelves. Whether it’s depth or interest or just something visually different, they really make such a difference.
Plus, the green color is perfect for Christmas right now. Though I plan on keeping them up year-round 🙂

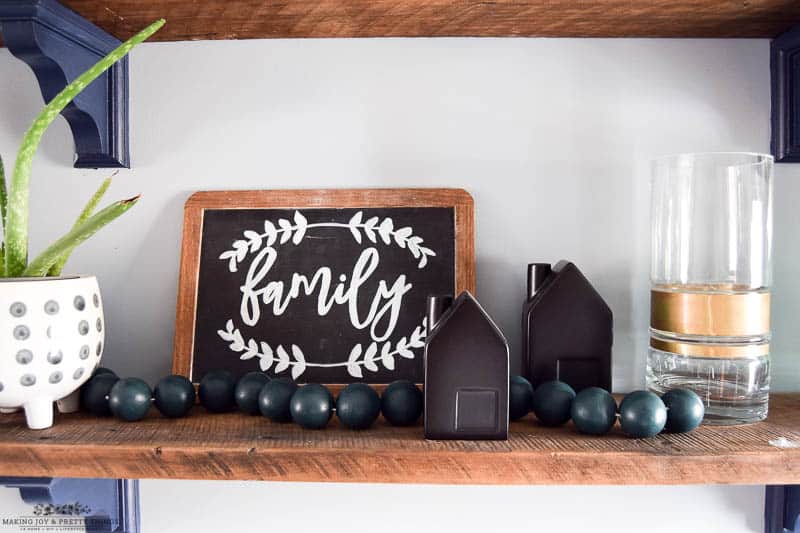
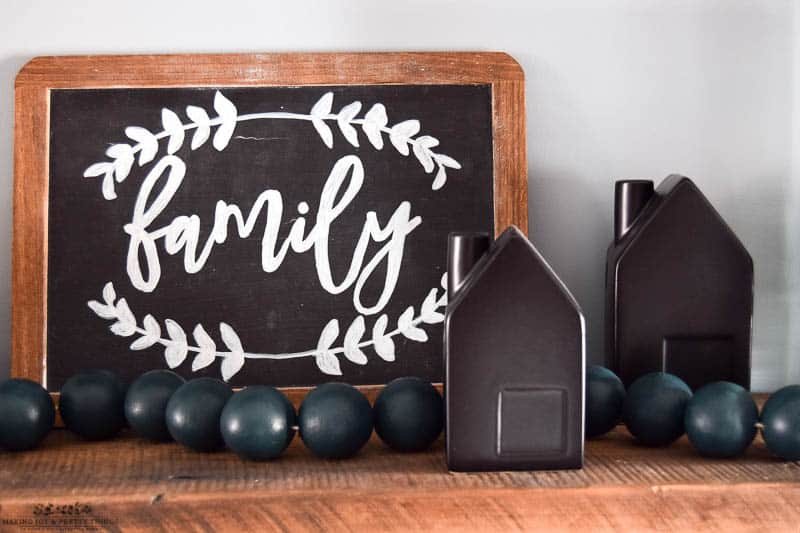
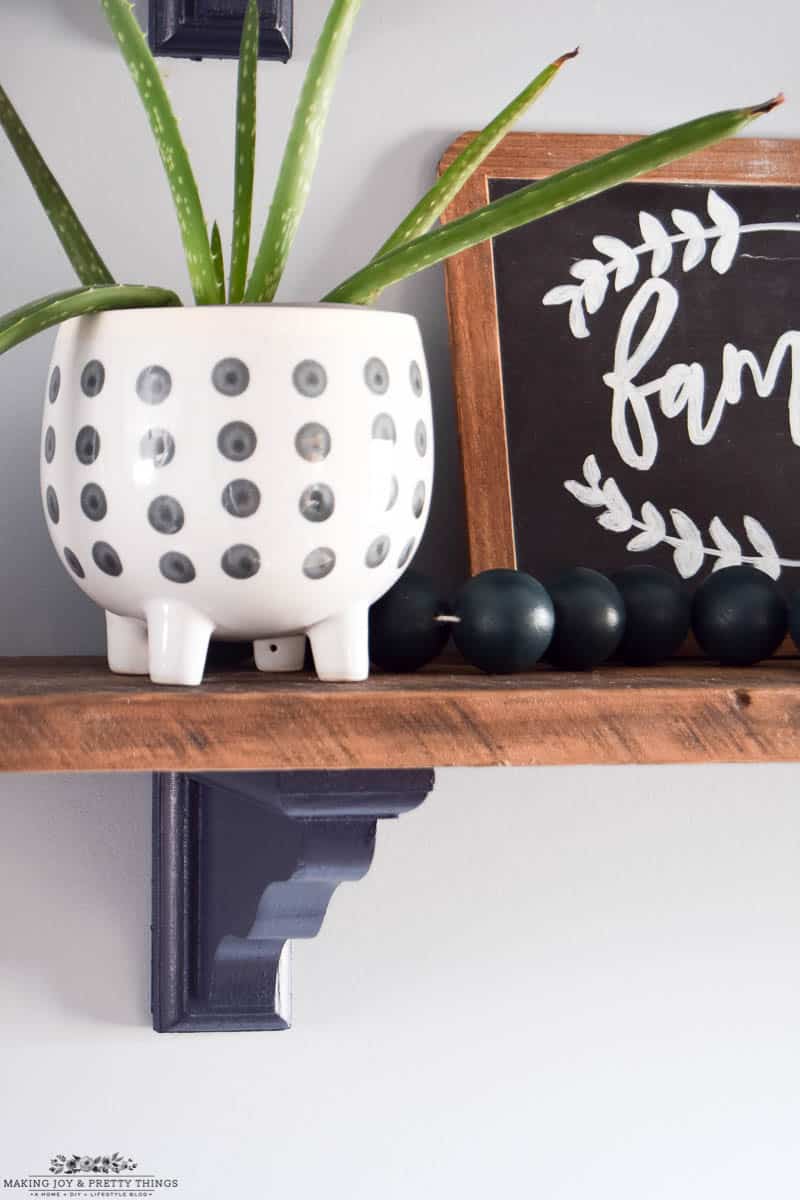
Dotted planter | “Family” chalkboard sign” | Black houses
I’m loving how I modernized the farmhouse shelves a bit by restyling them recently to a more minimalistic look.
Wishing you a joyful day!

DIY Wooden Ball Garland

Follow along as I made this DIY wooden ball garland that is great for any occasion and style. The garland is simple and easy to make as well!
Materials
- 1.5″ wood balls
- Paint, which is Behr Thermal
- Foam Brush
- Twine
- Little wood sticks
Tools
- Drill
- 5/32 bit
Instructions
- Drill Holes in Wooden Balls
- Insert Wooden Sticks
- Paint the DIY Wooden Ball Garland
- Remove Sticks and Thread Twine
- Secure Wooden Balls with Knots

I love the color you used, it makes it look so modern. Awesome job! Thanks for sharing this at the Dishing It & Digging It Link Party. Hope you found some new friends and had fun too!
Thanks so much Christine!
How pretty! They have all kinds of possibilities, don’t they!
Thank you! Yes, I love the idea of using a nontraditional color 🙂
This is so original #creatlink@_karendennis
Thank you!