
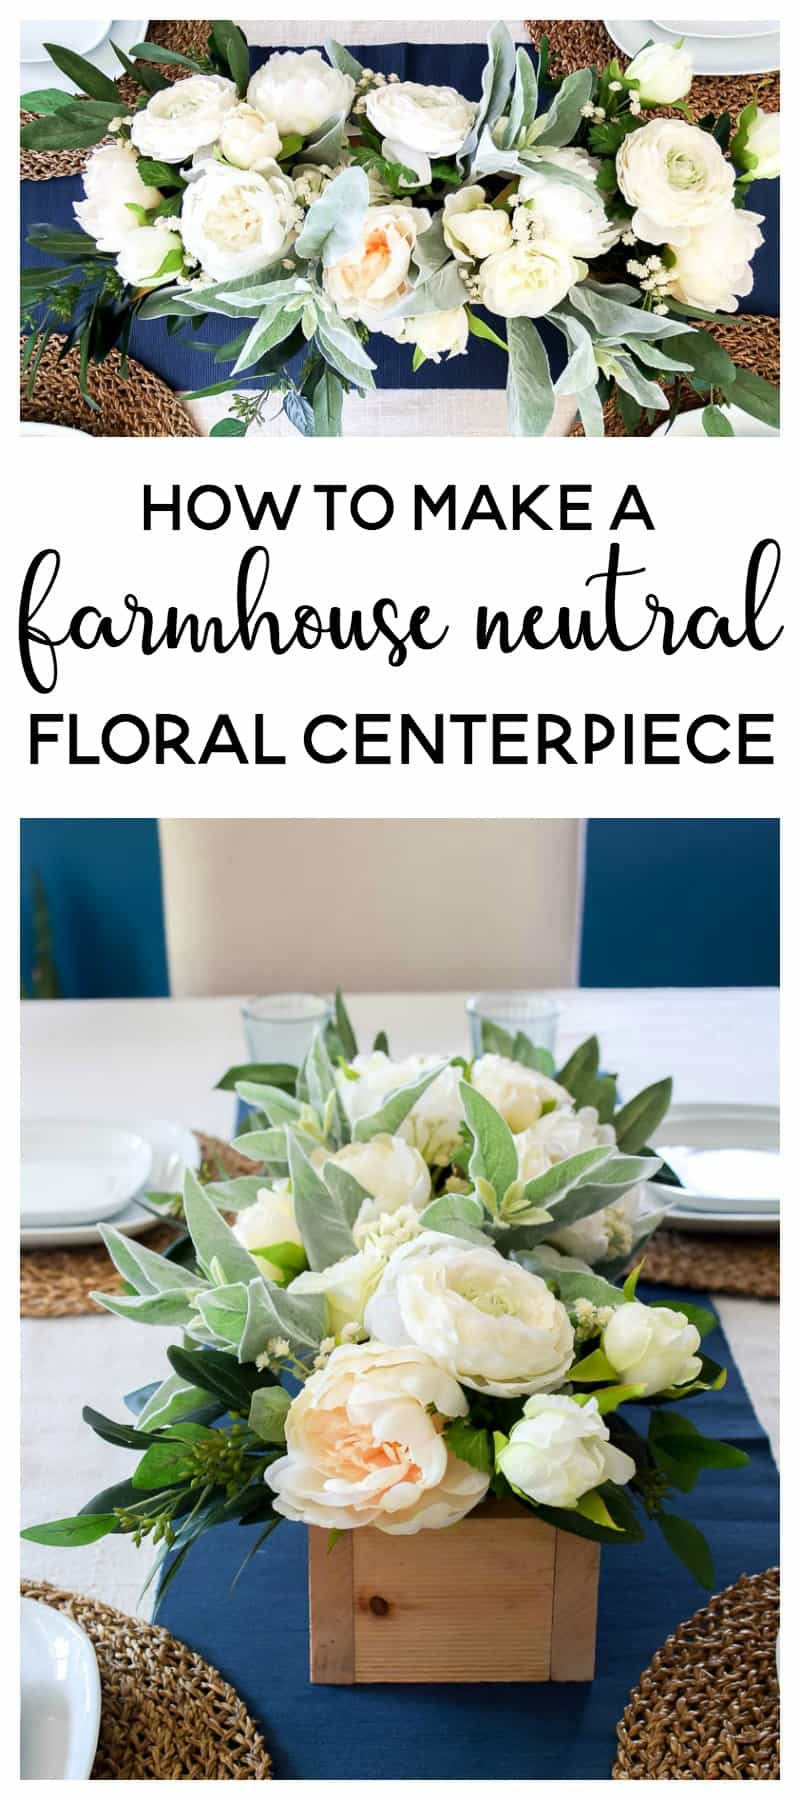
How to Make a DIY Wooden Box Centerpiece
See how I made a simple DIY wooden box centerpiece and filled it to the brim with lovely green and neutral flowers. It’s the perfect farmhouse neutral floral centerpiece that can be used in all seasons!
Now you know I love flower arrangements and I have so enjoyed working with Afloral to make all of these but this one is quite possibly my favorite DIY wooden box centerpiece. They all came out amazing but I especially loved this one!
*This post was sponsored by Afloral.com. I received flowers in exchange for my post. Post contains affiliate links. All thoughts and opinions are my own. Please see my full disclosure policy for more details*
Happy Friday!!
Today is the last Friday I’ll be sharing easy flower arrangement ideas! I’ve had so much fun coming up with 4 flower arrangements and I hope I’ve inspired you to create some, too!
week 1 | week 2 | week 3 | week 4 (you’re here)
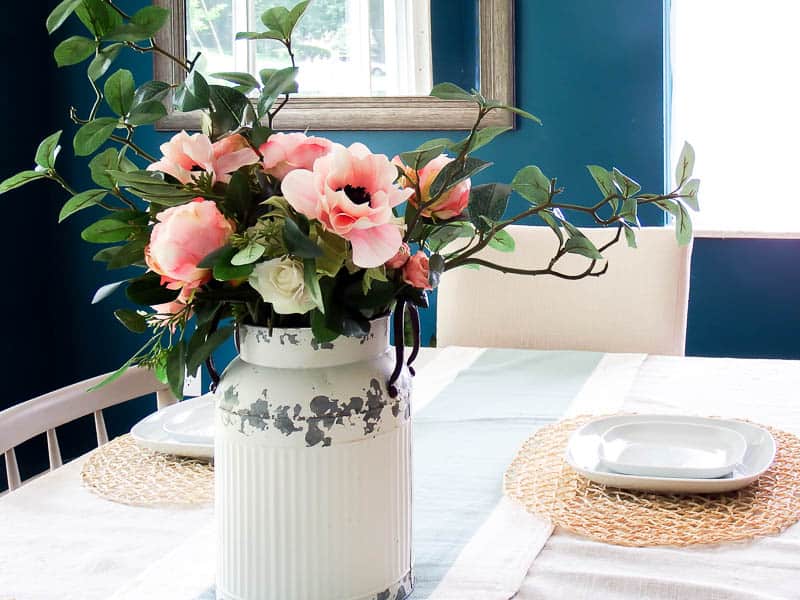
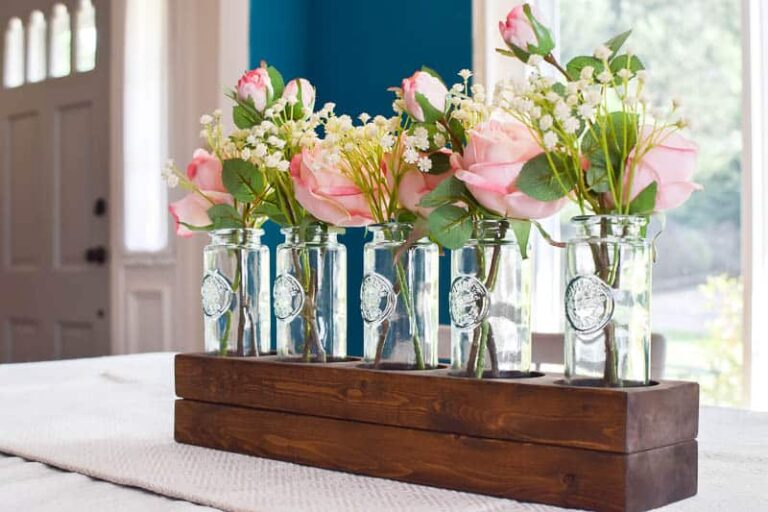
For the first arrangement, I used a vintage milk can, some roses, and peonies to make the prettiest farmhouse-style centerpiece!
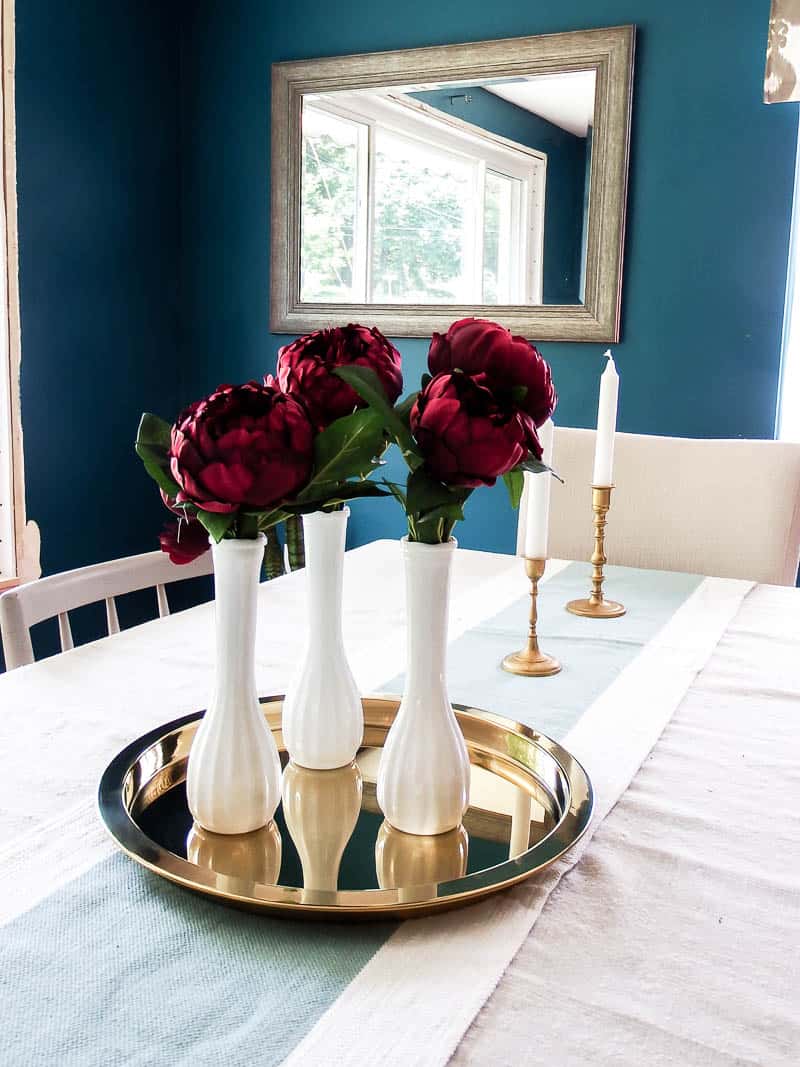
Then, I shared a simple floral centerpiece using just one type of flower. But, those peonies make such a statement, don’t they?!
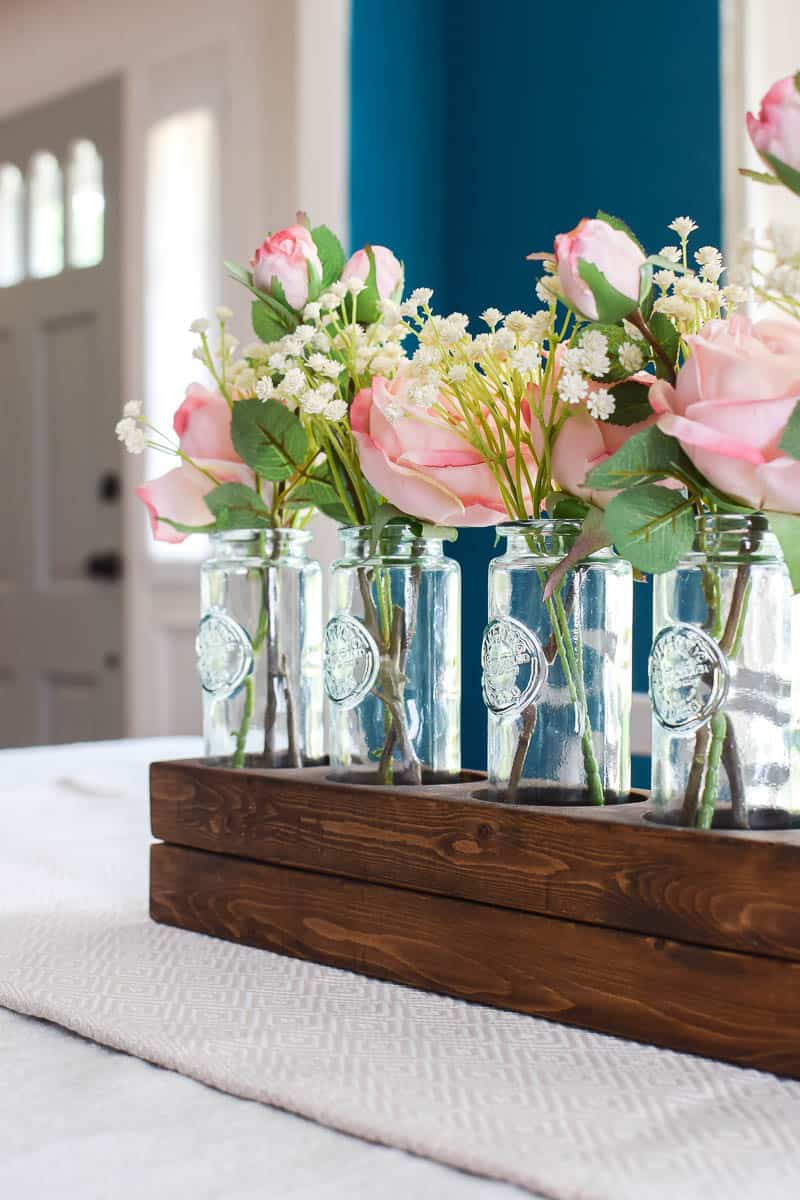
Last week, I switched it up a bit with a DIY wood centerpiece. This may be my favorite one yet!
For this week, I’m sticking with the DIY theme and making a crazy easy wooden box perfect for a farmhouse-neutral floral centerpiece!
Supplies for DIY Wooden Box Centerpiece:
Flowers Used for Centerpiece:
- Greenery
- Flowers
- Peach Pink Peony (3)
- White Peony Pick (3)
- Ranunculus Spray (3)
- Peony Rose Spray (2)
- Baby’s Breath
Note: Some flowers have seasonal availability. If you click over and don’t see the product, follow the categories below to find similar options!
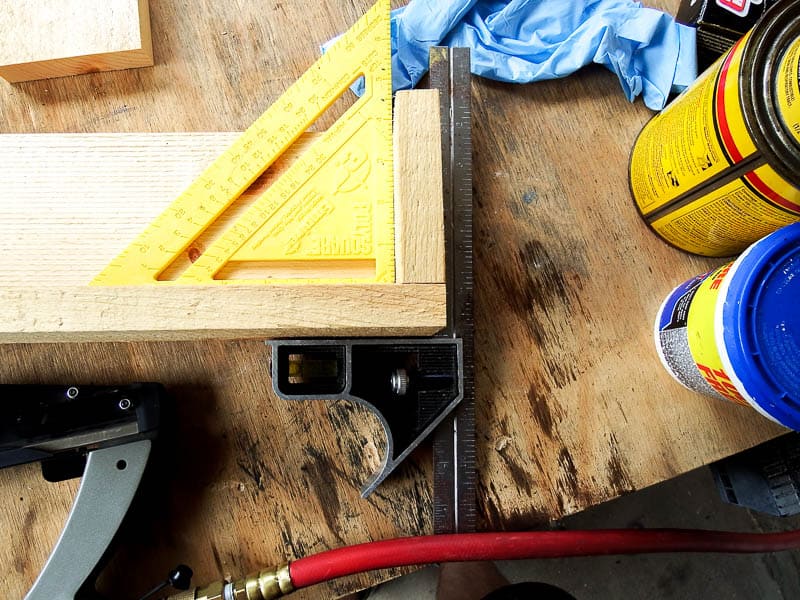
Step 1. Cut Wood to Make the Box
To build the box we used the miter saw to cut the board into
- 2 x 18 in pieces (sides)
- 1 x 16 1/2 in pieces (bottom)
- 2 x 3 3/4 in pieces (ends)
Lay the bottom piece flat and use the nail gun to nail one long side piece into the bottom piece.
Then, fit the smallest pieces (the ends) in between the side boards. Use the nail gun again (and a square!) to nail the end pieces in (2 nails on each side). Last, nail the second side piece into the bottom/end pieces.
If you don’t have rough-sawn lumber here’s a good video on How to Make Rough Sawn Texture on New Wood by Forgotten Way Farms
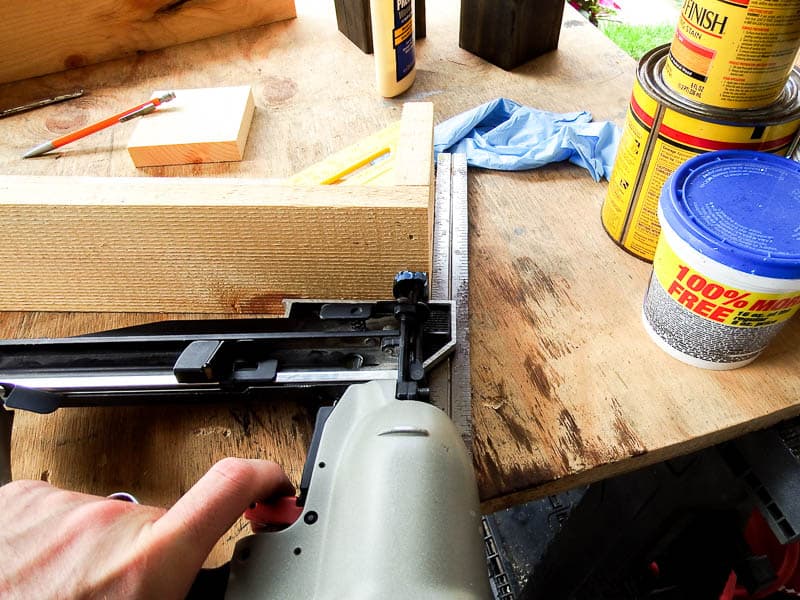
We left the nails visible since this was a rustic box. I finished it up with a coat of Natural wood stain which just brings out the grains in the wood.
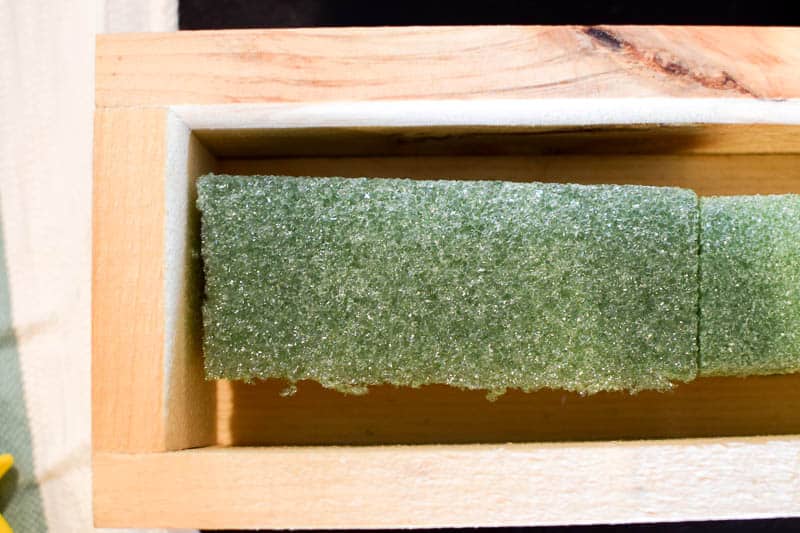
Step 2. Install Floral Foam in the Box
I started by cutting down the floral foam to fit inside the box. It would have been better if the foam actually just fit in the box but I just used what I had on hand.
I laid out all the flowers I was using. It’s easier to see what you’re doing when you have everything out in front of you.
For more tips on working with floral foam, check out Handling Floral Foam by Botany Studio.
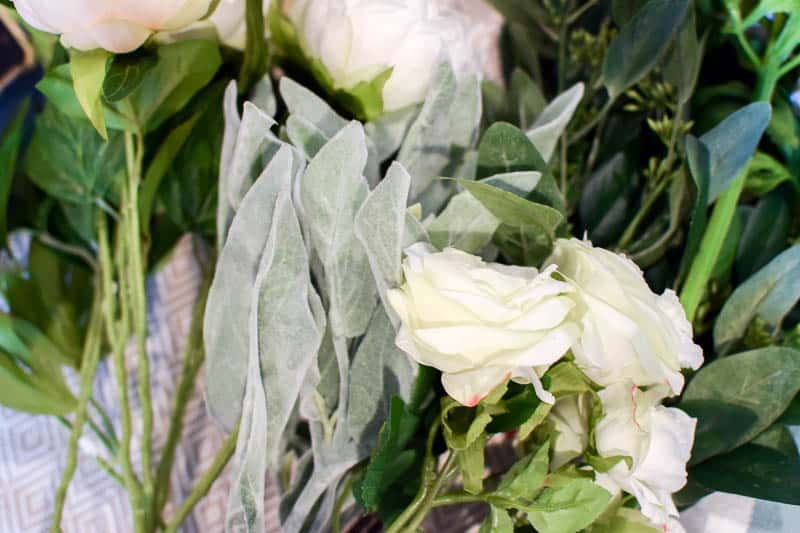
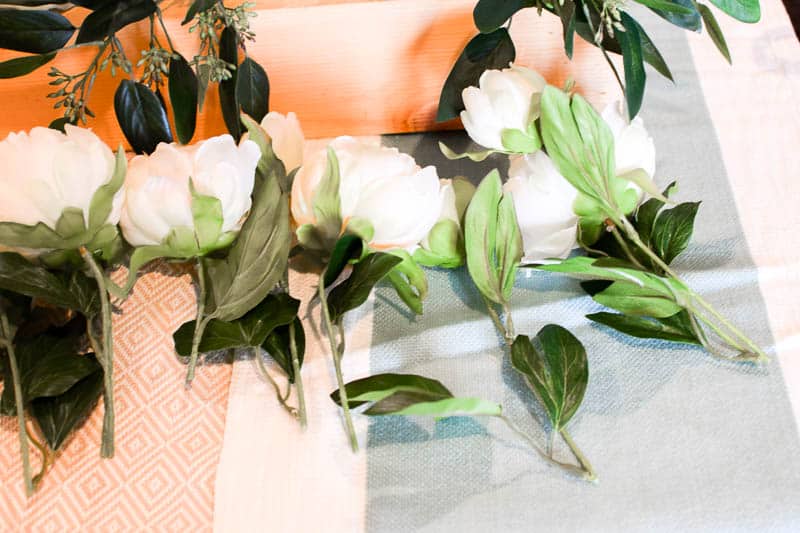
Step 3. Lay Out Flowers for DIY Wooden Box
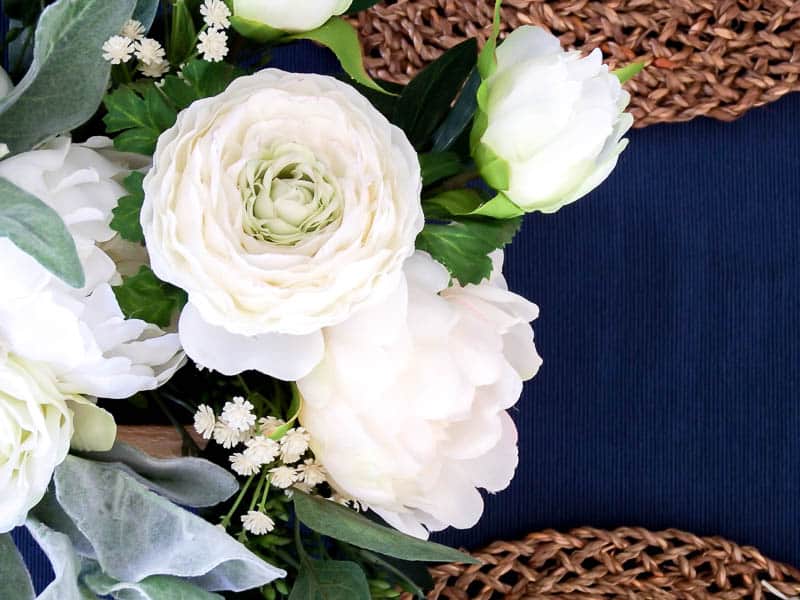
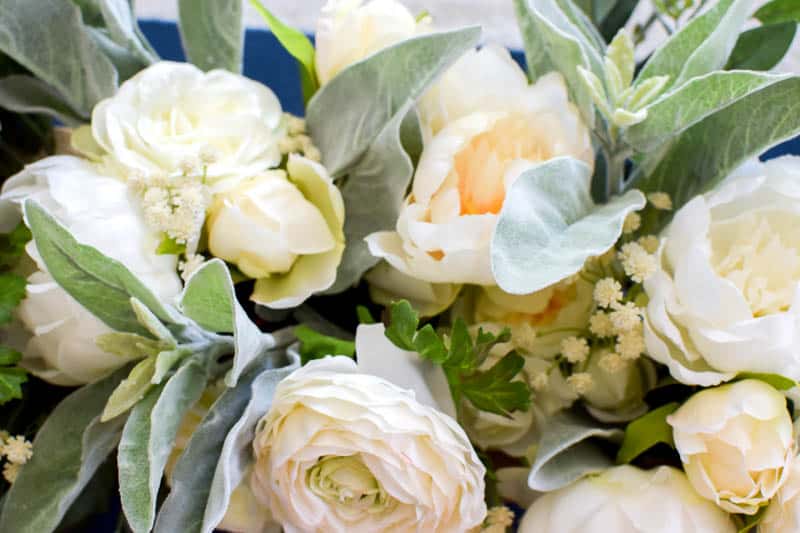
I picked all white or cream-colored flowers. This centerpiece is definitely neutral! But, the best part is it can be used year-round.
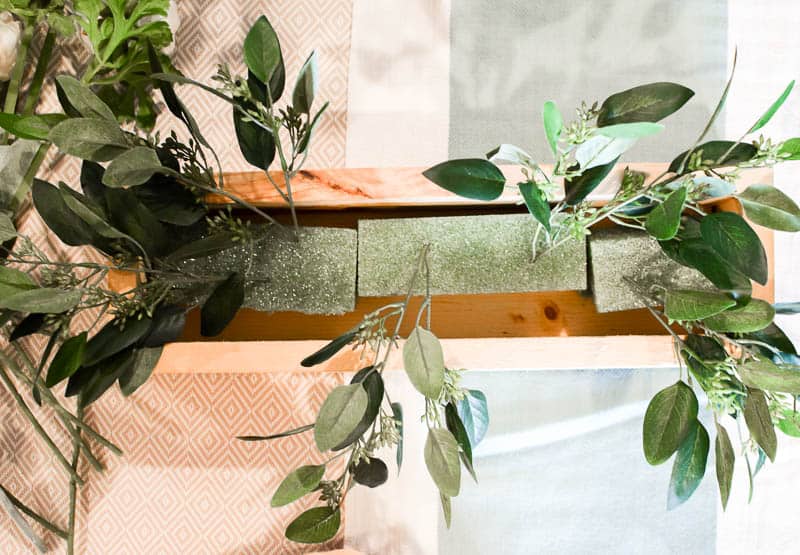
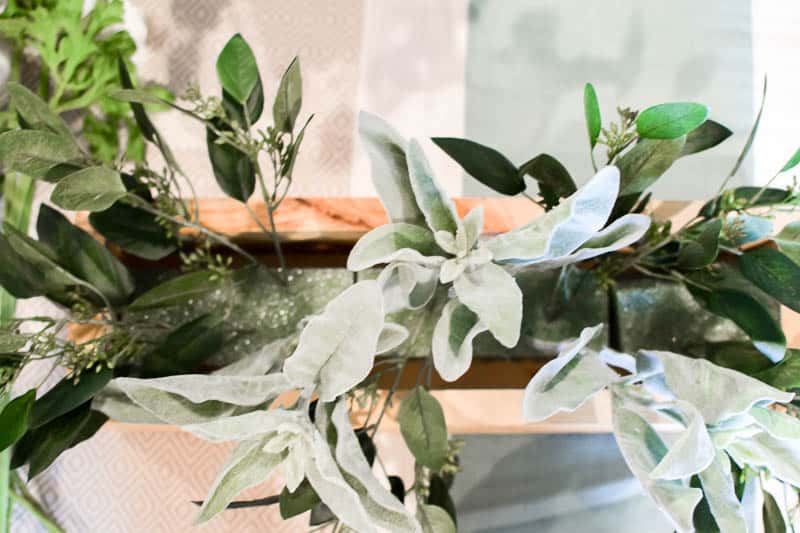
Step 4. Add Greenery to the Centerpiece
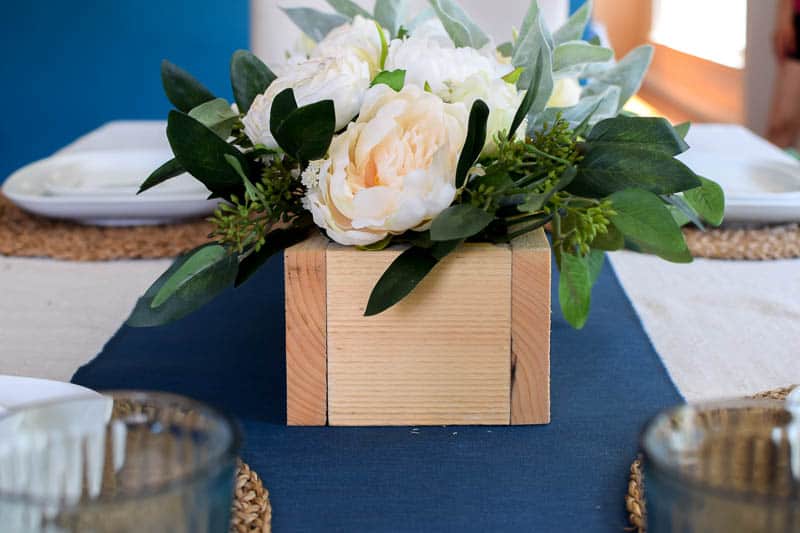
First, I added in all the greenery. Make sure to spread everything out!
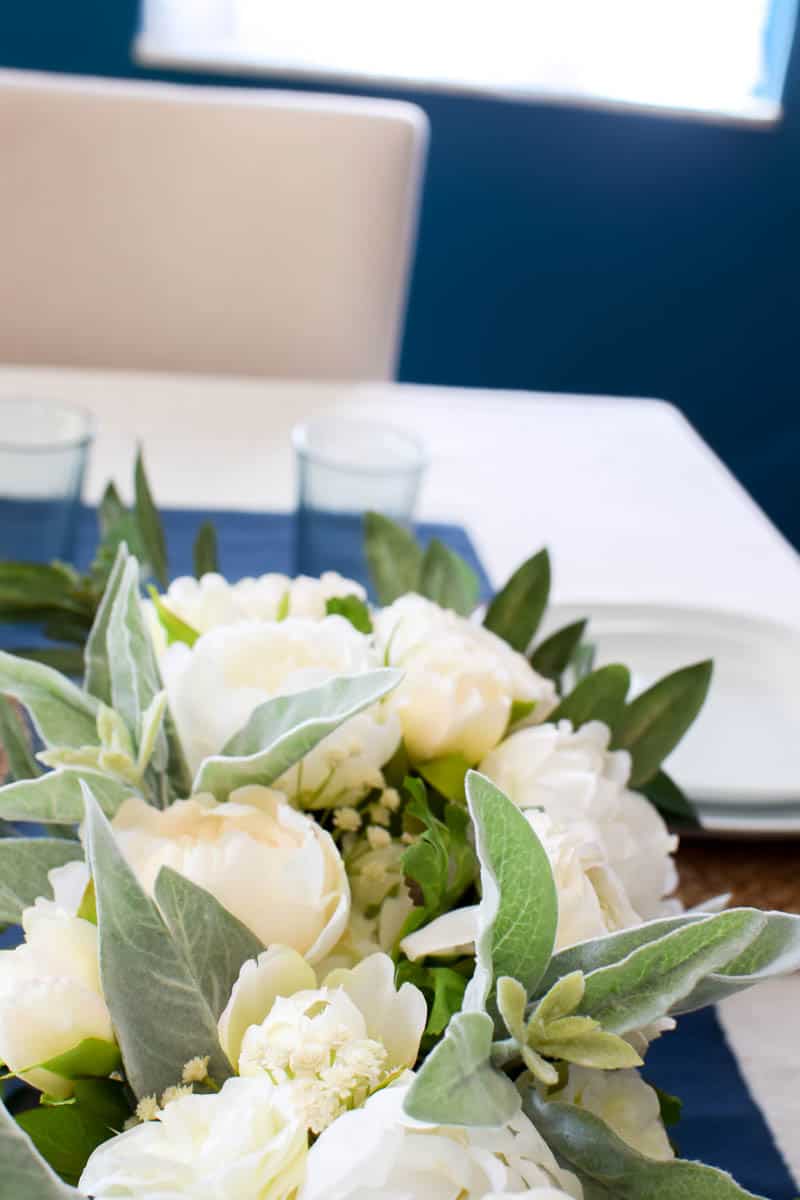
{I kept the eucalyptus mostly at the ends of the box and used the lamb’s ear in the center}
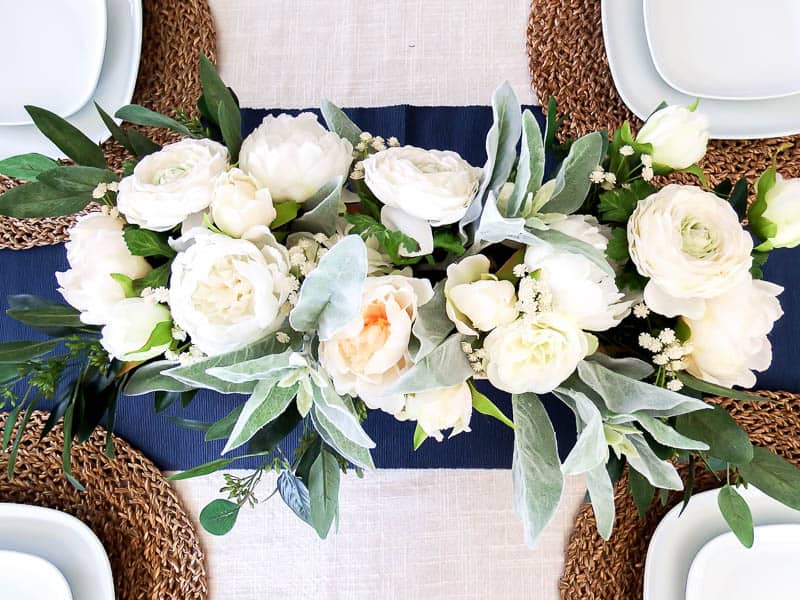
Step 5. Add Flowers to DIY Centerpiece
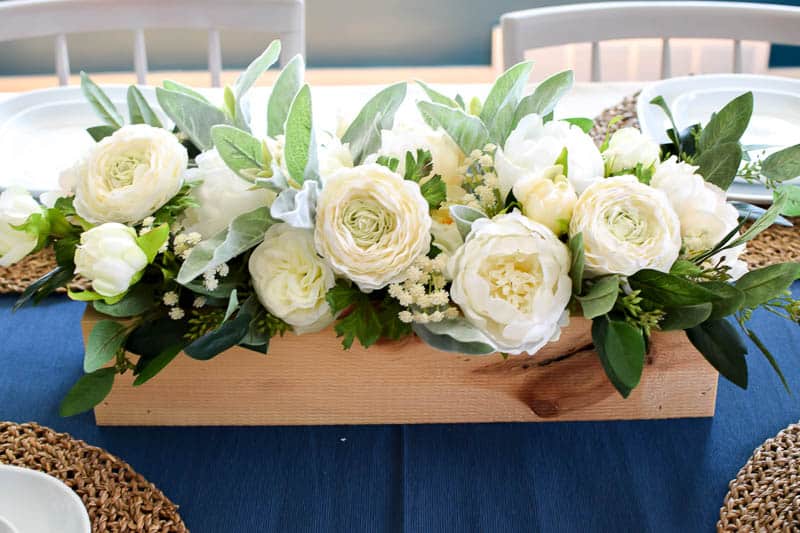
Next, I filled in the rest of the box with all the cream and white flowers! I used peonies, roses, and ranunculus blooms. Lastly, I filled in some gaps with baby’s breath.
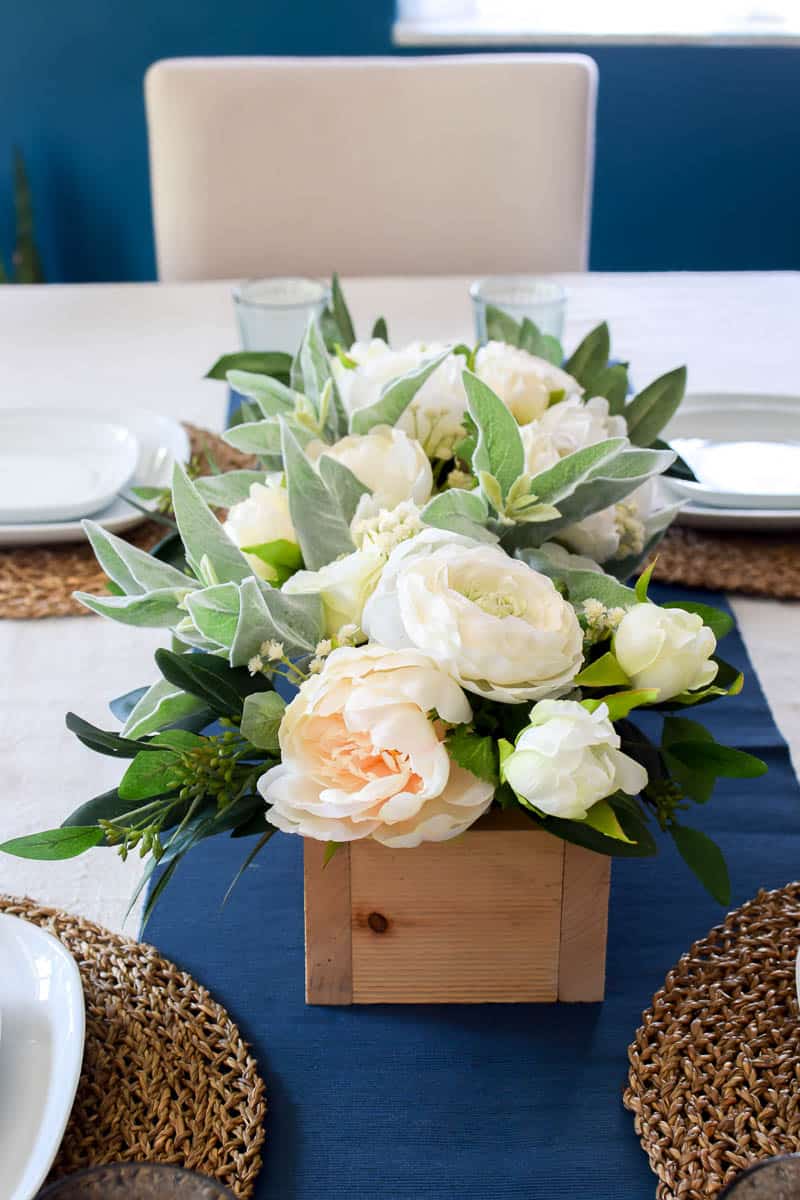
And, that was it! I didn’t really have a specific idea of what I wanted this to look like. Basically, I wanted a LOT of blooms and a LOT of neutral. I think I achieved that 🙂
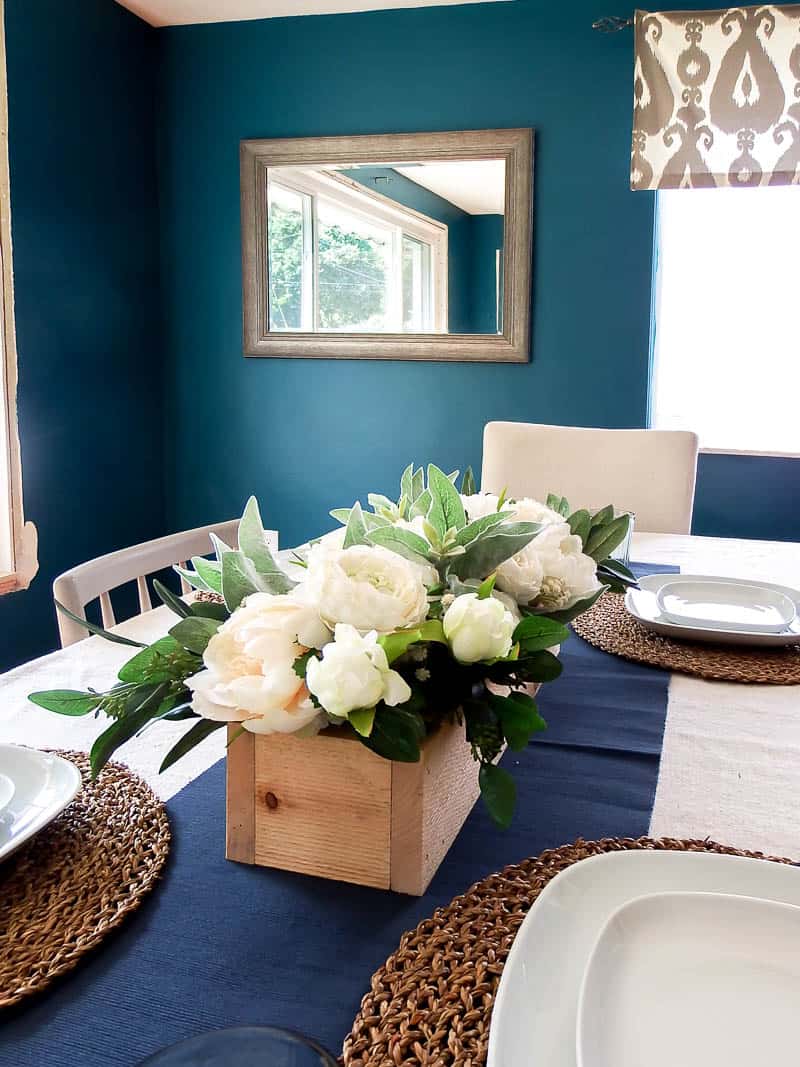
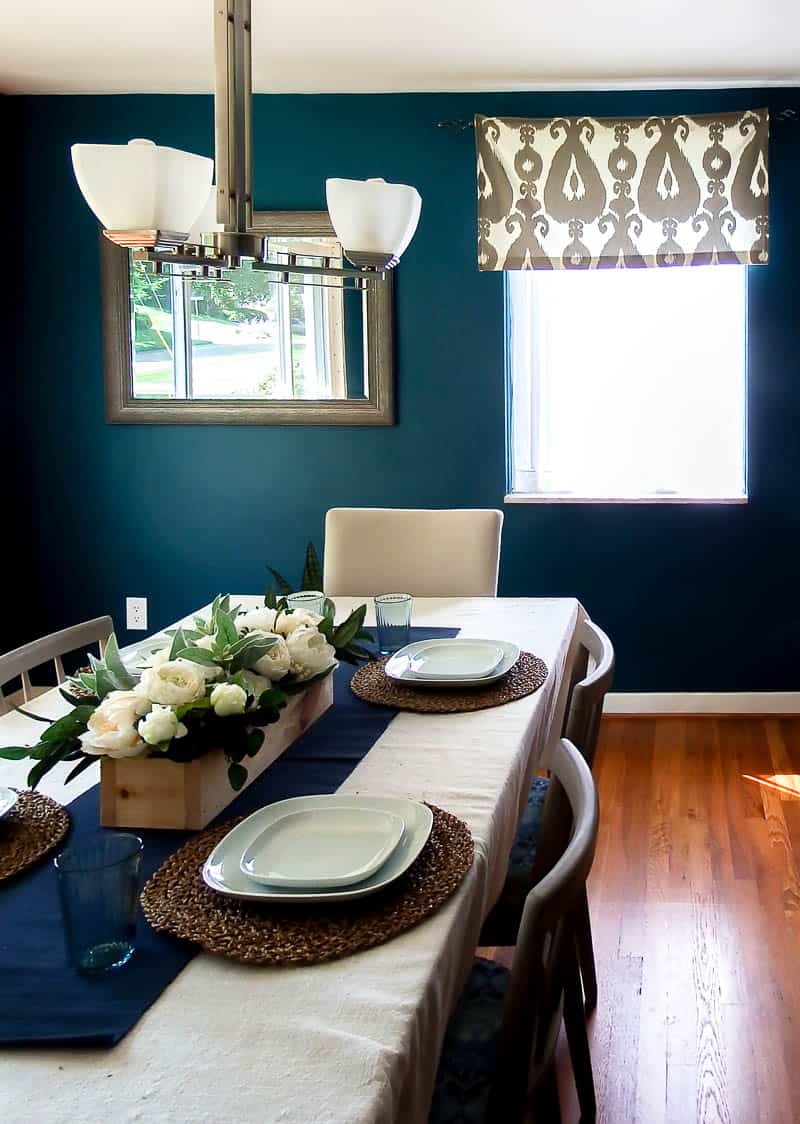
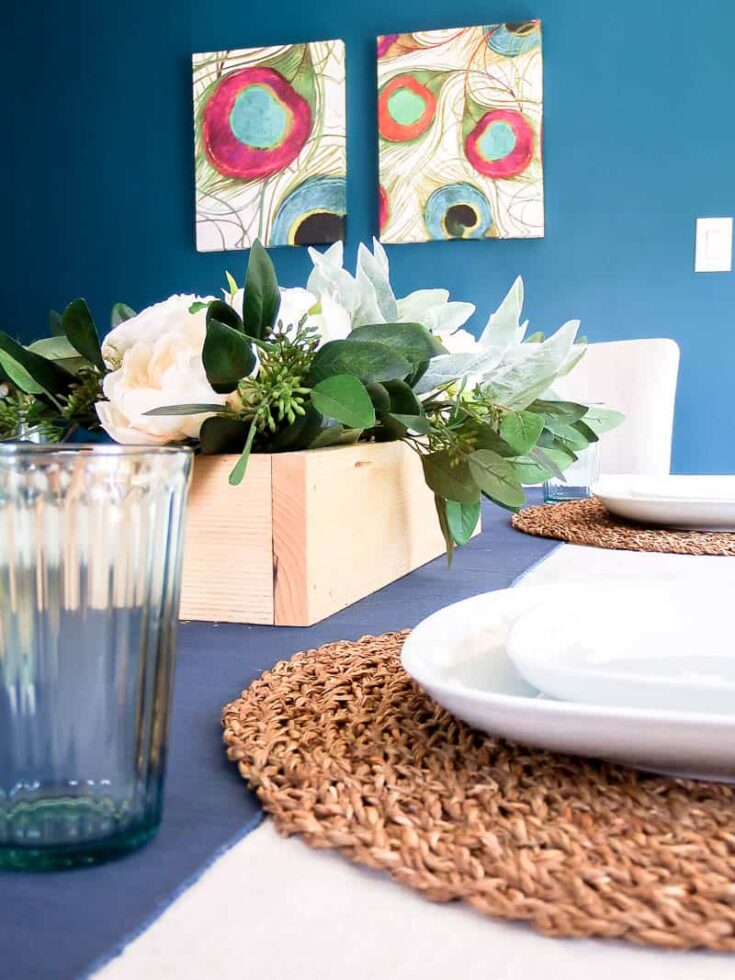
This is actually the centerpiece I use day to day on our dining room table. But, I think it could be “fancy” enough to use for special occasions, too!
The wooden box is the perfect neutral farmhouse piece for all the flowers and greenery. It compliments the flowers so well!
I think I had the most fun designing this centerpiece! It was so therapeutic to make.
I think I said this in a previous post but making flower arrangements is like an art. There’s no right or wrong way.
You may take the exact same flowers/box I used and make something completely different. And that’s okay! Experiment and make your own and make it {{YOU}}.

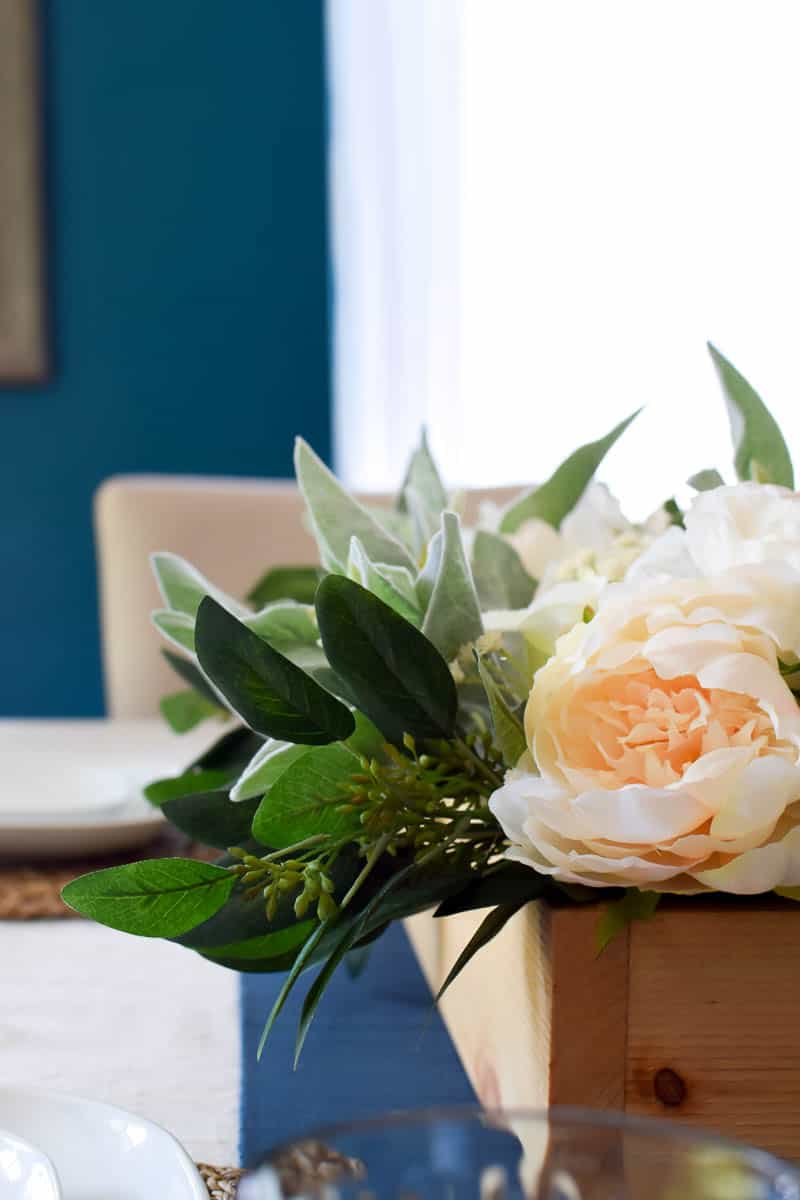
If you’re looking for a farmhouse-style arrangement, you can’t go wrong with peonies, roses, and seeded eucalyptus.
I think those are pretty much the basis of all farmhouse arrangements.
A HUGE thank you to my friend for letting me use her dining room for all of these flower arrangement posts!
It’s much more photogenic than ours (as we currently are using a folding table as our dining room table!).
Enjoy your 3-day weekend!

How to Make a DIY Wooden Box Centerpiece
A simple DIY wooden box centerpiece filled with lovely greenery and neutral flowers for a dining table
Materials
Tools
- Miter Saw
- Nail Gun
Instructions
- Cut wood to make the wooden box
- Install floral foam in the box
- Lay out flowers for DIY wooden box
- Add greenery to the centerpiece
- Add flowers to DIY wooden box centerpiece

So beautiful! Where did you get the woven placemats? I’ve been looking for some just like that!
Thanks so much! I got them at IKEA!
Oh, this is so very lovely! You did such a good job on the box… i have no tools, so had to buy mine (on clearance of course, LOL). It came with peonies but still looks very sad. Seeing your masterpiece, made me realize i need to add greenery. Did you get the seeded eucalyptus and lamb’s ear from Afloral, too?
Yes! I got all of the flowers and greenery from Afloral. I absolutely looooveee their seeded eucalyptus. I think it looks the most real by far from any I’ve seen. I recently went to Michaels and it looks like they’ve upped their flower game so you could check there, too!