
DIY Wire Photo Holder Display {Using Copper Wire and Clay}
You guys, I am so so excited to share this DIY wire photo holder display I’ve been working on. You see, I’ve been trying to come up with a unique and fun way to display photos on my barn wood dining room shelves.
I’ve been struggling to find exactly what I want to use for my DIY wire photo holder display. I’ve tried to come up with a few ideas, but, nothing seemed to work.
If you saw my last post where I made DIY garden markers, I found a whole stash of old copper wire in my basement that is just waiting for me to do something crafty. Plus, I have my newest addiction, oven-baked clay.
They seemed like the perfect marriage to make a photo display that fit the rustic barn wood shelves.

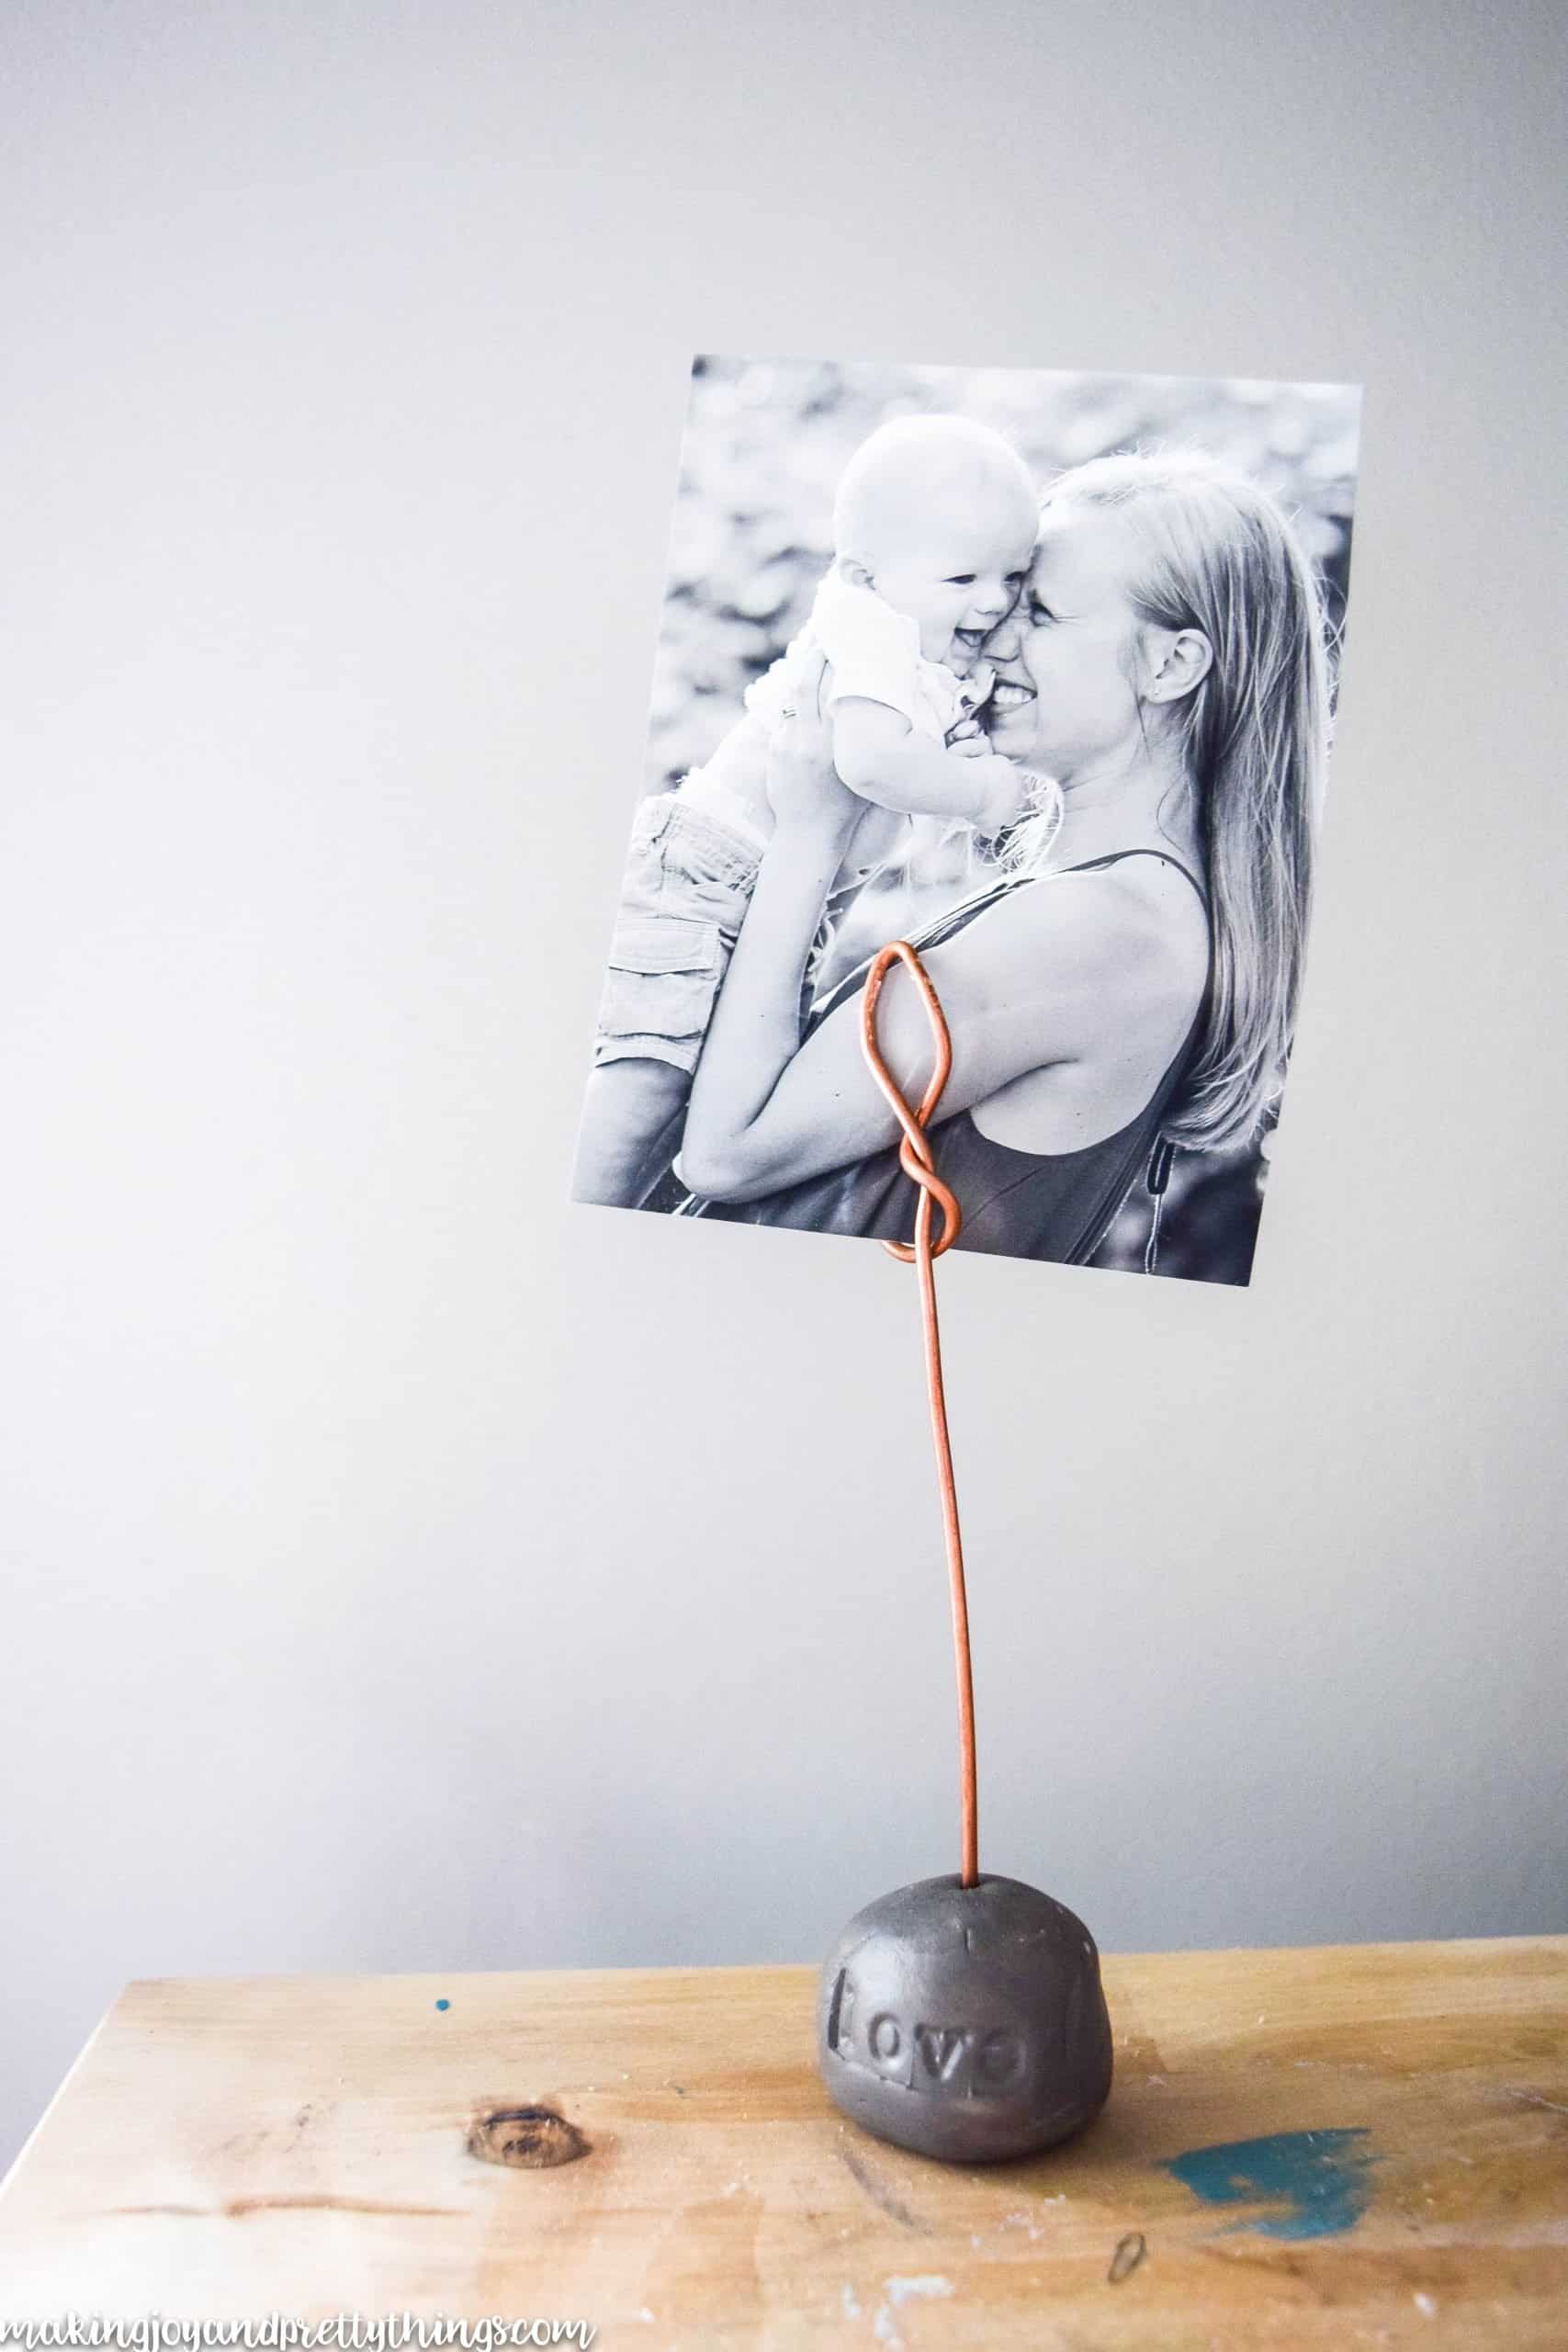
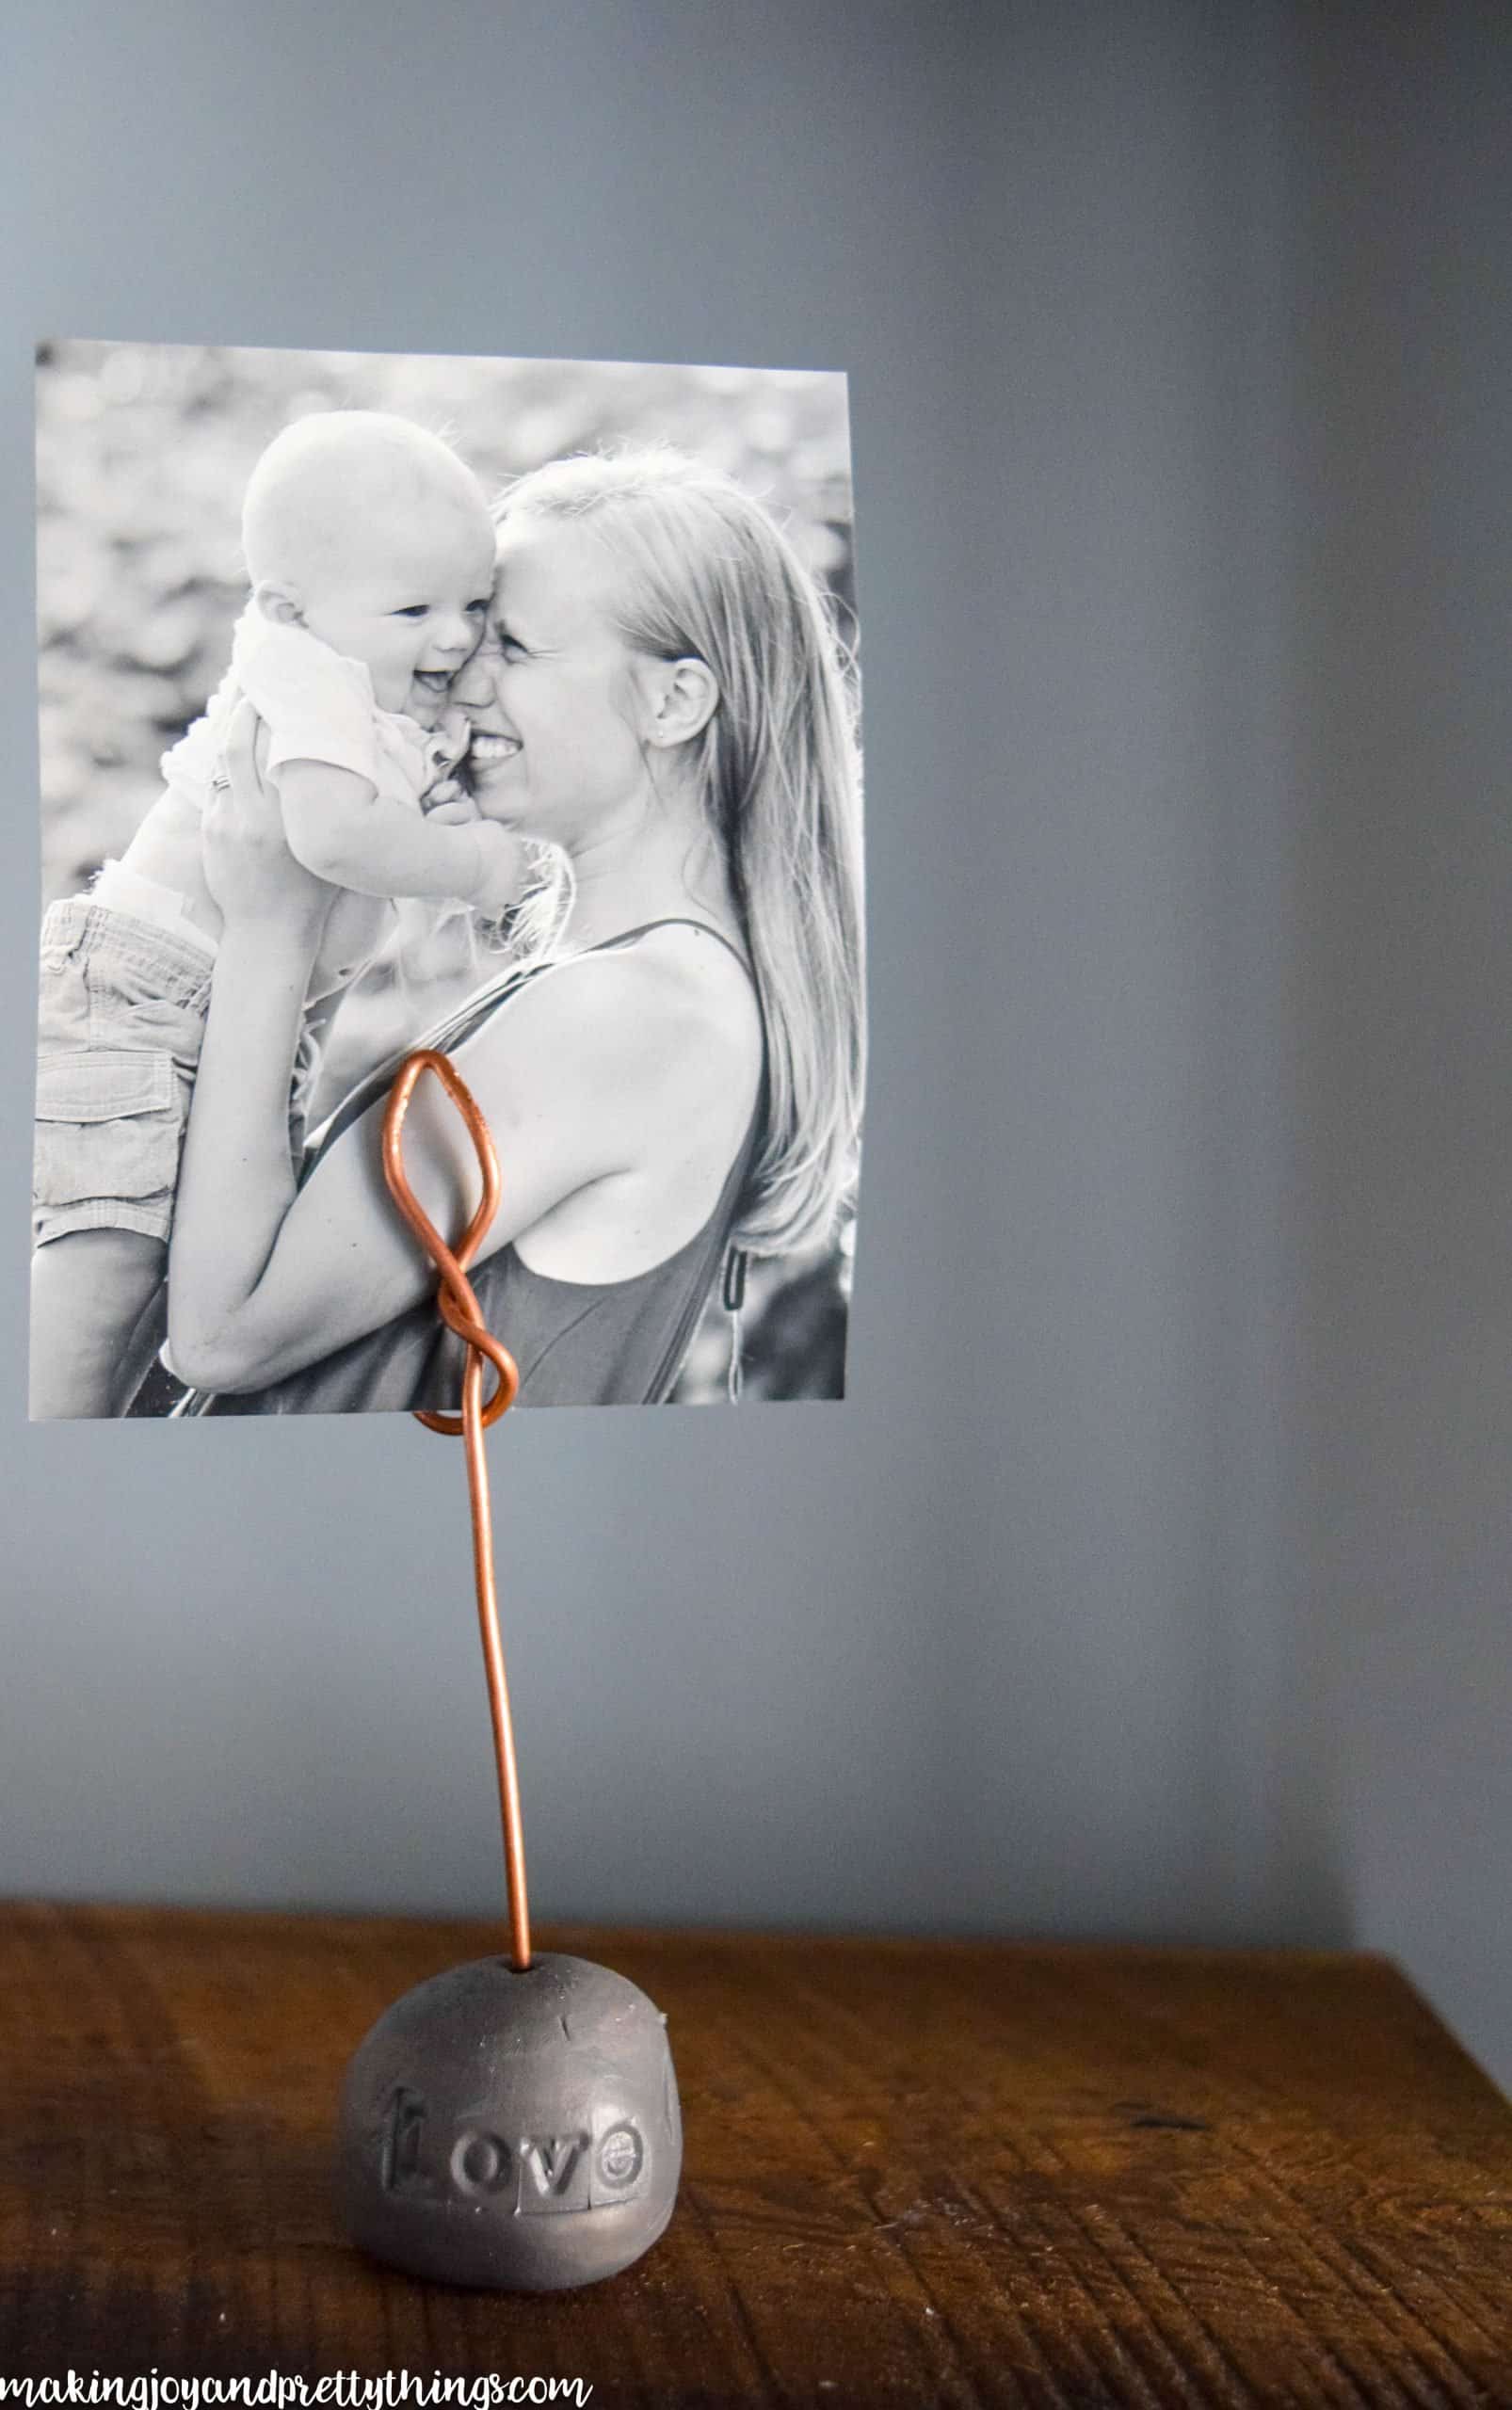
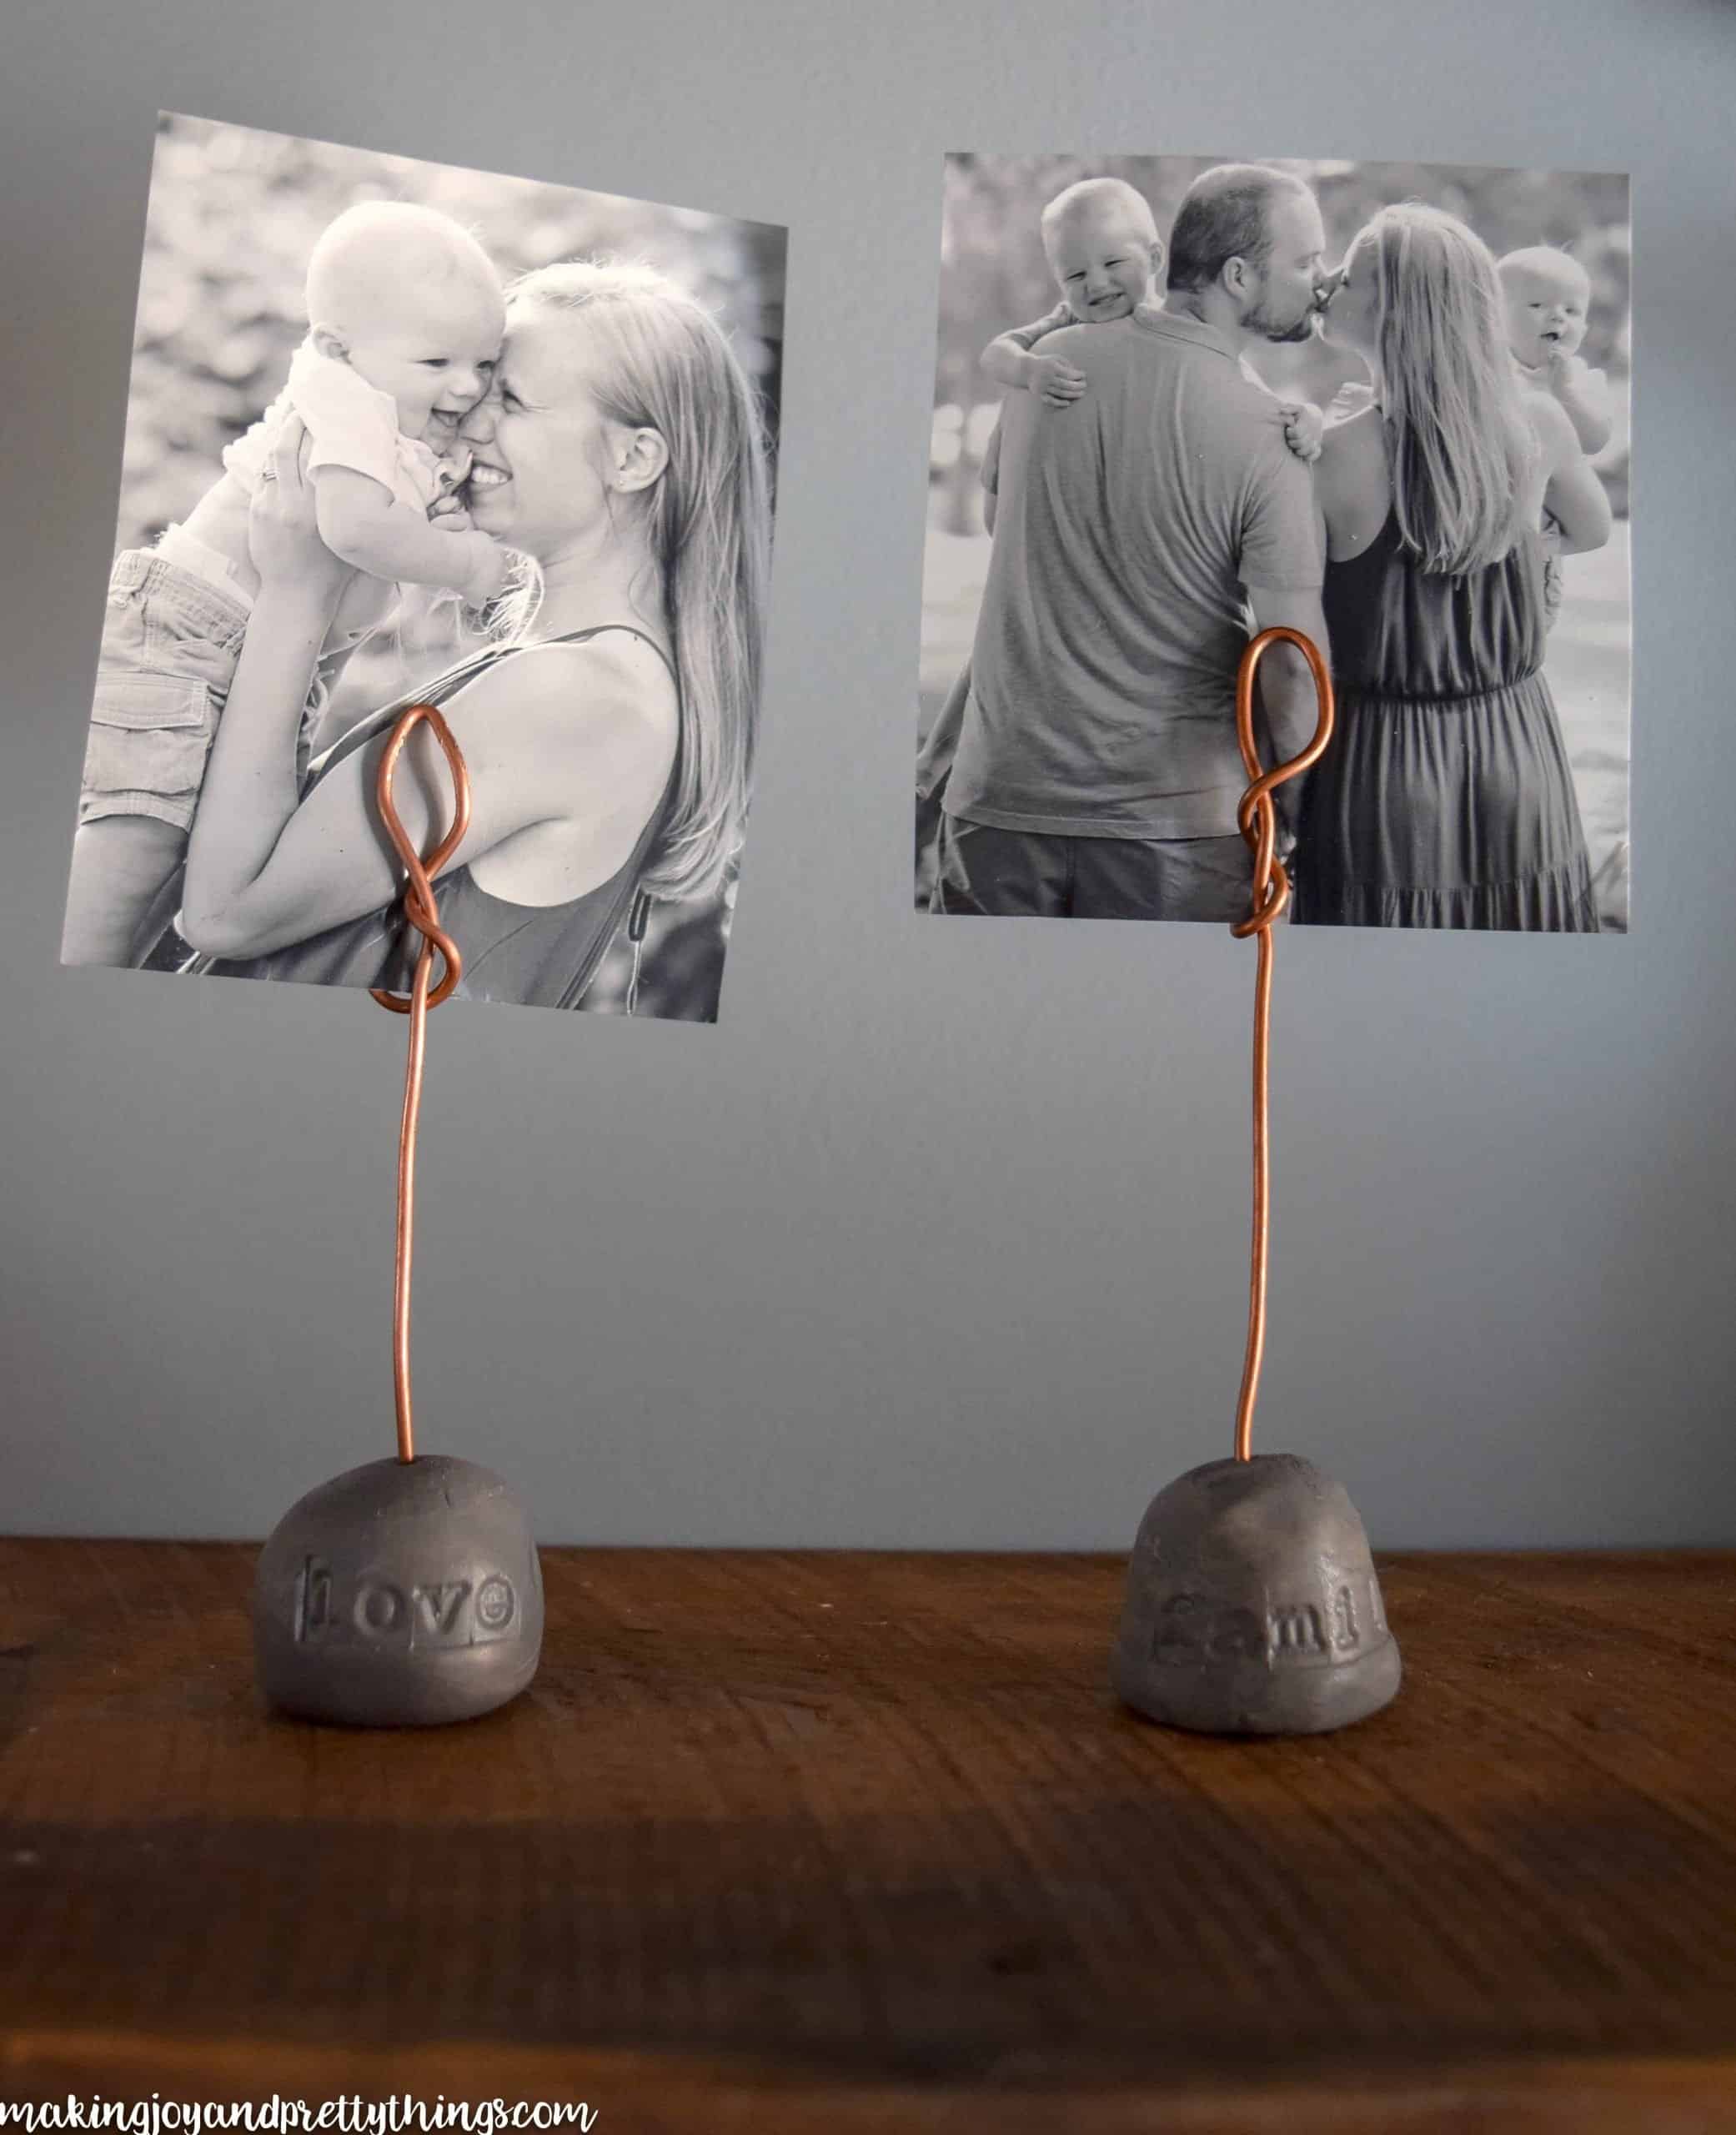
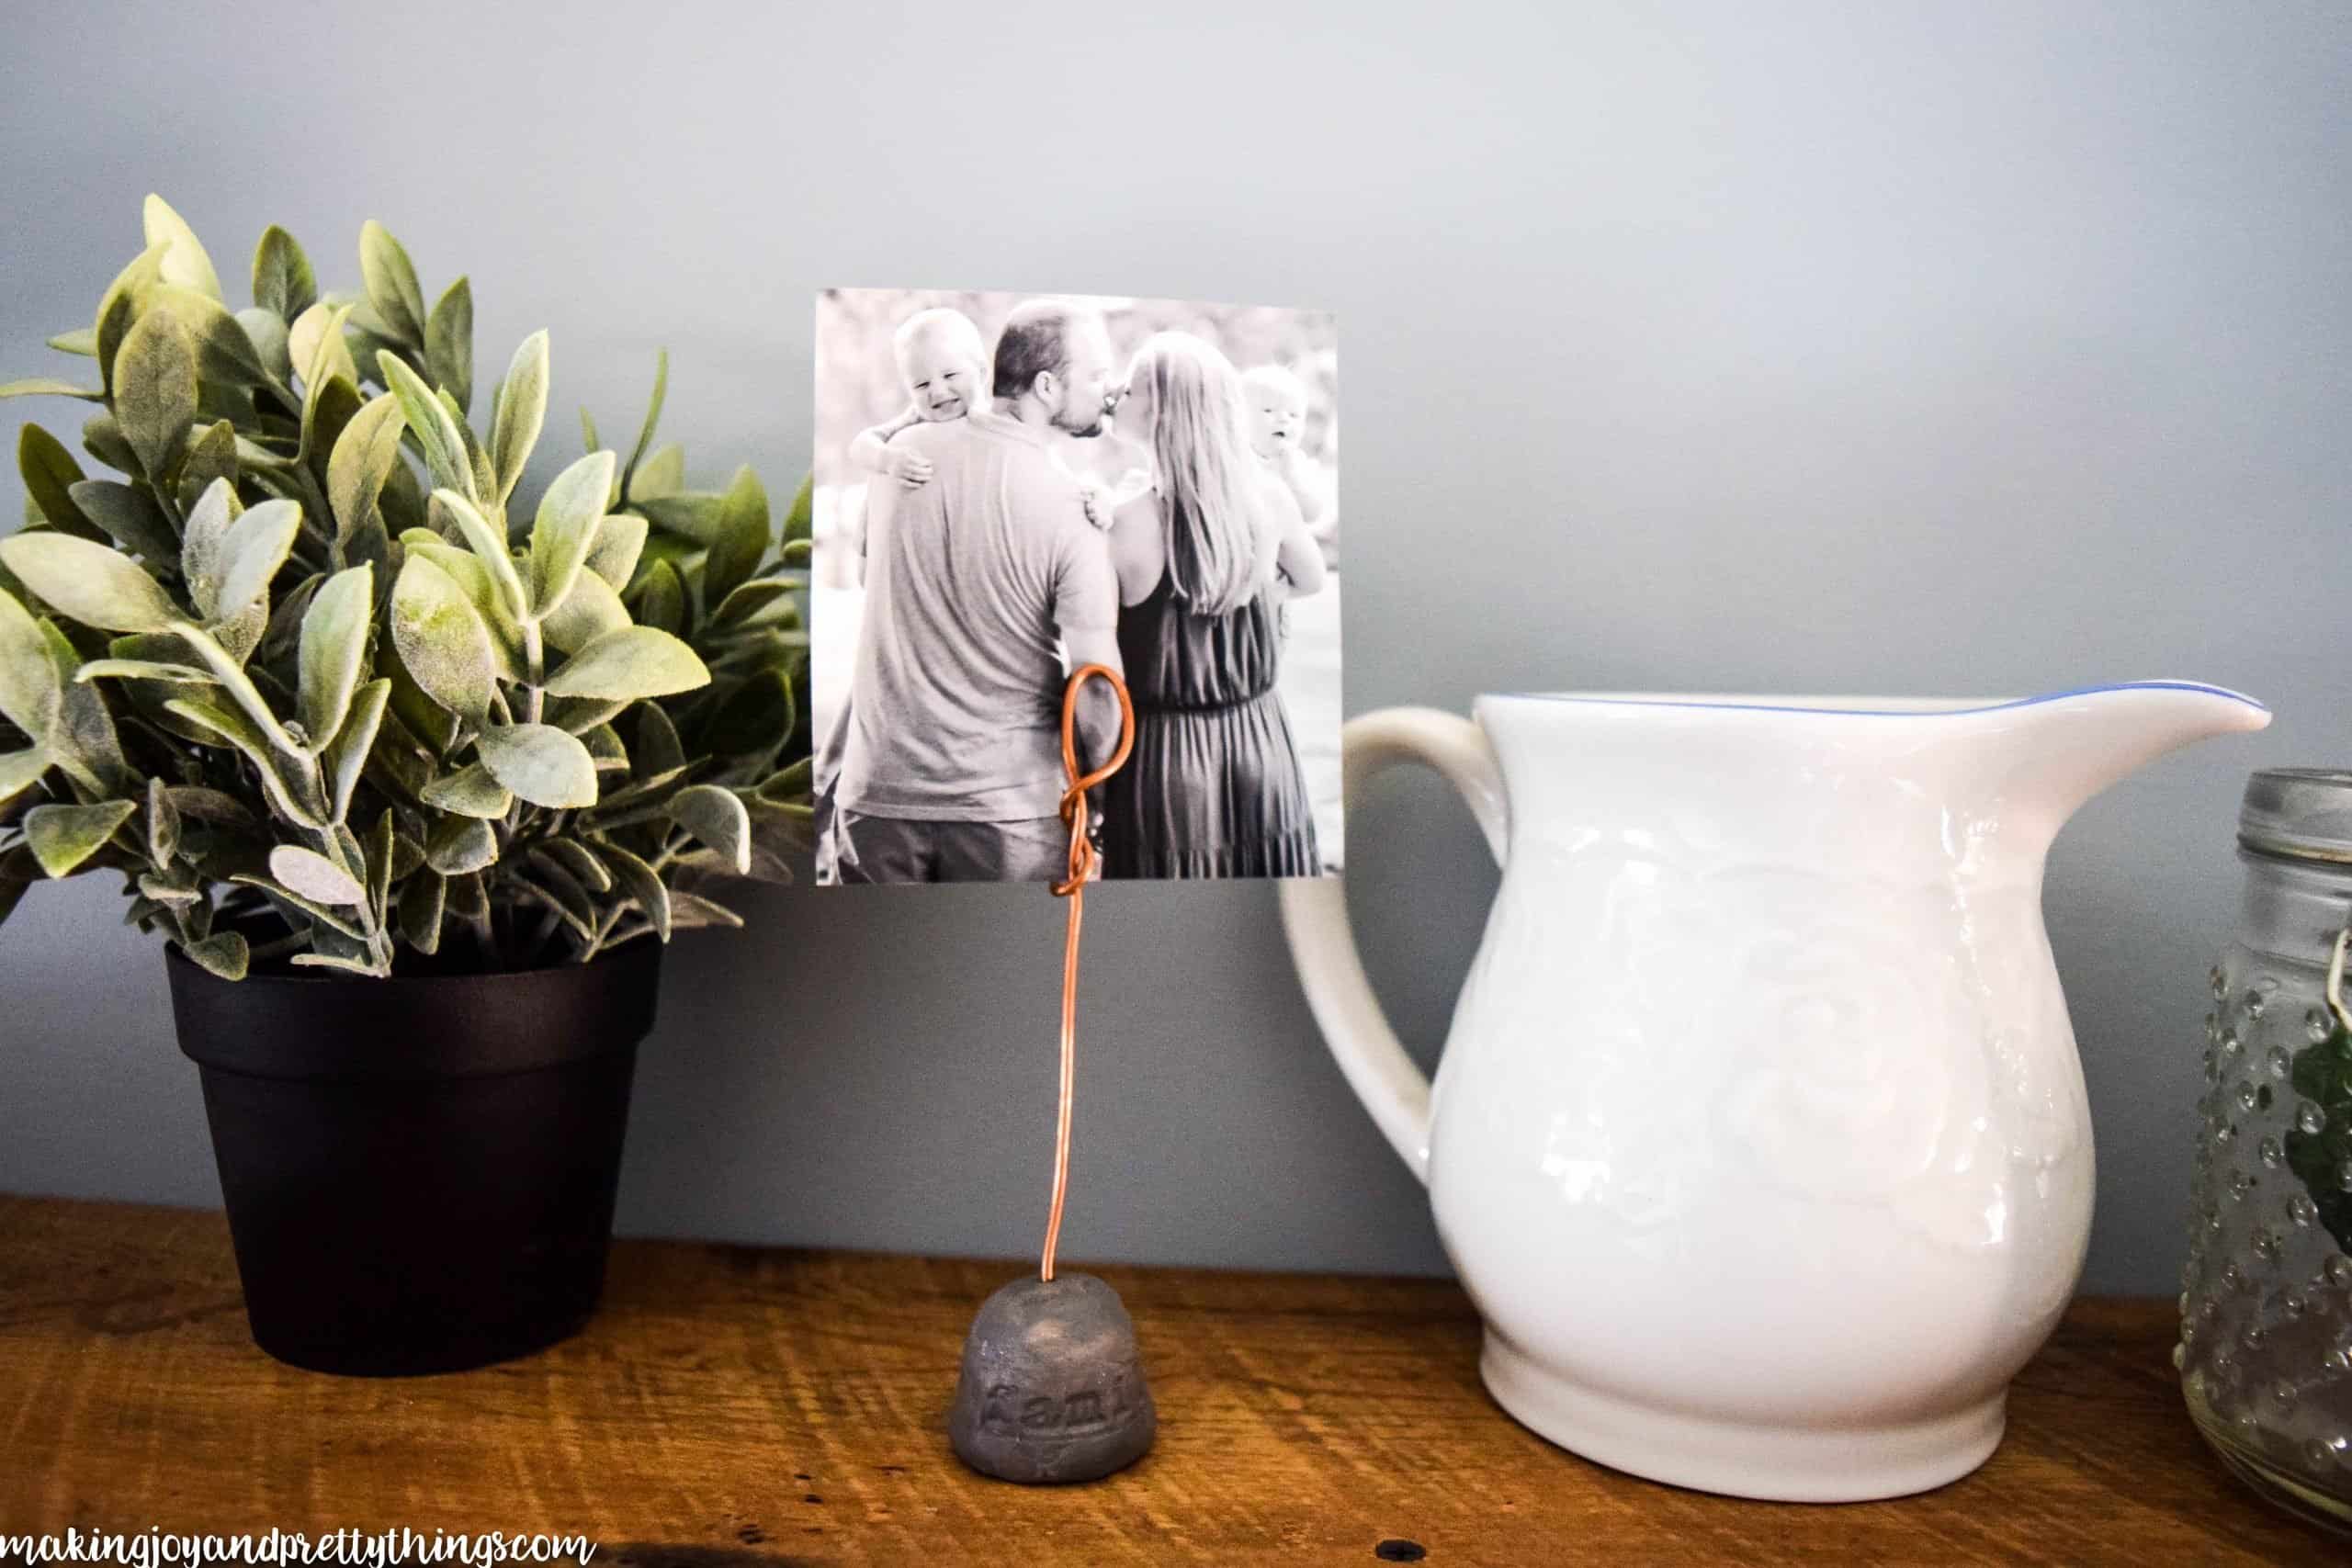
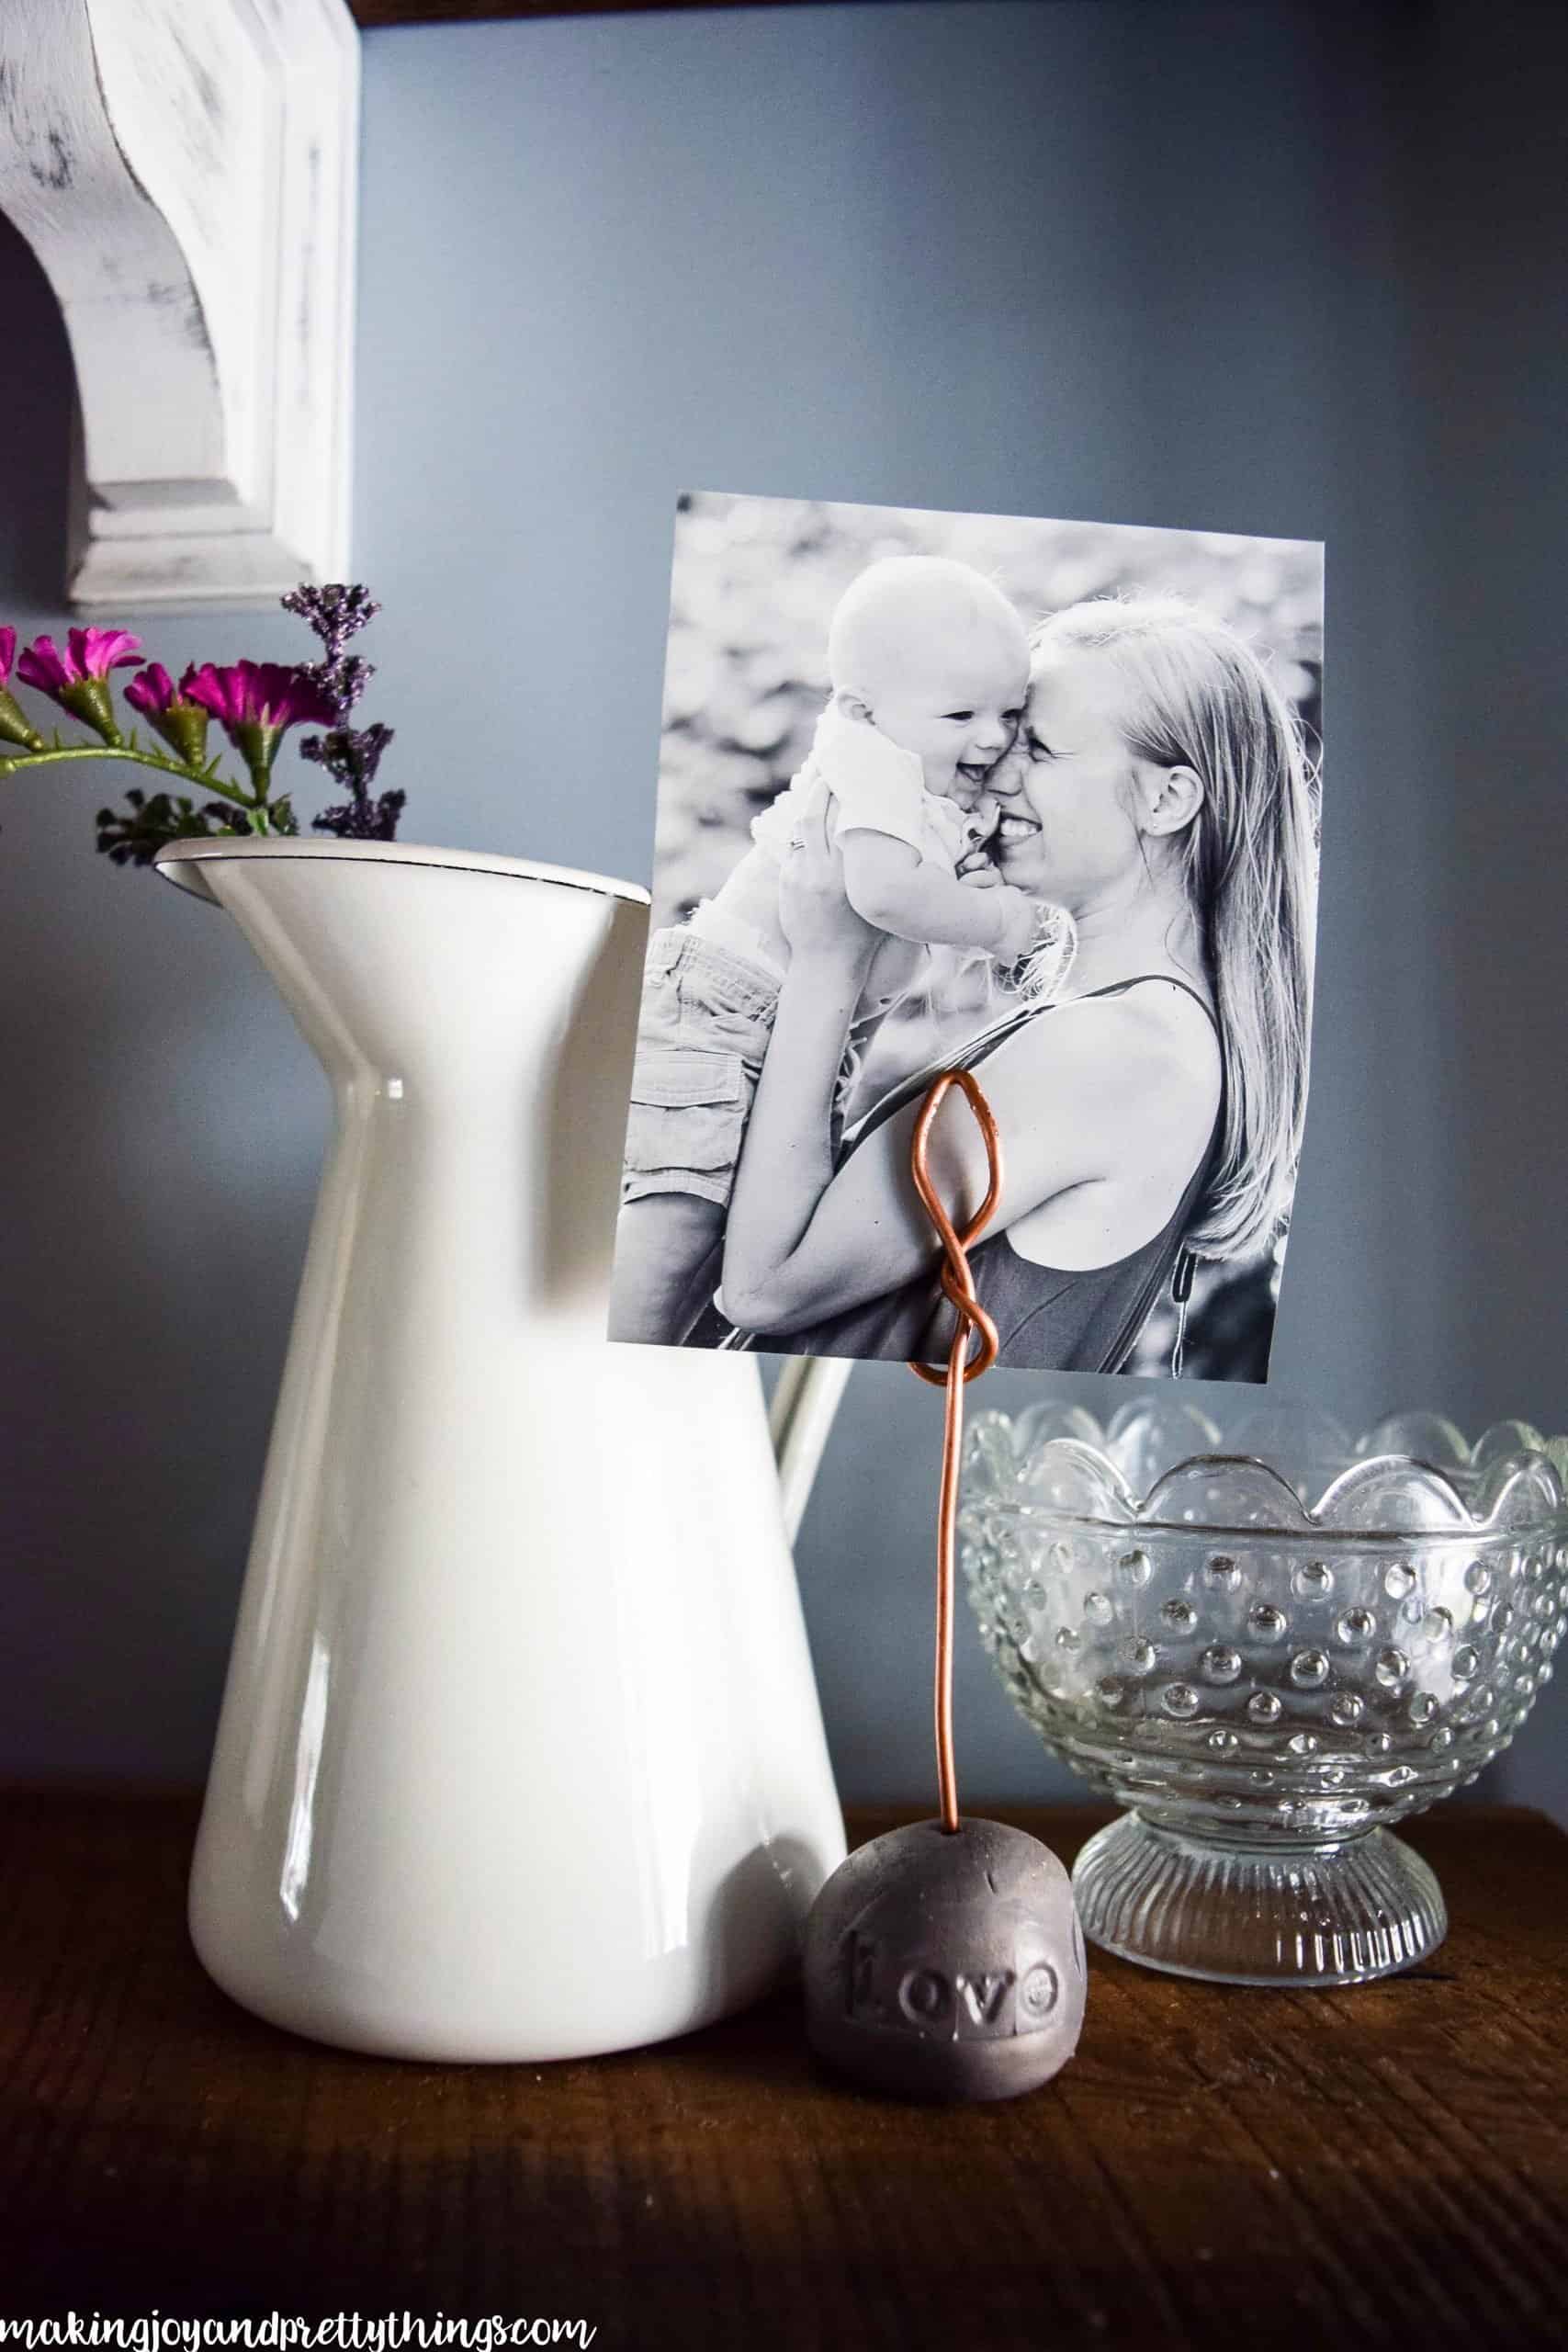
They came out perfectly!! Look at how pretty they look on those gorgeous barn wood shelves!
The copper wire really stands out against the color of the baked clay and the black-and-white photo. Plus, it complements the rustic feel of the wood.
Even though I swear I sound like a broken record with every post, these were really so very easy to make. Bonus: I convinced Liam to play with play-doh next to me while mama played with grown-up play-doh 😉
Supplies for DIY Wire Photo Holder:
- Oven-baked clay and letter stamps {same as from the DIY garden markers post to make the base of the photo display}
- Copper wire
- Needle-nose pliers {or something to help manipulate the cooper wire}
- Wire cutters
- Dark gray paint {I used General Finishes Driftwood Milk Paint}
- Your favorite pictures!! {mine were printed 4×6 that I cut down}
Step 1. Roll Clay for DIY Wire Photo Holder
I started by rolling the clay into a ball. The pack comes with 4 smaller sections and I used about 1.5 of these sections per display base.
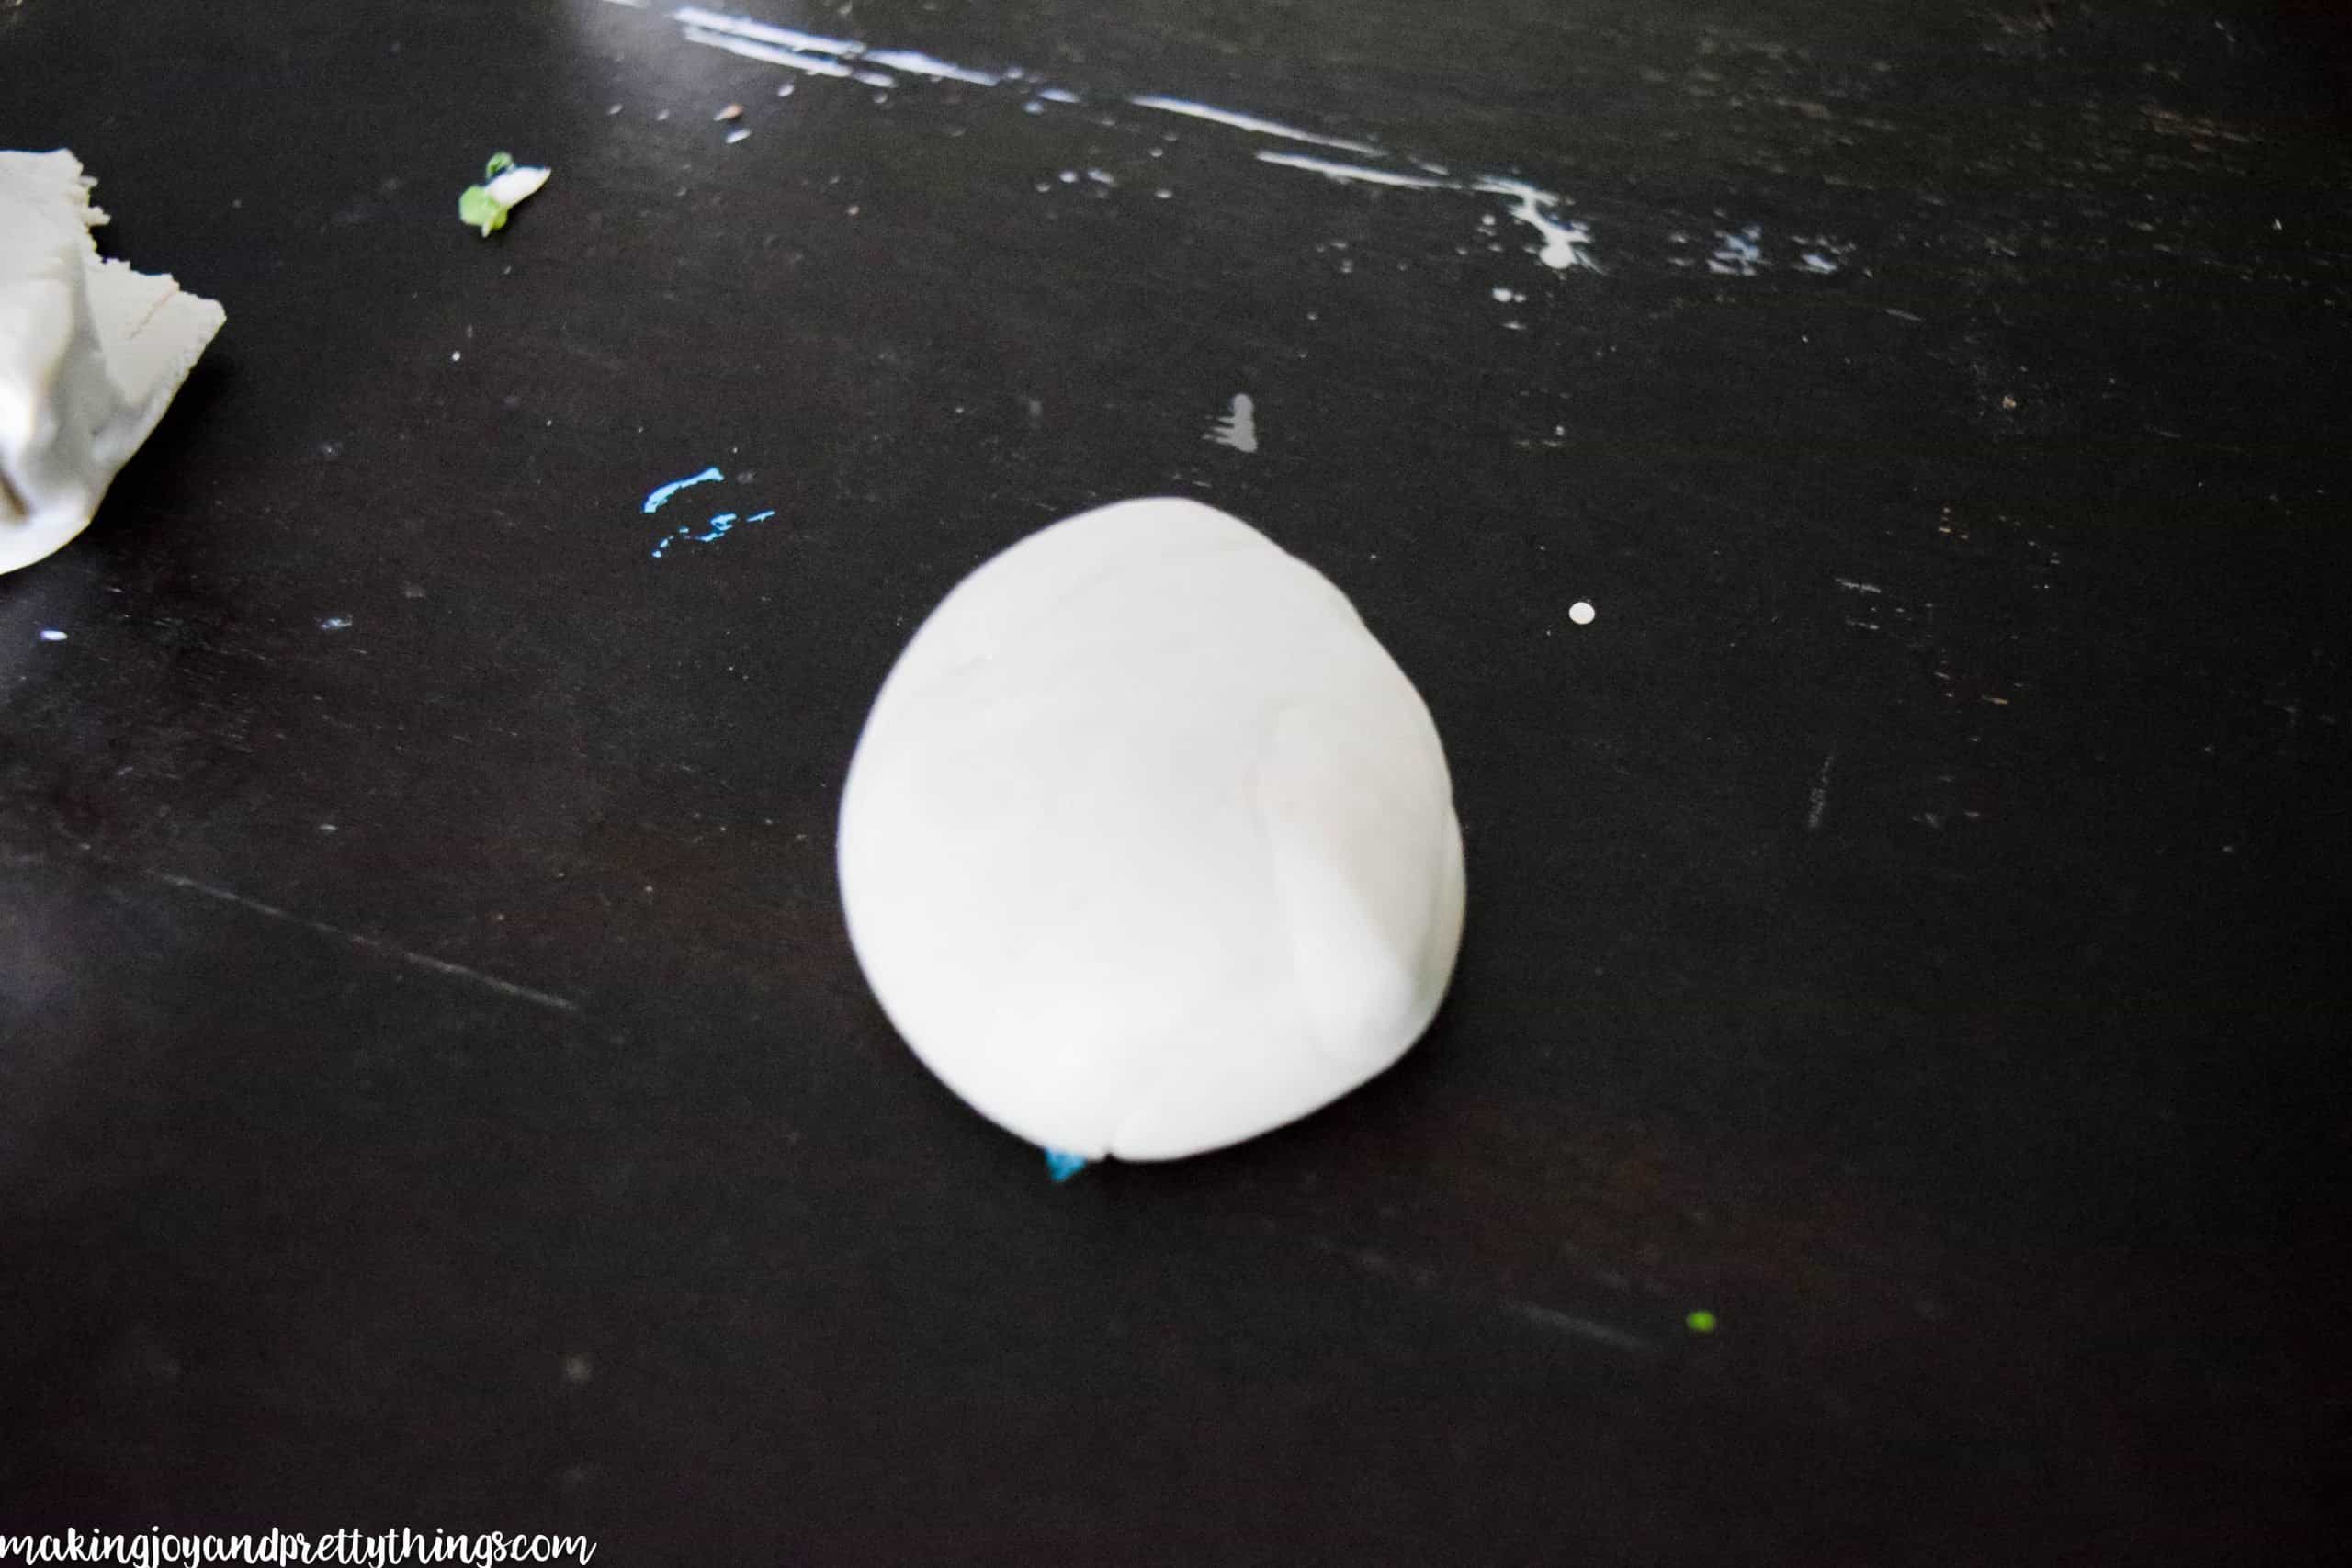
I then rolled the ball in the palms of my hands, just like if you were making a snake out of play-doh. I wanted it to be in more of a “cone” shape.
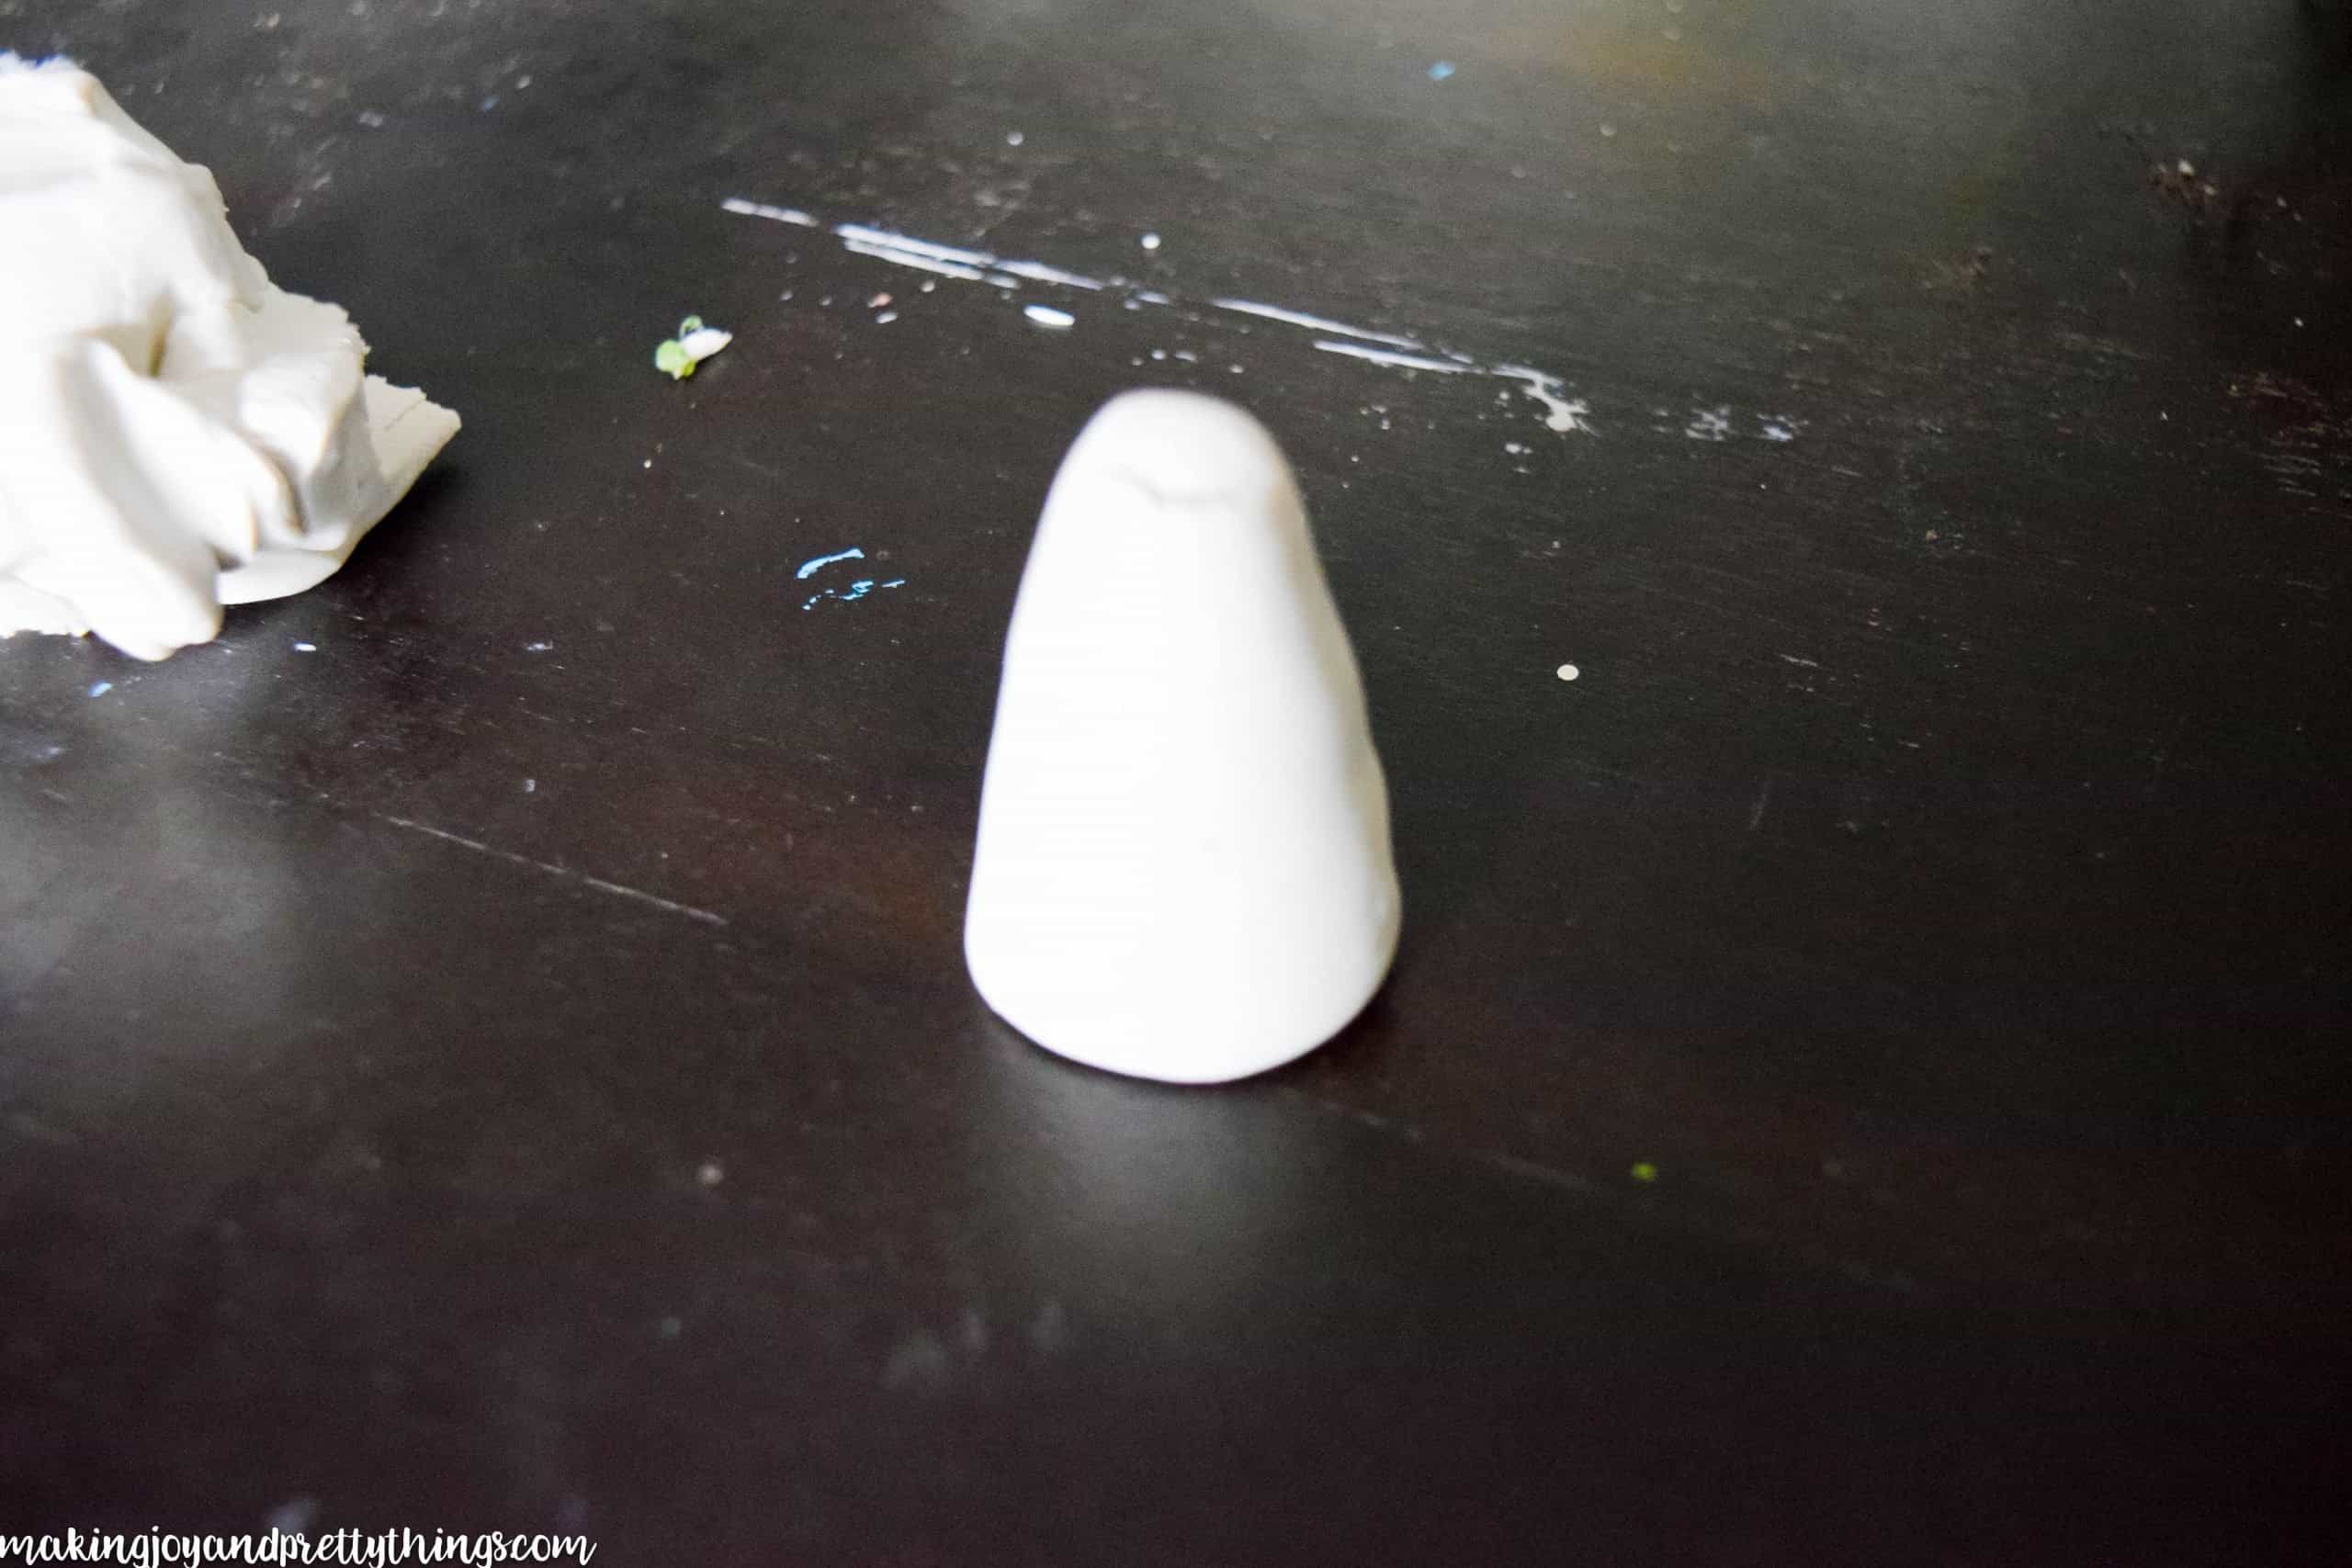
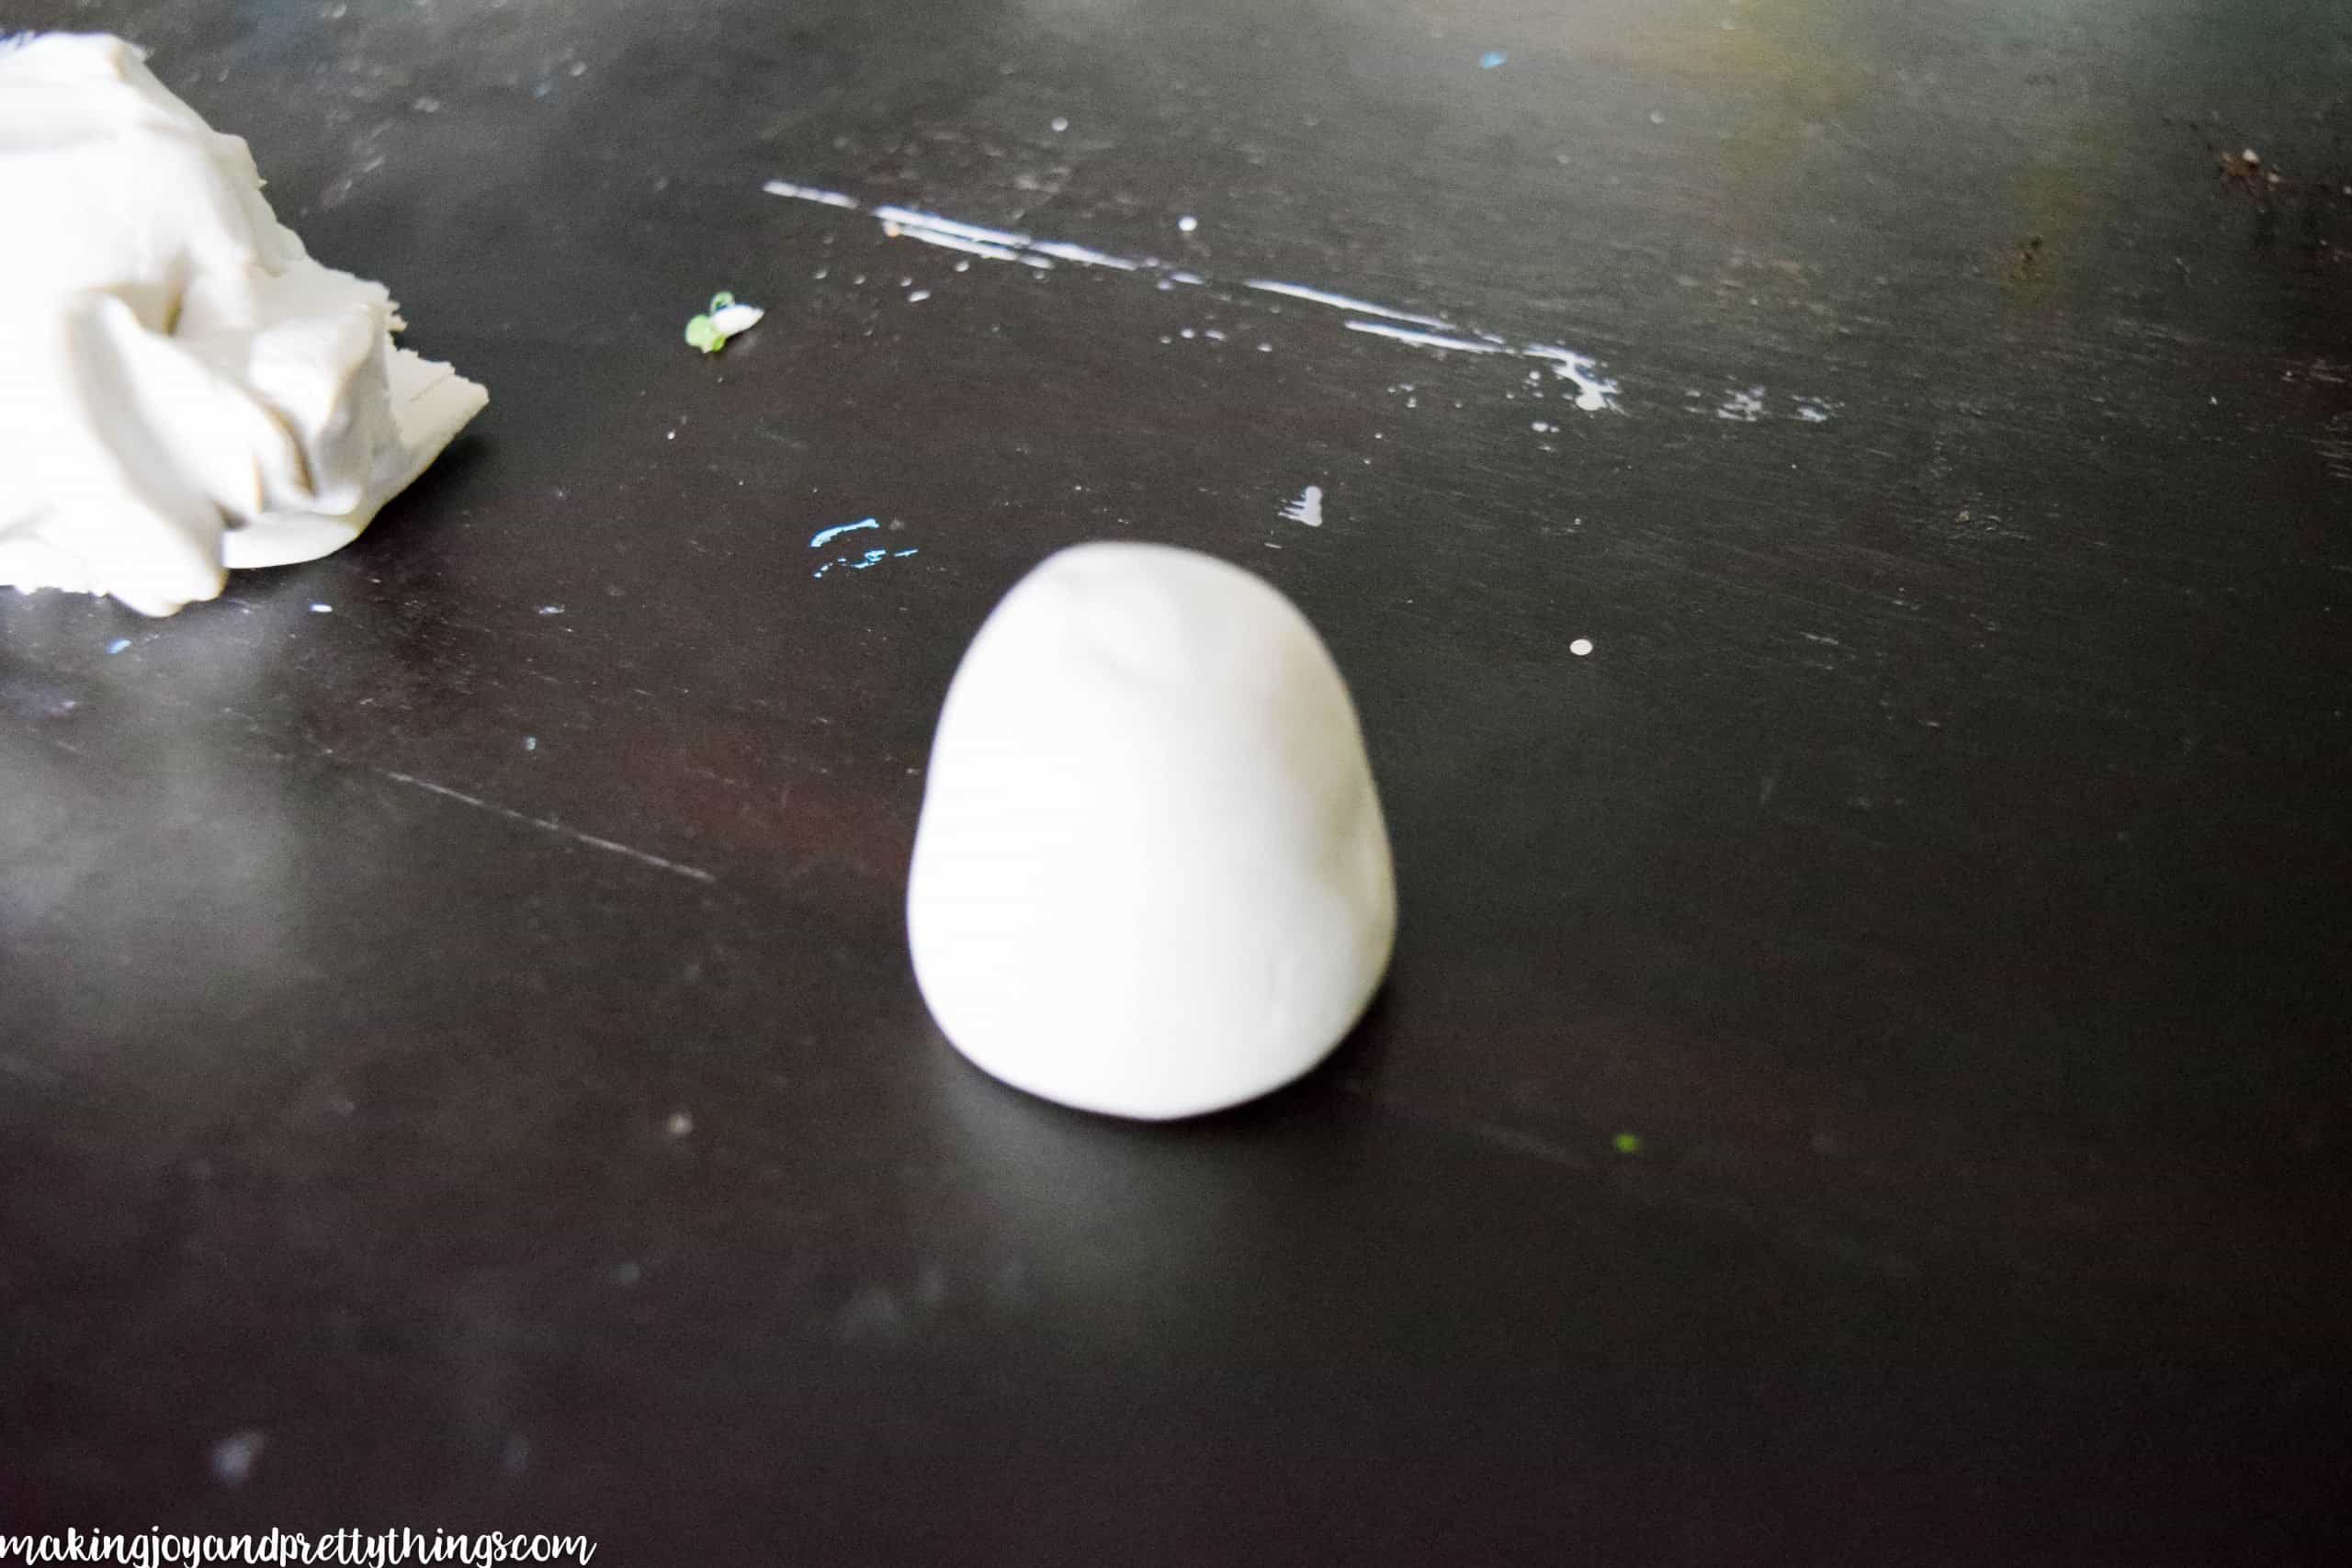
Once I had the cone shape, I pushed one end firmly against the table so as to make a flat surface. You want to have at least one end flat so that the photo display has a proper base.
On the other end, I lightly tapped down a few times to make it flatter, but not as flat as the base. You can totally do whatever shape you want here, so long as you have one end flat.
What even is that shape, you ask? I have no clue. But, I went with it 🙂
Step 2. Insert Copper Wire into Clay
Next, I poked a hole with one of the copper wires about 1/2 way through the clay. You want to just push it in and then take it directly out, not wiggling side to side at all.
You want the wire to fit as closely against the clay as you can so the picture doesn’t move around.

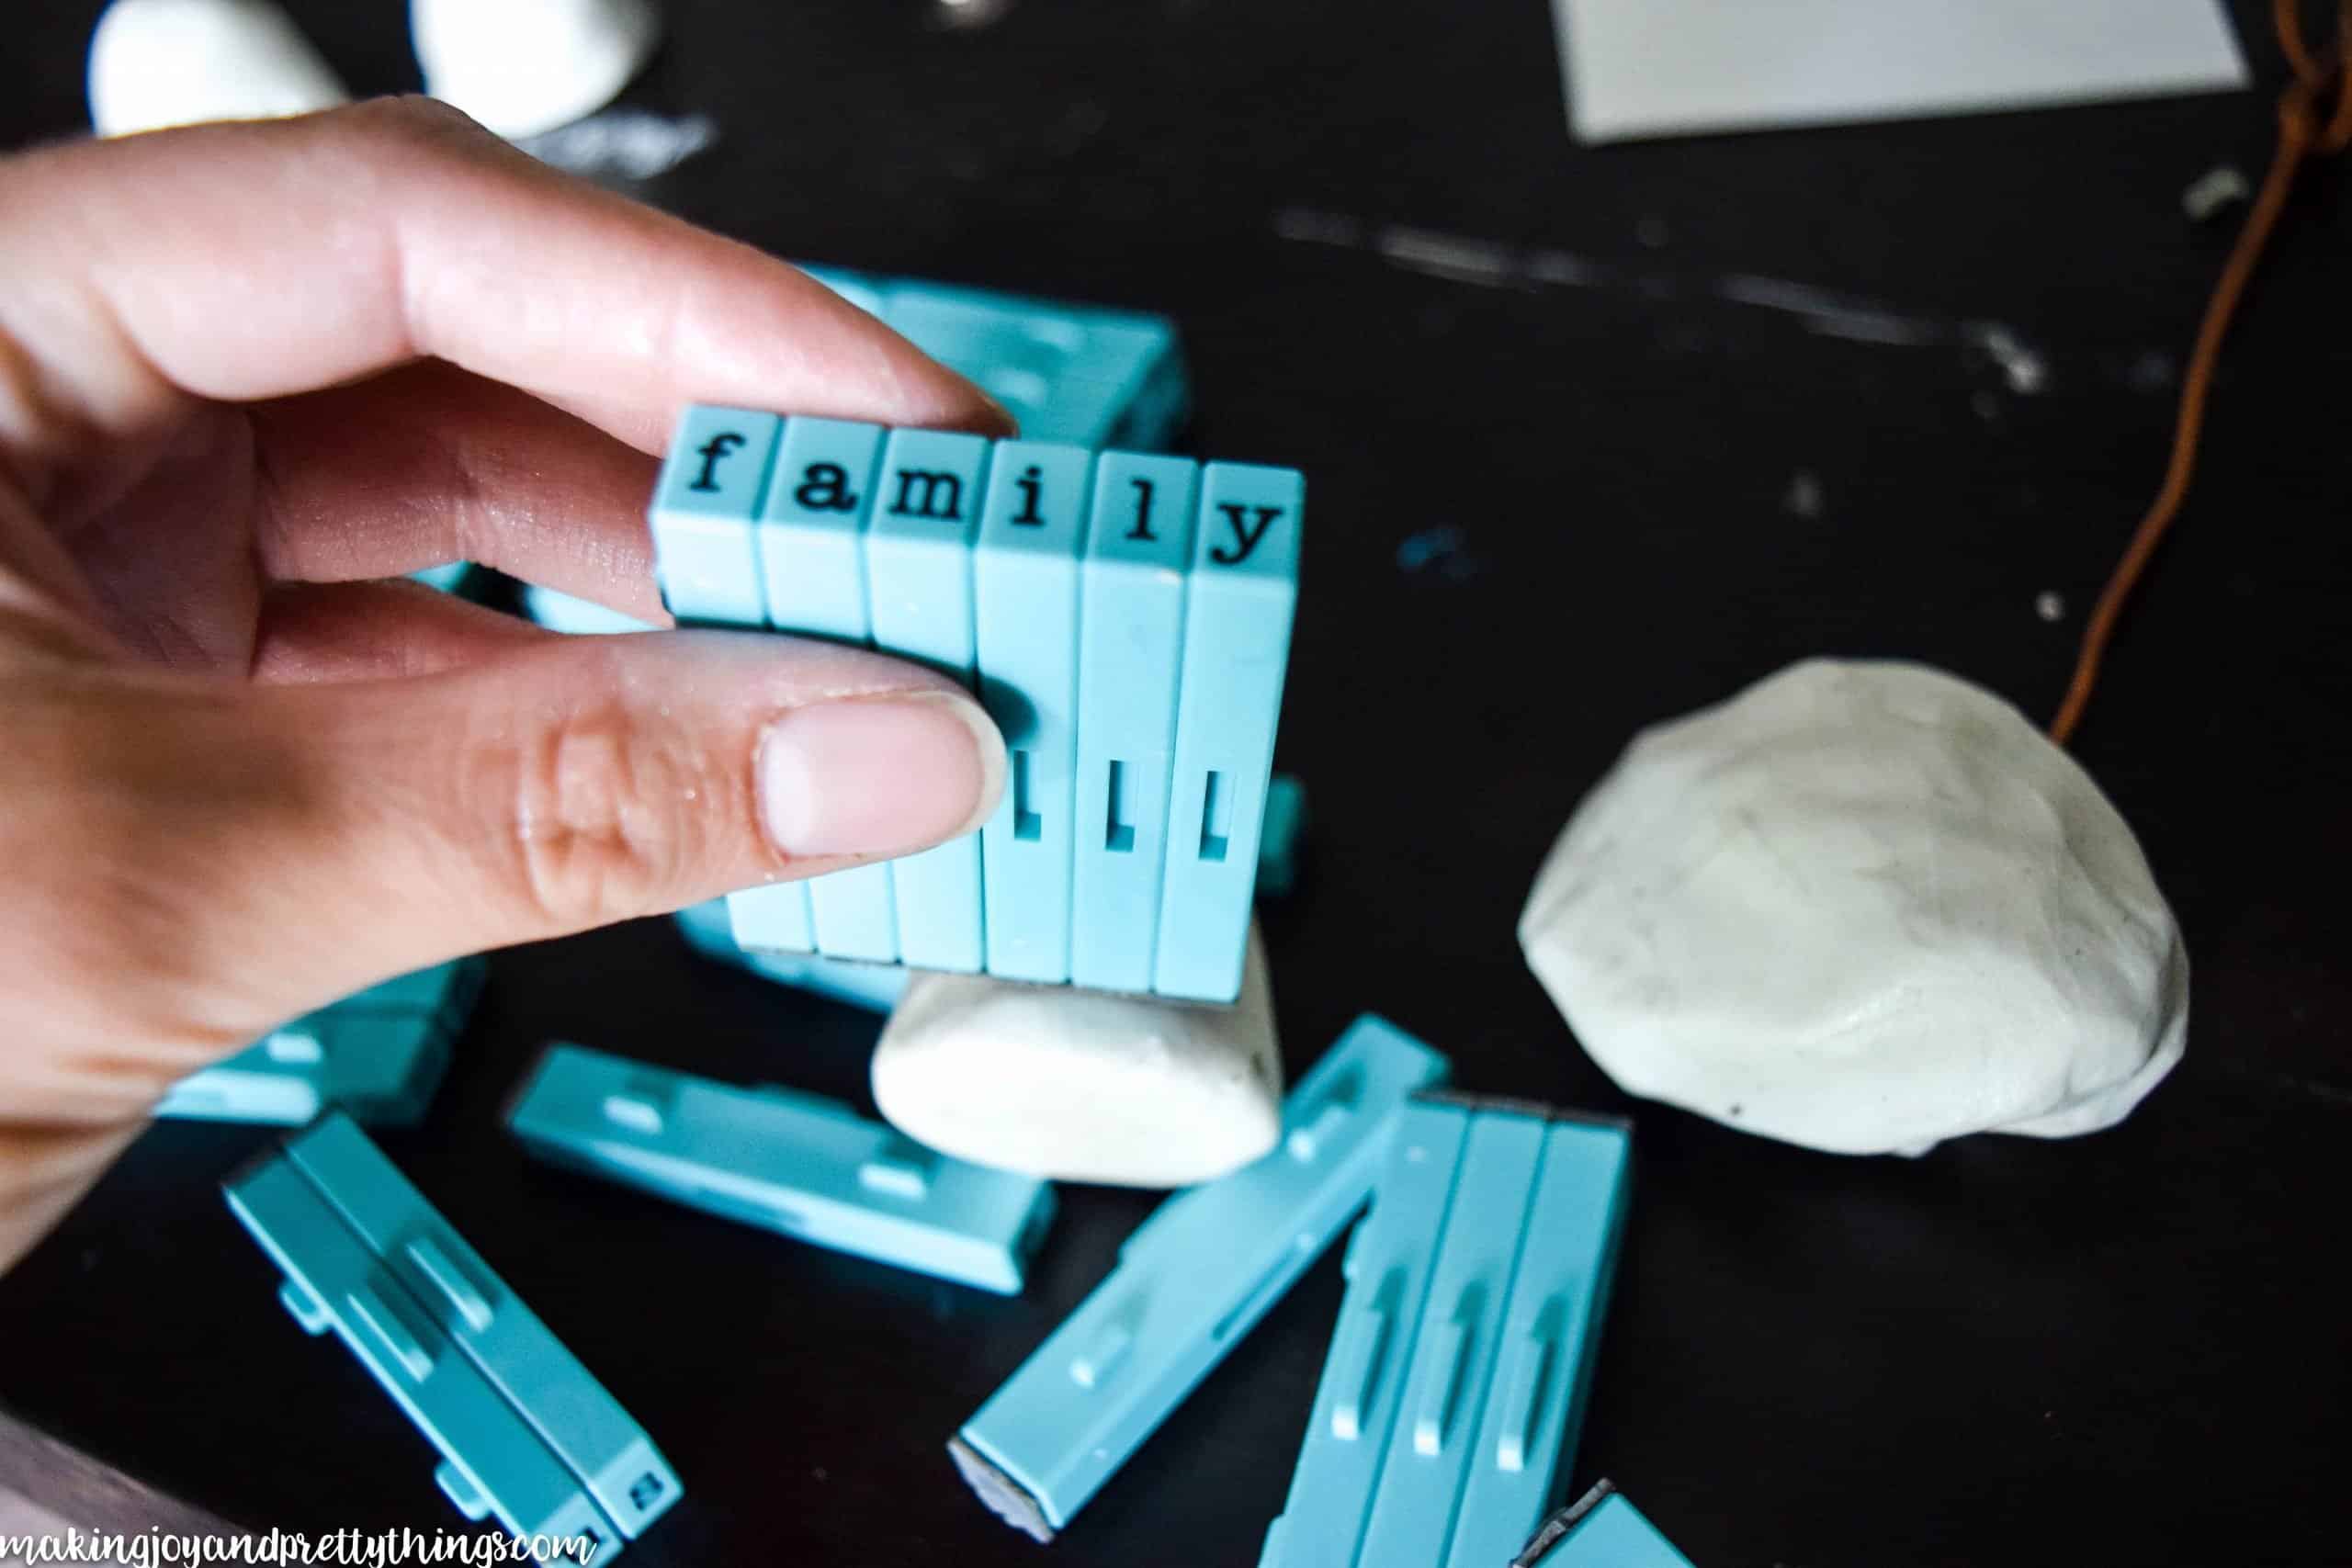
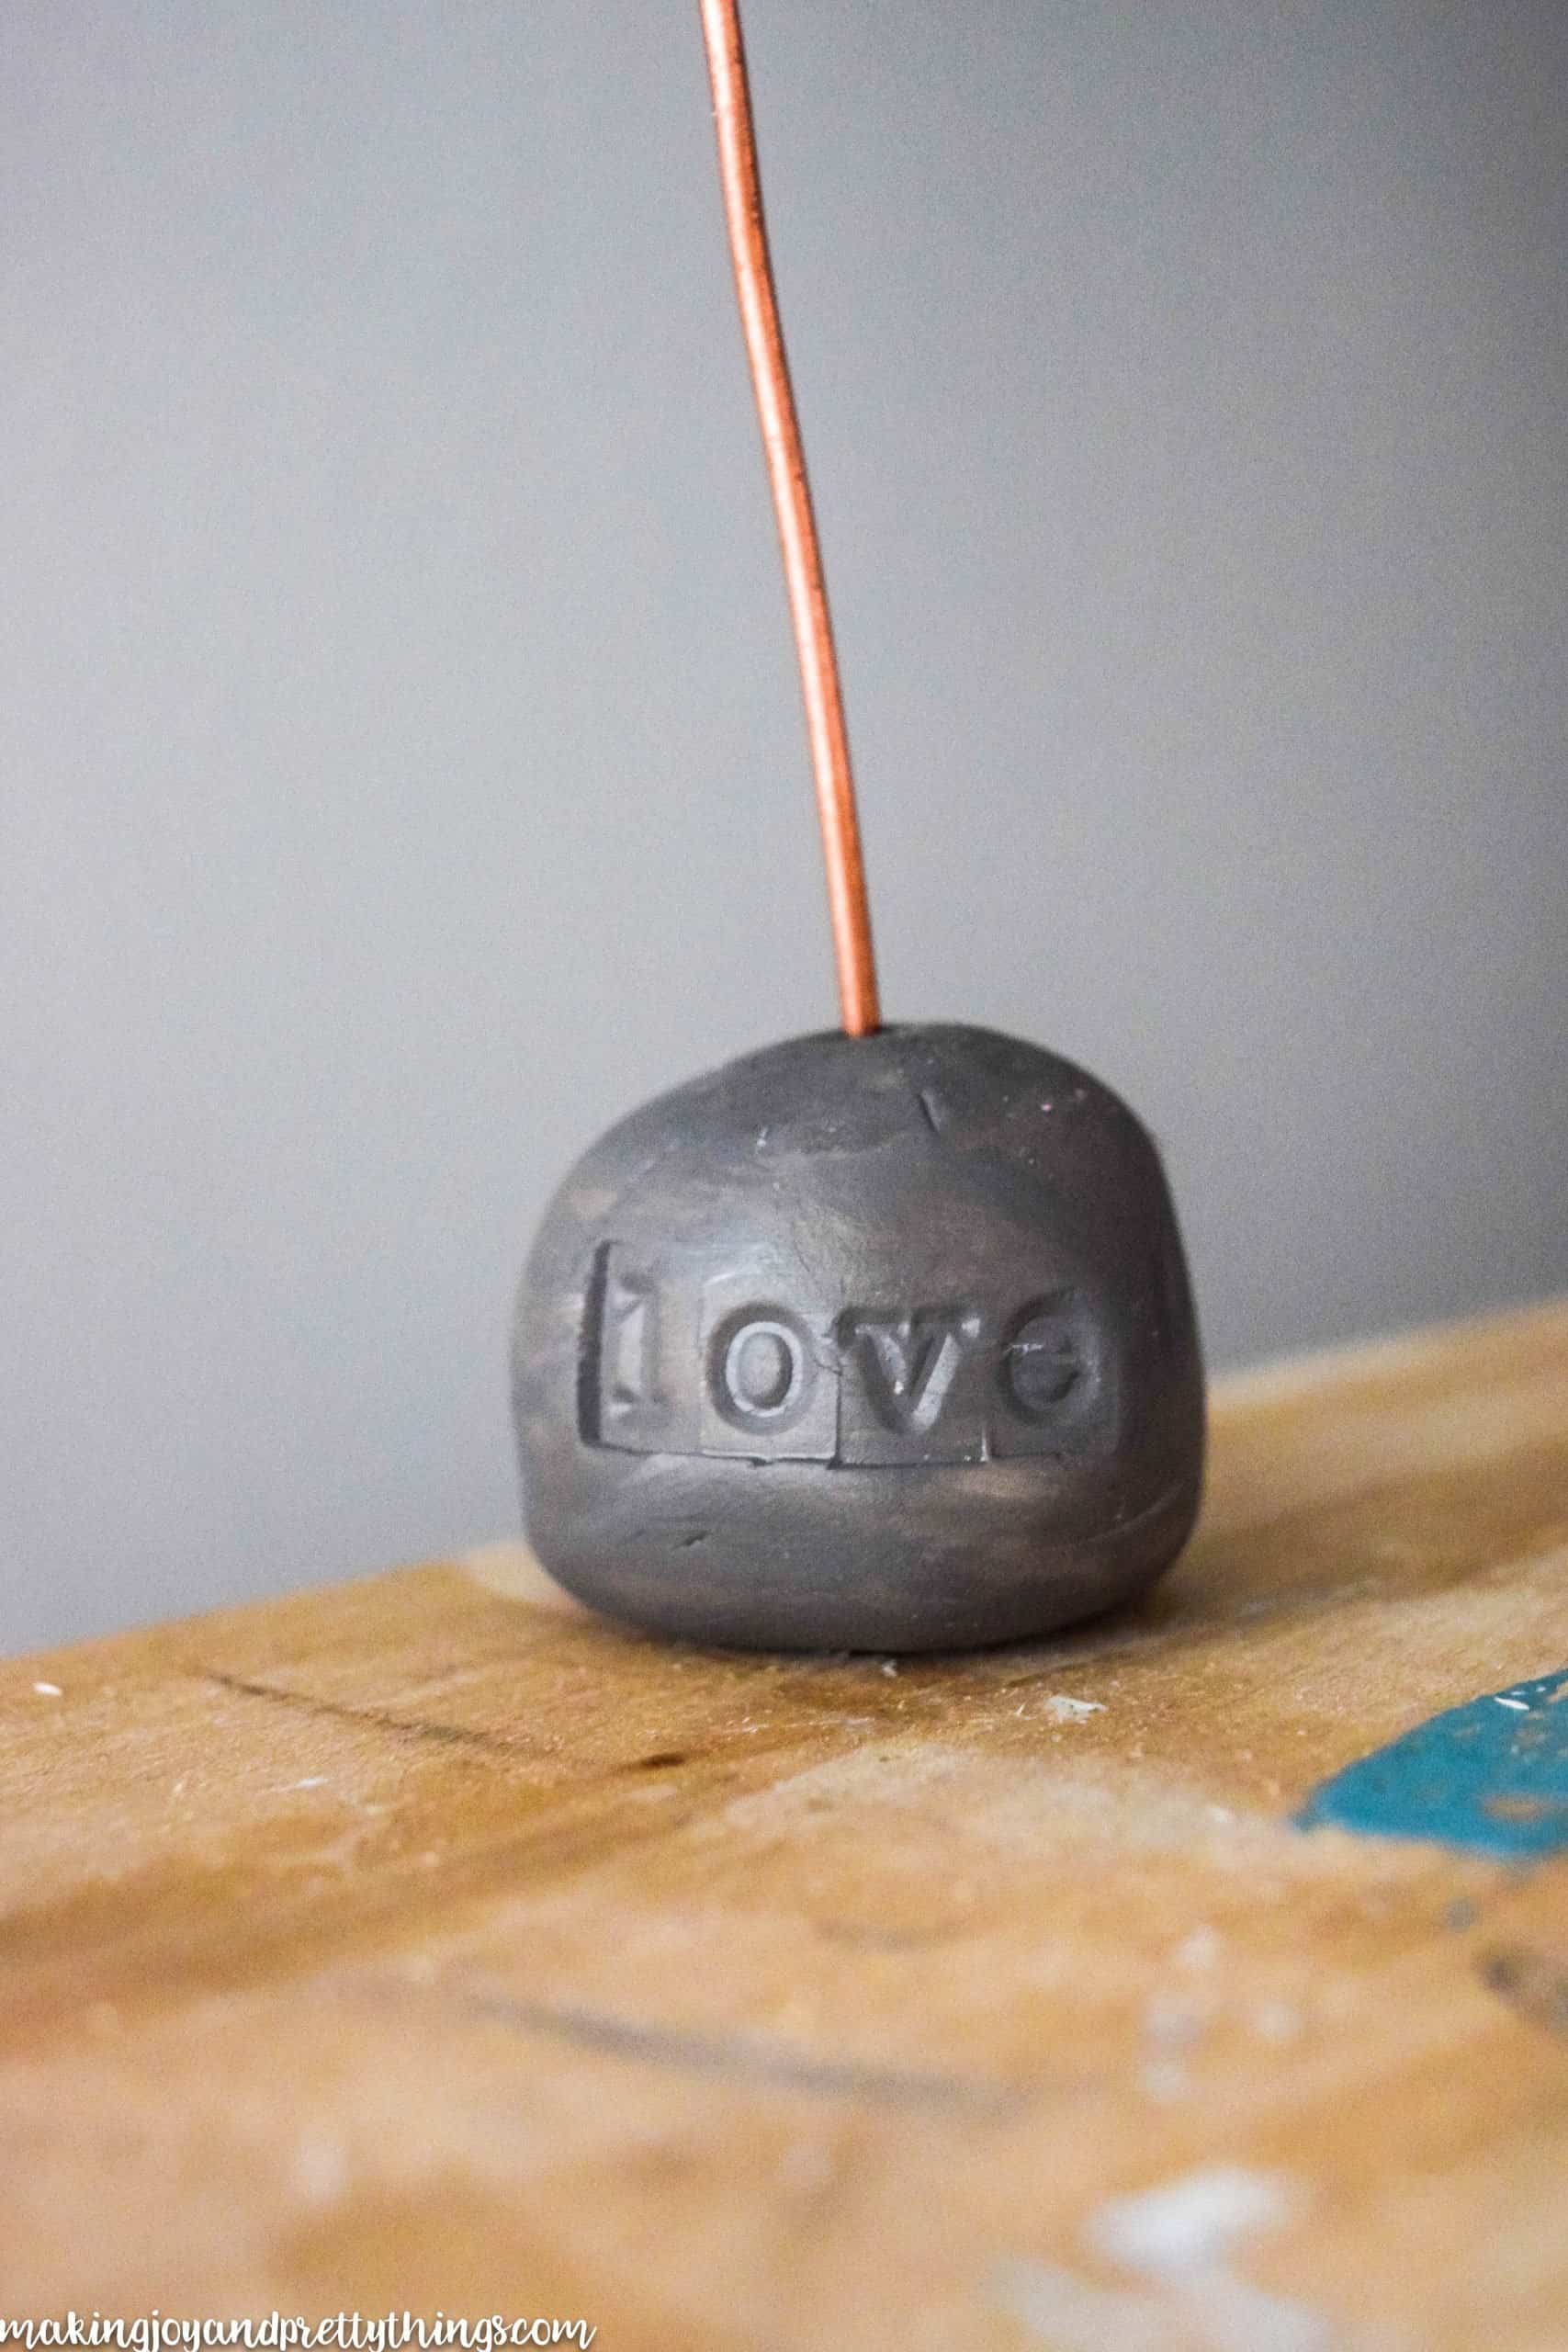
Step 3. Stamp the Clay Wire Holder
Next, I got out the letter stamps. I love how open-ended these stamps are. You can use them to make so many fun DIY projects.
I chose to make 3 photo displays and used the words “us”, “family” and “love”. The smaller the word, the easier it is to imprint on the clay.
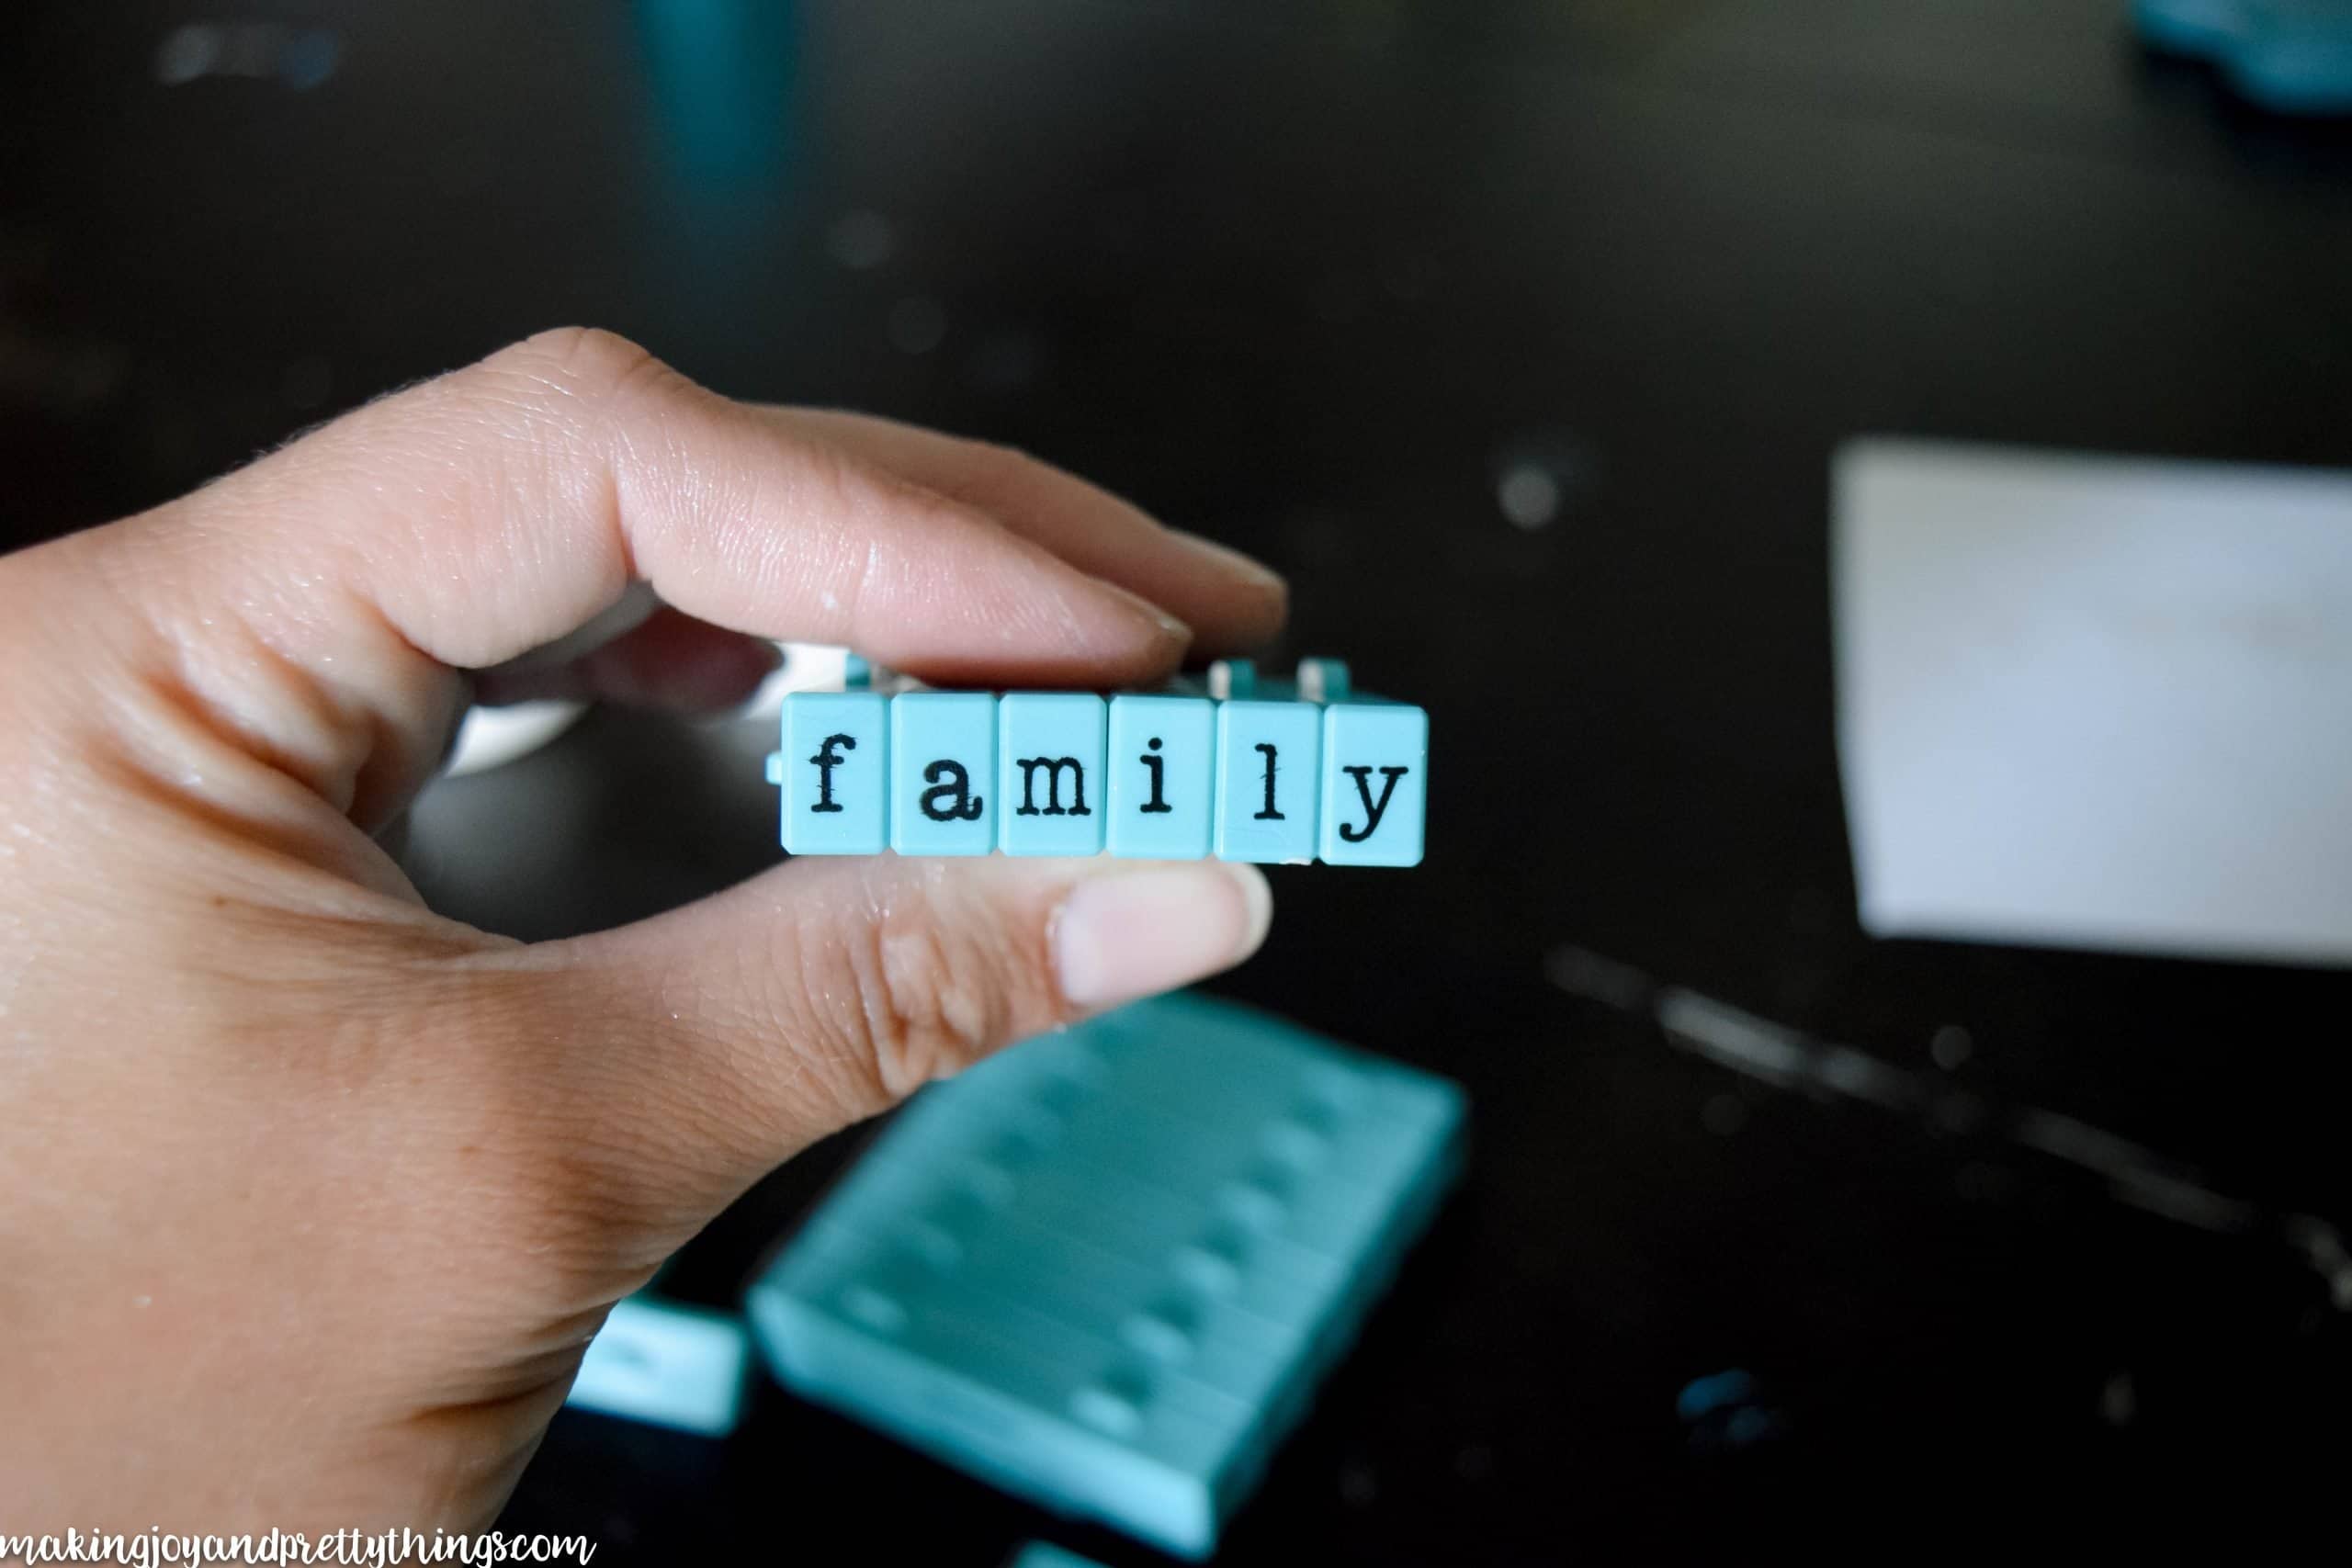
The letters just click together, it’s amazing!
Since “family” was the biggest word, I actually couldn’t just press the letters on the clay directly. I had to start on one end {shown below} and roll it around the clay to the other end.
You want to do this without lifting the letters from the clay so that the letters are equally spaced.
Don’t press too hard!! If you don’t like how it looks, you can always start over 🙂
Step 4. Bake the DIY Wire Photo Holder
Once I had stamped the words, I baked the clay according to the directions on the pack.
After they had baked and cooled off, I got to work on painting them.
Step 5. Paint the Baked Clay
I knew I wanted a color that would contrast the copper wire and I loved the dark gray “driftwood” color.
Using an old t-shirt, I got a fairly decent amount of paint and rubbed all over the clay, being sure to fill in the place where the letters are.
{try not to get too much paint in the hole at the top for the copper wire}

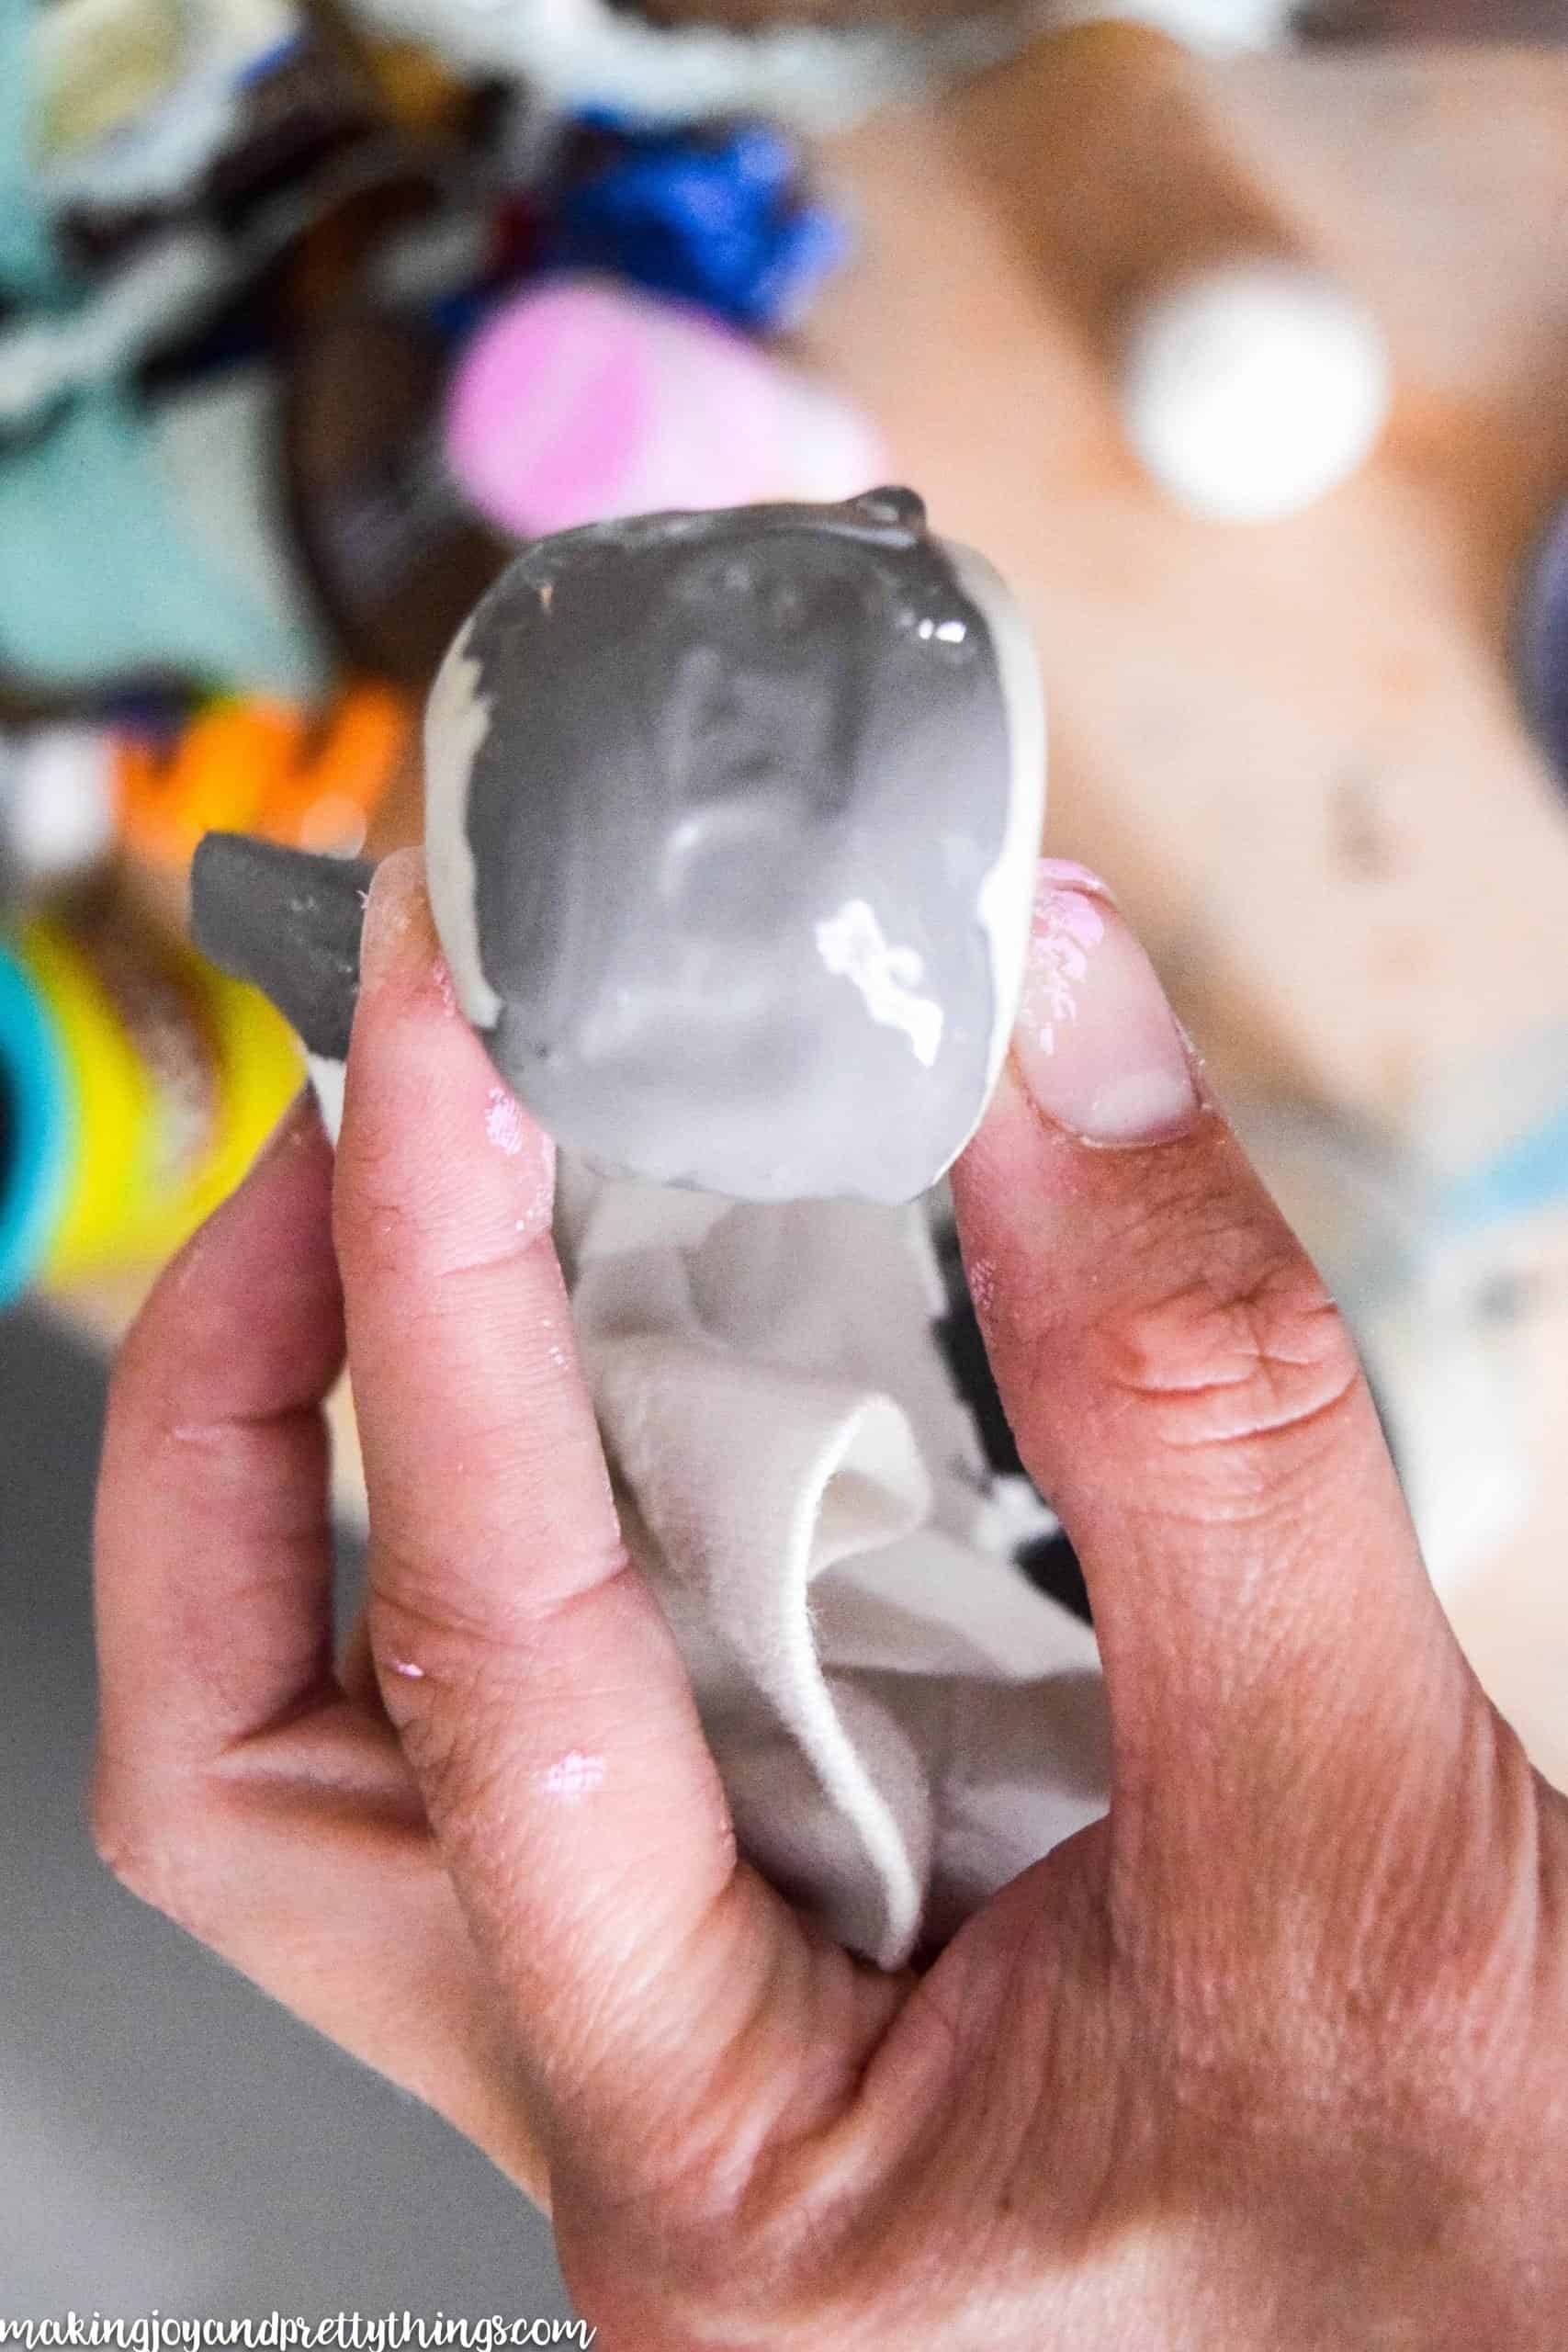
Once it was adequately covered, I used the other half of the old t-shirt to wipe any excess off. Be sure to wipe around the letters, too.
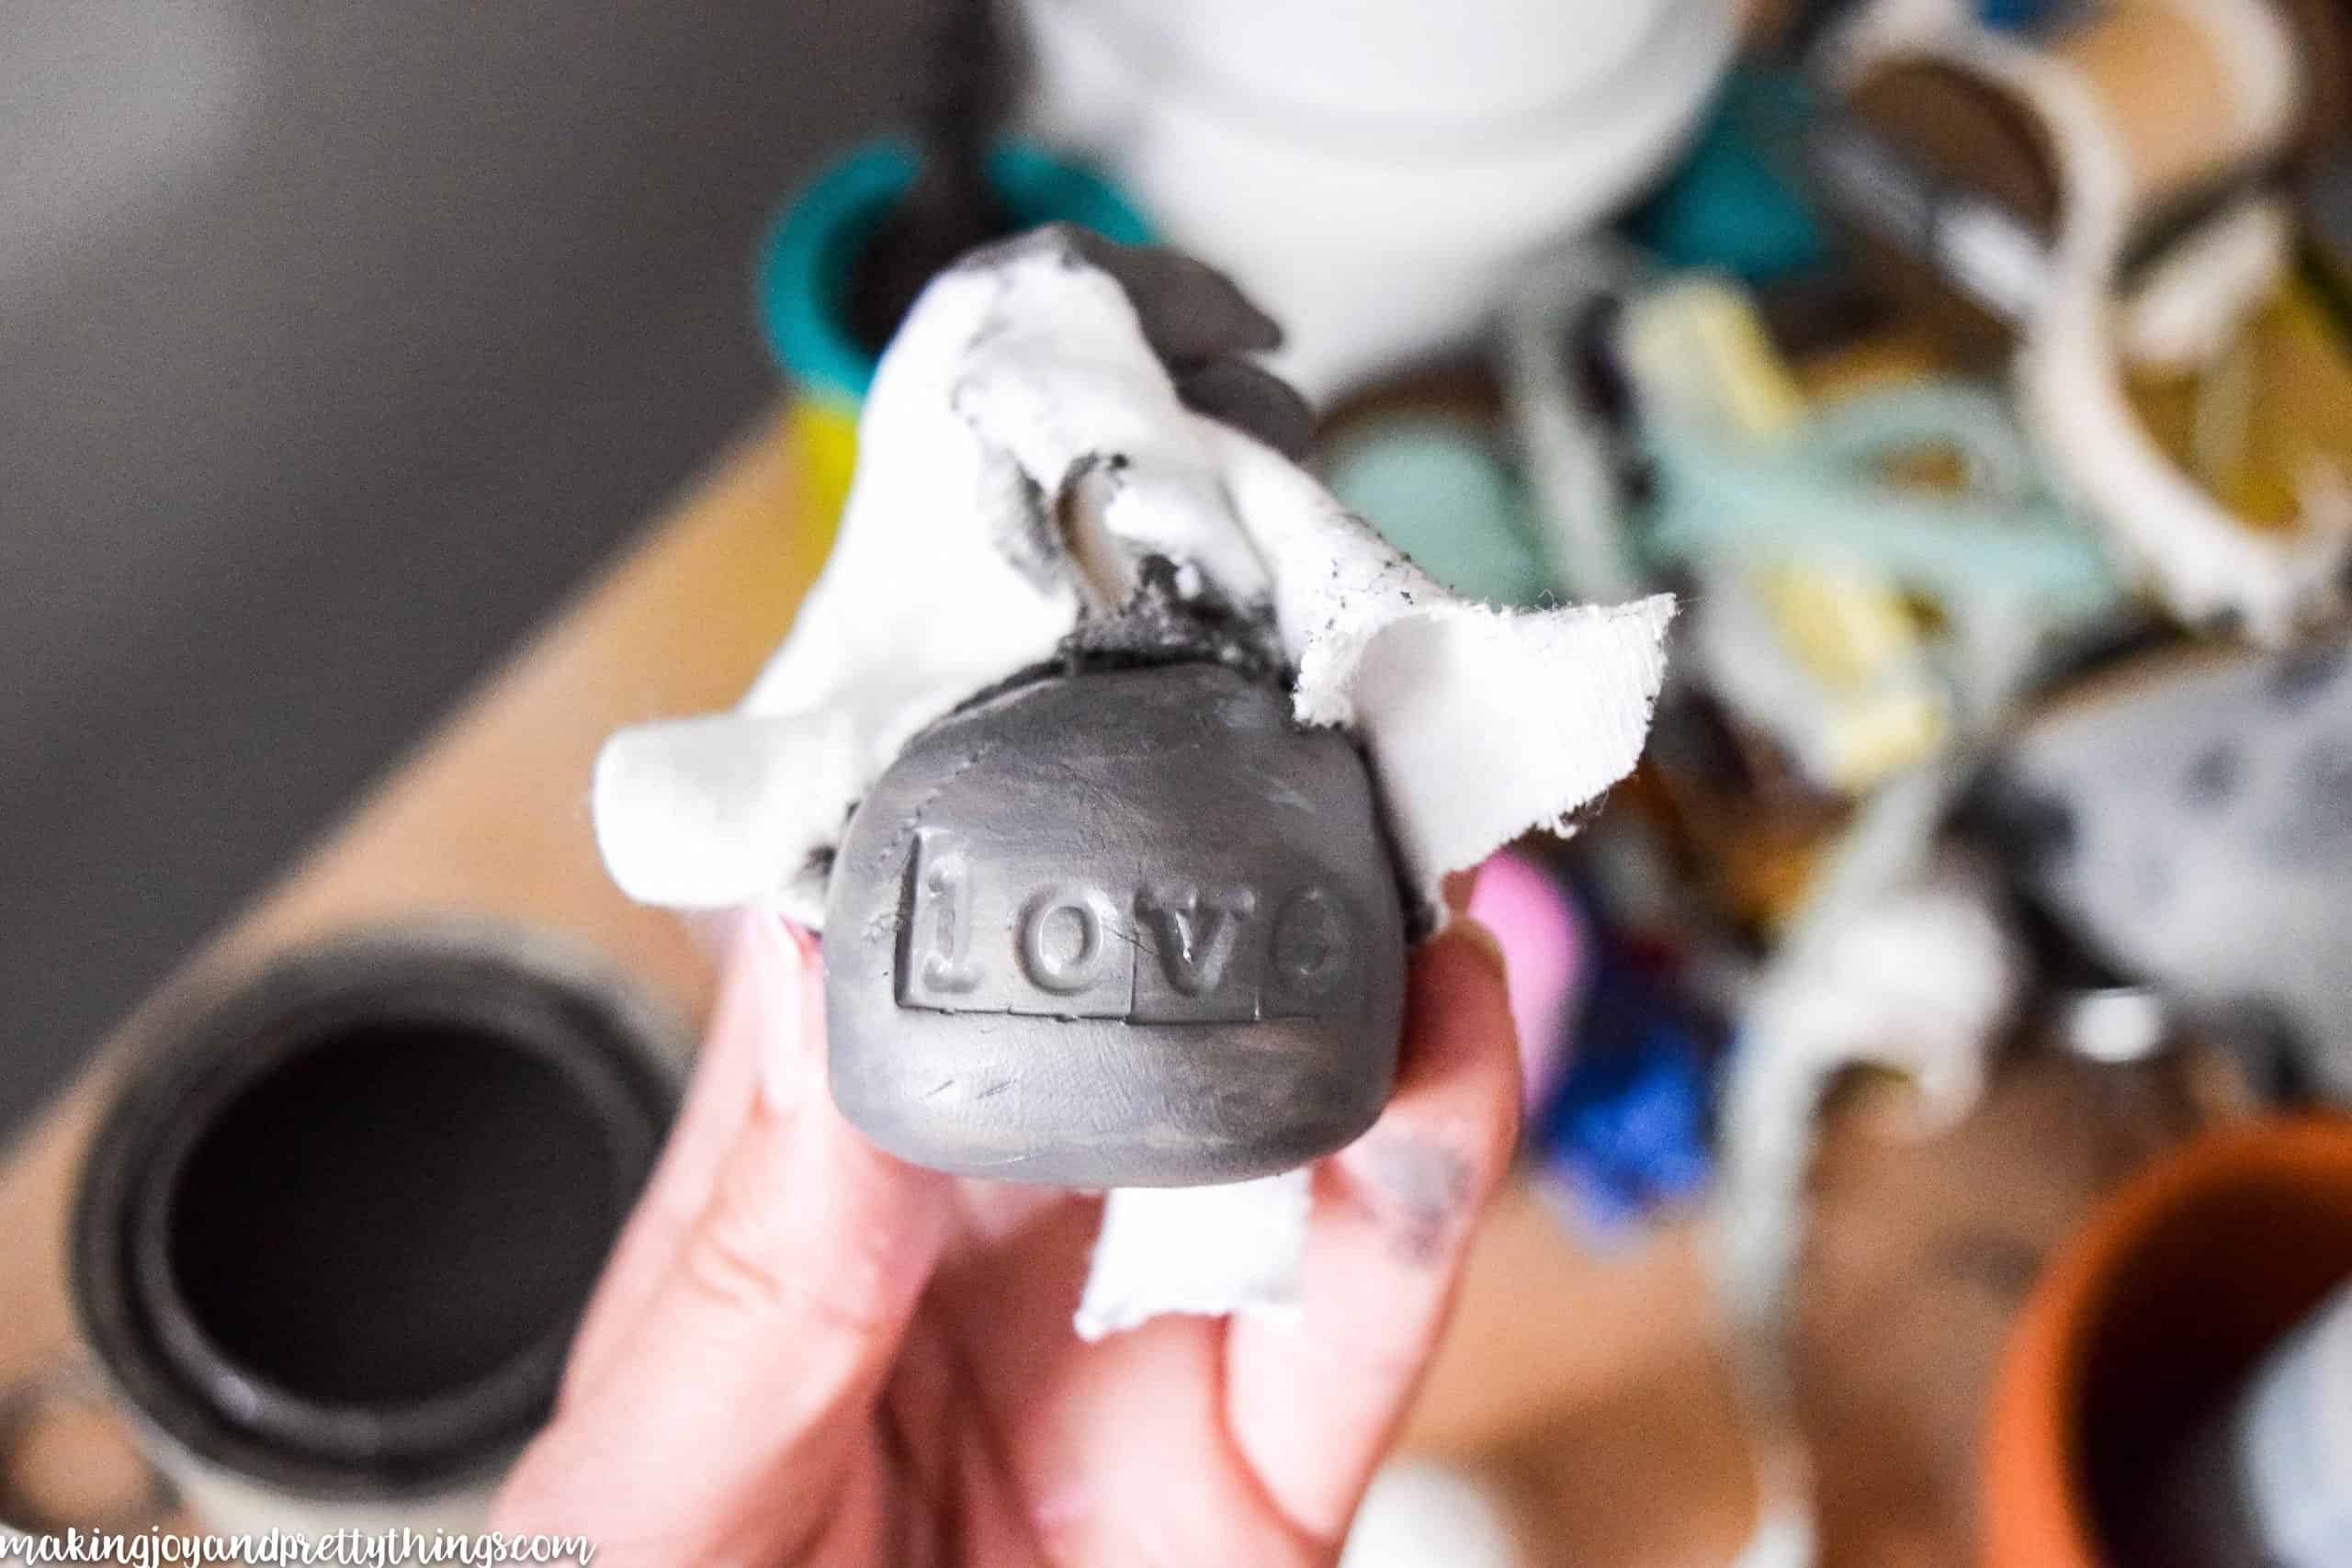
They look PERFECT. It’s like they’re little stones with words etched into them.
Step 6. Make Copper Wire Holders
Now it was on to the copper wire…
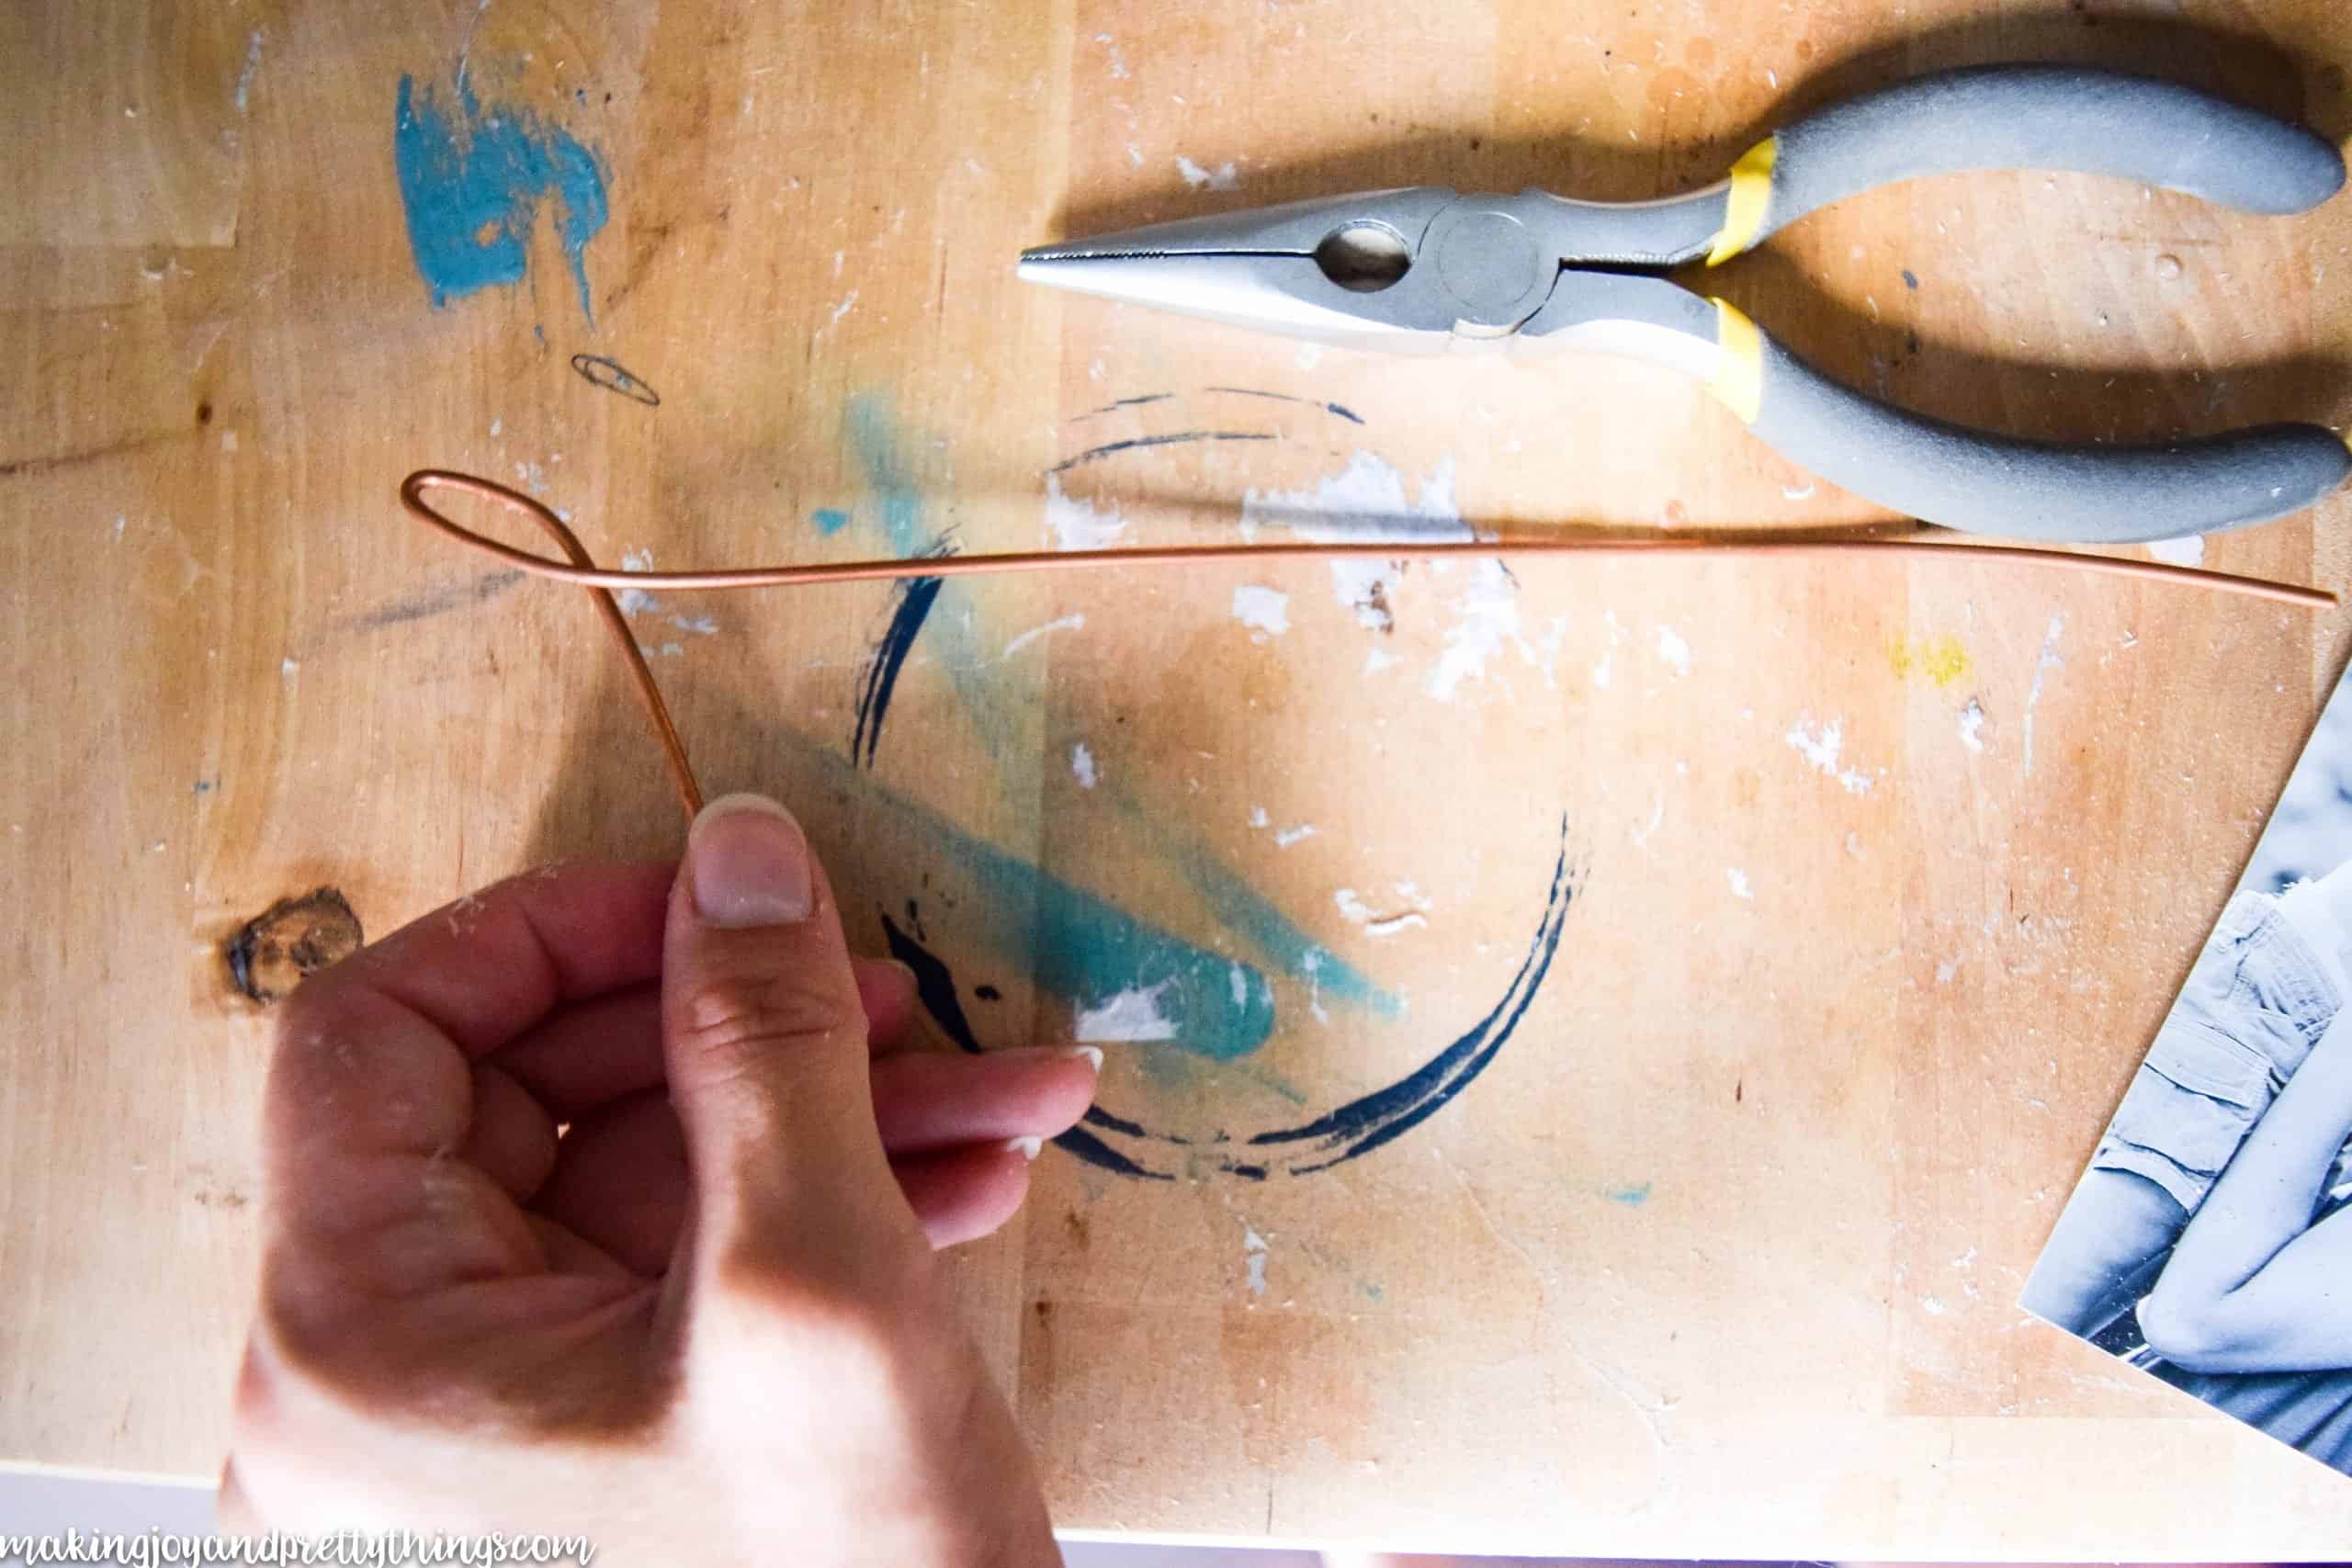
I cut 3 pieces about a foot long each using the wire cutters. Be careful, the wire can be sharp!! {also, please don’t use active copper wire!!}
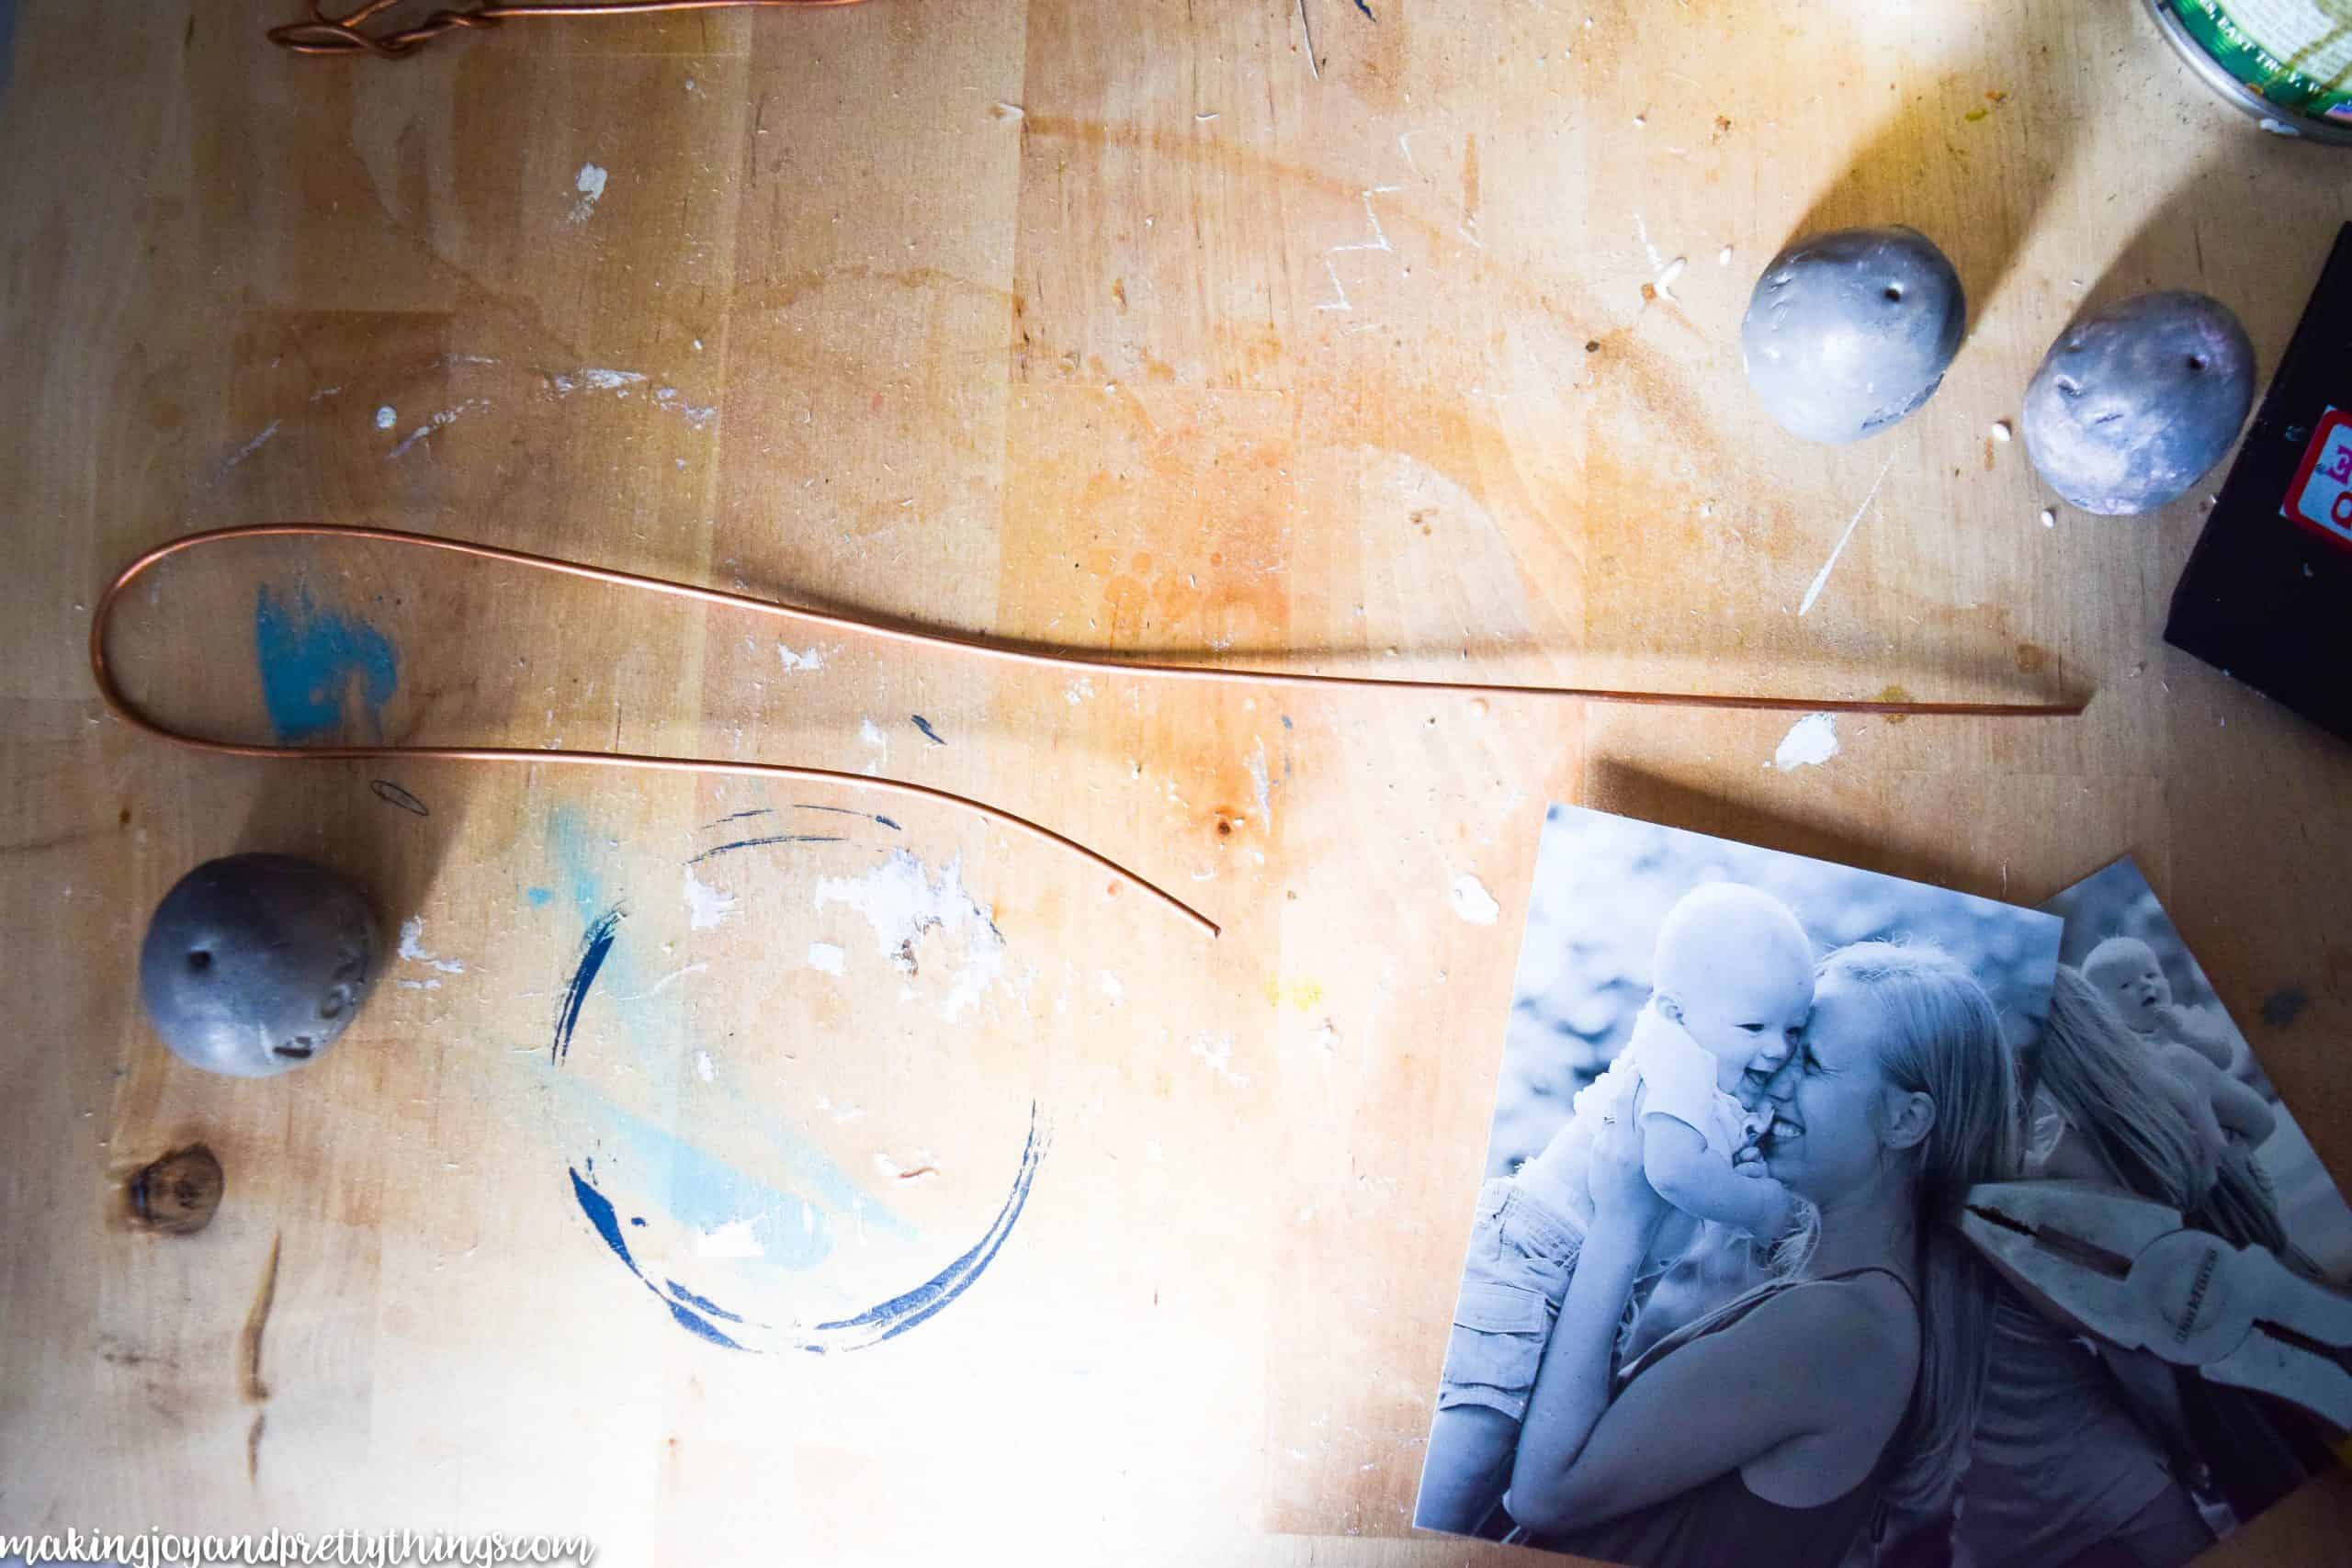
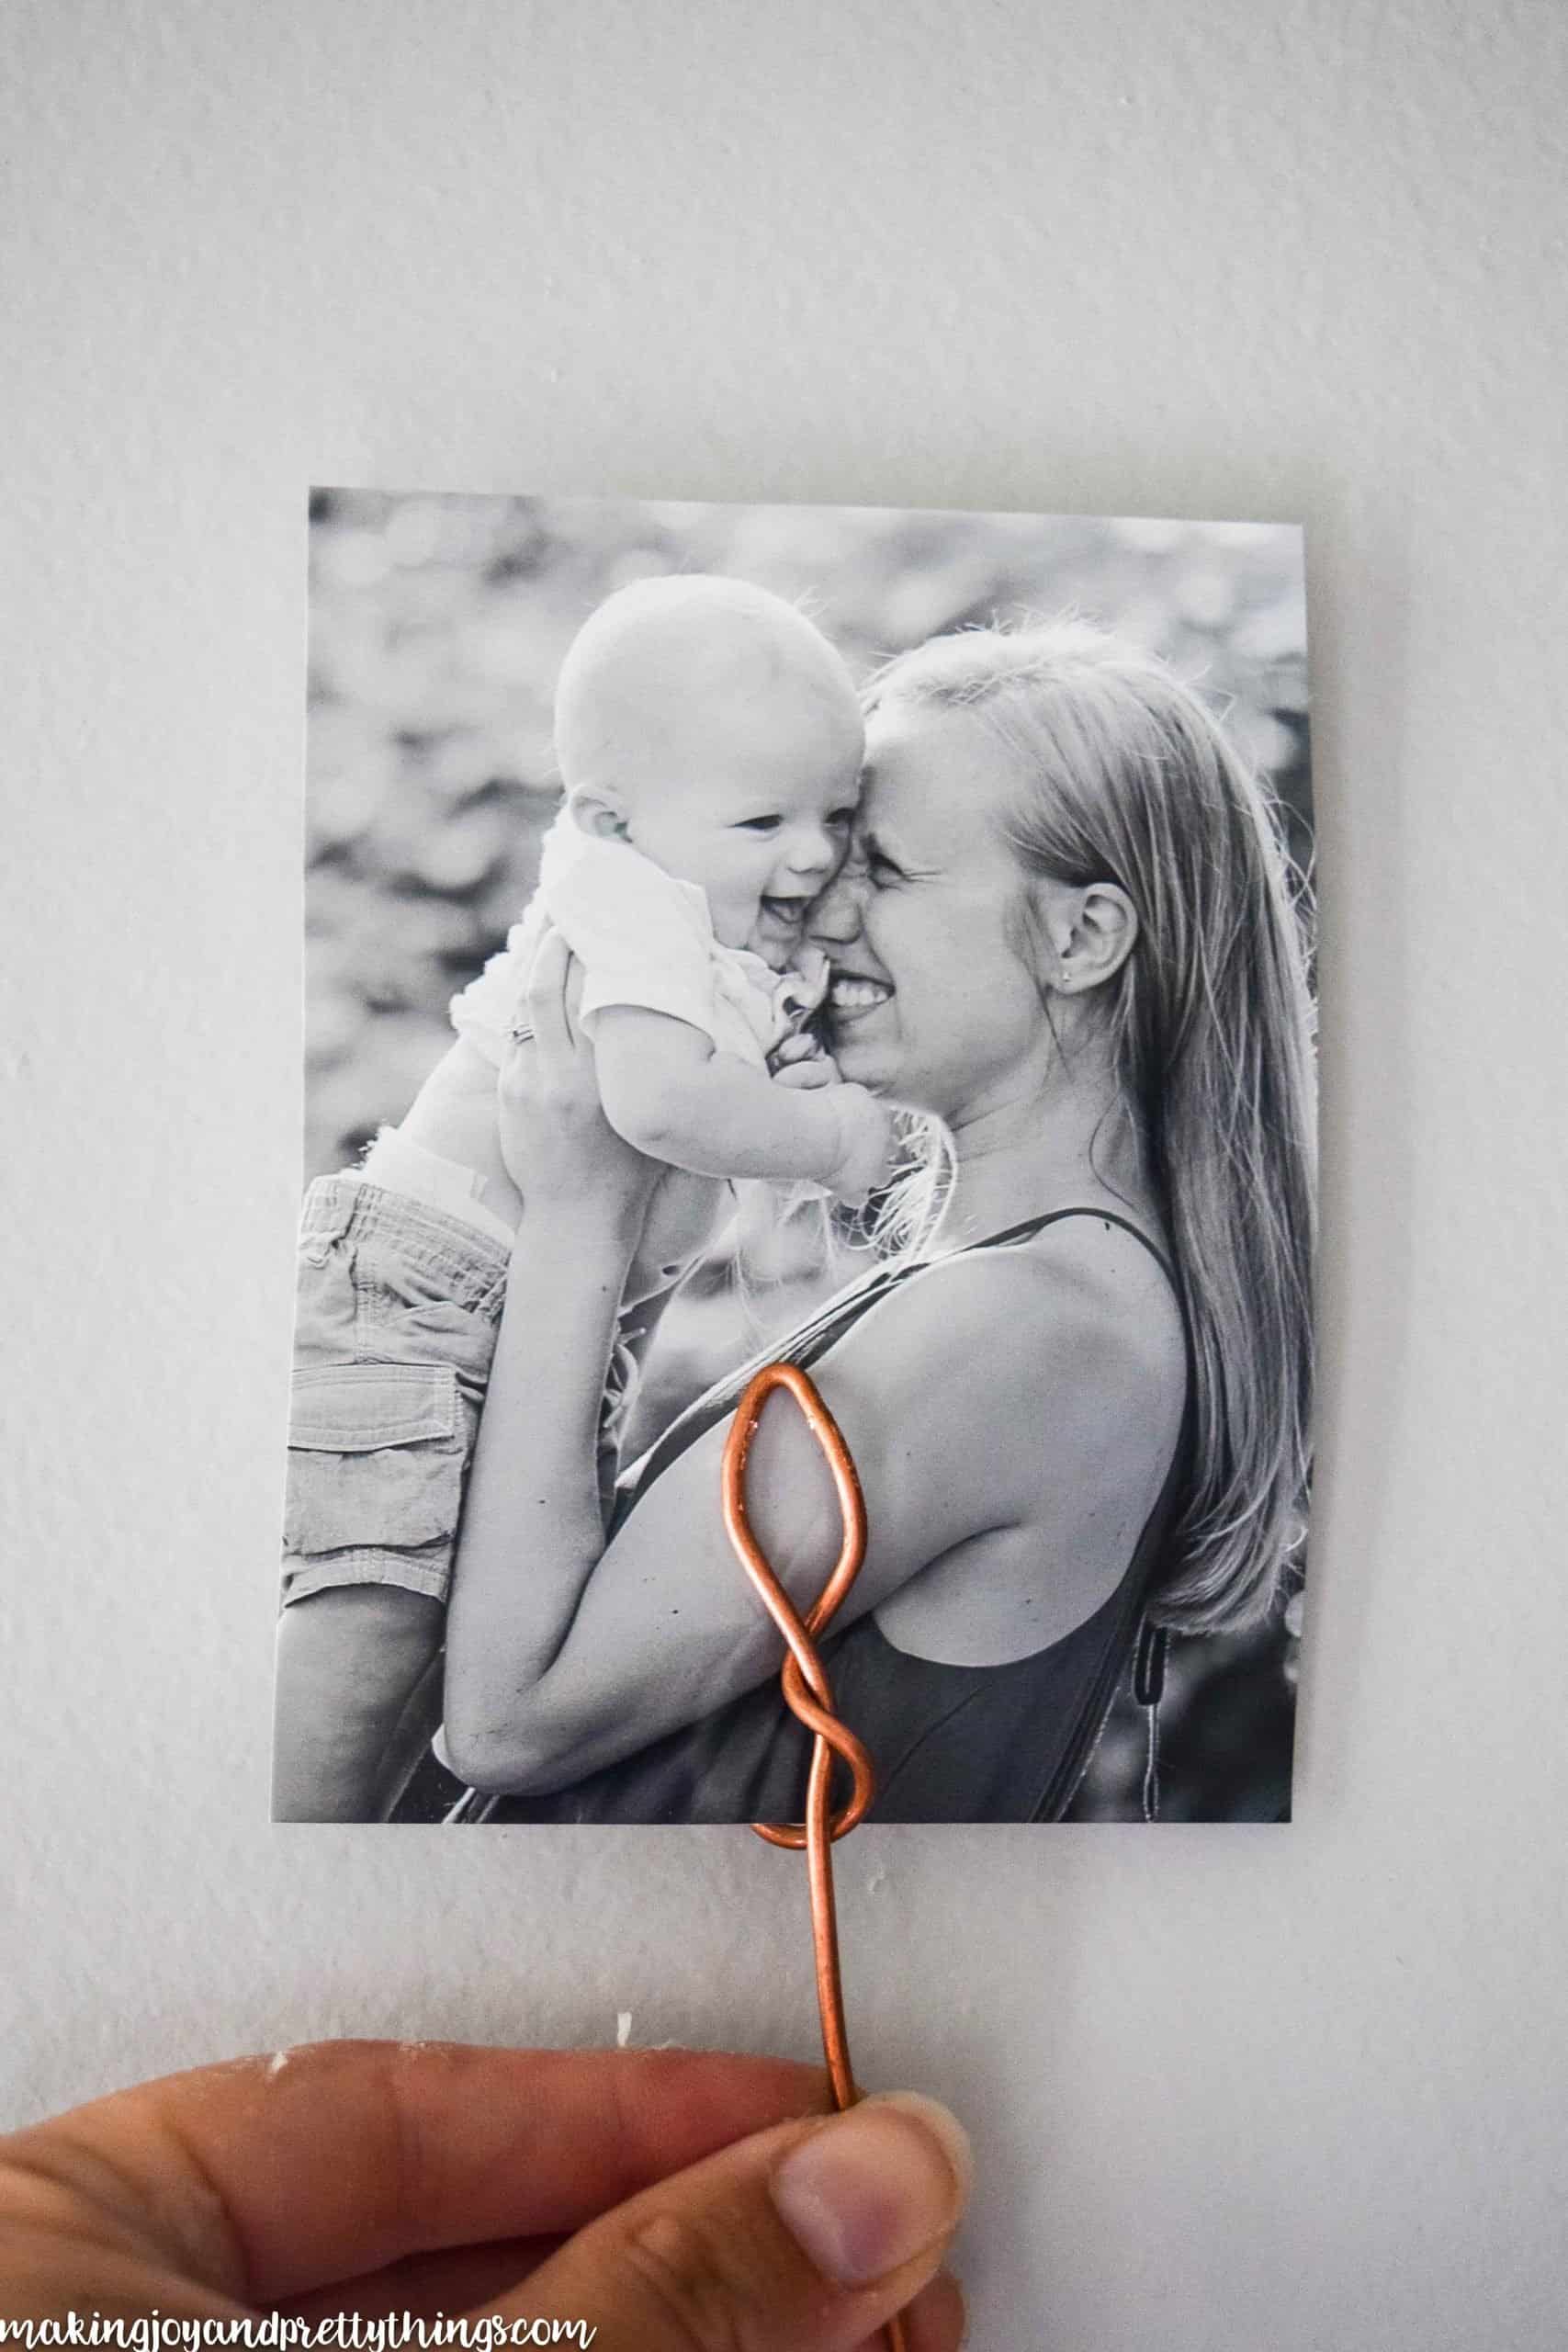
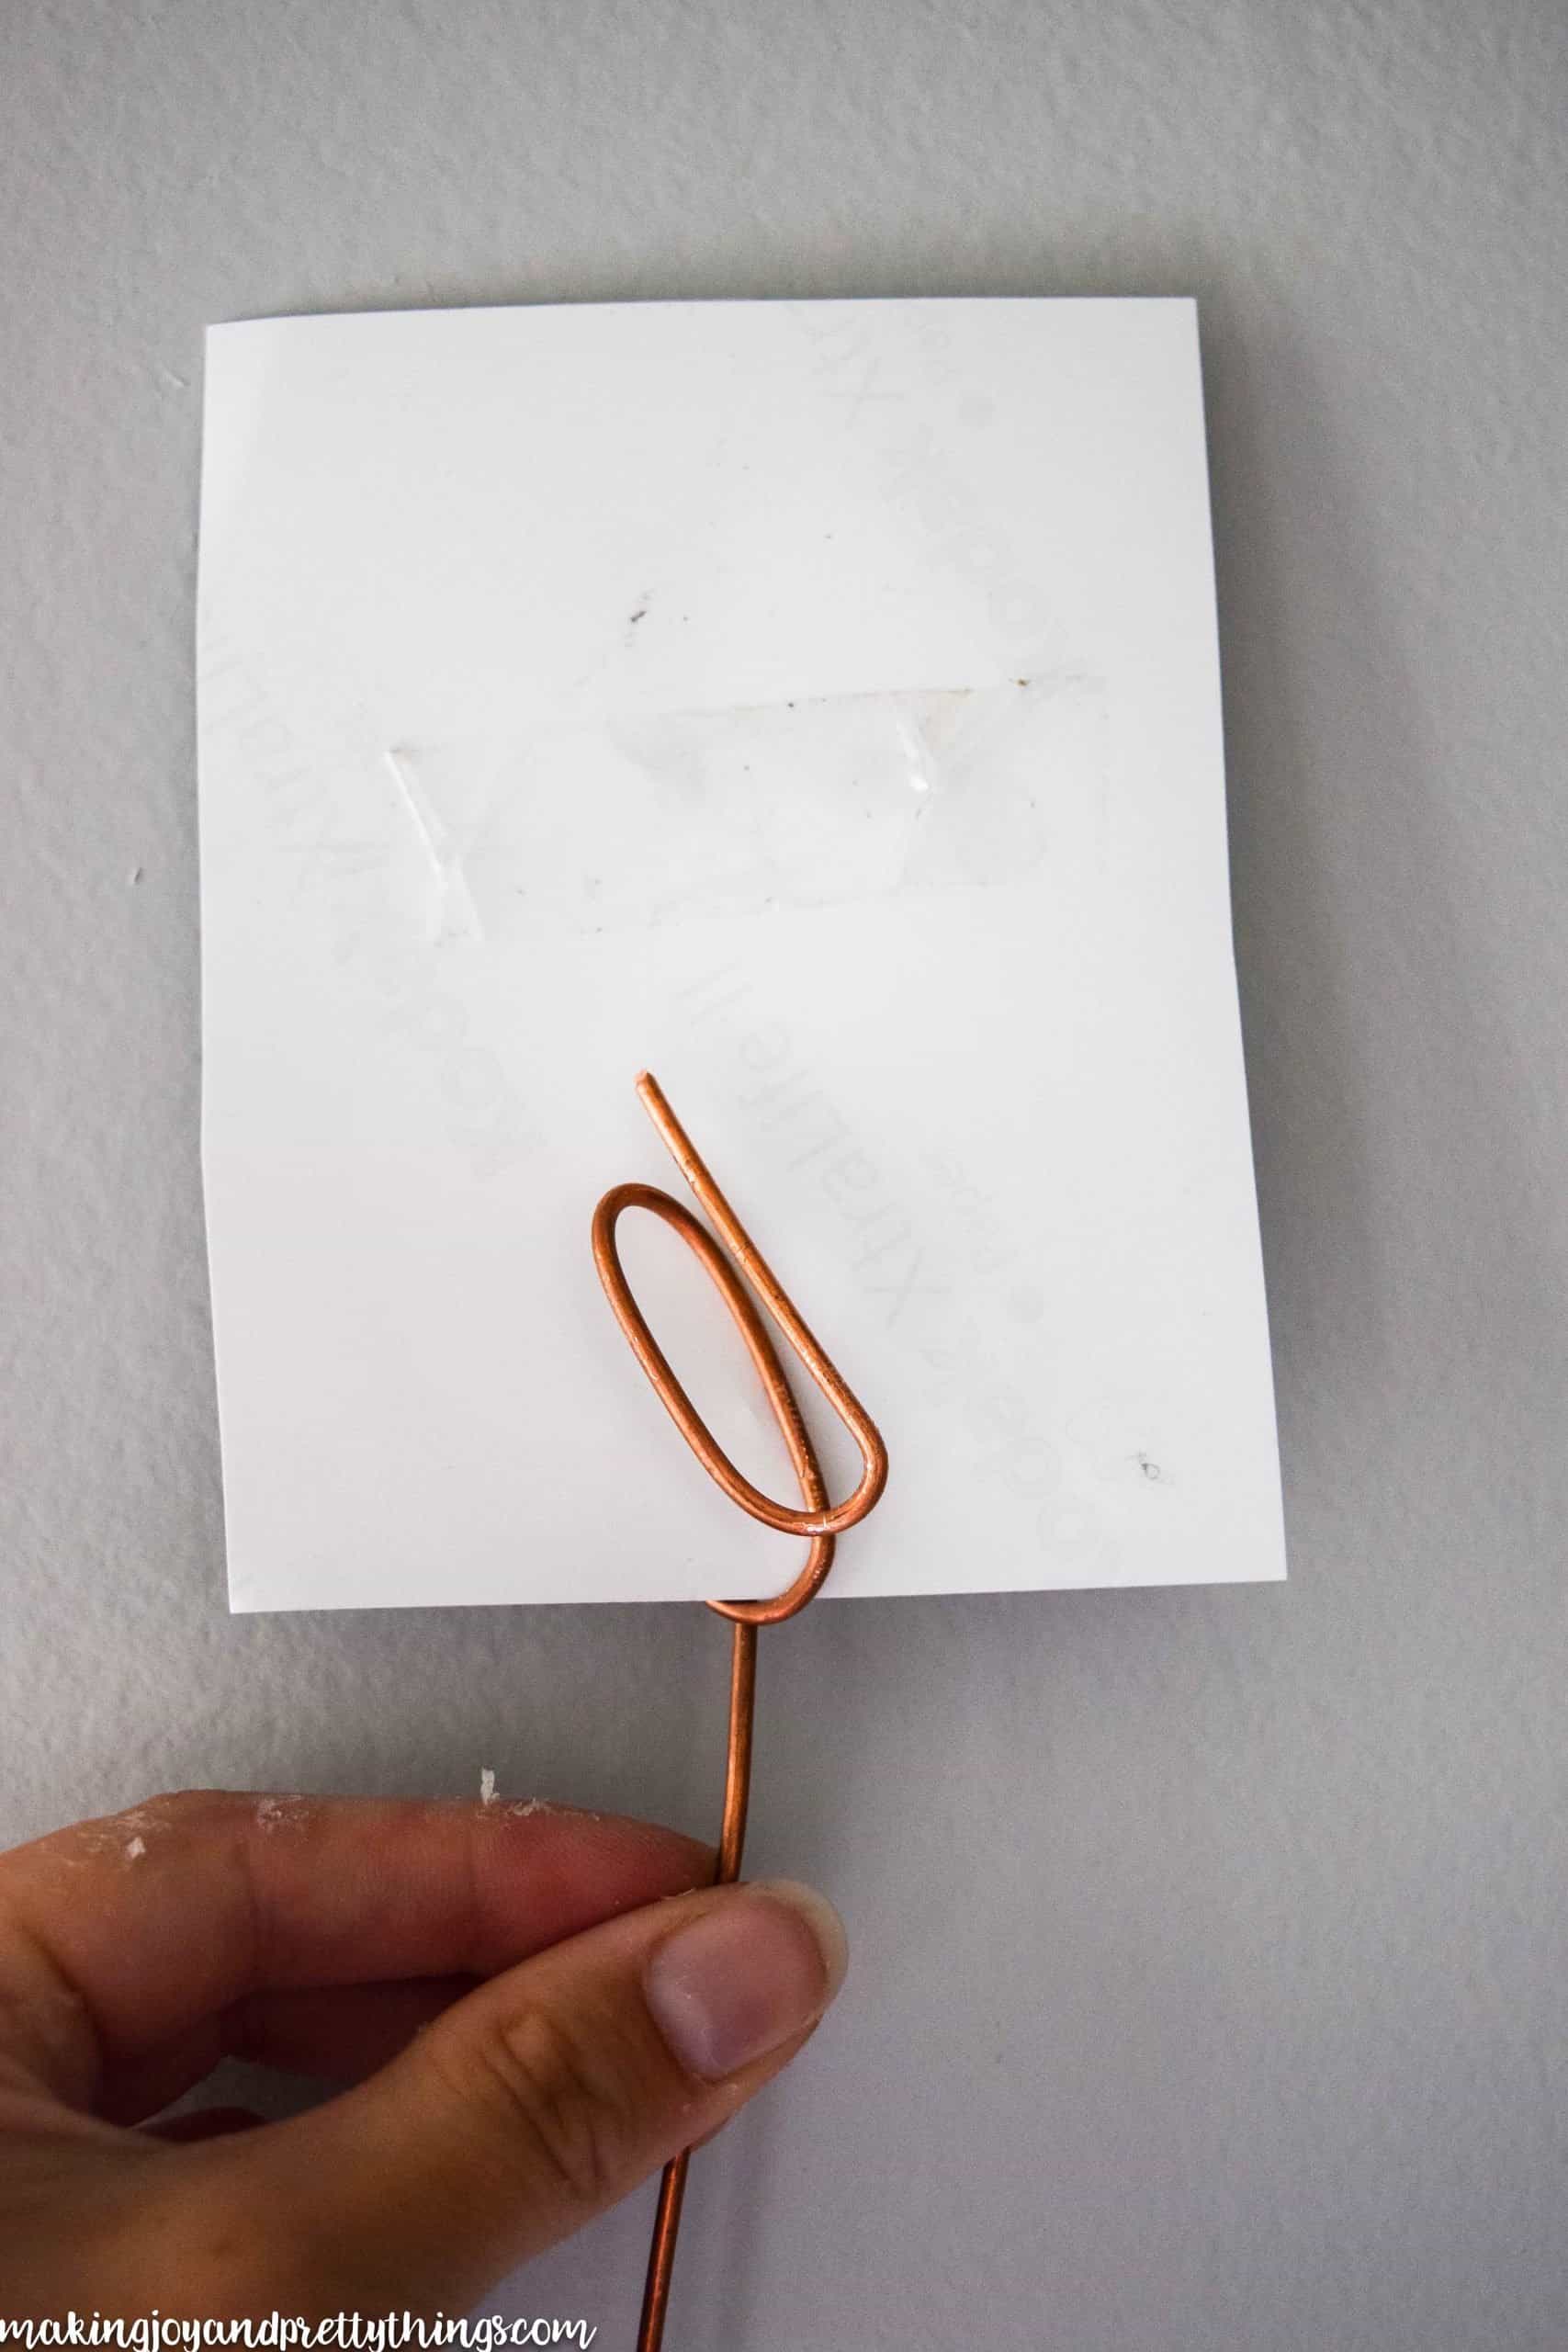
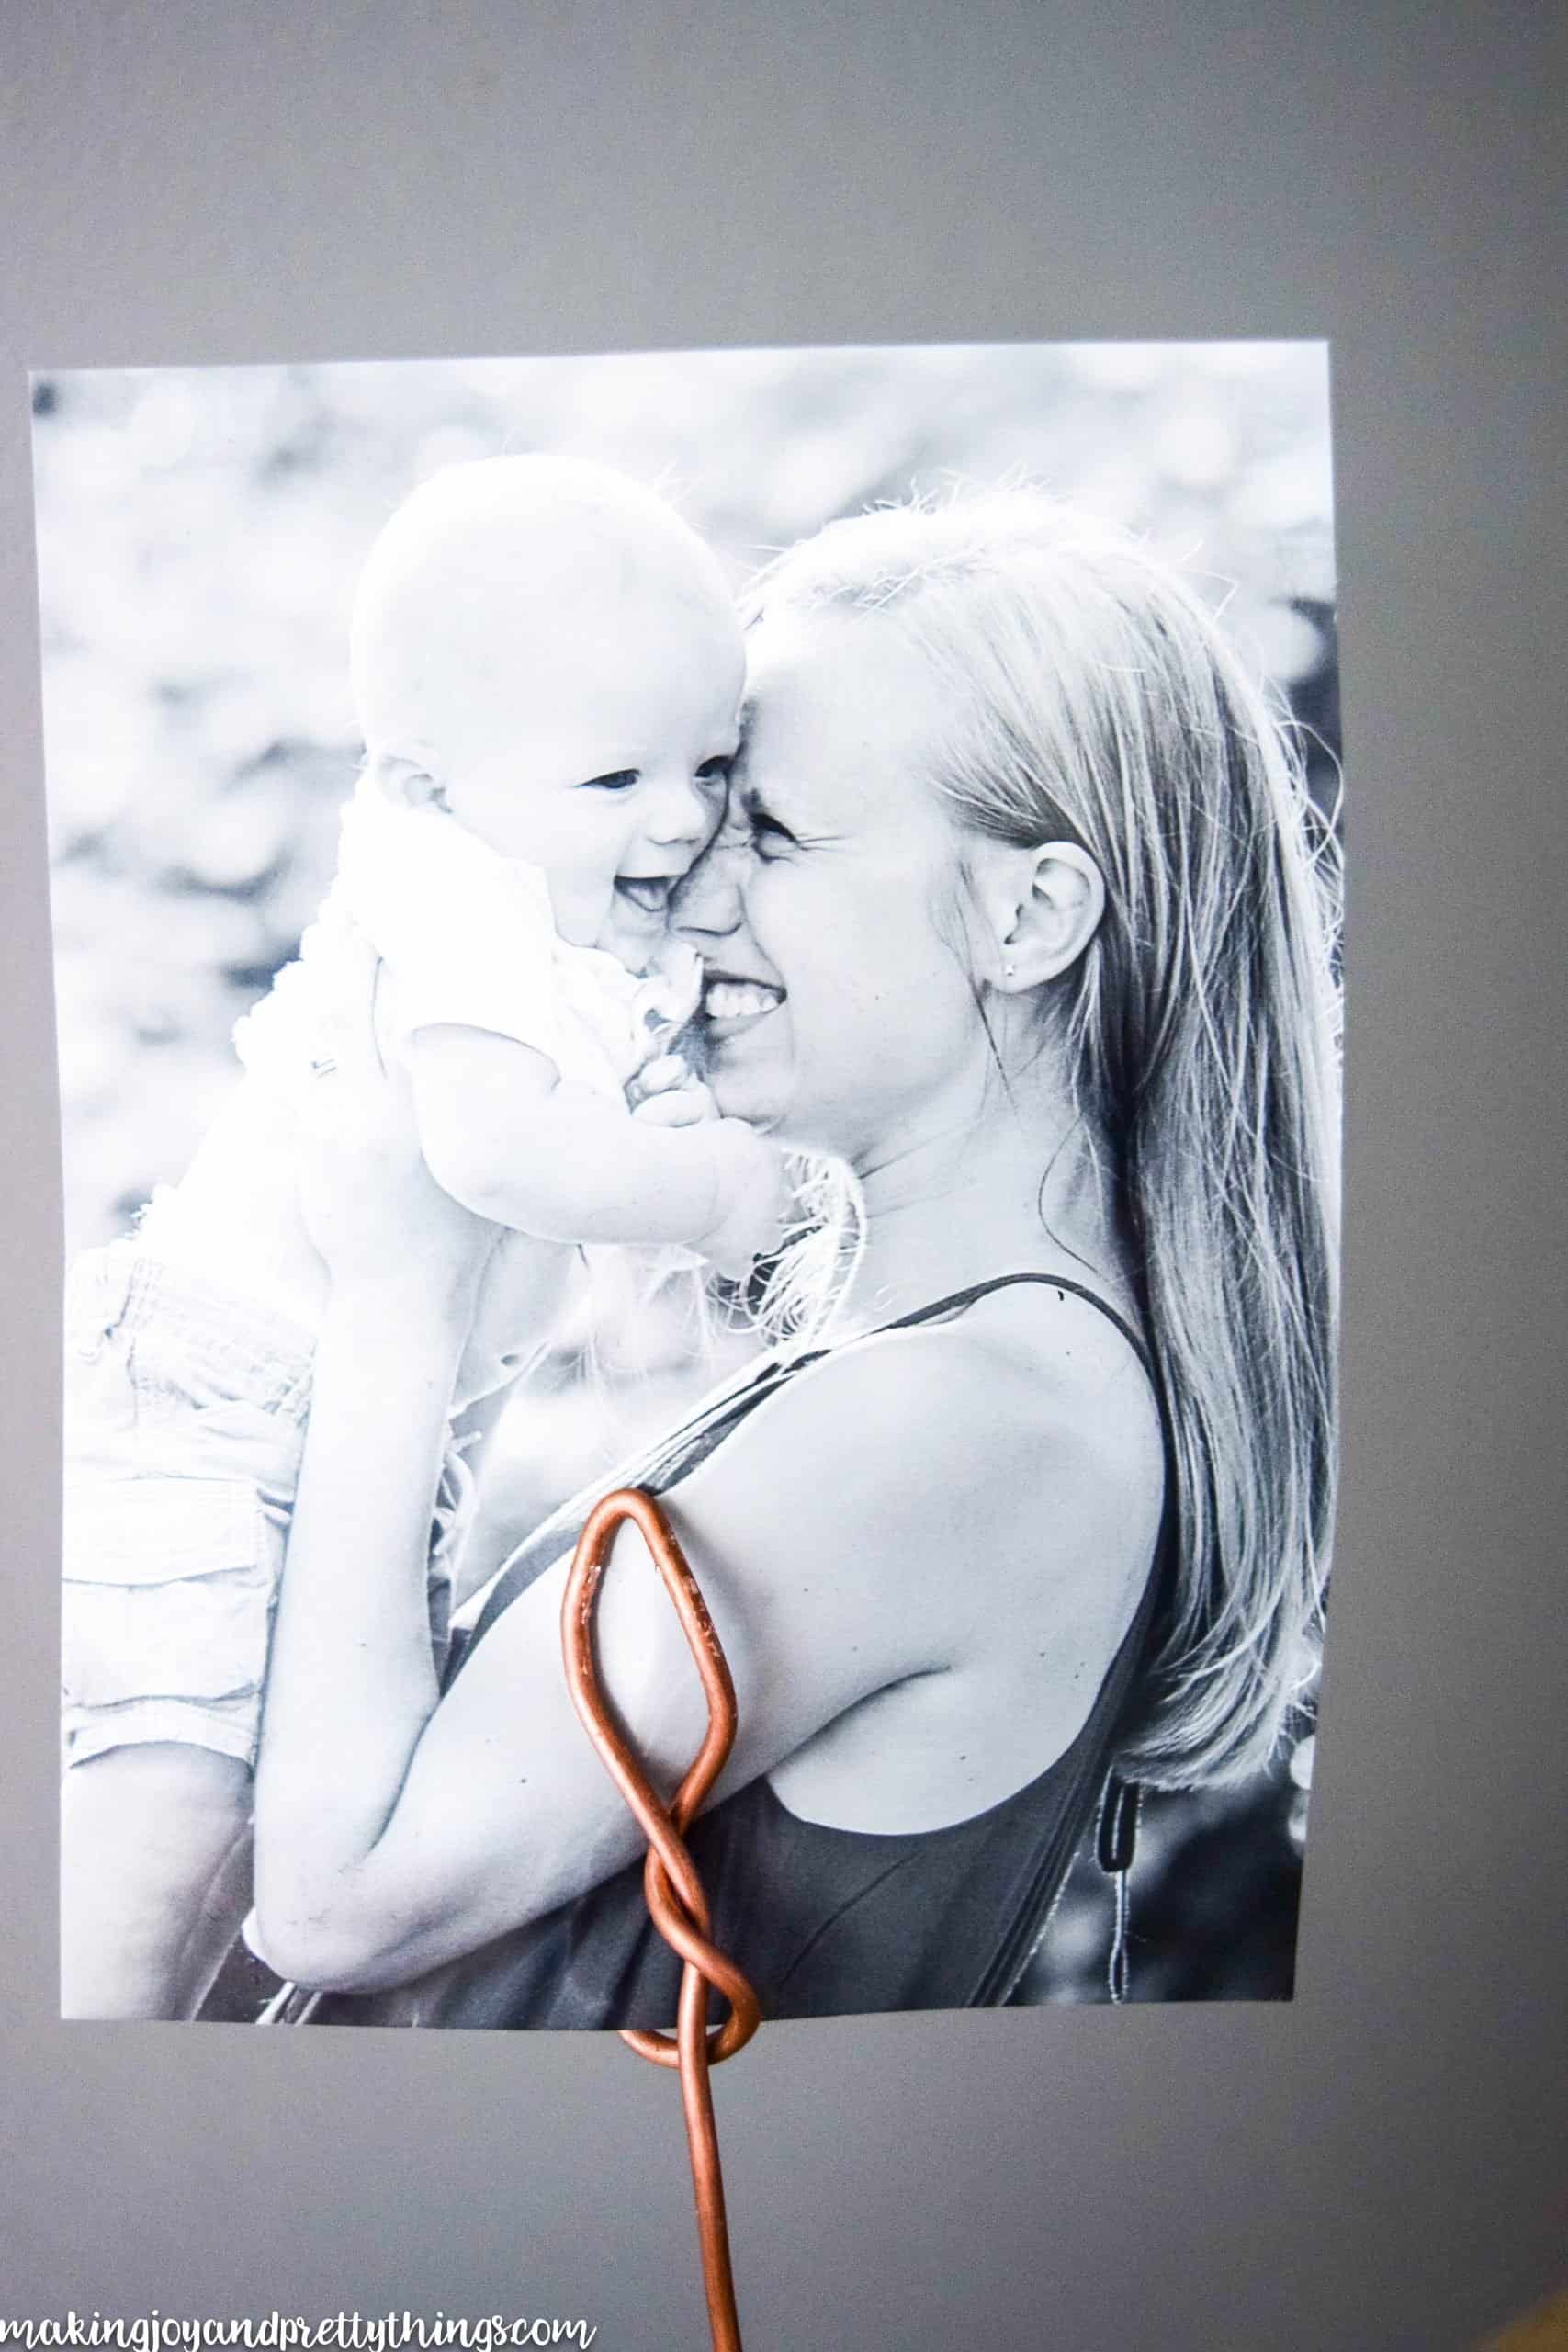
Make a loop about 3/4 of the way down the wire then pull the loop tight to make a small circle. This is what will be displayed on the front of the picture.
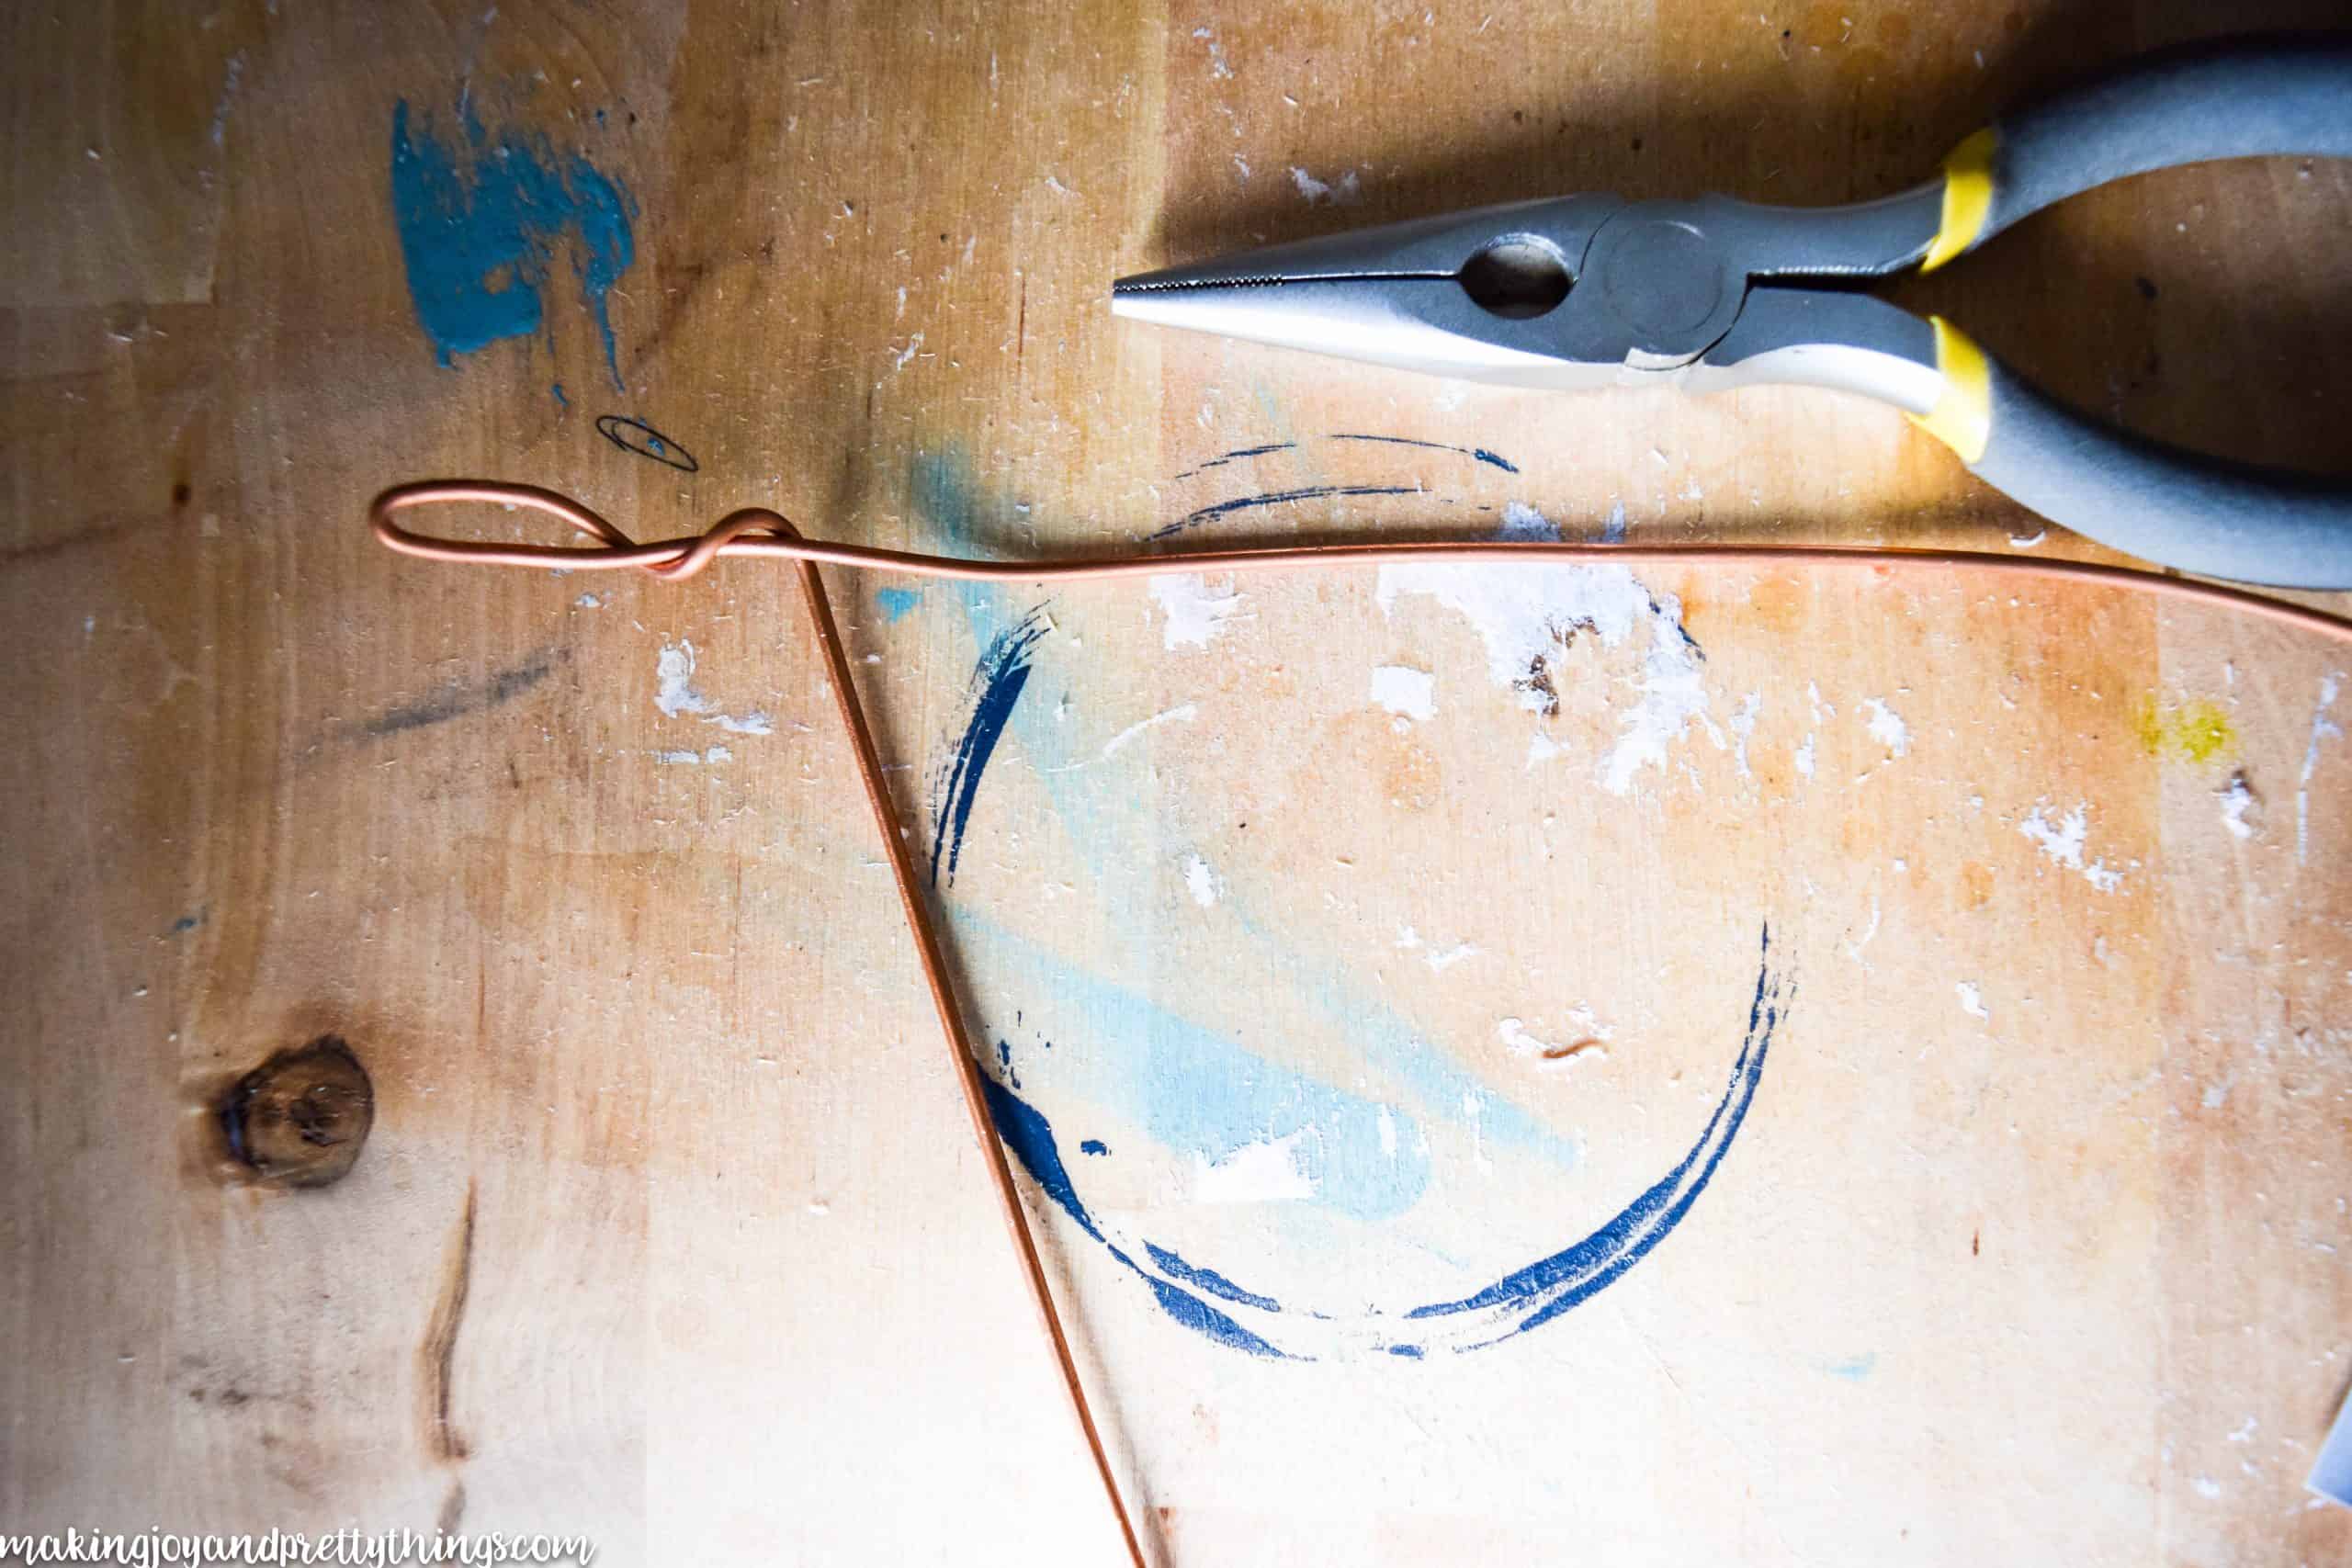
Wrap the remaining wire around the long piece 2 times.
This can be difficult to do. The wire is very stiff and hard to manipulate. Use needle nose pliers for extra help and be careful!!
I tested it out with a picture to make sure I liked the look.
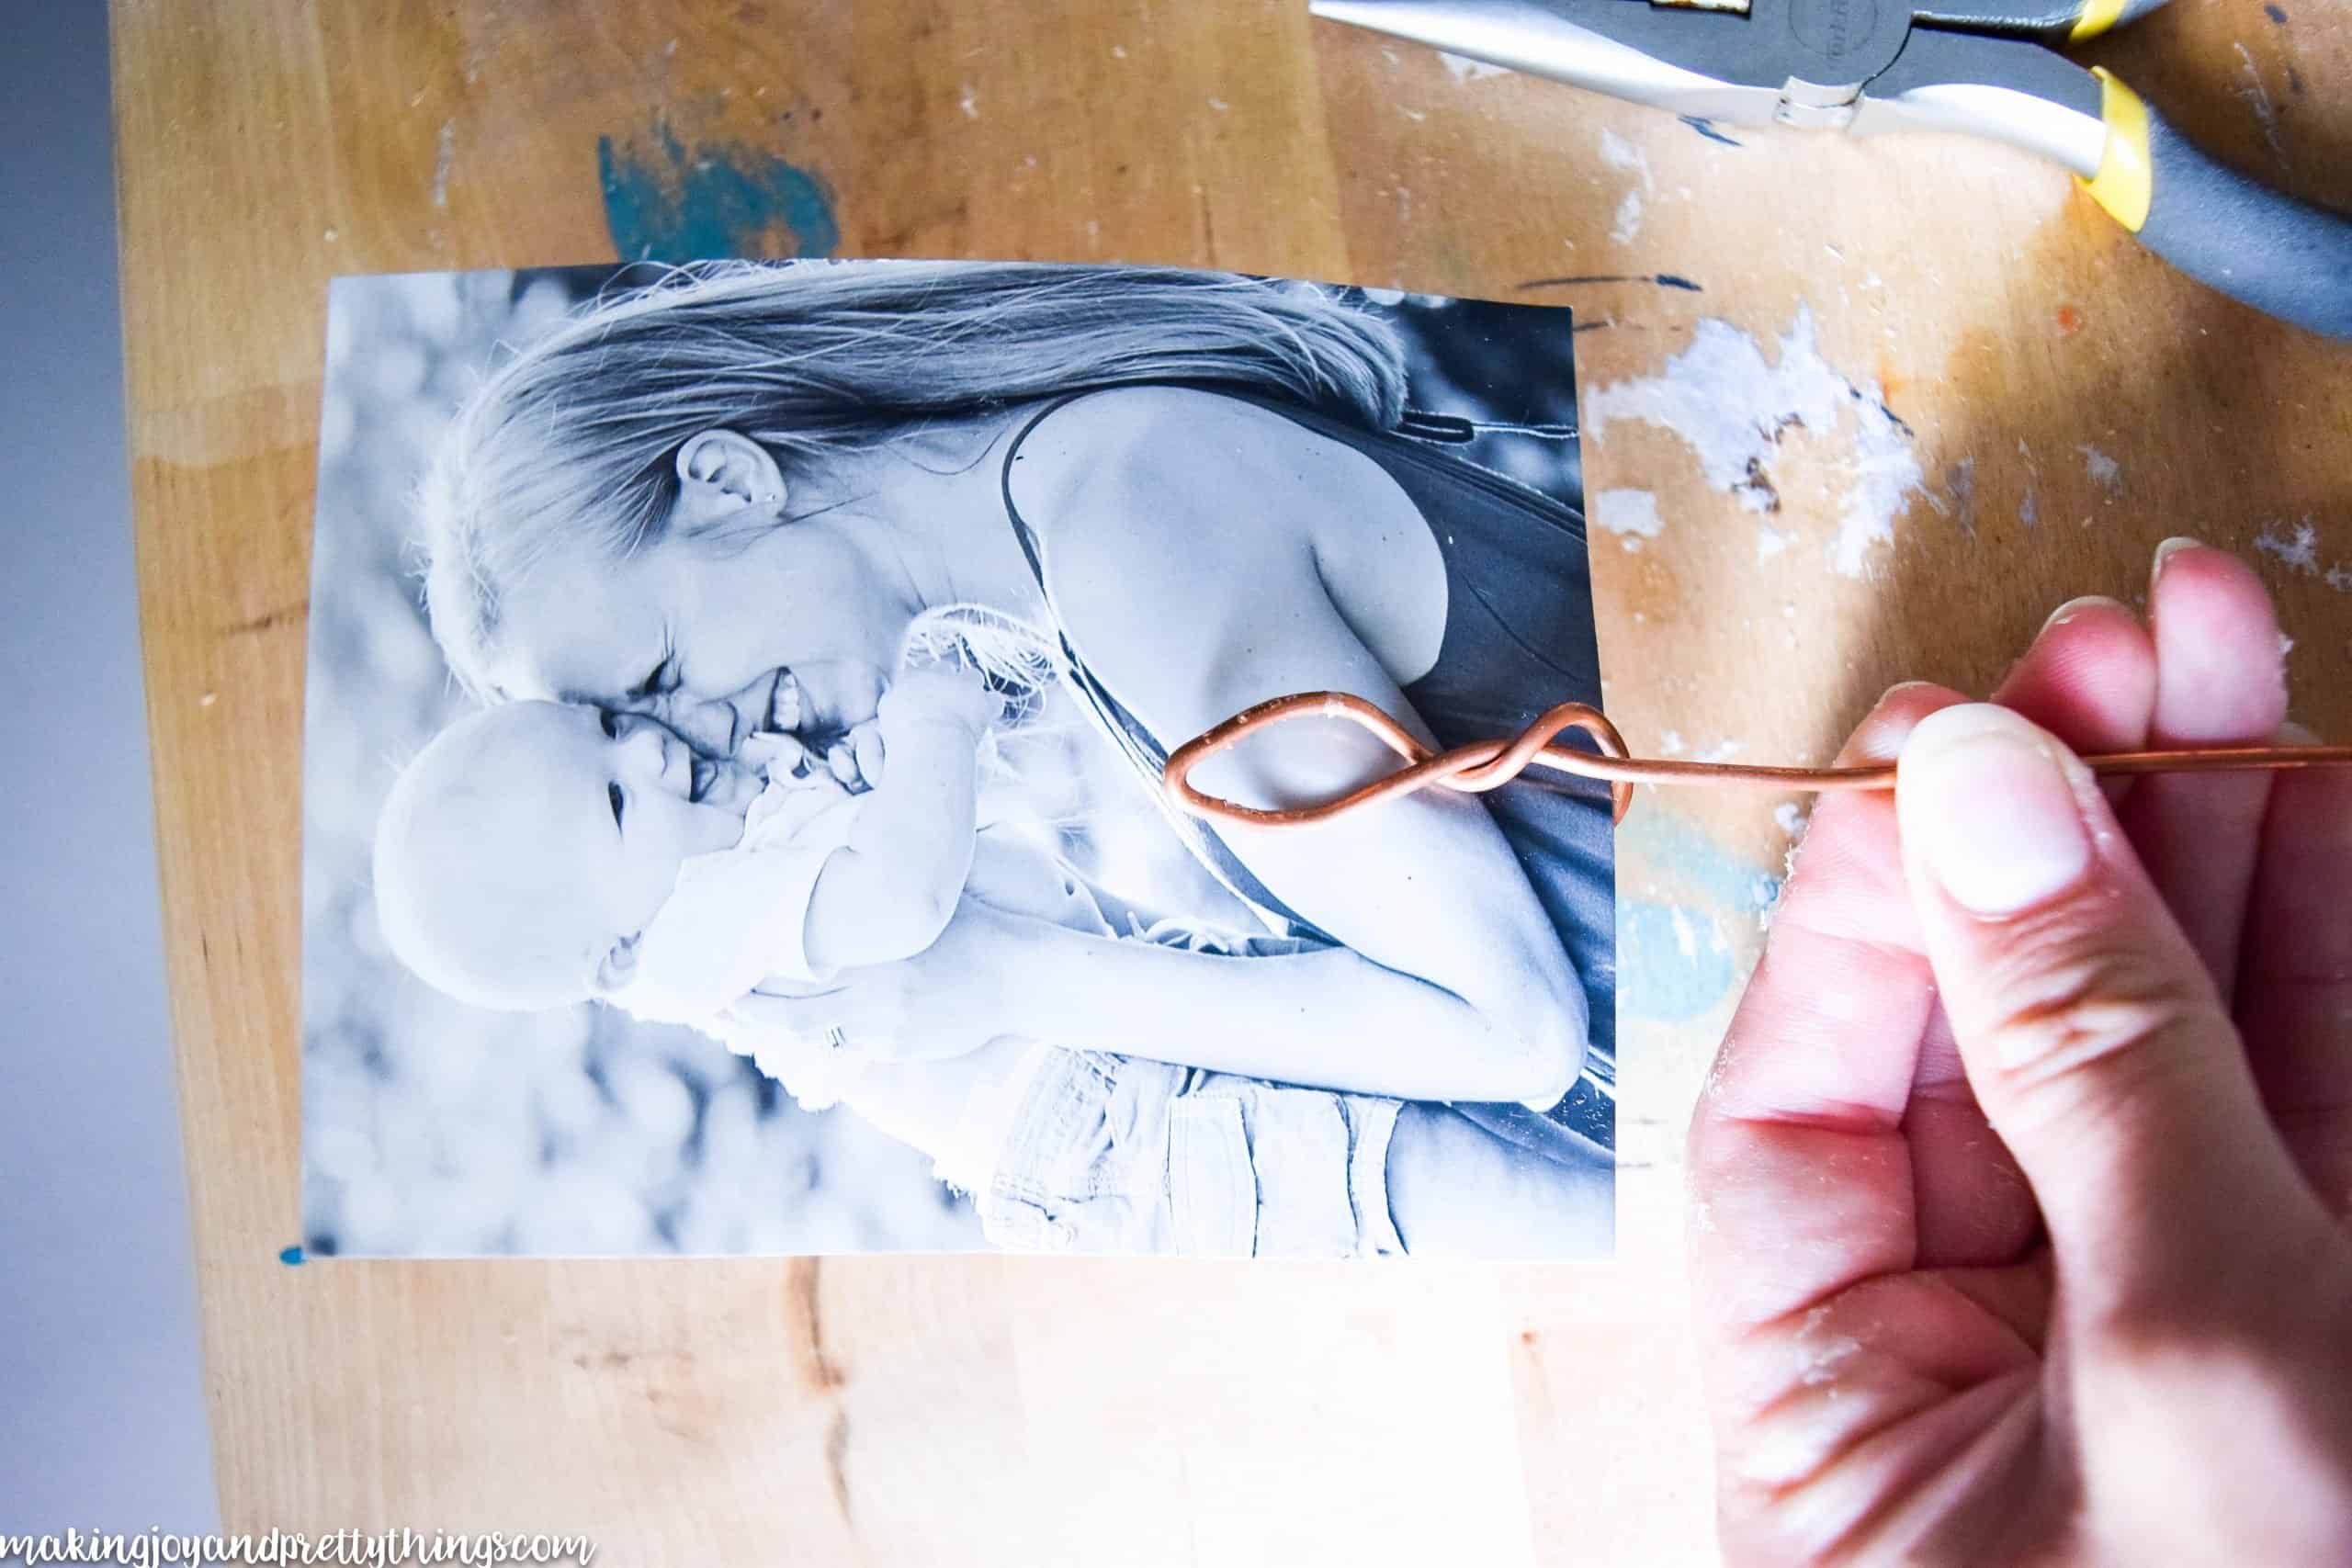
Then, I twisted the wire up the back of the photo and down again toward the base of the photo and cut the remaining extra wire.
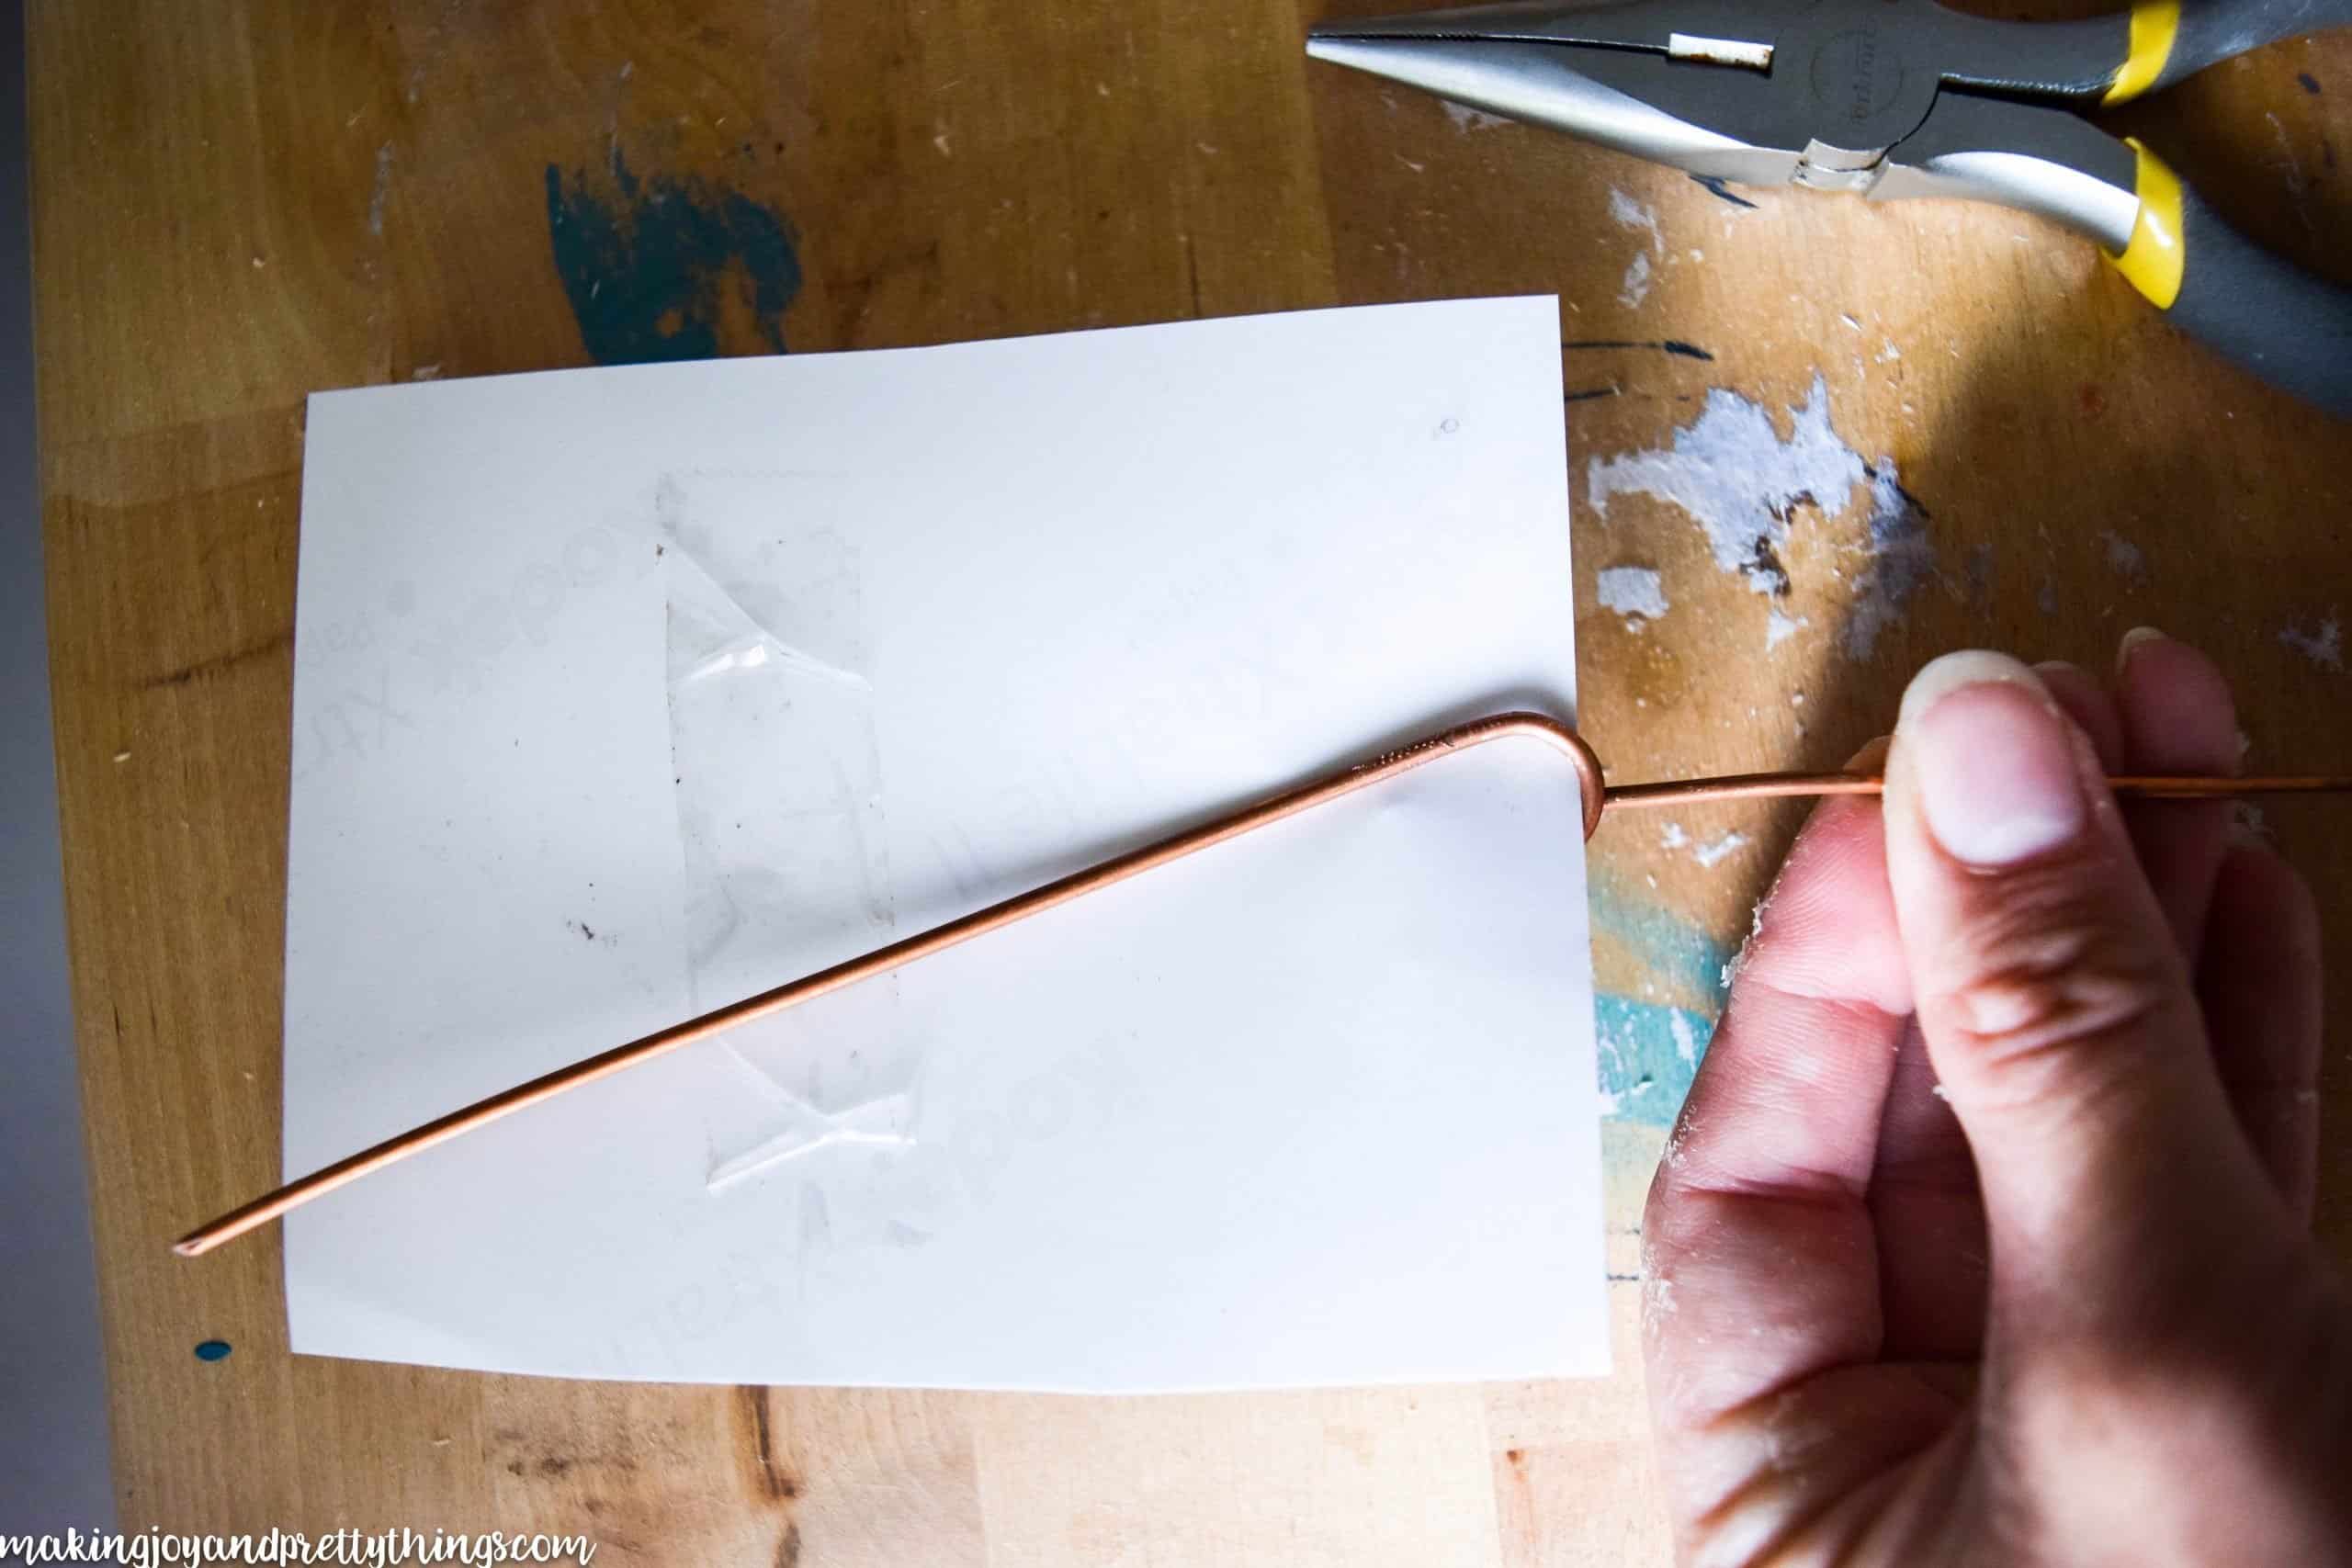
Finally, this little blob is what you end up with!
Make sure both parts of the wire are basically touching so that the photo fits snuggly inside.

Step 7. Add Photos to the DIY Wire Holder
I had 4×6 pictures printed and cut them down to about 3×3. You don’t have to do this. You can really use whatever size you want, just adjust the copper wire accordingly.
Lastly, insert the other end of the wire into the hole in the clay photo base.
This is what I ended up with:
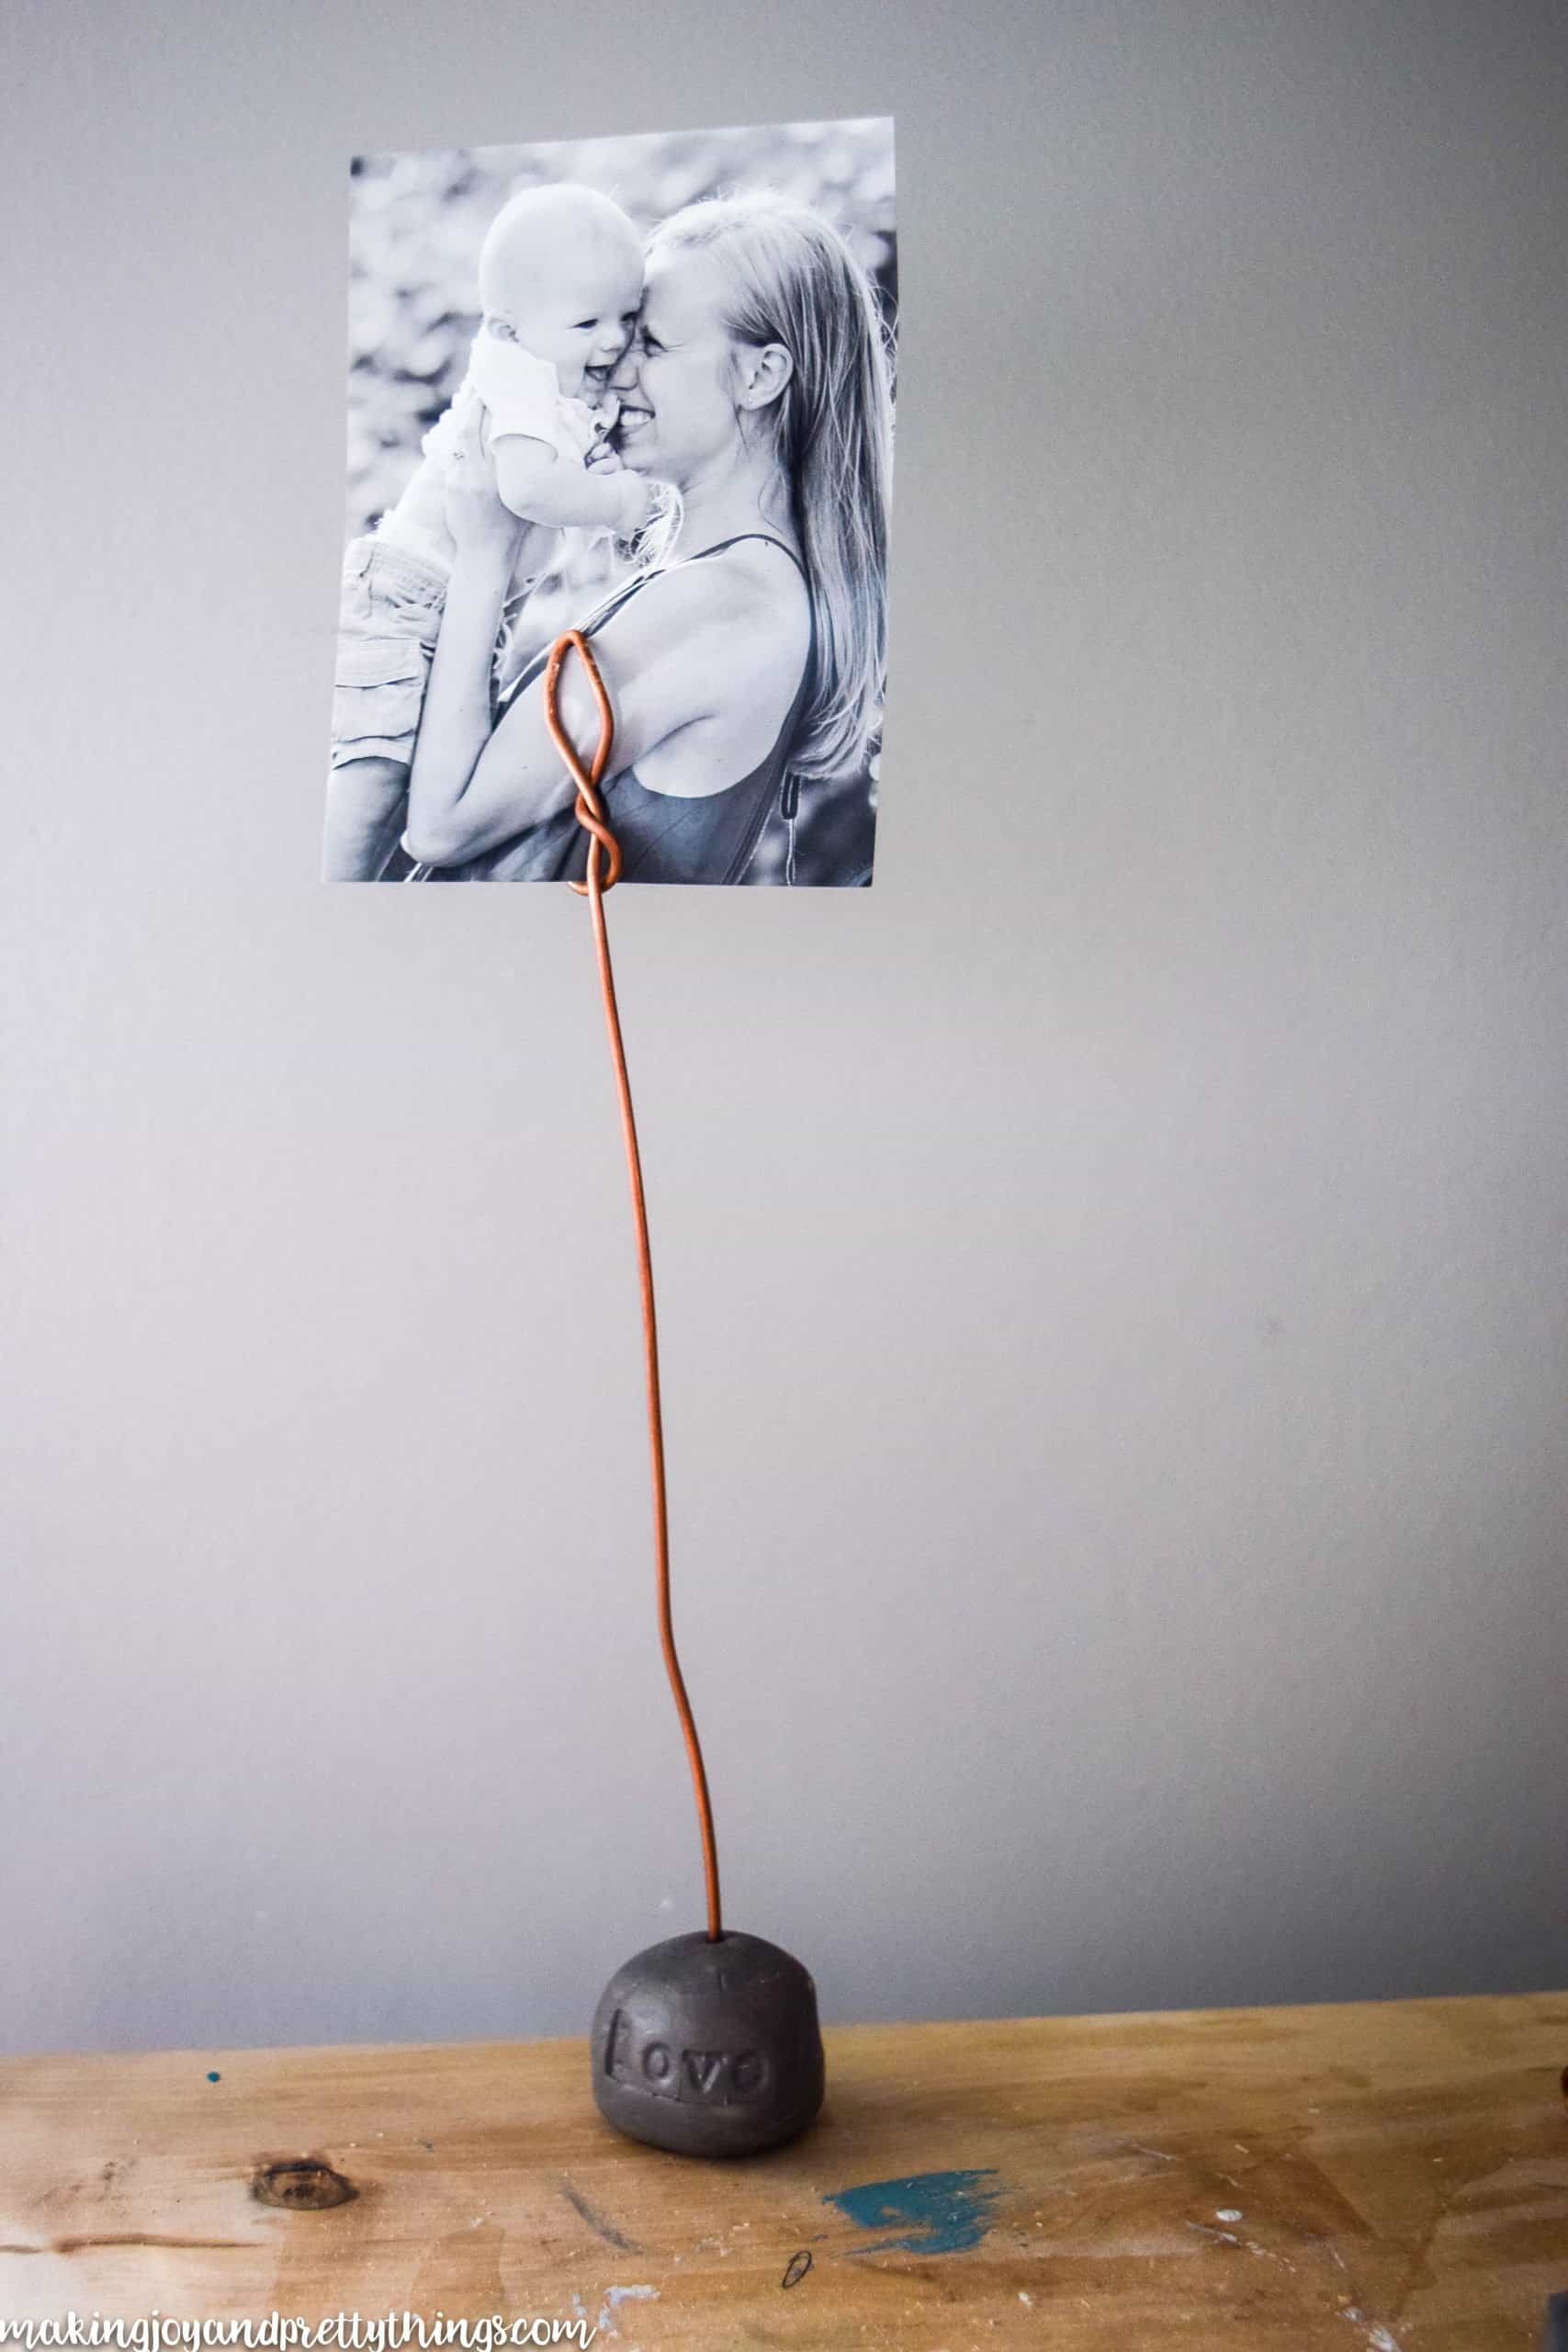
WAYYYY too long.
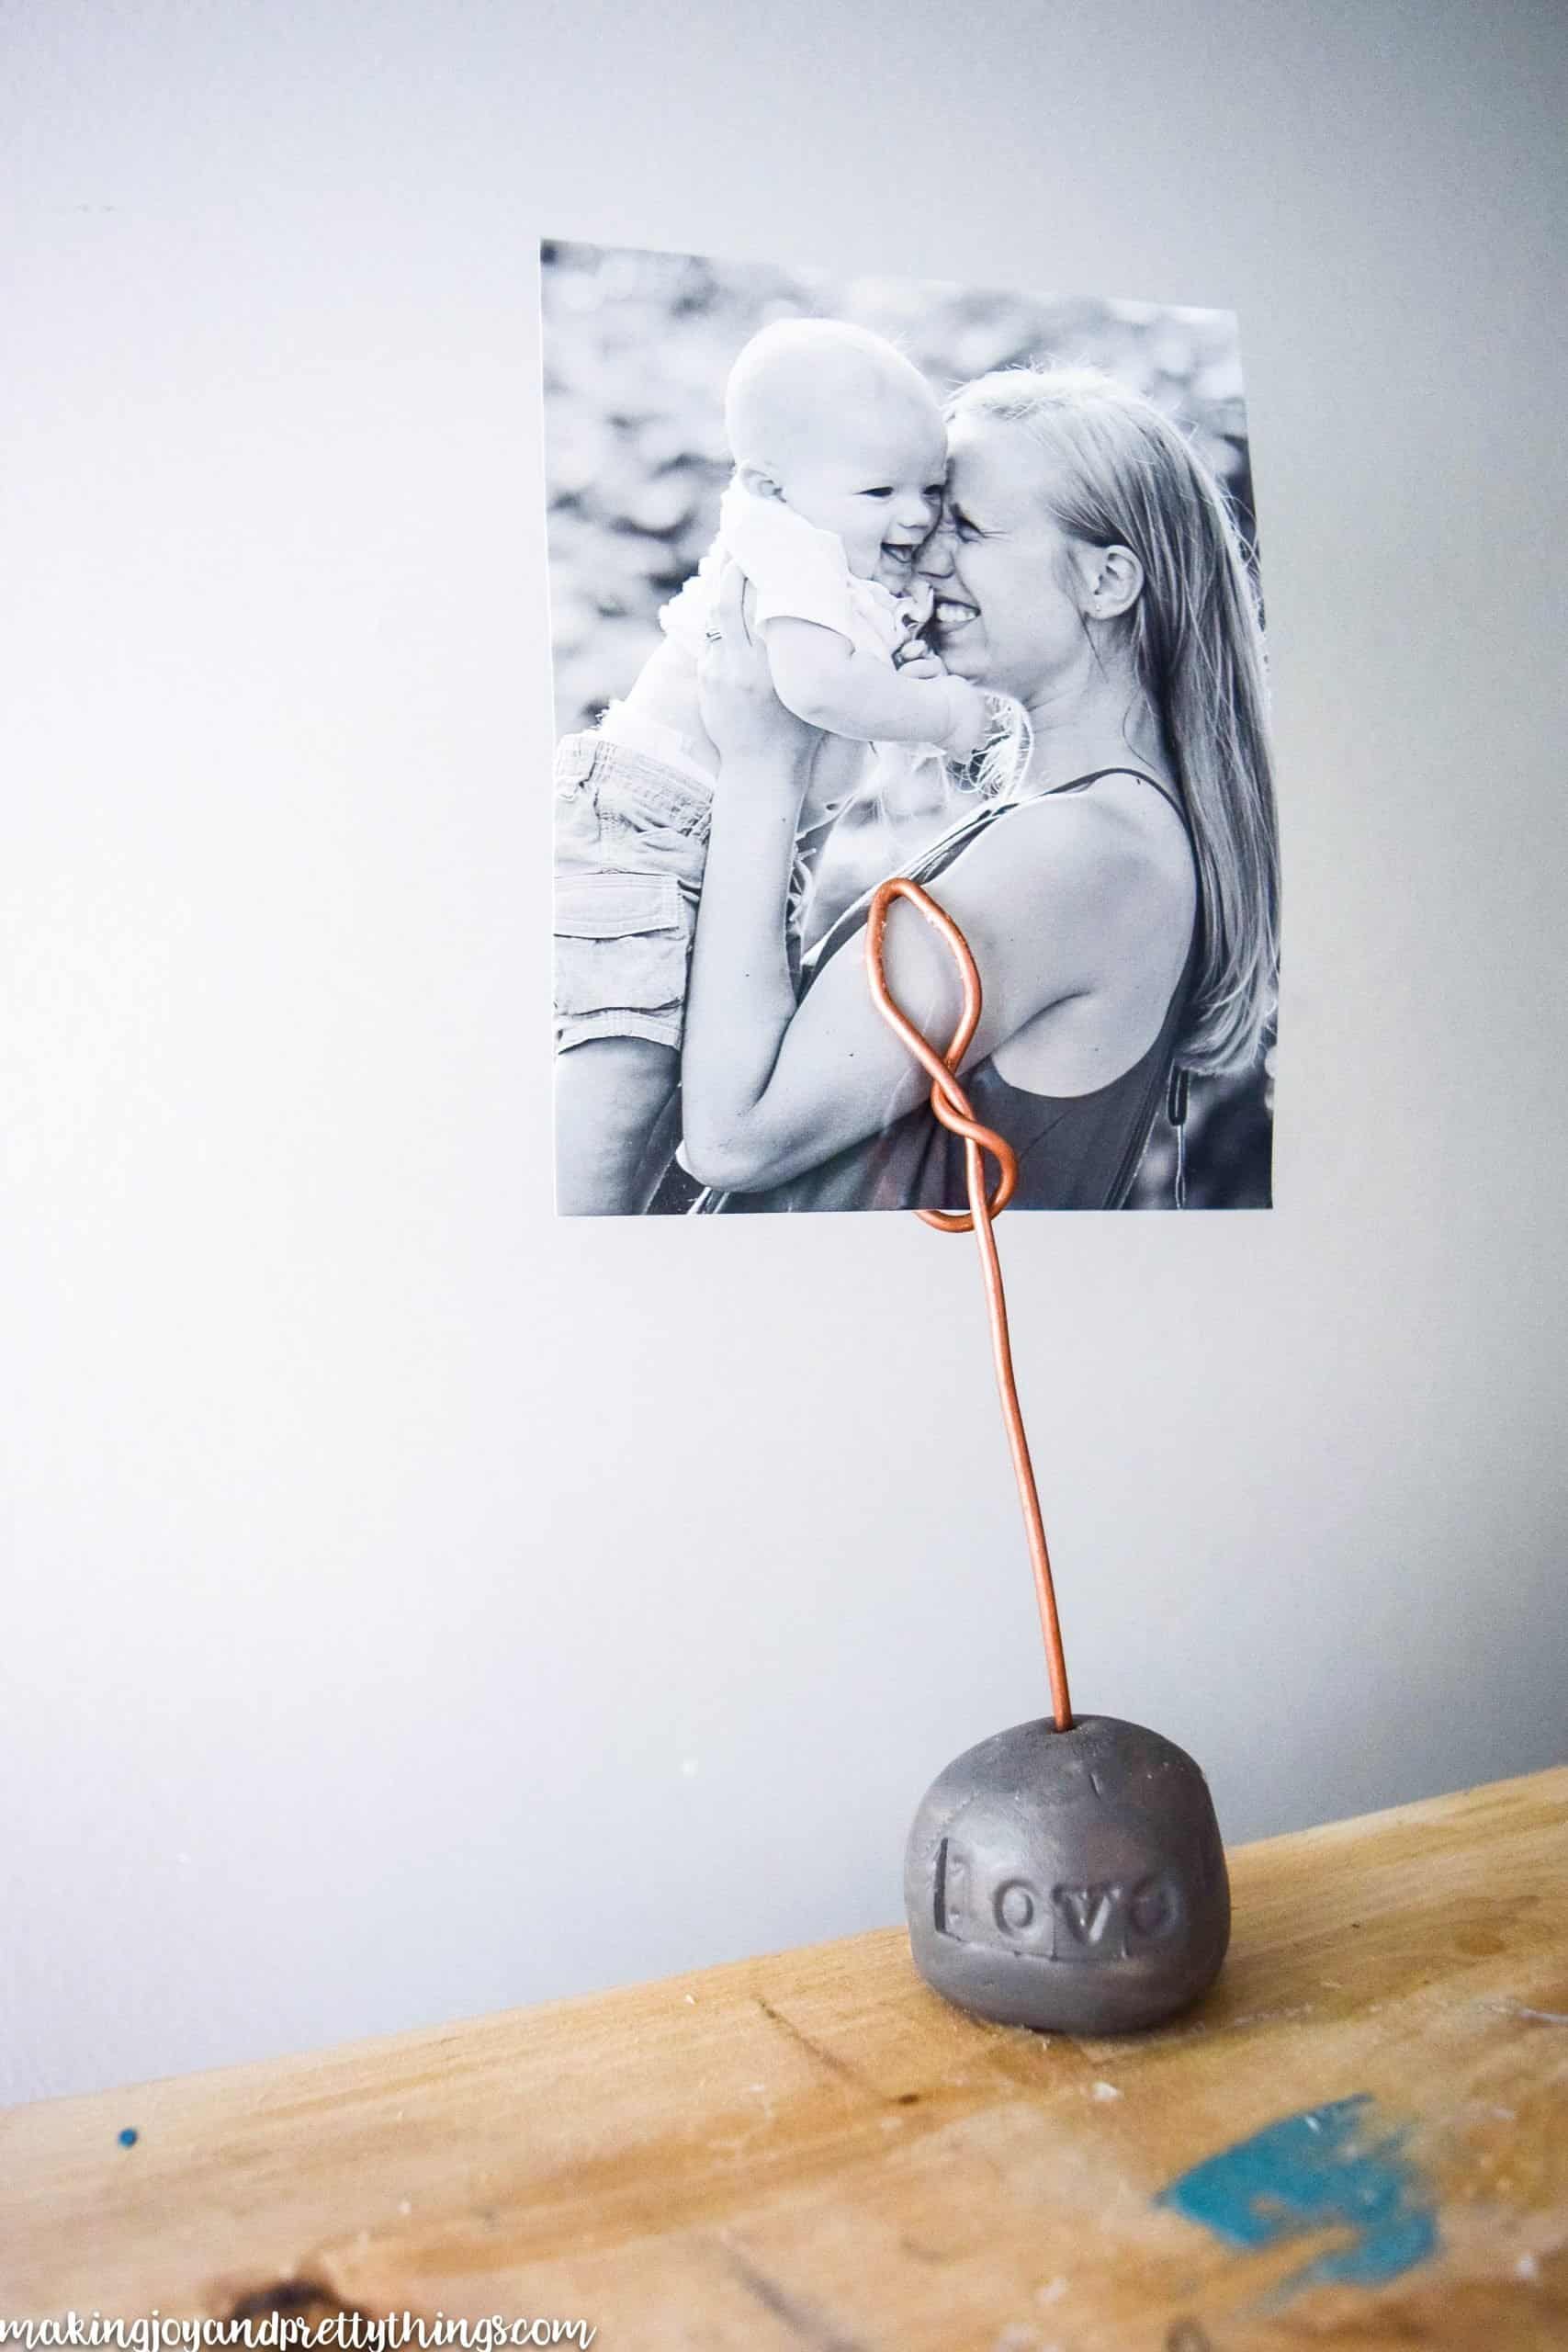
MUCH better.
I am so in love with how they turned out.
They look so sweet next to each other! Although, they aren’t next to each other on the shelves. I don’t want to show you too much of those shelves JUST yet. Those will be a surprise sometime soon 😉
Have you guys tried oven-baked clay yet? Or decorating with copper wire? I would love to hear your thoughts and ideas and hope you love these photo holders as much as I do.
I can’t wait to show you the finished barn wood dining room shelves in a few weeks!!
Thanks for stopping by, sweet friends!
Wishing you a joyful day!

DIY Wire Photo Holder
Materials
- Oven-baked clay
- Letter stamps
- Copper wire
- Wire cutters
- Dark gray paint
- Your favorite pictures!!
Tools
Instructions
- Roll Clay for DIY Wire Photo Holder
- Insert Copper Wire into Clay
- Stamp the Clay Wire Holder
- Bake the DIY Wire Photo Holder
- Paint the Baked Clay
- Make Copper Wire Holders
- Add Photos to the DIY Wire Holder


I LOVE this clay and have used it many times. I think you may have just given me a new go-to gift idea 🙂
Thanks Lora!! I love the clay too.
This is such a cute idea Sarah! LOVE how they turned out! And your family photos are so sweet!
Thanks, Kristi!! I love how they turned out too. We need to get some updated family photos…these are about a year old!!
So simple and cute! Excited to try it!
Thanks so much Kristen!! I’m all about simple decor 🙂
I have seen this clay but have not used it. I usually make something with flour and salt and bake it.
Such a nice idea….certainly fits your blog title so well. All those pretty things….you make!!!
Aww thanks Zan!! I do, in fact, love to make pretty things 🙂