
Simple Summer Farmhouse Centerpiece
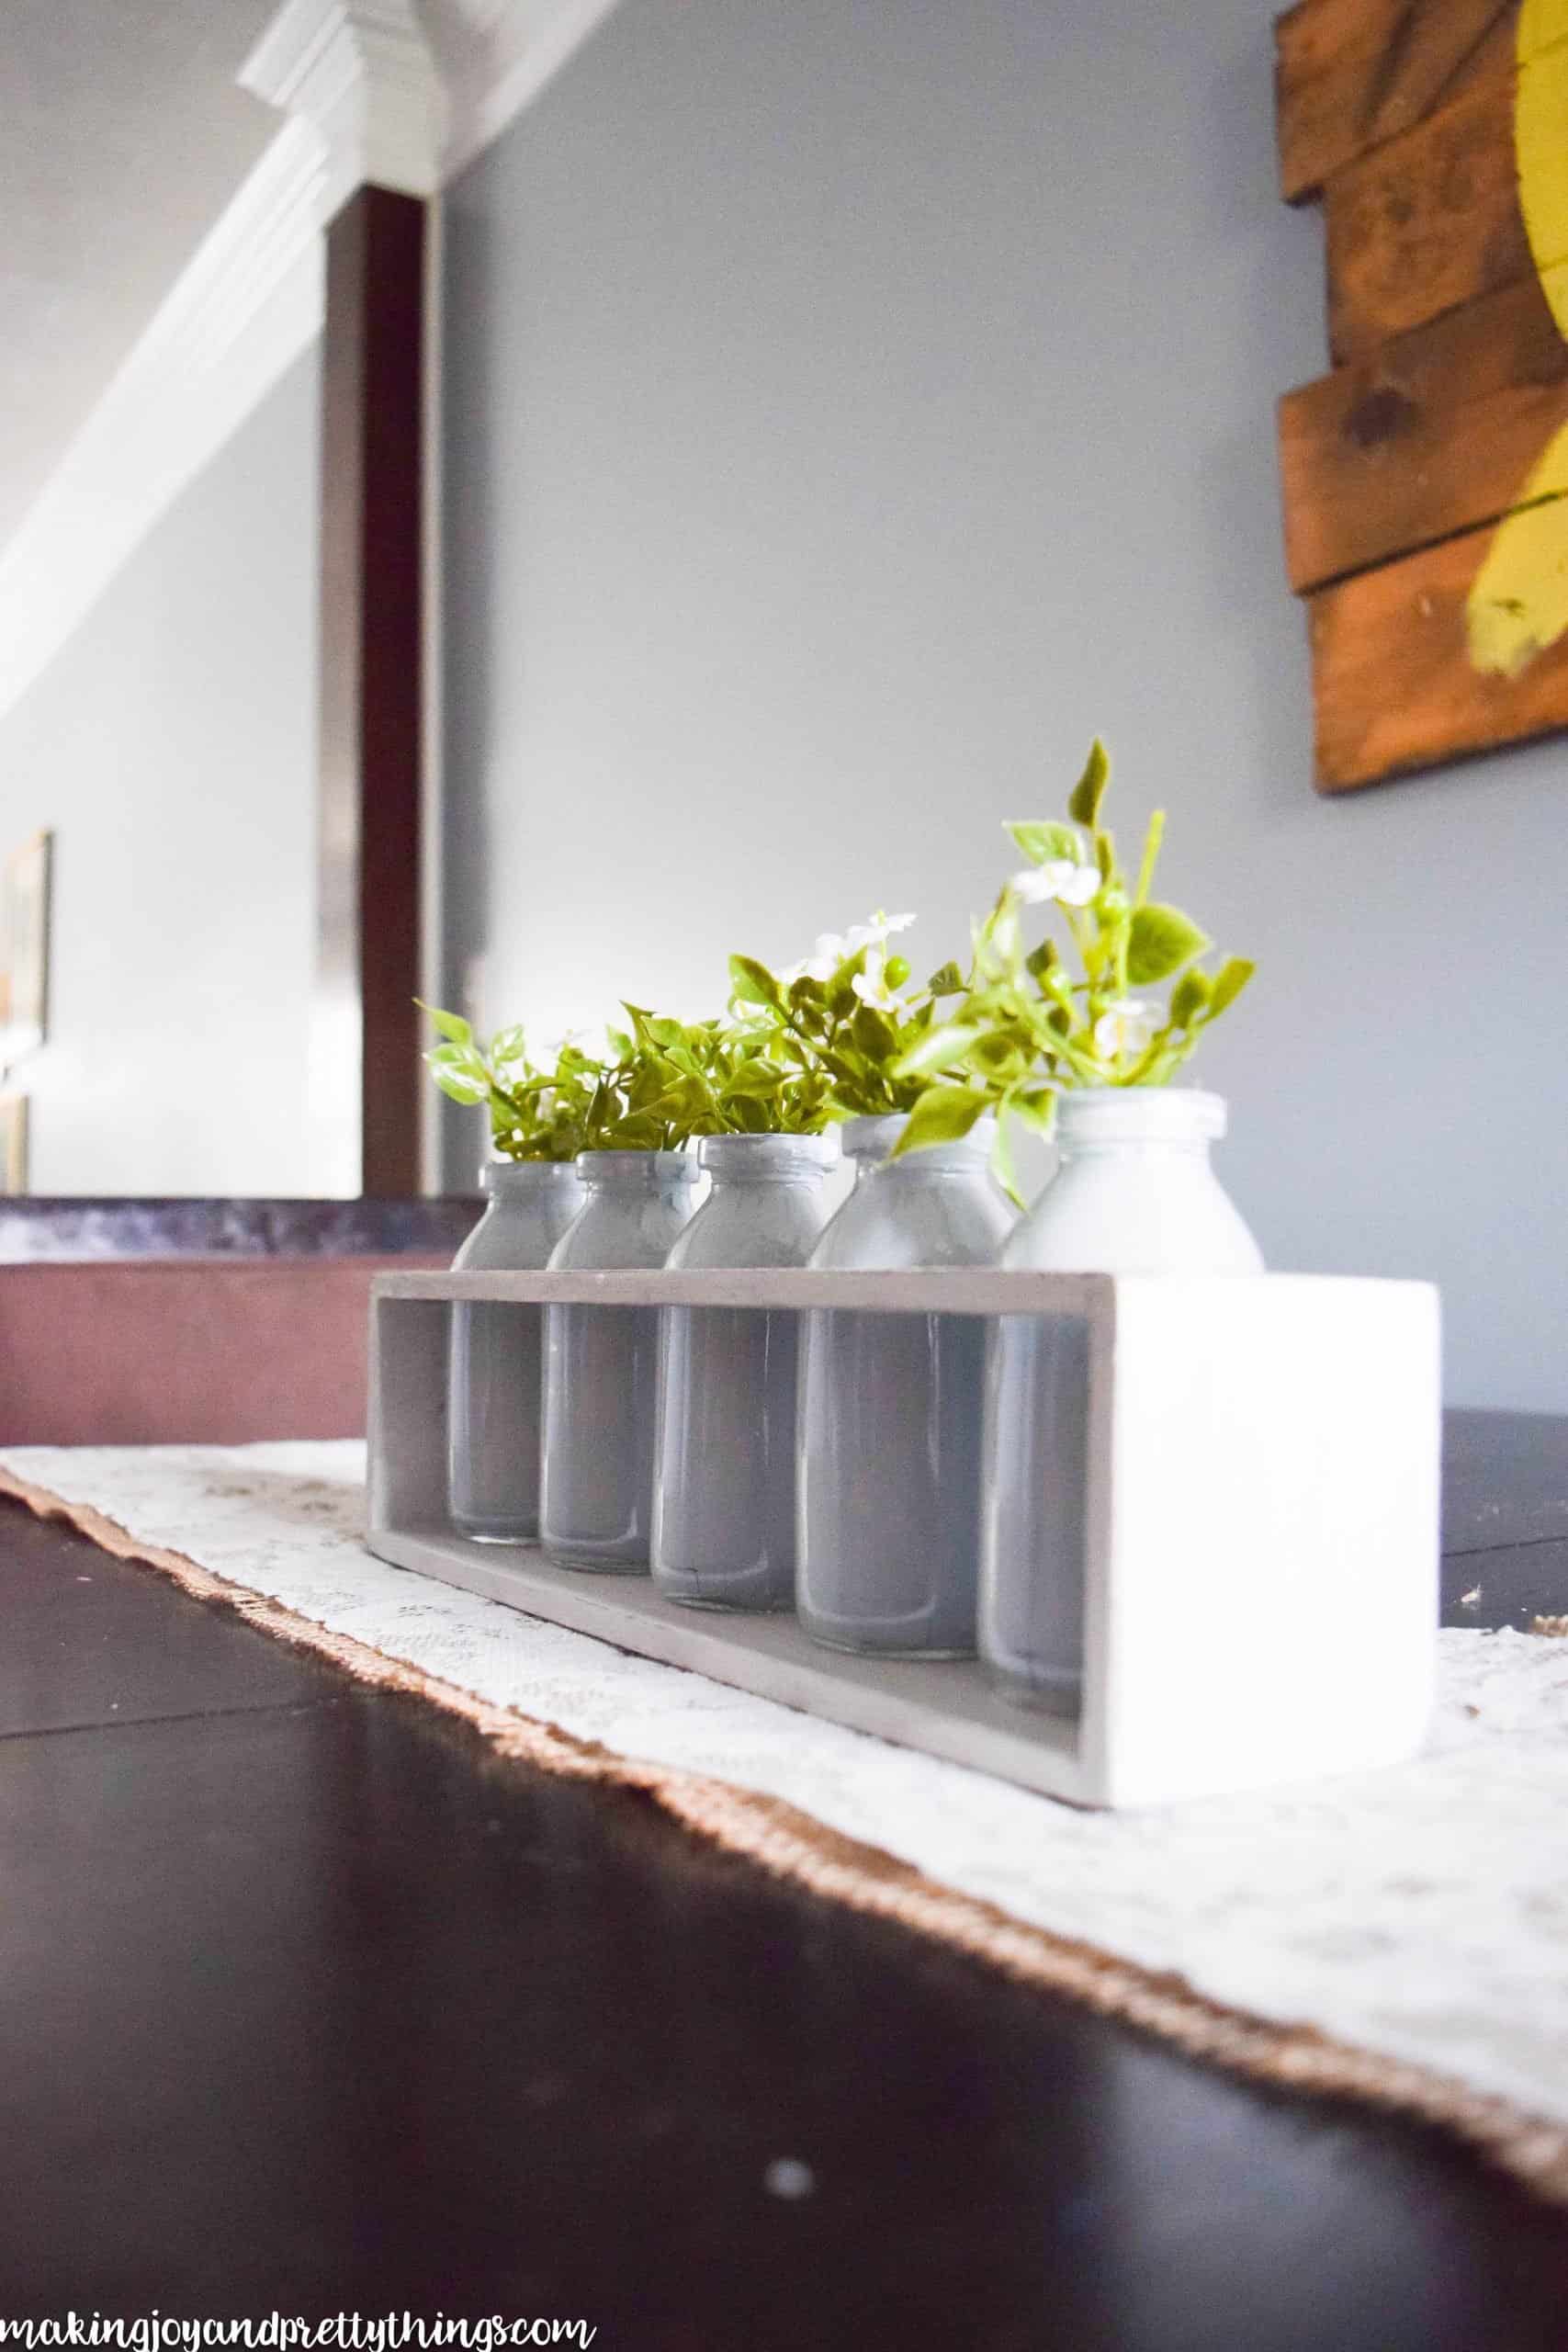
If you’re looking for a simple Summer centerpiece, this DIY milk jar centerpiece is perfect! Switch out the greenery for a fresh centerpiece you can use all year long.
Ahhh, the long days of summer are here. I absolutely love the warm sun on my skin, outdoor play, and water activities. Really, I love everything about the summer months.
I’m so excited to have teamed up with some fun ladies to share a few summer DIY ideas! We are just dipping our toes into summer right now, so it’s the perfect time to add some summer style to your home.

I chose to do a Simple Summer Farmhouse Centerpiece with a burlap + lace table runner. Can you believe I chose farmhouse style?? I know, y’all are shocked 😉

My favorite part about the Summer centerpiece (aside from how pretty it is!!) is that it can be easily moved. I don’t know about you guys but I have little hands eating at my table that will instantly destroy anything within reach.
I mean I’m talking record-speed destruction here.
I can pick this centerpiece up, burlap + lace runner included, and either slide it back out of destroyer reach or completely move it off the table for, say, spaghetti night 🙂 Mama win!!
The container itself I picked up at Michaels (but it is no longer sold). It was originally priced at $16.99, which I didn’t think was too bad for 5 jars and wooden container, but I had a 40% off coupon, too!
This post contains affiliate links. Please, click here to read my disclosure policy.

How to Make a Simple Farmhouse Style Summer Centerpiece
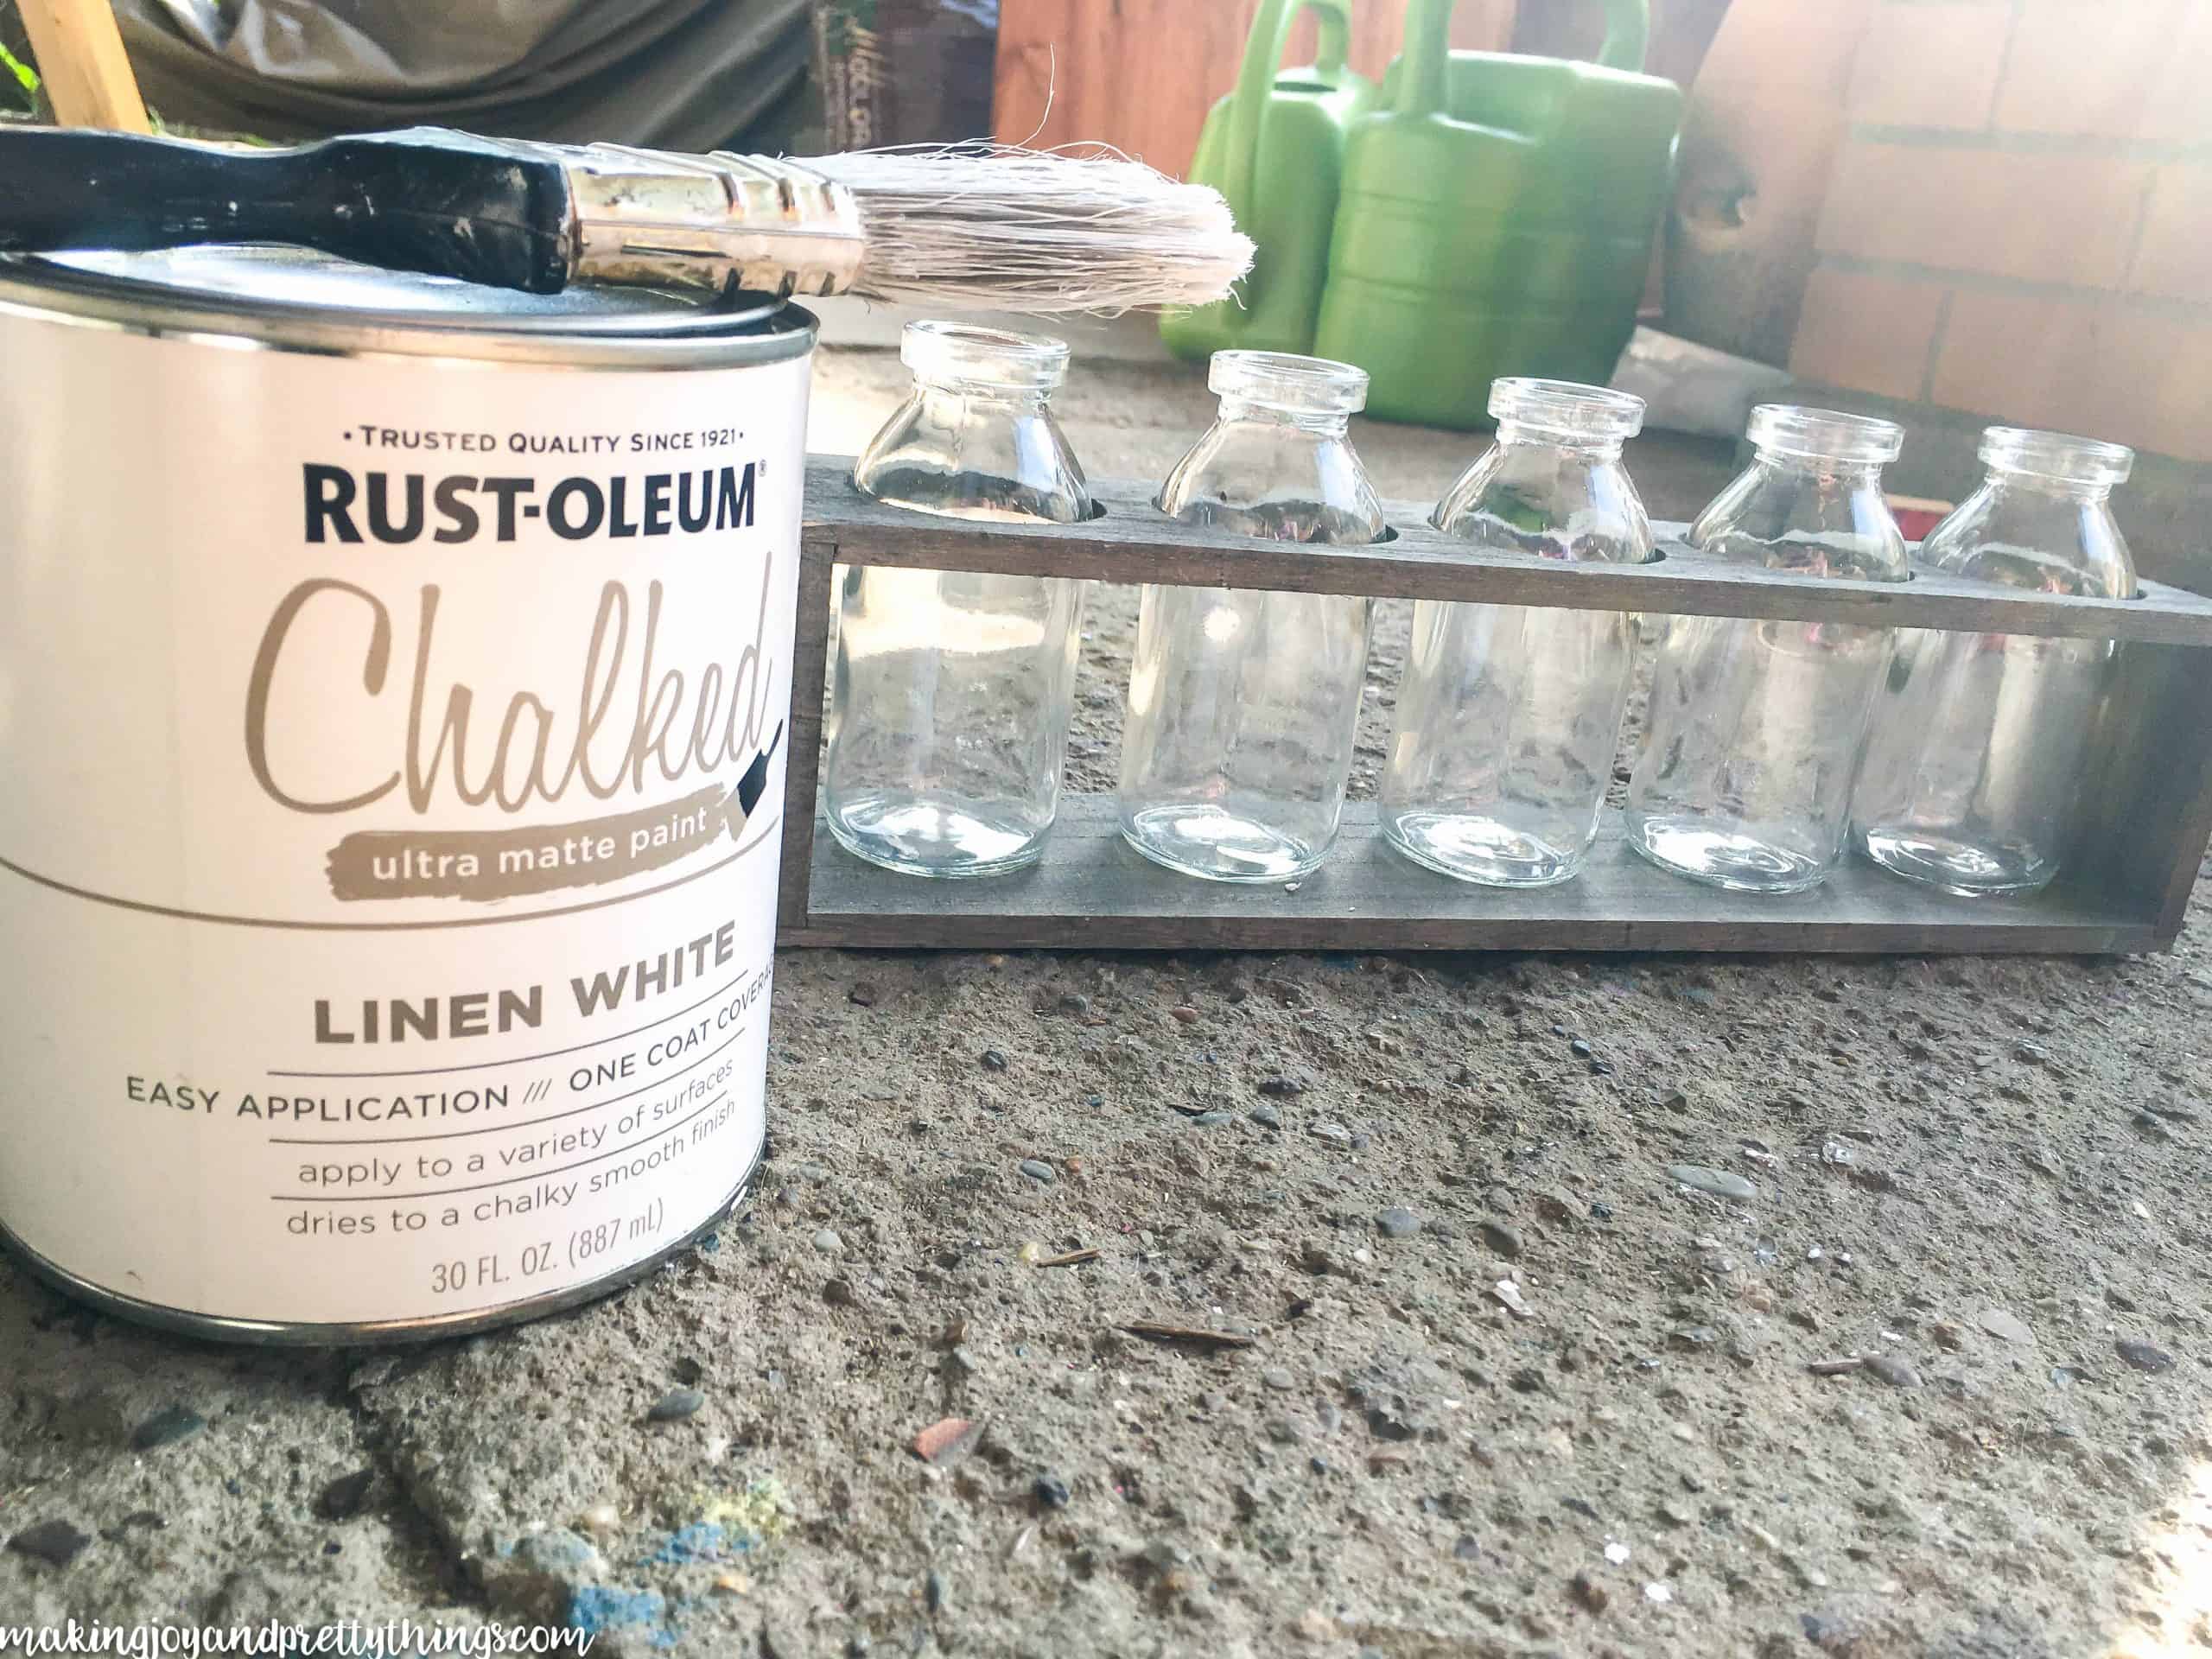
Simple Summer Centerpiece Supplies:
- Wood box with glass jars, similar
- Martha Stewart Crafts Vintage Decor Paint in Brook (or jar paint of your choice)
- Rustoleum Chalked ultra matte paint in Linen White
- Paint Brush
- Sandpaper
- Greenery of choice
- Burlap and lace for the table runner
- Scissors
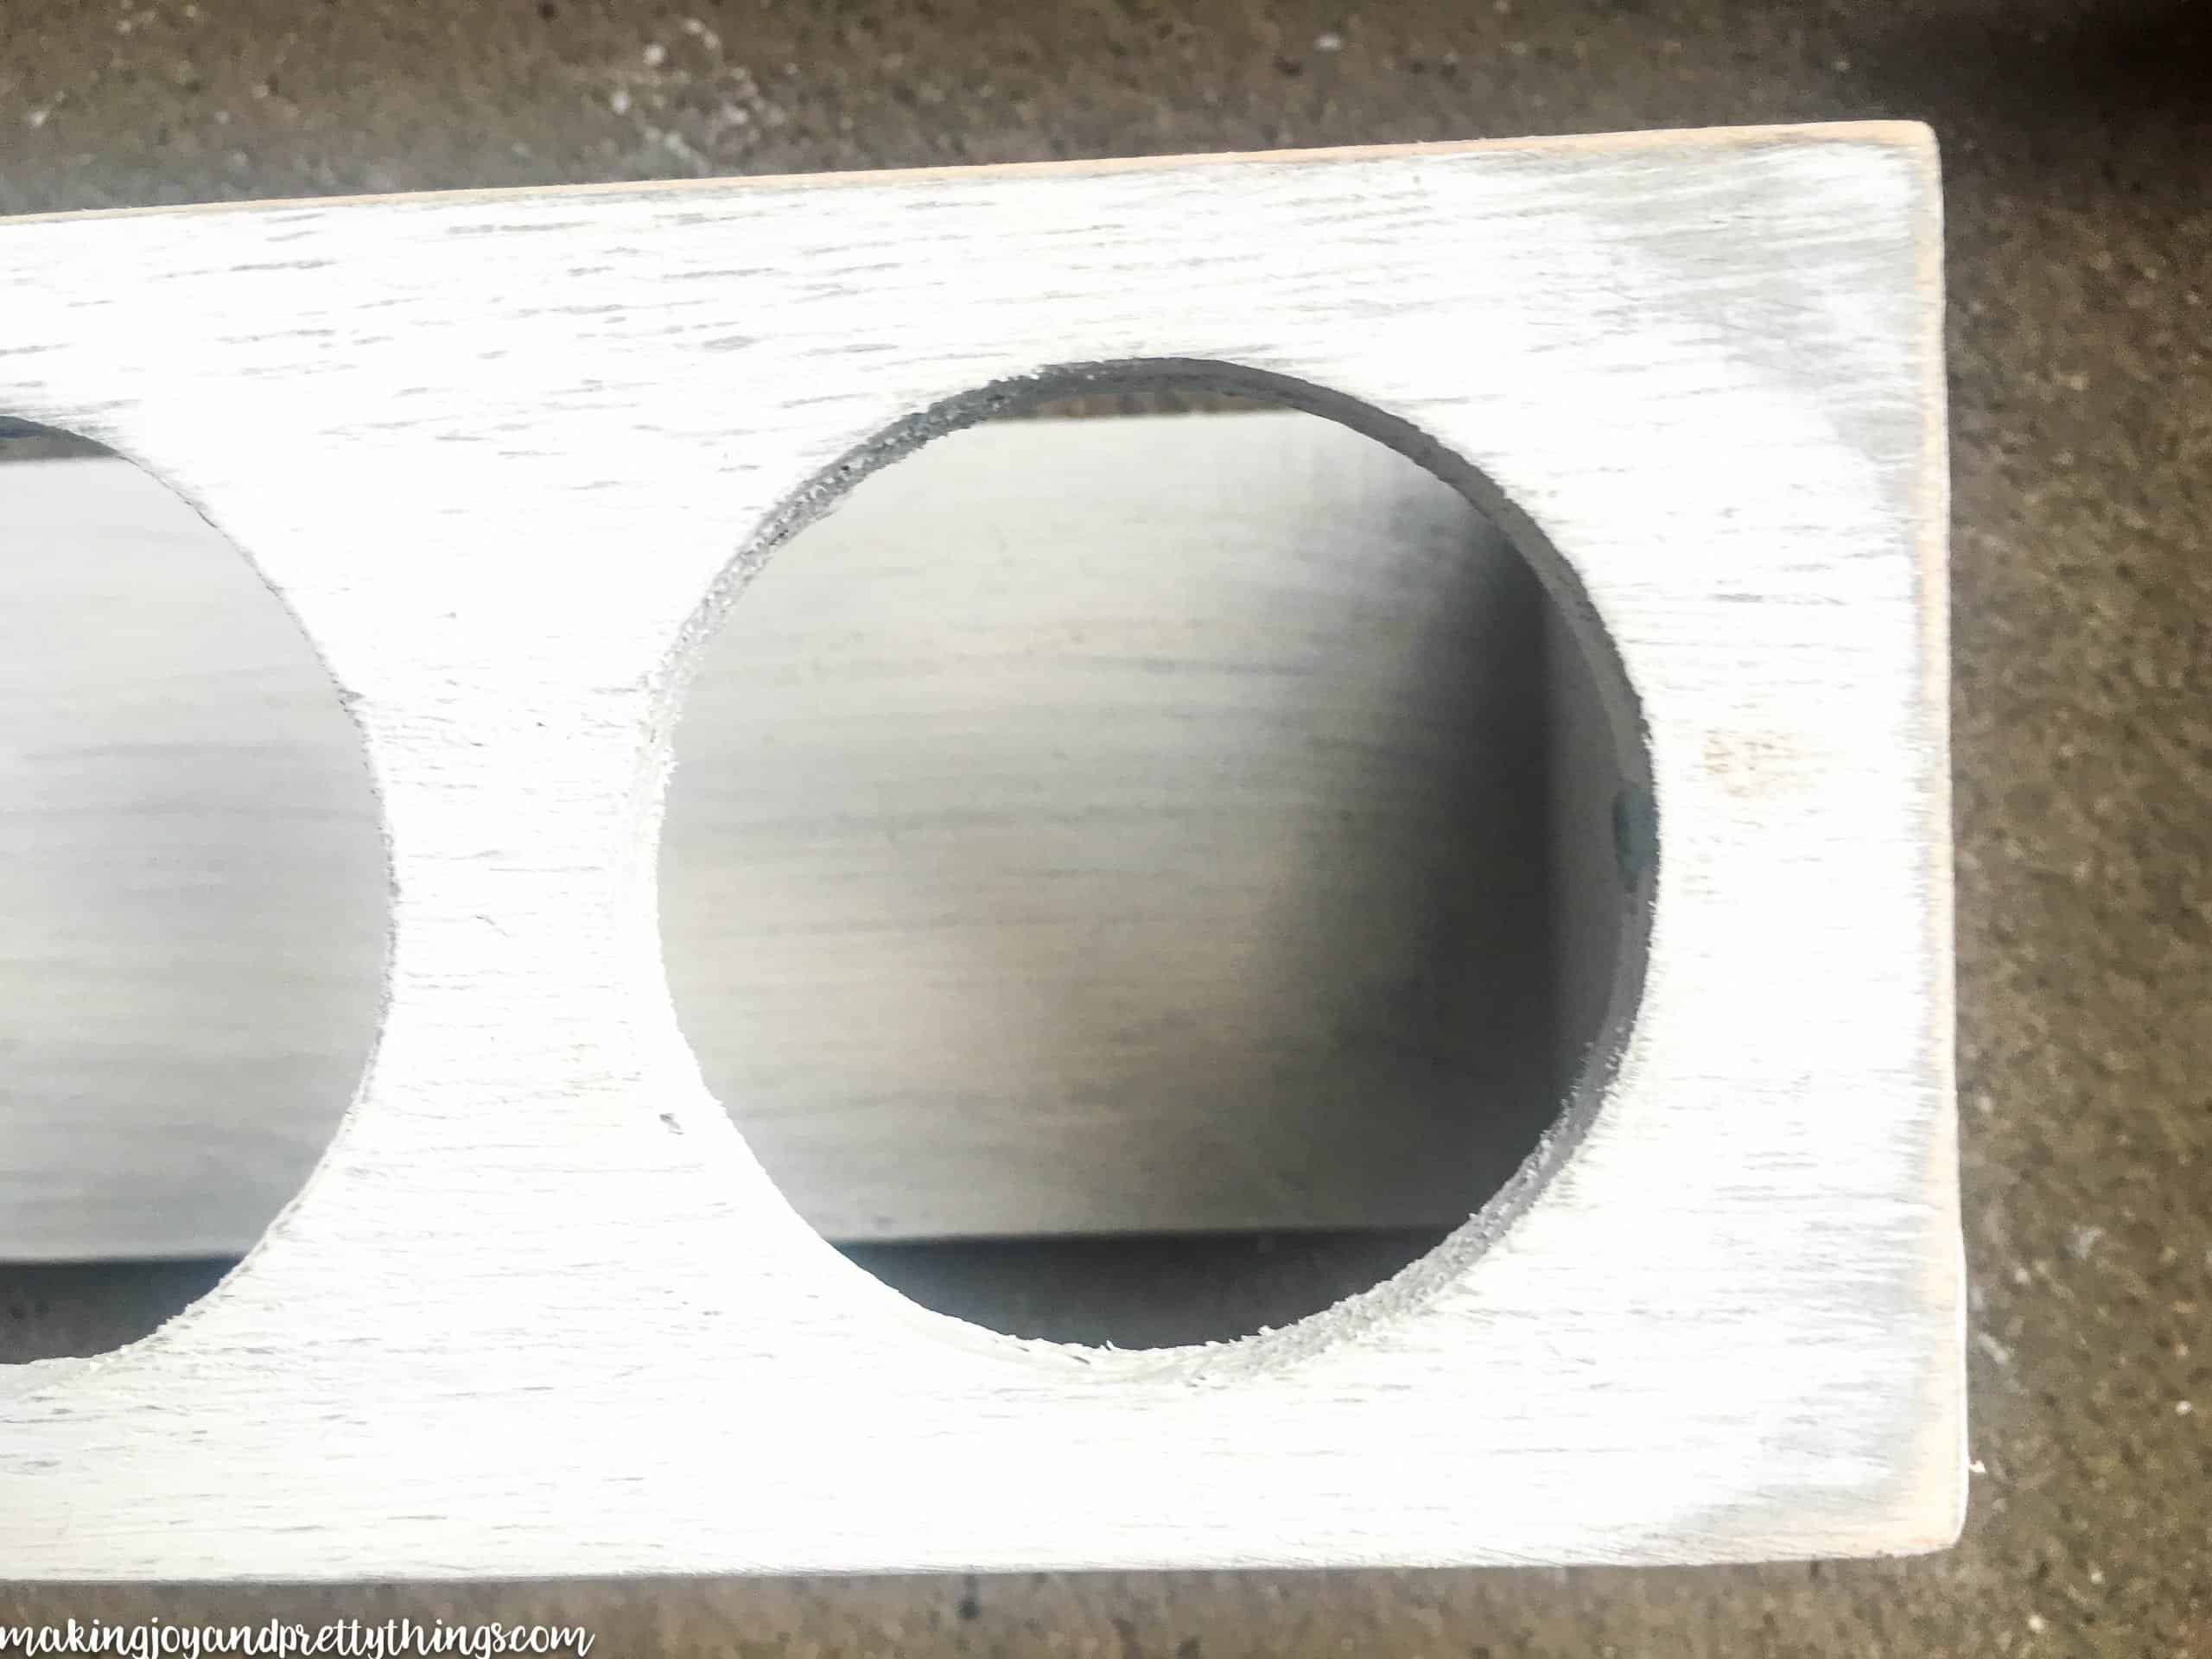
Step 1. Paint the wood container.
I started by painting the wood with white chalk paint. Take the jars out, first!
It doesn’t have to be perfect by any means. You’re going to distress it next so the more texture and streaks, the better.
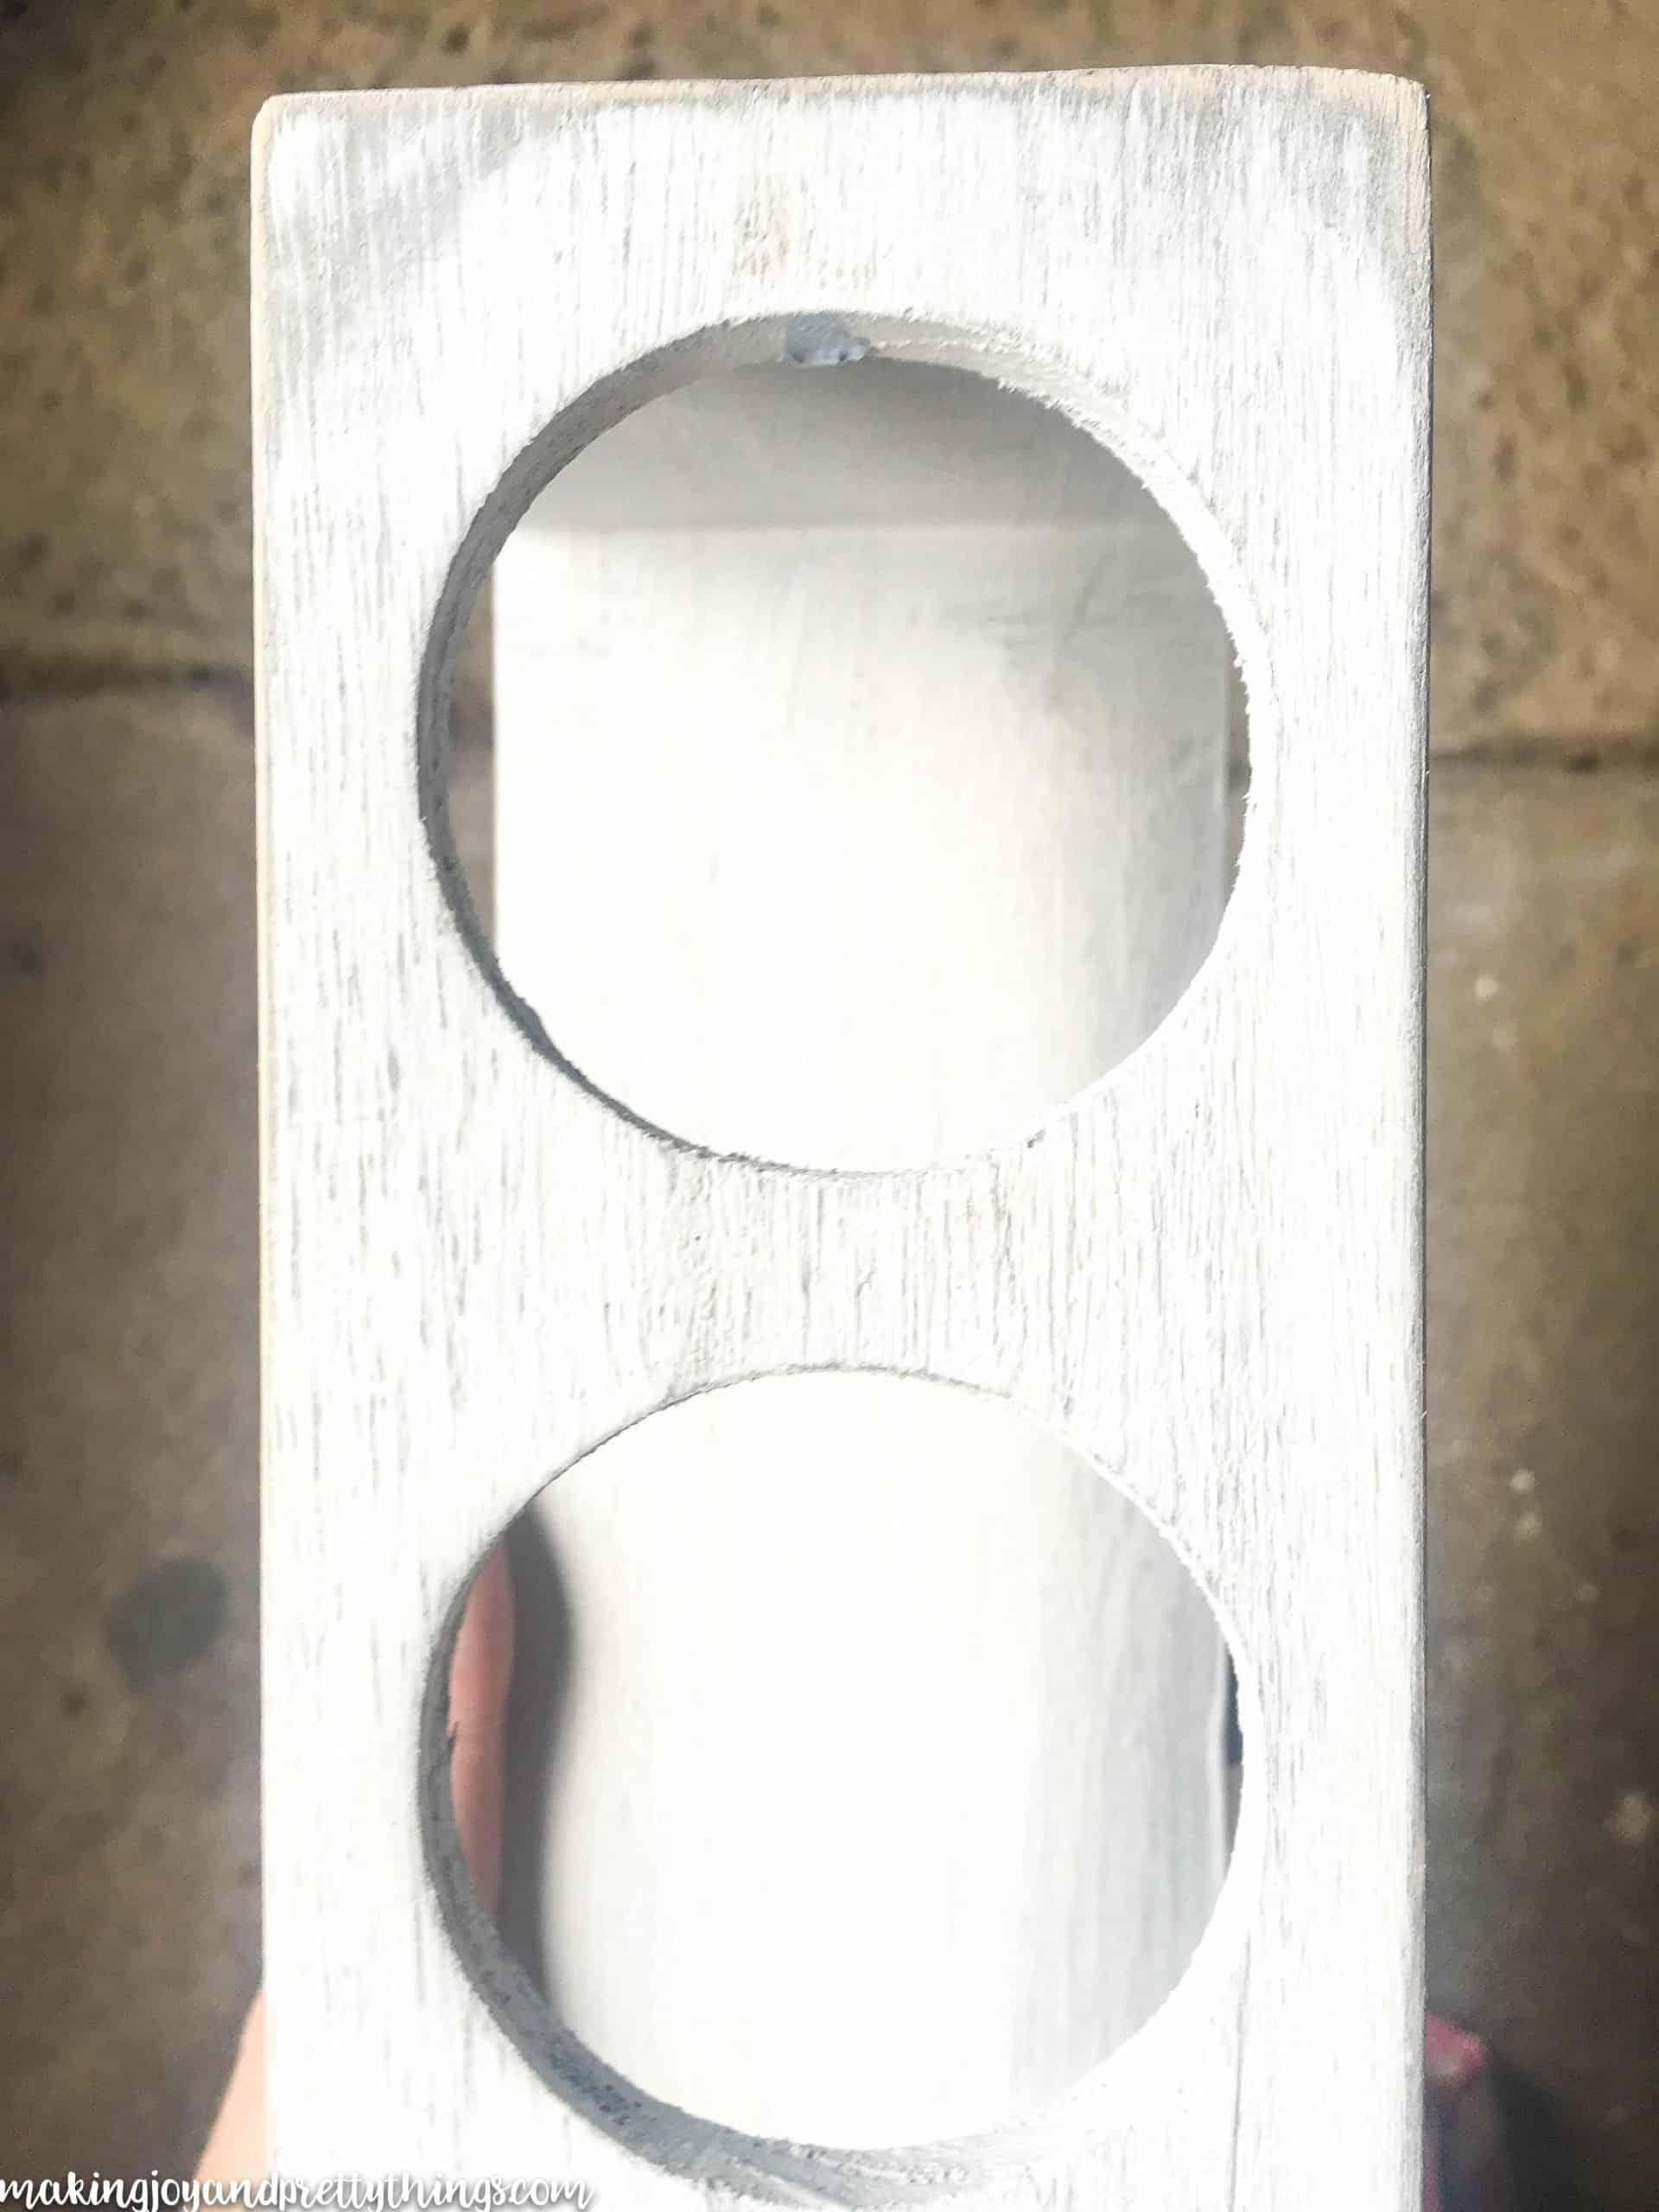
Step 2: Distress the wood for that aged-farmhouse look.
Once it was dry, I used some medium sandpaper I had lying around to distress the wood. I focused heavily on the edges and corners. I also made sure to add some distressing to the top of the wood, since that would be the area most exposed.

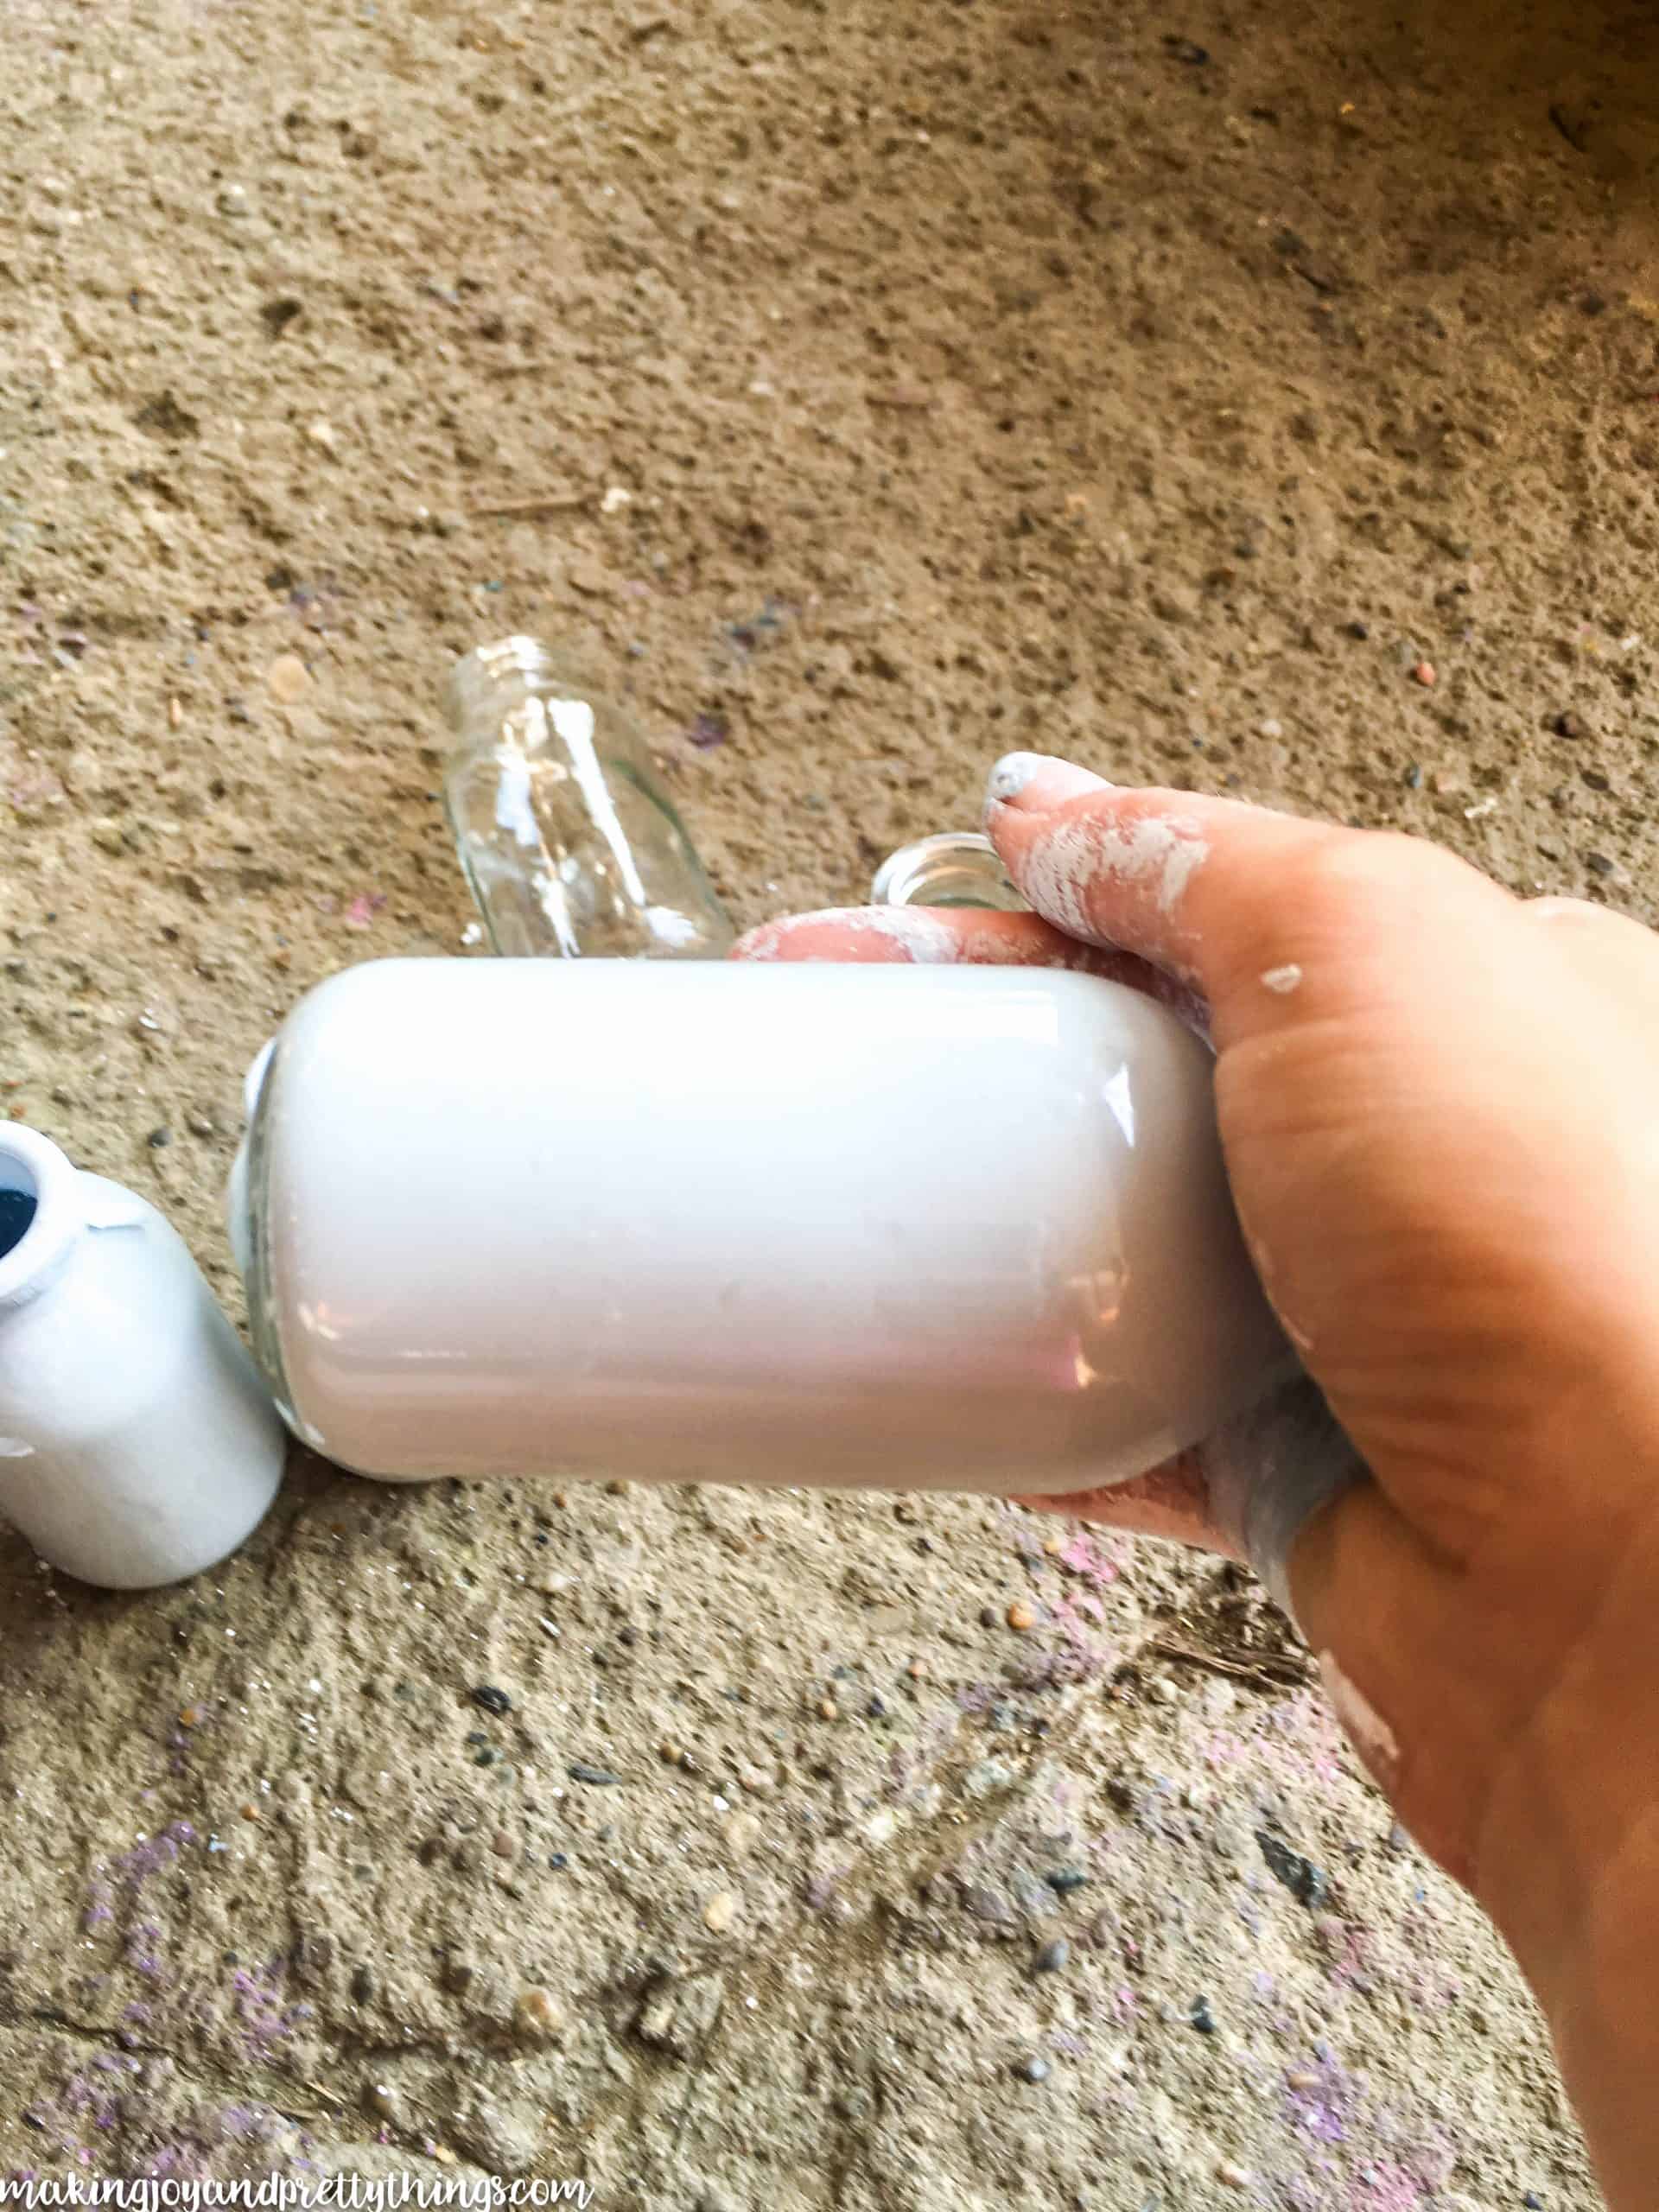
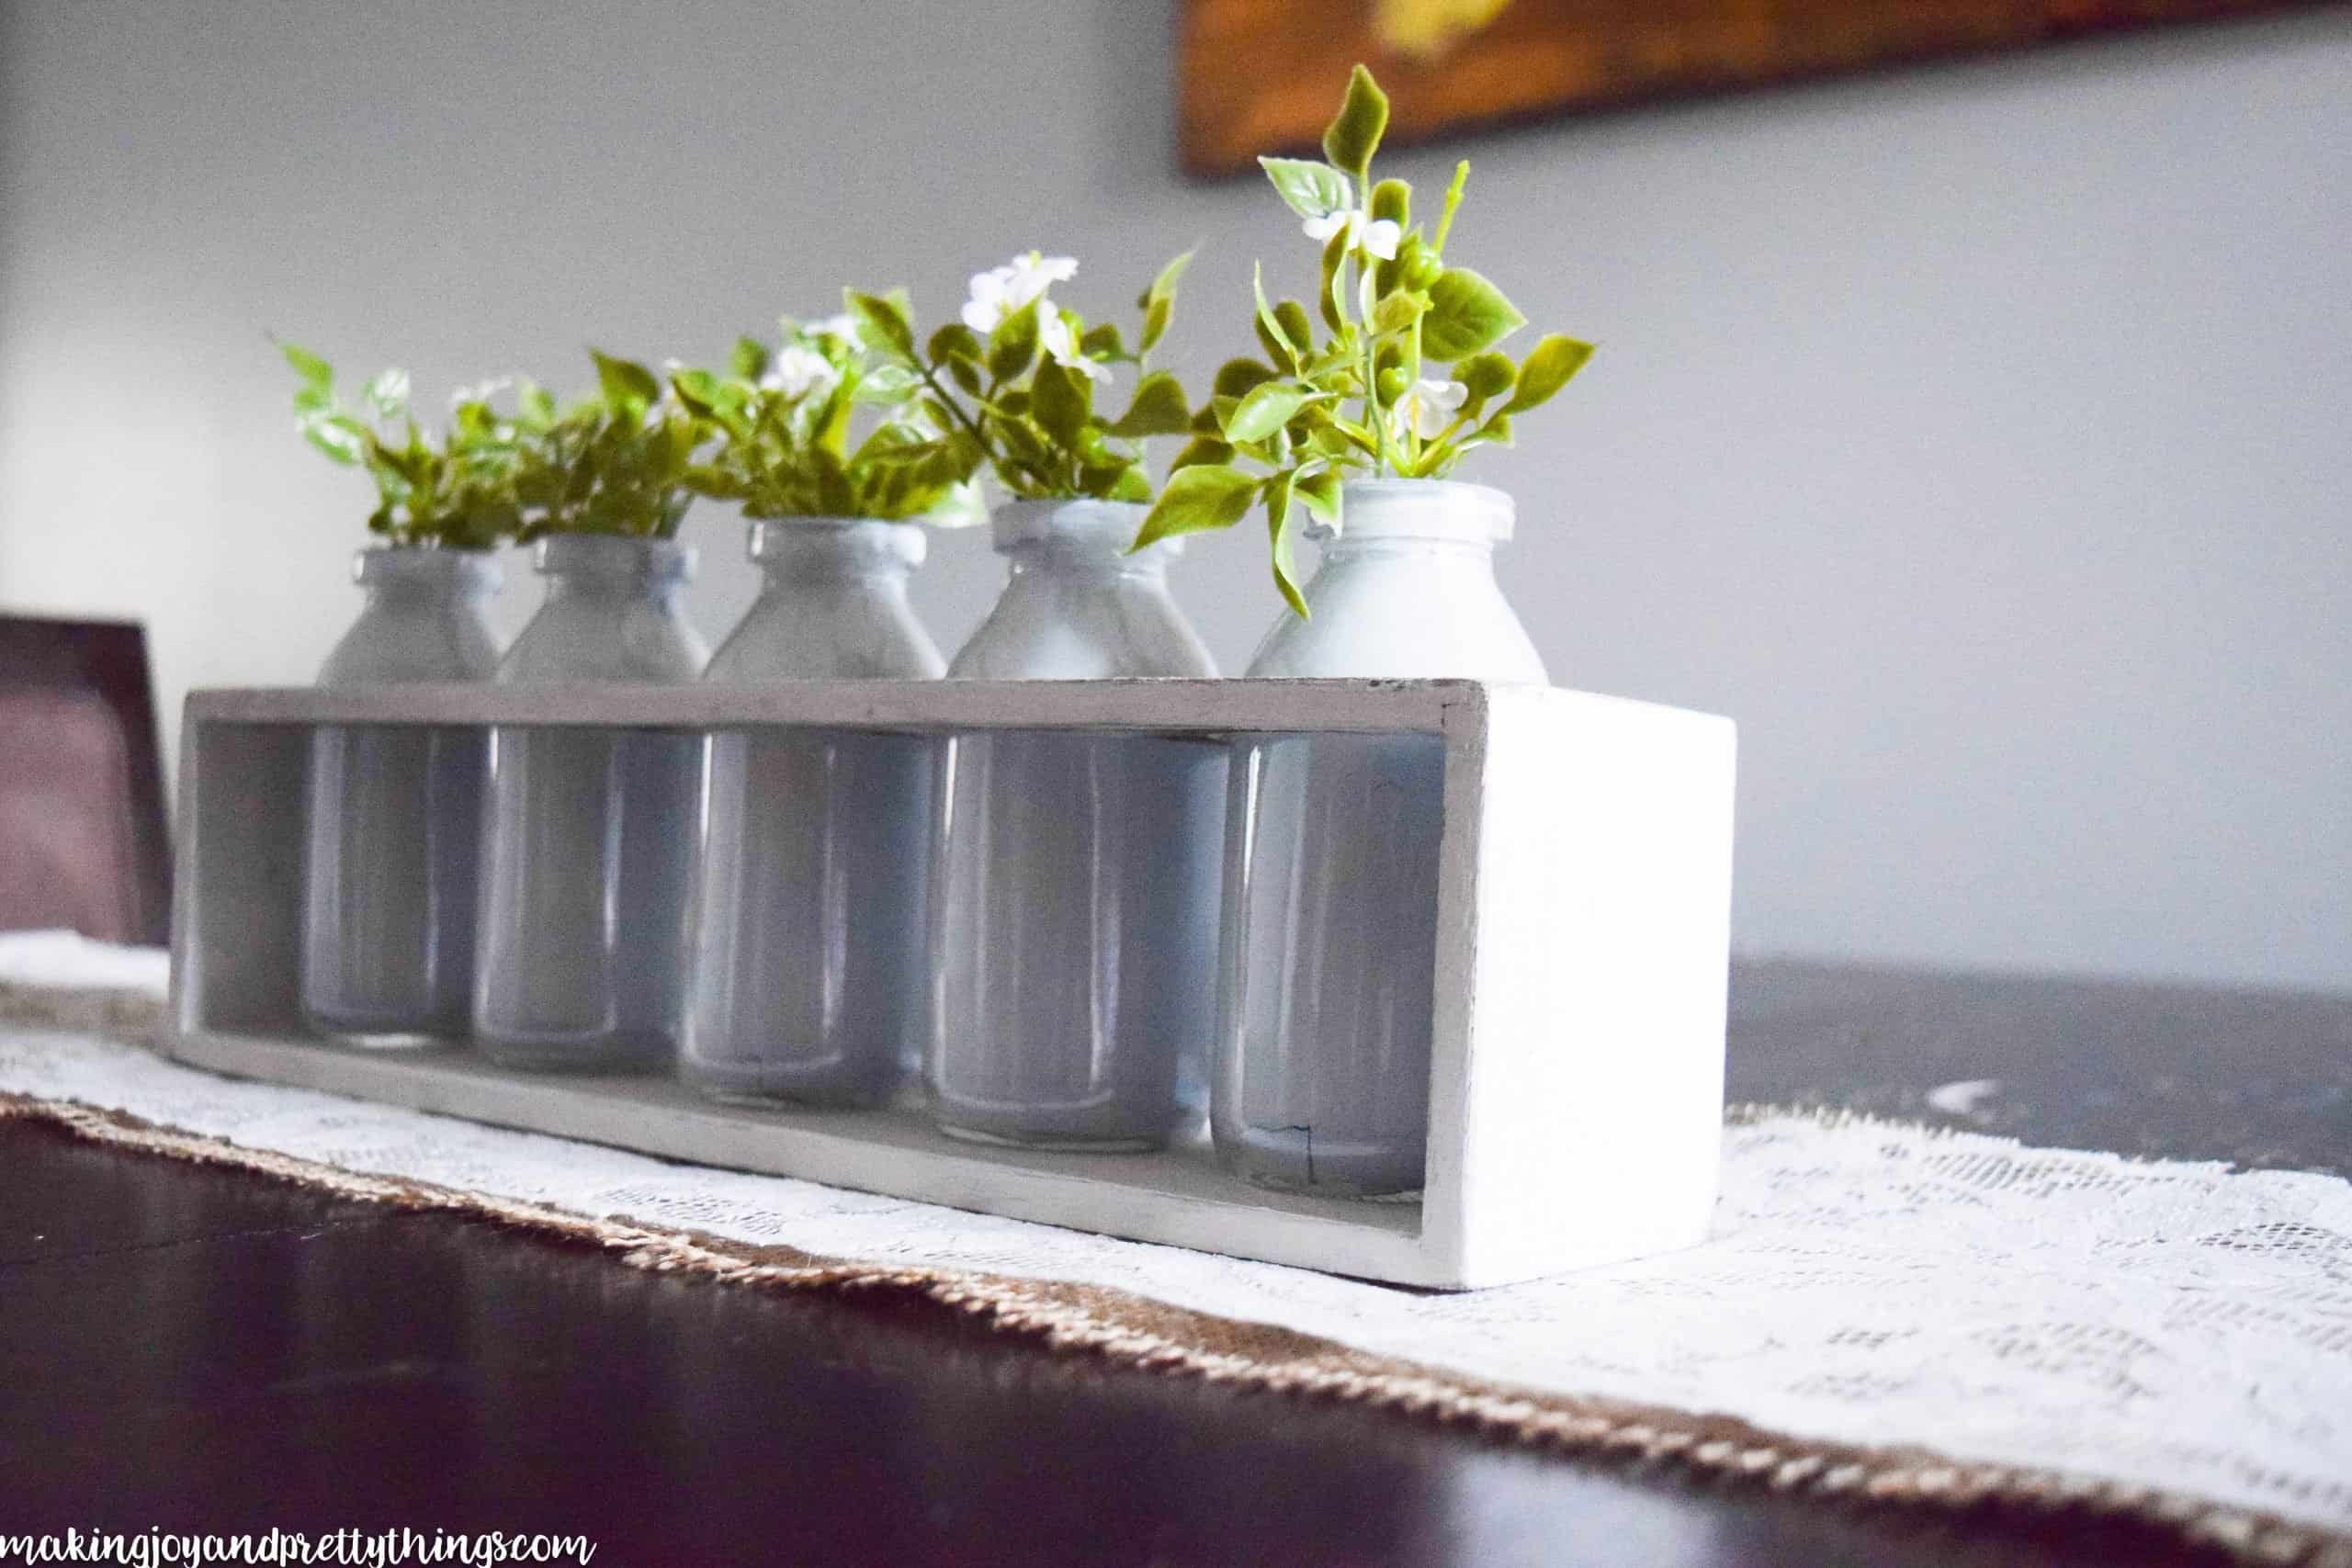
Step 3: Coat the inside of the glass jars with paint.
Once I was satisfied with how the wood looked, I started working on the glass jars. Really, they could have stayed clear and been beautiful. But, I wanted to add just a little color to the centerpiece without being too bold.
I started by adding some paint to the bottom of the first jar. The paint was pretty thick so I added a little water. {This step may vary depending on what type of paint you use}
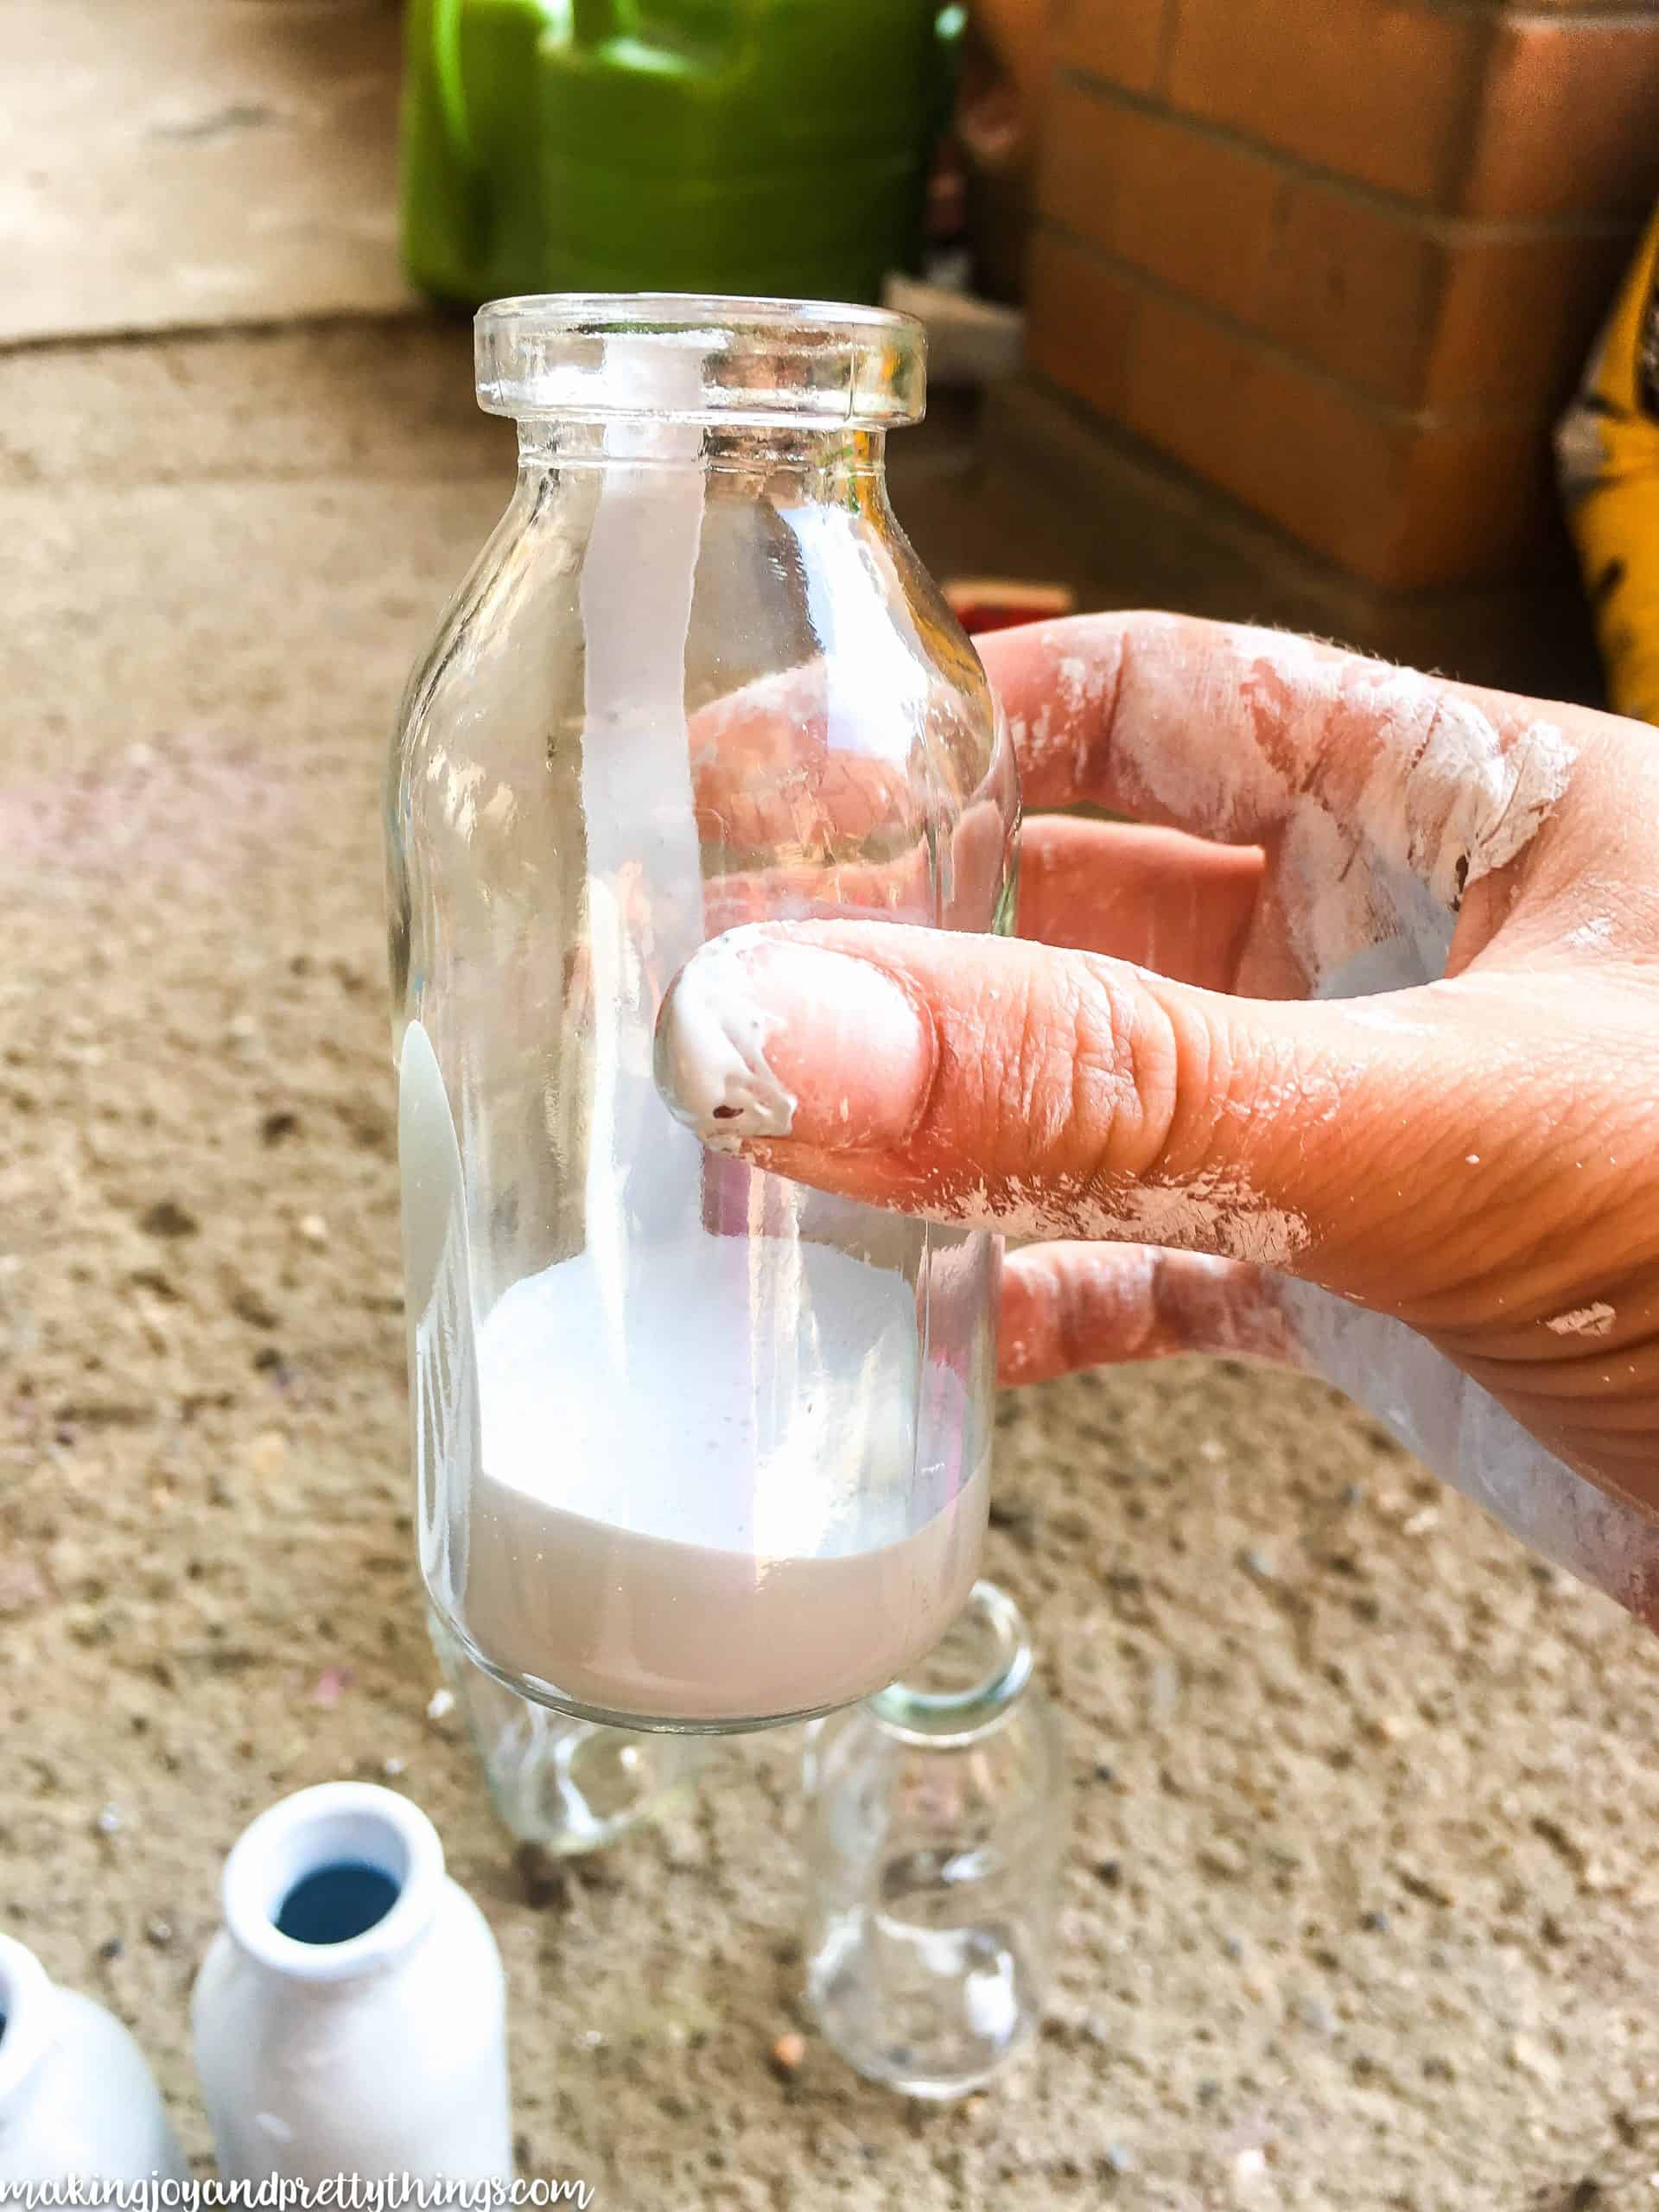
Using a super precise ridiculously messy procedure, I proceeded to swirl the paint around the inside of the jar, until all the sides were coated. I then dumped the remaining paint into the next jar and continued on like this until all the jars were coated.
Look at my hands in that picture!! *face palm*
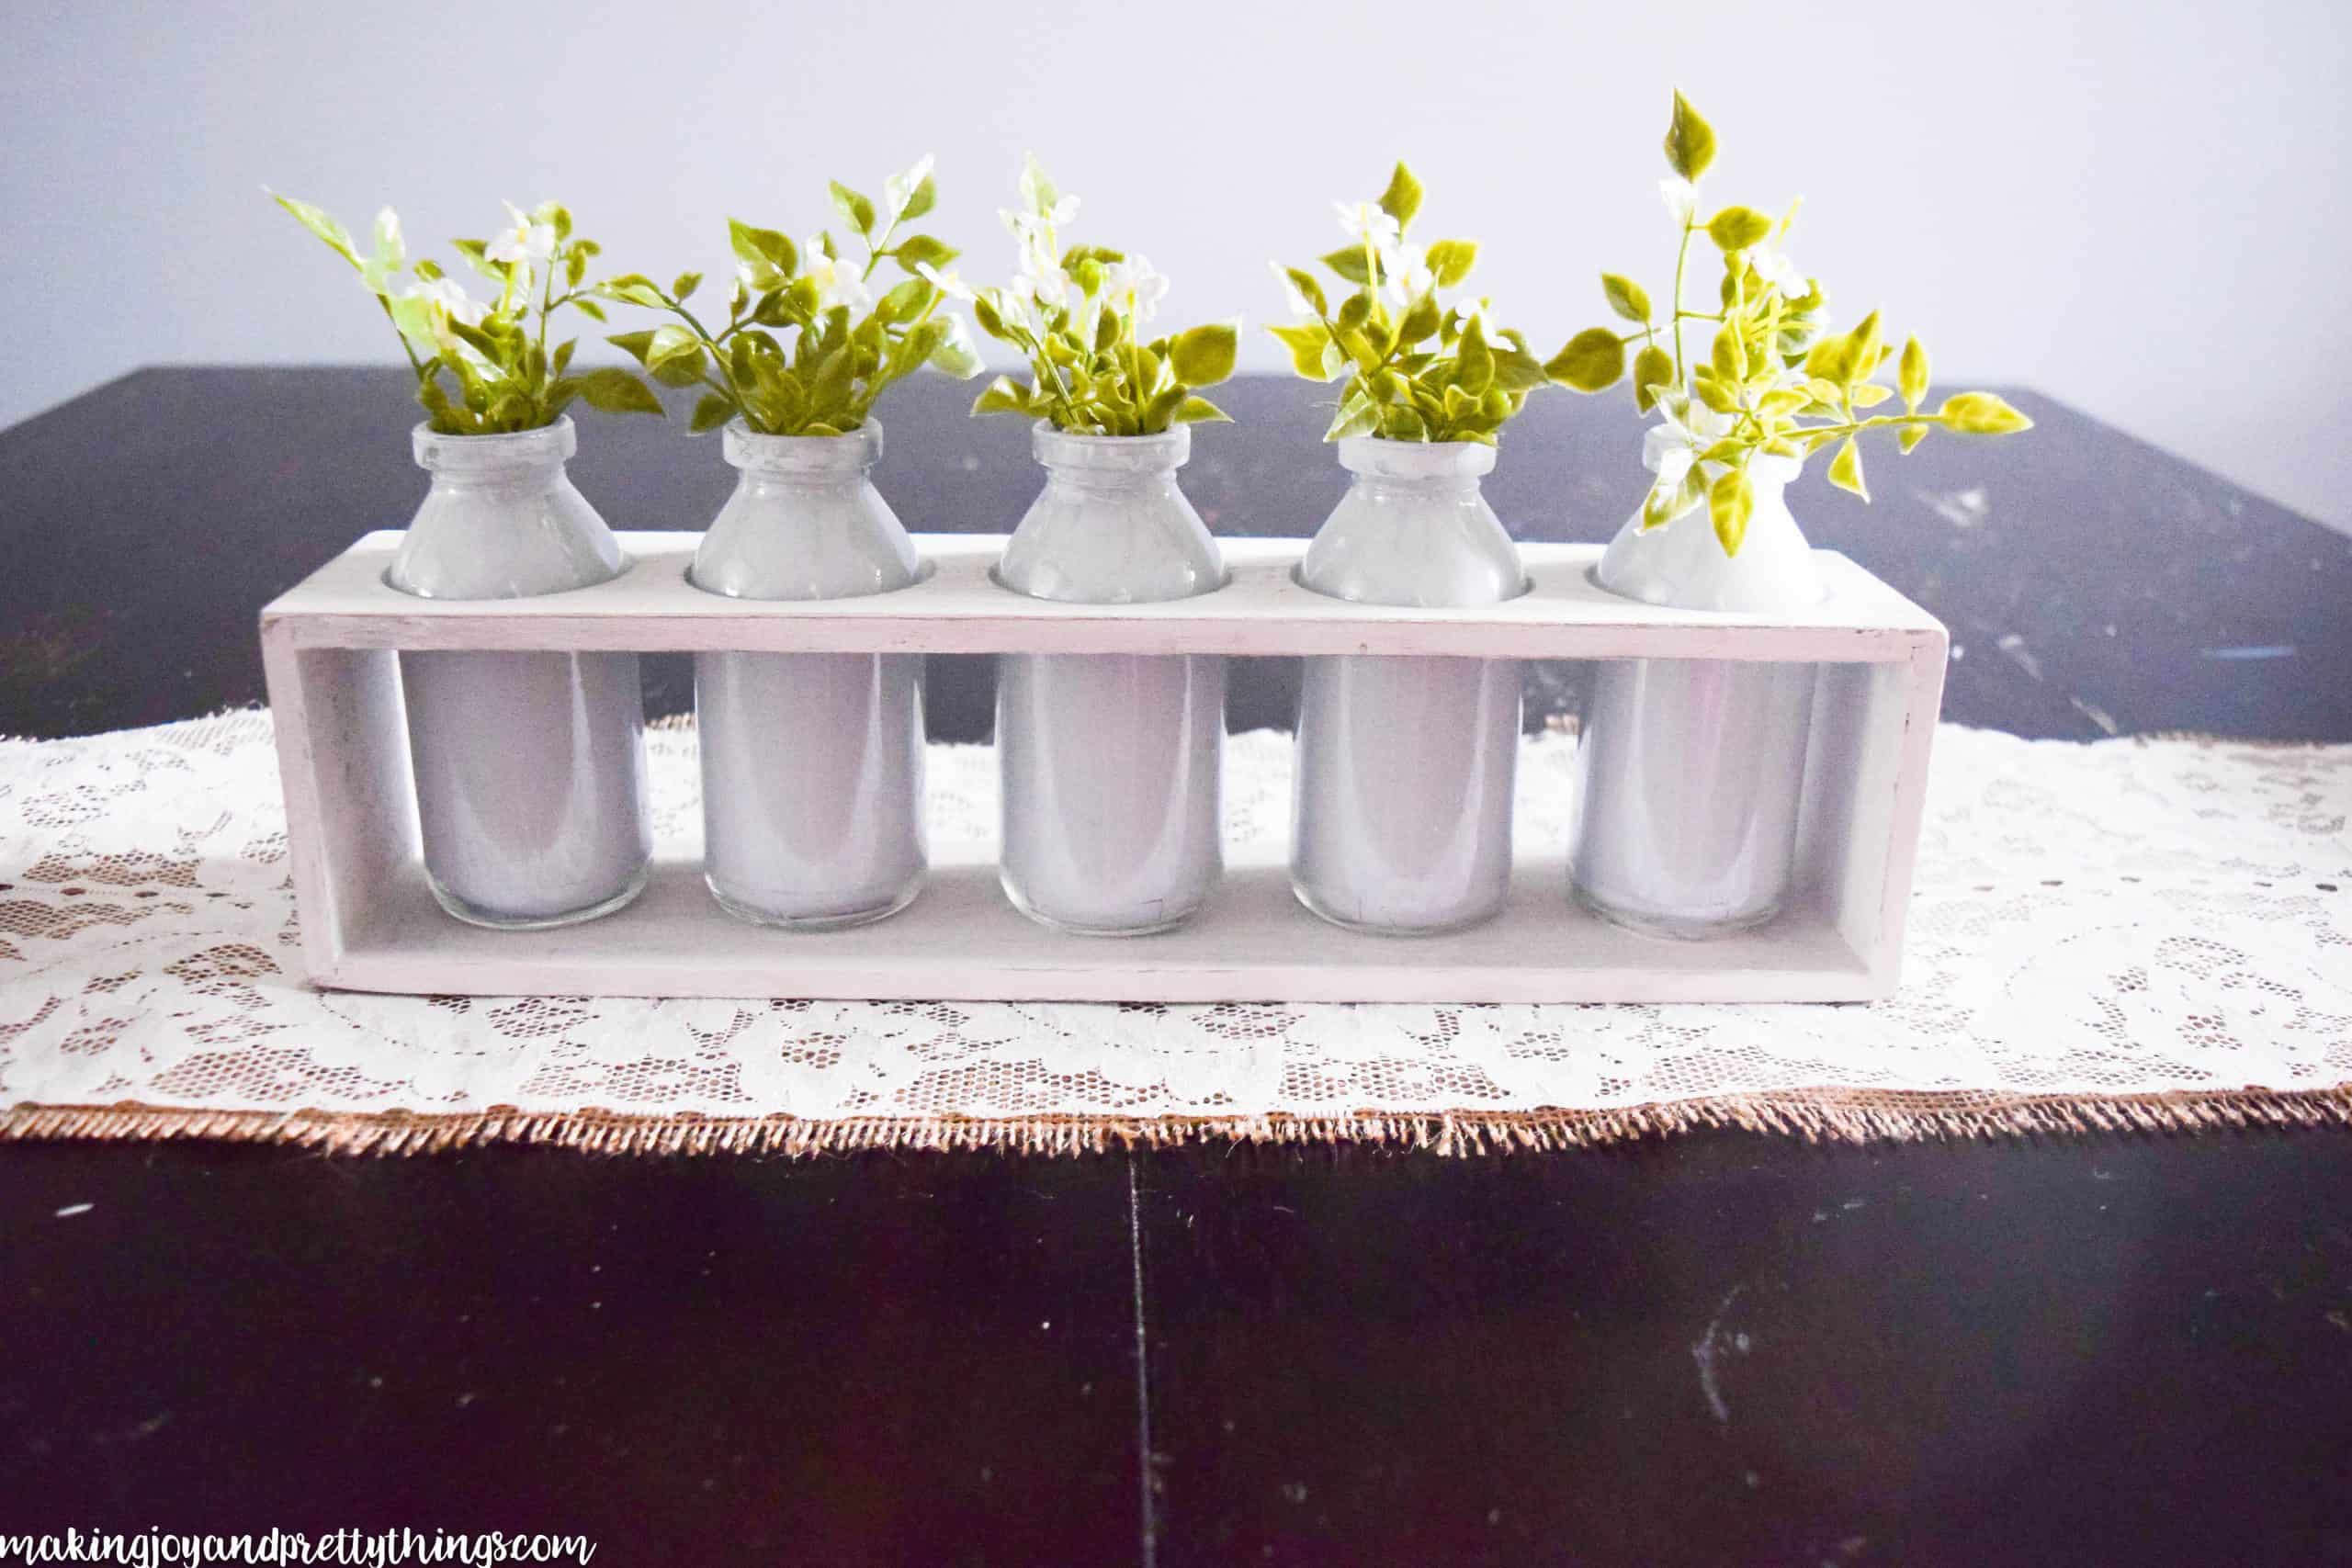
Step 4: Pick faux flowers and greenery to add to the jars.
After everything was dry, I sorted through all my faux flowers to see which would look best.
Since I knew I wanted the summer centerpiece to look simple and farmhouse-style, I chose the same greenery I used to make my farmhouse wreath and upcycled DIY wreath hanger (with a mini wreath). Apparently, I like to make simple farmhouse projects…
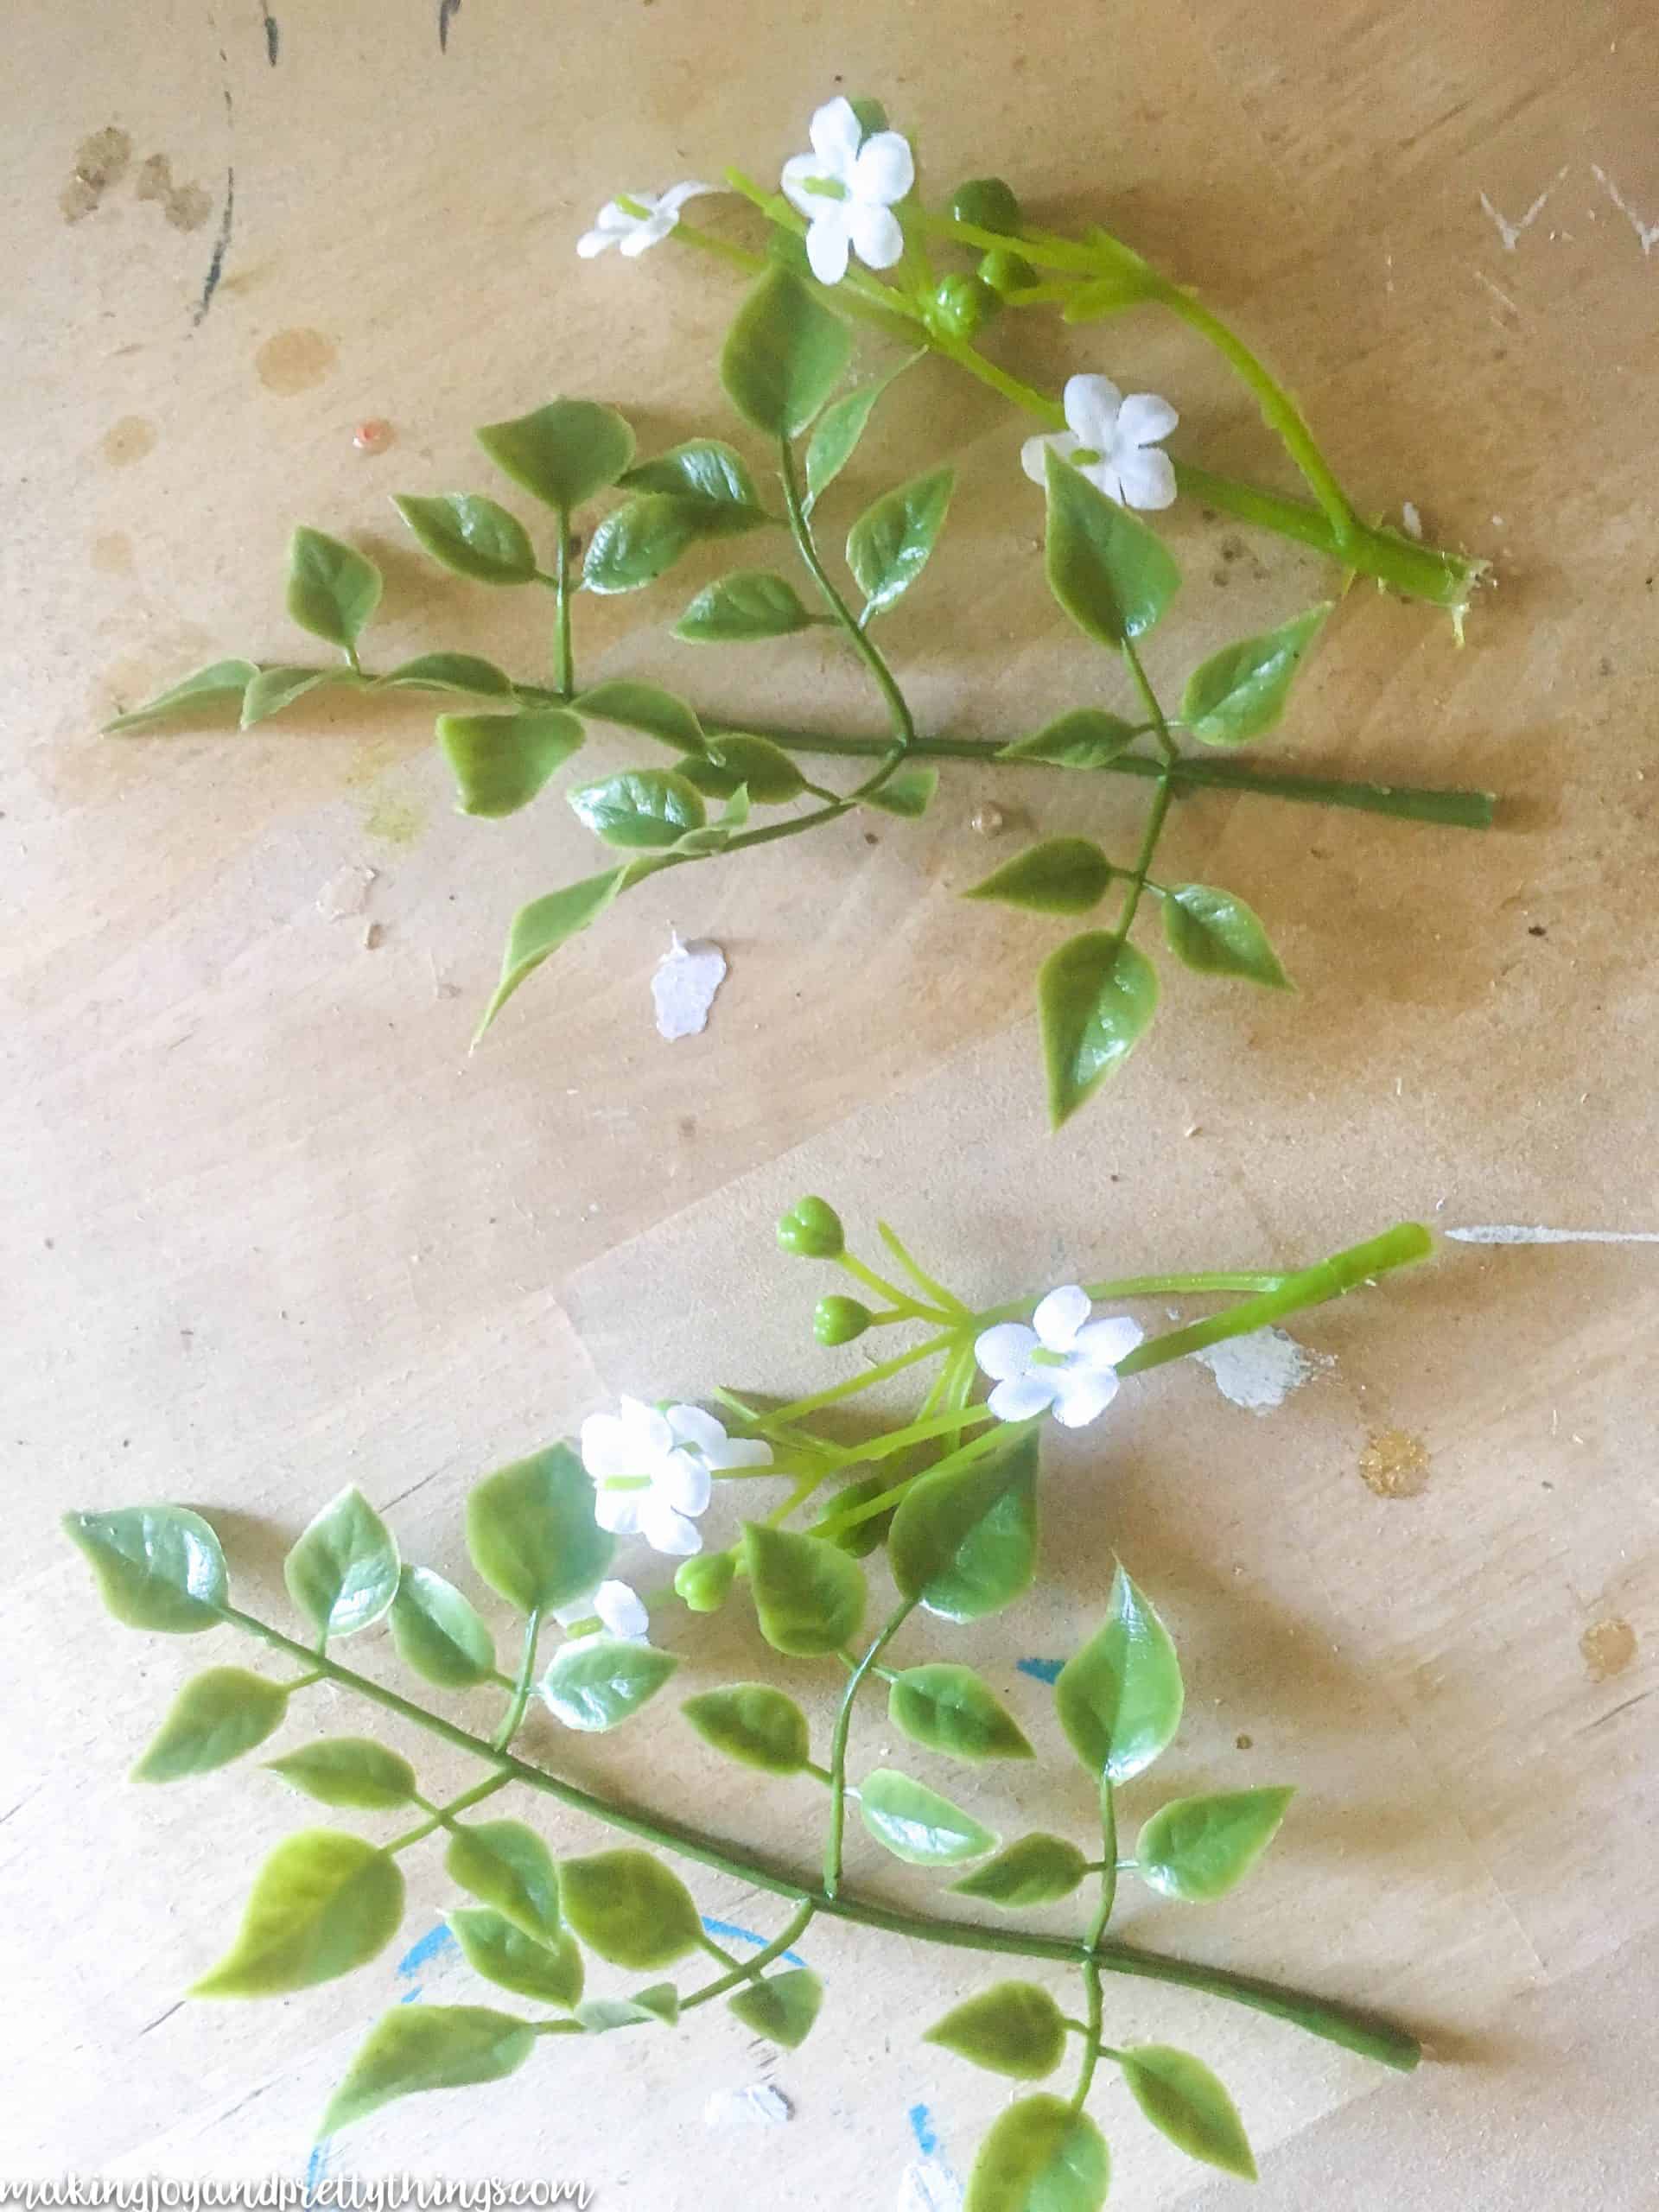
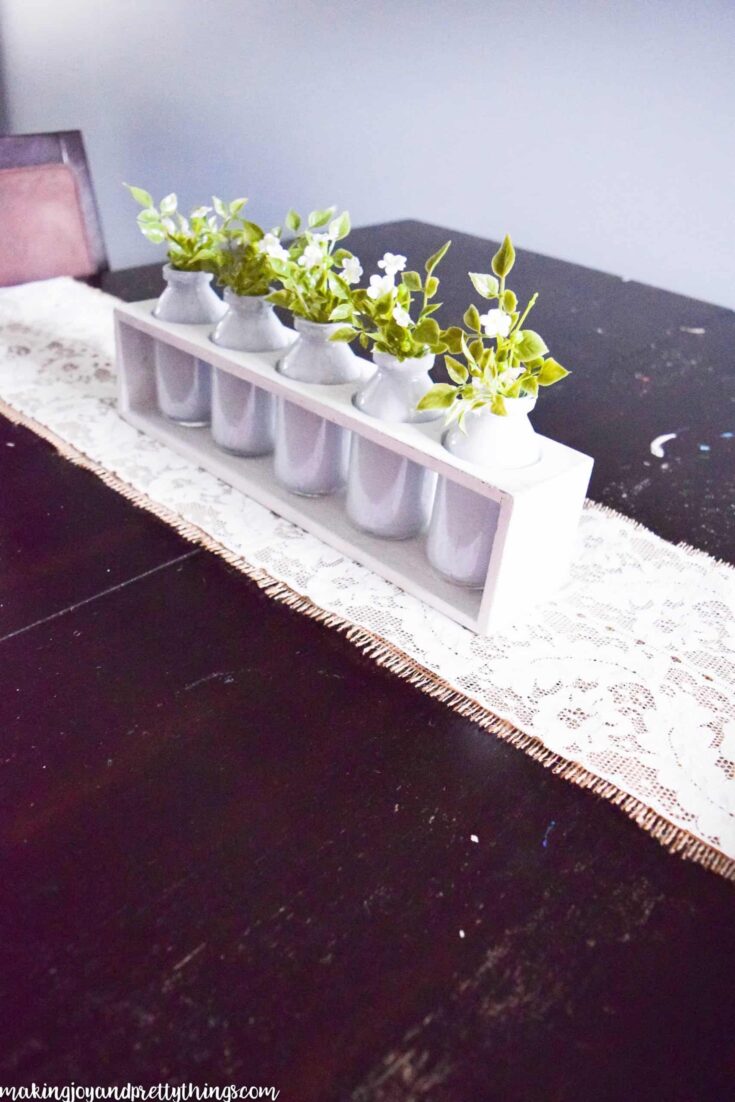
I arranged each jar with:
- 1 long green stem
- 2 short green stems
- 1 white flowery stem
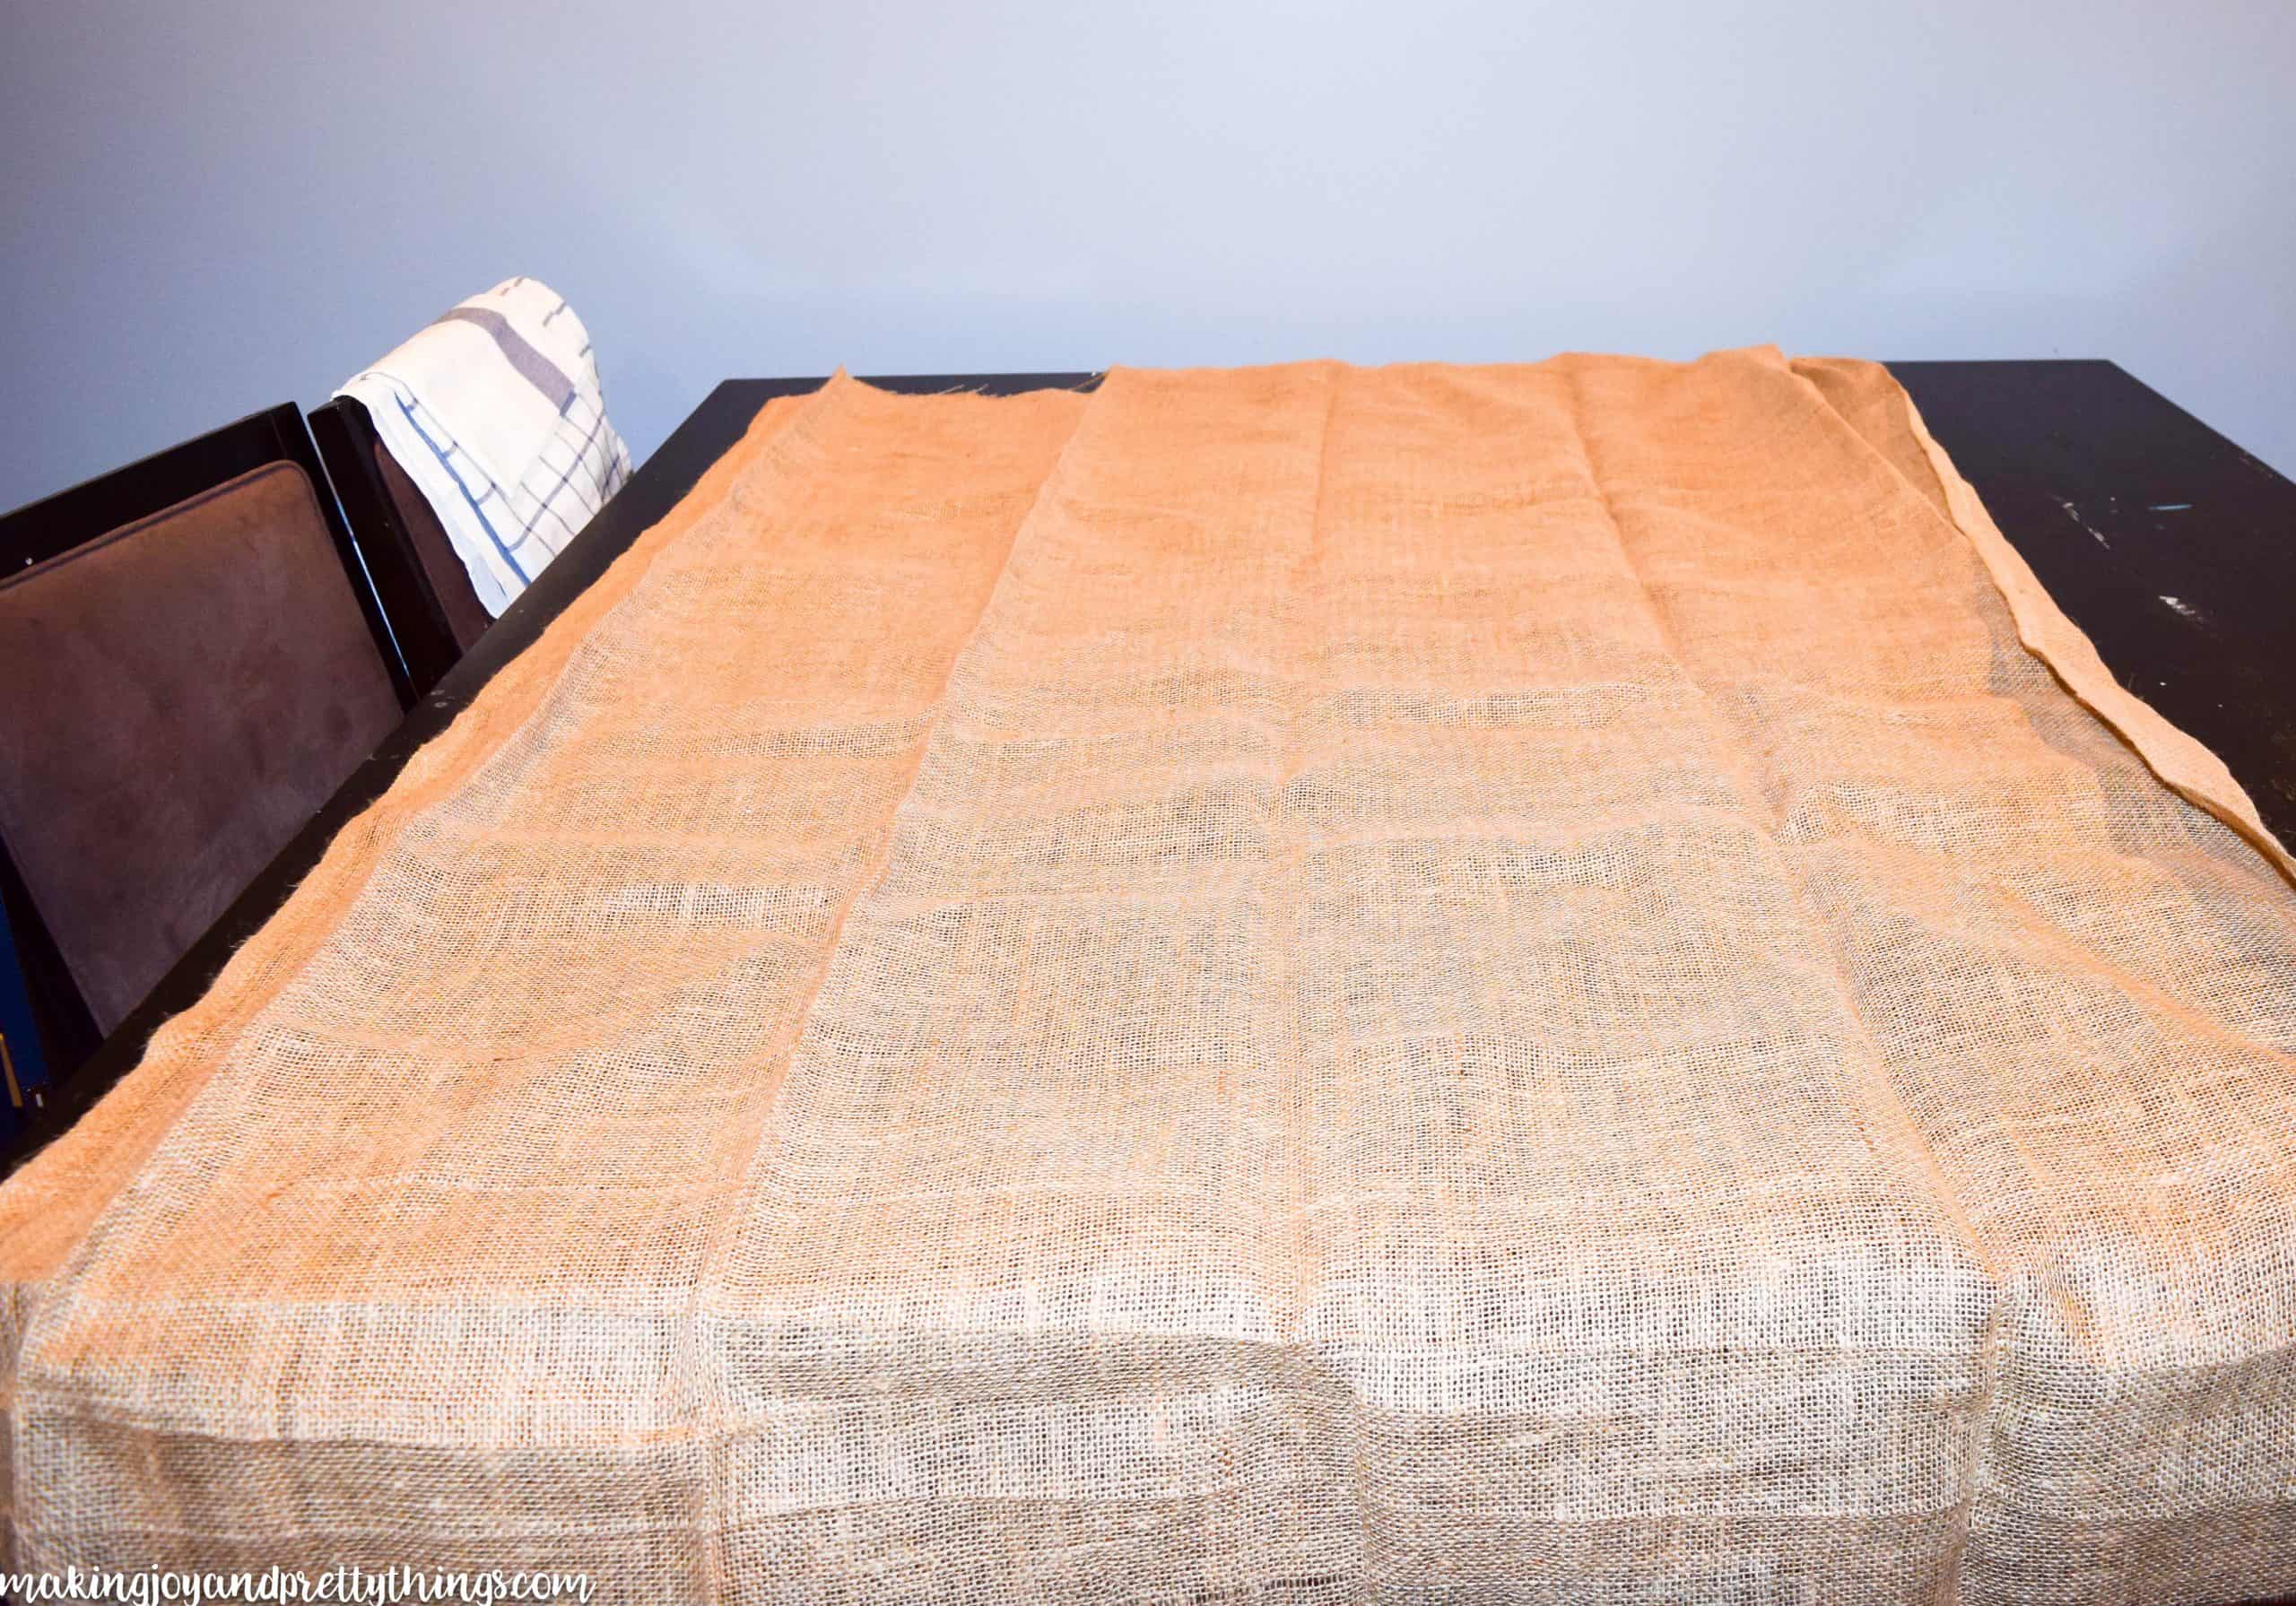
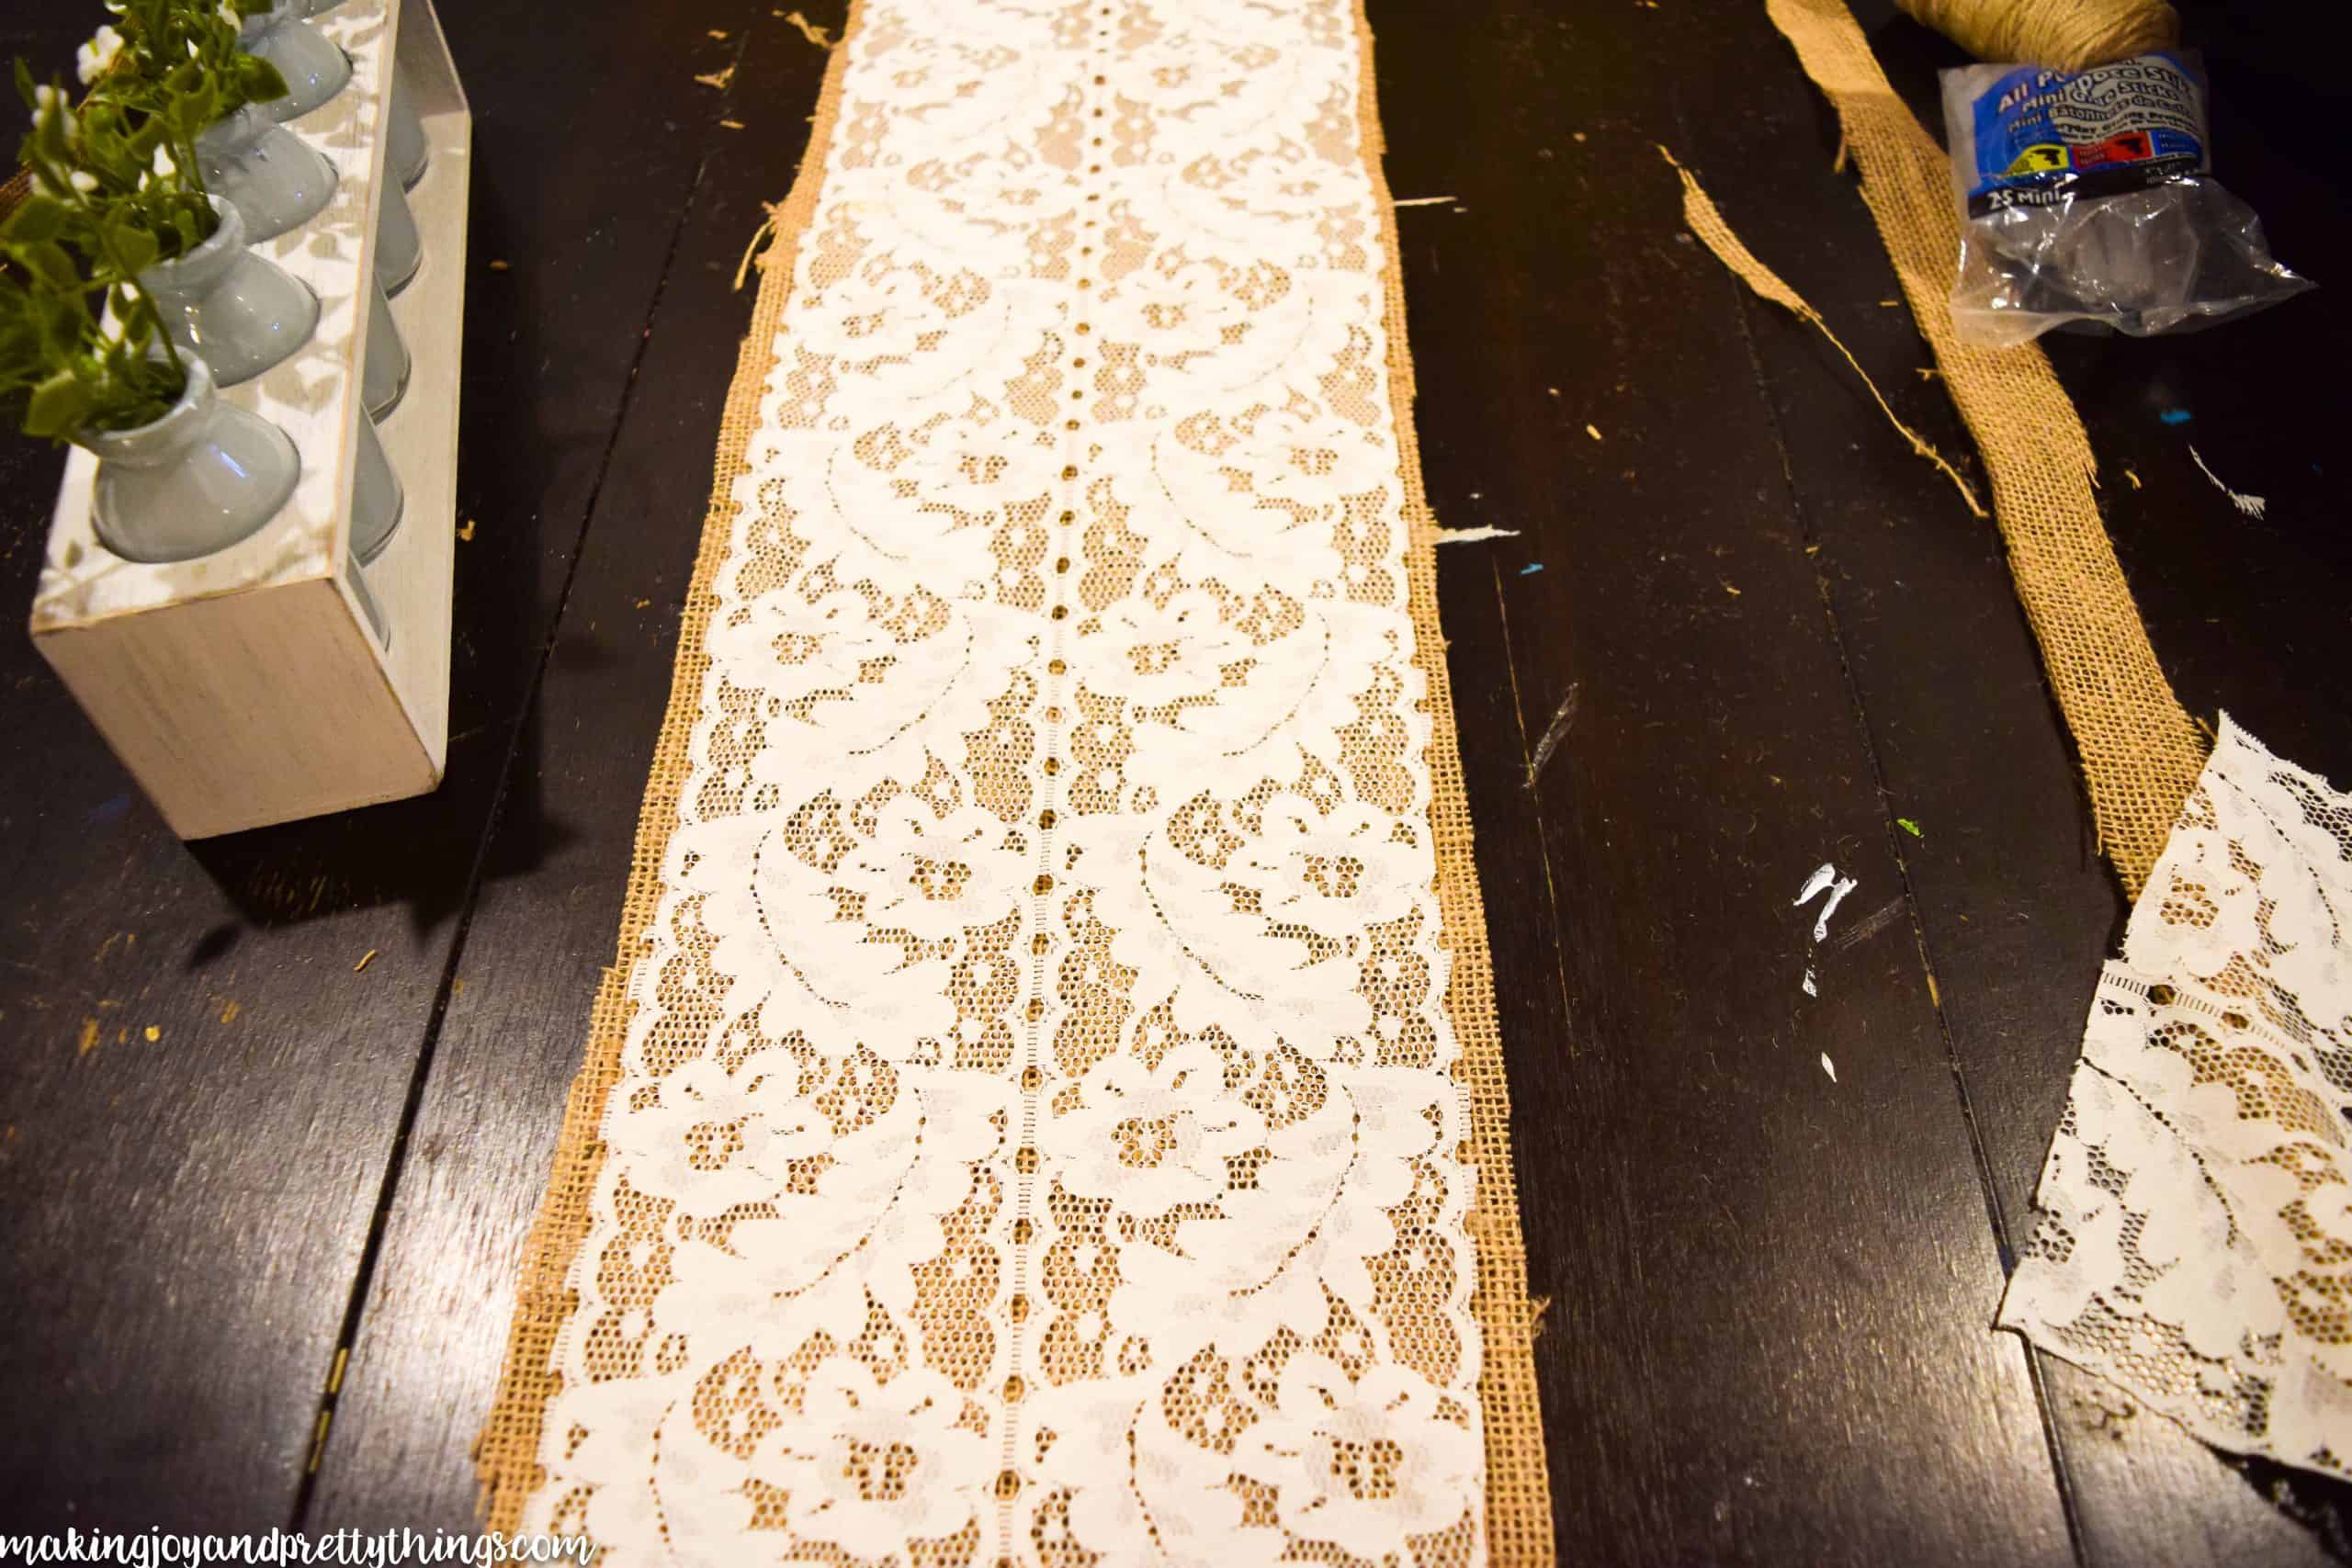
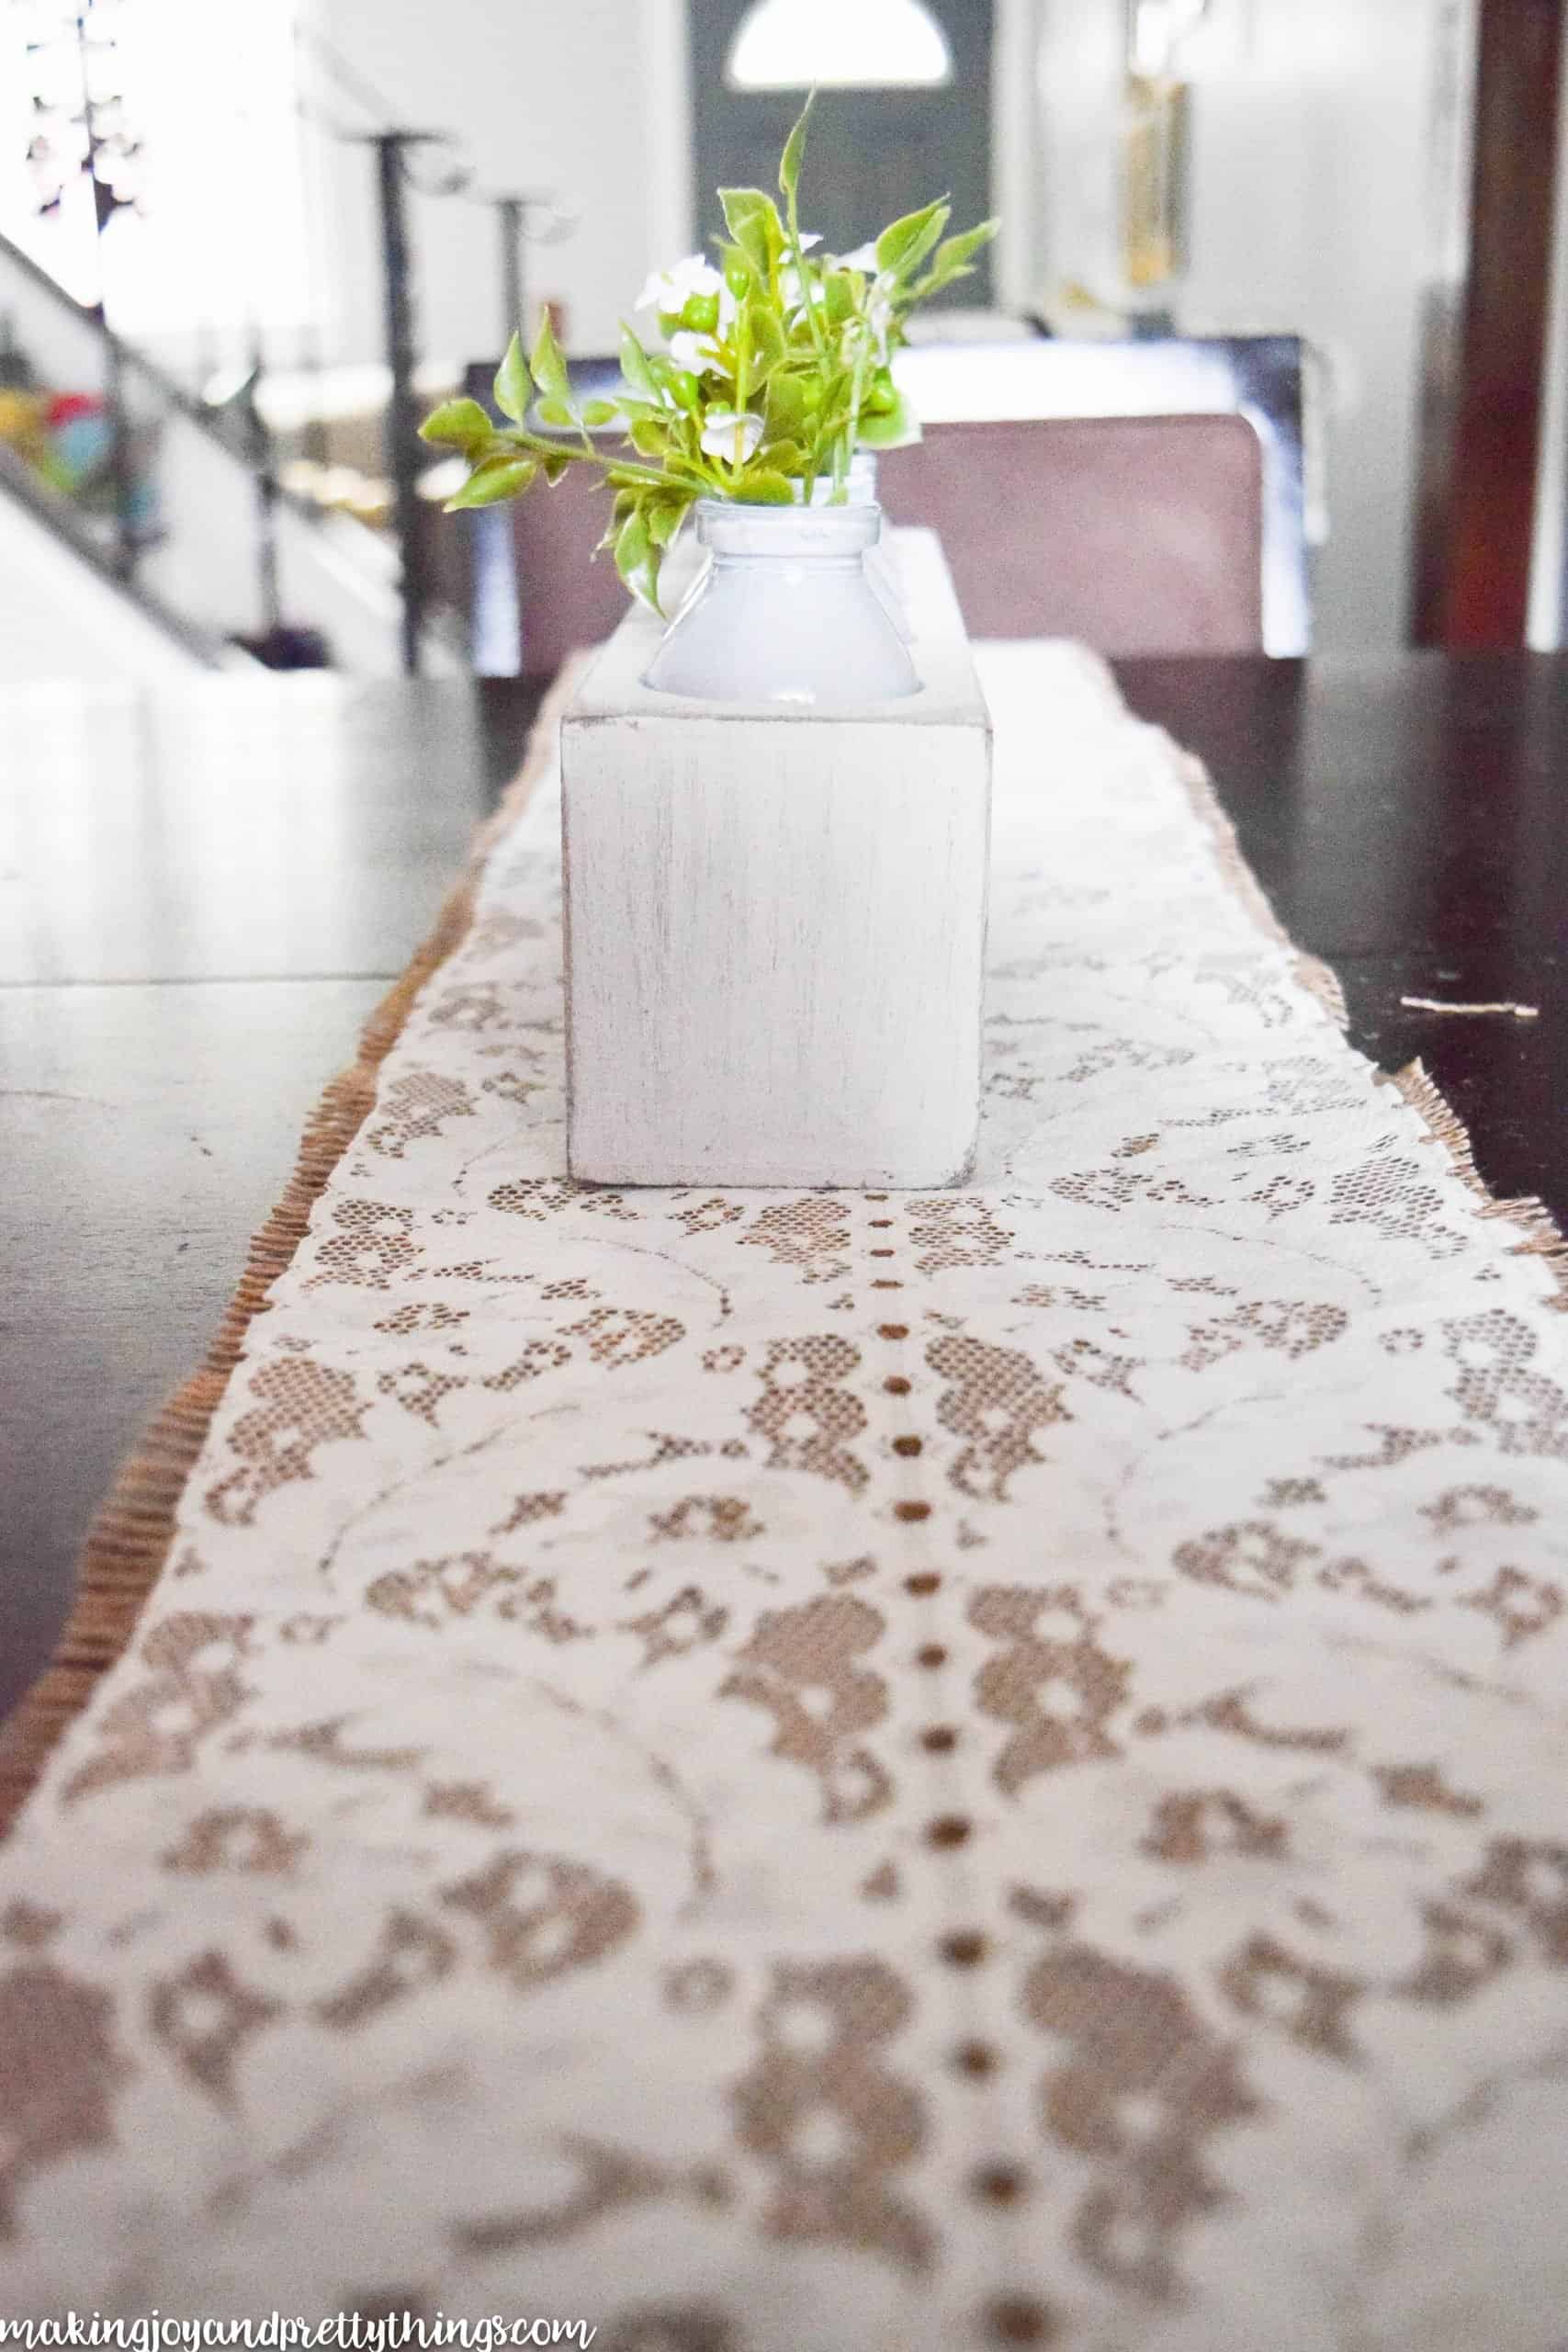
Step 5: Make the burlap + lace table runner.
Then, it was onto the lace and burlap runner.
Being the craft supply hoarder that I am, I had burlap (from Michaels) in my stash.
I set it out on my table to see how big to cut it {this will be different depending on your table length}. I ended up cutting right along two creases because I really didn’t want to have to iron it. You guys, that’s so embarrassing to admit right there. True story, though 🙂
I also have two GIGANTIC lace curtains I got from my SIL. Can you tell I have a problem yet?? I may actually be a craft hoarder.
I laid them out over the cut section of burlap and (since they weren’t wrinkled) cut a section that I thought had a nice pattern. I just eyeballed the measurements, cutting the lace about 1/2 inch more narrow on each side as compared to the burlap.
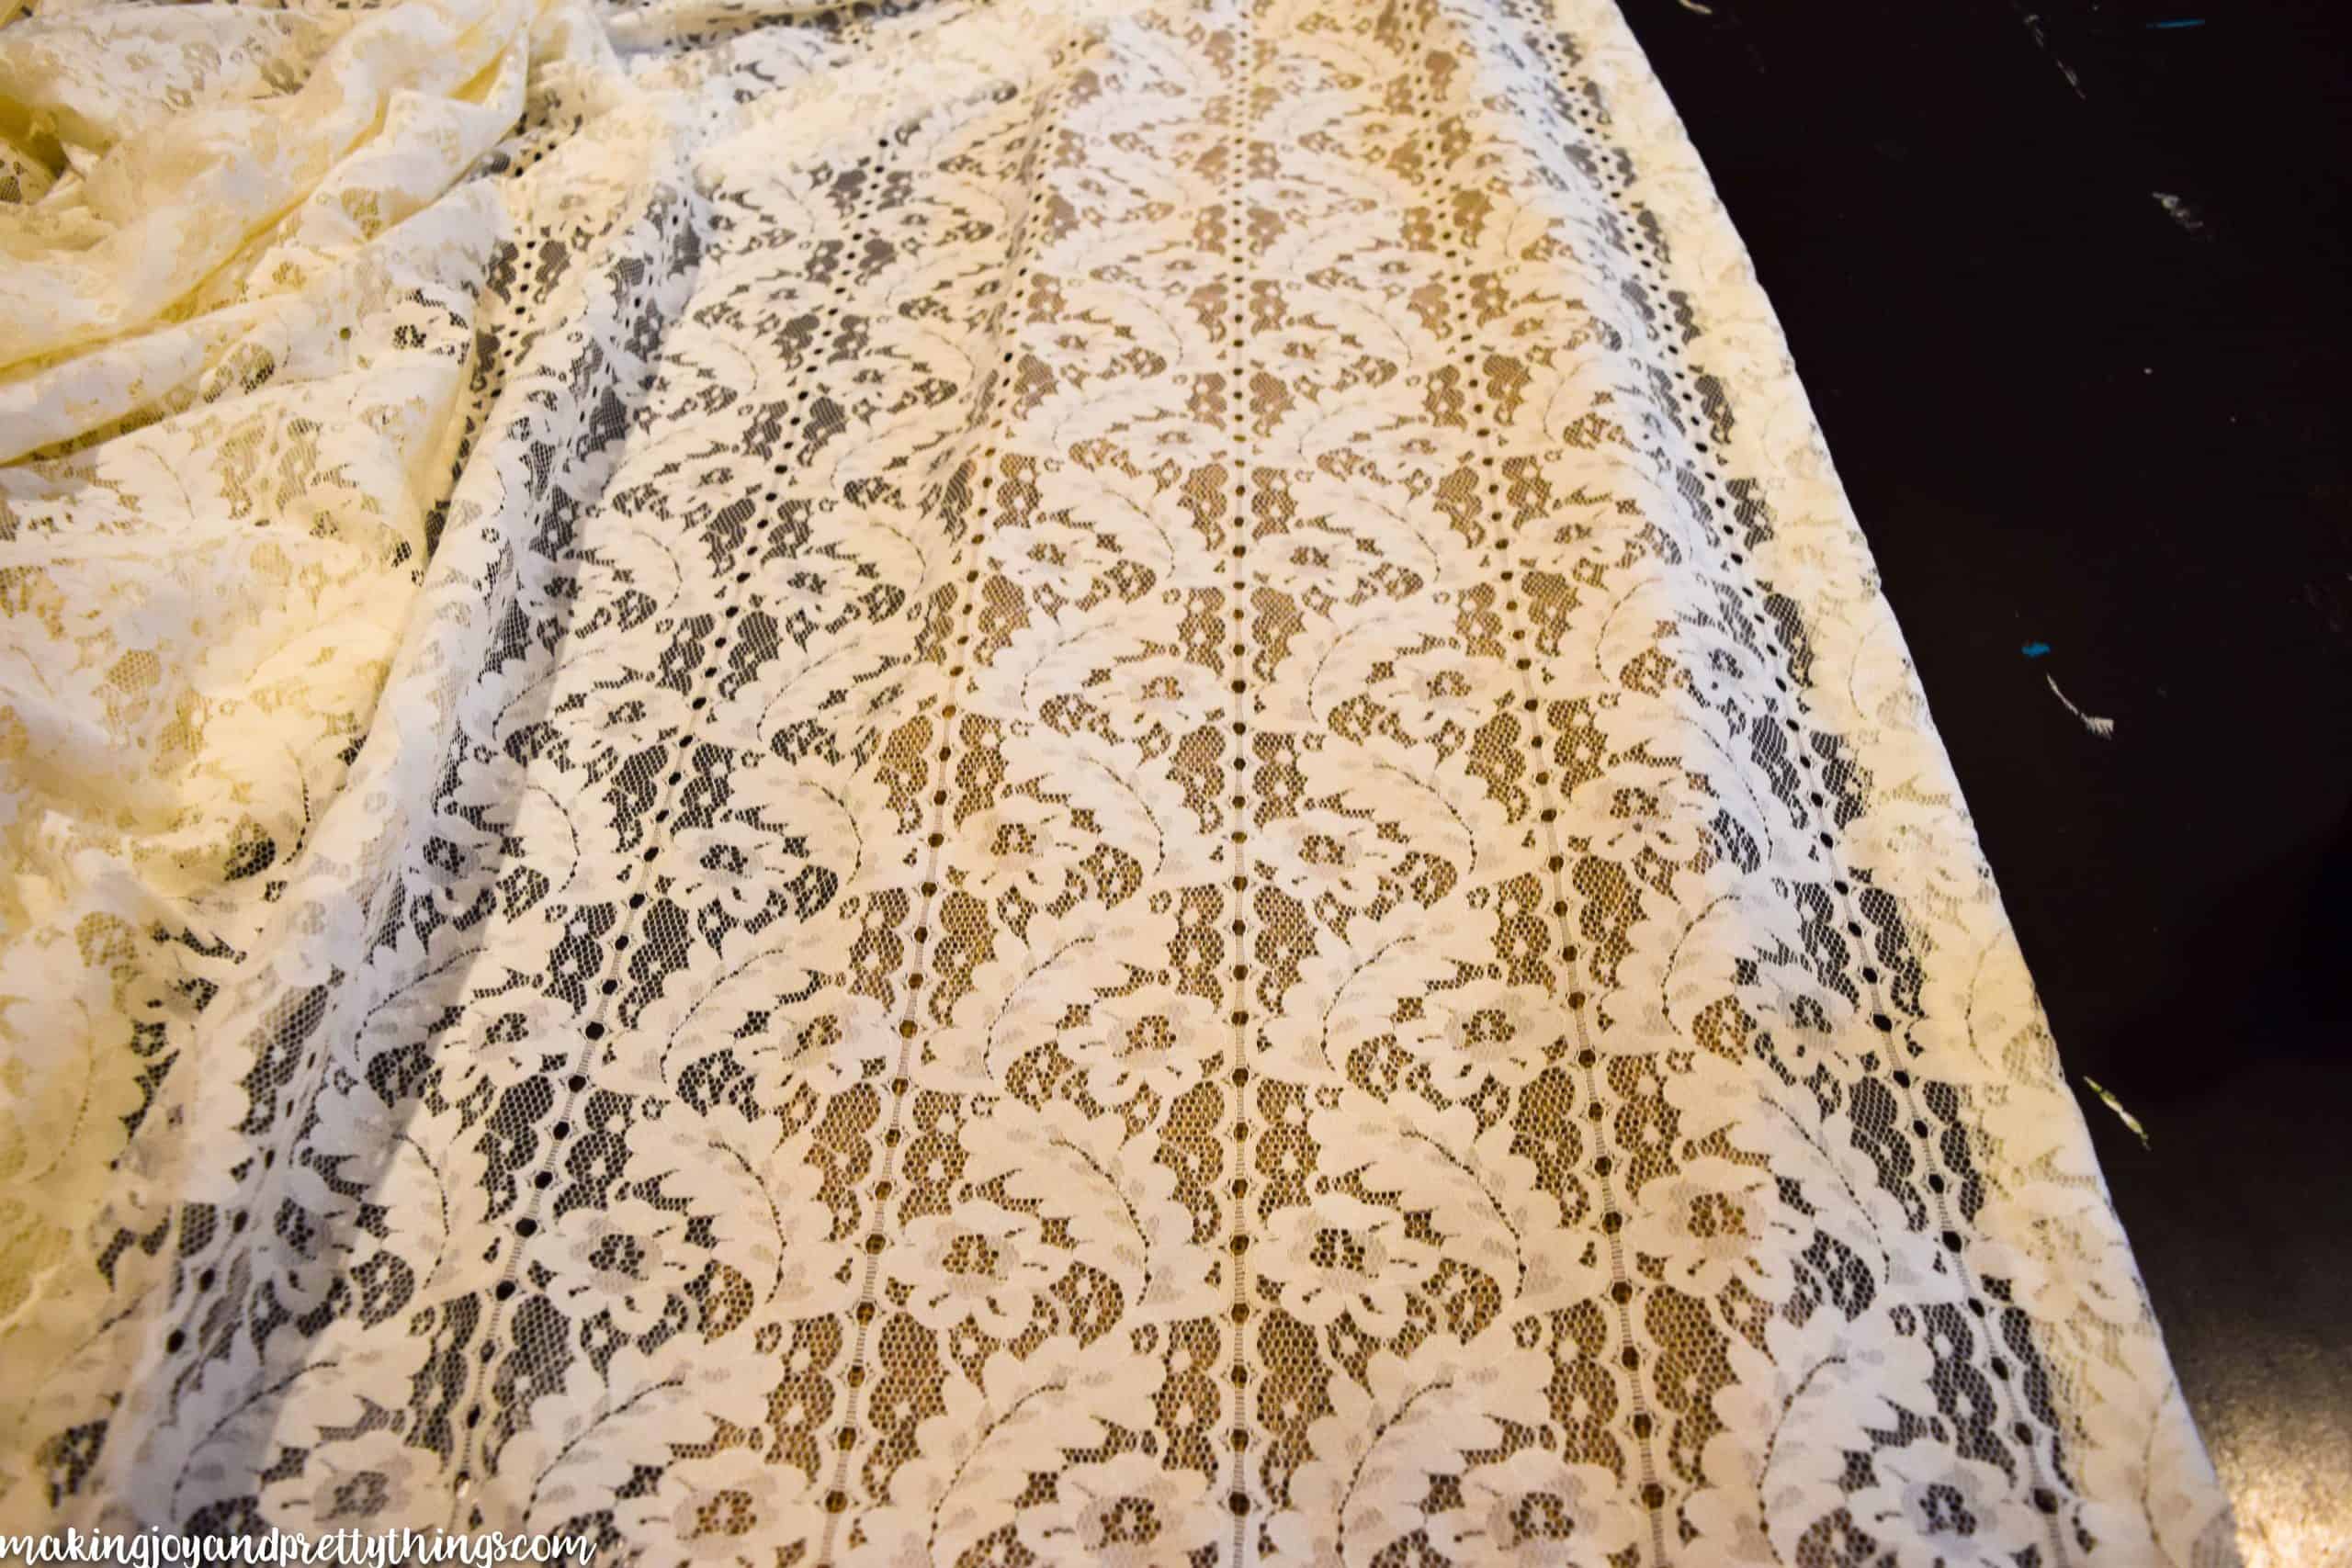
I wanted the ends of the burlap to be torn and look more rustic. Burlap actually is made up of all these little fibers woven together. So, if you pull a fiber at the end, you can pull it the whole length of the runner, leaving a nice frayed edge.
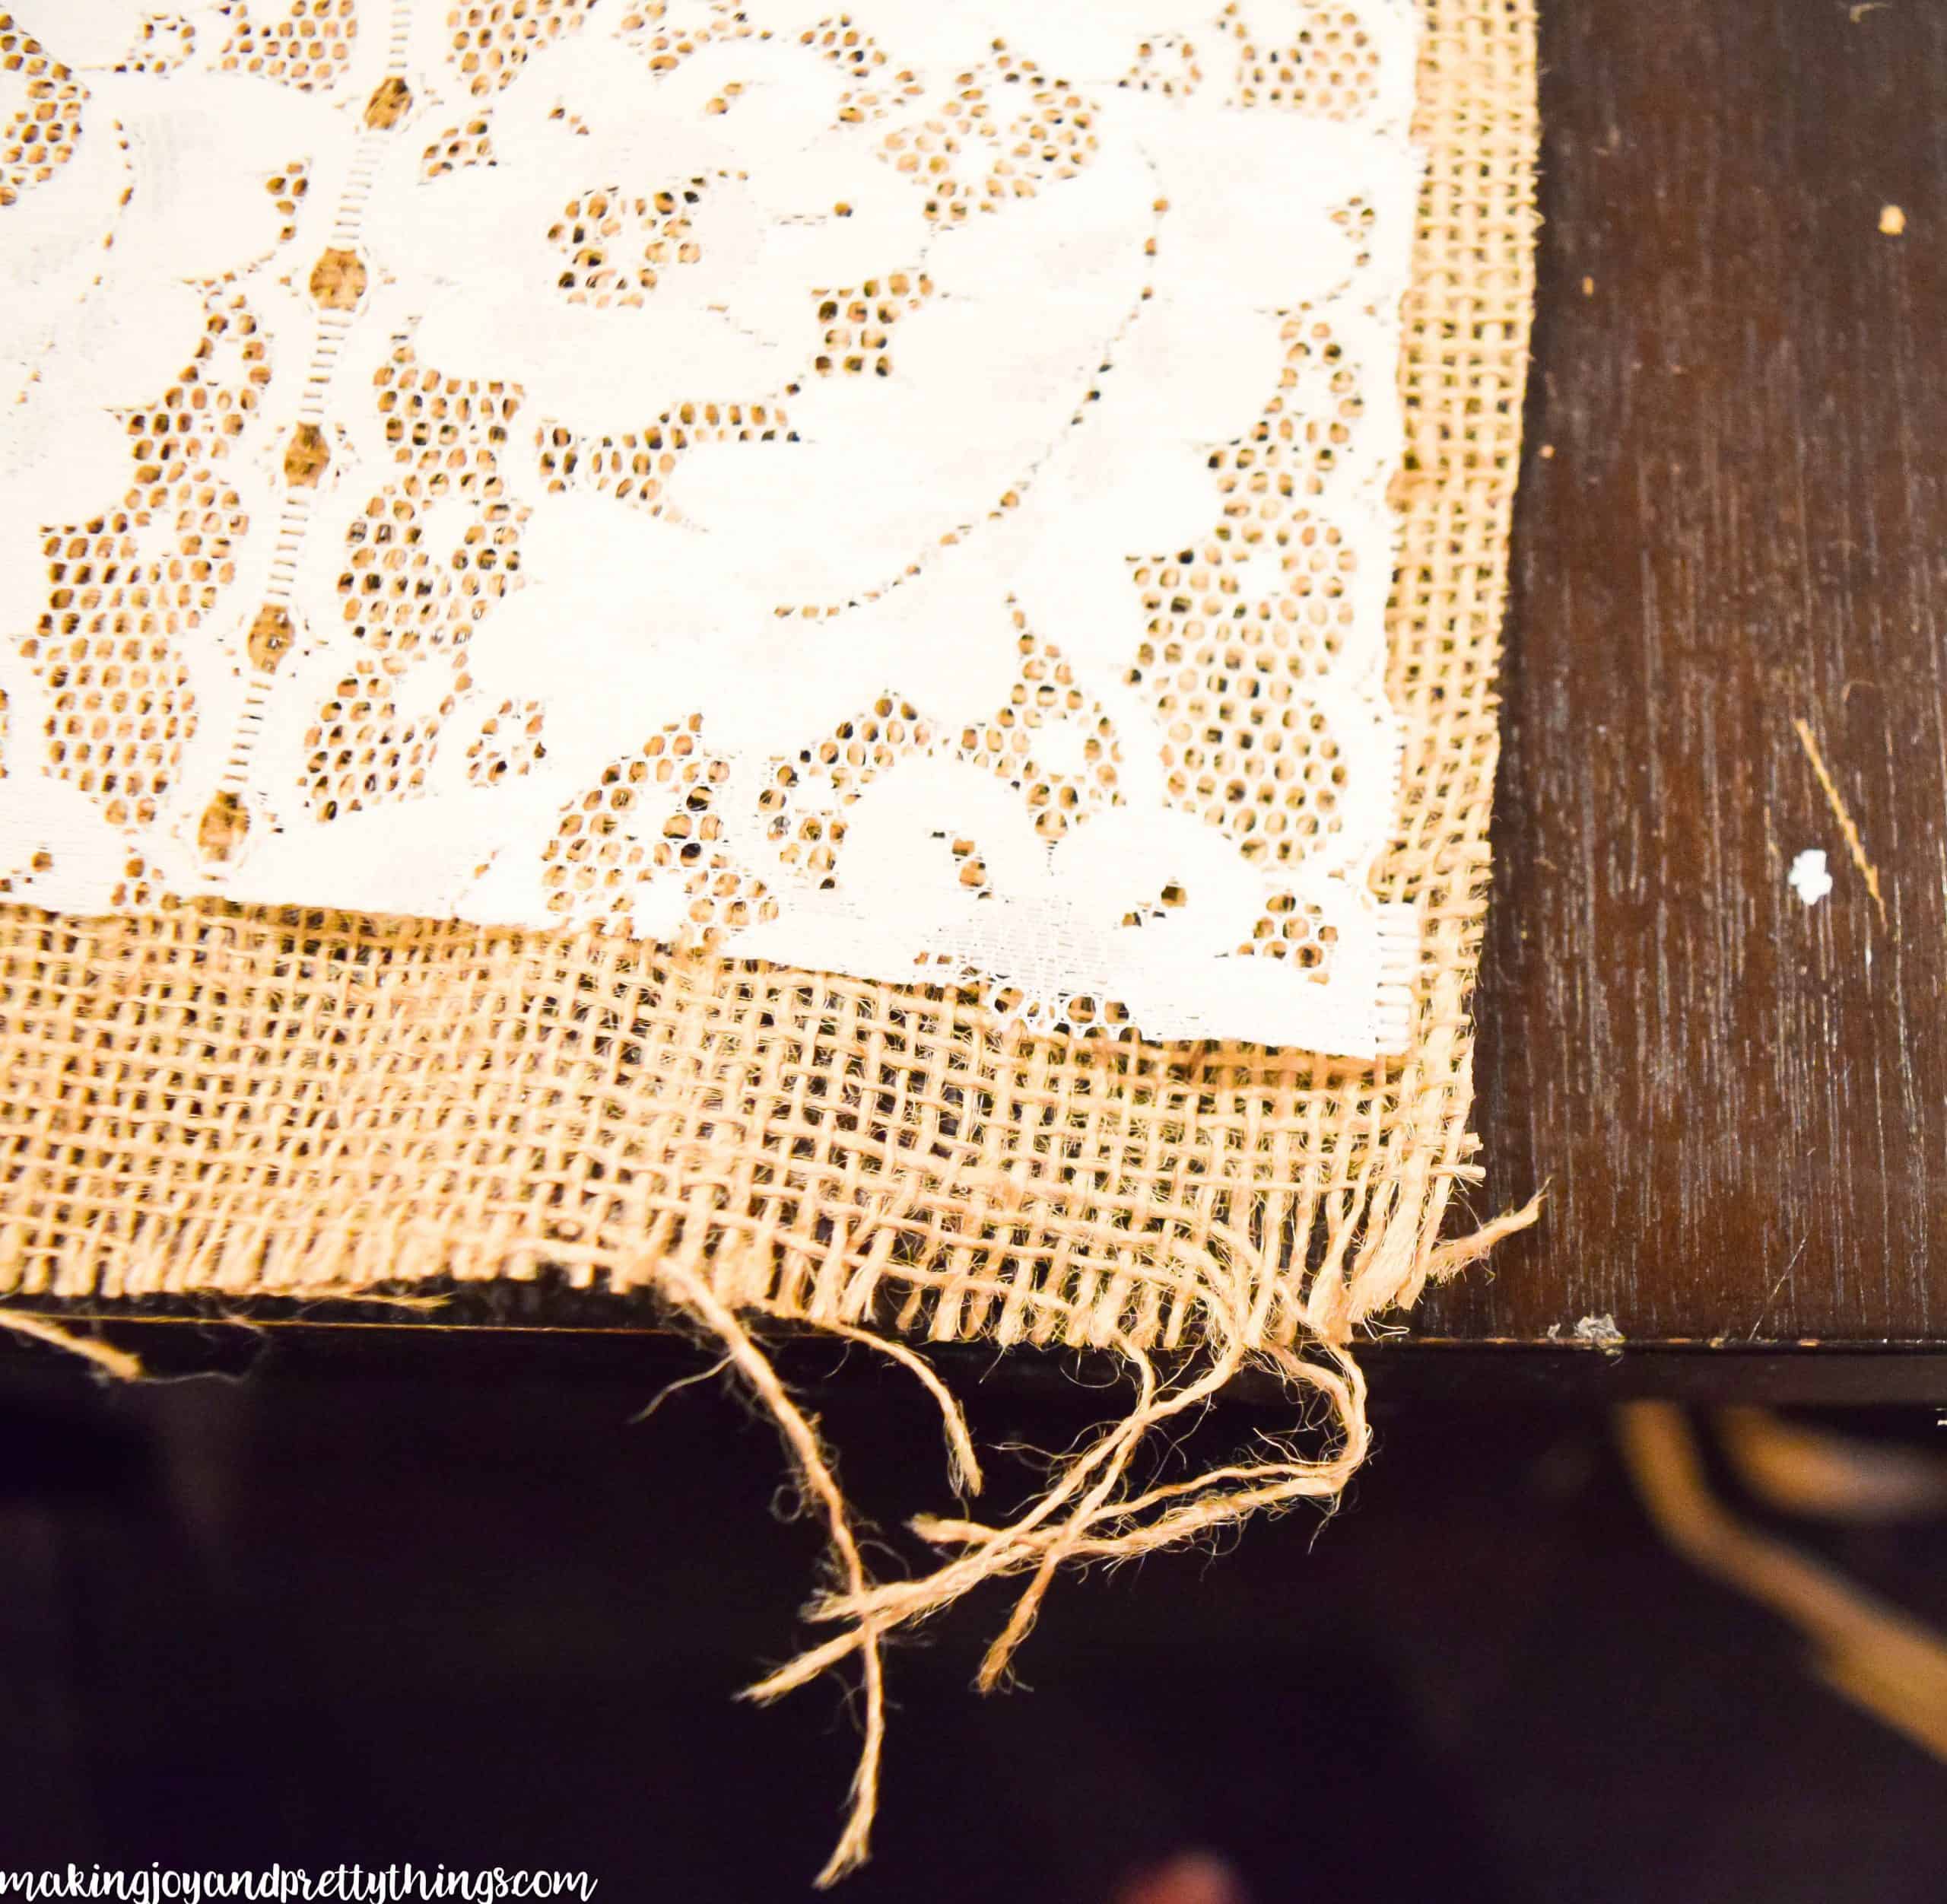
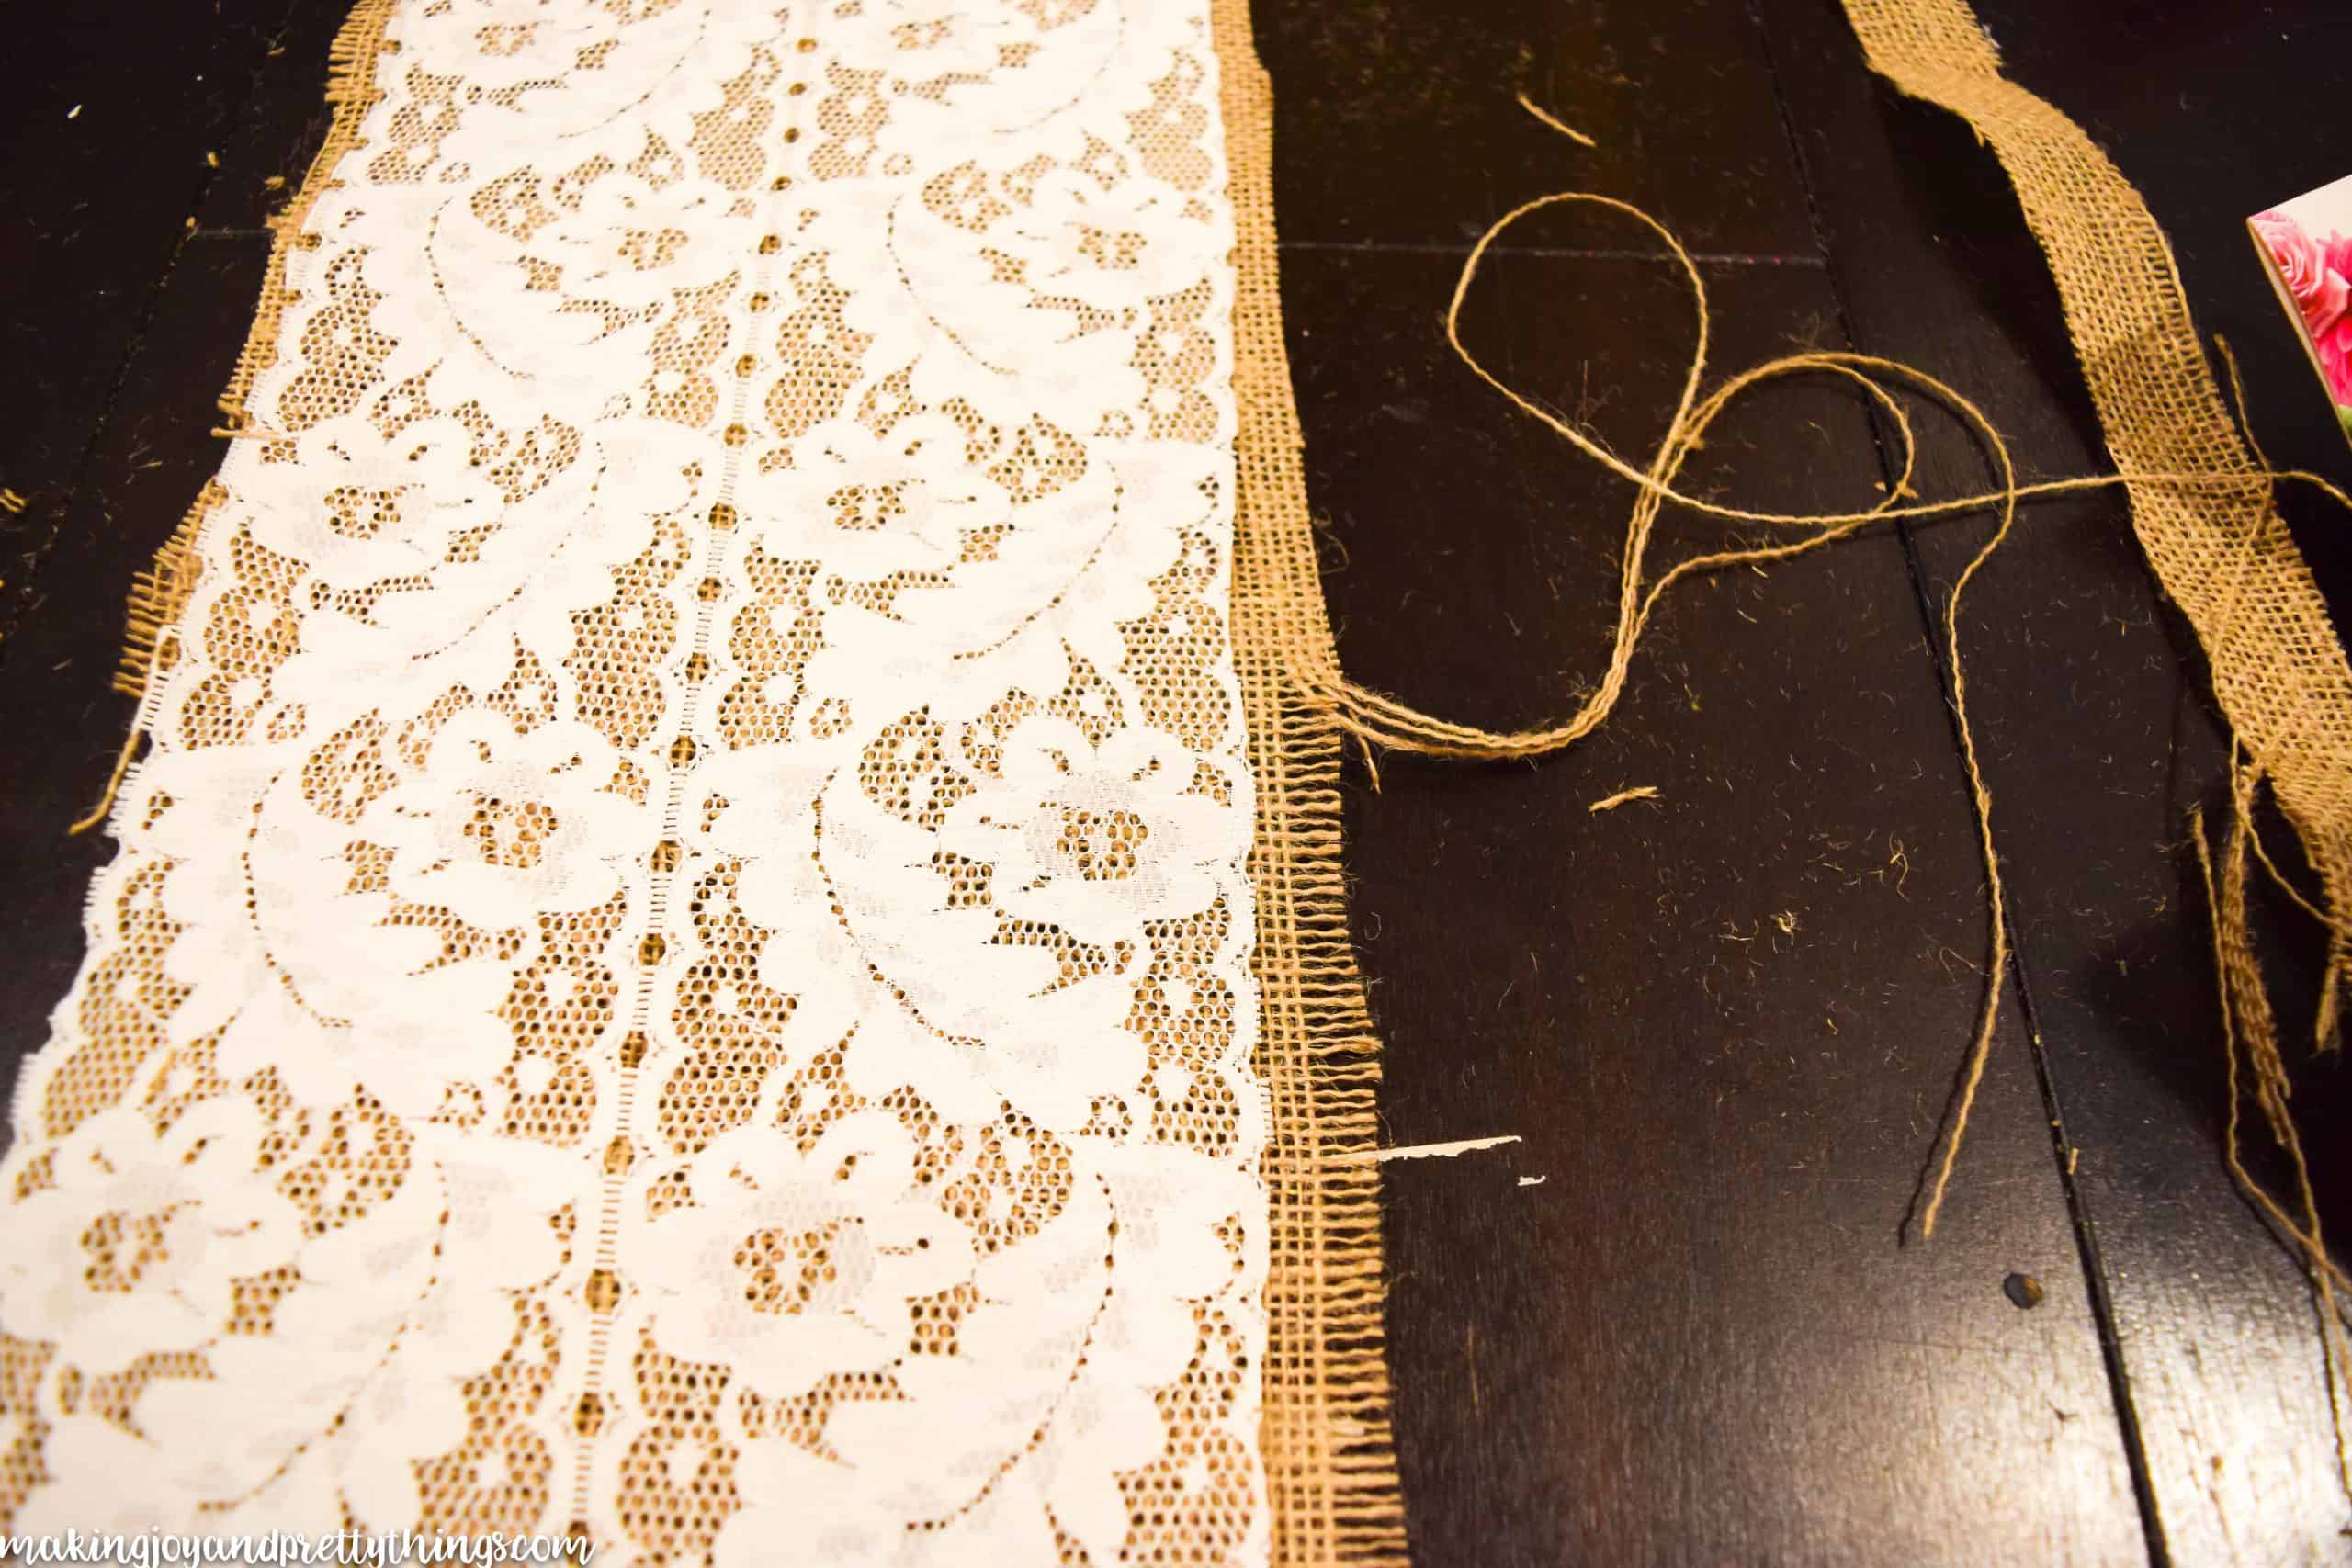
Once I pulled about 3 fibers out on each side and frayed the ends, I used the scissors to just polish it up a bit. There were some parts that weren’t even and I tried to make it as straight as possible.
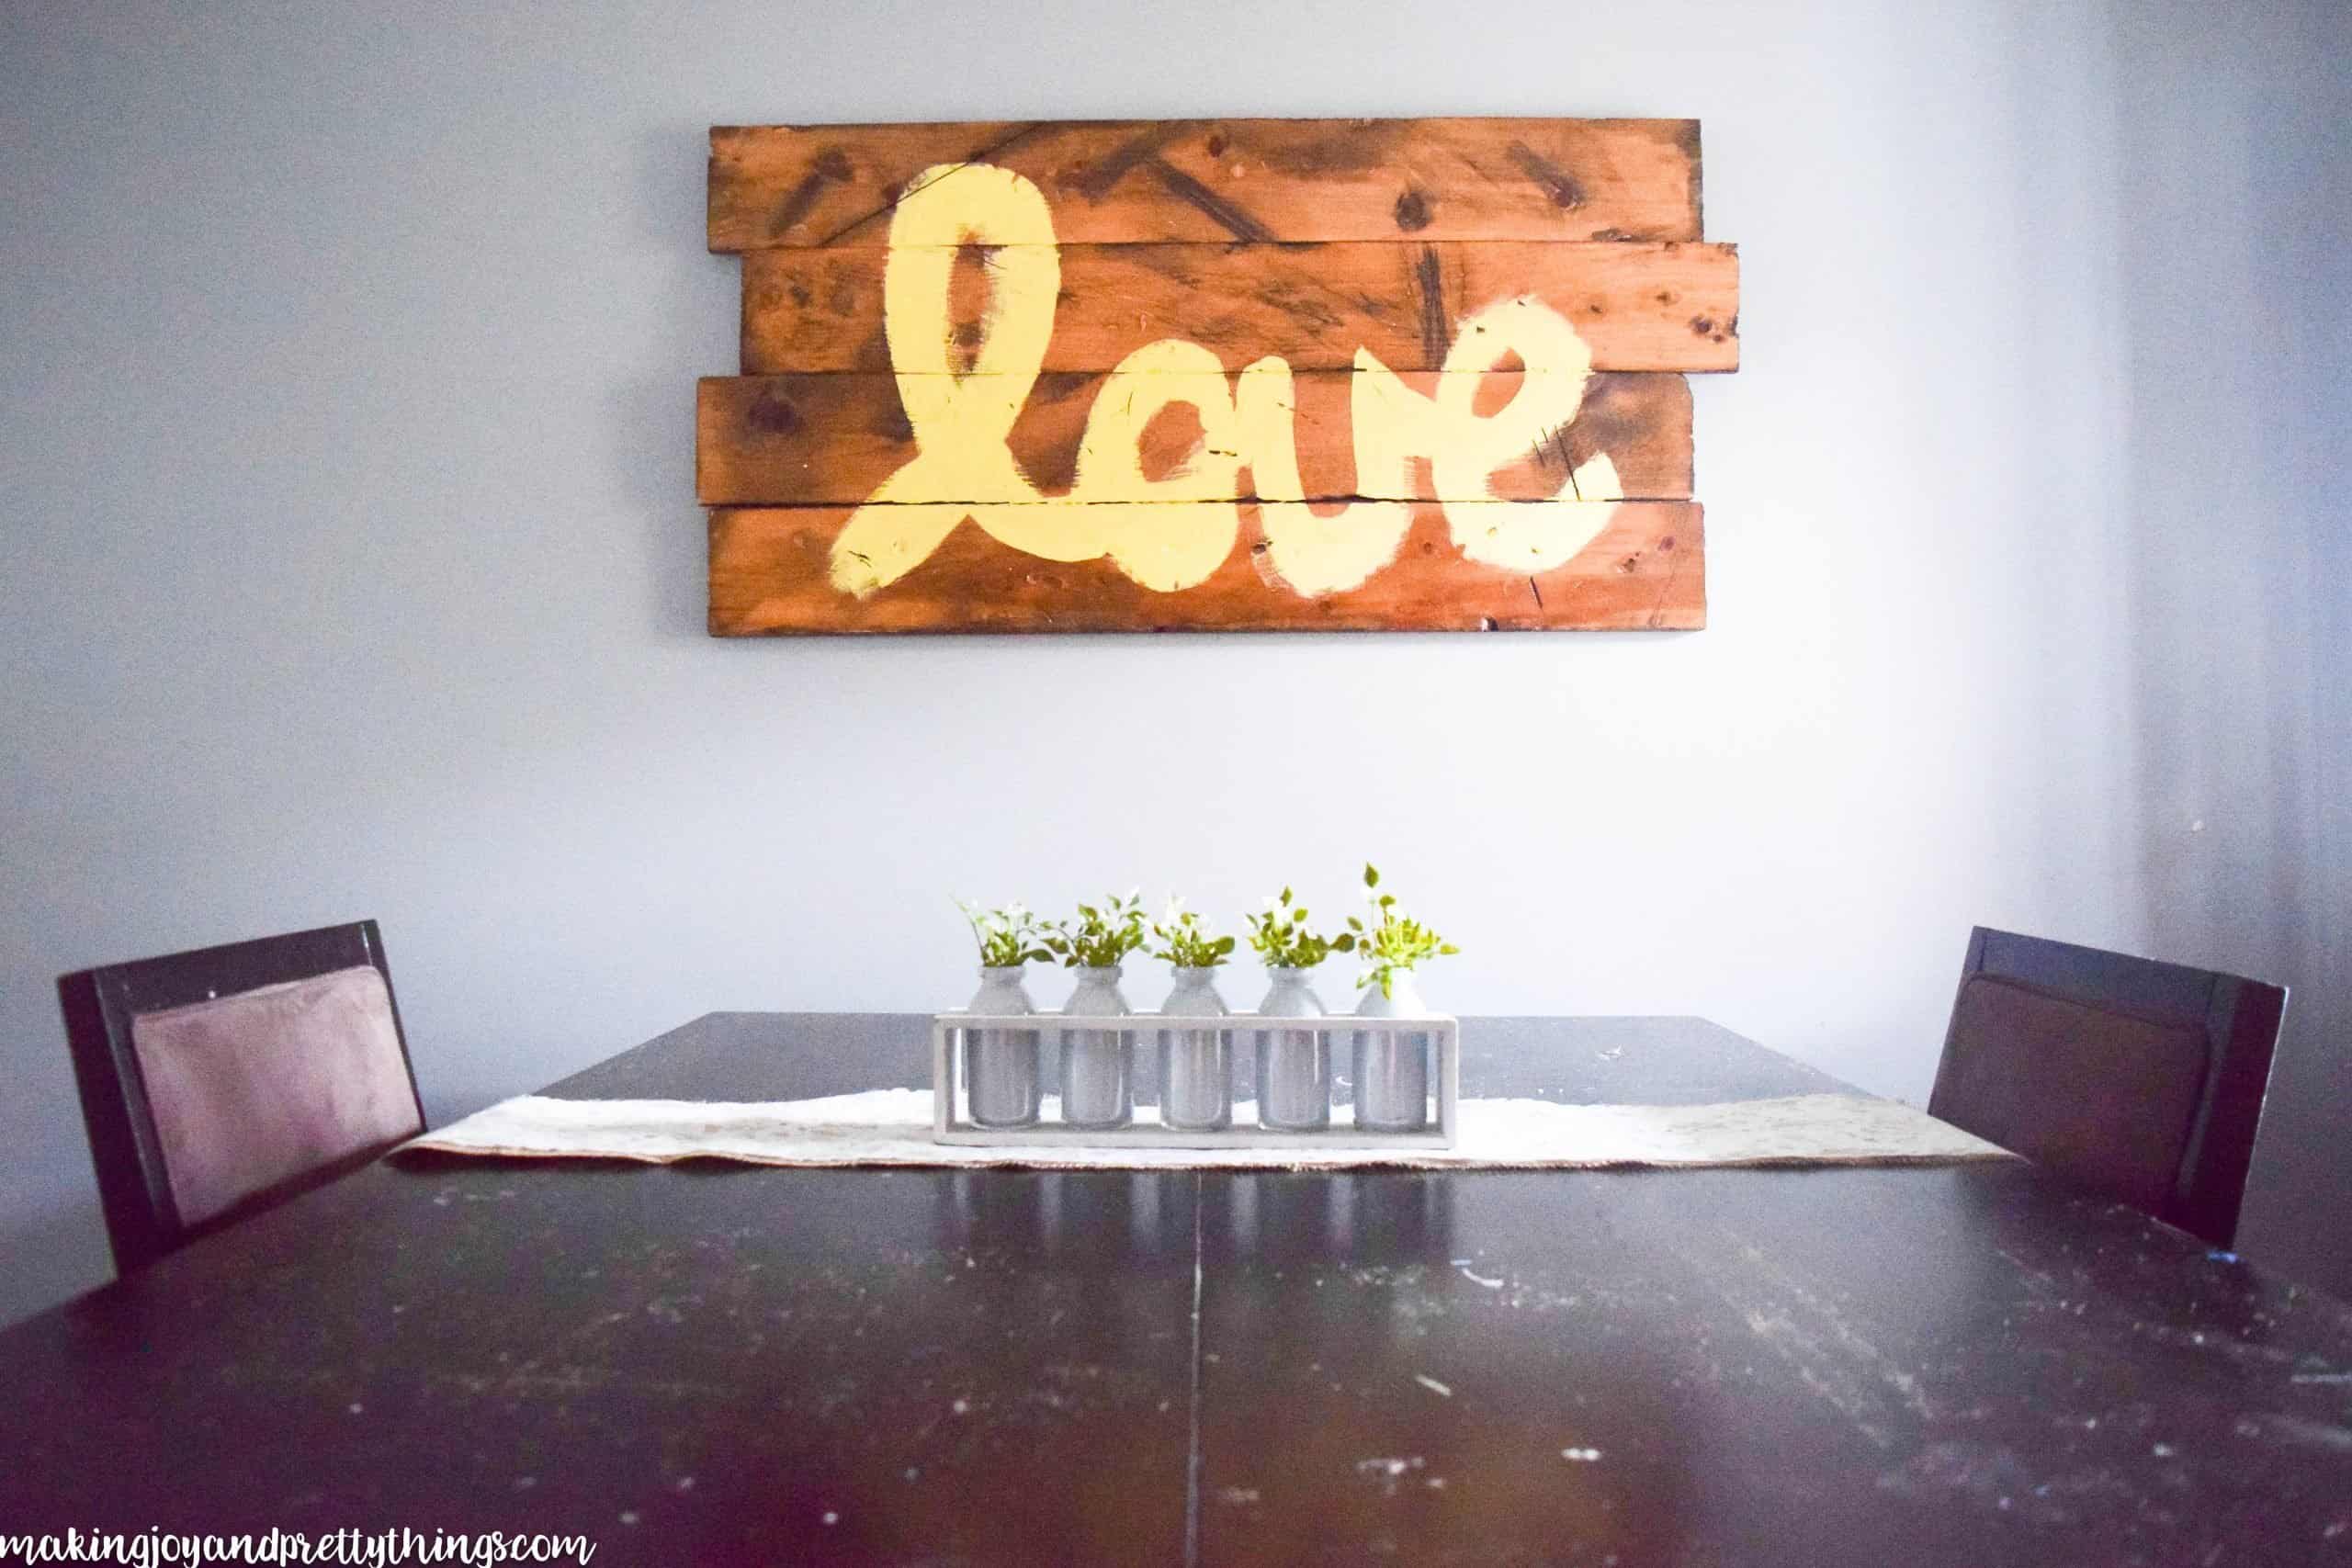
The Finished Product: A Refreshing Summer Centerpiece!
And, that’s it! I love how it turned out!
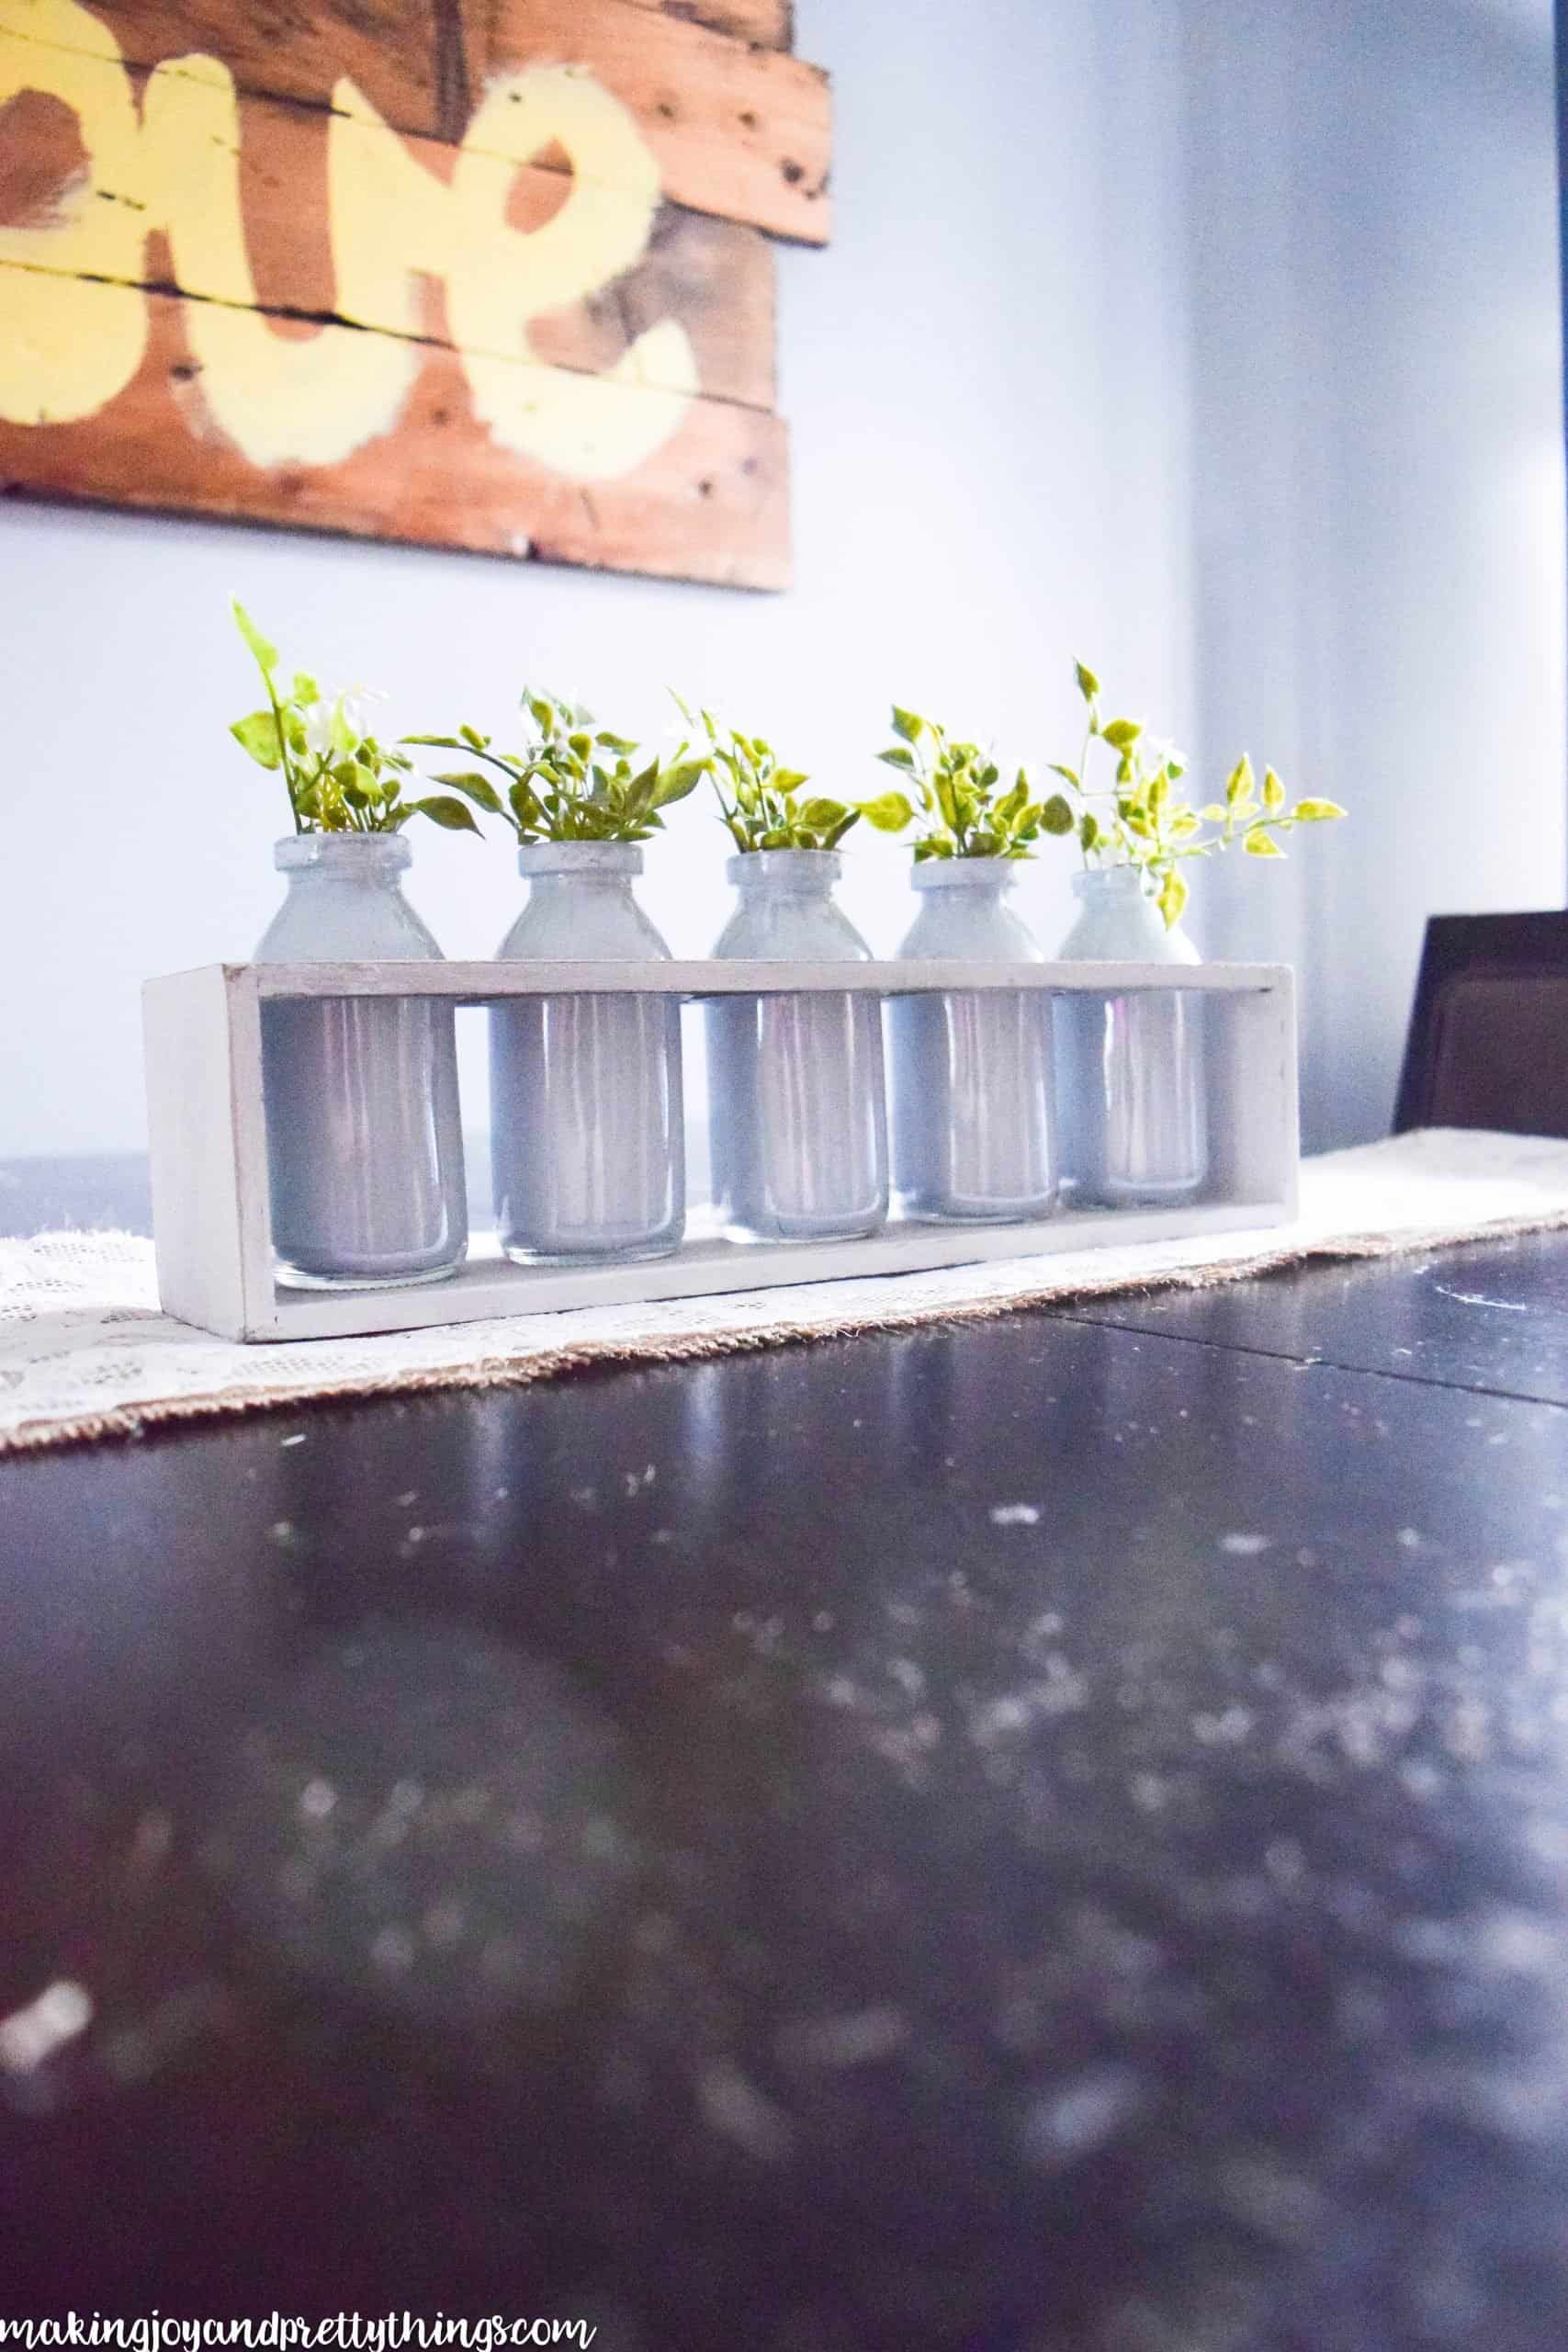

I think lace and burlap look so beautiful together. The contrast of the elegant lace against a more rugged-looking burlap is a match made in craft heaven.
I thought about adding some additional decor elements to the tablescape. But, I wanted it to be truly simple.

I hope you guys love it as much as I do. I feel like it adds the perfect summer touch to the table.
Find more creative DIY centerpieces here:
- How to Make a DIY Wooden Box Centerpiece
- Simple 5 Bottle Wooden Farmhouse Style DIY Wood Centerpiece
- 5 Minute DIY Centerpiece
You guys HAVE to check out what these other amazing ladies made. There are so many creative summer ideas and these ladies are simply the sweetest.

9 Creative Summer Ideas
{from left to right, top to bottom}
Summer Matching Game – Free Printable // Wellies and Lemonade
Simple Summer Farmhouse Centerpiece // Making Joy and Pretty Things
Summer Mantle Inspiration // Sunshine and Munchkins
DIY Summer Wreath // Checking in with Chelsea
Front Porch Summer Decor // Restyle It Wright
Farmhouse Style Summer Tablescape // Craftivity Designs
Summer Tray Makeover // North Country Nest

Farmhouse Style Summer Centerpiece
Looking for a simple Summer centerpiece? This is as easy as it gets! An easy farmhouse-style centerpiece with refreshing faux greenery and flowers. Learn how to put one together for your home!
Materials
- Wooden box with glass jars, similar
- Martha Stewart Crafts Vintage Decor Paint in Brook (or jar paint of your choice)
- Rustoleum Chalked ultra matte paint in Linen White
- Paint Brush
- Sandpaper
- Greenery of choice
- Burlap and lace for the table runner
- Scissors
Instructions
- Paint the wooden box. Take the jars out and use white chalk paint to completely coat the box. Let dry.
- Distress the wood with sandpaper after it is completely dry. I distressed the edges and corners most, as well as the top of the box.
- To coat the inside of the glass jars with paint, pour a little bit of paint into the jars, then swirl it around inside the jar until the inside is completely coated. Pour the remaining paint into the next jar and repeat. (If the paint is too thick, thin it out with a tiny bit of water.)
- Pick your faux flowers and greenery. I used 3 greenery stems and 1 step of white flowers for each jar.
- Make the lace and burlap table runner. Lay out both fabrics and cut to your desired width. I cut the lace about a half-inch narrower than the burlap. Then fray the edges of the burlap to give it a more "rustic" look.
- Set up the runner and centerpiece on your table, buffet, shelf, or wherever, and enjoy!


Sarah, this is really pretty and definitely can be used for any season. I mean, how frugal would that be?! I think the price for the jars are reasonable – I love finding great deals like this at Michael’s and other related stores. Adding paint and putting your own personal touch on it was such a great idea!
Thanks, Zan!! I love finding pieces at Michaels that can easily be updated to make them your own. I didn’t even think about using it for multiple seasons, great idea!
SO, SO cute Sarah! And that sign on your wall is adorable!!!
Thanks, Kristi!! That sign was actually my first DIY project I made a few years ago that made me realize I love to DIY. It’s actually been moved to our bedroom since I snapped these photos, since that is where the barnwood shelves went!!
I love the combination of lace & burlap. Elegance with rustic 🙂 I love the way you updated the centerpiece, the white paint paired with green sprigs of florals is a natural and pretty choice.
Thanks so much, Lora! I love the lace + burlap combination, too and I think it fit perfectly with the centerpiece.
Looks great Sarah! I love finding new ways to use old things like those curtains you had on hand! Adding the paint to the vases was genius and really achieved that farmhouse look.
Thanks, Colette!! I have 2 giant bags filled with old lace curtains from my SIL so I’m still trying to figure out where to put them all. This seemed like the perfect place for them 🙂
This is such a cute idea and I cannot wait to try it out! I love the painted milk glasses and the rustic plant holder. Nice work!
Best,
Kelly
Thanks, Kelly. I love how it turned out!
I love that lace! The bottles turned out so well. Sometimes it’s difficult to picture how to do a pretty diy with stuff that you might have around the house already until you see something like this and really boosts your inspiration.
Thank you so much Alina! That’s so sweet of you to say. I love doing simple DIYs that can appeal to busy mamas out there.
This is so pretty! I love simple projects that make a statement! I am definitely going to have to try painting some bottles or jars soon (I have about a million Mason jars, no lie). Thanks for the inspiration!
Thanks, Shani!! I’m glad I’m not the only one with a ridiculously large stash of mason jars 🙂 happy painting!
I don’t understand anyone who buys something at Michael’s without a coupon! They make it too easy! And I totally get kiddos being lightning-fast at the dinner table. How can someone so tiny be so fast?! Love this idea and since I, too, am a crafting hoarder, I have some leftover burlap that I just might use to create something like this! Thanks for the inspiration!
Thanks Chelsea! Yes, Michaels makes it all too easy to both spend more money but save at the same time. I’m glad I know another craft hoarder 😉