
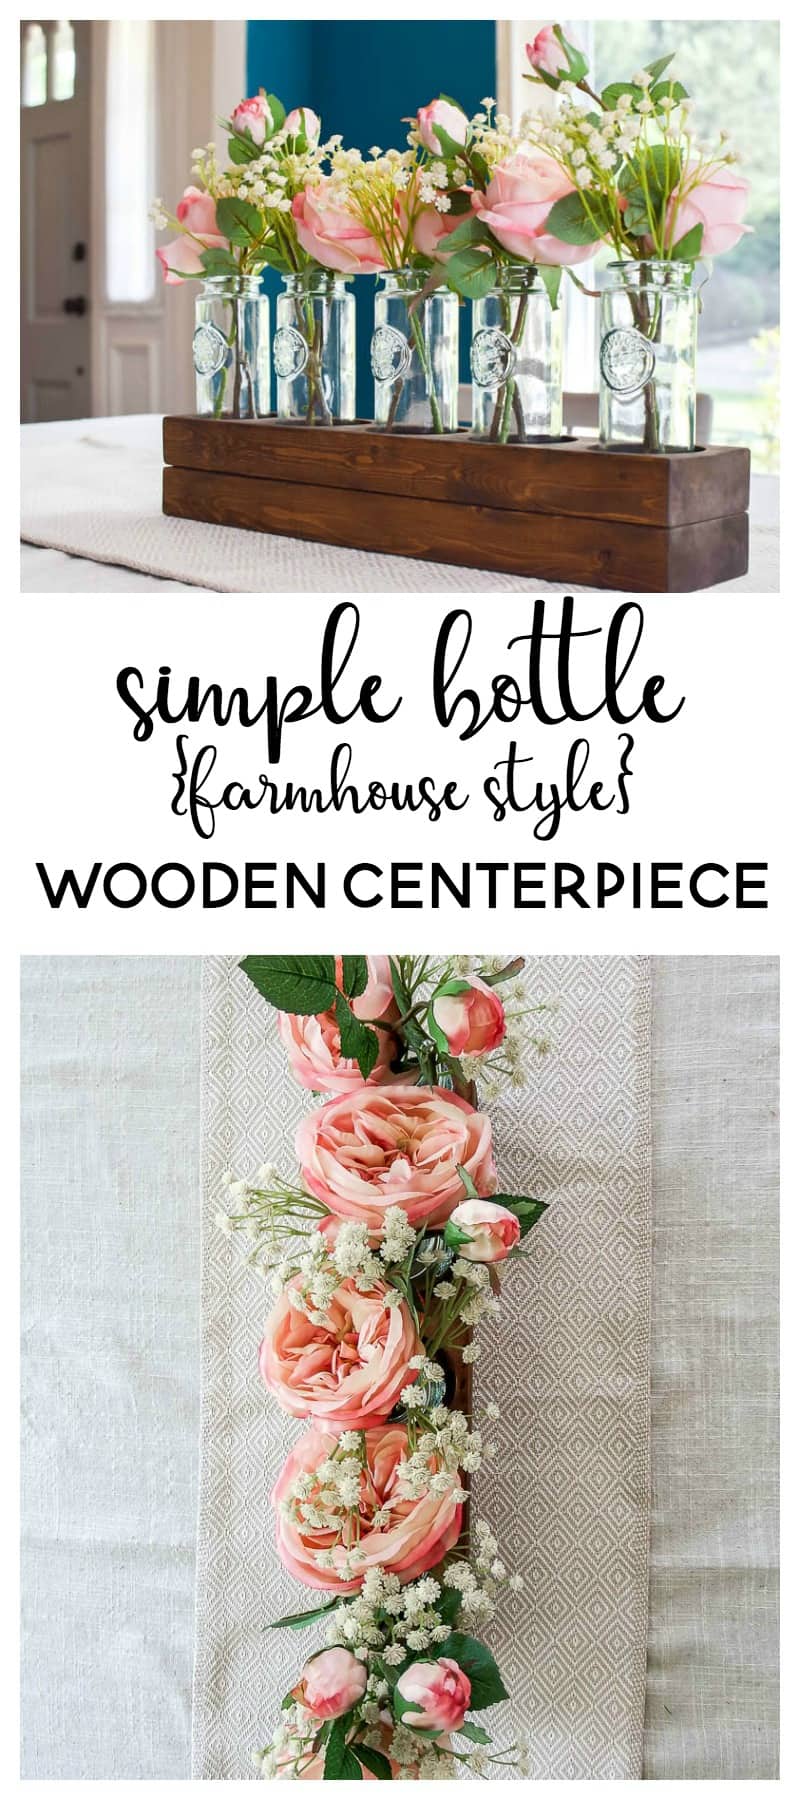
Simple 5 Bottle Wooden Farmhouse Style DIY Wood Centerpiece
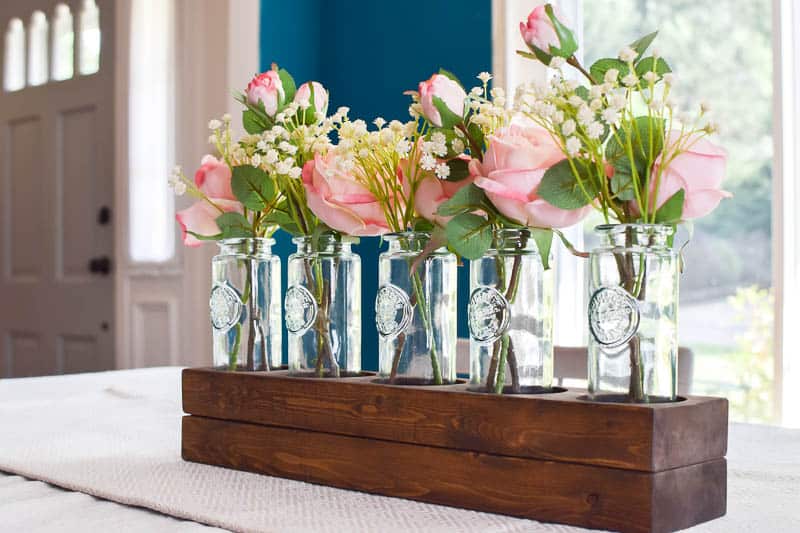
See how I used a scrap 2×4 board and transformed it into a simple wooden farmhouse-style DIY Wood Centerpiece centerpiece using 5 blue glass bottles.
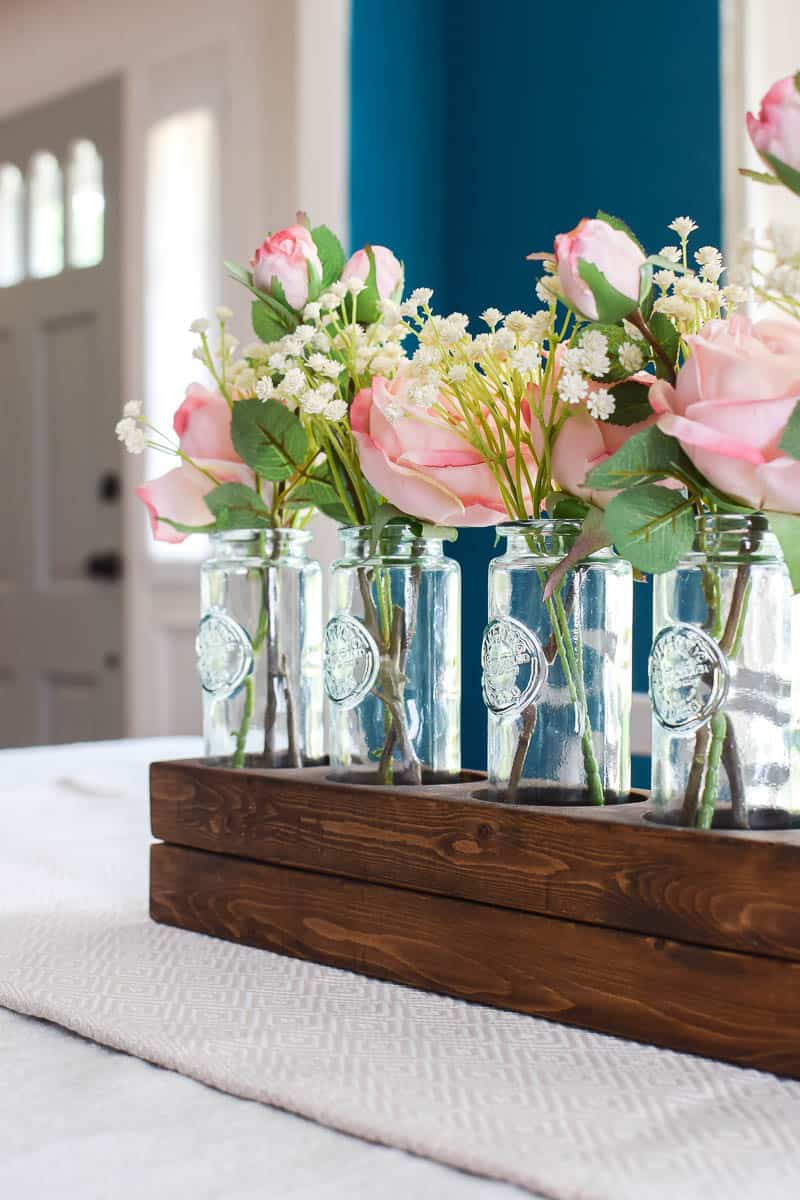
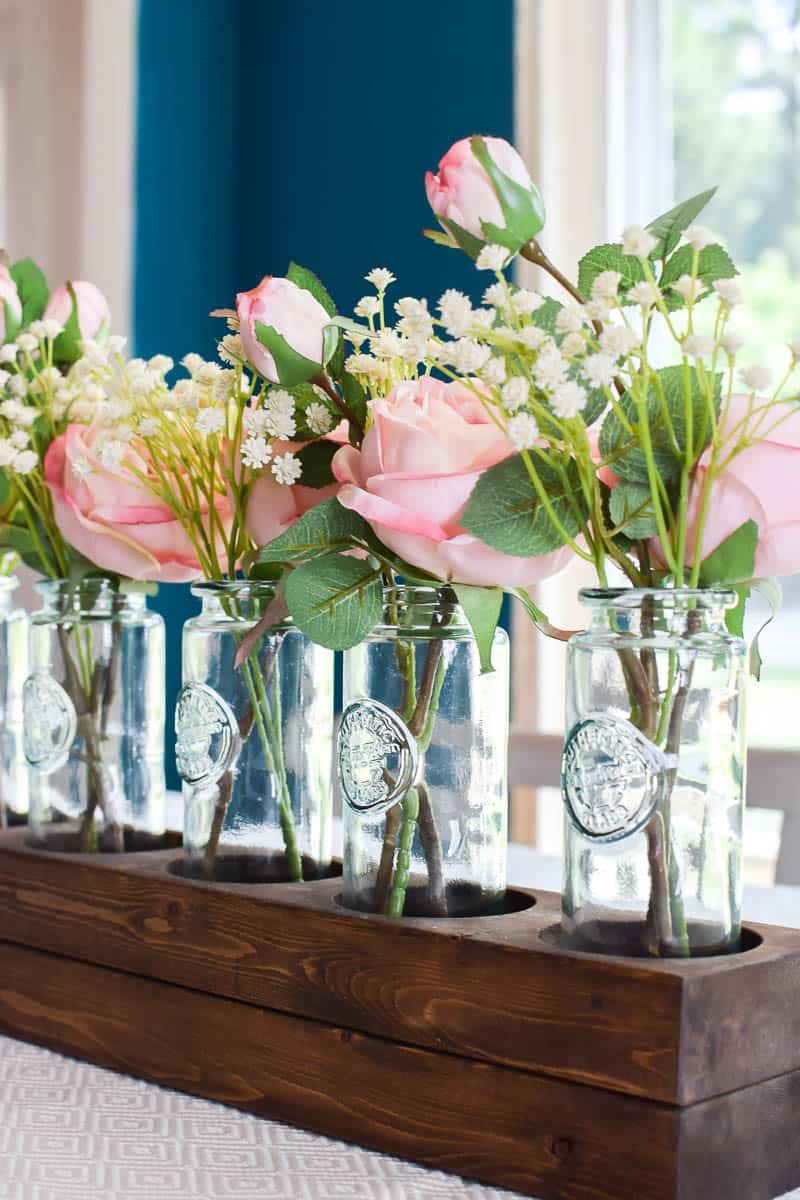
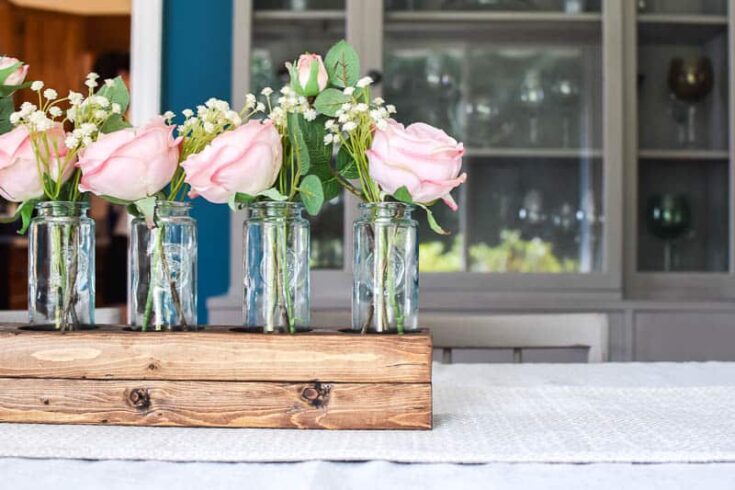
When you add some beautiful silk roses into blue glass bottles this DIY wood centerpiece really comes to life. Also, you have a gorgeous, easy centerpiece that takes little to no effort to make.
*This post was sponsored by Afloral.com. I received flowers in exchange for my post. Post contains affiliate links. All thoughts and opinions are my own. Please see my full disclosure policy for more details*
Happy Friday!!
If you remember last 2 Fridays I have shared two of four easy flower arrangement ideas! Well, I’m back today to share the third flower arrangement.
week 1 | week 2 | week 3 (you’re here)
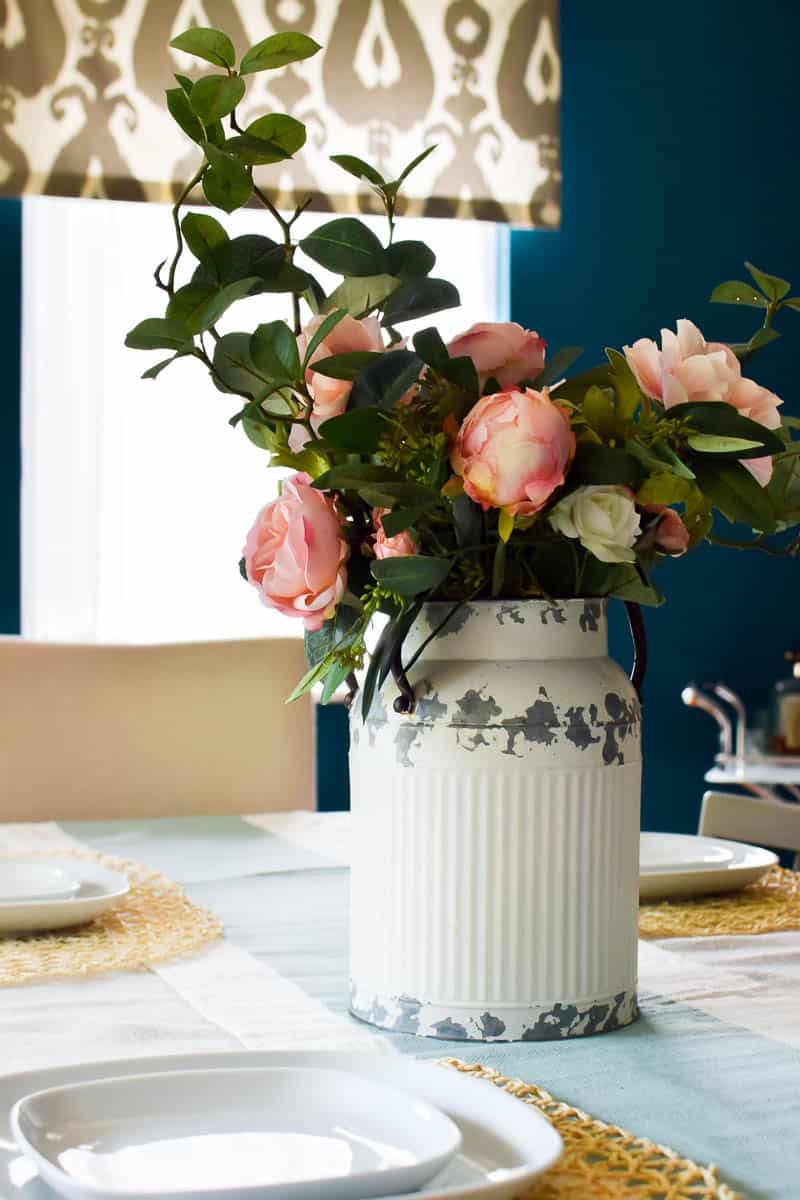
For the first arrangement, I used a vintage milk jug, some roses, and peonies to make the prettiest farmhouse-style centerpiece!
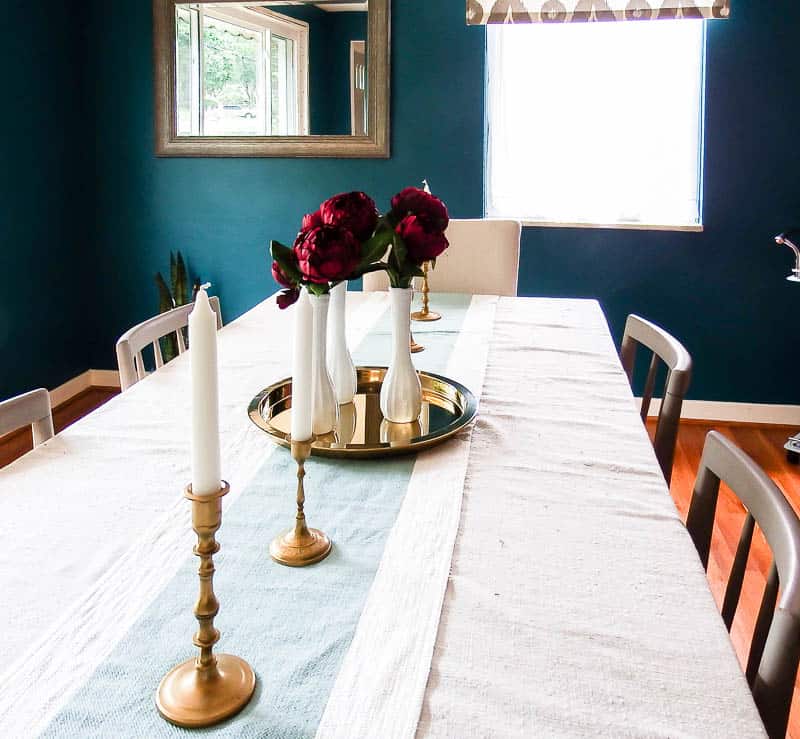
Last week I shared an easy farmhouse fall centerpiece using just one type of flower. But, those peonies make such a statement, don’t they?!
For this week, I’m switching things up a bit. Time to DIY a centerpiece!!
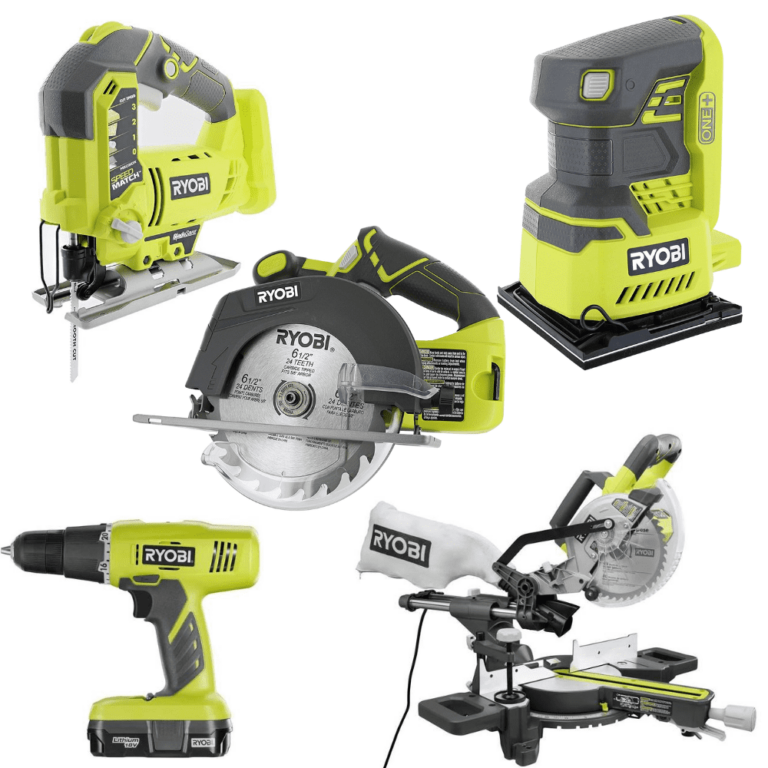
Supplies for DIY Wood Centerpiece:
- 2×4 board
- 2 5/8″ hole saw
- Stain
- Sander with 220 grit sandpaper
- 5 blue glass vases (mine are from Michaels sold in store only)
- Cabbage Roses Spray (4)
- Baby’s Breath
- Roses
- Filler Flowers
- Miter saw
Note: Some flowers have seasonal availability. If you click over and don’t see the product, follow the categories below to find similar options!
I’m going to share how we made the centerpiece using the dimensions of the glass bottles I found. BUT, keep in mind that you can adjust the measurements based on the glass bottles you use!
Step 1. Cut the Wood for the Centerpiece
First, cut your 2×4 down to get two boards at 17.5″ long using a miter saw.

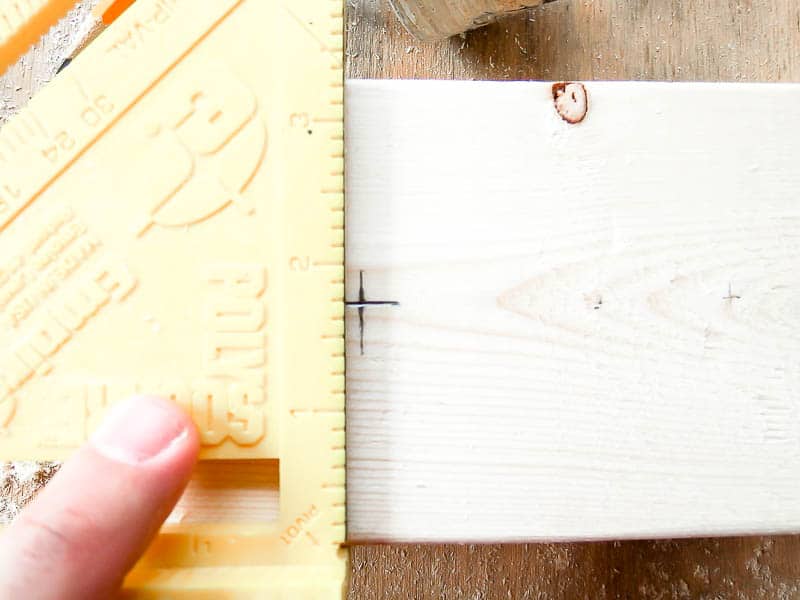
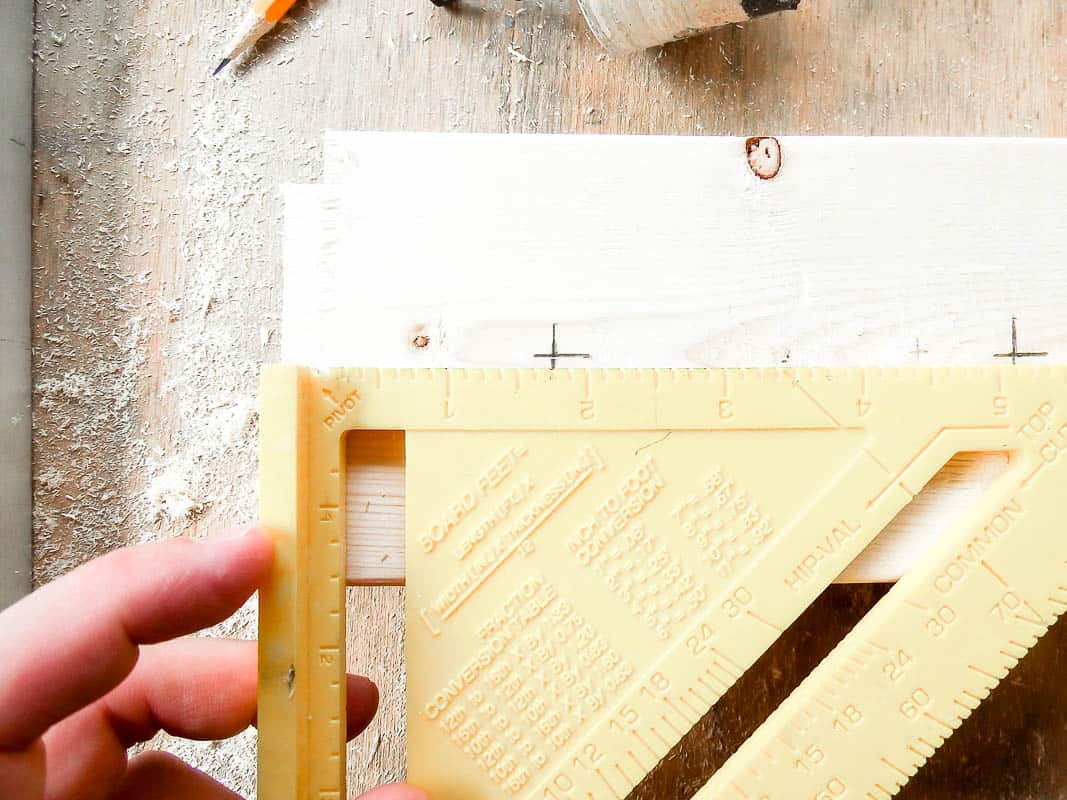
Step 2. Mark Board for Jar Placement
Then, mark the center of each hole using a square. We calculated the center of the holes based on the size hole saw we were using. We decided on a 2 5/8″ hole saw because the width of the base of the bottles was a little over 2″.
Note: we left a 1/4″ gap on each end of the board and 3/4″ between each bottle.
Basically, figure out how many holes/bottles you want and space the holes equally across the board.
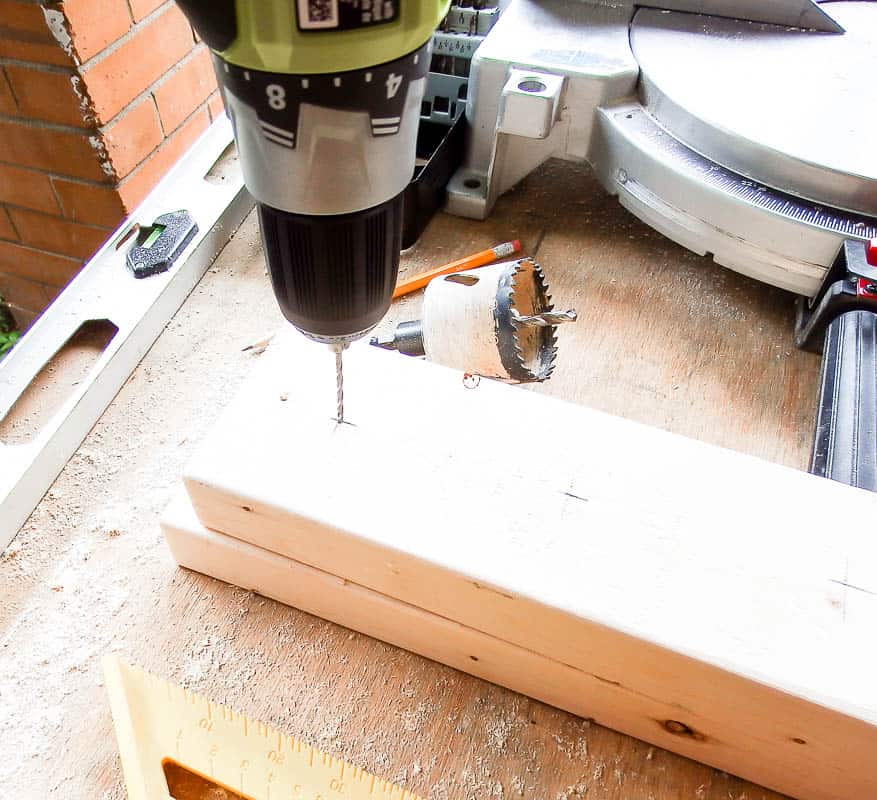
Step 3. Drill a Pilot Hole in the Wood
Then, we drilled a pilot hole in the center of each “x” marked (center of each hole to be drilled) to help guide the hole saw.
Step 4. Drill Holes in DIY Wood Centerpiece
With the pilot holes drilled, it was time to bust out the hole saw!!
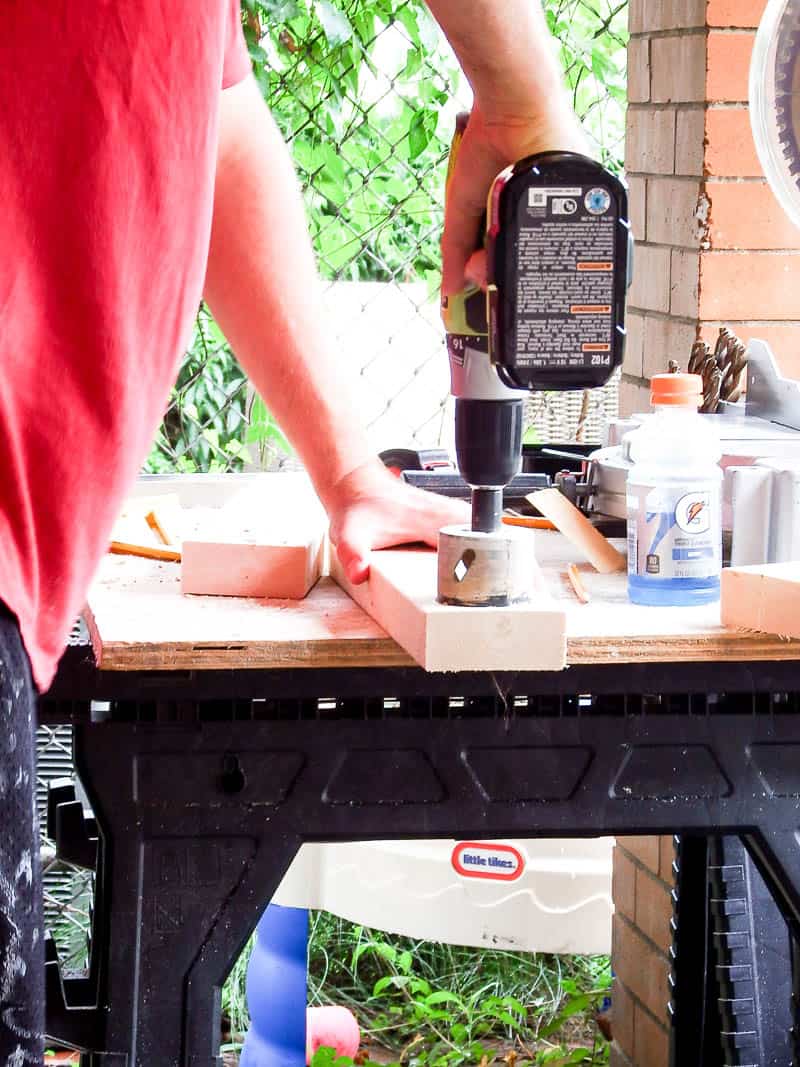
We only drilled the holes through ONE of the boards. The bottom 2×4 remained intact.
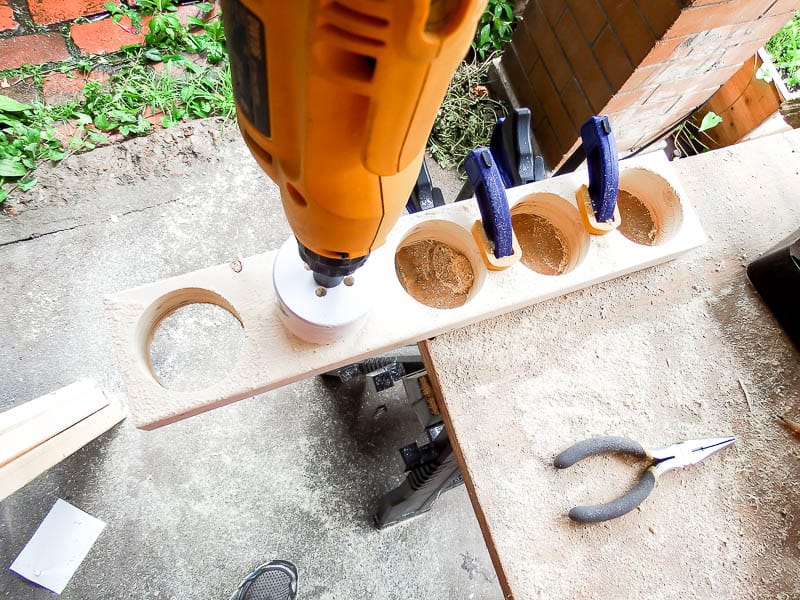
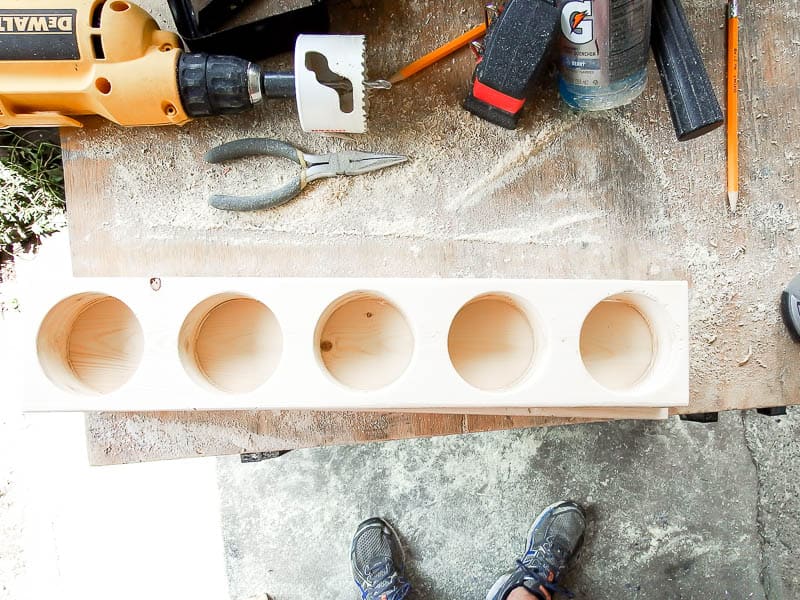
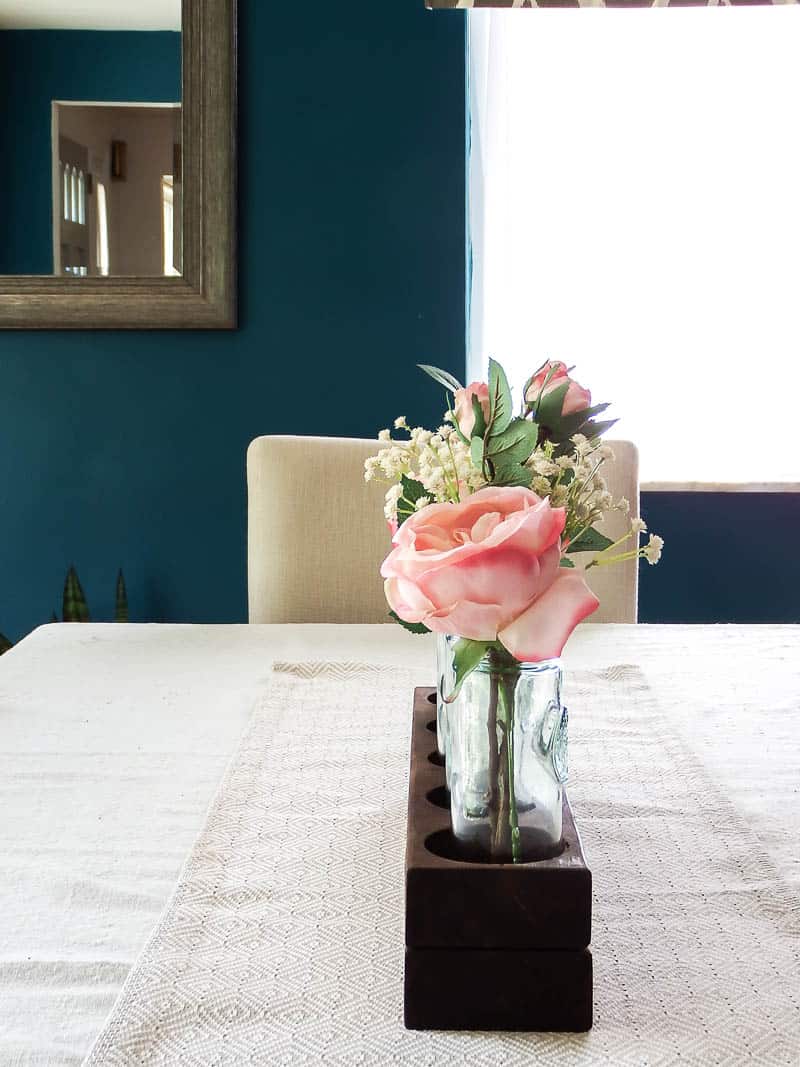
Now there’s a place for each glass bottle to sit and the centerpiece can also be picked up and moved elsewhere easily.
Next, we used the sander and 220 grit sandpaper to smooth out the edges of the boards and the center of the holes.
Once it was cut and sanded, it was time to stain! Remember to stain the top of the bottom board because you can see through the holes to it!
Step 5. Add the Flowers
Last, it was on to the flowers!
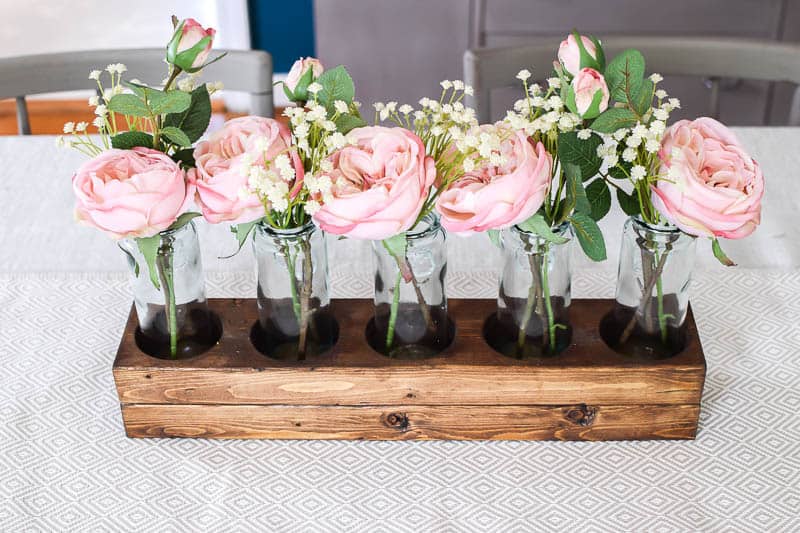
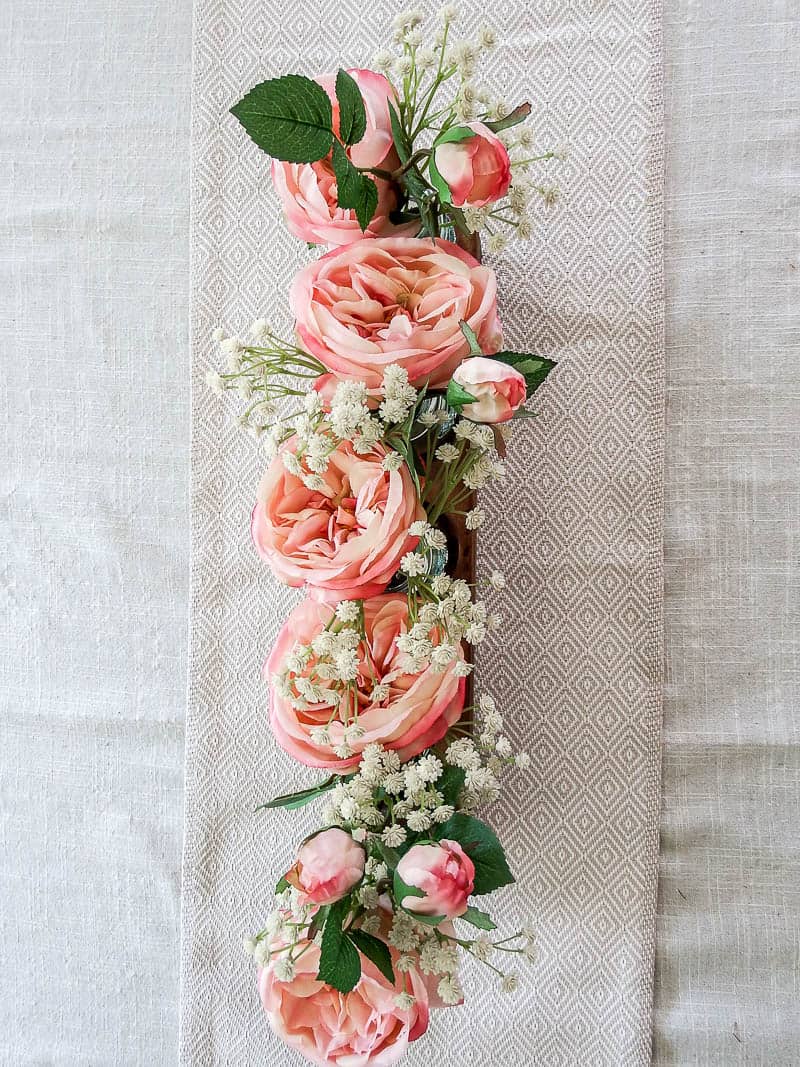
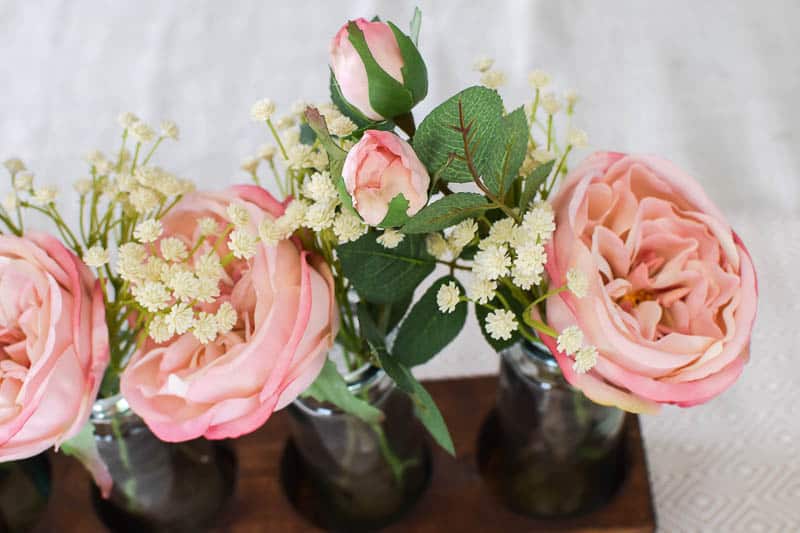
I chose to use cabbage roses in the prettiest soft pink shade. I trimmed the roses off the spray and snipped the leaves off the bigger roses. Each spray also had a rosebud (so sweet!) and I kept the leaves on the rosebud.
Next, I used a small section of the baby’s breath bush (in pale cream color) to act as a filler flower.
So, each bottle had one large cabbage rose without leaves, one rosebud with leaves, and a small section of baby’s breath.
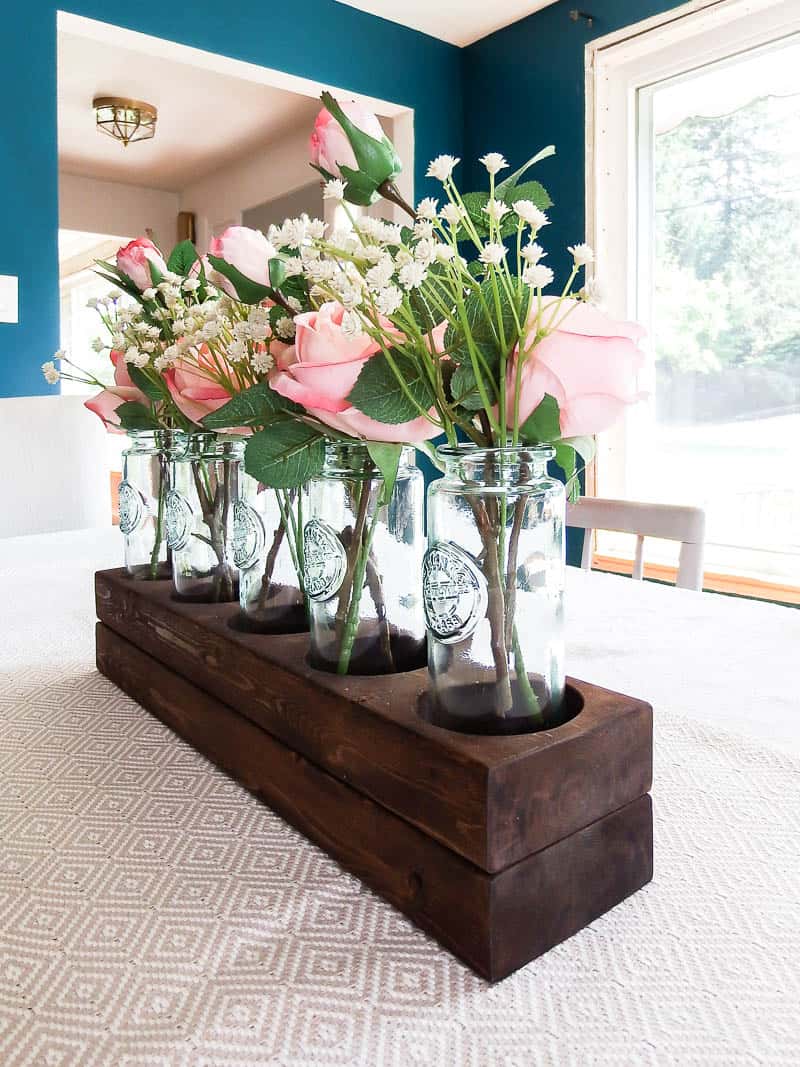
I LOVE how it turned out!! Such an easy centerpiece idea but it really brings a ton of farmhouse style to the table.
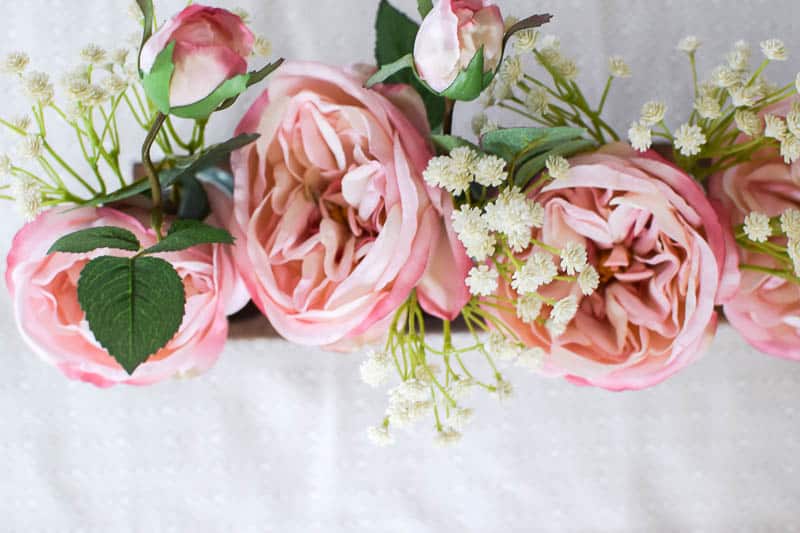
The soft pink roses are seriously perfect! I can’t ever find the same pale pink roses I’m looking for until I found these ones at Afloral! The pictures really don’t do them justice.
I love the details in these roses. They really look real!
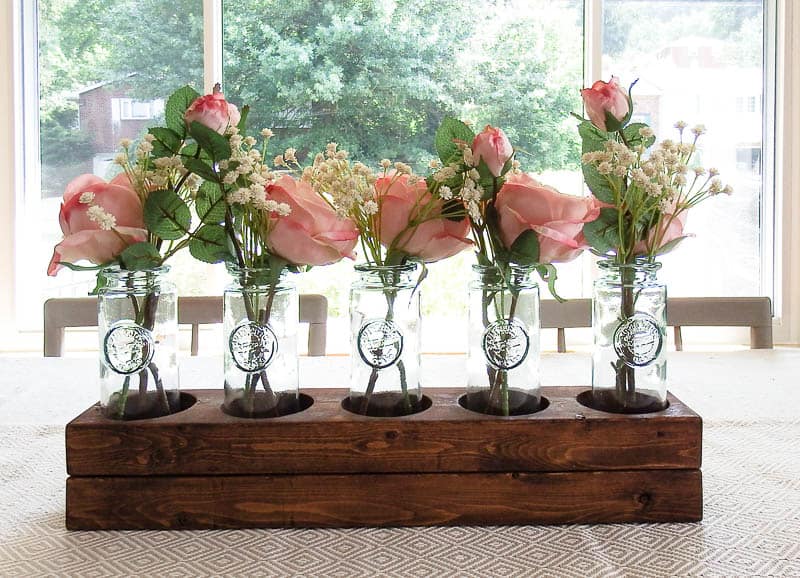
I could see this centerpiece being used day to day on your table, in a rustic wedding, or even sitting on open shelves. Spoiler – I have it on my open shelves in our dining room!

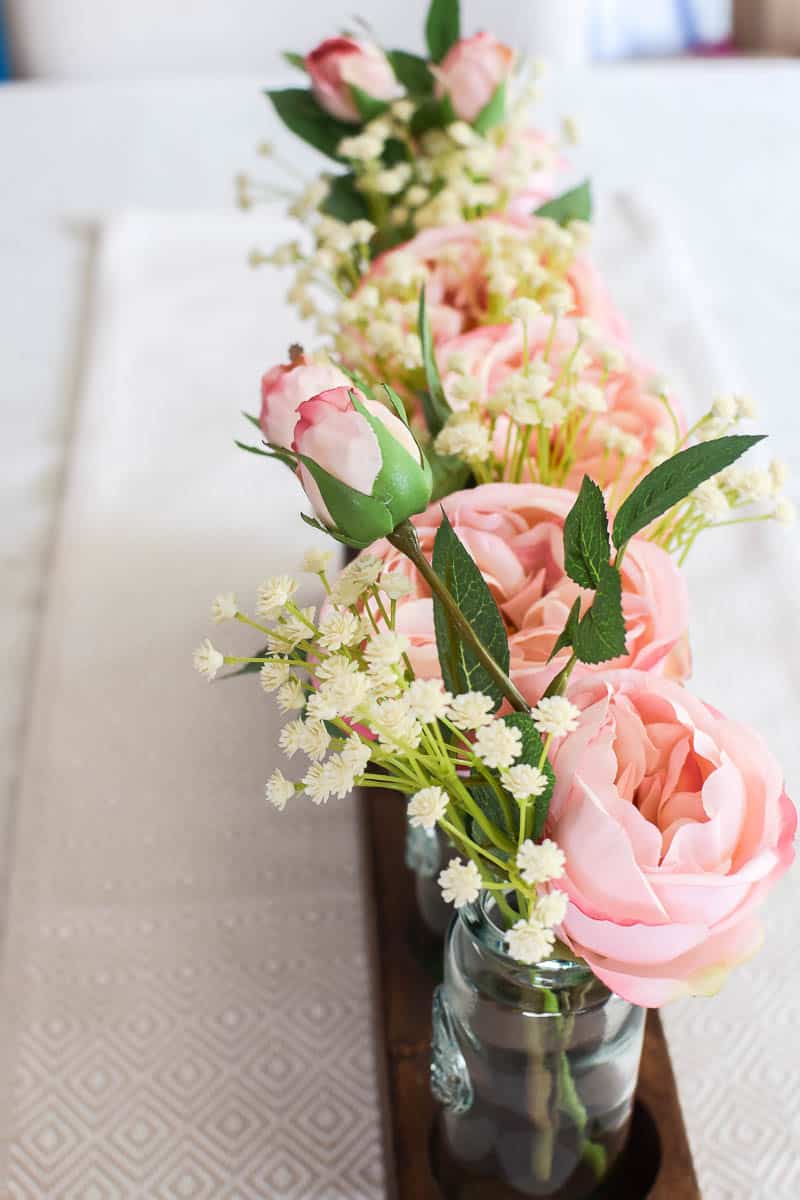
Baby’s breath is the perfect farmhouse flower. It’s whimsical and interesting and adds depth to any arrangement. I particularly love it in this cream shade. So pretty!
Alright, friends! I hope you have a wonderful weekend! Perhaps maybe even get inspired to tackle a DIY of your own and if you need any ideas be sure to look over these projects below.
- DIY Baby Shower Flower Arrangement Tips by Cutest Baby Showers
- Easy DIY Flower Arrangement Ideas by The Spruce Crafts
- Dollar Tree Fall Floral DIY by Artsycupcake
Remember to stop back next week for the last flower arrangement idea!
Wishing you a joyful day!

How to Make a DIY Wood Centerpiece
Simple DIY Wooden Centerpiece with glass bottles using flowers and other floral touches made with 2x4 scrap wood
Materials
Tools
- Sander
- 2 5/8" hole saw
- Drill
- Miter saw
Instructions
- Cut the Wood for the Centerpiece
- Mark Board for Bottle Placement
- Drill a Pilot Hole in the Wood
- Drill Holes in DIY Wood Centerpiece
- Fill Bottles with Flowers

Hi. Did you glue or nail the two pieces of the simple bottle farmhouse style centerpiece? I love it!!
These flowers look so real! I love all the farmhouse centerpieces you created, they are so pretty. The wooden box with the jars of stems is gorgeous. Stopping by from the #HomeMattersParty linky.
I LOVE the wood based centerpiece with those 5 bottle/jars!! I so want those jars…when did you get them? I’ve checked my Michaels…none there….I love everything you make and all the great info and you just make my day each time I check out your site!!! Bless you!!!
Beautiful centerpiece! I am featuring you today at TFT and FB. Hope you will join us again this week!
https://followtheyellowbrickhome.com/summer-crafts-makeovers-decor-and-more-at-thursday-favorite-things/