
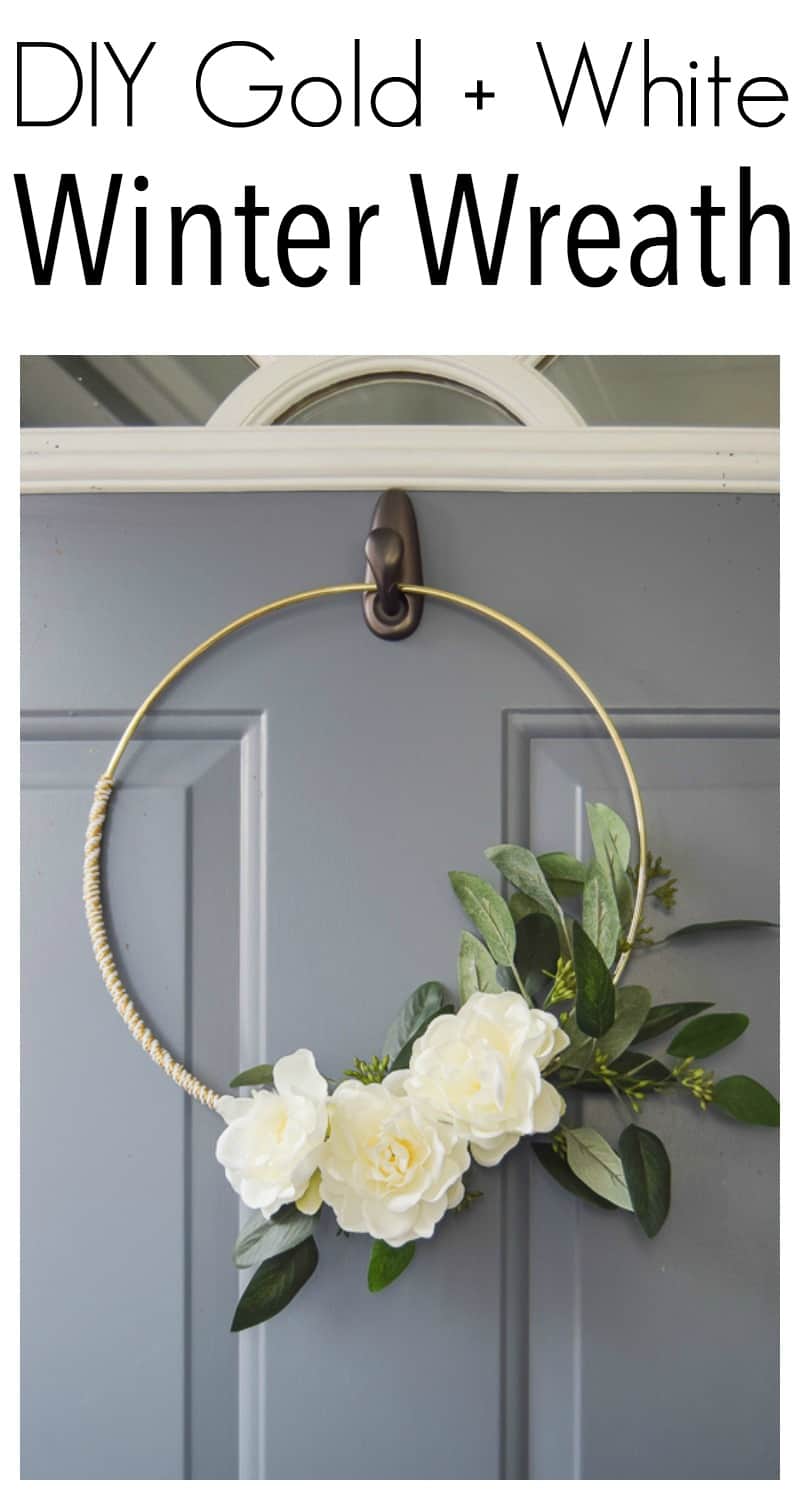
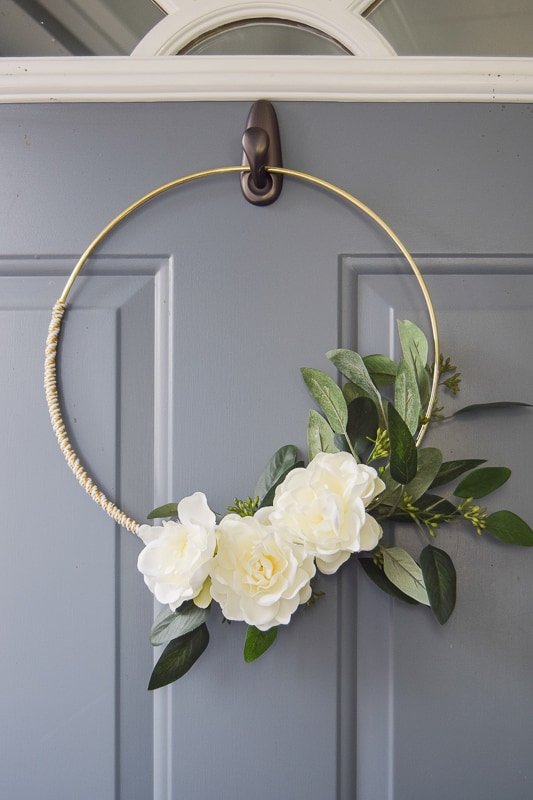
DIY Winter Wreath in Gold and White
I love making wreaths for different seasons, especially winter and Christmas! See how I used a simple, gold macrame ring to make a DIY winter wreath in gold and white!
I can’t believe the Christmas season is here! Time definitely goes a lot faster as an adult, but I am ready to show you this DIY winter wreath!
We haven’t decorated for Christmas just yet, but, that doesn’t mean I can’t start making a few Christmas crafts, right?!
This post contains affiliate links. Please, click here to read my disclosure policy.
This weekend we are actually going to cut down our own tree for the first time! I seriously can’t wait. It’s either going to go amazing or we’ll be heading straight to the nut house afterward. It’s a toss-up 😉
After making the gold ring fall wreath and absolutely loving it, I decided to use a gold macrame ring as a base again for a fun winter wreath. And I say winter because I don’t think it solely fits into the “Christmas” theme. This wreath is going to be up allllll winter.
Related Reading: Check out these other winter wreath ideas for more inspiration!
This was the fall’s wreath:

Since I wanted the wreath to be used all winter long, I didn’t want it to look traditional. So, I didn’t want to use red flowers and pine cones, and pine garlands. If that makes sense. Not that there’s anything wrong with that. It just looks very “Christmasy”.
DIY Winter Wreath: Step-by-step tutorial
This wreath was SO easy to make. It only took me about 10 minutes to make!
Supplies for DIY Winter Wreath
- 12″ Gold macrame ring (I got mine in store at Joann’s)
- Glue gun
- Gold twine
- Seeded eucalyptus (2)
- White gardenia flowers (1 stem, 3 flowers)
- Optional – floral wire
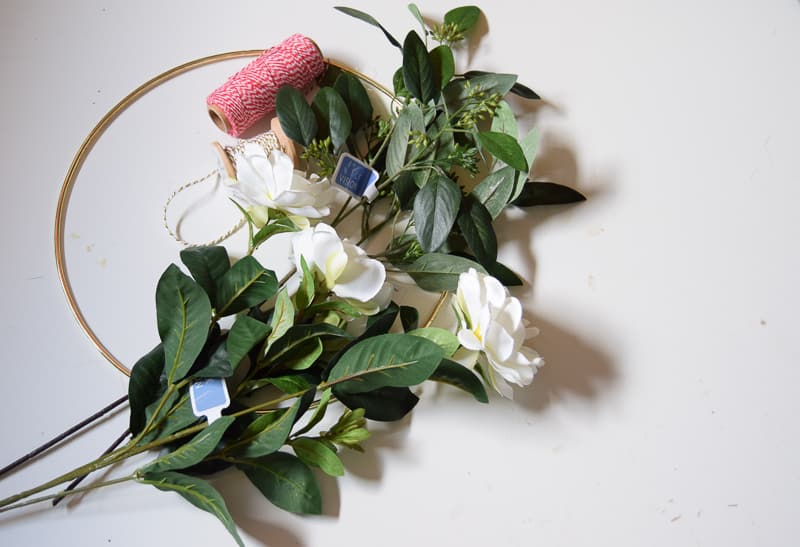
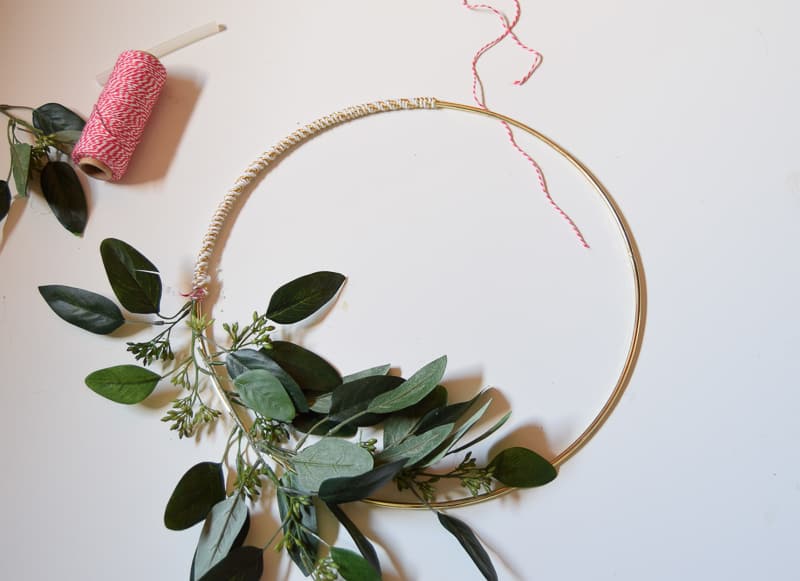
I was going to use red twine in the wreath, too. That’s why it’s pictured a few times. But, in the end, I liked the gold + white twine alone the best.
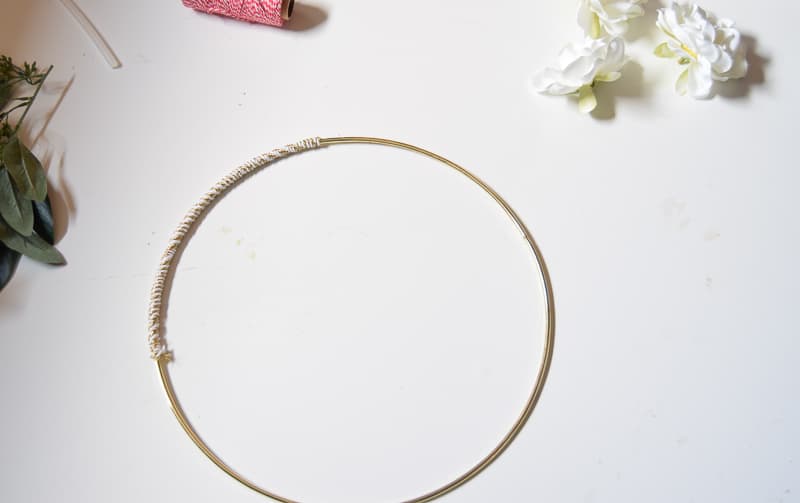
Step 1. Start Gluing the Twin to the Hoop
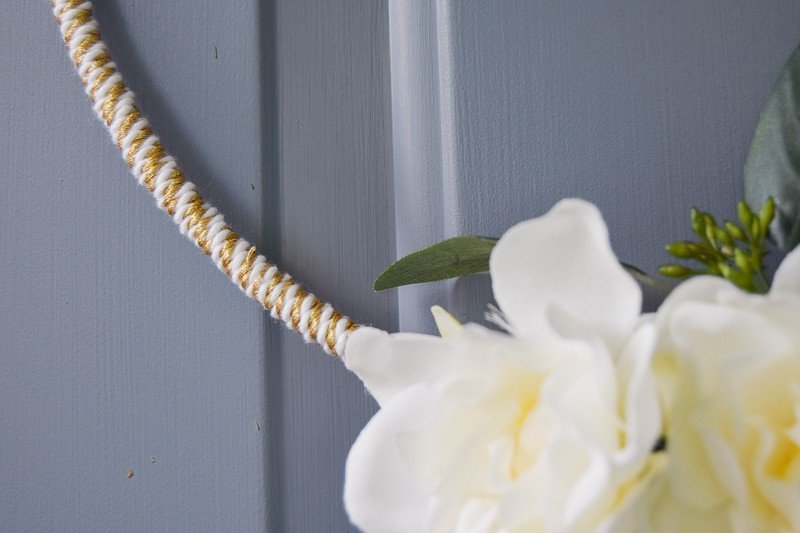
I started by applying some glue to an arbitrary point on the ring which was the “bottom”. Then, I wrapped the twine around until it covered 1/4 of the ring.
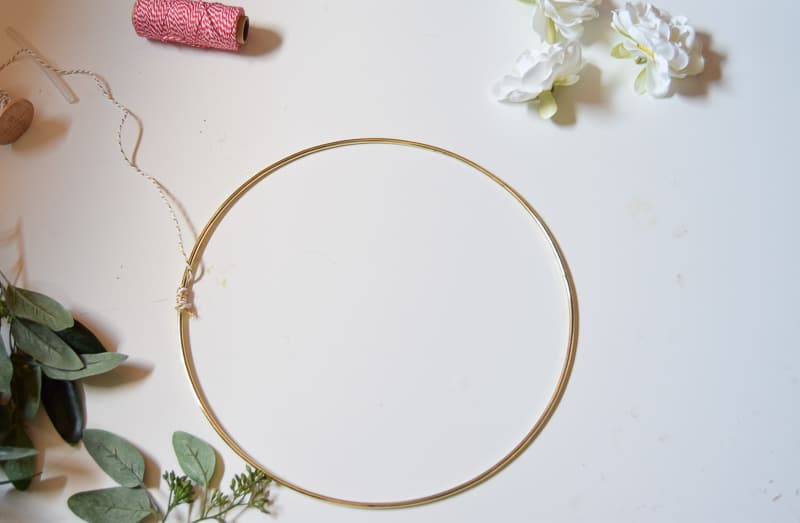
Use a tab of glue at the other end of the twine, too.
Step 2. Attach the Eucalyptus
Then, I cut the seeded eucalyptus branches off of the larger stem. My special helper and I arranged them to where I was satisfied. I would have used floral wire to attach the eucalyptus to the ring.
But, I couldn’t find mine so I used the glue gun instead. I’ll probably add some floral wire to it once I find some just to make it more secure.

I used a total of 3 stems of eucalyptus. (Each branch contains 2 stems)
Step 3. Attach Flowers to DIY Winter Wreath
Last, I pulled off 3 gardenia flowers and glued them to the bottom of the wreath, overlapping the eucalyptus and not the twine.
Now, I know nothing about gardenia flowers. They may bloom in the summer, who knows? But, I wanted a crisp, simple, white flower for the wreath and they fit the look that I was going for. You can substitute any flower you’d like here!
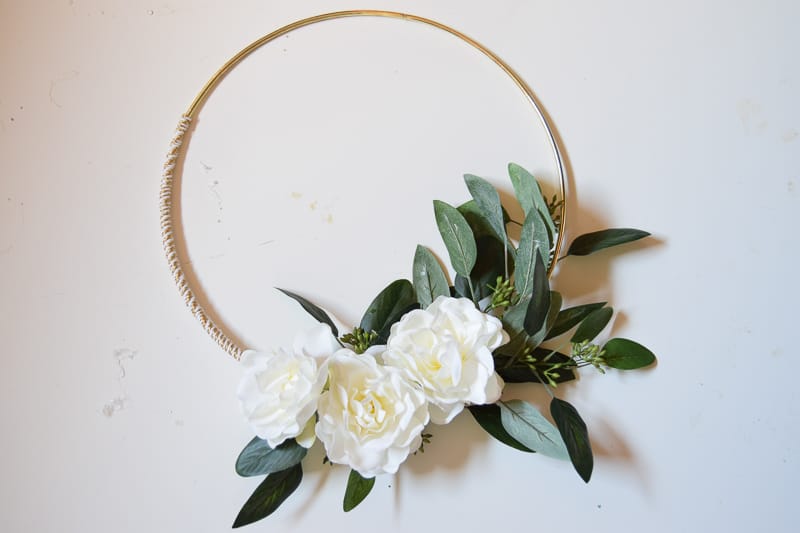
And, that’s it! Pretty easy, right?
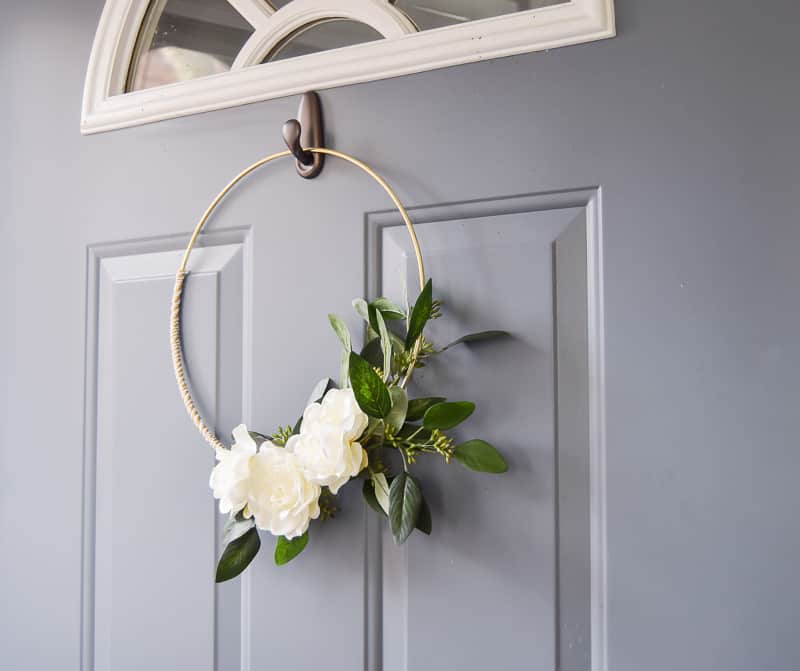
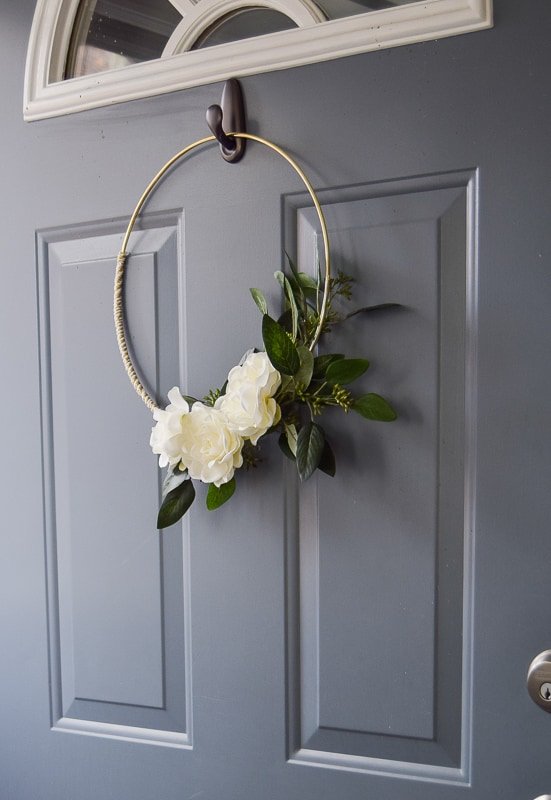
I hung it on our front door using a 3M hook. Could be prettier but it will do for now.
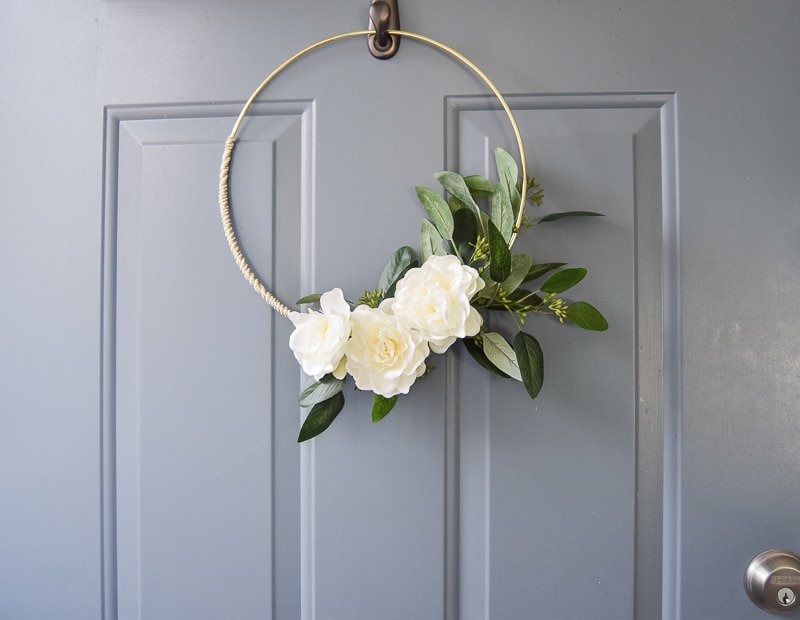

Kinda in love with the gold and white twine!
This was a super simple project and really sets the tone for winter right at the front door. I just love bringing in new seasons with something that I DIY and it just gets me in the seasonal mood so much faster.
If you want more winter decorating ideas check out these 13 Winter Decorating Ideas by the Spruce or bring that creativity inside with this amazing Farmhouse Winter Tablescape by Making Manzanita.
Happy Christmas crafting!

Want to see more Christmas ideas?
- 59+ DIY Christmas Countdowns To Add Joy To Your Holidays
- 9 DIY Stocking Initial Tags You Can Make
- Easy Book Advent Calendar with Free Printable Labels
- Decorating Our Dining Room for Christmas
- How to Make a Modern Christmas DIY Stocking Holder
- We Cut Down our own Christmas Tree at Grupps Tree Farm
- 20 DIY Wreaths for Winter
- DIY Winter Wreath in Gold and White
- 25 Free Printable Christmas Gift Tags
- How to Make Your Own Faux Garland
- DIY Rustic Corbels for Bookends
- Christmas Traditions: Decorating the Tree
- DIY Farmhouse Style Ornaments
- Rustic Gift Wrap Ideas Using Pinecones
- Rustic Shiplap DIY Christmas Card Holder
- 20 DIY Farmhouse Christmas Ornaments
DIY Winter Wreath in Gold and White

I love making wreaths for different seasons, especially winter and Christmas! See how I used a simple, gold macrame ring to make a DIY winter wreath in gold and white!
Materials
Tools
Instructions
- Start by gluing the twine to the hoop
- Attach the Eucalyptus
- Attach flowers to the DIY Winter Wreath


It’s absolutely perfect! And I’m totally loving that gold and white twine too!
Thanks so much Kristi!!