
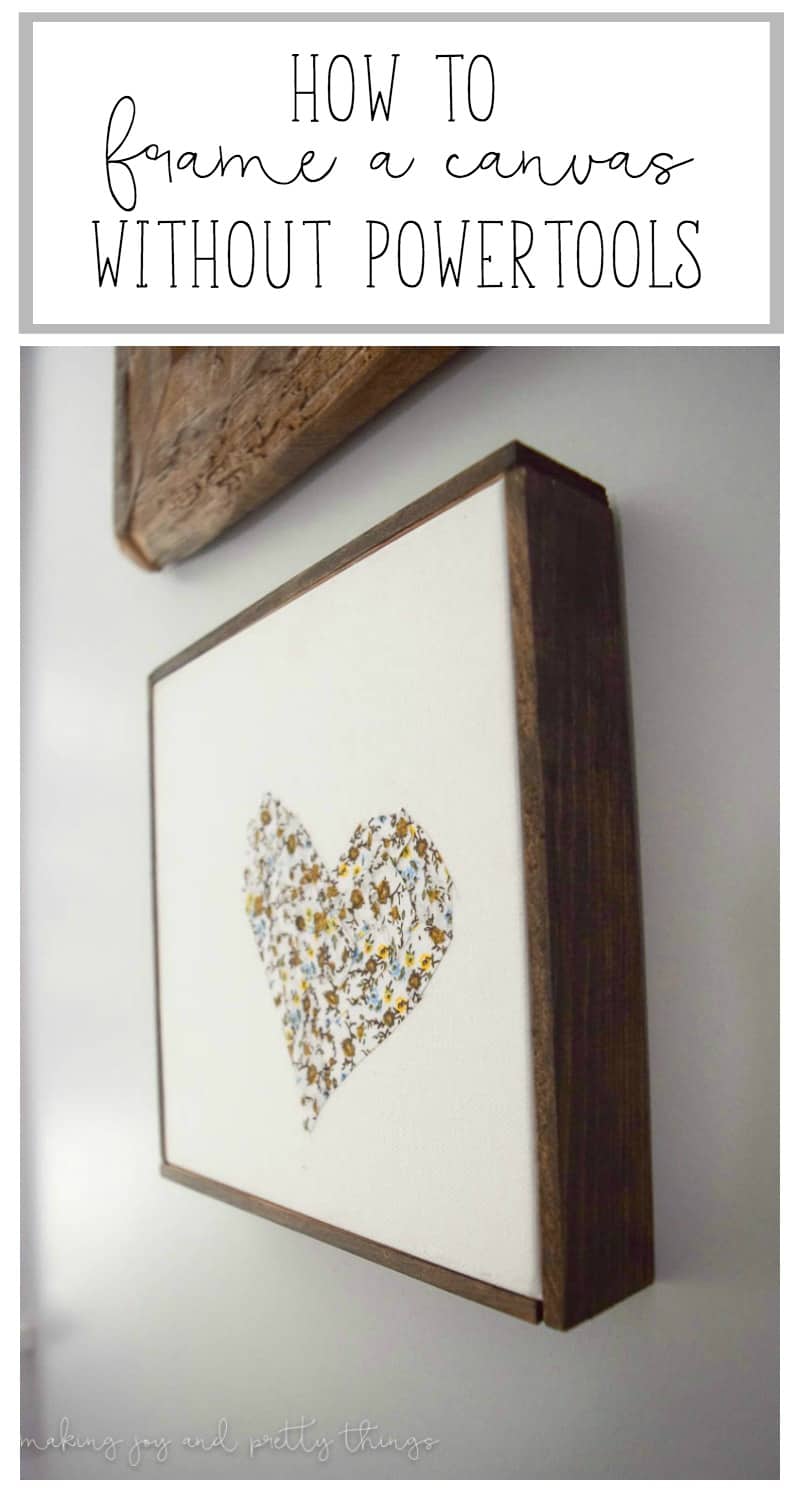
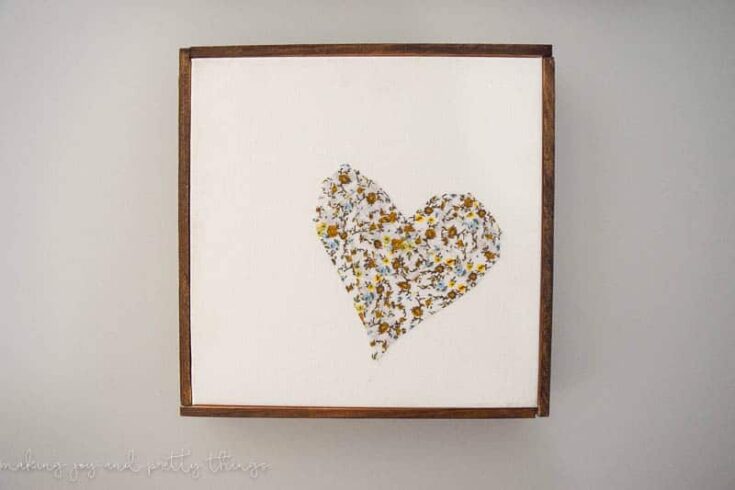
How to Make a Frame for a Canvas Without Power Tools
Learn how to make a frame for a canvas WITHOUT using power tools! Now you can get the polished, and finished without worrying about using power tools.
I am so excited to be participating in my first Create with Me DIY Challenge with this tutorial on how to make a frame for a canvas!
It’s the neatest idea – you all (my fabulous readers) get to choose from 4 materials and I/we have to make something, ANYTHING out of that supply!!
Last month, the readers chose a canvas. Which, I have to admit I wasn’t thrilled about! When I think of a canvas, I think of a beautiful abstract art piece full of life and watercolor paint.
And, I can’t paint. Or draw. At all. It’s basically at a 5th-grade level. Embarrassing.
Thinking Outside of the Box for the Canvas
So, I knew I had to think outside the box for the canvas. Any ole’ pretty art wouldn’t do, mostly because I couldn’t DO pretty art.
That’s when I came up with the idea of doing a framed canvas, without power tools!! So many of the projects I do here on the blog require power tools.
And, while I’m generally okay with that, I know many people who either don’t have or don’t know how to use power tools (like me!!).
Well, you’re in luck! You CAN frame a canvas WITHOUT power tools.
This post contains affiliate links. Please, click here to read my disclosure policy.
Supplies for Canvas Frame
- Canvas (I used 8″x8″)
- Clear Pine Craft Wood (2 packs)
- Saw and Miter Box
- Rustoleum Wood Stain in Jacobean
- Glue Gun
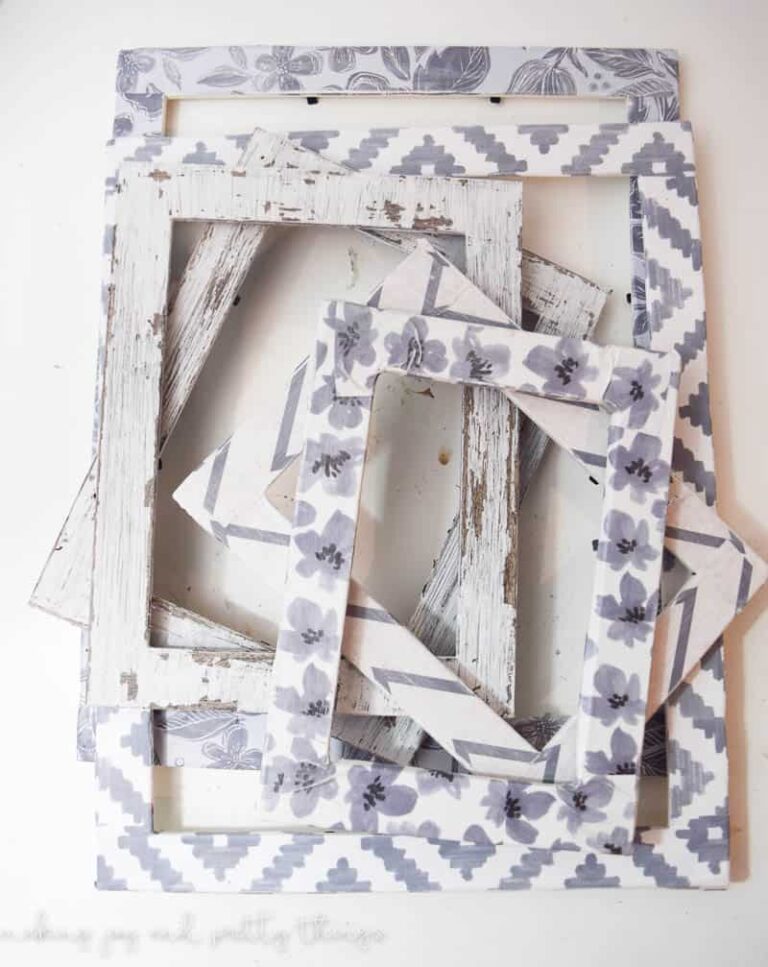
- Floral Fabric Washi Tape
- Scissors
- Pencil
- Gloves for staining
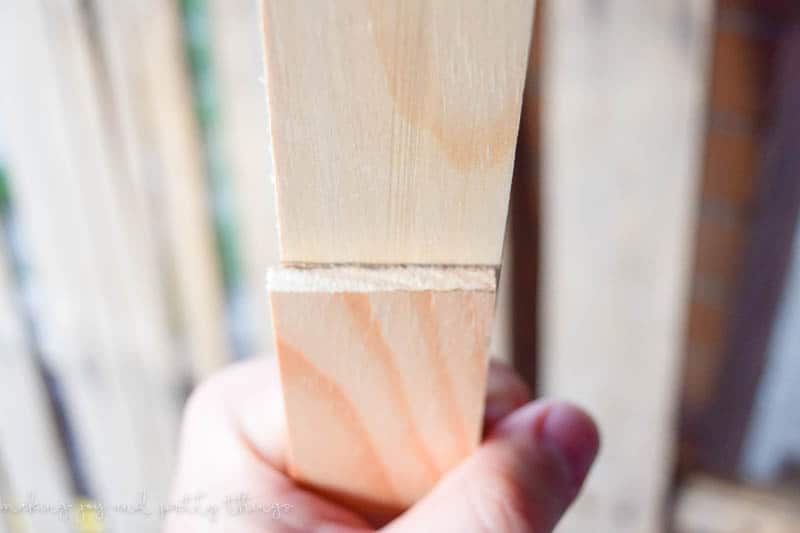
Step 1. How to Mark Wood to frame a Canvas
First, start by measuring your pine wood against the length of the canvas.
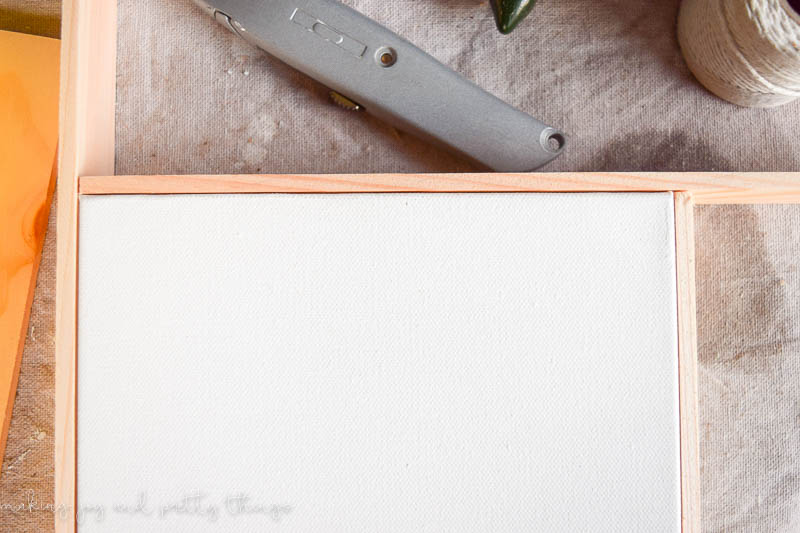
Using the pencil, mark a line where to cut the wood so that each piece is a little longer than the length of the canvas. You want the top of each cut piece to be level with the next flat piece of the frame.
In other words, the length of each side of the frame is equal to the length of the canvas plus the width of the frame piece.
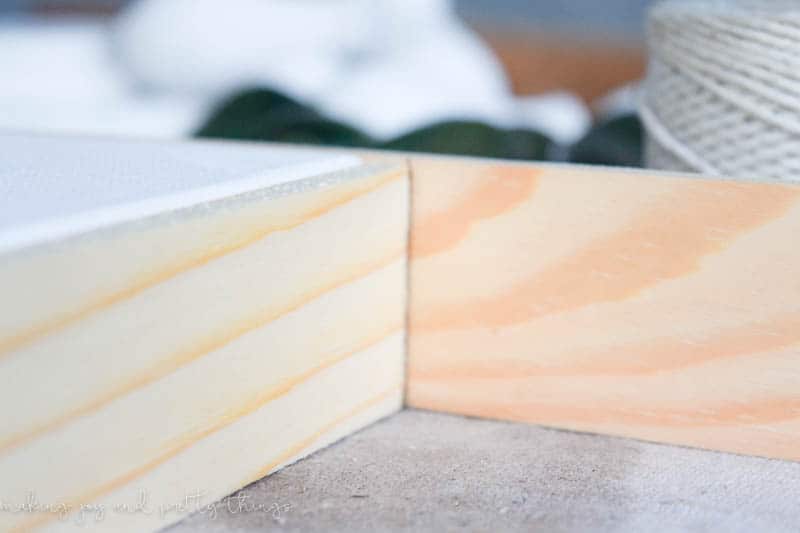
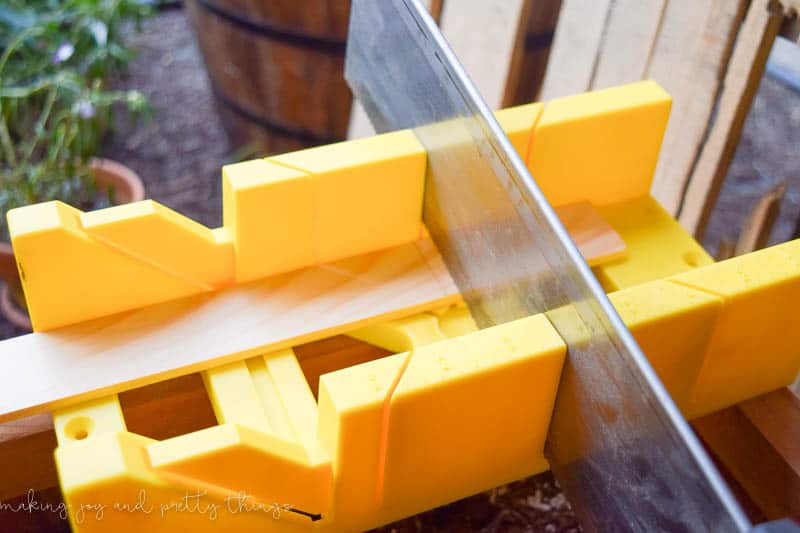
Step 2. Cut Wood for Canvas Frame
Once we had the pencil mark, we lined the mark up with the straight cut opening on the miter box (technically the 90-degree mark)and cut.
Next, we used that cut piece as the template and marked all the other pieces to match. (Since the canvas is a square, each piece is the same length)
Step 3. Stain Wood for Frame
Now that we had 4 equal-length trim pieces, it was time to stain them! I love the Jacobean stain; not too light, not too dark.
Stain 5 sides of each piece. The only side that doesn’t need stained is the innermost side that will be touching the canvas. Don’t forget those edges!!
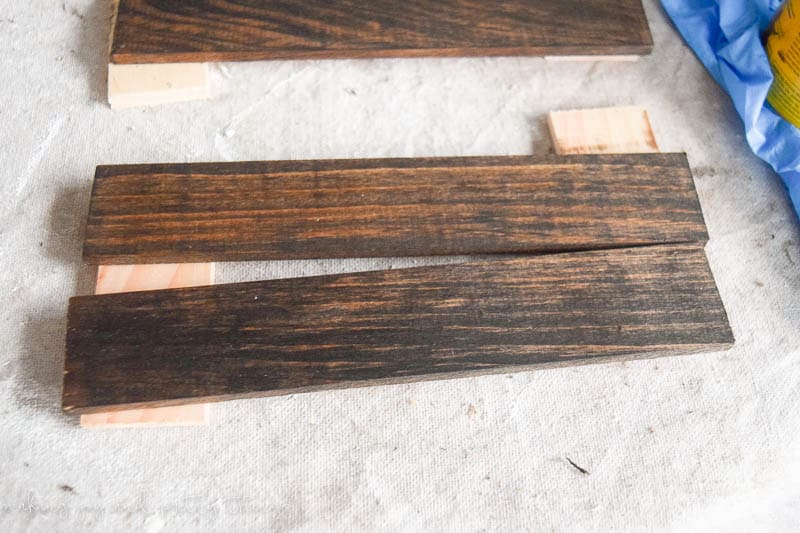
I let the pine dry overnight. You don’t have to sand the pine at all because it’s a completely smooth finish! That saves so much time.
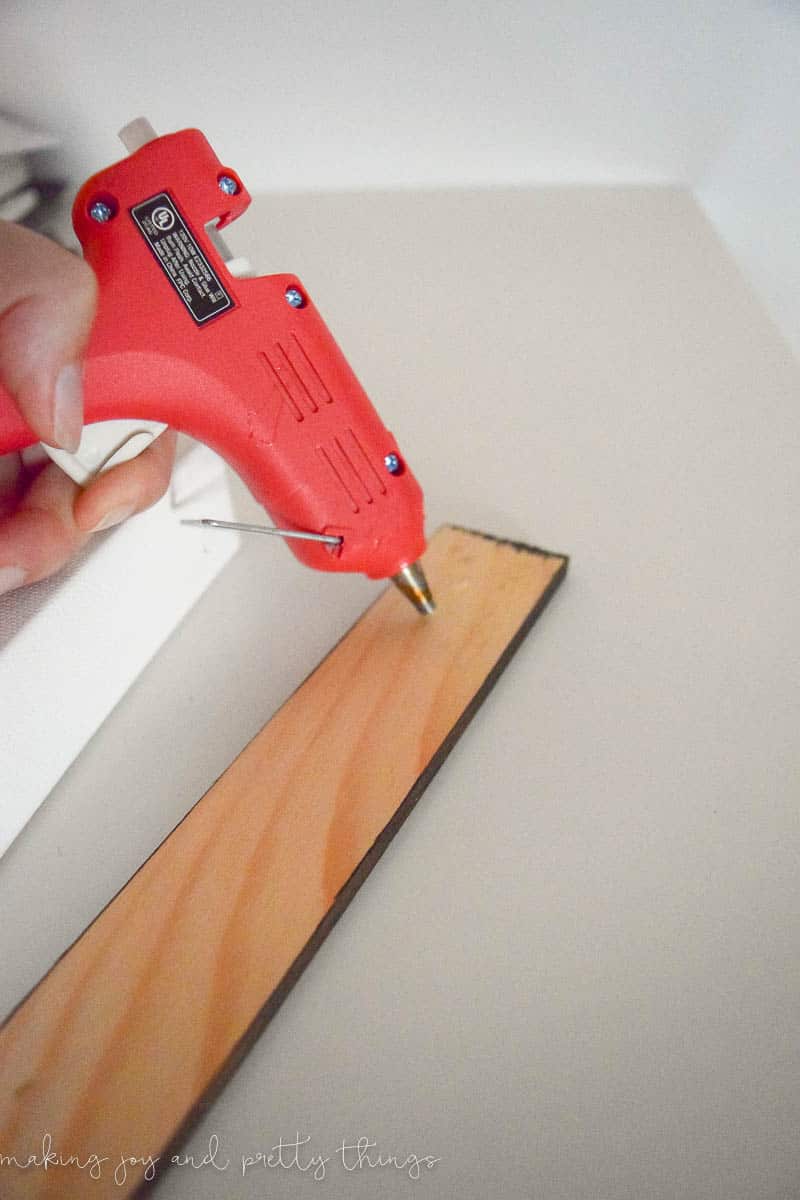
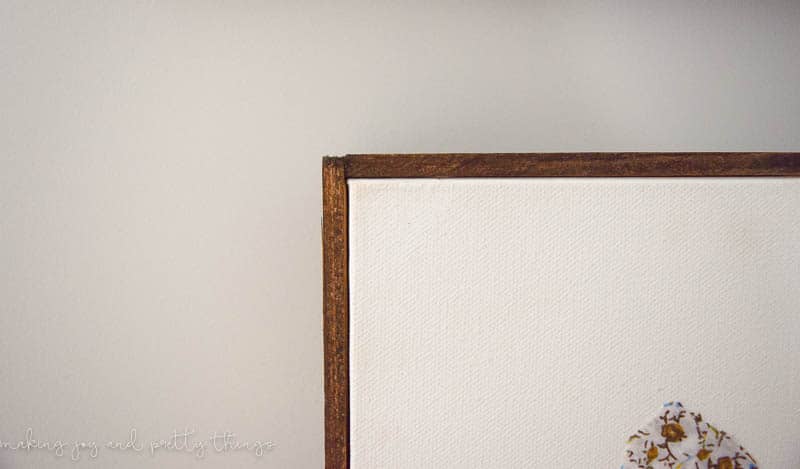
Step 4. Glue your Wood Frame to your Canvas
Next, I grabbed my hot glue gun and got to work. I covered the innermost (unstained) part of the wood with glue and stuck it to one edge of the canvas.
Remember, once you have the piece on it’s difficult/impossible to move without damaging the canvas so try to line it up pretty straight the first time.
Press firmly for a few minutes to make sure it’s adhered.
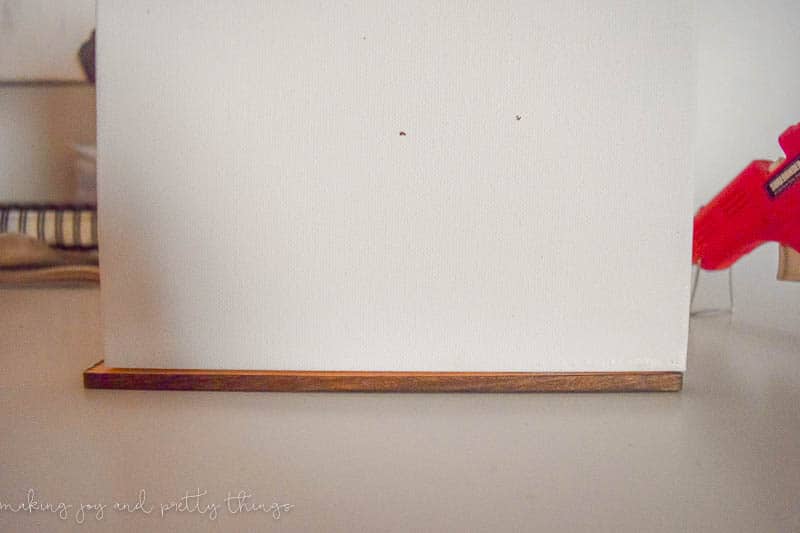
Continue the same steps with the remaining 3 pieces of wood and you’re finished!!
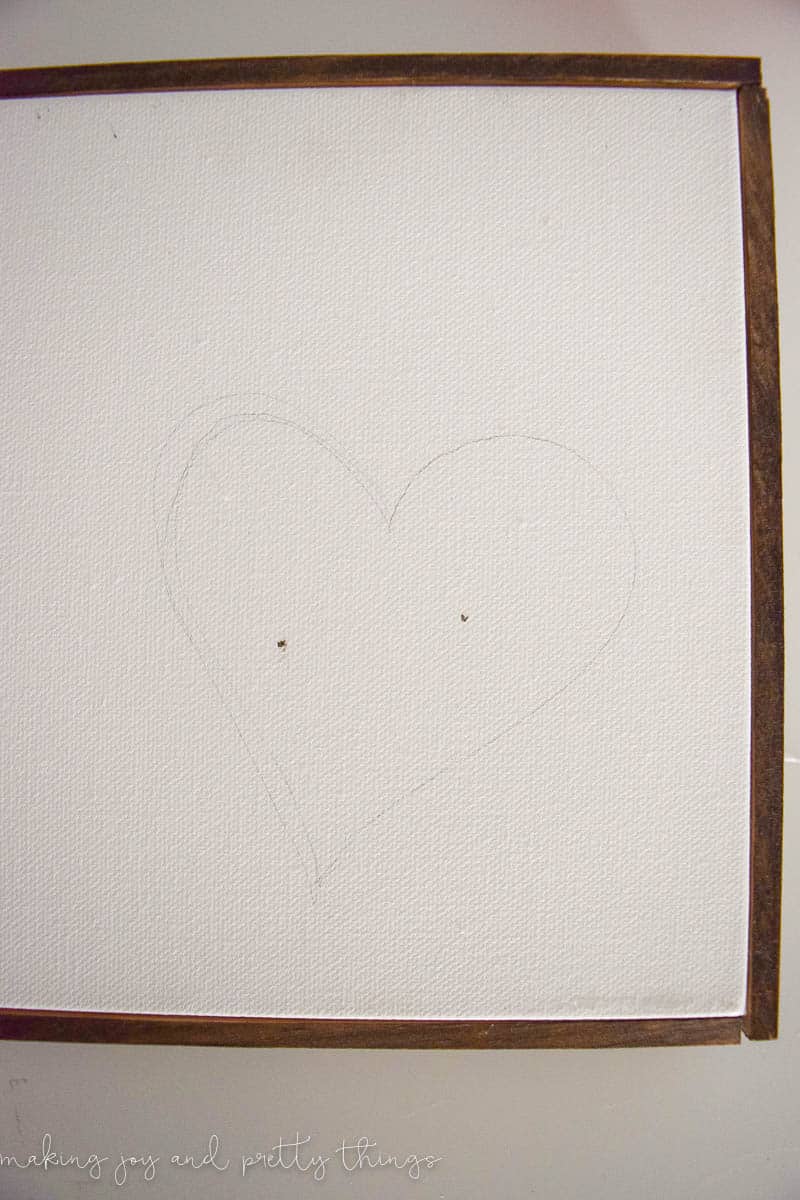
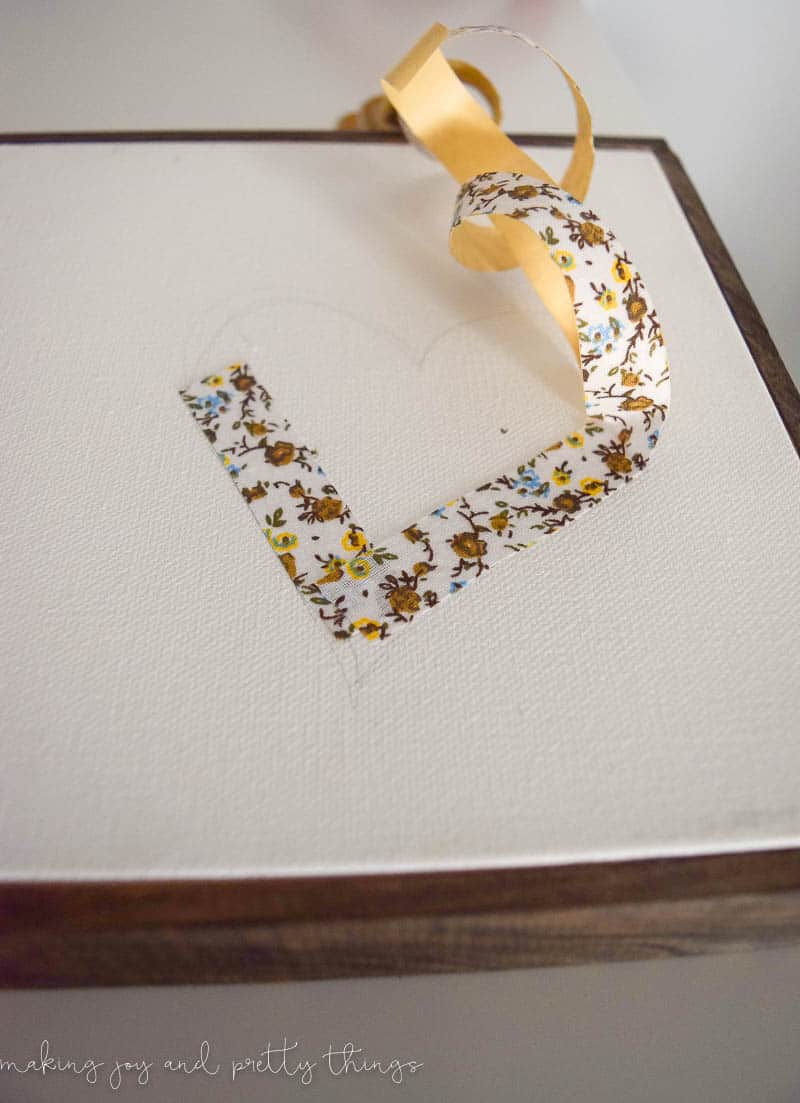
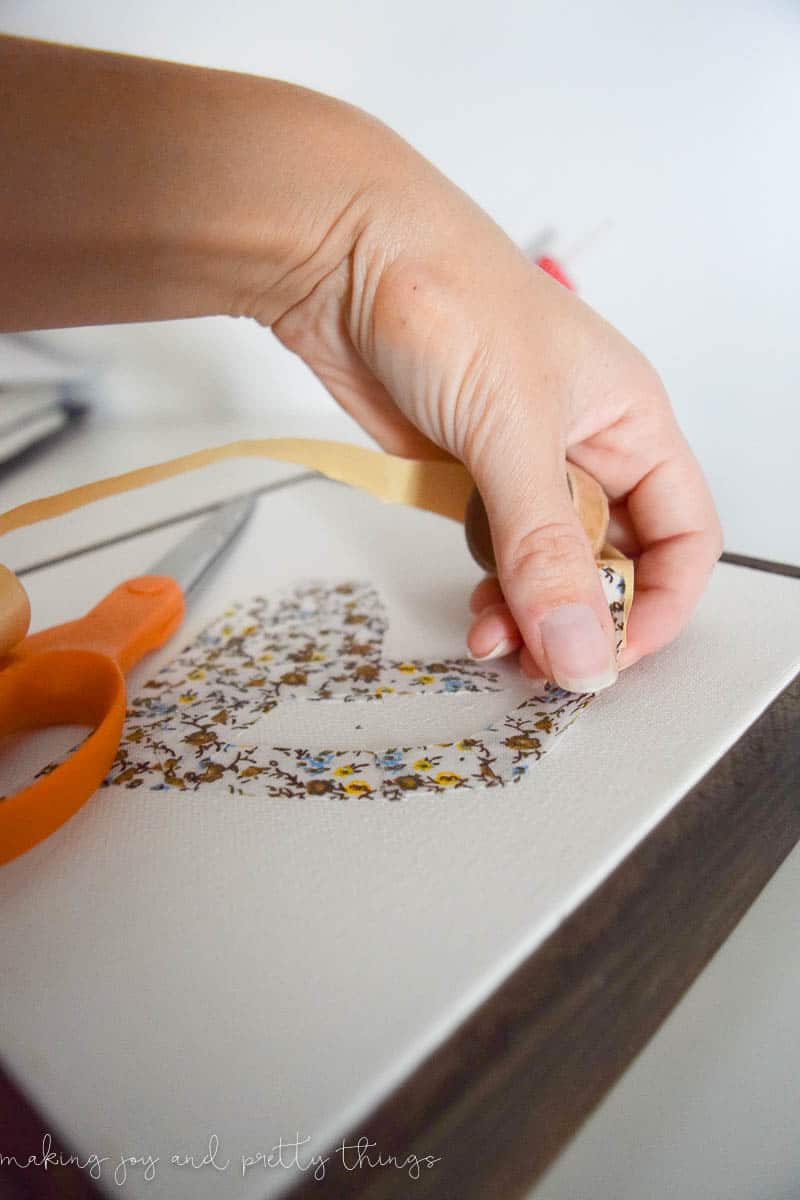
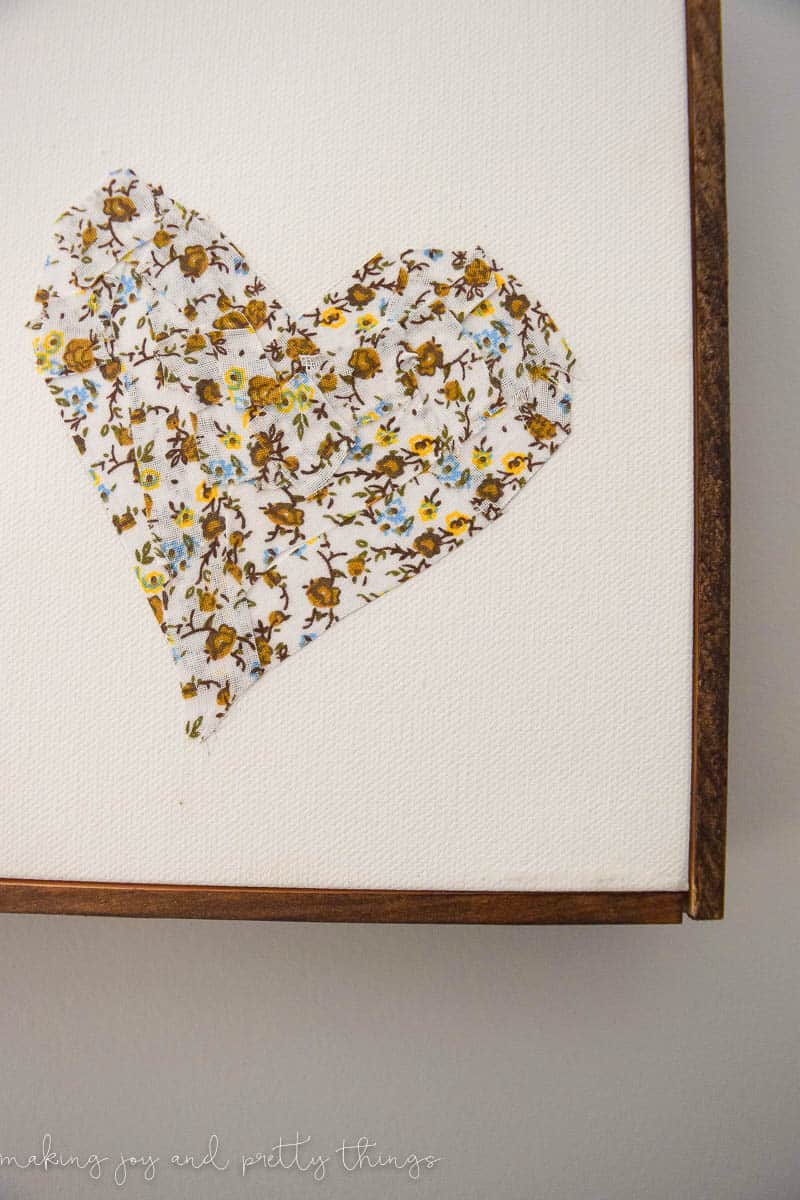
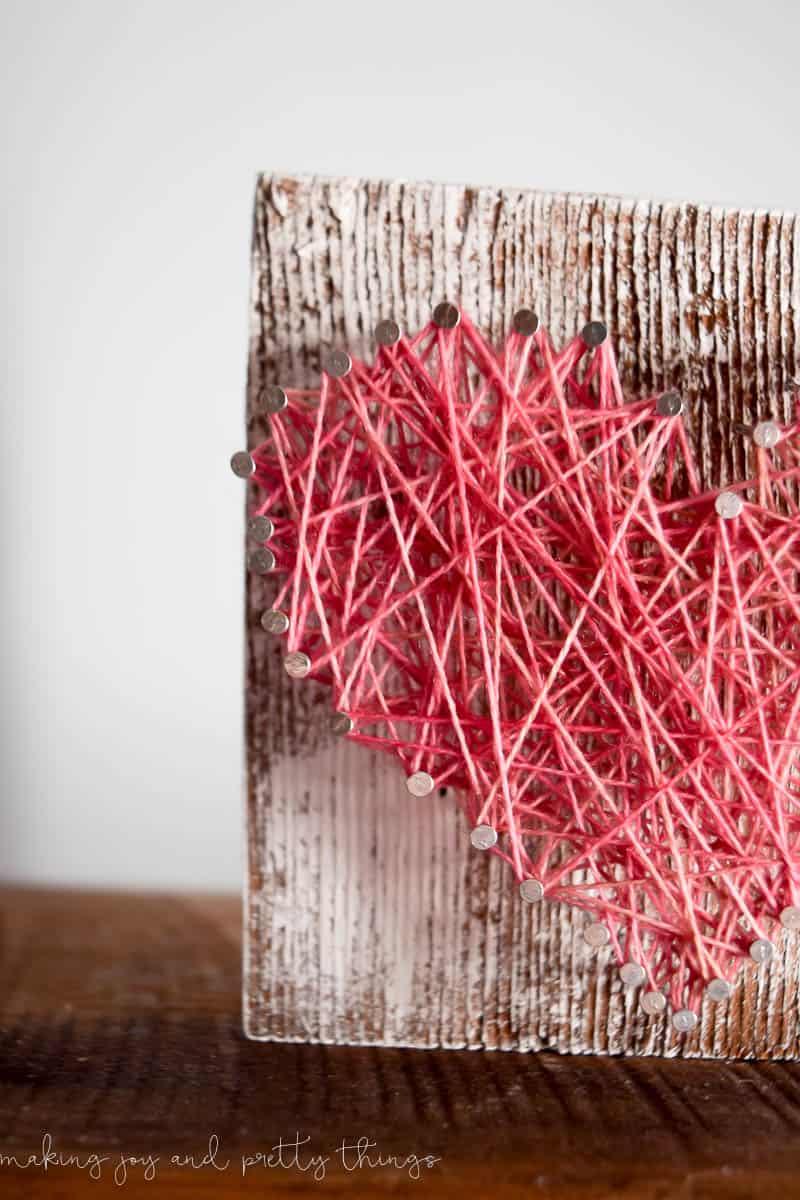
Step 5. Add Heart to Canvas
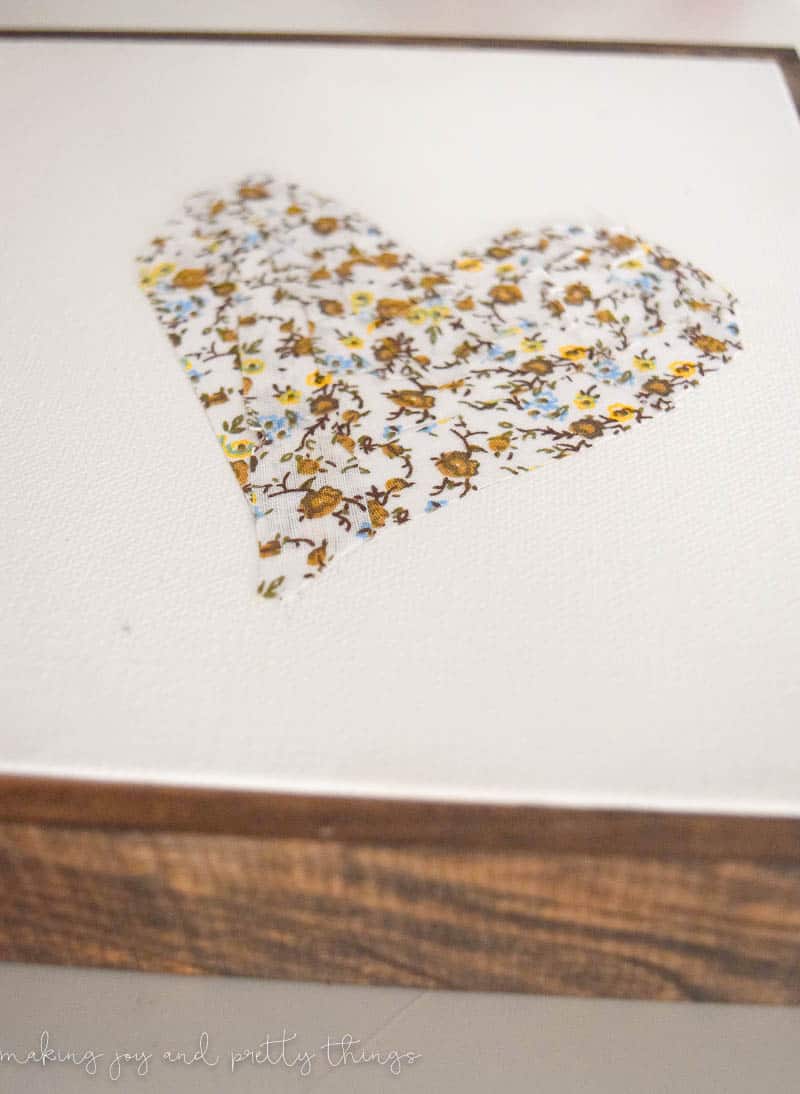
I simply drew a heart in pencil over an area we accidentally got some stain on and used washi tape to fill it in. Make small cuts to the washi tape to get fill in the round edges of the heart.
I used this same washi tape for the pumpkin place cards and I’m obsessed!
Keep in mind, if you can actually make pretty art you can do that, too!! Then have a gorgeous frame around it!
And, that’s it, my friends!
It’s currently hanging (via 3M strips) under the DIY Irish Blessing Framed Sign. I just need one more piece there to make that little area complete…

I hope you enjoyed learning how to make a frame for a canvas without using any power tools whatsoever. This was a nice and easy project using no power tools at all! I love participating in these create with me projects and it’s easy to follow along too!
Hop down under the survey to see what the other ladies made!!

Butterfly Canvas- Our House Now a Home
Mixed Material Art- Little Bits of Home
Ombre Butterfly Art- Refresh Living
Map Canvas Wall Art- My Life from Home
How to Frame a Canvas – Making Joy and Pretty Things (that’s me)
Two Minute Canvas Art- Love Create Celebrate
Lighted Halloween Canvas- Knock it Off Kim
Wishing you a joyful day!

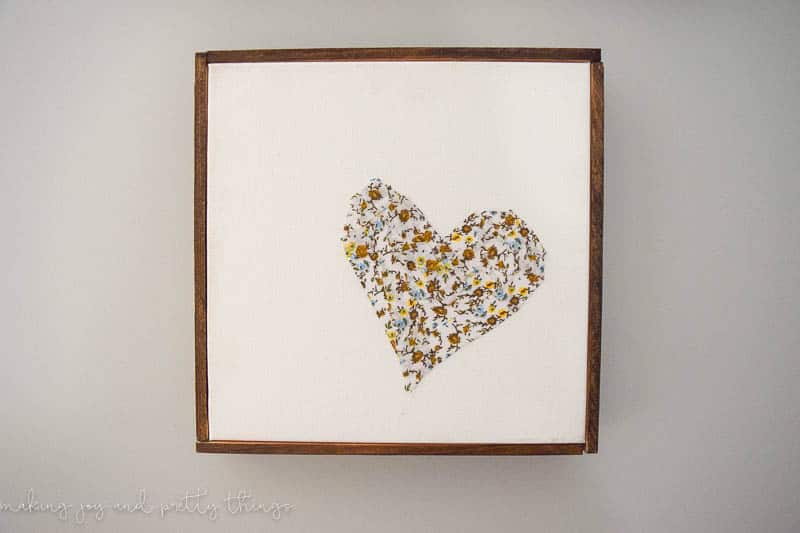
How to Frame a Canvas Without Power Tools
Frame a canvas WITHOUT using power tools! Now you can get the polished, finished look of a framed canvas without worrying about using power tools.
Materials
Instructions
- Cut your pine boards into 4 pieces to fit your canvas to make the frame. You can do this using a hand saw and a miter box.
- Stain the pieces and let dry overnight. You don't need to stain the side that will rest against the canvas.
- Using hot glue, apply it to the unstained side of each piece and adhere it to the canvas.
- Draw a heart shape on the canvas with a pencil.
- Use washi tape in your favorite pattern to fill in the heart.
- Hang on the wall and enjoy!


I’m not handy or artistic, so I can totally relate! I love your project and may need to trying framing something out with your method in the future! Thanks for sharing.
Aww thanks Amy!! I’m glad I’m not the only unartistic one!
I love the looked of the framed canvas so much better than without. I think I need to do this to the canvases in my home now!
I completely agree, Jenny!! You have to try it out, SO easy!
Love the framed canvas, Sarah! The dark wood is perfect!! Love the fabric too! Hope you have a wonderful week, friend! xo
Aww you’re so sweet, Kendra!! Thanks so much for your kind words. Hope your week is fantastic, too!
hey girl love the heart! So pretty!
Thanks, Shawna!! It is so simple to make!
Love this! And, I love that someone so creative feels she can’t paint – it makes me feel better! I adore the look of the frame around the canvas. Great, great project!
Aww you’re so sweet, Kim! I’m so glad you love the frame.
This is such a creative idea! I just love it!
Thanks Michelle!! I’m glad you like it.
So adorable! Super creaive! I love the heart and where you put it on the canvas. I know it’s simple, but the placement is perfect and something I never would have thought of! So hard for me to think out of the box like that! The frame is perfect, too! Must try!
Aww thanks so much Samantha! You’re too kind! I’m so so glad you like the project.
This is a great idea, I’m not sure why I haven’t thought about it before!! Going to have to give it a try. Love the art you made, too 🙂
Thanks, Lora! It was such an easy project.
What a fun challenge! Using the washi tape in the way you did was definitely creative.
Thank you, Shani. I can’t draw or do “art” to save my life so something simple and fun was the best I could do!
What a cute little project. I love how easy and simple yet pretty it is. Thank you for sharing!
Thanks Sabrina!! You know I love easy projects 😉