
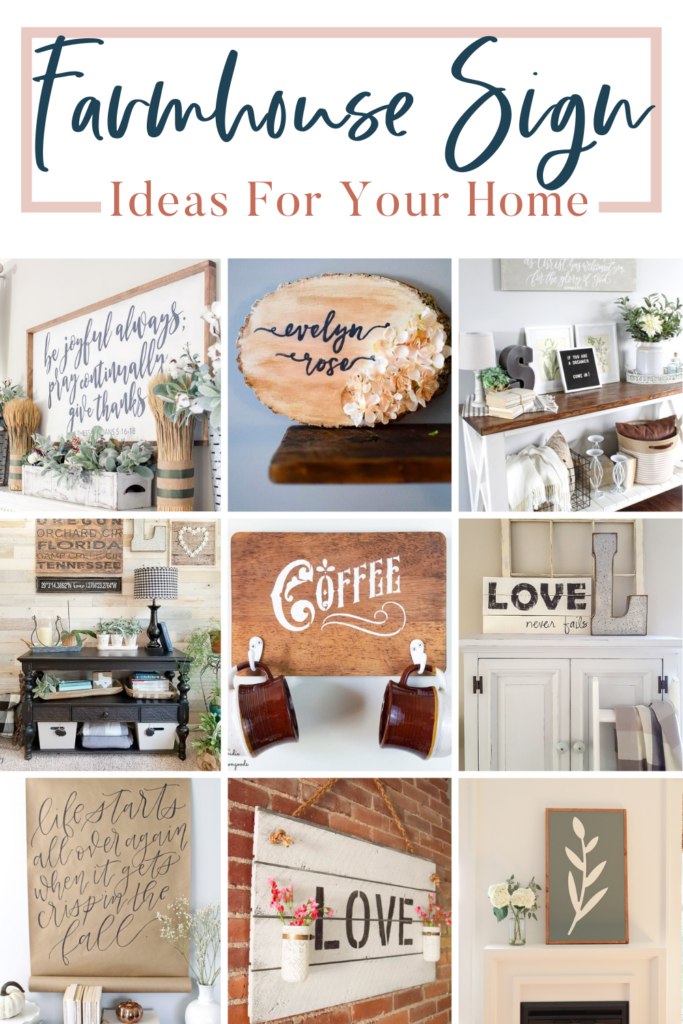
40+ Farmhouse Sign Ideas To Make For Your Home
Need to decorate your blank walls? Make your own farmhouse sign! Get inspired with these DIY farmhouse sign ideas!
Do you love the farmhouse look?? One way to get the look quickly is by making your wall decor! Today I’m pulling out all the stops and giving you TONS of farmhouse sign ideas!
But first, let’s take a closer look at one of my favorite farmhouse signs that I recently made.
Our most recent farmhouse sign project
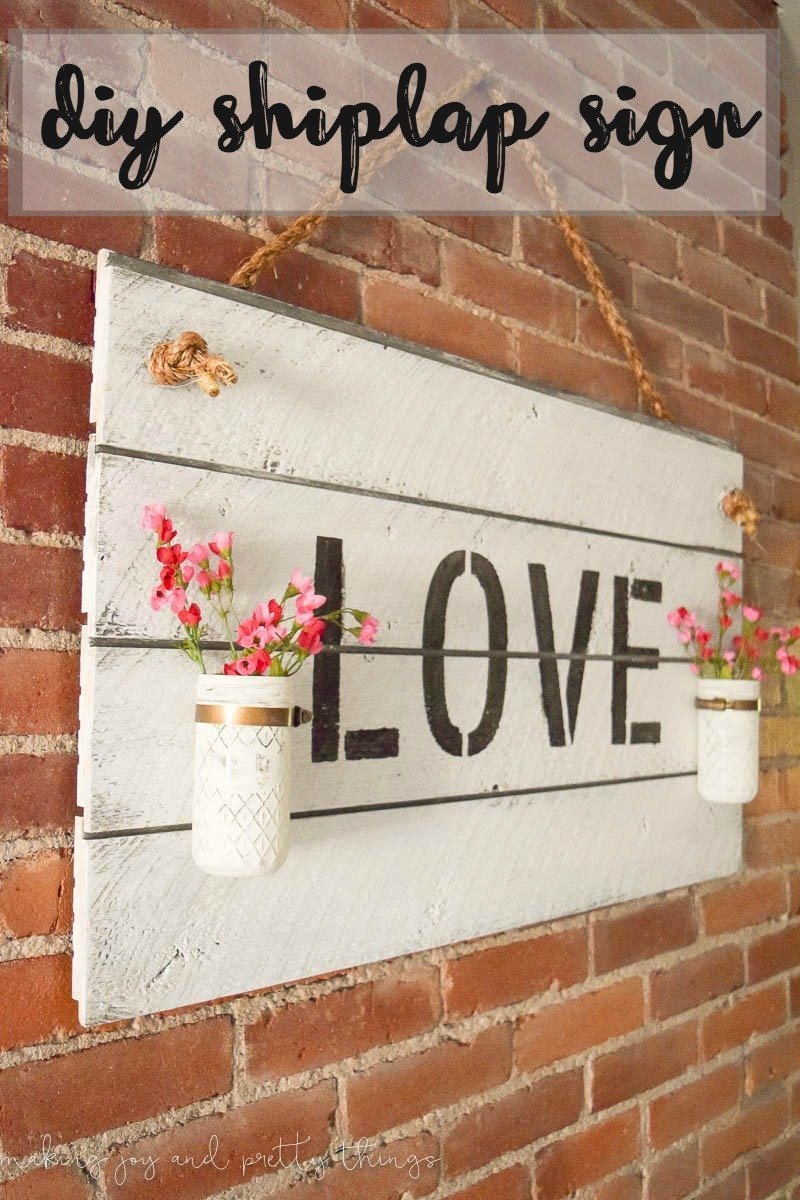
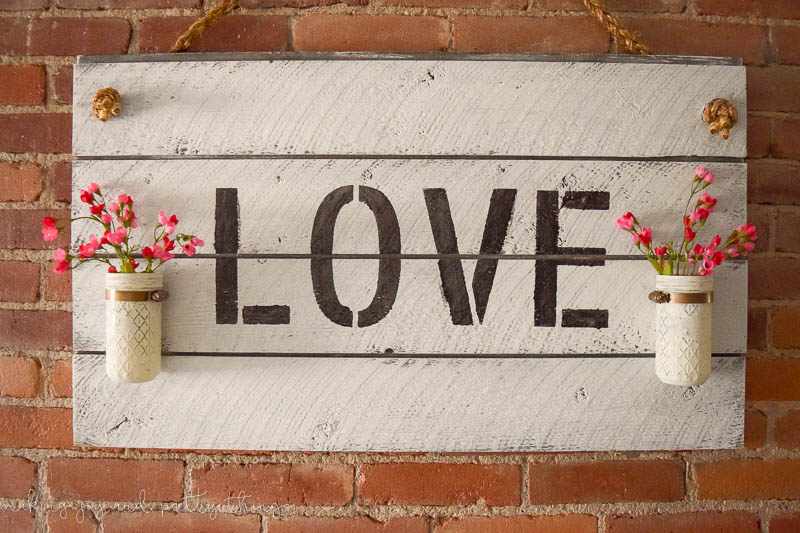
This DIY Shiplap sign is the perfect rustic farmhouse-inspired project that is budget-friendly and doesn’t require you to actually shiplap a wall or room!
It’s no secret that I love all things farmhouse.
From the neutral color palette to the use of metals and aged wood, there’s pretty much nothing I don’t absolutely love.
One of my favorite farmhouse trends is the use of shiplap. Shiplap walls are all the rage these days and for great reason! They’re beautiful, and cozy yet rustic, and can be used in basically any room.
You know I want to go and shiplap all the walls!! {Anyone with me?!}
But, I decided to test the shiplap waters first by making a DIY shiplap sign!
And, you guys, I love love love it!!
I absolutely cannot wait to show you guys how I made this rustic DIY shiplap sign!
Head on over to Making it in the Mountains to see my full tutorial!
40+ MORE Farmhouse Sign Ideas
Now as promised, here are a ton more farmhouse sign ideas to inspire you!
Farmhouse Sign Ideas
Rustic Farmhouse-Inspired DIY Shiplap Sign
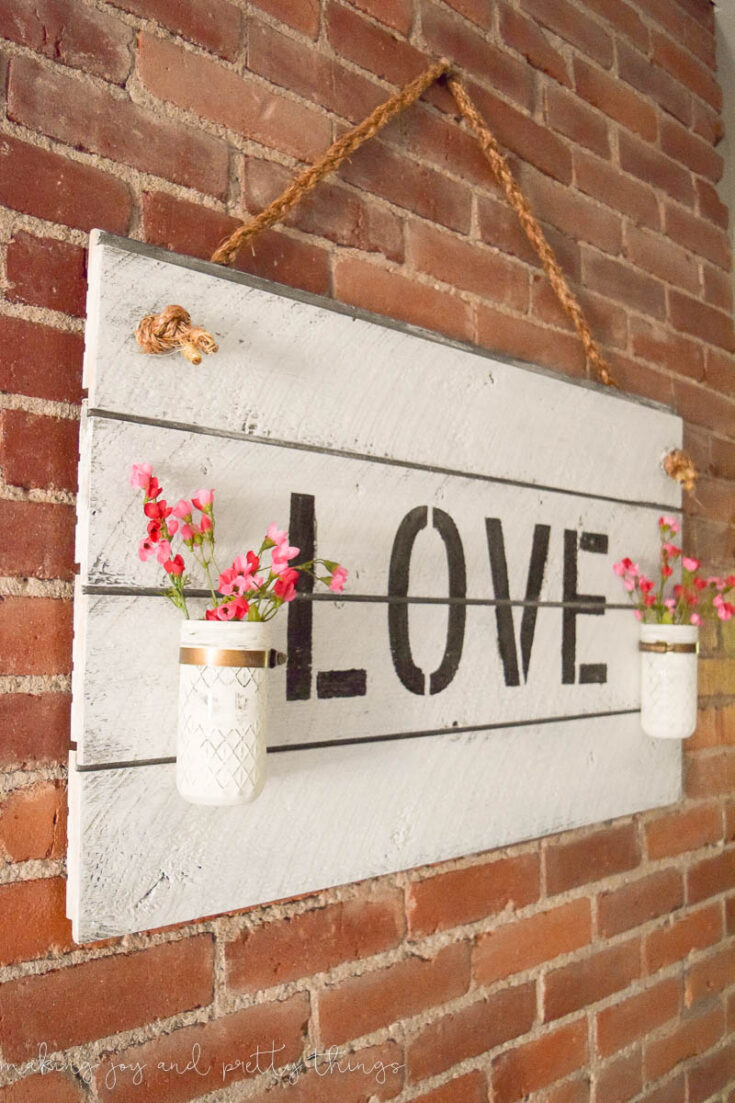
Some wooden signs are just so fun to make and really capture the farmhouse style. This shiplap sign with the word love would look amazing in any room.
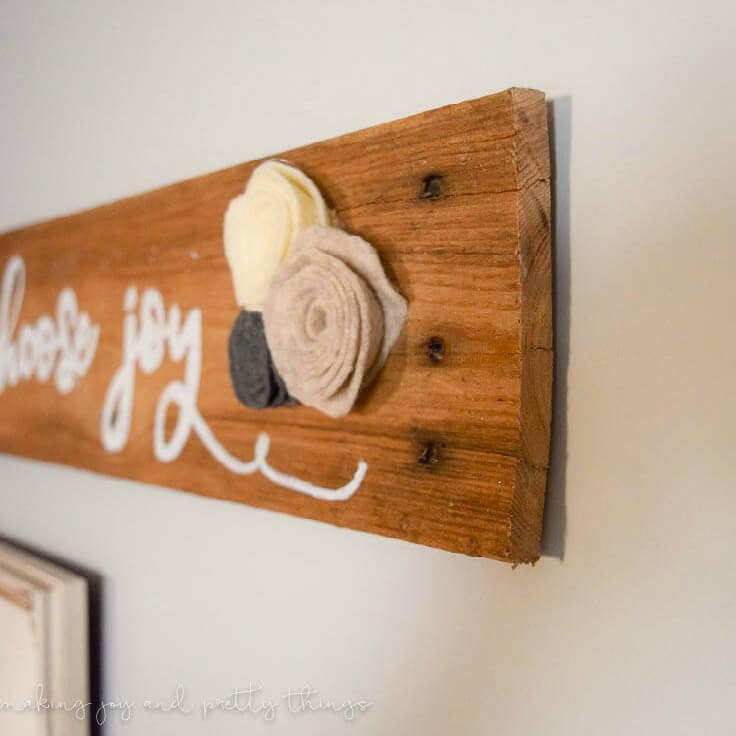
DIY Rustic Pallet Wood Sign: Home Decor Tutorial
This sign I made was a great inspirational sign that reminds us to choose joy every day. This can go great in a living room and makes a great gift idea.
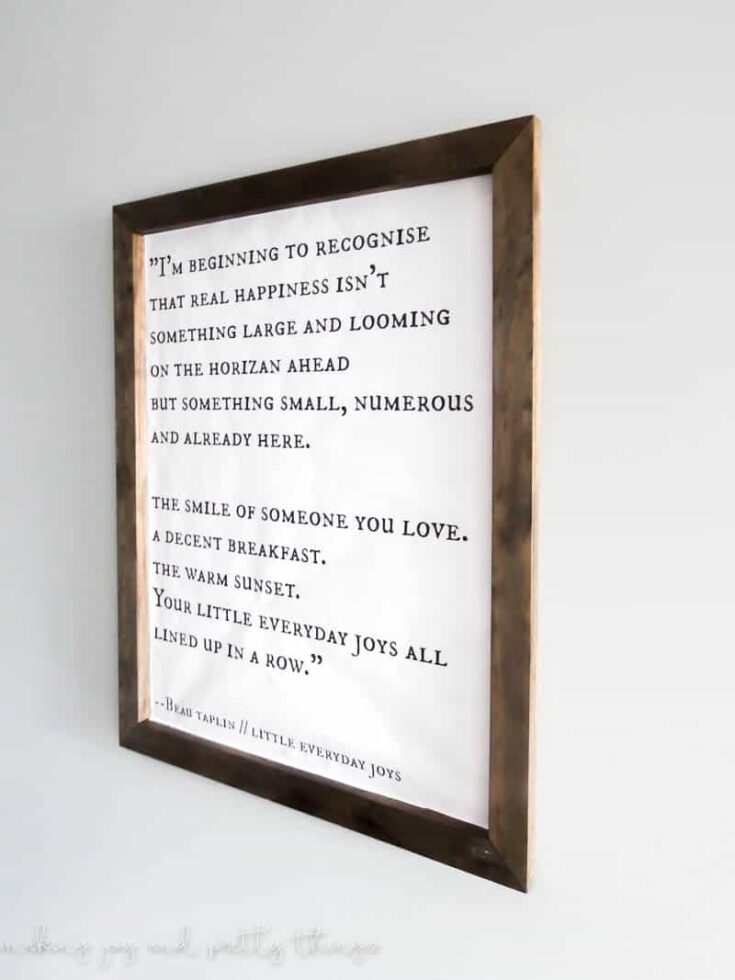
How to Make a Farmhouse Typography Sign
Black lettering on a white background is a great way to create a simple sign with a big meaning. I love the way this looks.
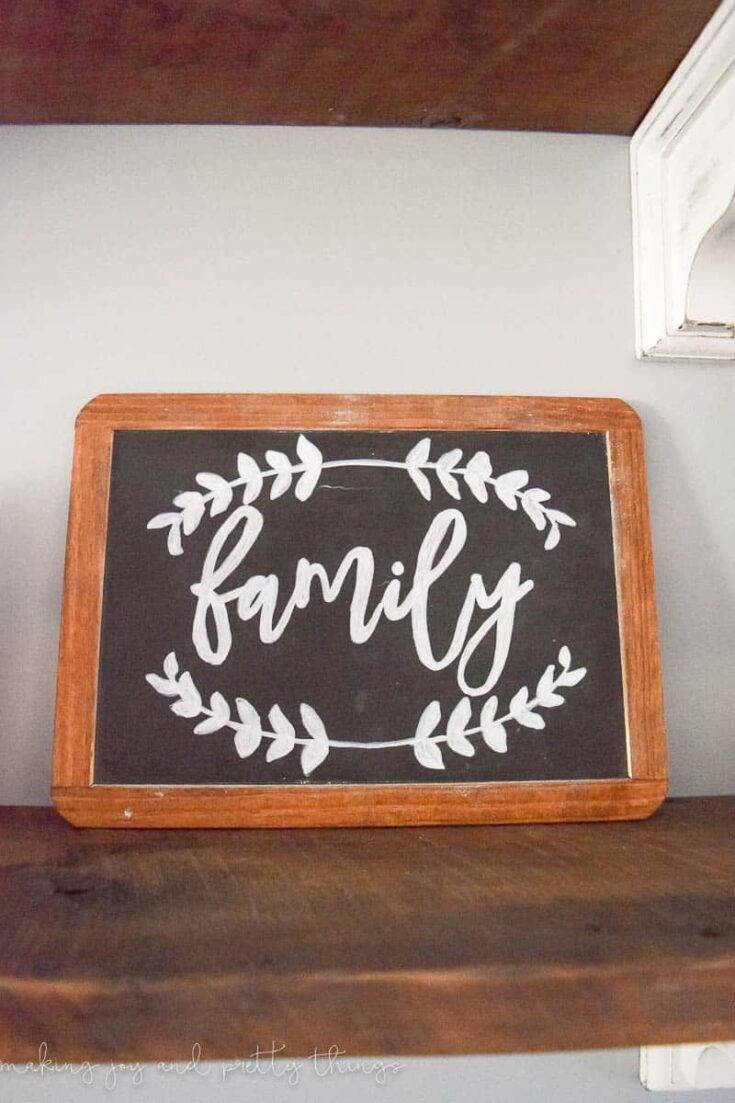
Chalkboard Lettering on DIY Sign
If you want to make some vintage signs, don't forget to use some chalk for that rustic fixer upper look.
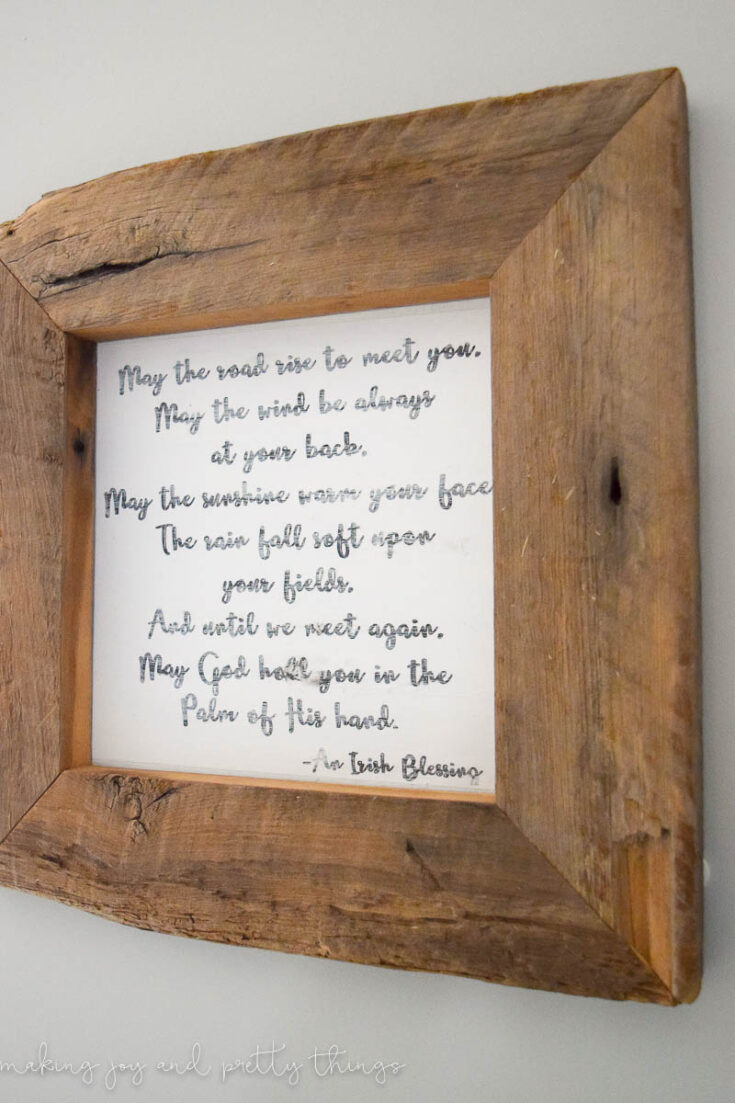
Irish Blessing Sign DIY
We used barn wood here to make an awesome wall decor framing of an Irish blessing.
Related Reading - Check out these other barn wood ideas!
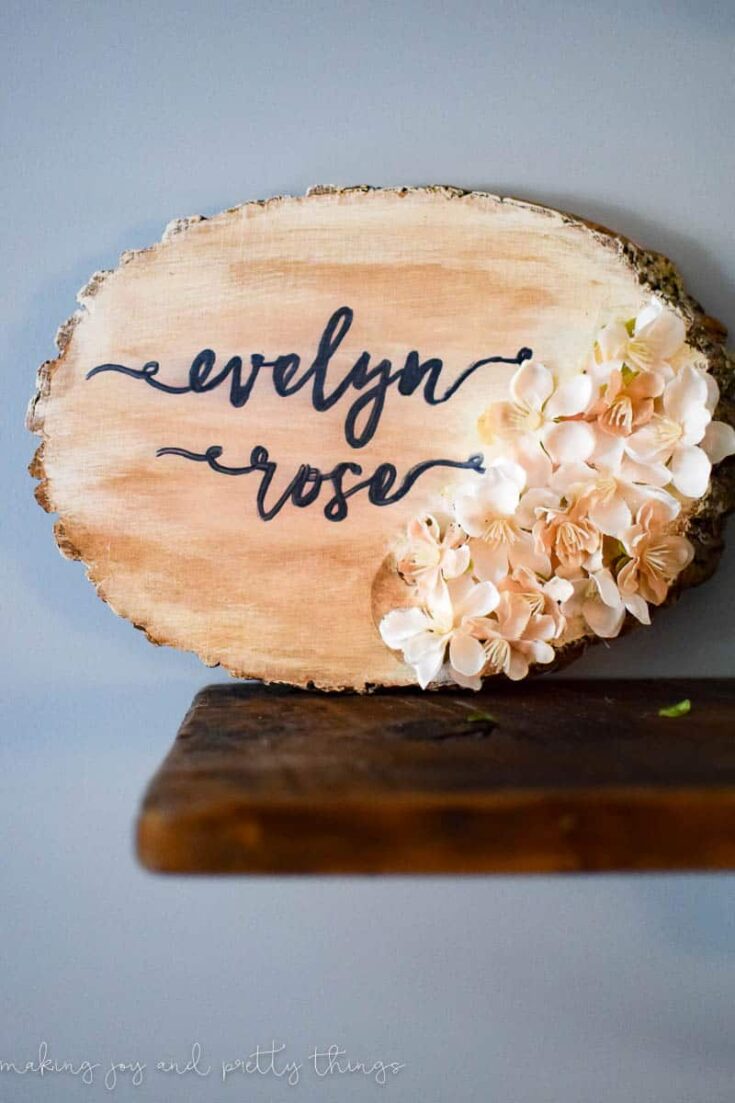
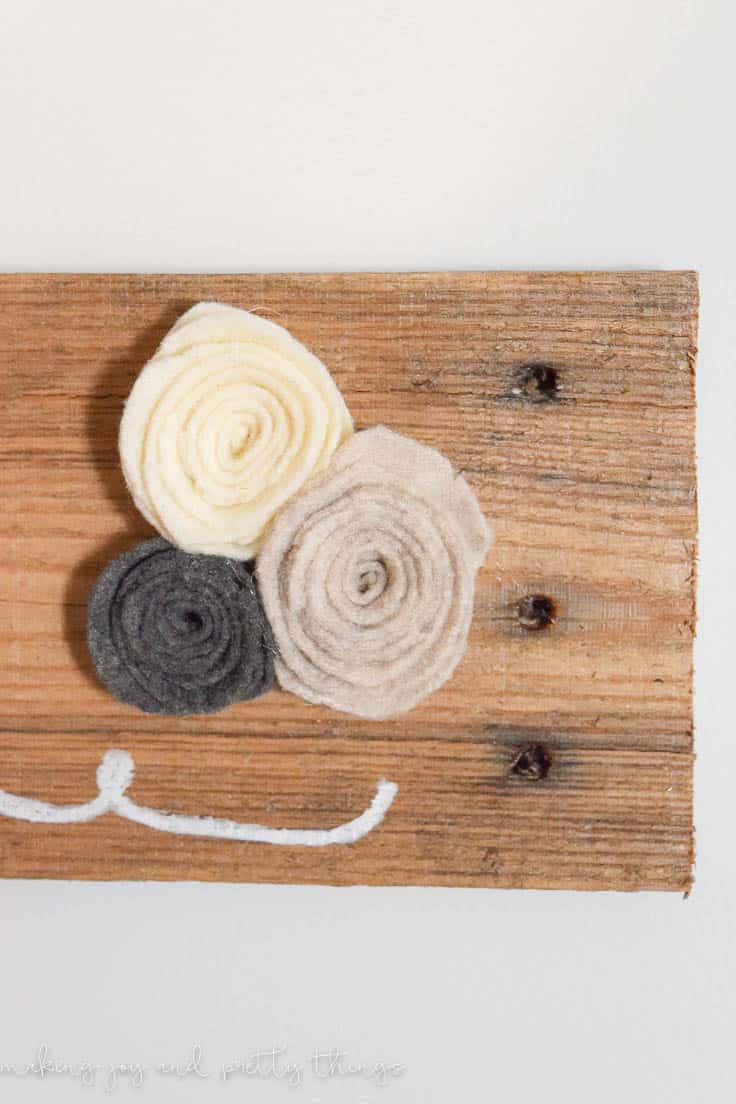
DIY Nursery Name Sign
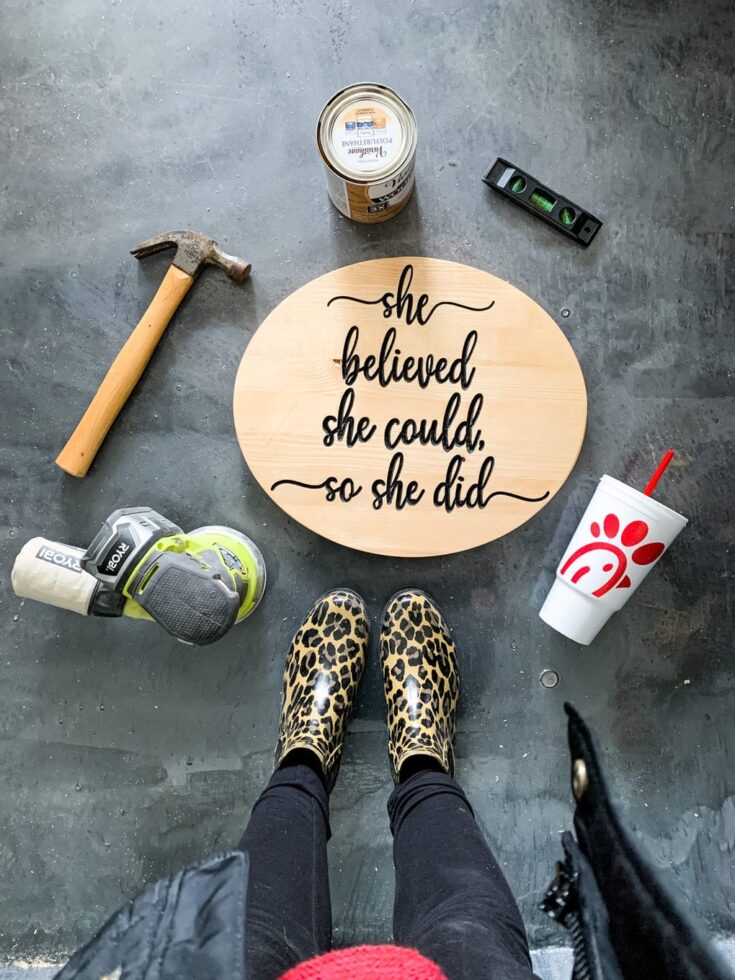
If you want to make DIY wood signs for a nurser, why not do it with rustic wood rounds that you can easily find at craft stores? I used a wood round to make this one where I painted and traced the text and added the flowers.
DIY Shiplap Sign With Leftover Shiplap
Do you have leftover shiplap from a recent DIY project? Put it together and make a farmhouse sign!
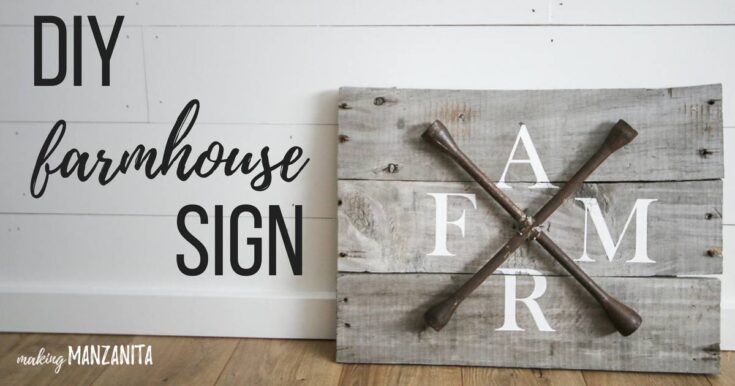
DIY Farmhouse Sign with Pallet Wood and Repurposed Lug Wrench
Want to make your own easy DIY farmhouse signs with pallet wood? Check out this tutorial for a guide. I love how she used a leftover tire iron cross to make a great sign.
How to Make DIY Wood Signs with a Farmhouse Look
I love the way she made this sign and hung it as decor in her dining room. It totally looks professional.
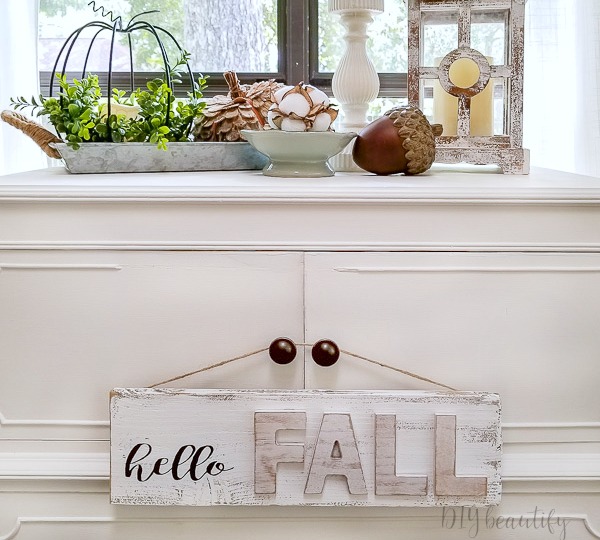
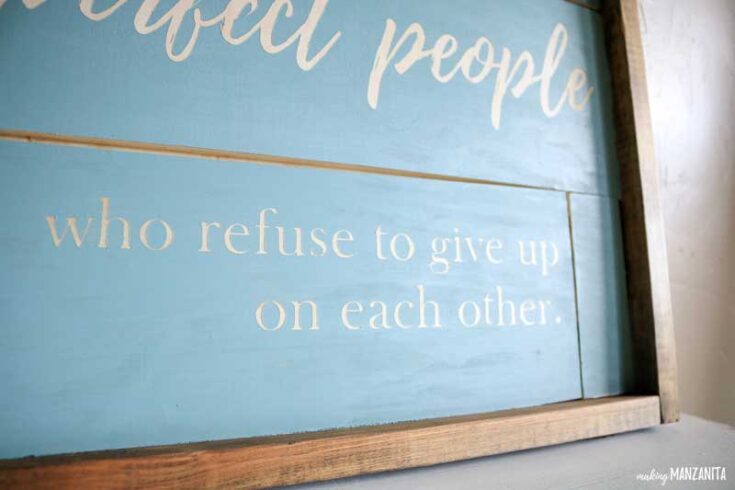
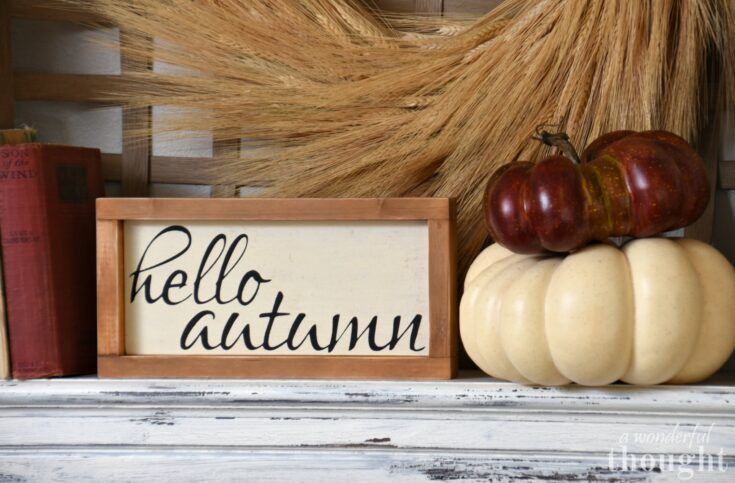
How to Make a Shabby Farmhouse Sign for $4
This is an excellent sign that can be hung almost anywhere. It would be a great family room sign to start the fall season, but you can change the lettering to something that would last year all year long.
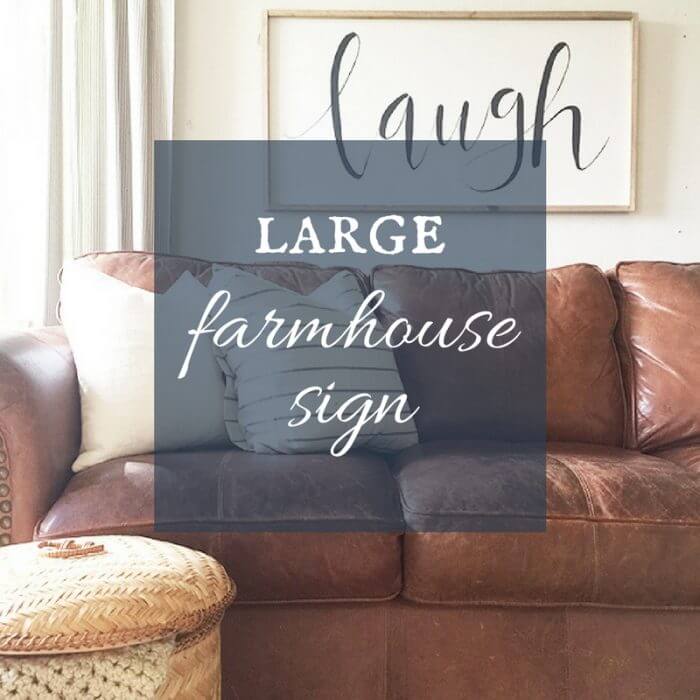
Large Farmhouse Sign | Laugh Often
She used plywood and some wood pieces to make a beautifully handmade item hung in a living room. Laugh is a great statement and reminder, but you could also do one with your family name for something more personal.
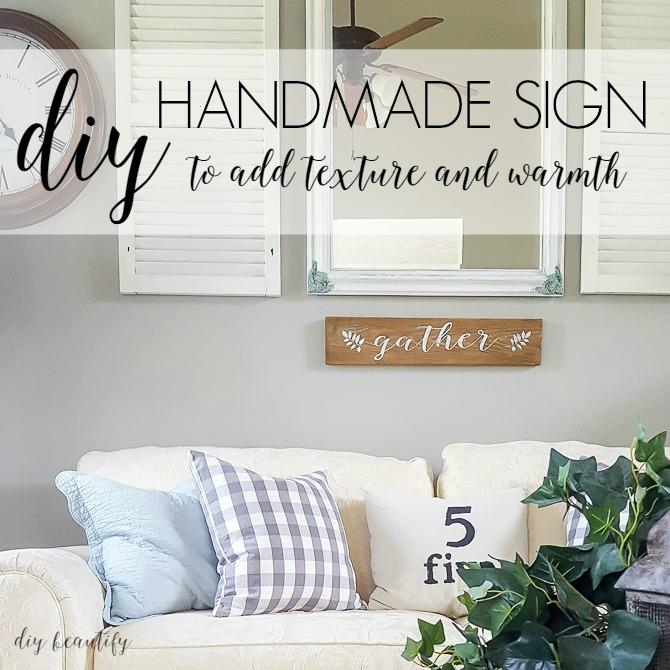
How to Make a Farmhouse Sign and a Free Printable
Use this printable to make your own stencil with a Silhouette cutting machine I love the rustic piece of wood used to make this gather sign with an aged look.
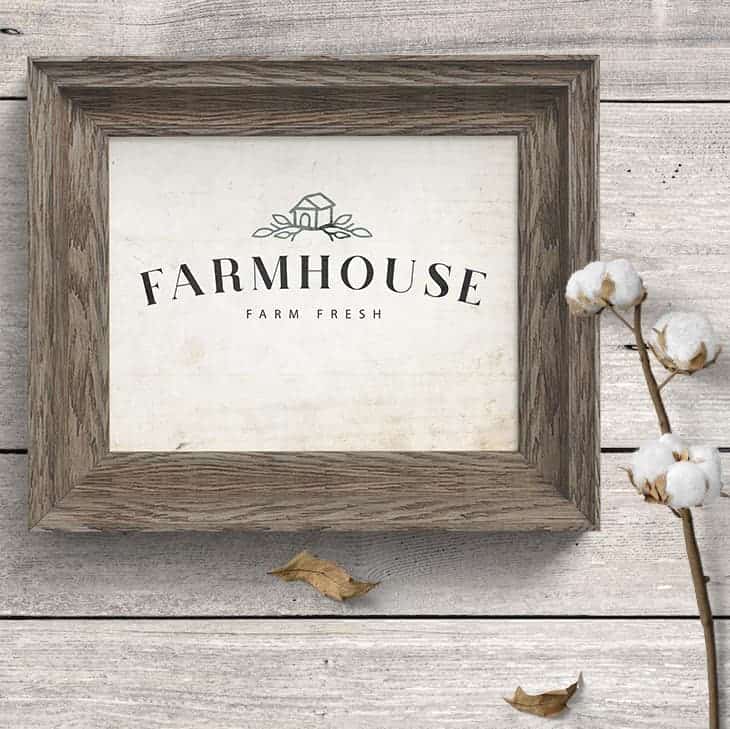
Free Print for Easy Farmhouse Sign Decor!
Have an empty picture frame and don't know what to put into it? Use this printable to make a beautiful rustic sign. Printables are a super cheap and easy way to decorate quickly!
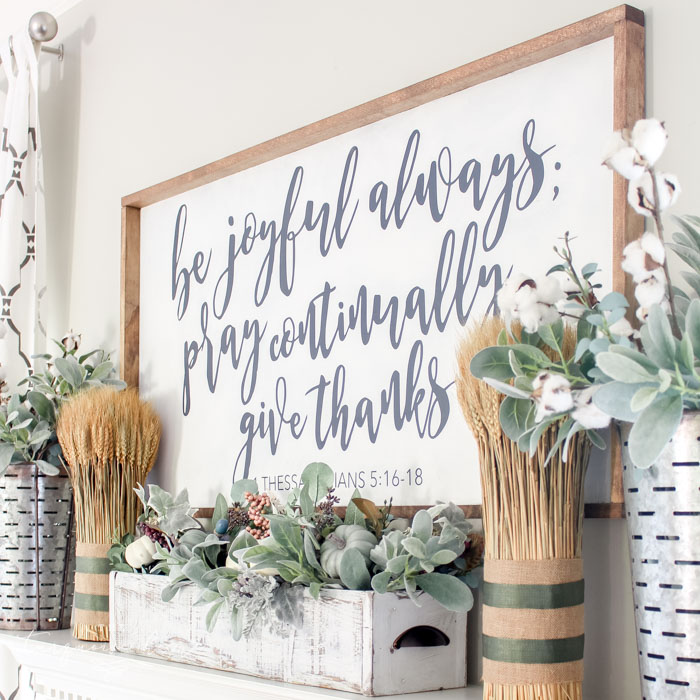
Simple Fall Mantel with a Farmhouse Sign
Some wall signs make a big statement like this one hung over the family mantle. A DIY sign like this is definitely a popular decoration for putting above your fireplace.
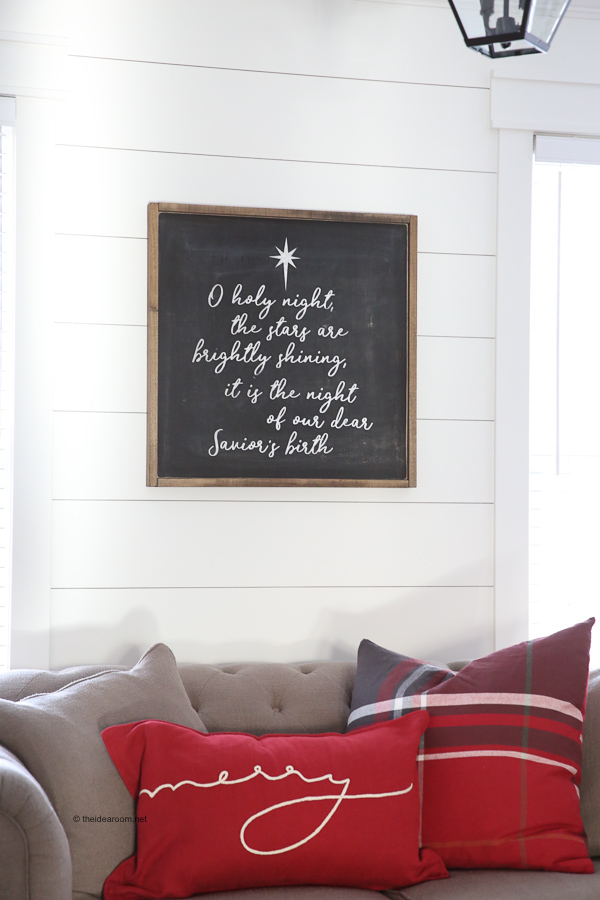
Oh Holy Night Christmas Sign
Looking for decorating ideas for Christmas? Then this Christmas sign is perfect! I love how it looks hung up in this living room.
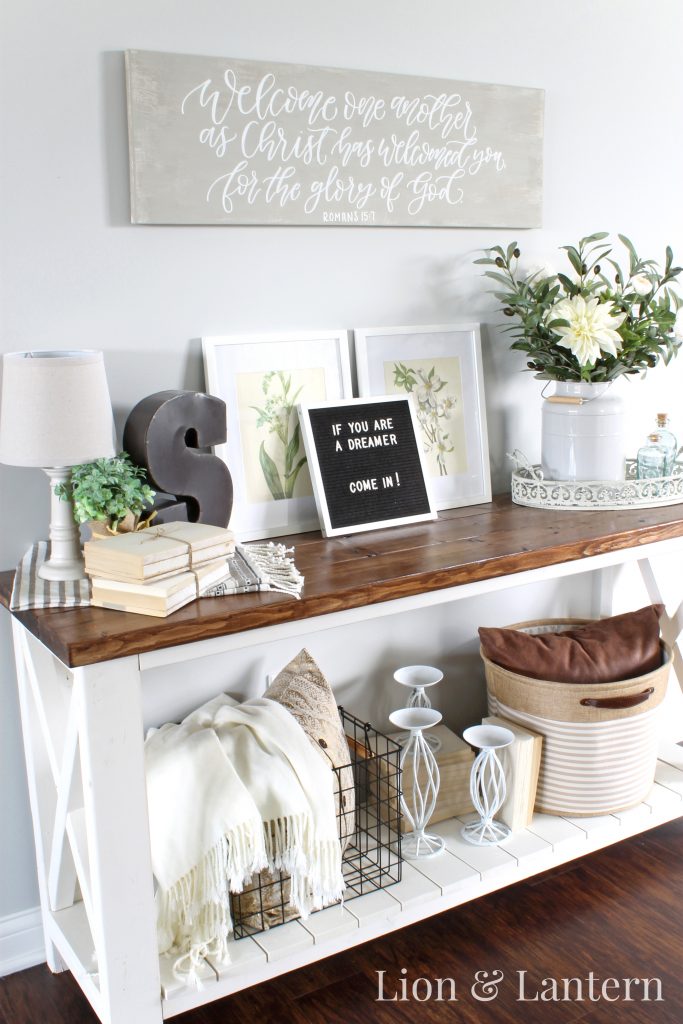
Cottage Farmhouse Entryway Decor for Summer
This wooden sign painted hung in an entryway really welcomes you to the home and is a beautiful use of calligraphy. The bible verse on the sign is a great one to use on a welcome sign for your front porch or entry.
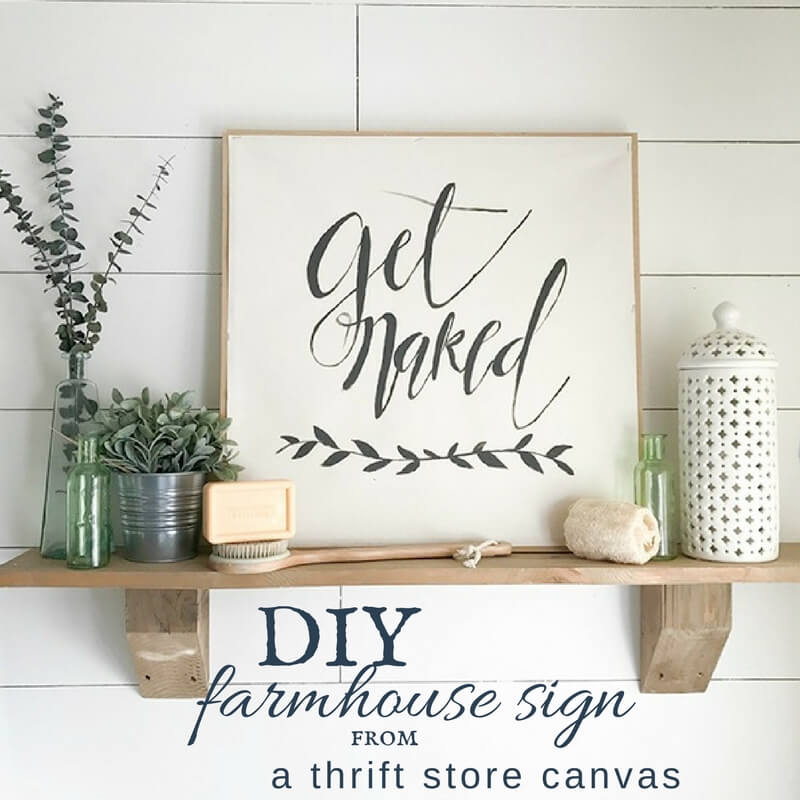
DIY Farmhouse Sign from a Thrift Store Canvas Print
She traced this bathroom sign and then painted it on canvas found at the thrift store to add some creativity to her bathroom. It turned out great!
DIY Sign with GPS Coordinates
This rustic wall art is a great way to mark down a special place in the world with coordinates. Follow along with this very easy tutorial to make your own!
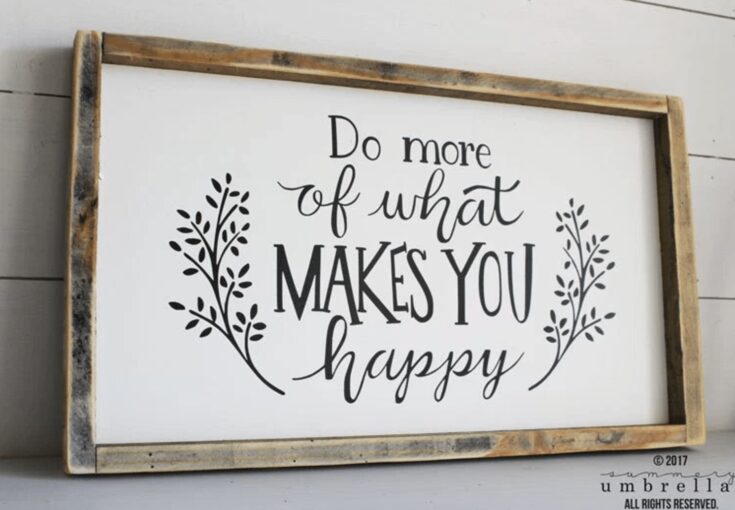
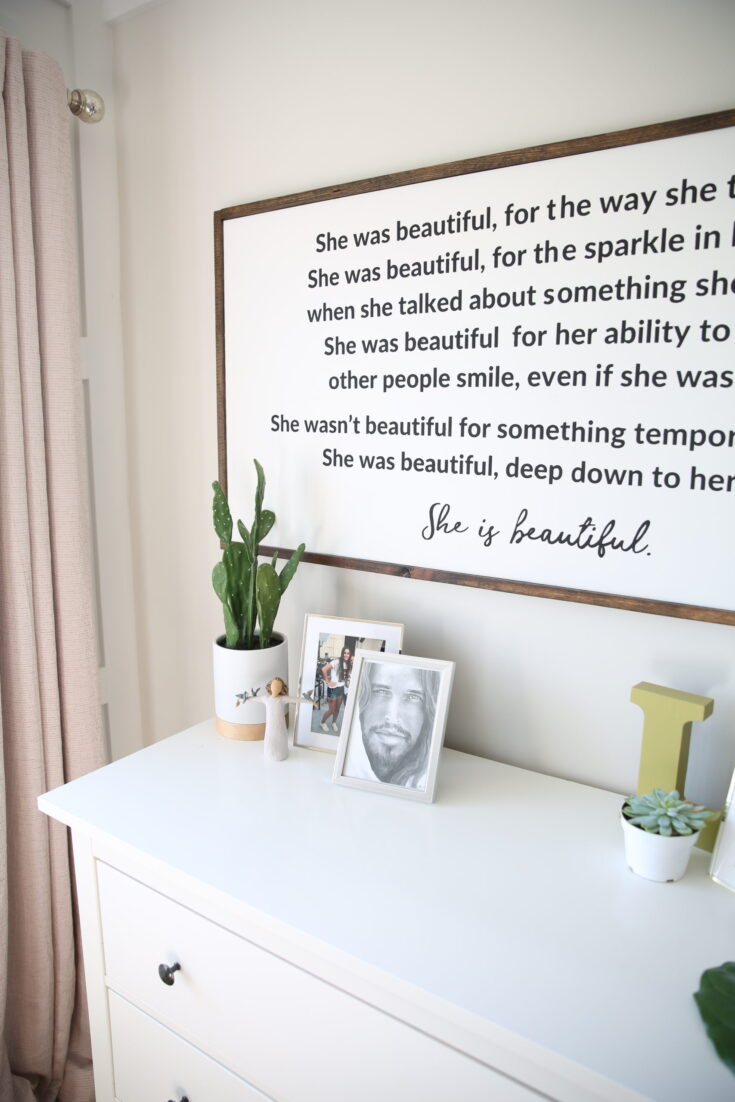
Hand Lettered DIY Wood Sign Video Tutorial
Sometimes we all need reminders to focus on what matters and sometimes a custom farmhouse sign like this is all you need. This tutorial walks you through the entire process of making this hand-lettered sign.
Bonus...they are also giving away the free SVG file if you like this one!
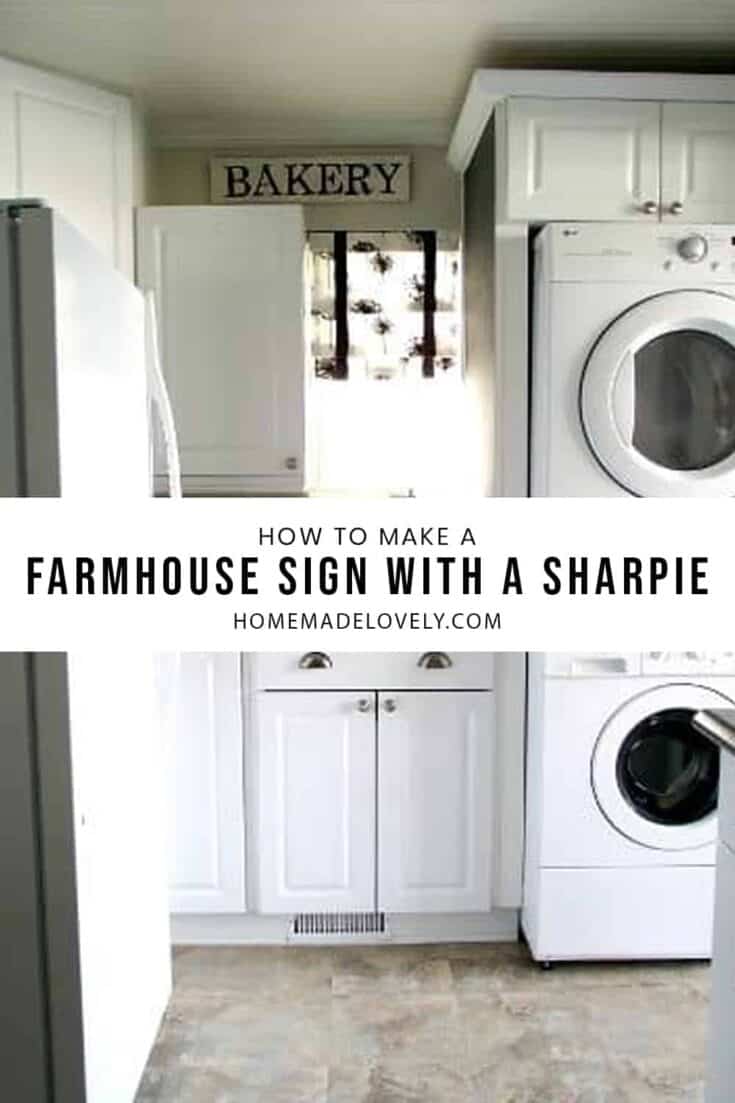
Vintage Bakery Sign (Made with a Sharpie!)
Want that distressed crackle look but don't have the time to wait? She uses a crackle medium to get the look fast and makes a great sign with it. It looks great styled above the doorway in her kitchen.
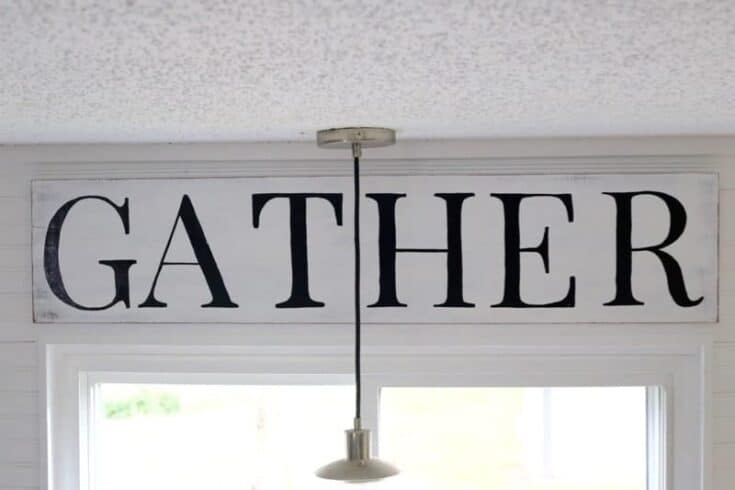
Easy DIY Gather Sign
This kitchen sign captures that farmhouse home decor style and is easy to make. Gather is a perfect word to use in the kitchen or dining room.
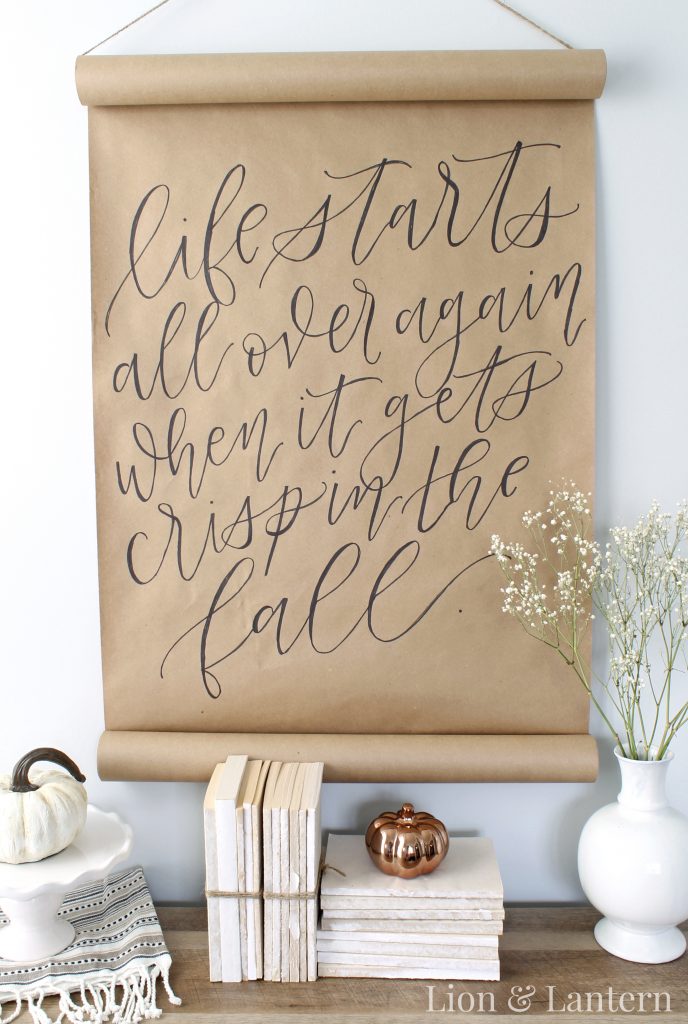
DIY Calligraphy Scroll Sign for Decor or Event
She makes a unique scroll look sign with a permanent marker and fills in for that calligraphy look. This one is definitely unique because it doesn't use a wood background, like the other farmhouse sign ideas!
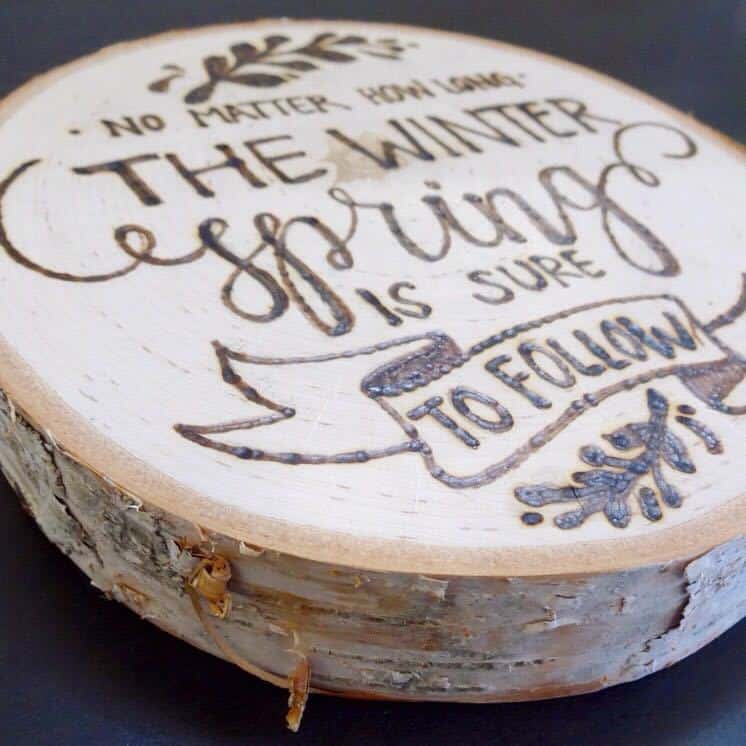
DIY Rustic Wood Sign: Beginners Wood Burning Tutorial
With a quick trip to Hobby Lobby, she got everything she needed to make these fun wood-burned signs. This looks like so much fun!
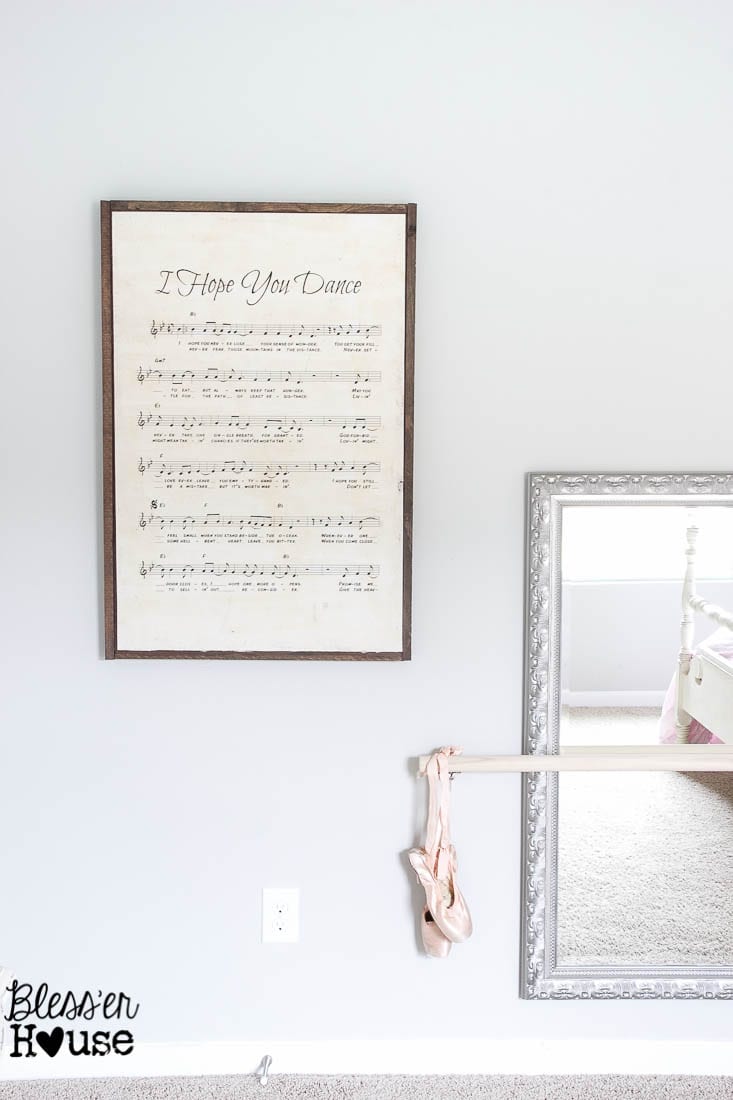
DIY Oversized Sheet Music Sign
I love the idea of having sheet music of meaningful songs displayed in your home as decor! She makes this oversized sheet music sign out of particle board and furring strips but you could also simply frame the printed sheet music for a similar look. How fun would this be for a wedding gift with their first dance song ??
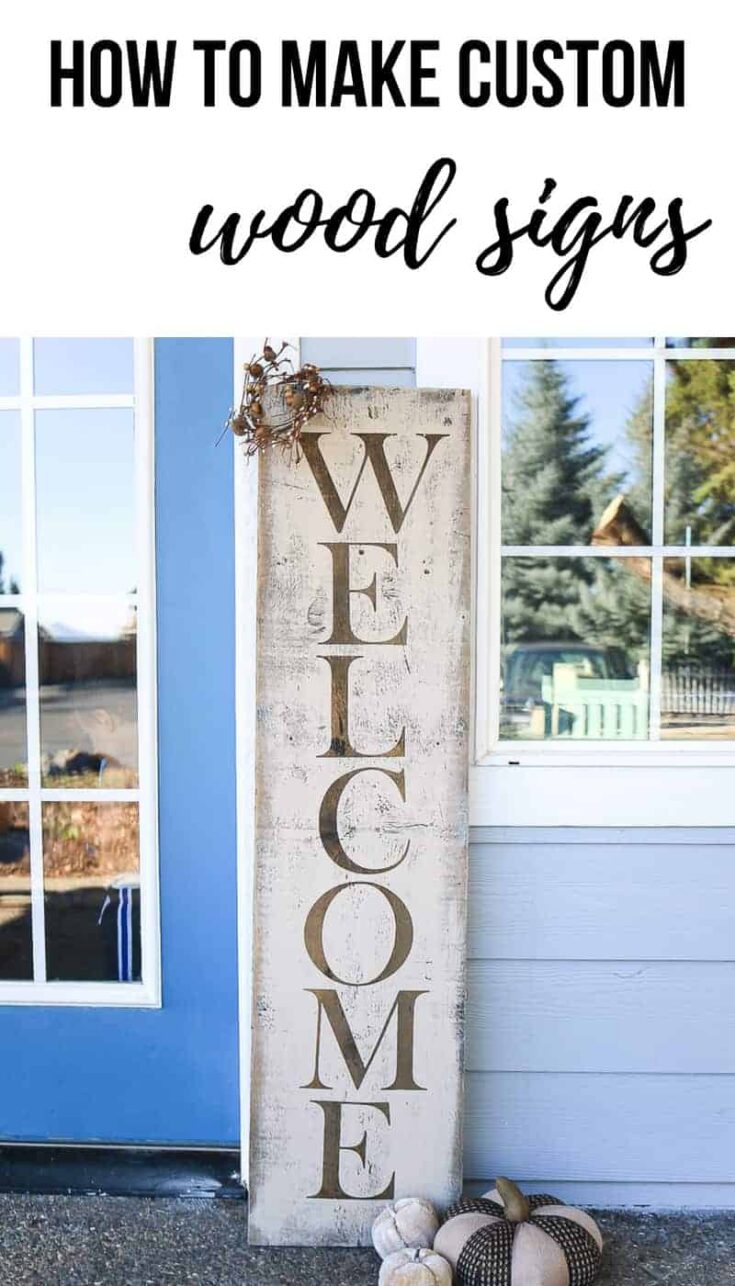
How to Make Custom Wood Signs
Learn how to make a large Welcome sign for your front entry with this simple tutorial. This would look great next to your front door!
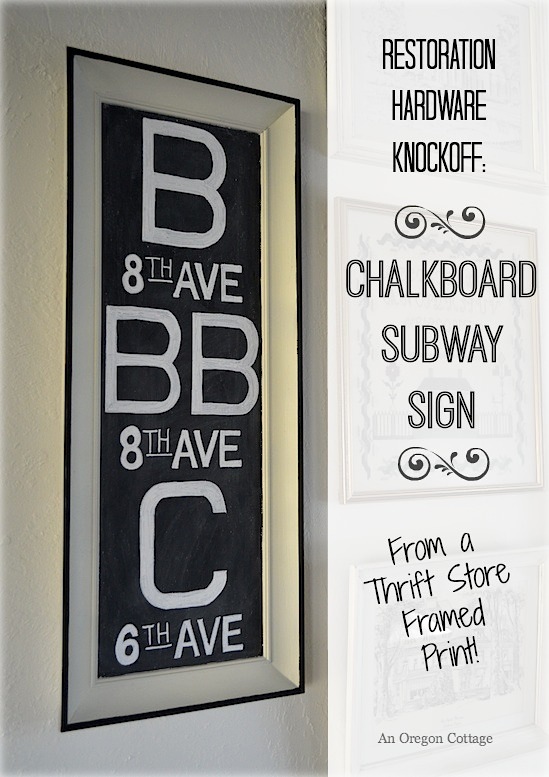
DIY Chalkboard Subway Sign
Follow along with this great tutorial to make your own DIY chalkboard subway sign that totally looks like it would be sold at Restoration Hardware!
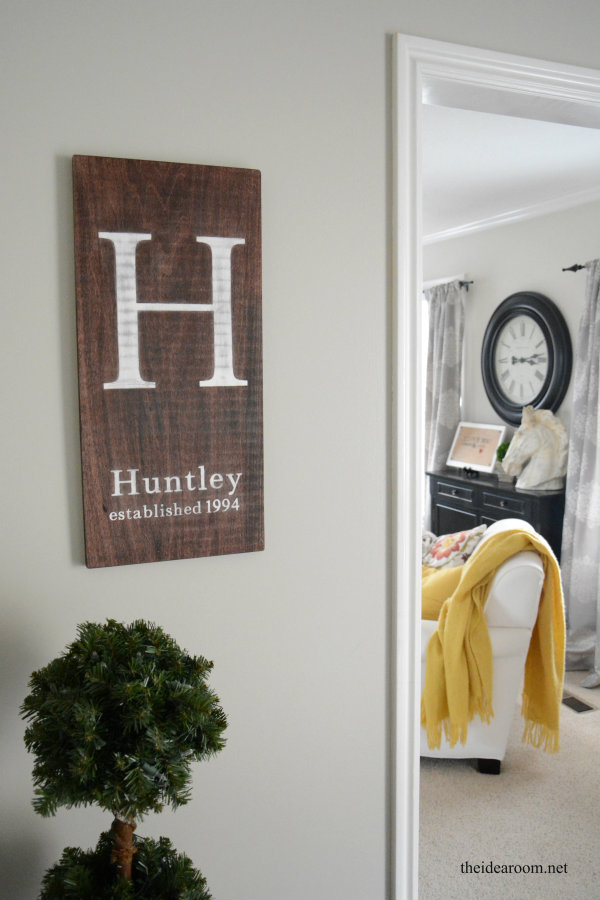
DIY Monogram Initial Sign
This monogram sign with a last name and year established fits right in with farmhouse decor. It also makes a perfect gift!
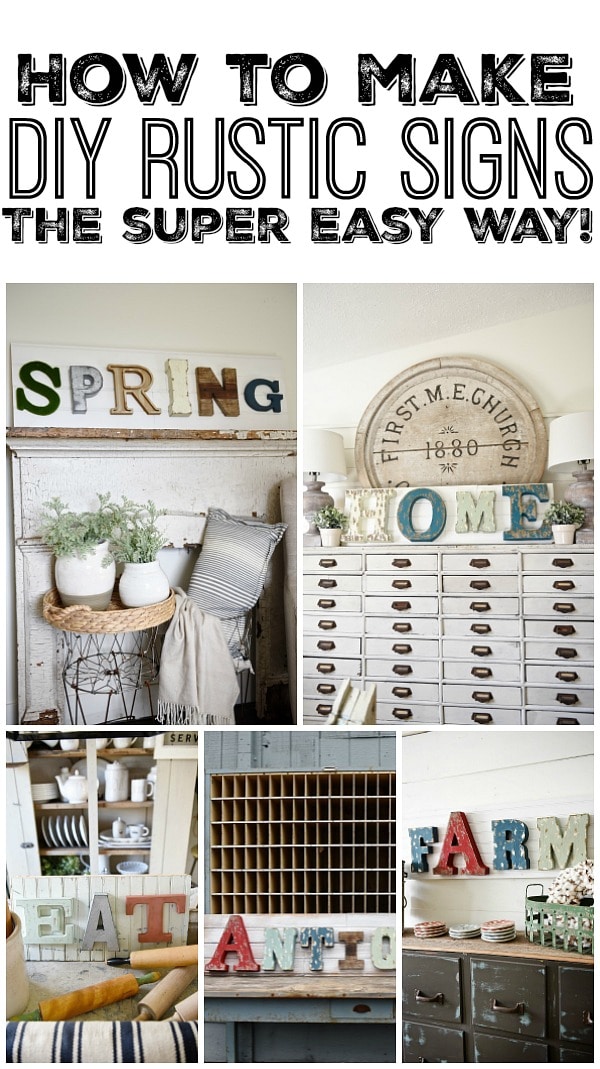
DIY Rustic Metal Letter Signs
If you want to get that classic Magnolia look, reminiscent of the early days of Fixer Upper, you can make a metal letter sign with mismatched metal letters. This is perfect for a home office or even a game room!
Girl's Room Decor: DIY Wood Sign
Looking for a sign to make for your little girl's room? This one is perfect!
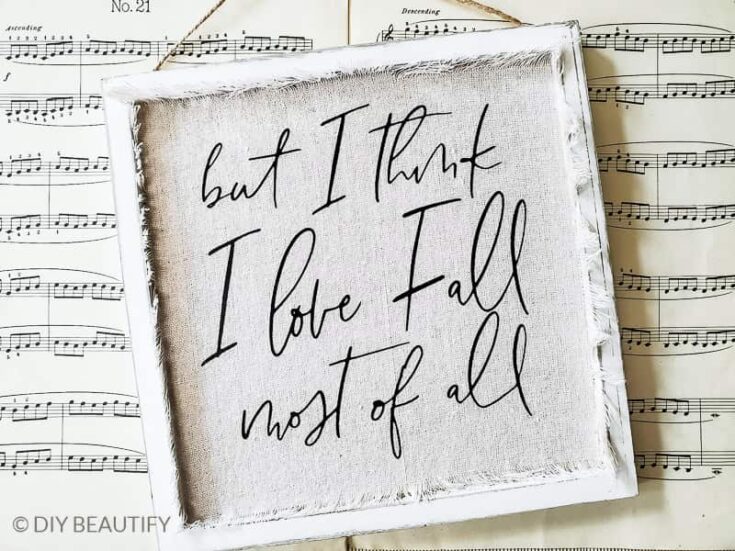
How to Upcycle a Sign using Drop Cloth (and a Free Printable)
Most of these signs are made with real wood and some paint, but I love that this one uses a small scrap of drop cloth for some added texture!
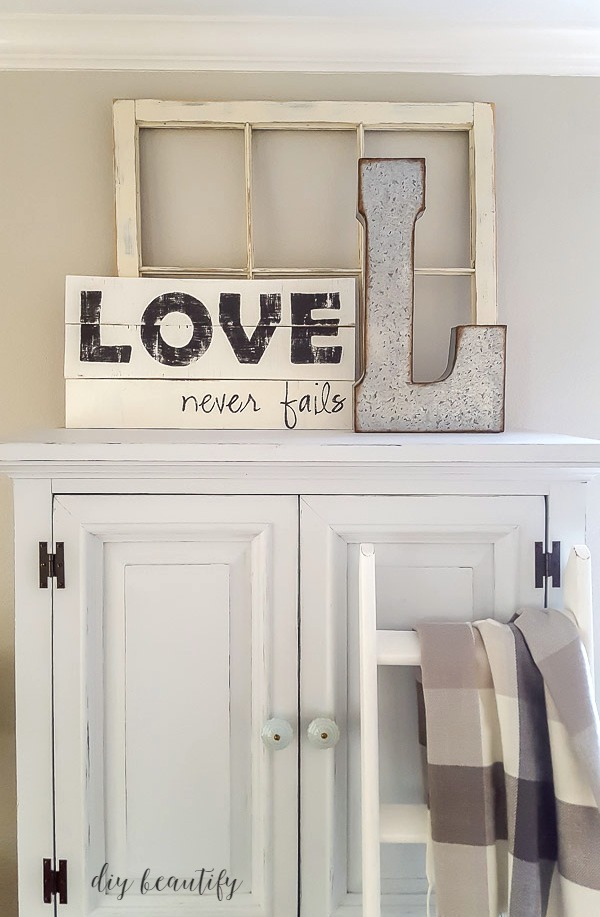
Love Never Fails Sign
Making this simple wooden sign is easy! She simply staples the boards together, sanded and painted them, and then transferred the letters to the wood! Yep, that is right...no stencil is needed! Check out her tutorial for the whole process.
DIY Wood Carved Sign {X-Carve Project}
How cool is this sign? It is engraved with a CNC machine for a unique look.
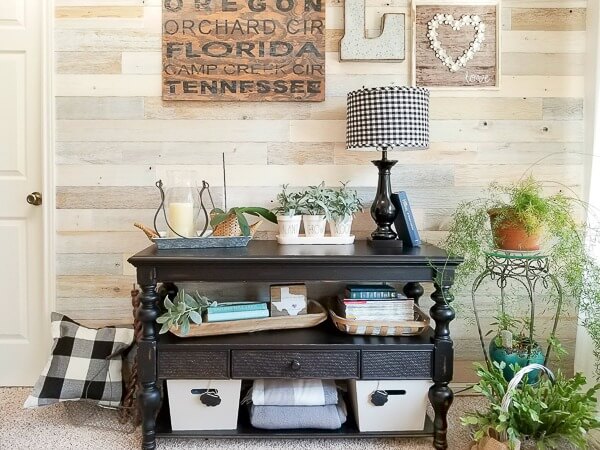
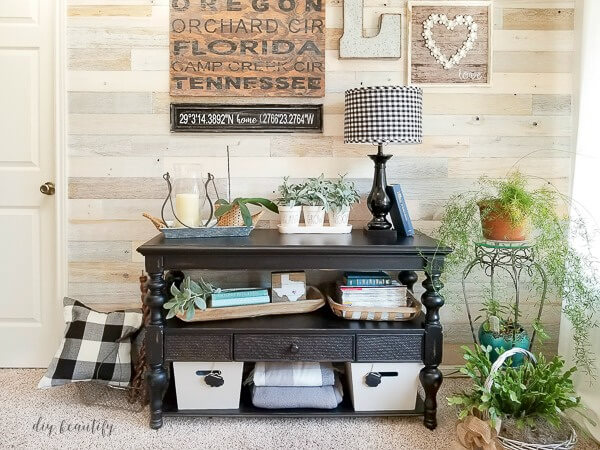
Personalized Subway Sign as Artwork
If you've lived in a lot of different places, why not make a DIY subway sign to remember where you have lived?
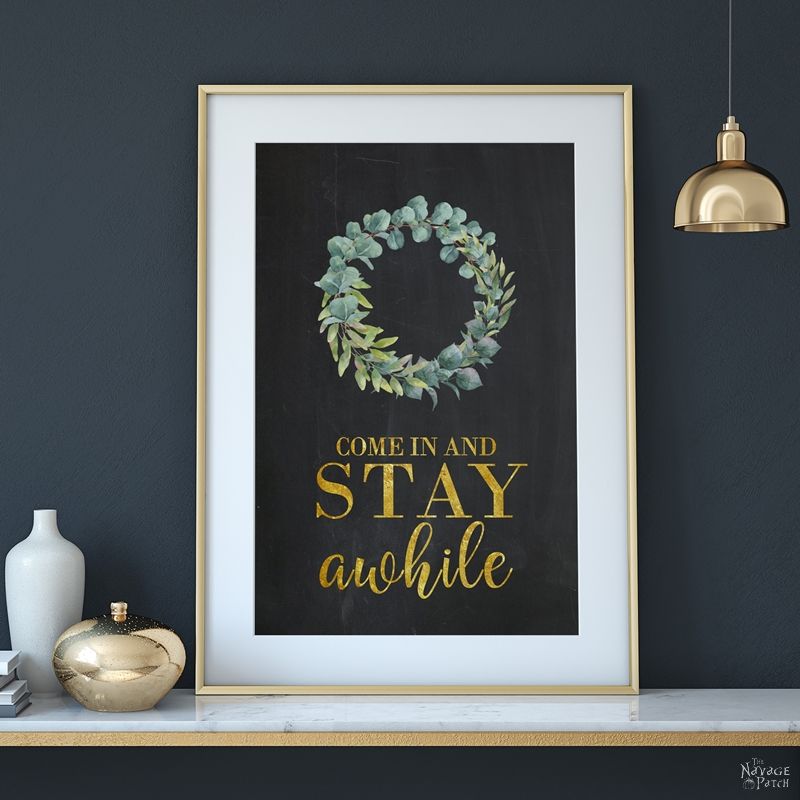
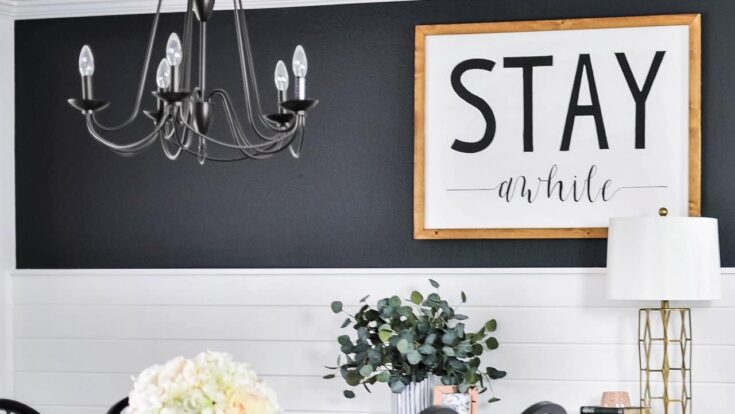
DIY Stay Awhile Sign With Free Printables
This sign with a mini wreath is so cute! She also has this design available as a free printable if you'd like to download it!
DIY Interchangeable Farmhouse Sign
This farmhouse sign idea is SO COOL! The actual design is interchangeable, so you can easily swap it out go to with the different seasons. The insert is attached with magnets! Genius, right?

DIY Scrap Wood Beach-Themed Farmhouse Sign
This one is perfect for a coastal-themed space or beach house! But you could totally use this same technique and change the saying to be anything you want!
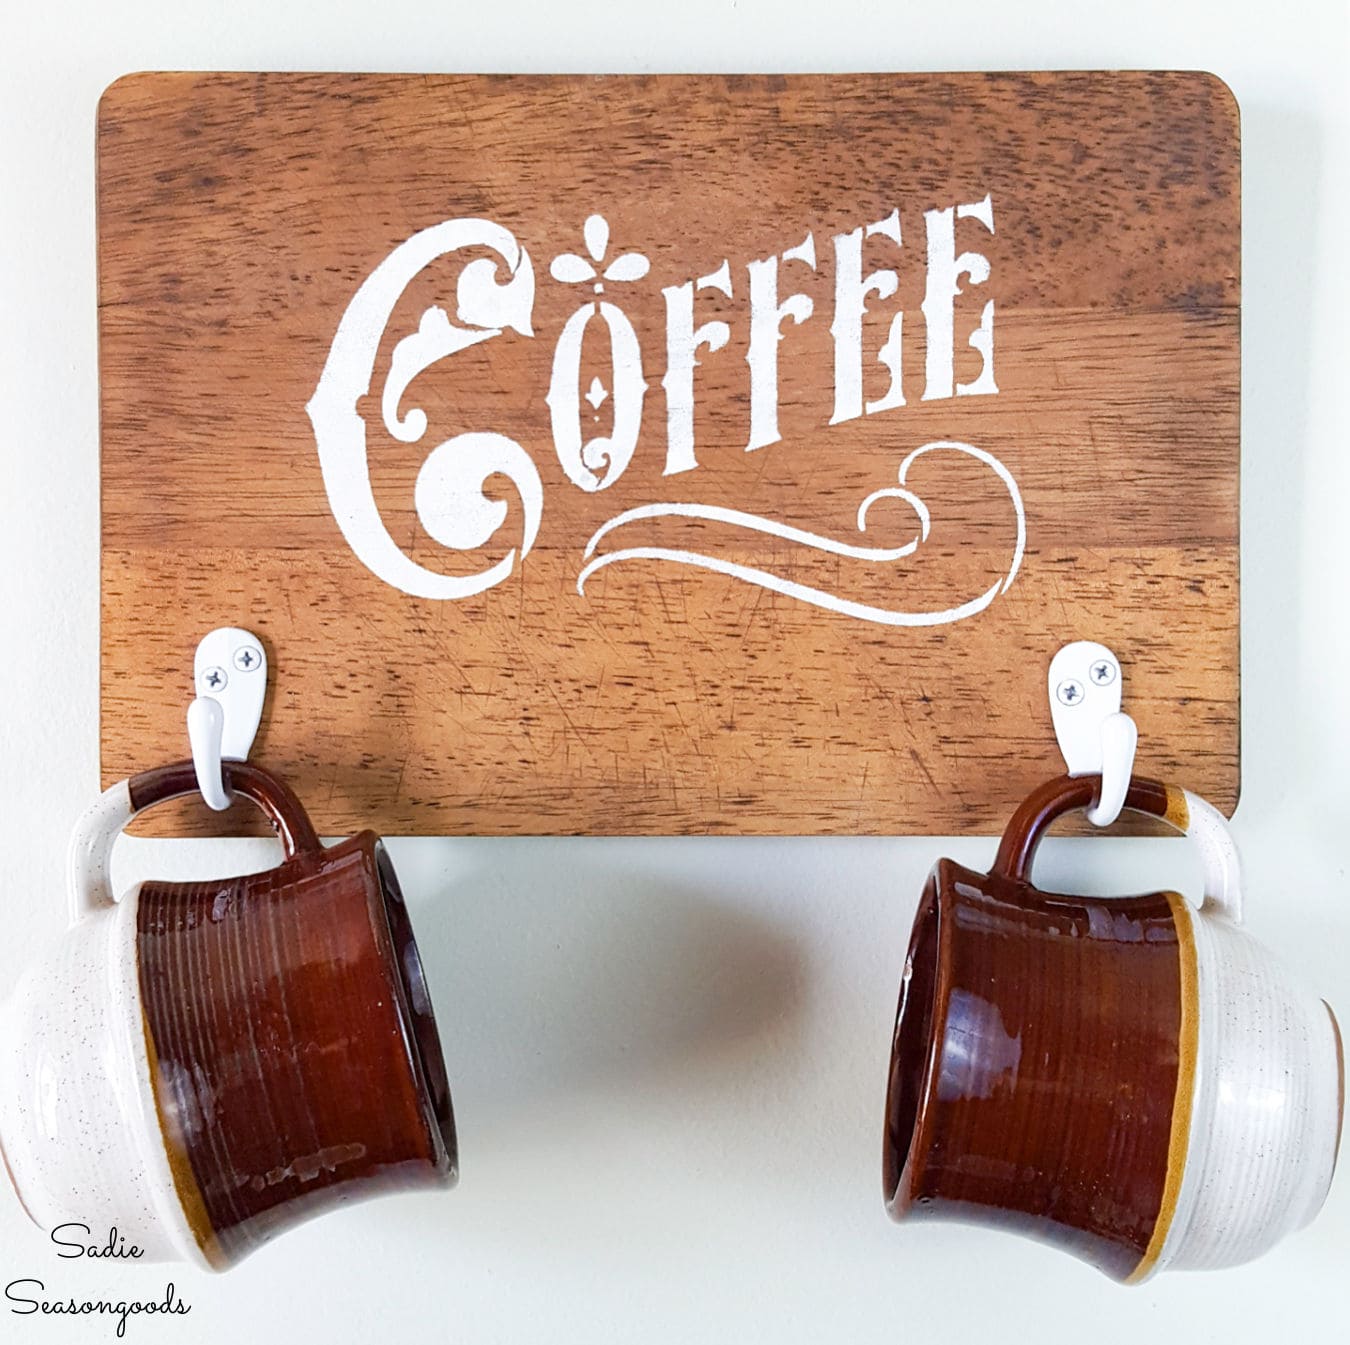
Farmhouse Coffee Sign from a Cutting Board
Grab a cutting board from the thrift store and turn it into a sign with hooks for your coffee mugs. Love this idea!!
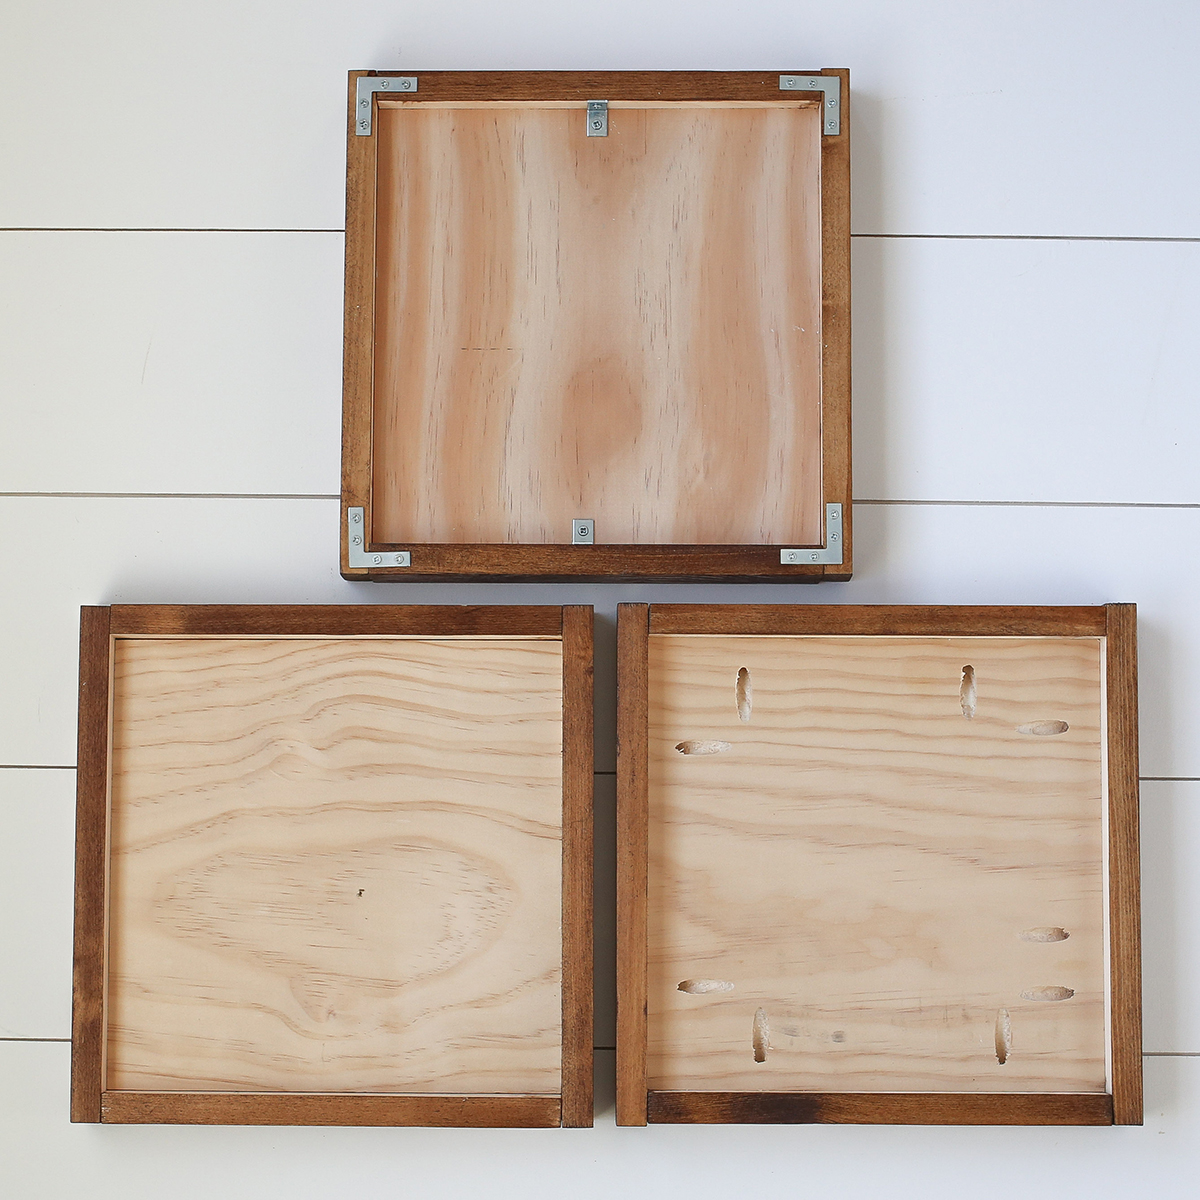
3 Ways How to Frame a DIY Wood Sign
Part of learning how to make your own farmhouse signs is learning how to frame them! This tutorial shows you three different methods for framing wood signs! So useful.
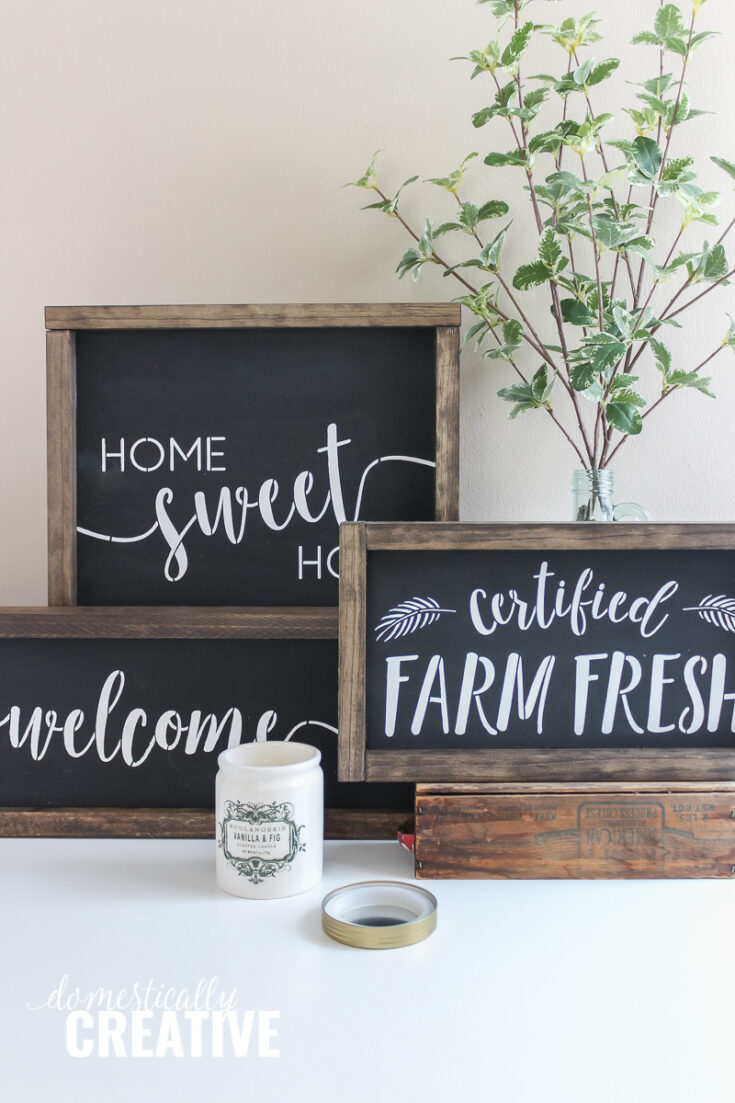
DIY Farmhouse Chalkboard Style Sign
Chalkboard-style signs are definitely quintessential "farmhouse". Learn how to get this look with this step-by-step tutorial.
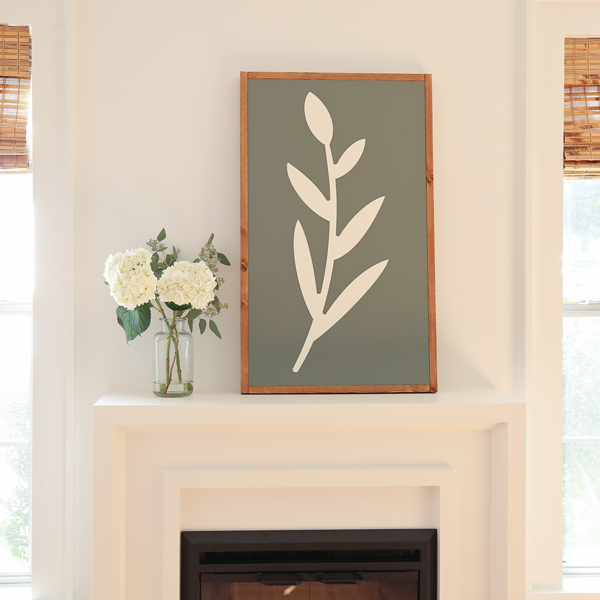
How to Make a Large DIY Wood Sign with Cricut
This DIY large wood sign is gorgeous! One great thing about the new Crucit Explore 3 and Maker 3 is that you don't need a cutting mat anymore so you can make large signs like this!
Which farmhouse sign are you going to make?
Wishing you a joyful day!

* This post was originally published in August 2016 and most recently updated in March 2023. *

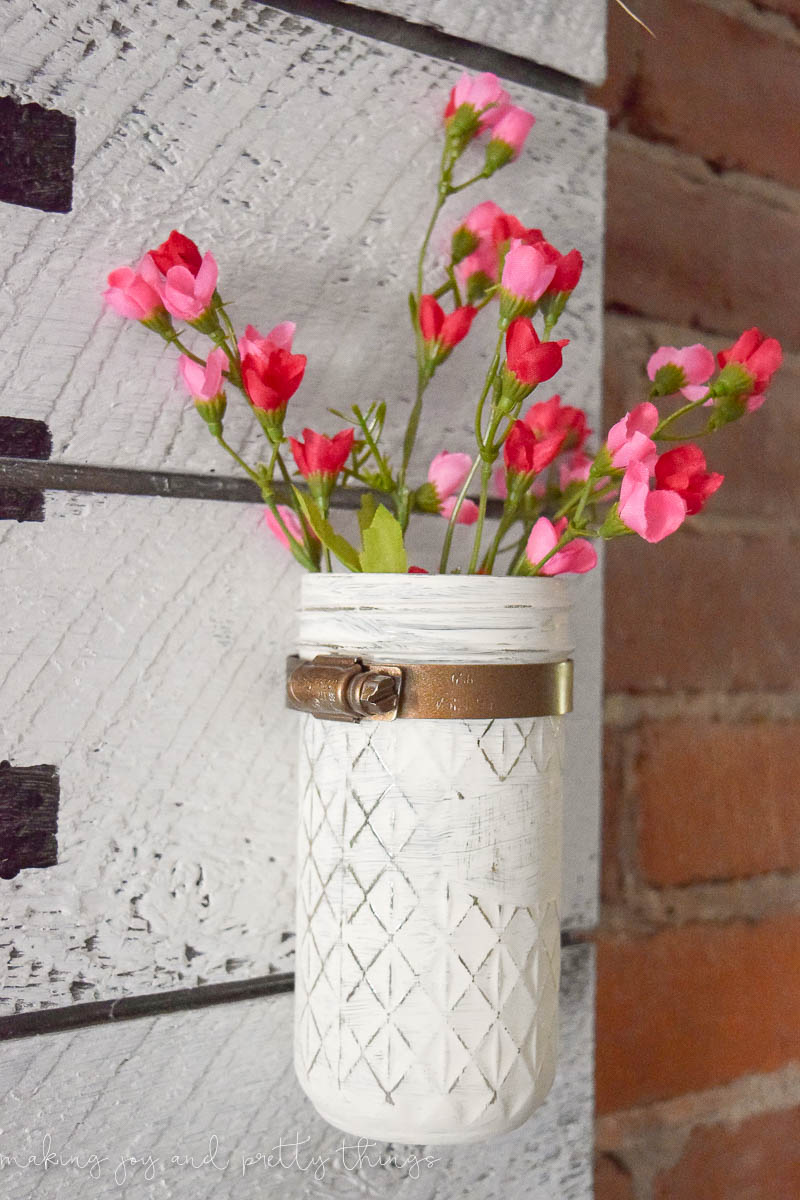
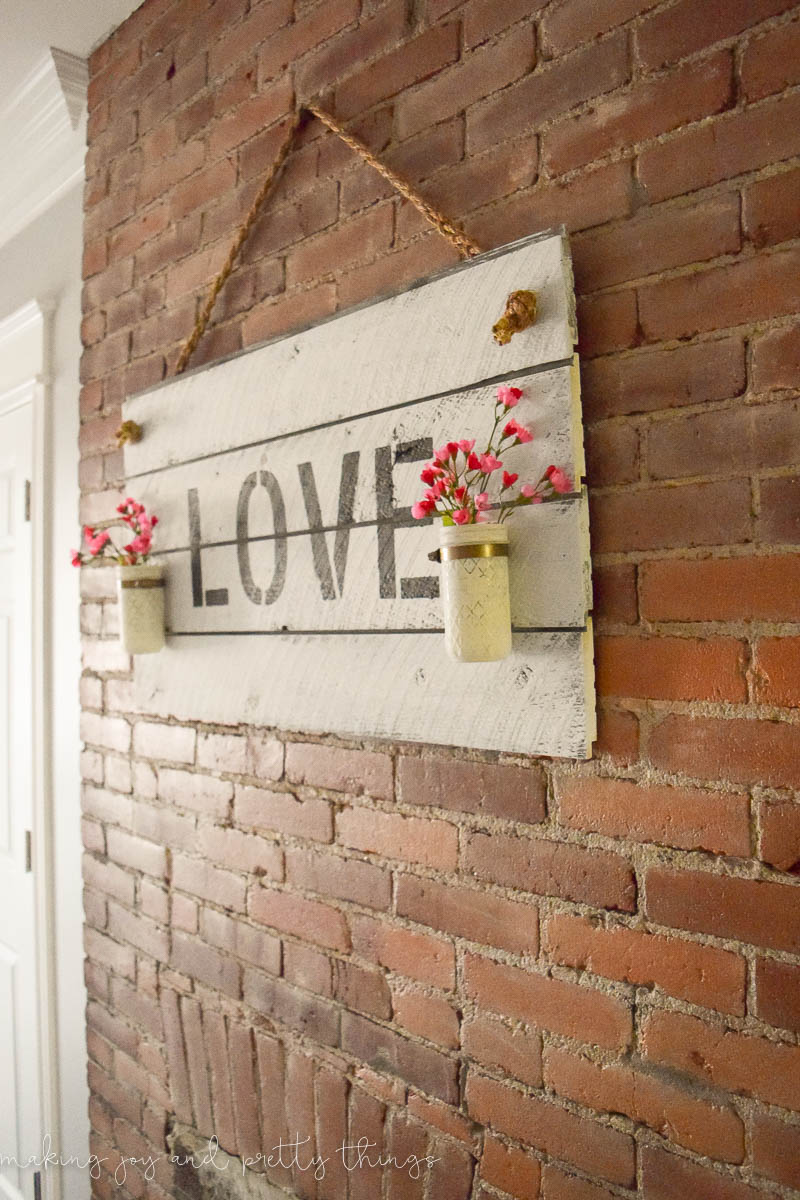
That exposed brick is gorgeous, love it! Your sign turned out great and I like how you included the mason jars for flowers.
Thanks Lora! I love the exposed brick, too! I’m glad you like the sign!
This is lovely! I found you on Blogging Over Breakfast. Your sight is sweet!
Aww thank you Barb!! I’m so glad you stopped by 🙂
So pretty Sarah! I love the added touch of the jars for the flowers.
Thanks, Shani! I’m glad you like the sign!
I am not criticizing, I am just letting you and others think about this way as an alternative way to style your open shelves.
I group items on my shelves. Larger items in the back smaller items up front. Medium size in the middle. I try to always make a vignette
For example: A large whimsical rooster with a lamb and a small stuffed black cat. Then I have an old medium size bucket with the original red with the word apple on it. I filled it with carved balls. I incorporated a small bunched of grubby candles that I made myself tied up with some homespun fabric and last but not least a upcycled picture frame that I painted mustard and distressed with black . Both paints were chalk paint.
The candles were taper candles that I broke in half. I melted some old candles, added some loose tea and a fragrance and used coffee grounds. After the wax had cooled enough I spooned the wax over the candles, turning them as needed for full coverage. I repeated this step 4x’s to get the required thickness I wanted. Then tied them up with some homespun. They look great!