
DIY Memo Board
Have you ever struggled to stay organized in a workspace? Follow along with this DIY memo board tutorial to keep track of to-dos in a cute fashion!
I’m back today sharing the first DIY for my little craft area: a DIY Memo Board!


This post contains affiliate links. Please, click here to read my disclosure policy.
A New Craft Desk!
If ya didn’t hear over on Instagram, my hubby made me a craft desk!!
He says it’s so I have a place to work. I say it’s so he doesn’t have to push my latest DIY off the dining room table to find room to eat…
Either way, I am thrilled to have my own little space.
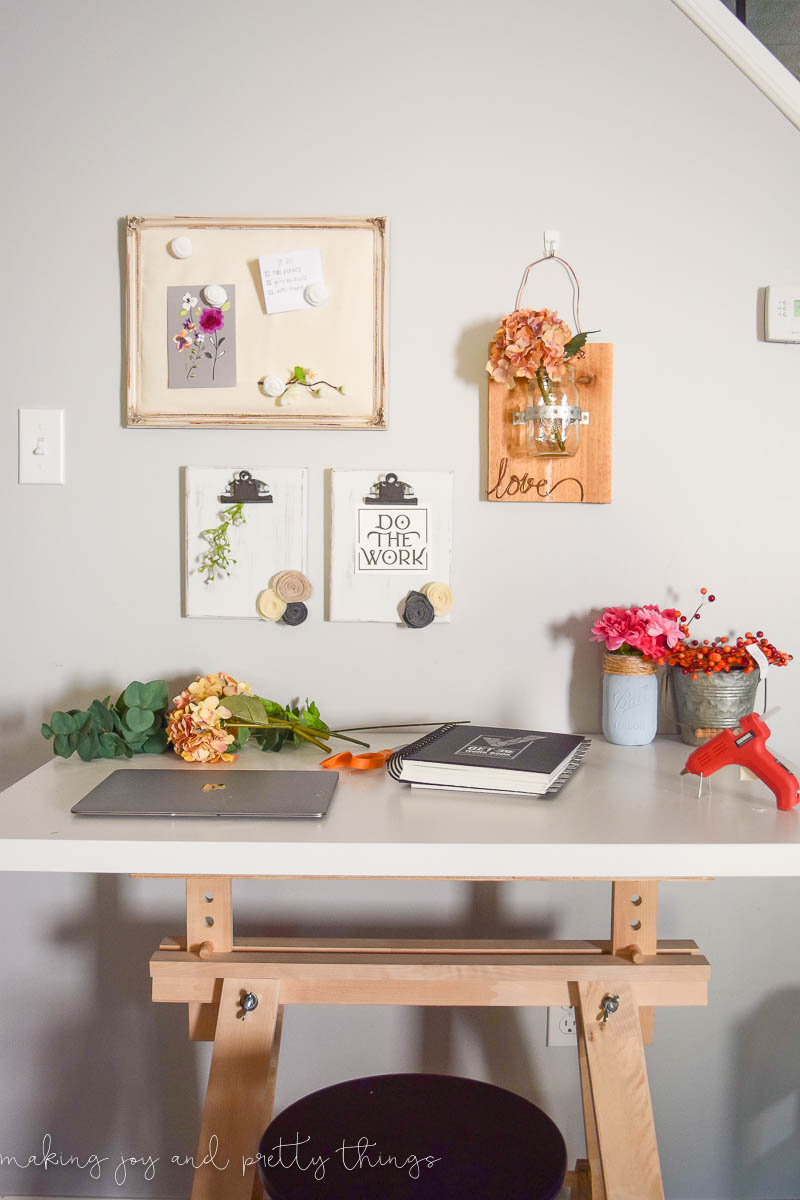
Unfortunately, the desk sits right on a blank wall. GASP! Don’t worry, I couldn’t let very long go by before I had a few DIYs in mind to fill the space.
Organizing the New Craft Space
One of the first projects I knew I needed for craft organization, was a memo board. Especially now in the busy fall blogging season, I have so many projects going at once with so many different deadlines. I need to have a few memos posted to keep all the dates straight.
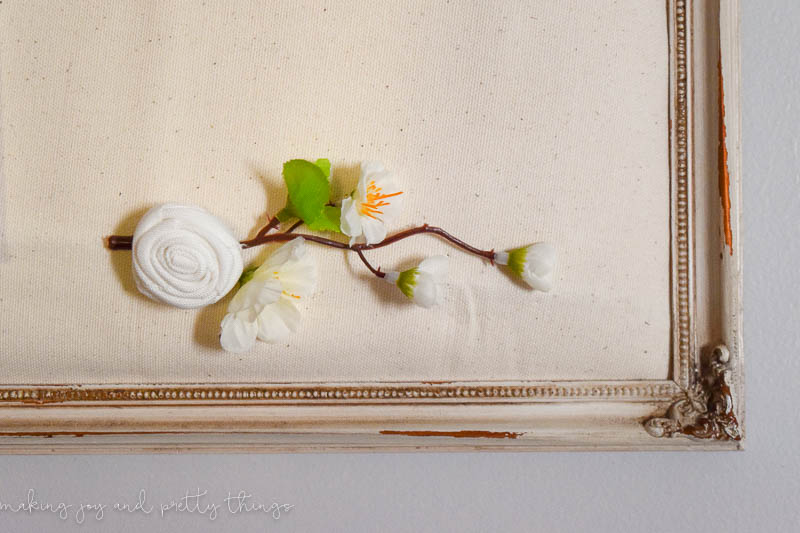
Plus, it’s a pretty way to display some old faux florals or some other girly touches 🙂
Supplies for the DIY Memo Board
- Frame similar
- Rolled Cork
- Utility Knife
- Muslin colored canvas
- Gorilla Super Glue
- Little Flowers
Step 1. Attach Cork to Frame Backing
The memo board itself is CRAZY and easy to make.
I started with a rustic frame I found on clearance at Michaels. First, I removed the glass but keep the backing to hold in the actual “board” part.
I then sized a piece of rolled cork and cut it to fit the frame. You want the piece to be slightly smaller than the width of the frame so that the addition of canvas overlay doesn’t make it too big to fit.
I ended up having to use 4 total pieces of cork stacked on top of one another to make the cork thick enough to stick a pushpin into.
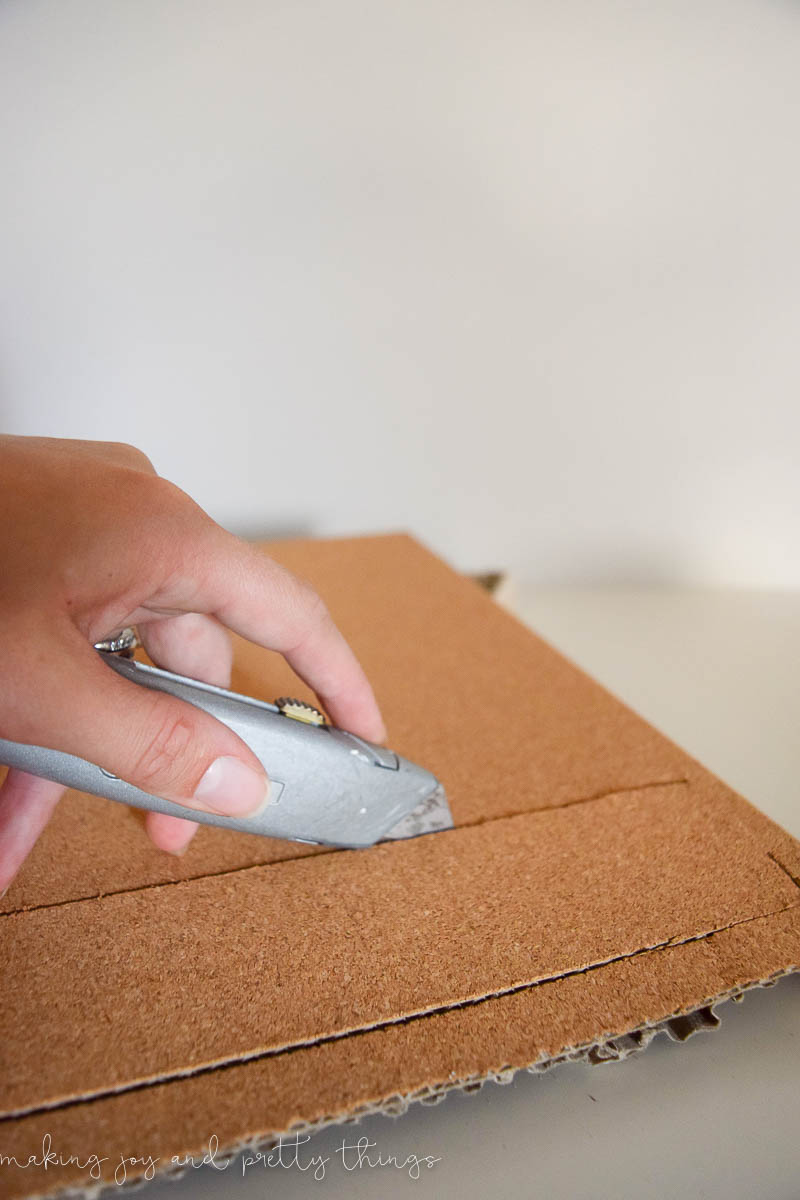
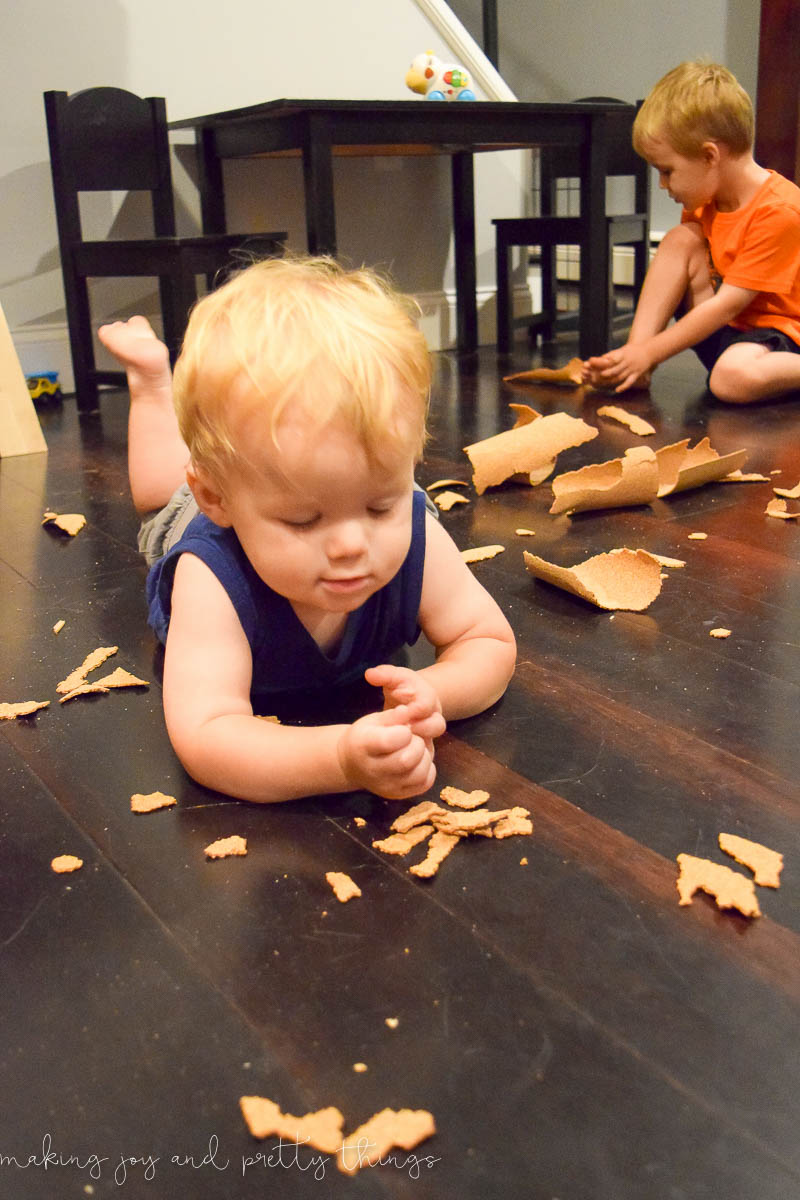
If you can find a piece of cork that just *fits* the frame without cutting and stacking, GO FOR THAT. They make corkboard, which is much thicker, but I couldn’t find the exact size for my frame. Rolled cork is not the easiest to cut, and I made quite a mess.
Though, the kids didn’t seem to mind 🙂
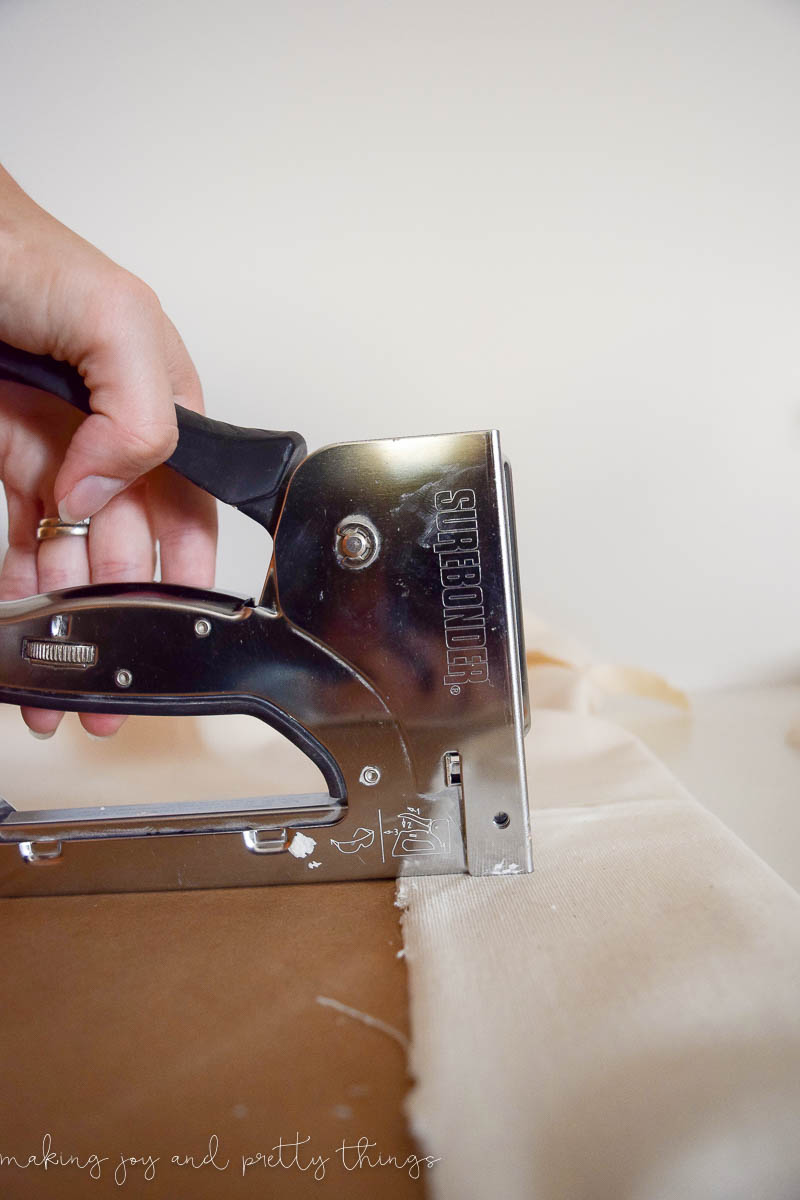
Step 2. Wrap the DIY Memo Board in Canvas
Next, I wrapped the cork in Muslin-colored canvas, making sure to pull it very tight. I wrapped the ends around the back of the cork and used a staple gun to adhere it to the canvas.
Step 3. Put Backer back into the Frame
Lastly, with the canvas attached, I placed the completed memo board into the back of the frame, as I would if I was using a regular picture.
I really had to push the backing into place, but eventually got it to be flush with the frame. Success!!
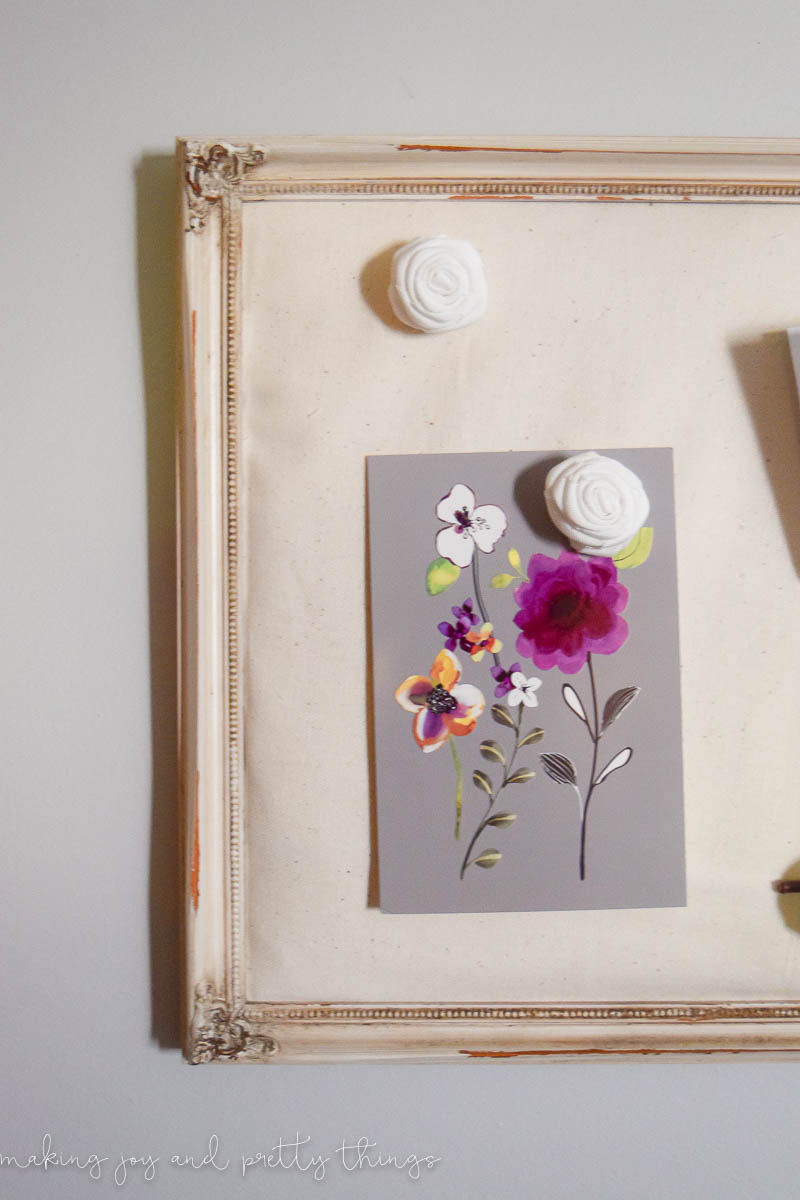
Step 4. Hang the DIY Memo Board
Then, a few 3M strips later, the memo board was looking beautiful on my previously barren wall.
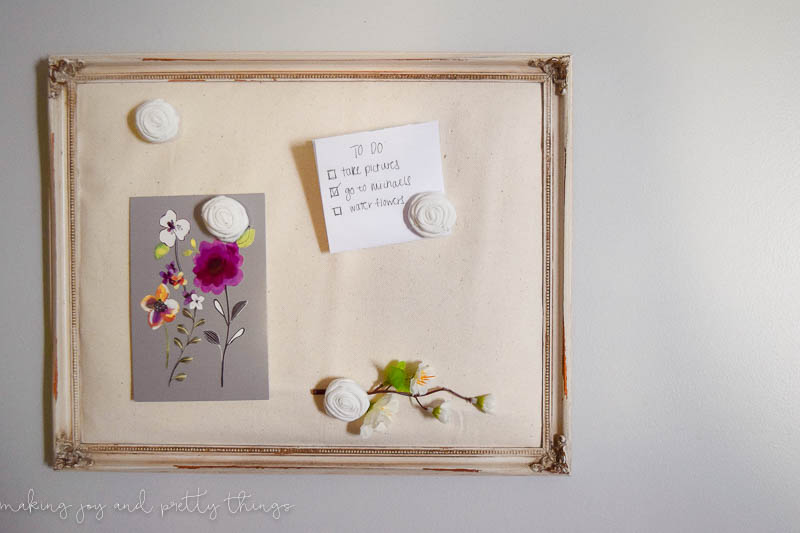
And, of course, I couldn’t just use regular push pins 😉
Step 5. Make Your Own Push Pins!
I used some Gorilla Glue to attach little flowers to the top of the pushpins.
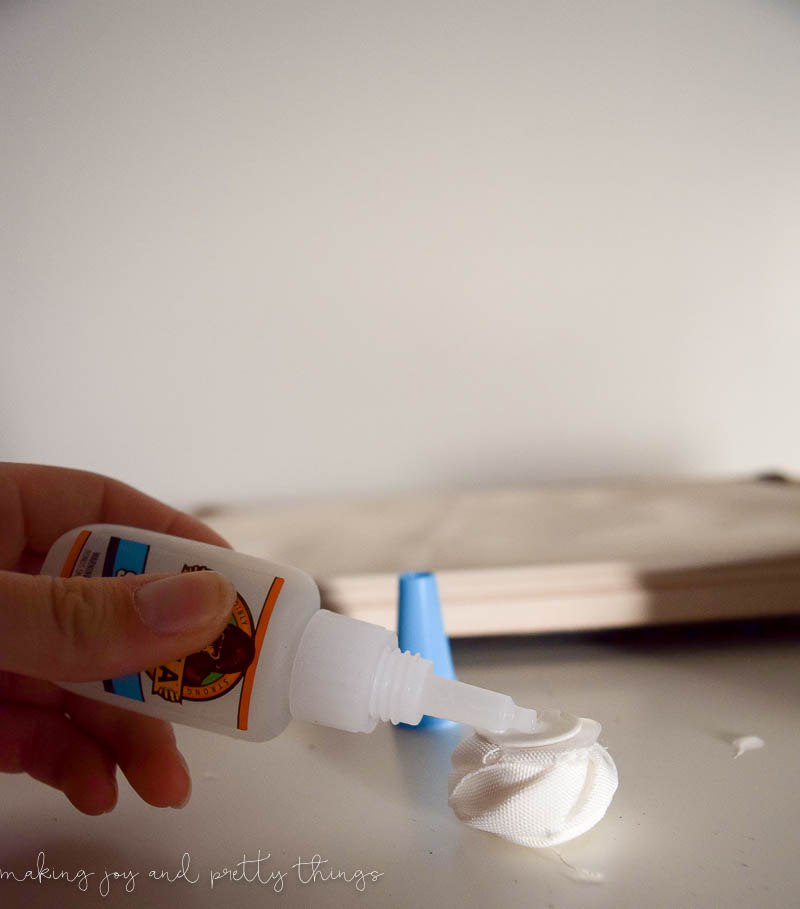
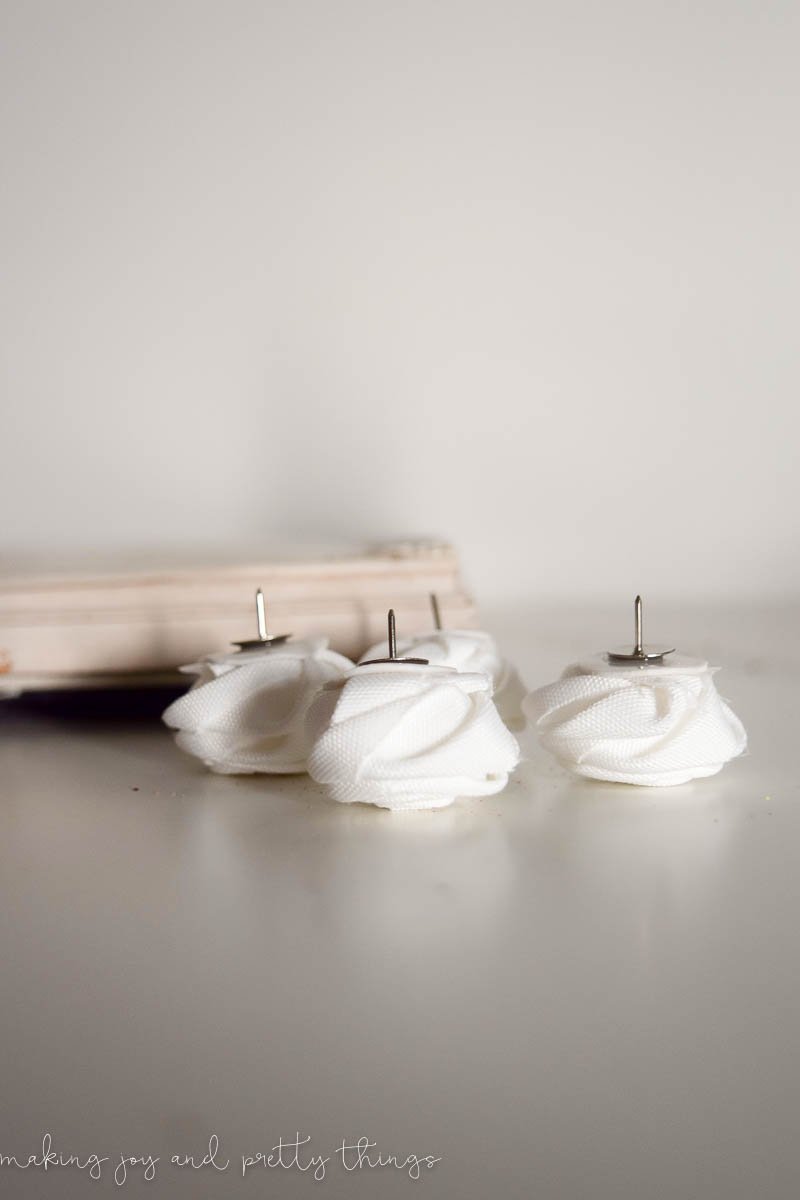
And, that’s it! Easy peasy, right?!
You guys, I am SO excited about my almost completed craft organization space. I’ll be sharing the next few DIYs soon 🙂
I am SOOO grateful to my hubby for finally getting me a workspace. I just love having a desk and my own personal office space to keep track of and, more importantly, to decorate!
Wishing you a joyful day!

DIY Memo Board

A simple framed DIY memo board to decorate and stay organized in office space by dressing up the wall behind your desk.
Materials
- Frame similar
- Rolled Cork
- Muslin colored canvas
- Little Flowers
Instructions
- Attach Cork to Frame Backing
- Wrap the DIY Memo Board in Canvas
- Put Backer back into the Frame
- Hang the DIY Memo Board
- Make your own Push Pins


hey girl this is so cool! Great job!
Thanks so much, Shawna!
Great idea! I love the old frame you found to use too!. I’m wondering if I could use a pre- stretched canvas and layer the inside with cardboard instead of cork? It would be a bit more recycled perhaps? I could staple a piece of fabric over the back to hold it all inside…..place it in a frame and voila’! When the cardboard breaks down then just replace it?
Thanks so much, Bonnie! That’s a great idea. I only wonder if the cardboard would be able to hold pushpins and whatever you’re trying to hold with the pushpins? Maybe try it out before you put it behind the canvas. But, if it can, that’s an awesome idea! Thanks so much for stopping by 🙂
This looks so cute Sarah, I especially love the flower pins! I love personalized memo boards so much more than the standard ones you can buy! Thanks for sharing 🙂
Thank you SO much Sabrina! I’m so glad you like the push pins. I agree, a personalized memo board is so much better 🙂
It turned out great! I love the flower push pins ?
Best,
Kelly
Thanks, Kelly! The flower push pins are my favorite!
I love the push pins, they’re such a fantastic idea! And that frame is so beautiful!
Thanks so much, Alysha! I’m a huge fan of the push pins, too!
Love the push pins and frame around the board, Sarah! Obviously average push pins just can’t cut it with such a pretty background!
Thanks, Chelsea! I couldn’t just have regular ole’ push pins 😉 So glad you like them!
What a darling little memo board! I need to get something like this up in my craft room.
Thanks Shani! It’s been such a great place to stick some project ideas and notes that would normally be piled everywhere.