
IKEA Pax Wardrobe: Making Your Closet Look Built-In
Learn how to make IKEA Pax wardrobe units look built-in and custom for your closet!
The IKEA Pax wardrobe closet system is great! I love that you can design it fully customized for whatever type of closet you need. There are a lot of different sizes offered and tons of different interior organizers – like pull-out trays, pant hangers, or dividers.
One of my favorite things about using IKEA closets is the planner tools online. You can actually gather several storage solution ideas and design ideas from the planning tool as you play around with it.
You can also choose from ready-made Pax combinations that they have already designed if you don’t want to start from scratch.
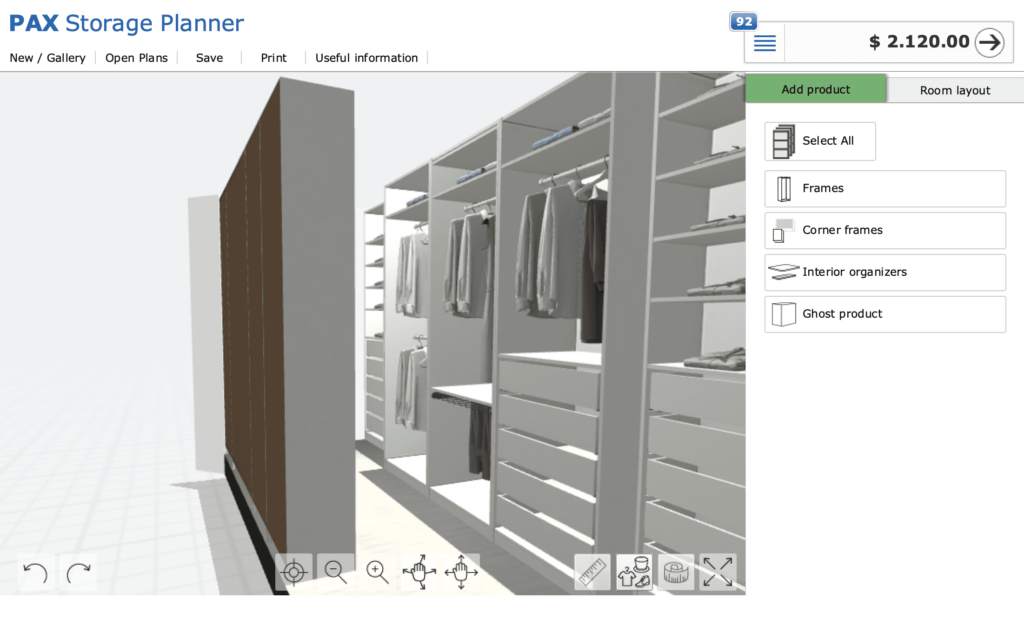
When designing your closet take your time to get the perfect fit and make sure you have enough clothing storage and storage for shoes, accessories, and anything else you keep in your closet. Read more about how to use the IKEA Pax planner here to design your closet.
You can definitely just install the IKEA Pax wardrobes as is in your closet and it will be a super functional space with plenty of storage.
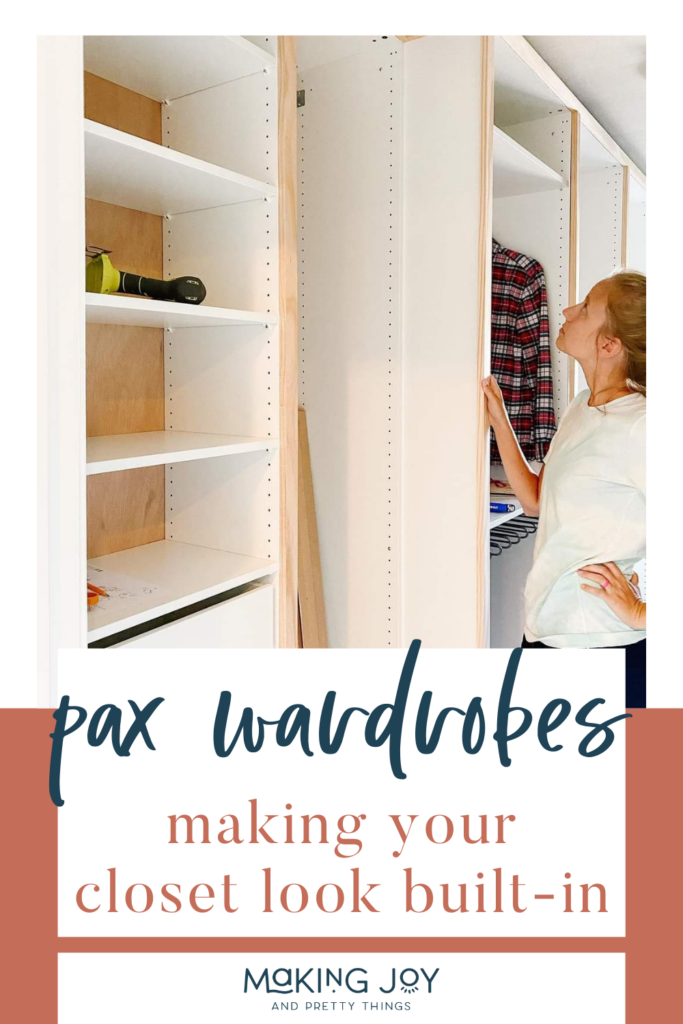
But, if you want to make your closet space to have a built-in look – like a custom closet – there are a few things you can do to your IKEA Pax closet system to make it look more custom and built-in!
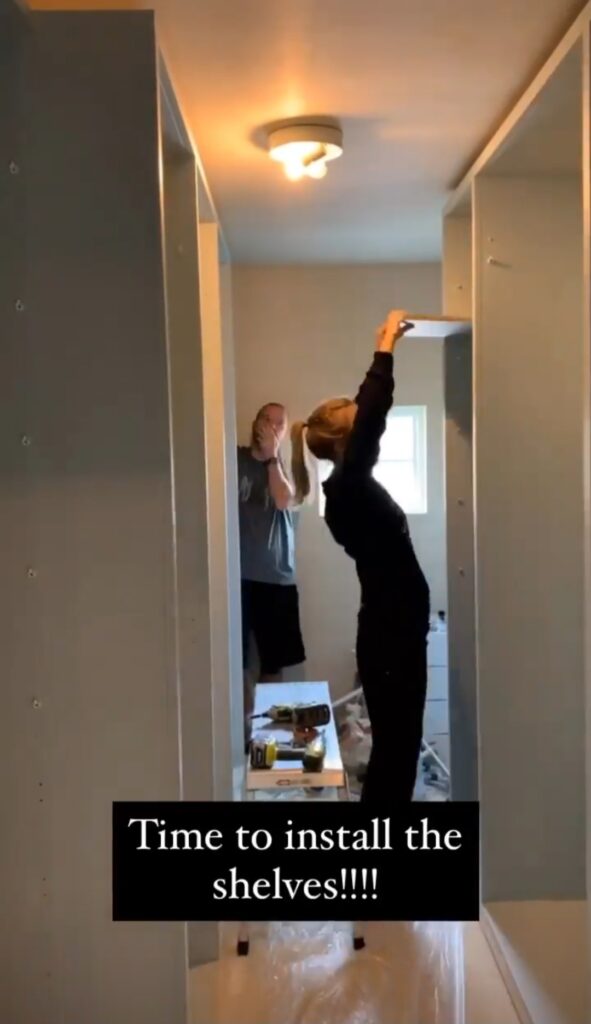
Today we’re sharing how we took our IKEA Pax units and made them look like built-ins in our master closet.
This post contains affiliate links. Please, click here to read my disclosure policy.
The Process of Making IKEA Pax Wardrobes Look Built-In
Here’s a quick summary of the entire process of customizing the IKEA Pax wardrobes and making them look built-in. We will walk you through each step of the long process in this IKEA closet blog post, so keep reading to learn more!
- Design IKEA Pax closet using the online Pax planning tool on the IKEA website (you’ll need exact measurements for your space, including the ceiling height for this)
- Install IKEA Pax units
- Replace backs that come with the wardrobes and use plywood sheets instead
- Add wood trim along the bottom, sides, and top with a brad nailer
- Fill holes on trim from brad nails
- Caulk seams and corners
- Where IKEA Pax units are different depths, use plywood panels
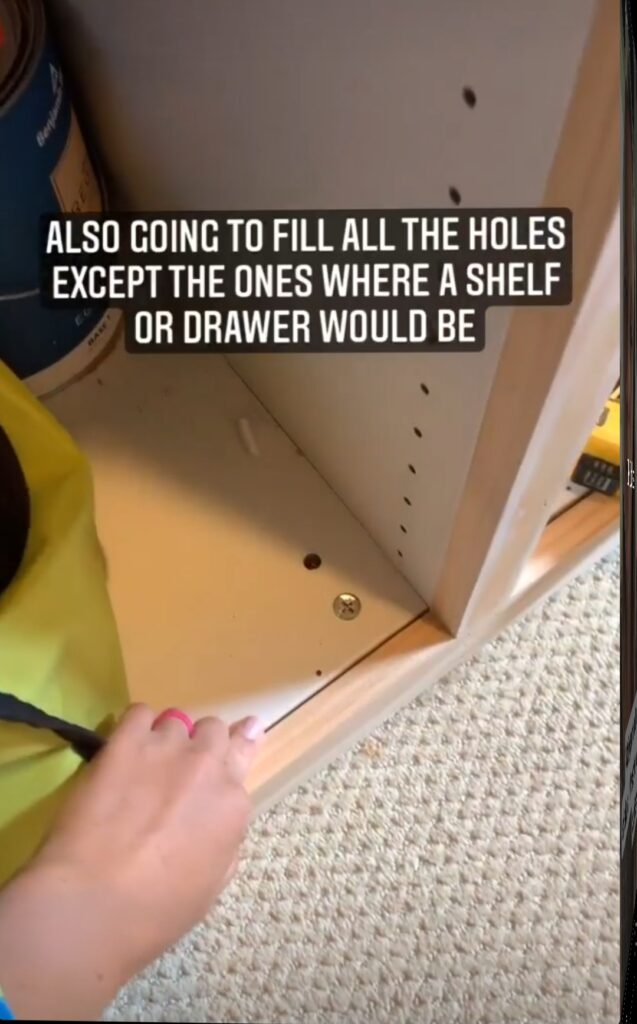
- Fill shelf pin holes that won’t be used for shelves or drawers
- Sand everything smooth
- Prime and paint
- Paint shelves with roller
- Put shelf holders in shelf pin holes and set shelves into place
- Caulk seams on shelves
- Paint over caulk lines
- Add drawers (install hardware first, then drawers)
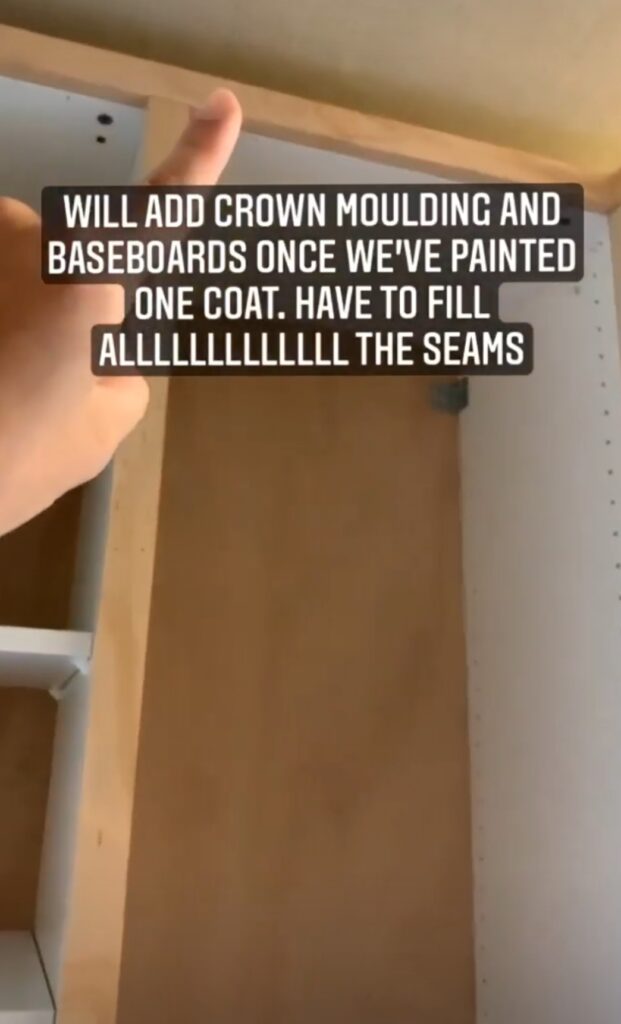
- Paint crown molding, baseboards, and shoe molding
- Install crown molding along the top of Pax wardrobes
- Install baseboards along the bottom of wardrobes
- Add shoe molding along the bottom edge of baseboards (to cover uneven floors)
- Fill nail holes on molding and caulk all seams on molding
- Last touch-up paint on caulk lines and nail holes
- Cut custom drawer fronts from Select Pine
- Prime and paint drawer fronts
- Add hardware to drawer fronts
- Attach drawer fronts to drawers in the closet
- Create custom clothing rods with oak dowels
- Fill your closet with your clothing and accessories!
Tools and materials you’ll need for your IKEA Pax wardrobe built-in closet
- IKEA Pax wardrobes
- Miter saw
- Drill/driver
- Brad nailer
- Brad nails
- Plywood (1/4″ for the backs)
- Select pine trim:
- Caulk
- Caulking gun
- Wood filler
- Spackle
- Putty knife
- Primer
- Paint – we used this color
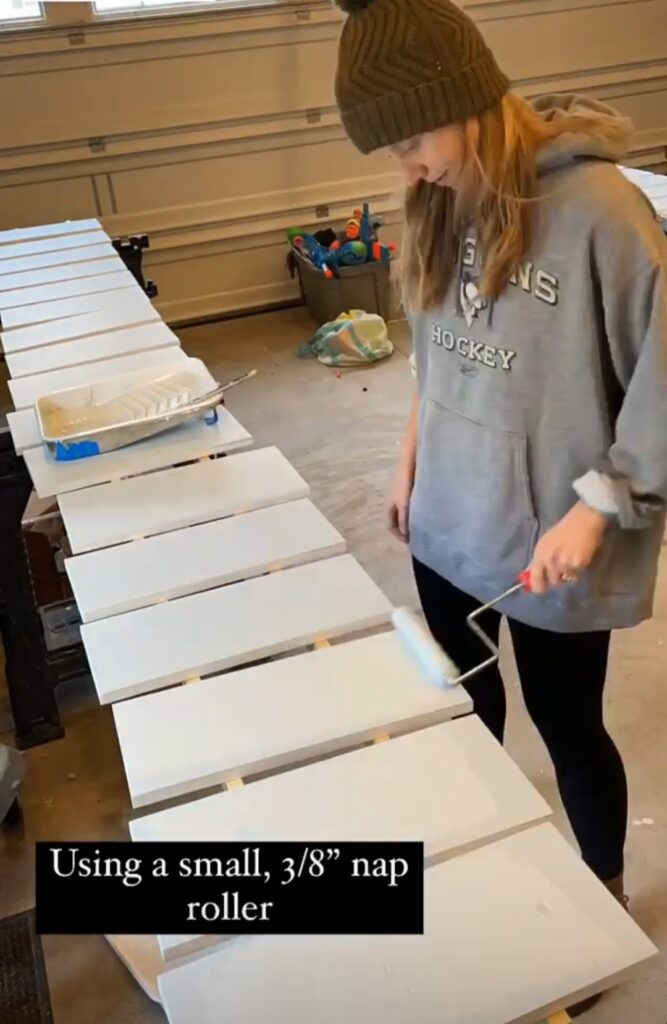
- Paint roller cover and roller – 3/8 nap
- Paintbrush
- Paint tray – both 4-inch and 9-inch sizes
- Handy paint cup
- Knobs for cabinet fronts
- Kreg cabinet hardware jig
- Crown molding
- Baseboards
- Shoe molding
- Sanding sponges
- Tack cloth
- Rags
- Construction adhesive
- Oak dowels (to make a wood hanging rod)
- Wood clothing rod sockets (similar)
- Stain
- Polycrylic
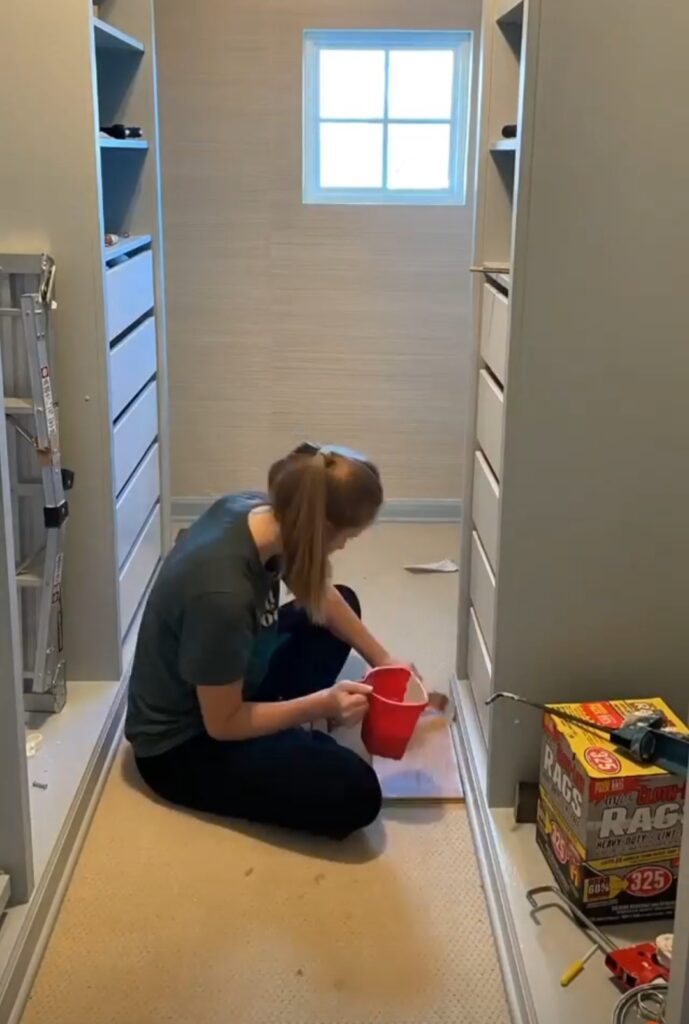
Install IKEA Pax wardrobes in the closet

Once your IKEA Pax wardrobes arrive in the mail, you can follow the IKEA instructions to get each Pax wardrobe frame built in your closet. The good thing is that the building process isn’t too bad. Once you do one, you’ll get the hang of it quickly.
If your closet is cramped and doesn’t have enough space for you to comfortably assemble them in place, you can do them in another room and bring them in afterward. Just be sure you have enough room in your closet doorway to fit the wardrobe frames before you do that!
The only thing we really did differently here was use plywood for the backs instead of the ones that come with the IKEA wardrobes (more on that below).
We went ahead and added in some of the shelves as well, even though later they would be removed to be painted. We also added a couple of the drawers now. This helped us get ready for the process later so we knew what the shelves and drawers would entail.
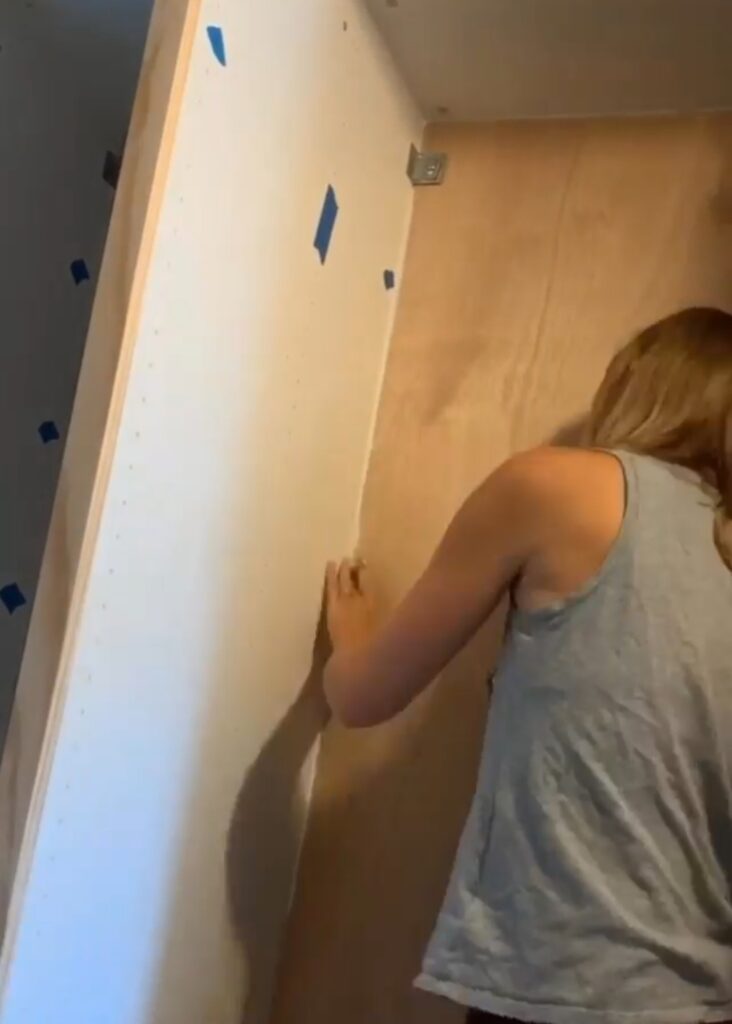
Custom plywood backs on the IKEA wardrobes

When we went to work installing the IKEA Pax units, replacing the backer piece that comes with them and using plywood backs instead. We added the plywood backs with a nail gun and used additional brackets on the front.

The new plywood backs look so much better once painted (rather than the flimsy ones that come with the Pax wardrobe systems). We shared all about the plywood backs for the Ikea Pax units in this tutorial.
Add trim around wardrobes
Once the Pax units were built and had the plywood backs, it was time to trim everything out so that they looked like they were built-ins. Anything that had a little gap got covered with solid wood trim.
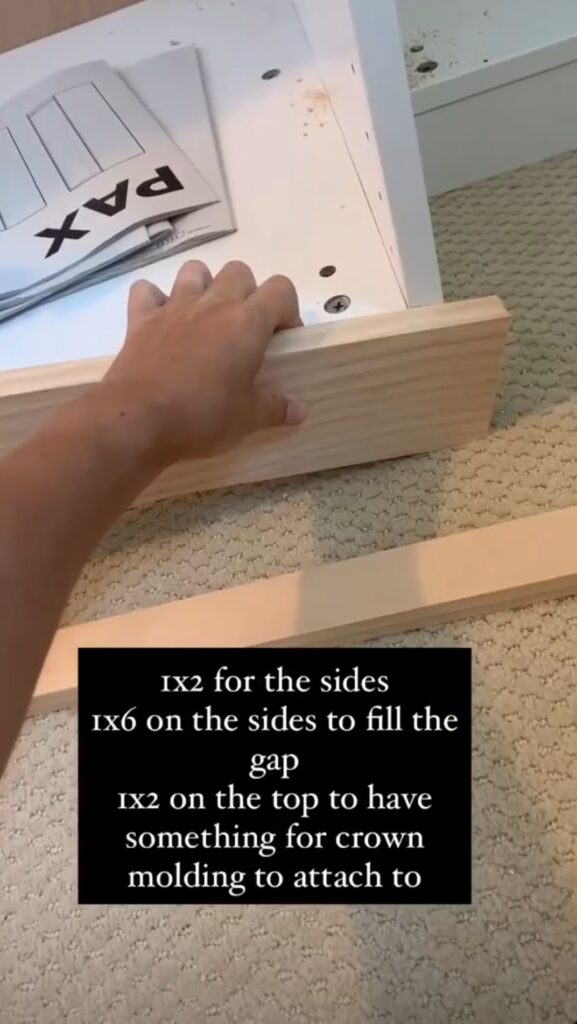
We used select pine from The Home Depot in 1×4, 1×2, and 1×6 sizes.
- 1×4 trim: On the bottom, we used a 1×4, ripped down slightly so that it is flush with the bottom edge of the Pax units.
- 1×2 trim: On the vertical dividers between the IKEA Pax wardrobe units and on the top edge (where we were also adding crown molding), we used 1×2’s.
- 1×6 trim: On the edges that touch the side walls (where there was a gap), we added 1×6’s as a gap filler.
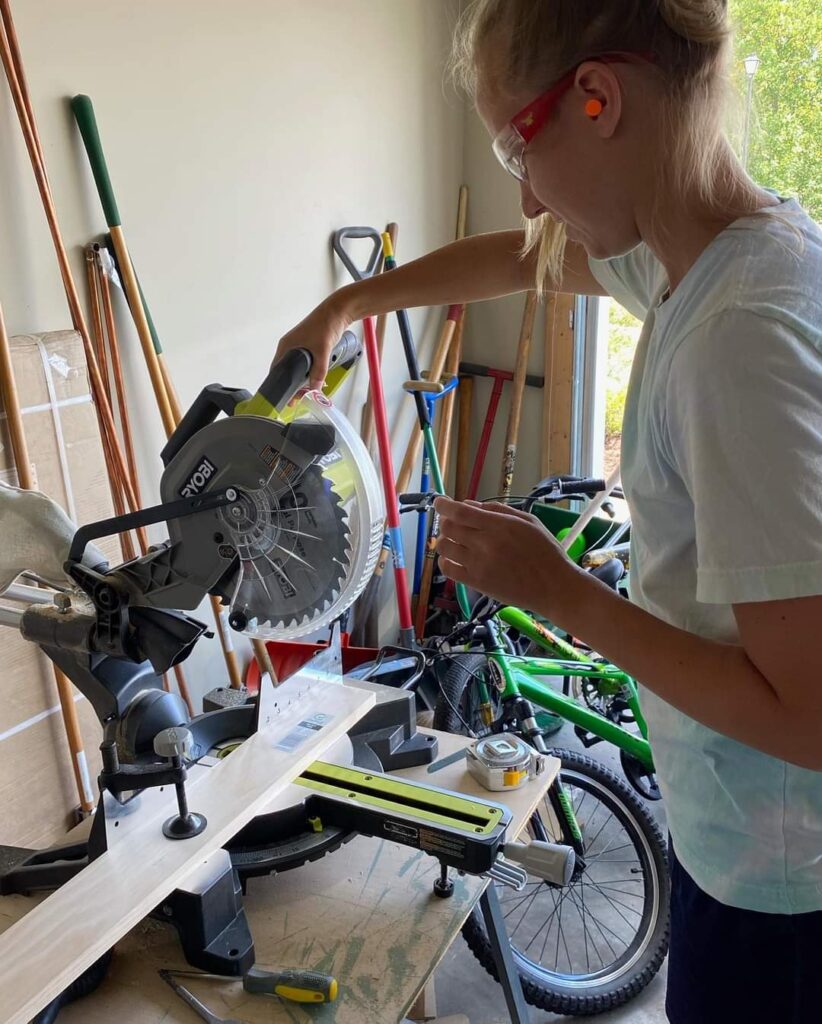
We used the miter saw to cut the lengths.
The trim pieces were secured in place with a brad nailer.
Where the depths of the Ikea units were different, we added plywood panels installed flush so they look totally intentional.

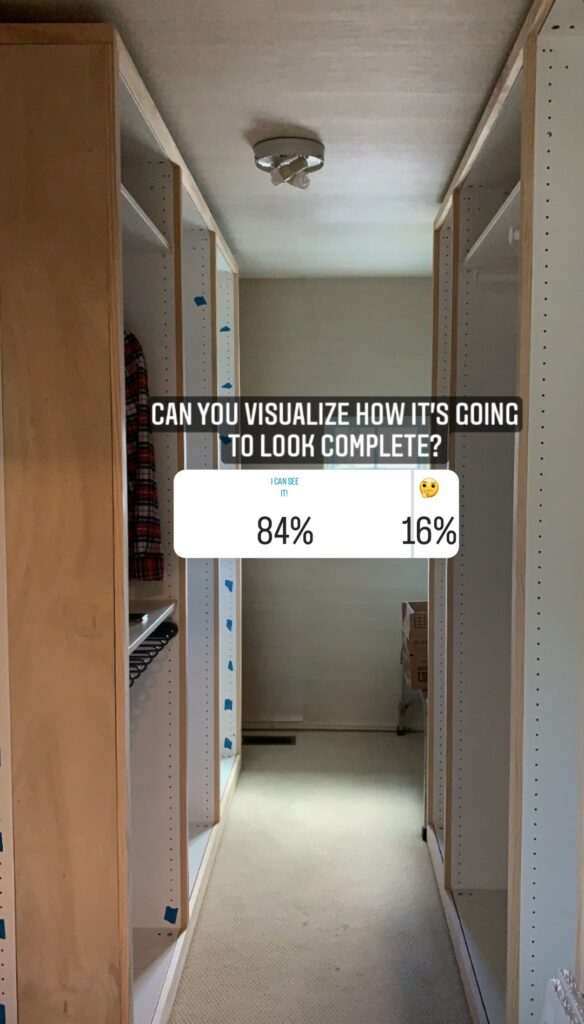
Here’s how things looked once we got all of the trim added to the front edges of the Pax wardrobes. I was able to finally start to visualize how everything was going to look!
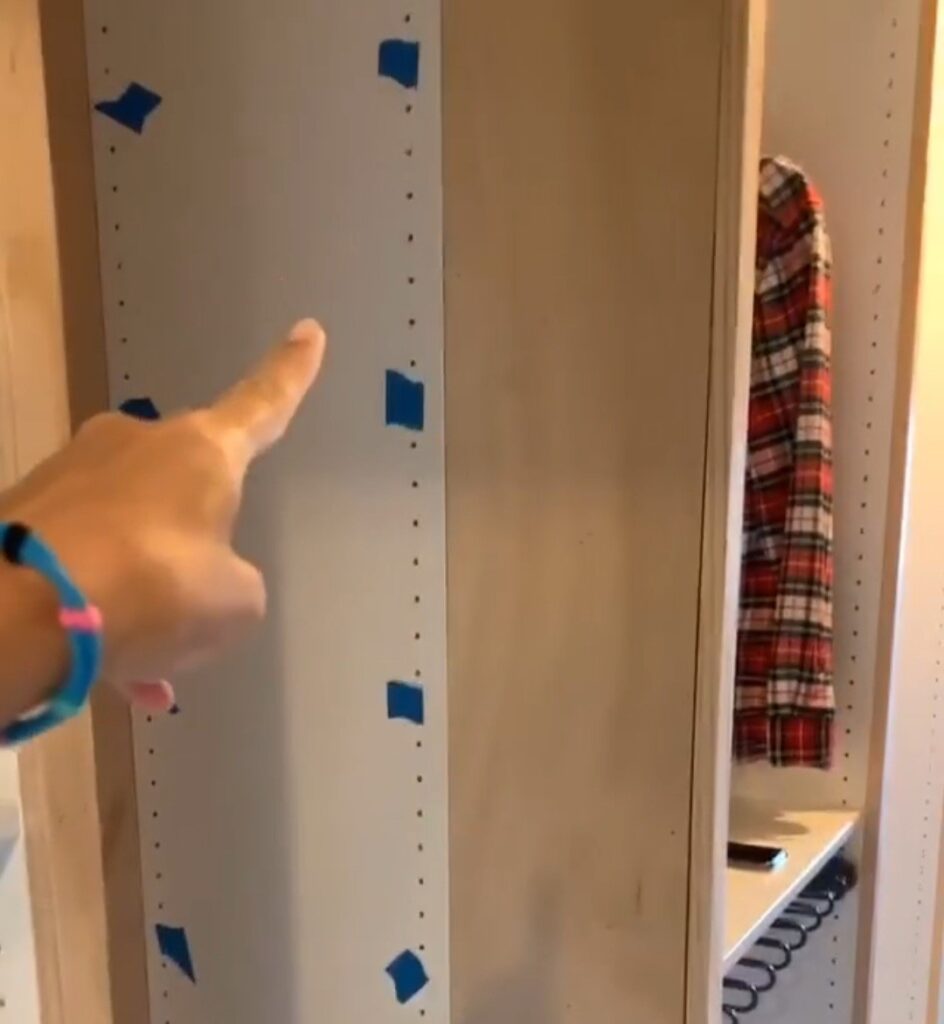
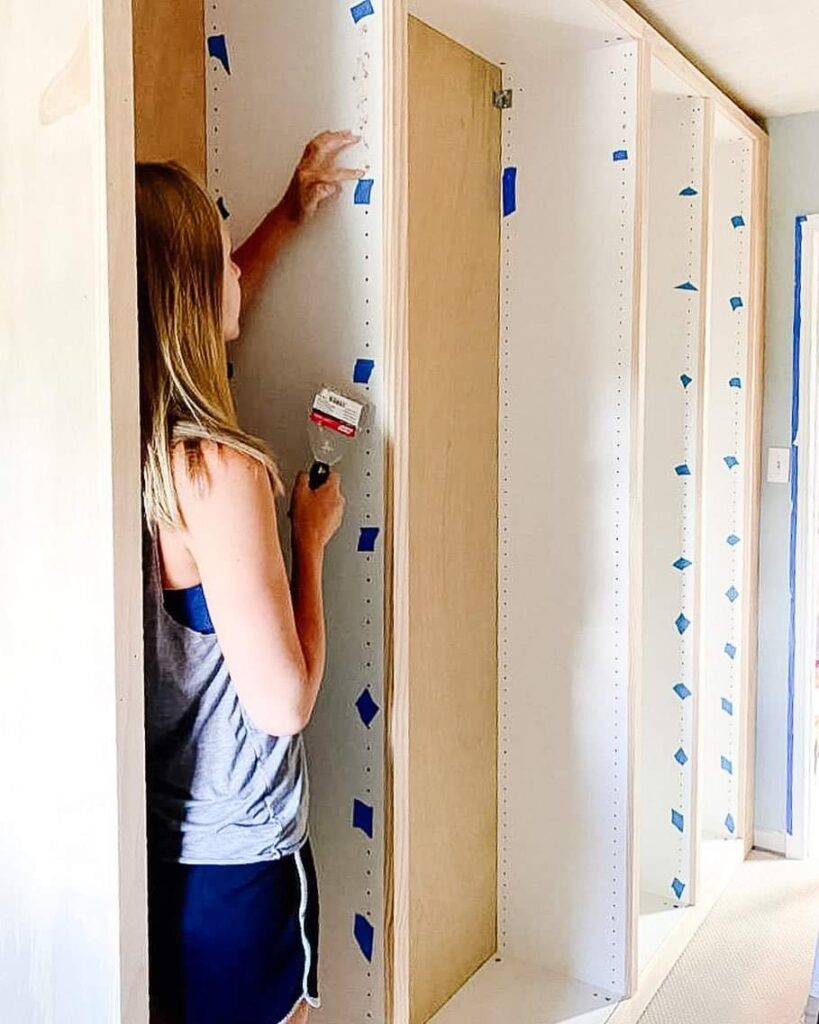
Filling the shelf pin holes on IKEA Pax wardrobes

We marked the holes that we were using for shelves or drawers with painter’s tape so that we wouldn’t accidentally fill a hole that we needed. We know which holes we’re using by looking back at our Ikea planner.
Keep in mind that if you fill all of the shelf pin holes, the shelves will no longer be adjustable shelves – which was fine with us.
We also put in some of the shelves and drawers to double-check that we were certain about the configuration before we started filling the shelf pin holes.
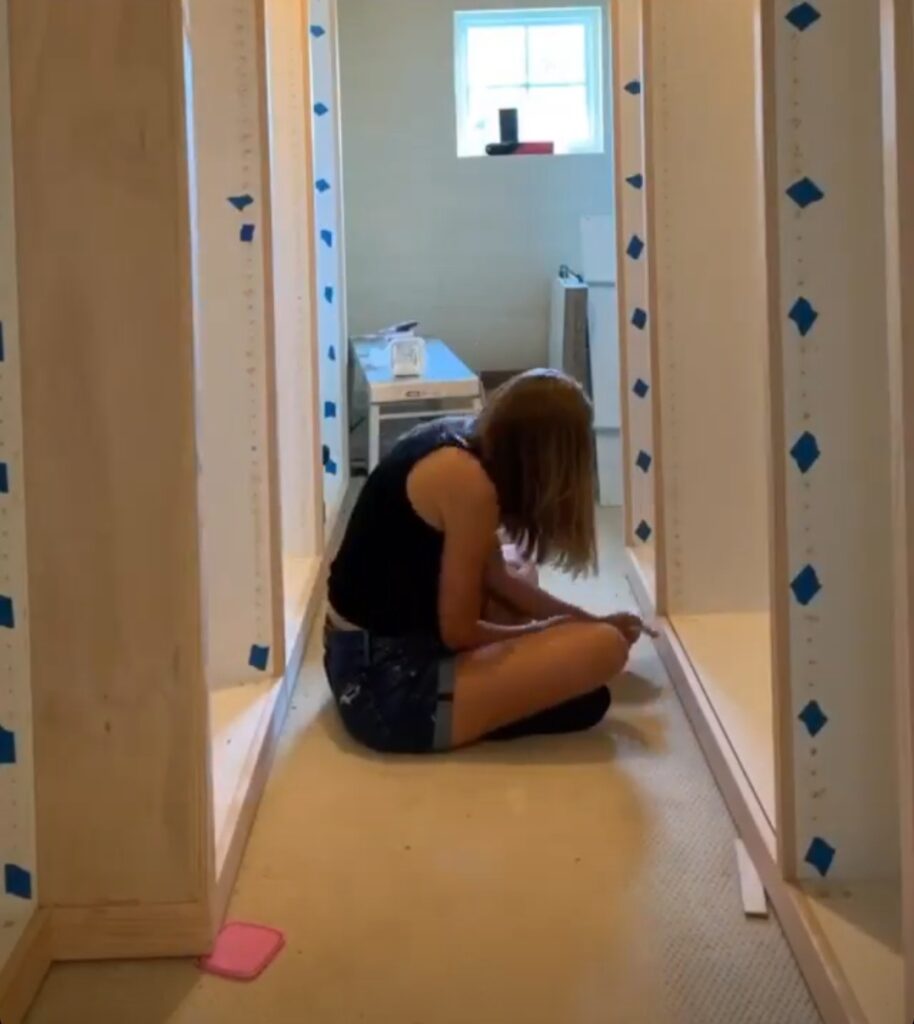
First, we used DAP Plastic Wood X wood filler (in natural) to fill the holes. All you do is just take a little bit with your finger push it into the hole a little bit and then scrape off the excess with a putty knife. A little goes a long way with this stuff.
We did need to do two coats of the filler because the holes are so deep. Once completely dried, do another coat to fill the hole completely.
Keep in mind that later (after we primed everything, which you’ll see below) we also needed to do a little bit of spackle on top of the shelf pin holes because we could still see the indents.
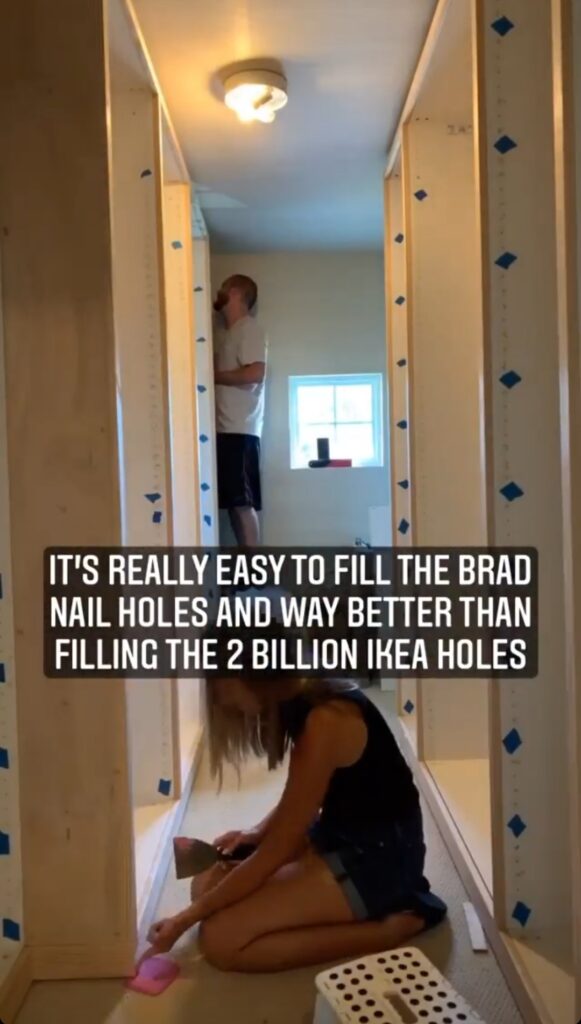
Fill nail holes on the trim
All of the brad nail holes on the front side of the trim were also filled with wood filler, which was very tedious work and we spread that out over several days. But it was definitely easier after filling the zillion IKEA shelf pin holes!
Caulk seams and corners
All of the seams in between the trim and Pax units, where the Pax wardrobe units meet the walls and where Pax wardrobe units meet the plywood backs were caulked with this molding and trim sealant.
Once everything was completely caulked and filled (and dried), we FINALLY moved on to primer and paint.
Prime IKEA Pax wardrobe units
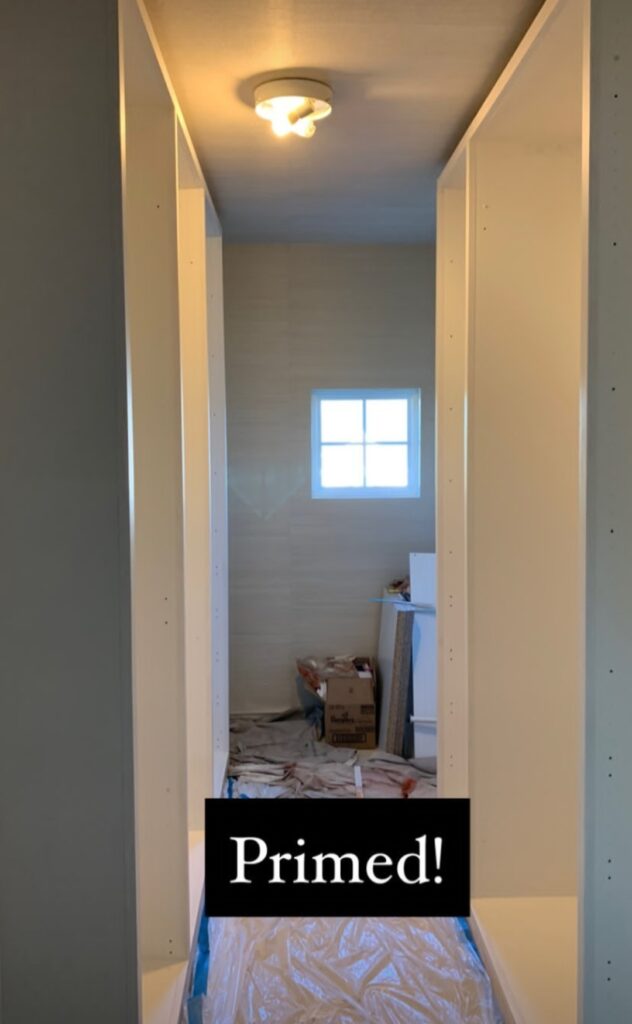
Next, it was finally time to move to primer and paint!
The primer smelled SO bad and since it didn’t have any airflow because the small window in the closet doesn’t open! It was intense, but priming is absolutely necessary when you’re painting IKEA products or IKEA furniture, like the Pax wardrobe units.
After priming, we gently sanded the plywood backs because they were pretty rough after priming (we didn’t originally sand them).
We used sanding blocks to do a quick wipe down of everything and then vacuumed up the dust and wiped it all down with a tack cloth before moving on to paint.
(Re)fill the shelf pin holes after priming
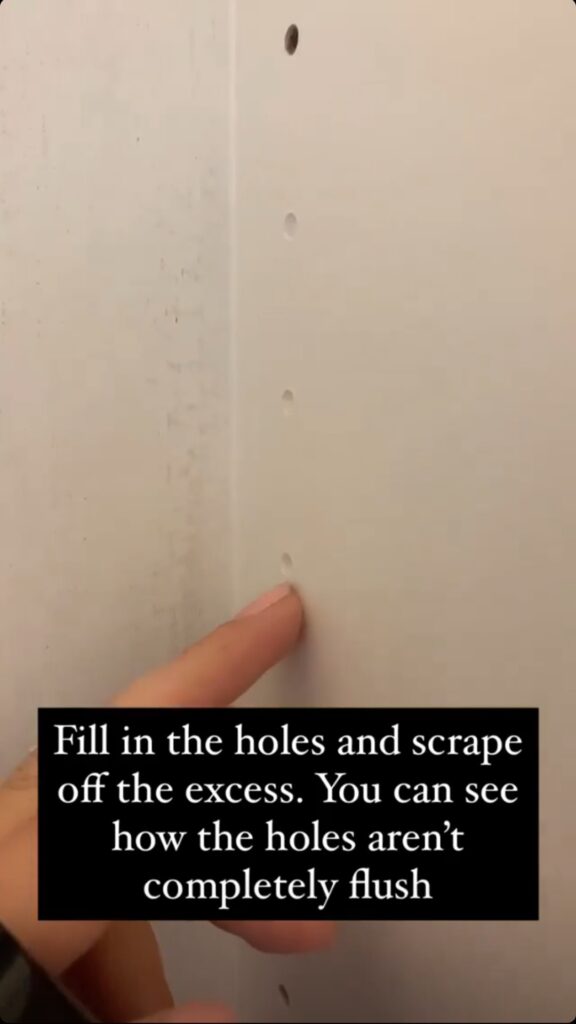
After we primed the IKEA wardrobe cabinets, we discovered that you could still totally see the shelf pin holes. You see, we had filled them with 2 coats of wood filler before priming, but it had shrunk a little bit as it dried (see photo above).
So we decided to give the shelf pin holes a skim-coat with DryDex spackle over the shelf pin holes, which we filled with wood filler.
The DryDex worked great to finish filling the holes and make them completely flush before painting the wardrobes. I love that it goes on pink and turns white as it dries!
Once the DryDex spackle is dry and ready to sand it turns white. Then you can sand everything nice and flush with sanding blocks and the shelf pin holes disappear.
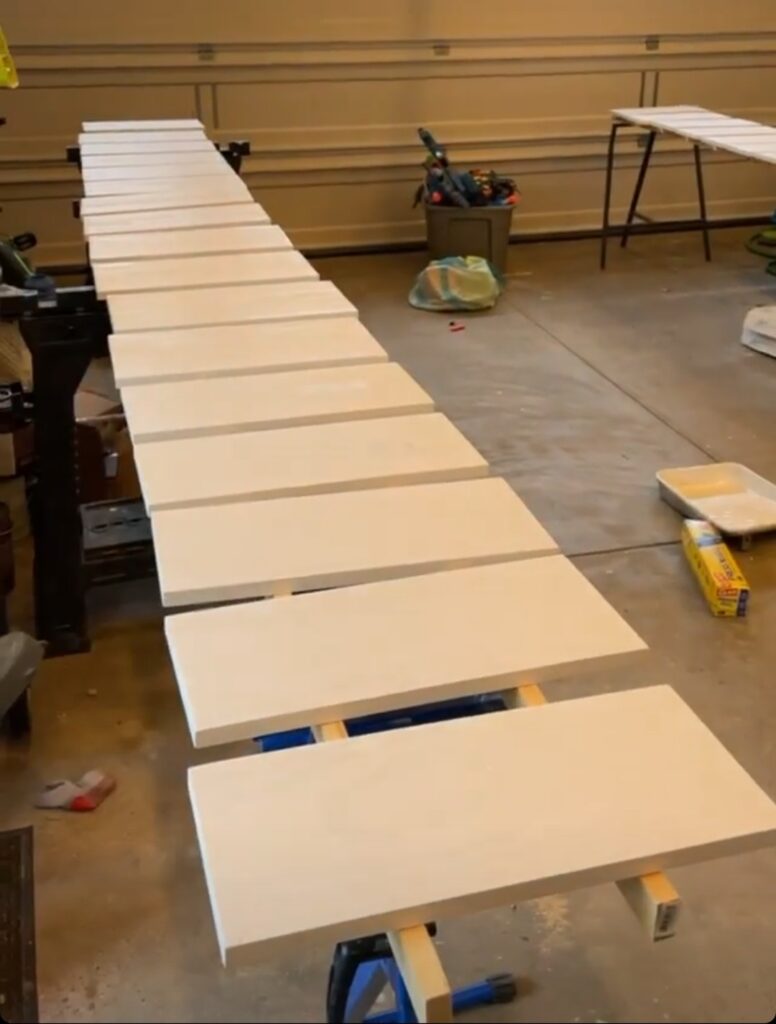
Paint IKEA Pax wardrobe and shelves
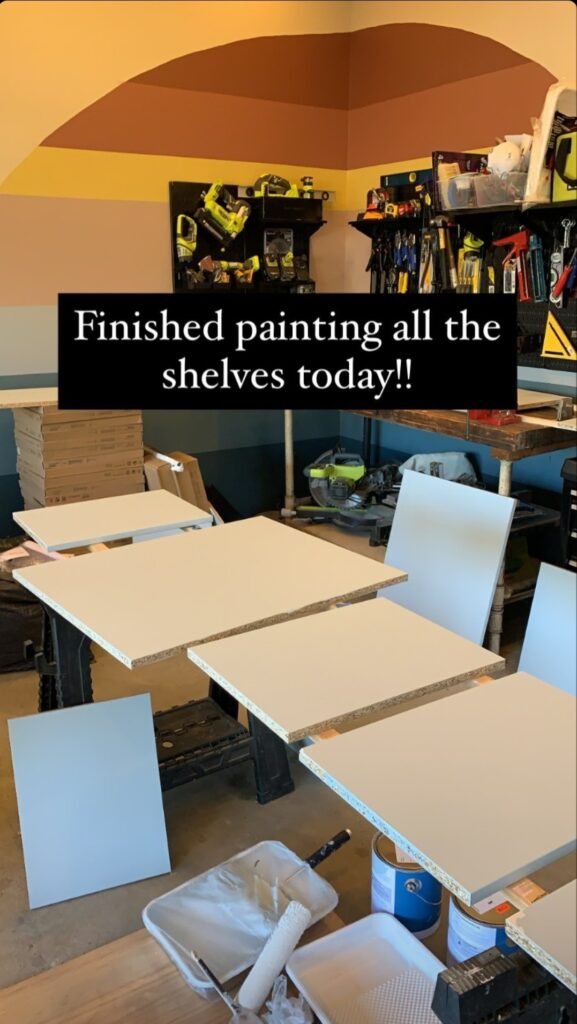
I primed and painted the shelves in the garage with a paint roller while they lay on sawhorses. Once they were dried, I flipped them and did the other side. It took quite a bit of time (considering all the drying time), but it was worth it!
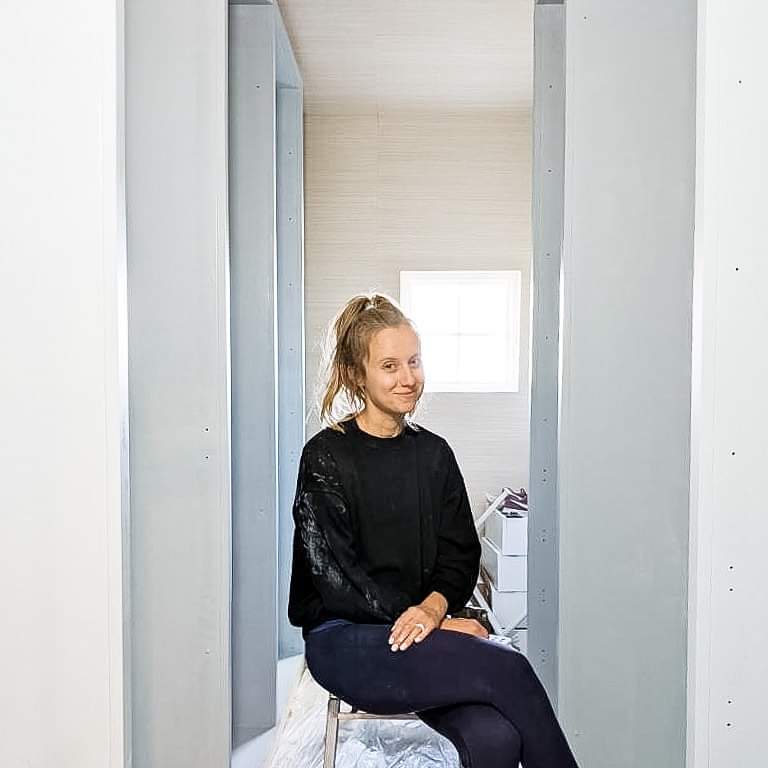
After the closet was painted, things really started coming together! I started to envision my dream and it was looking great. Just the motivation I needed to keep going because this process was LONG!
Add shelves
Once all the shelves and wardrobes had been painted, it was time to put the shelves into place. You simply add the little shelf holders (that come with the Pax wardrobes) to the open shelf pin holes and set shelves into place.
It was so frustrating, but some of the shelves actually didn’t fit! UGH! Why?!
So we had to make them slightly smaller to get them into place by taking a blade width off using the table saw.
We were also missing a couple of shelves – OOPS! They were pretty easy to order, but frustrating that we had to wait and then get them prepped, primed, and painted once they arrived.
Caulk shelf seams
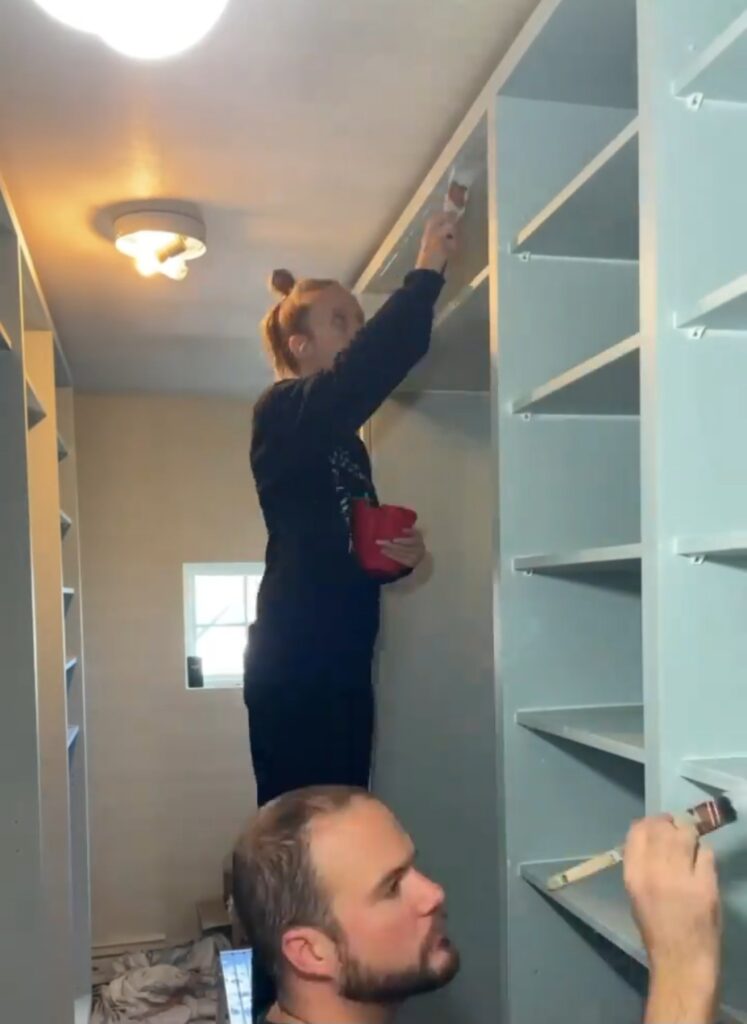
To really make the shelving on the IKEA Pax wardrobes look like they are truly built-in, you can caulk the seams and corners.
Once the caulk is dried, paint all over the caulked seams and corners with a paintbrush and then cover with another coat of paint over anything with the paint roller so you don’t have brush marks.
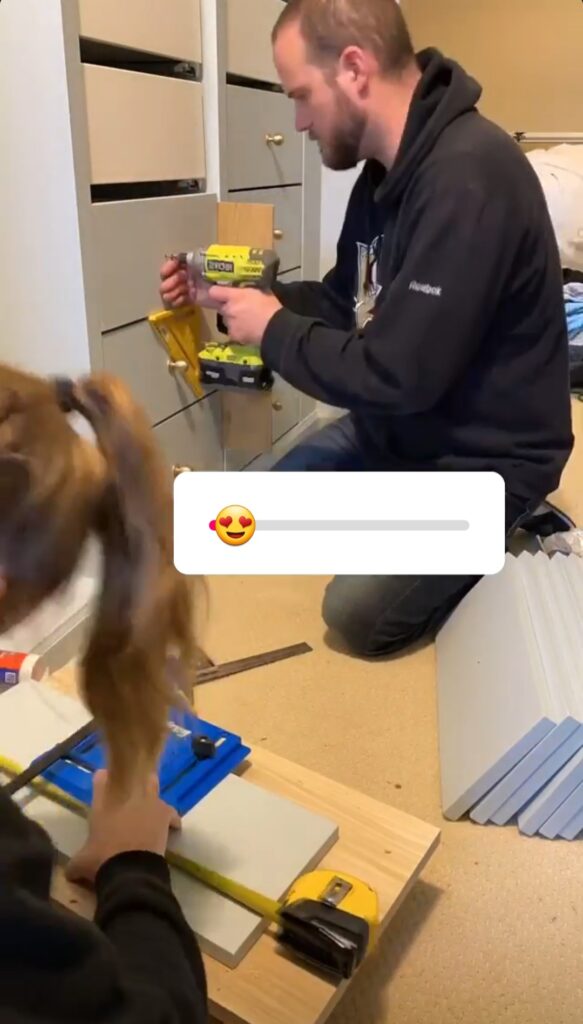
Install the drawers in the IKEA Pax wardrobes
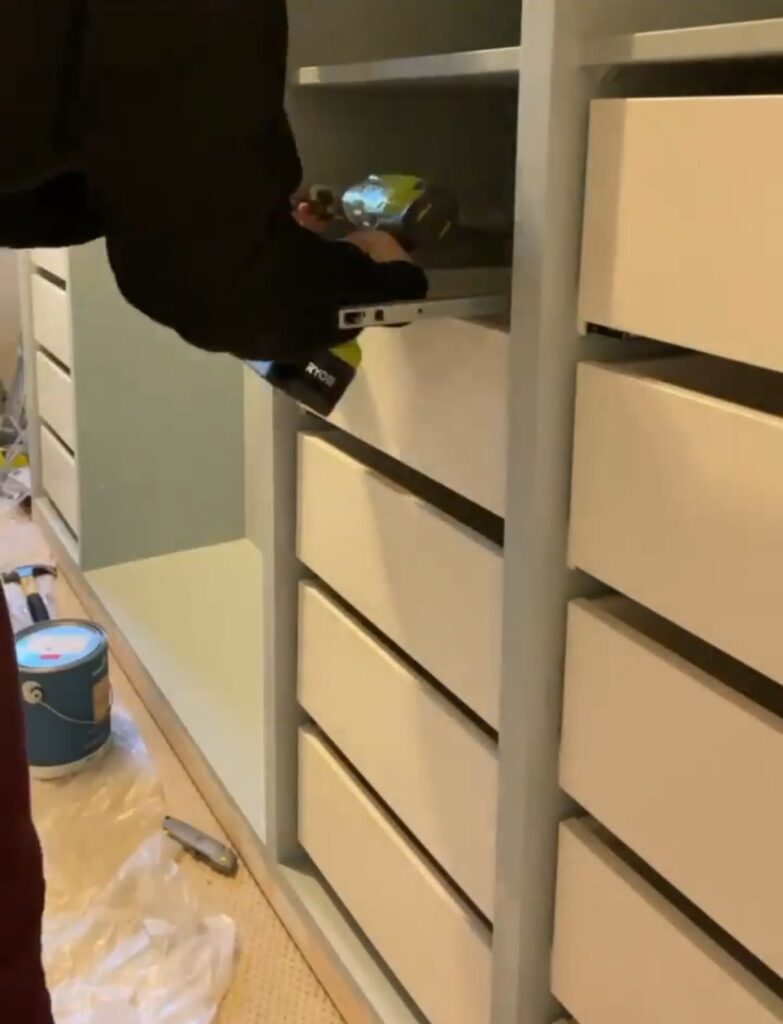
We decided to add custom fronts to the drawers to match the rest of the closet and make them look professional and built-in.
More on that process below, but the first step was getting ALL of the drawers assembled and installed (and there were a lot of them!)
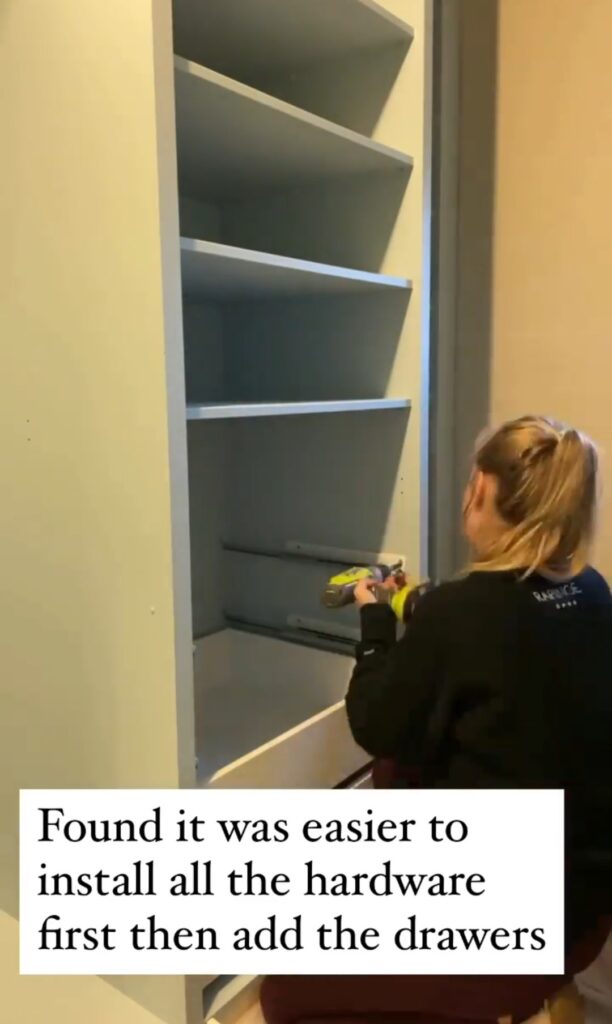
In general, for the IKEA Pax wardrobe drawers, we found it easier to install all the hardware first and then add the drawers. That way you had a little more room to see and move around without the drawers being in your way.
Custom drawer fronts for Pax closets
We used select pine wood to create our custom drawer fronts and cut them down to size with a table saw and miter saw.
We first created a template out of plywood so that when we got the real wood, all we had to do was trace and cut. This allowed us to work faster.
Once they were cut to size, we sanded them lightly and then applied primer.
After the primer, we lightly sanded them with a 220-grit sanding block and then added paint with a small 3/8″ nap roller.
I painted the drawer fronts in the garage on tables and sawhorses. I painted the sides first with the least amount of paint possible to avoid drips and then moved on to the front sides. Once dry to the touch, flip and paint the backs.
Add knobs to custom drawer fronts and attach to drawers
For the knobs on the custom drawer fronts, I wanted to do something brass. I got gorgeous 1″ round knobs and they are solid brass.
To attach the hardware to the custom drawer fronts, we used the Kreg cabinet hardware jig and it was so handy.

The jig helps mark where you want the knob to be on the drawer so it is centered every time. But be sure to put a scrap piece of wood underneath so you don’t drill into your floor!
Once you drill the hole through the Kreg cabinet hardware jig for the knob, hold the custom front into place on the IKEA drawer and clamp it into place.
Then drill through that hole for the knob into the IKEA drawer so that the knob goes all the way through the front and into the drawer.
By adding the knob first, it keeps the drawer front in place while you add the additional 4 screws from the inside of the drawer to secure it.
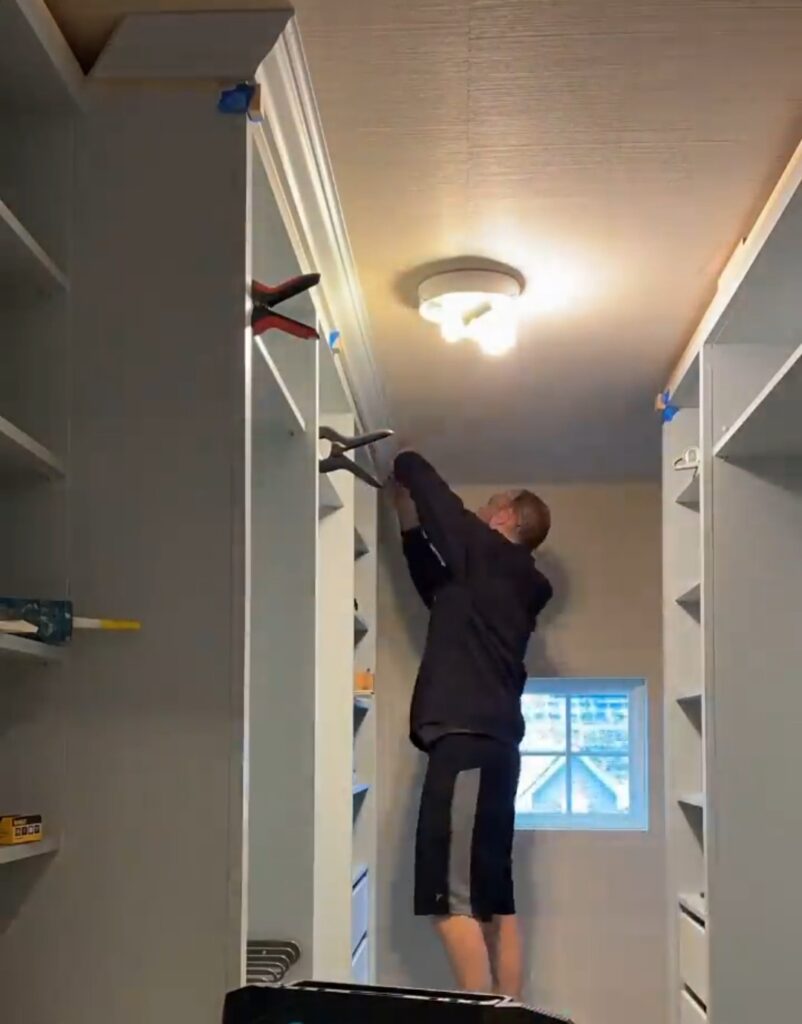
Finish molding on IKEA Pax cabinets in the closet to make them look built-in
To make the IKEA Pax wardrobes truly look built-in, we added:
- crown molding to the top where it meets the ceiling
- baseboard molding to the bottom where it meets the floor
- shoe molding along the bottom edge of the baseboards
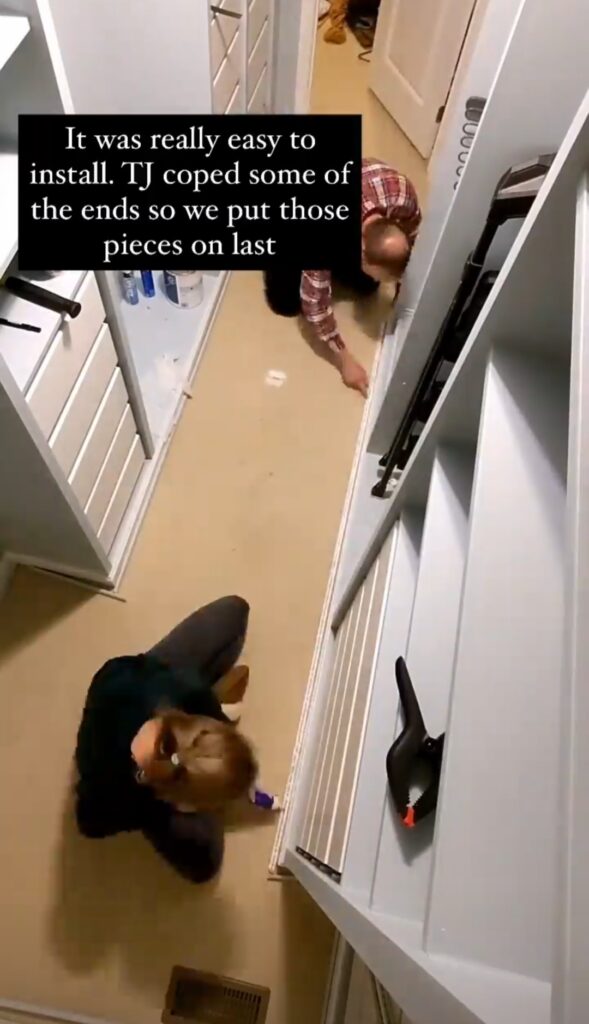
We cut down all of molding pieces first so they were the right size and did a dry fit. Then we painted two coats of paint to the molding pieces (except the baseboards, which looking back we probably should have).
Luckily all of the molding pieces come pre-primed so that is nice not to have to do that also.
After it was painted, we added the crown molding on the top and baseboards to the bottom.
Why install shoe molding?
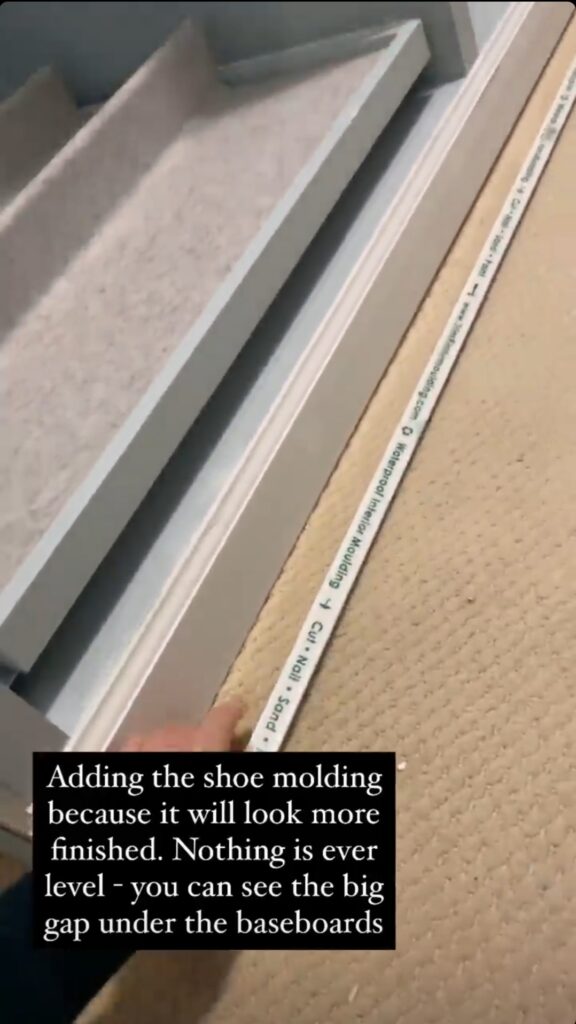
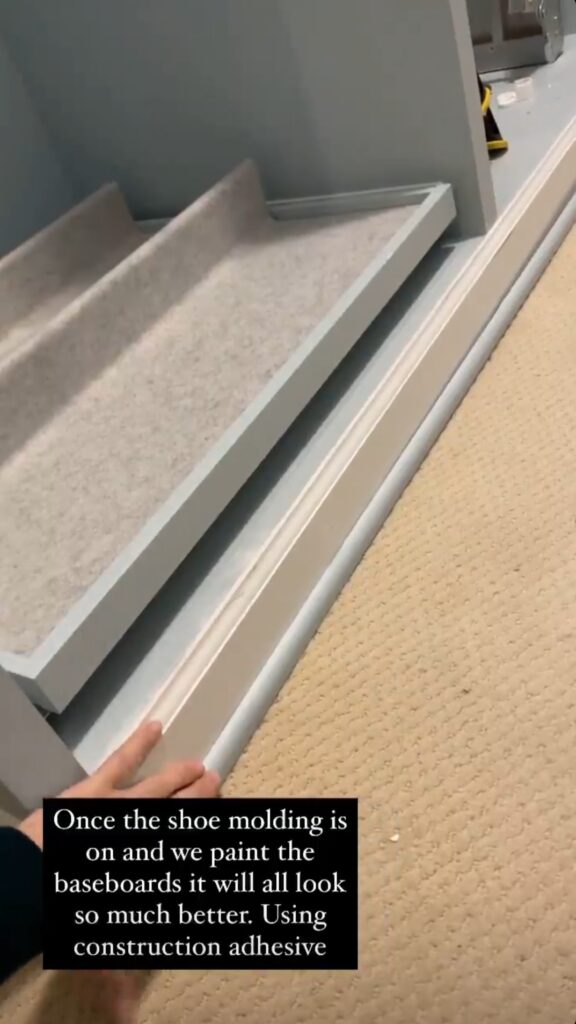
Since we added baseboards, you may be thinking “why would you also install shoe molding?” And while it may seem like overkill, the shoe molding gives the closet a much more finished look at the bottom.
You see, nothing is ever level (even if you have a brand-new house) so after the baseboards were added, you could see a big gap between the baseboards and the floor. No, thank you. The shoe molding covers up that gap.
We decided to glue the shoe molding into place on the baseboards because we didn’t want to have to paint it again after installing it (which we would have to do if we nailed it into place because we would have to fill the nail holes). Since it was so close to the carpet it would have been a nightmare to paint!
We used Loctite Power Grab construction adhesive and installed the shoe molding after putting two coats of paint in the garage.
Caulk seams around molding
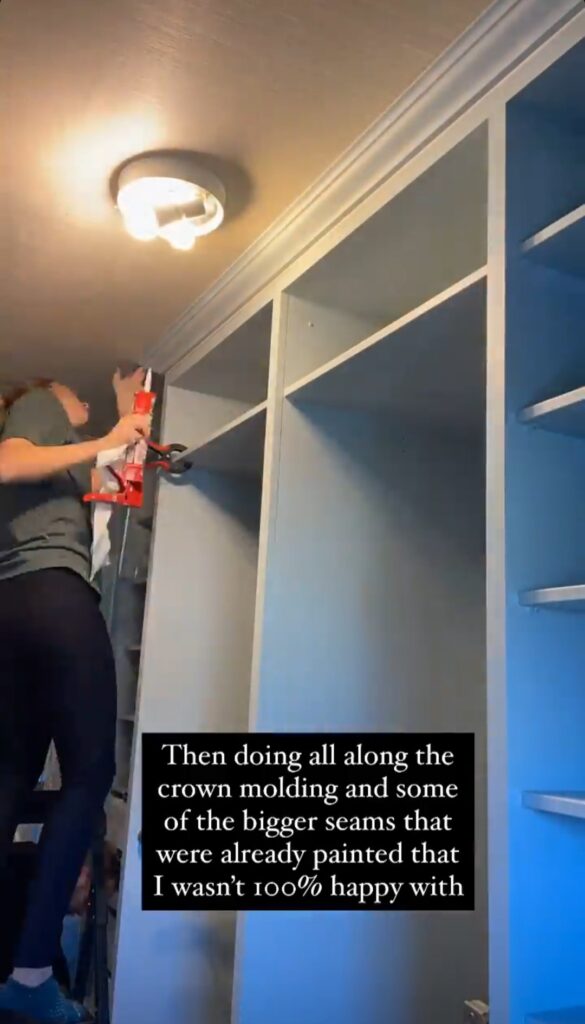
Next, we caulked the seams around the crown molding, the shoe molding, and the baseboards.
We also checked all other seams to make sure everything looked good after it had been painted. You can always add another layer of caulk if you’re not happy with the way the joint or corner looks.
Wooden clothing rod

I wasn’t wild about the options of clothing rods that came with the IKEA Pax system, so we decided to make our own!
We made custom clothing rods using oak dowels and rod sockets instead of the ones you get from Ikea.
After cutting them down to the correct sizes, we stained them and sealed them with 3 coats of Polycrylic in a Satin finish, sanding lightly in between each coat of sealer. We then screwed them into place.
I love the extra custom touch here! It’s really the little things when it comes to making your IKEA Pax wardrobes look and feel custom.
Last coat of paint
To wrap things up, we did a touch-up last coat of paint on everything with a paintbrush that was missing paint (like the crown molding and baseboards).
For the door that goes into our master bedroom, we also painted the trim around the door frame the same Smoke paint color. I thought about also painting the door but ultimately decided to hold off and leave it white.
This was a long article with SO many different things we did in our closet to make it look built-in. And it was a marathon, not a sprint! This entire closet renovation took us a lot of time…seriously, like MONTHS!
Feel free to use some or all of these little tricks if you’re looking for a good IKEA hack for your closet.
We’ll be sharing another fun DIY project (an upholstered bench) soon and then the grand finale – the big reveal. So stay tuned for more on this Pax closet!
Want to see more of our IKEA master closet renovation?
- How To Use the IKEA Pax Planner to Design Your Closet
- Custom Plywood Backs for IKEA Pax Wardrobes
- IKEA Pax Wardrobe: Making Your Closet Look Built-in (you are here!)
- Upholstered Waterfall Bench DIY Tutorial
- IKEA Walk-In Closet Reveal
Hi. Love your closet, envious as well. Would using construction adhesive work instead of using a brad nailer, as I don’t have one and don’t really want to spend money to buy one.
Construction adhesive MAY work instead of a brad nailer in the short term, but you may find that the hold doesn’t last as long as a nailgun would. Maybe you could rent one from your local home improvement store?