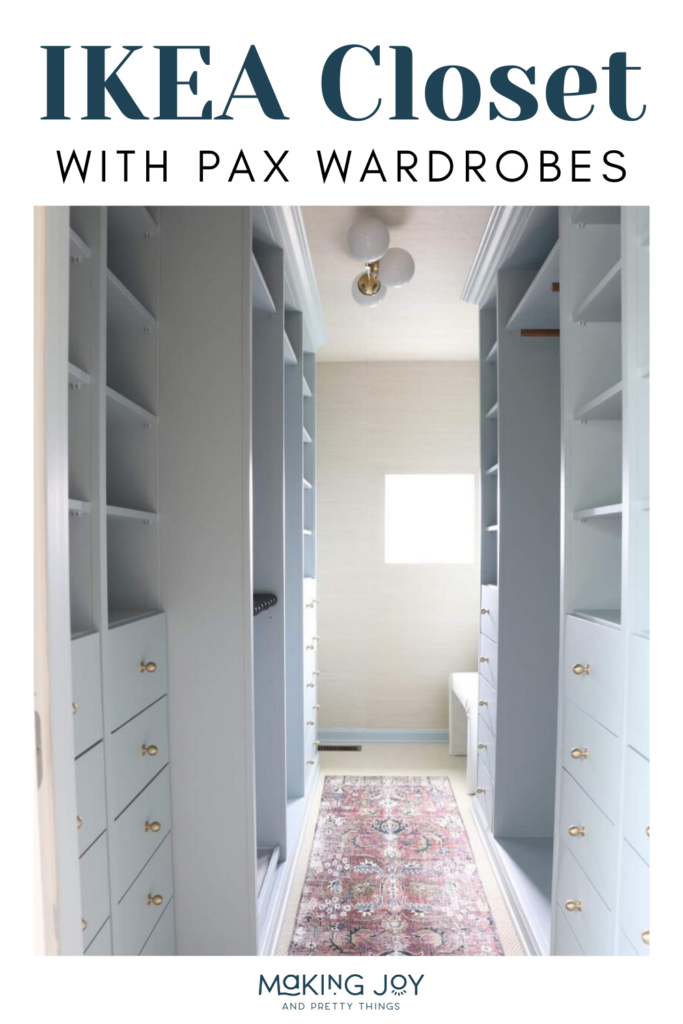
IKEA Walk In Closet Reveal with Pax Wardrobes
Thinking about using Pax wardrobes for your closet makeover? Take a look at the entire transformation of our IKEA walk-in closet and see how it turned out.
Today we’re walking you through the entire process of renovating our walk-in closet. From beige walls with wire shelves to a light and bright gorgeous closet that looks built-in.
Walk-In Closet Makeover – How’d it turn out?
Let’s start with the good stuff first! Here’s how our IKEA walk in closet turned out.
Isn’t it pretty?
Ok, now let’s jump into the nitty gritty details and show you just how this project took shape.
Our Plan for the Master Closet
We were so excited to get started renovating our master closet, but I don’t think we had any idea just what a huge project we were taking on.
Even though it turned out AMAZING and we have #zeroregets, it took us months to finish this renovation!
Here’s a quick snapshot list of everything we did to transform our closet during the renovation:
- Designed our ideal setup using the online Pax planner
- Removed wire clothing racks
- Filled holes in the wall
- Chose a paint color for walls & IKEA Pax wardrobe system – after trying one and not loving it, we ended up choosing something else
- Skim-coated textured ceiling
- Installed grasscloth wallpaper on the ceiling and back wall of the closet
- Painted other walls of the closet
- Then REPAINTED the walls with this color because I didn’t love the first one we used
- Installed IKEA Pax wardrobes
- Made the Pax wardrobes look custom by adding trim and molding, filling holes, painting the same color as walls, building custom drawer fronts, and more
- Installed new ceiling light
- Built upholstered waterfall bench for corner by window
- Installed a vintage-inspired mirror on the wall above the bench
- Put in a new runner rug (which was a bit too big and I’ll explain what I did about that below)
- Filled closet with our clothes and favorite things
- Gave ourselves a big pat on the back for finishing this custom closet
Before Pictures
Here’s what it looked like before we renovated. The walk in closet had boring bland walls with a few cheap wire shelves.
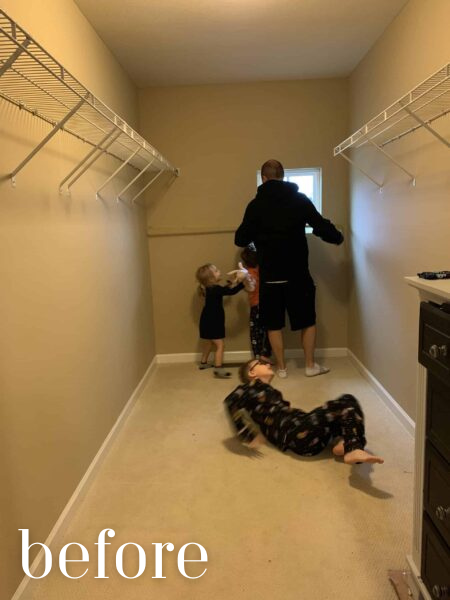
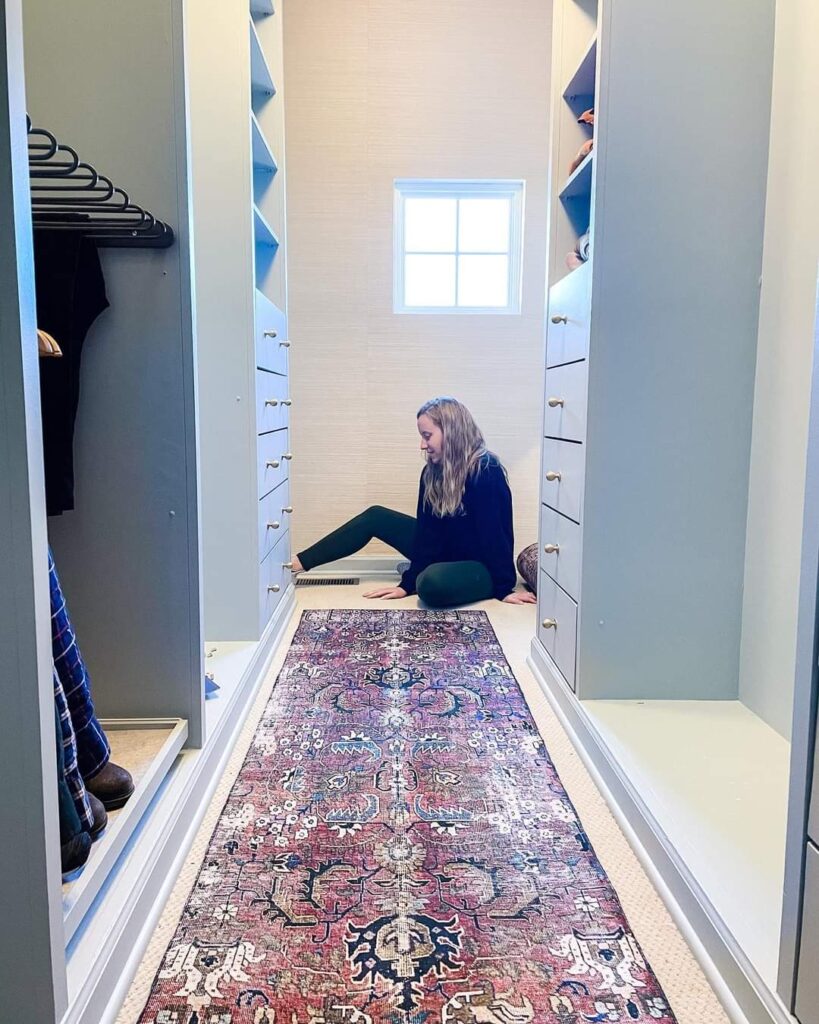
We have quite a bit of space to work with. It is a long and skinny space with usable walls on both sides.
I love that there is a window in the back to let in natural light – which is rare to see in a closet.
But the wire shelving that came in the closet when we bought the house just wasn’t working for me.
Floor Plan for Master Closet
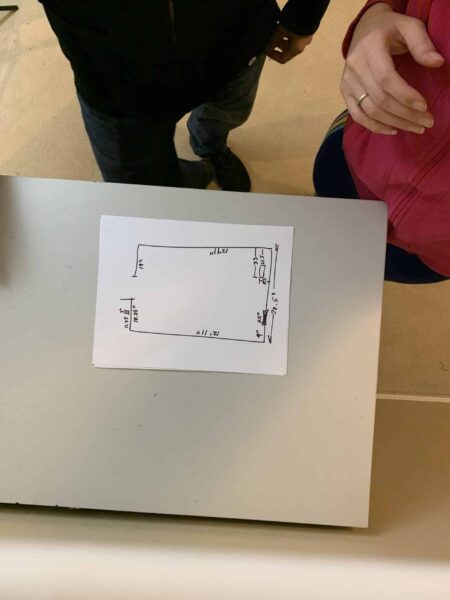
We started the renovation by making a simple floorplan of our master closet space so we knew what we were working with.
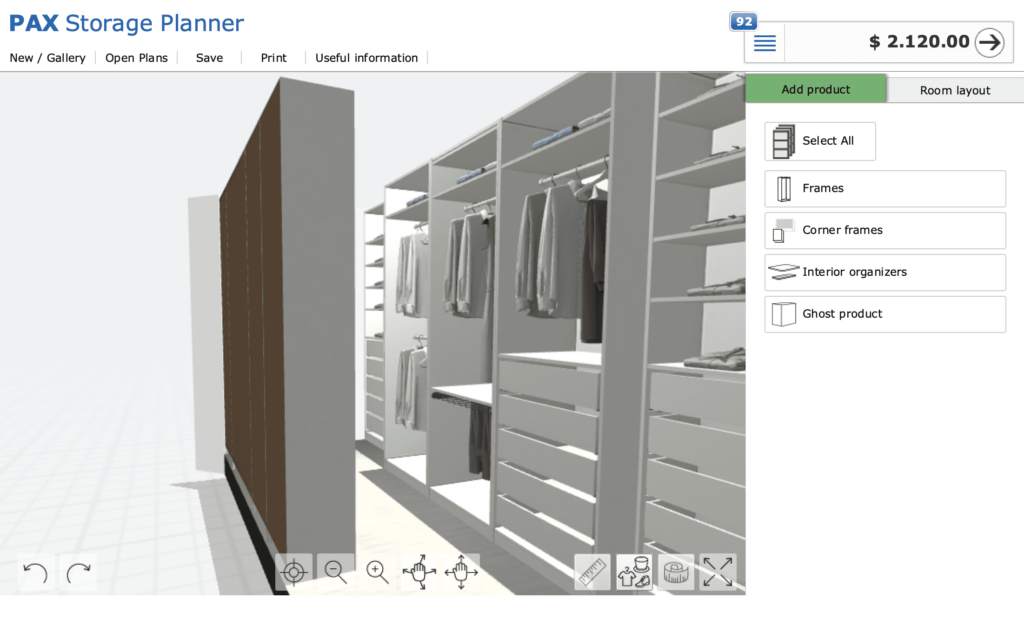
Designing Our Dream Closet
We needed these exact measurements for our closet as we started designing the IKEA closet using the Pax planner on IKEA’s website.
Read more about how to design your IKEA Pax closet with the Pax planning tool in this article.
Here’s what our closet design looked like after we used the Pax planner.
Removing Old Wire Racks
We started the closet renovation by taking wire racks off of the wall that were in the old closet, but lo and behold, they were actually nailed in with big bulky wall anchors – not screwed in like they should have been!
Nailed in means that we can’t unscrew them to remove them. Why?! We had to pry the old wire racks off the wall with a crowbar.
Unfortunately, when the nails and wall anchors on the wire shelves were removed they left a huge hole in the wall. Ugh.
We were planning on covering most of the holes with the Ikea Pax system, but there was a handful that wasn’t going to be covered up that we needed to patch.
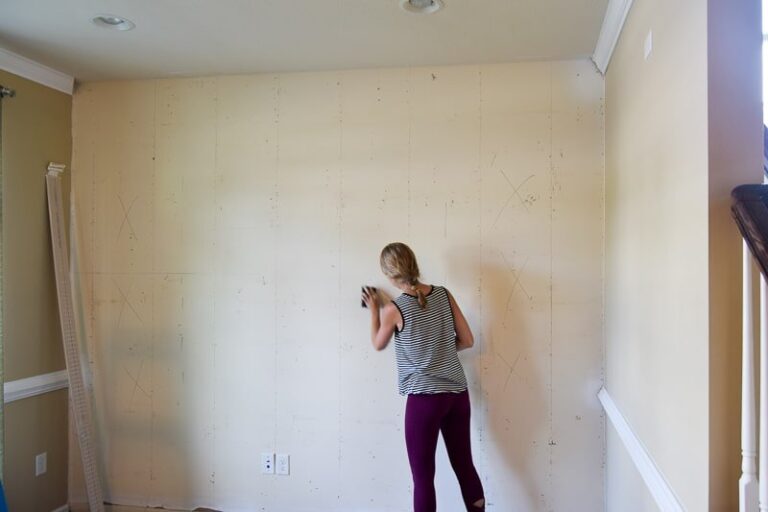
Choosing Paint Colors for Master Closet
Next, it was time to choose a paint color. We finally painted the samples on the wall for the closet, which is a necessary step for any renovation!
You’ve always got to paint actual samples on the wall before deciding on a paint color (even then you MAY still change your mind…do you see where this may be going?).
I was originally going to go with something dark, but once we added the paint samples to the wall, some of them were just too dark for a closet that didn’t have a lot of natural light.
After painting the samples on the wall, I narrowed it down to my two favorites.
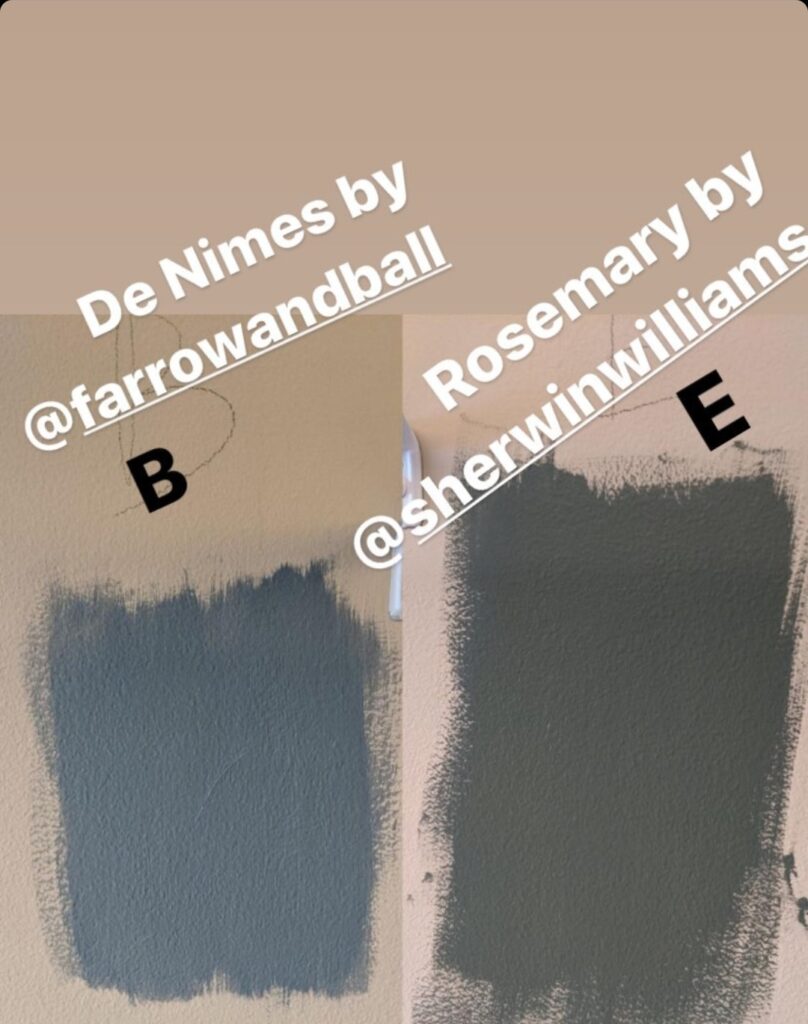
I really liked Option E (Rosemary by Sherwin Williams), which is a gray-green. Option B (De Nimes by Farrow and Ball) is also really pretty and is a lighter gray-blue. I really just needed to make a decision if I wanted to go with more of a blue or a green paint.
I waited to make a decision until we could get some wallpaper samples – see more about that below.
Choosing Wallpaper in the Closet
I had the dream to wallpaper the ceiling and have that same wallpaper carry into the back wall, where there wasn’t be any shelves because there’s a window on that wall.
I was also planning a small bench for that back corner, so I thought the wallpaper would help make that bench stand out.
But our ceilings are textured (and not in a good way), so we couldn’t wallpaper over it as is because it would be bumpy, of course.
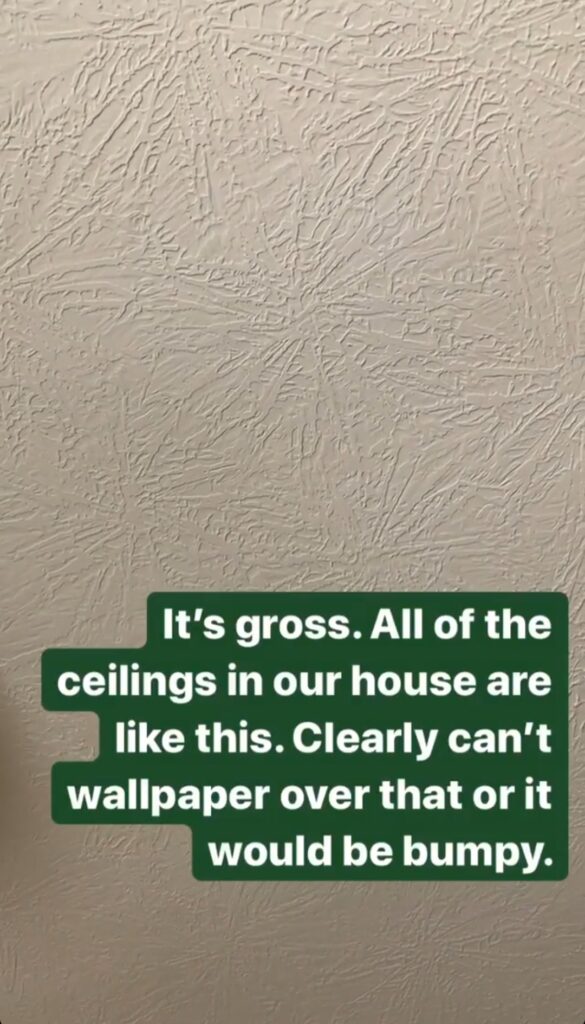
TJ was convinced that skim-coating the ceiling to smooth it out was going to be impossible, but I really wanted to do it. So we pressed forward.
Spoiler alert – TJ was right. It was so not fun to skim-coat the ceiling.
Meanwhile, I ordered textured neutral grasscloth wallpaper samples from Serena and Lily to hold up next to the paint samples on the wall.
And I loved the wallpaper samples, but then when I actually sat down to do the math it was going to be over $2,000 and that was NOT going to happen. That is more than what we paid for the entire Ikea Pax system, so no.
Instead, we found some different grasscloth wallpaper options online and found some from Wayfair. I’m really happy with it! The only downside was that I couldn’t get any samples, but I just went for it.
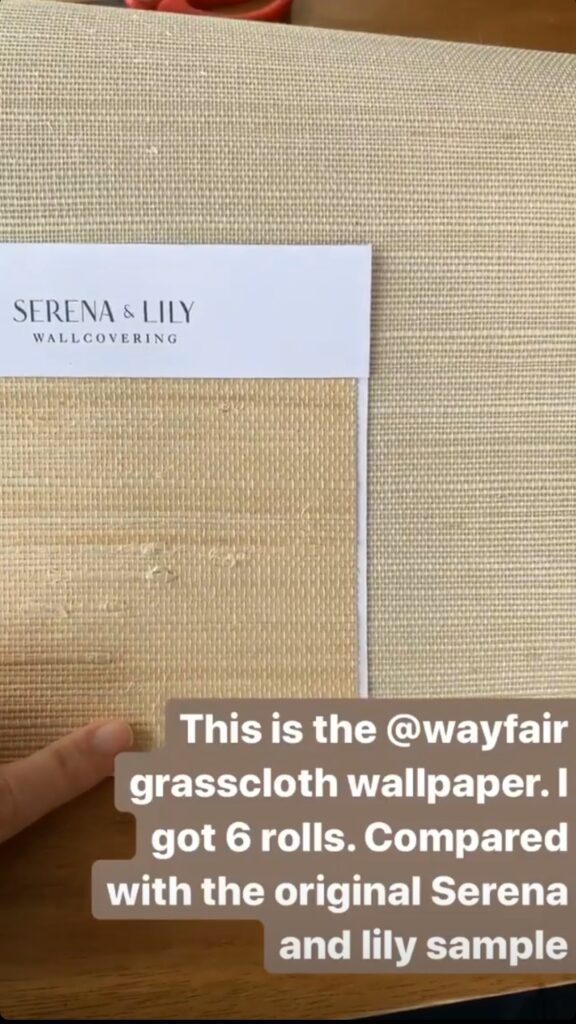
It is not exactly the same color as the Serena and Lily stuff and it still seems like a really good quality for a much more affordable option. I’m really happy with it!
Skim-coating Textured Ceiling
Since we were moving forward with doing wallpaper (much to TJ’s dismay), we started skim-coating the textured ceiling.
We worked together to skim-coat the ceiling and it was not fun. My arms almost fell off until TJ took over.
Installing Wallpaper on the Ceiling and Back Wall
Once it was wallpaper install day, we applied a wallpaper primer to the walls and ceiling – as recommended in the wallpaper instructions. And then we installed the wallpaper on the ceiling (also not really a fun job) and the back wall.
Although skim-coating the ceiling was not fun and hard work, it was worth it because once the wallpaper got up on the ceiling I could really see the closet coming together!
Painting the Walls of the Closet (and then rethinking paint colors)
Next, we painted the walls that were going to be shown in the finished closet space and wouldn’t be covered by the IKEA Pax systems. I initially liked the color – a pretty green called Rosemary by Sherwin Williams (Option E in the paint samples shown above).

Then the closet sat for quite a while and we took a break, which was much needed.
I just wasn’t excited about the project and lost interest. Then I figured it out! It was the COLOR that was bumming me out.
I wasn’t sold on it once I got it up on the walls so I wasn’t excited about the closet renovation. I liked the color, but I just didn’t like the color for the closet. Maybe for another room in our home, but it just wasn’t working for me in here.
And, ya know, sometimes this happens. Sometimes you can like a paint color on a sample but when you get it on all the walls, you can decide to go a different way.
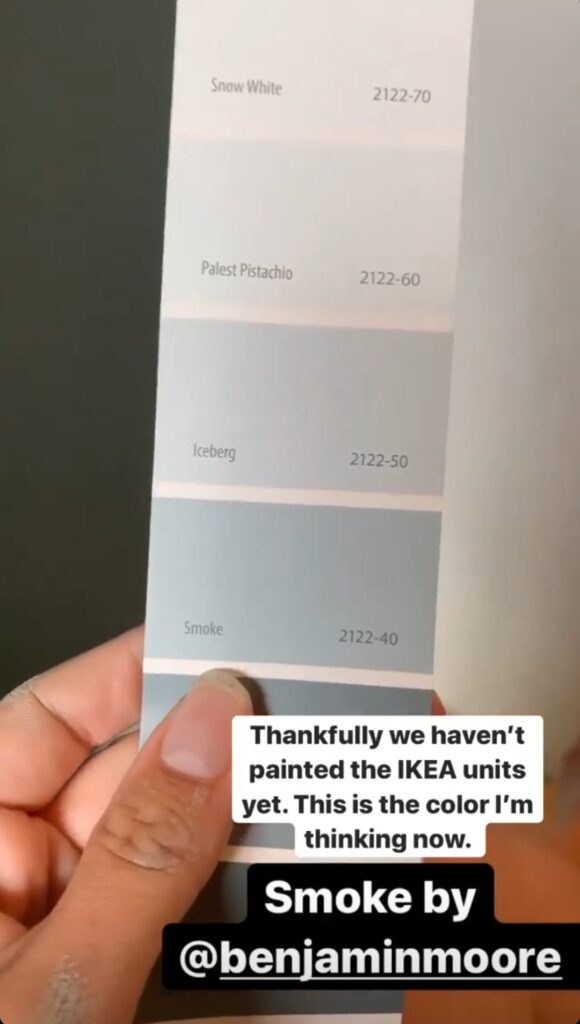
I thought TJ was going to kill me when I changed my mind, but the silver lining was that we hadn’t painted the IKEA built-ins yet so it’s better to change my mind before that, right?
So I switched gears and found this pretty color from Benjamin Moore called Smoke. It is a really pretty light blue color that looks more blue-green in person.
It was relatively easy to change the paint color once we found the new one.
It was so much lighter and brighter. Getting the new paint color on the walls gave me a new motivation to keep working on the closet.
And I was really going to need the motivation for the rest of this walk-in closet renovation.
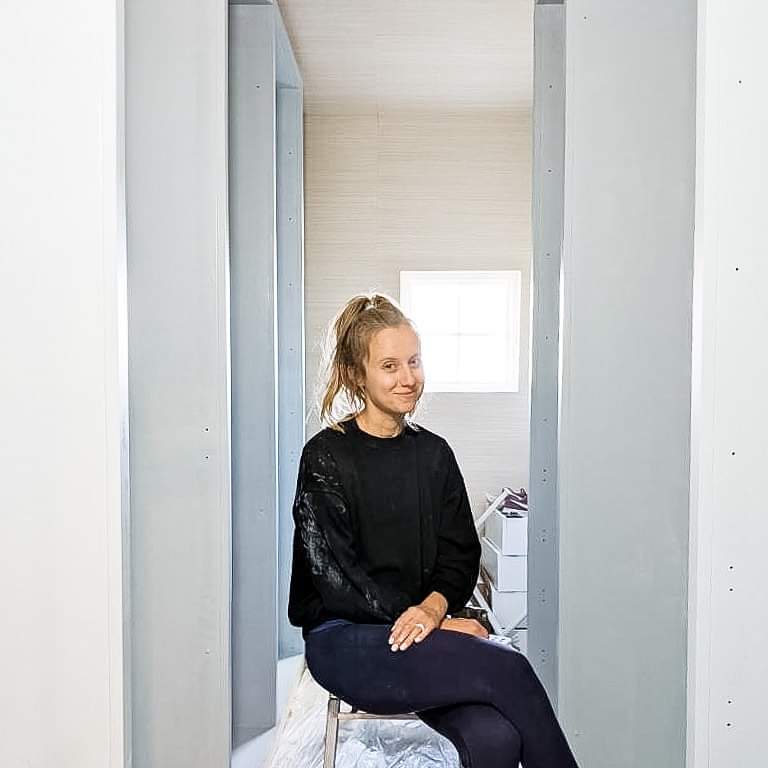
Installing IKEA Pax Closet System
Once the IKEA Pax wardrobes arrived, we installed them based on the instructions. That process was really pretty simple.

At this point, I was starting to get excited about how much these storage solutions were going to hold! They really have so MUCH space when compared to the flimsy wire shelves we had in there before.
Customizing IKEA Pax Wardrobes to Make Them Look Built-in
We did so many different things after installing the Pax wardrobes to give them a custom look. We definitely pulled out all of the IKEA hacks for this small walk-in closet.

From adding plywood backs, painting them, adding trim and molding, building custom drawer fronts with pretty hardware – even making a wooden clothes rail, the open wardrobe systems took on a whole new look.
It really started looking like a built-in closet. Read our full article explaining just everything we did to make the Pax wardrobes look built-in in our IKEA walk in closet.
Building Upholstered Bench
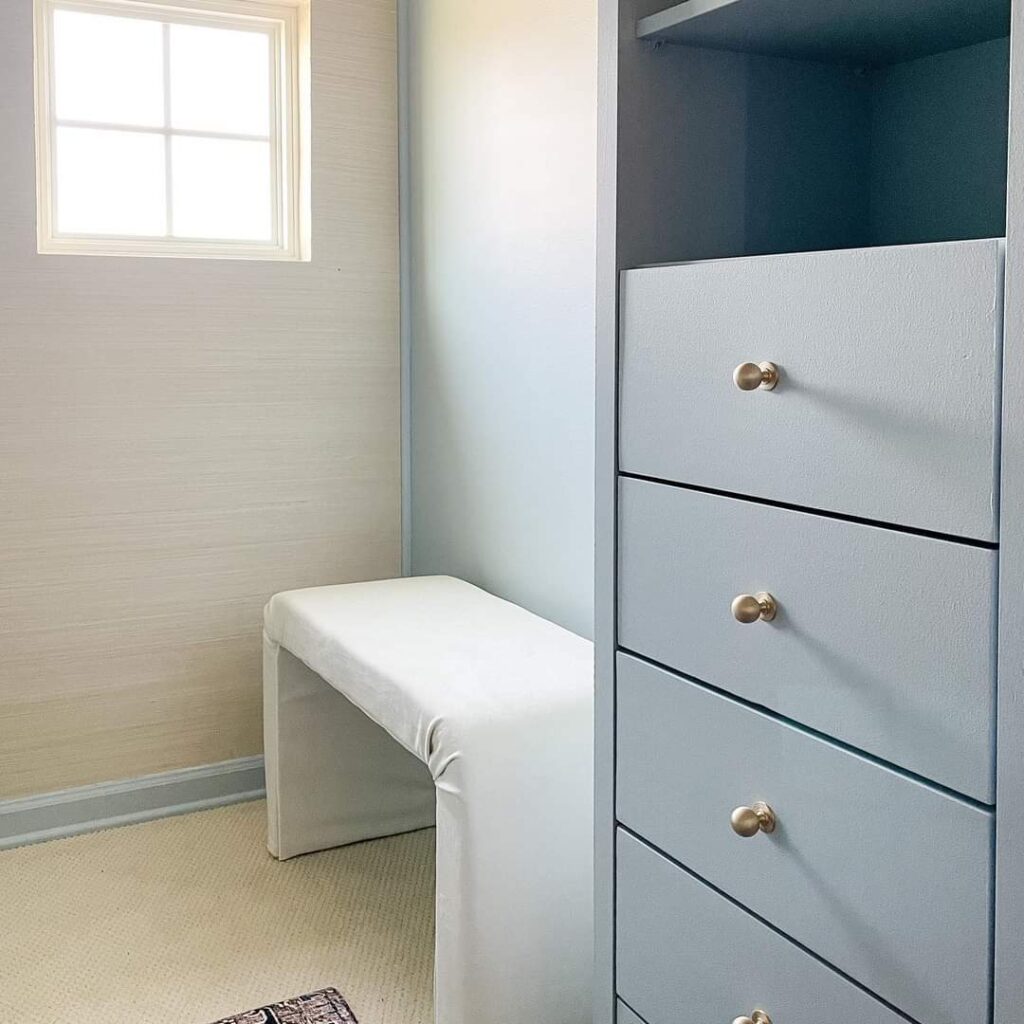
The bench is seriously my favorite part of our beautiful closet and I’m so proud that I built it myself. It gives the closet a really “dressing room” vibe, providing a place to put on shoes and sit – which is definitely a luxury.
Check out how we built this waterfall bench with our DIY tutorial.
Finishing Touches
After Pax units went in and got completely customized, it was time to add the finishing touches to our pretty IKEA walk in closet.
New Ceiling Light

We started by swapping out the ceiling light in the closet with something that had a lot more character and charm. I just LOVE this modern light with the round glass globe shades and the pretty brass finish.
If you’re interested in finding unique lights for your home from Etsy, check out this article.
Vintage mirror
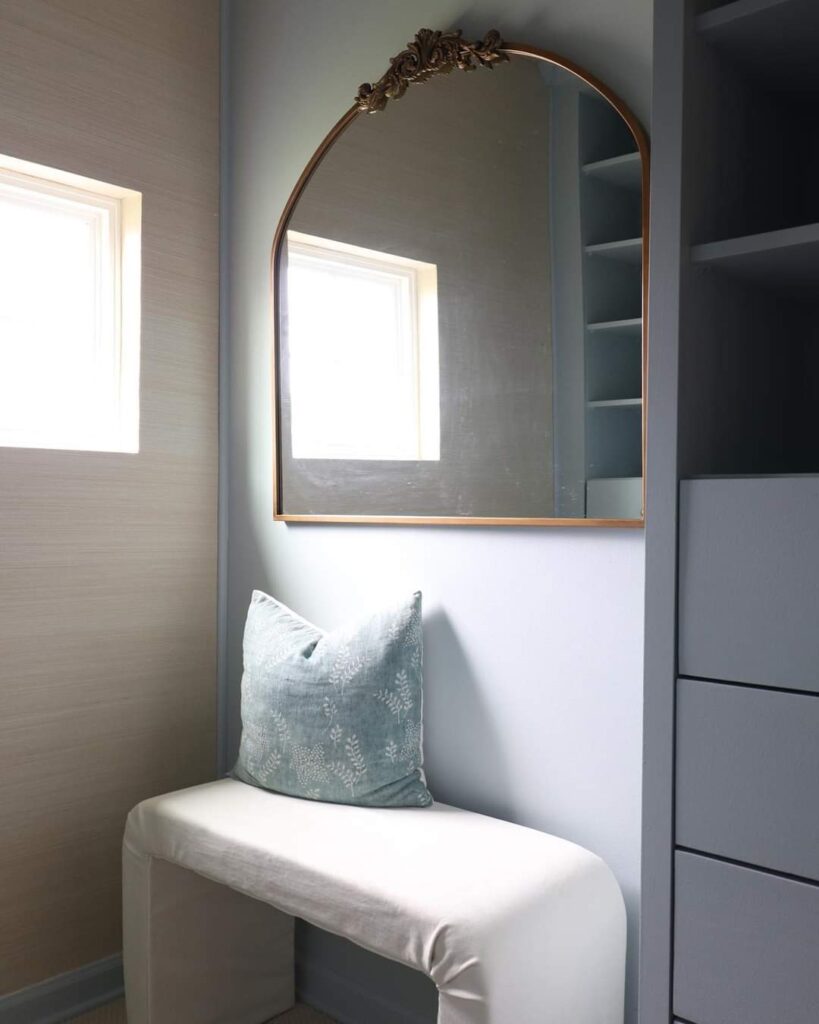
I thought about adding a full-length mirror, but I really had my heart set on adding a bench, so eventually decided on a smaller vintage-inspired mirror that only covered the top half of the wall.
I love the little touch of vintage that the mirror added to a room. It reminded me a bit of that wooden vintage mirror that I added to the farmhouse industrial master closet in our old house.
I’m a firm believer that when you add something vintage (or vintage-inspired) to a space it instantly adds so much character! Don’t you agree?
Runner rug
Then I ran into a bit of a rugger rug dilemma.
You see, I got a runner for our closet. And although I measured it before I purchased it, I didn’t do it correctly and it didn’t fit. It was too wide. Ugh.
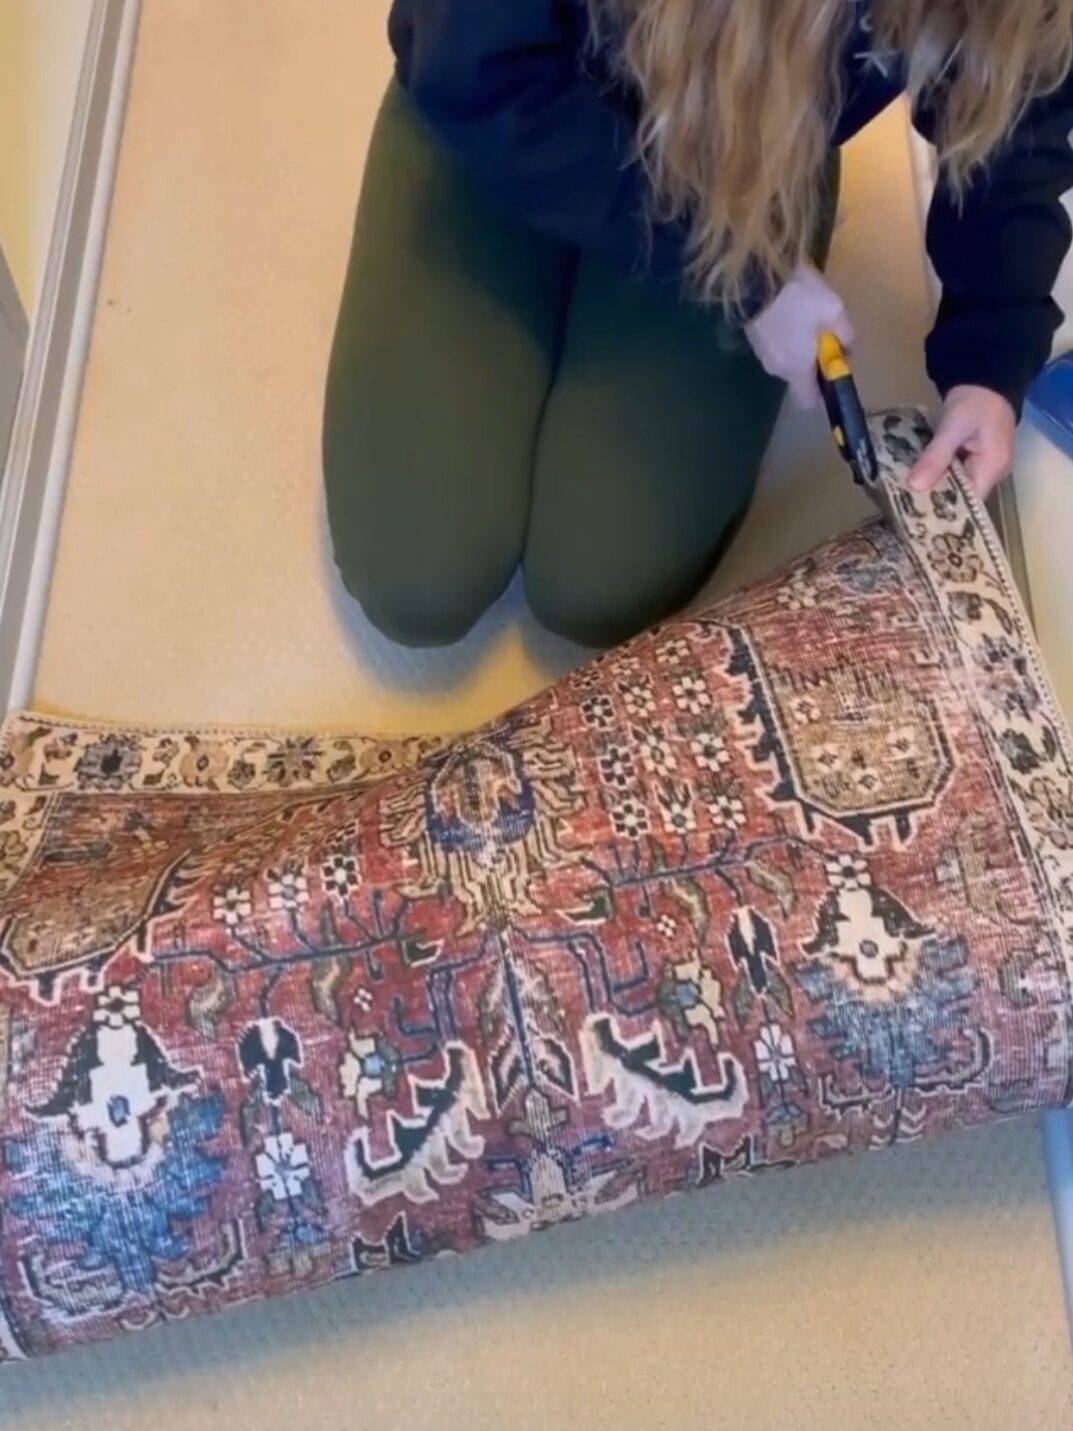
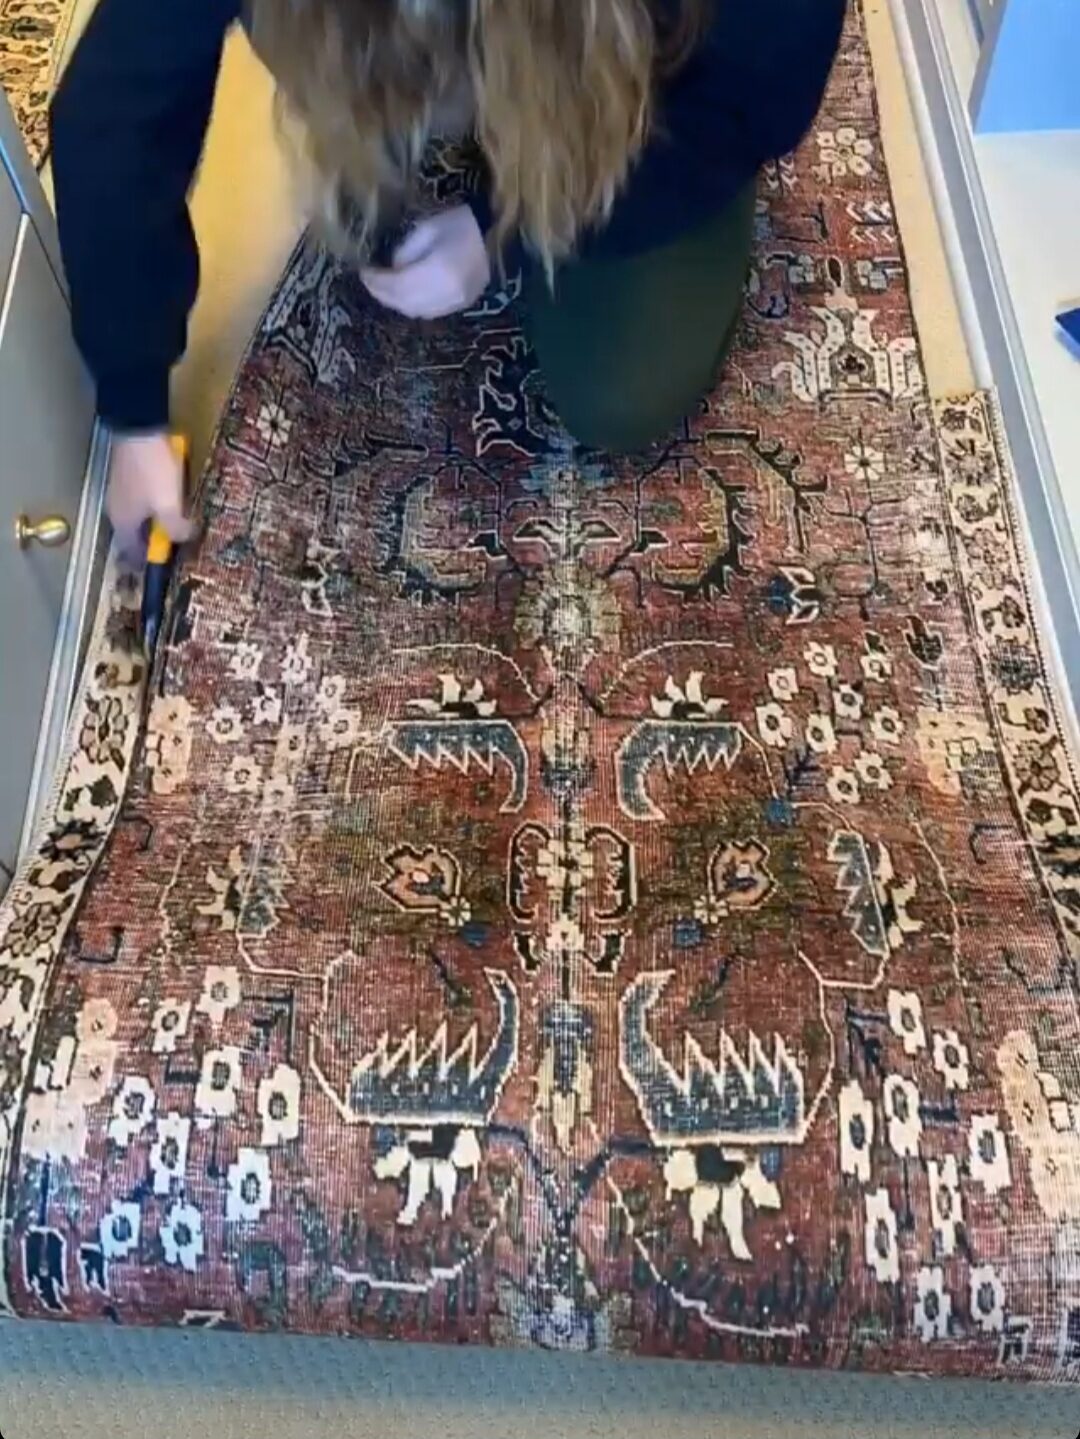
So I had the brilliant idea to try to cut it with carpet shears and glue the ends together with this carpet seam sealer so it doesn’t fray or unravel. The design of the runner had a 1-2″ border along that edge, so it was the perfect line for me to cut along.
I figured “What is the worst that can happen” and I went for it!
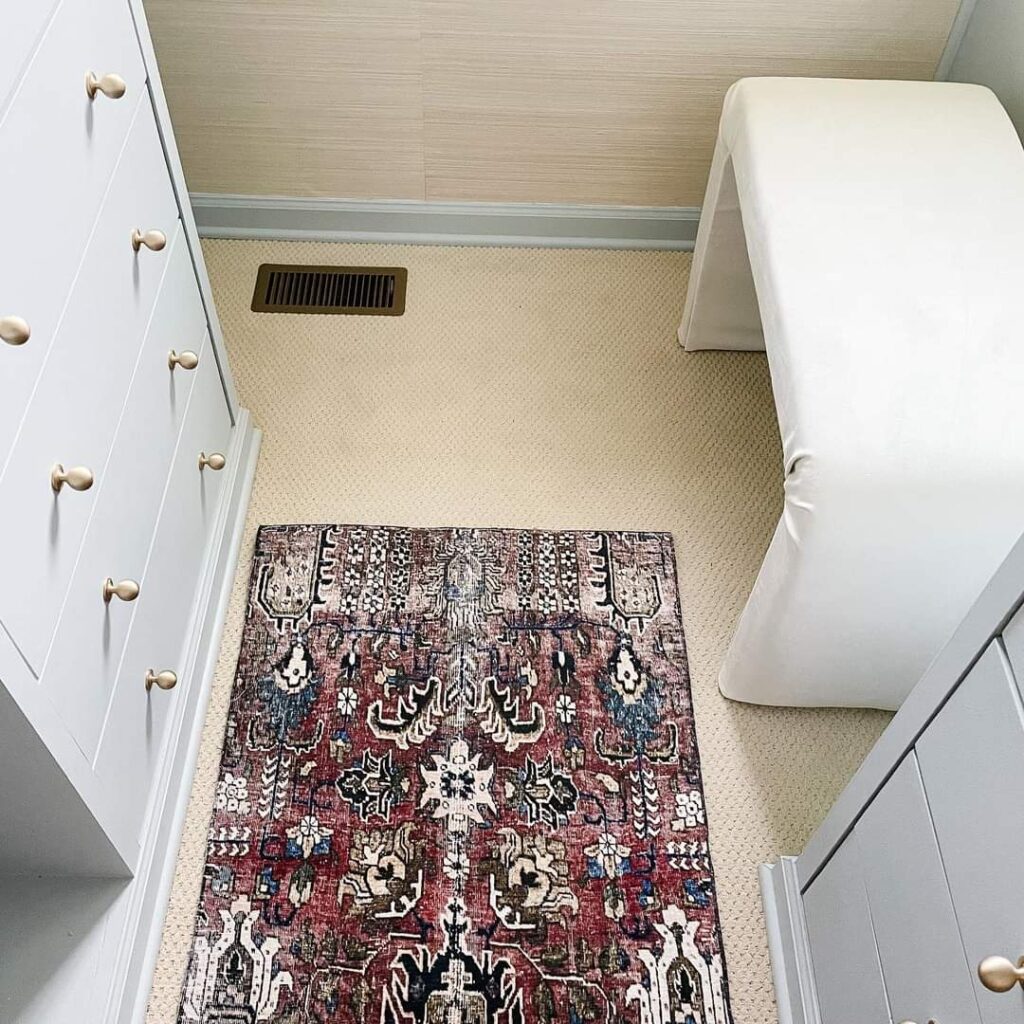
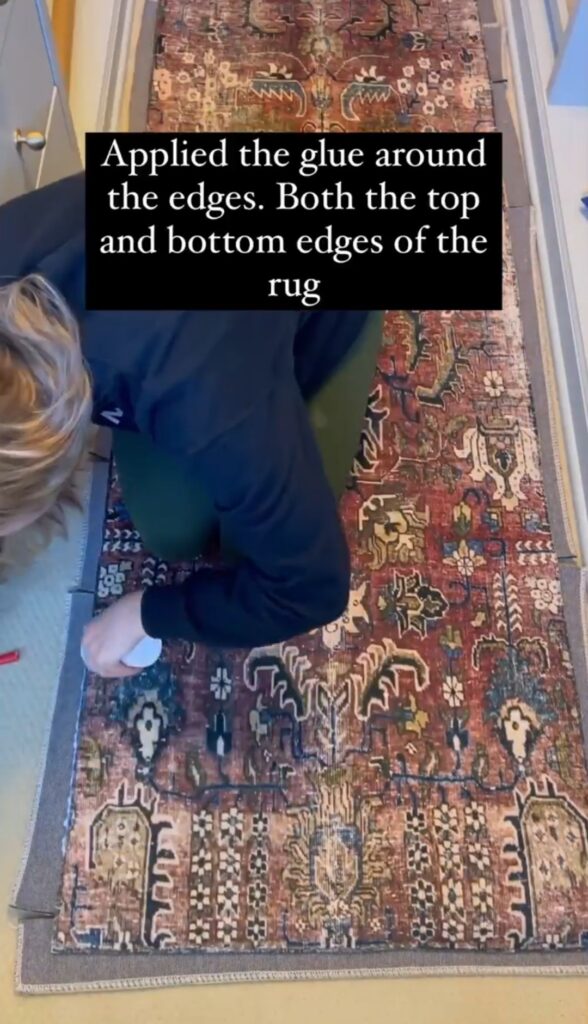
It fit perfectly after I got the edges cut! I just put a little bit of glue along the edge where I cut and rubbed it in with my finger. The glue dried totally clear.
I’m really excited about how it turned out and I’m so glad that I took a chance.
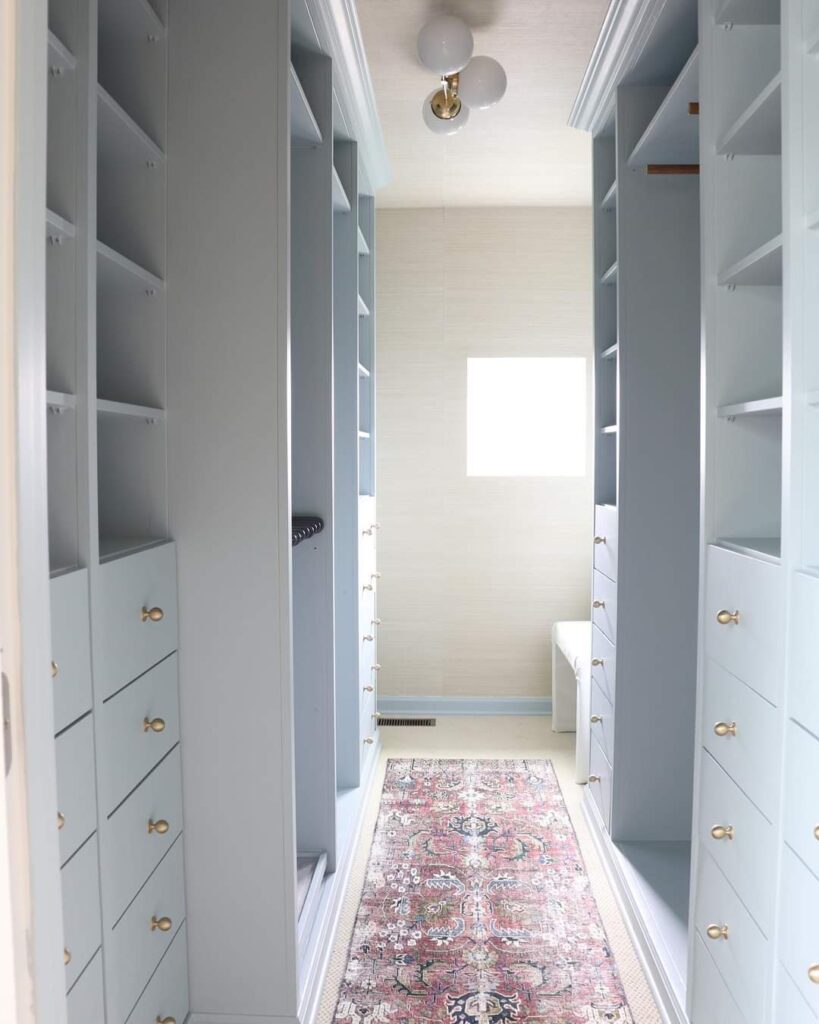
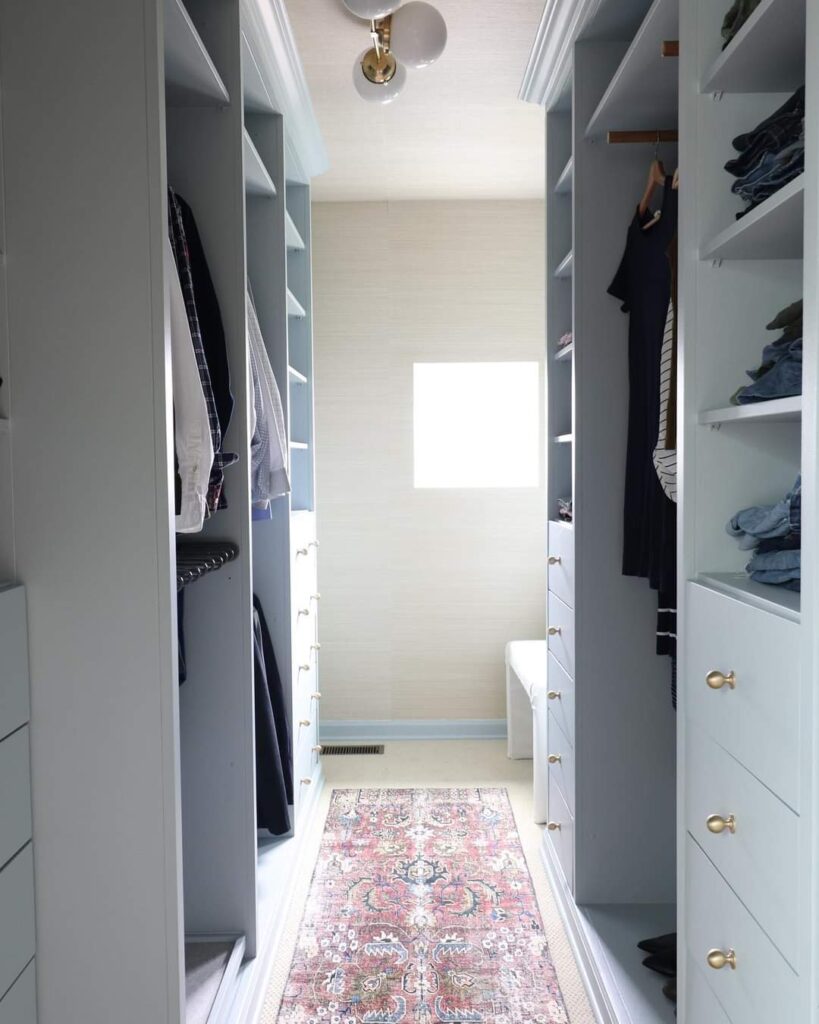
IKEA Walk In Closet Reveal
So here’s how our IKEA walk in closet turned out! We have more the enough space to to hold all of our clothes, shoes, and accessories (and keep everything organized).
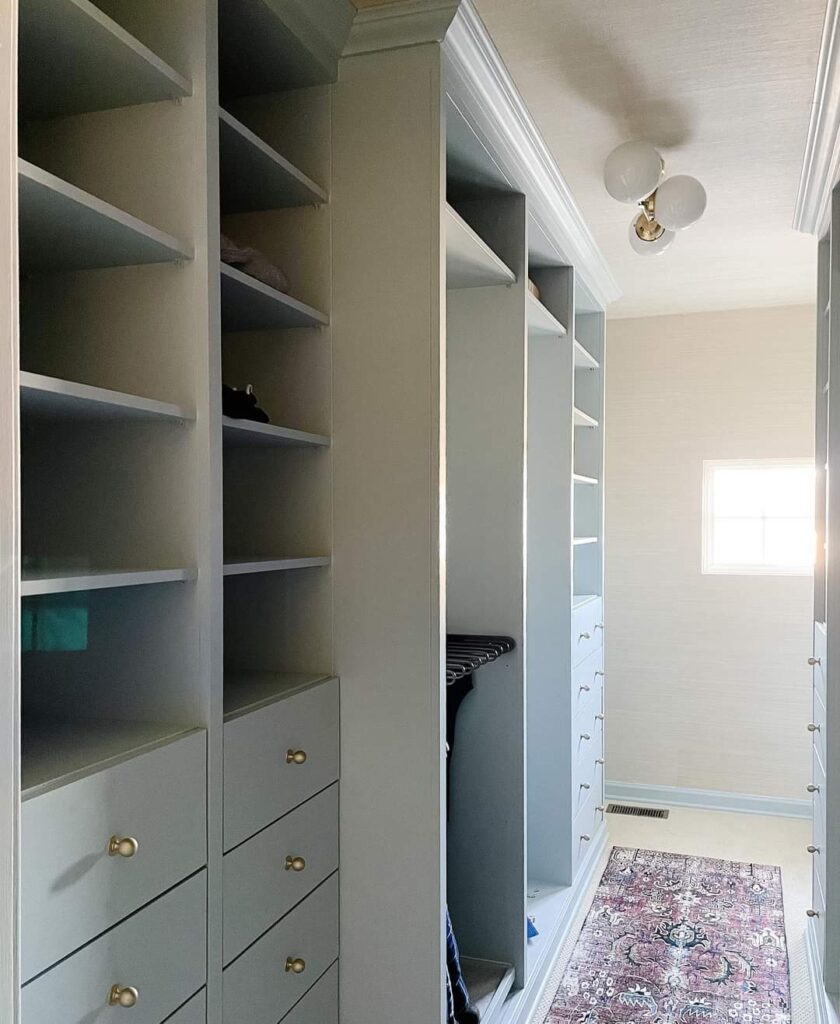
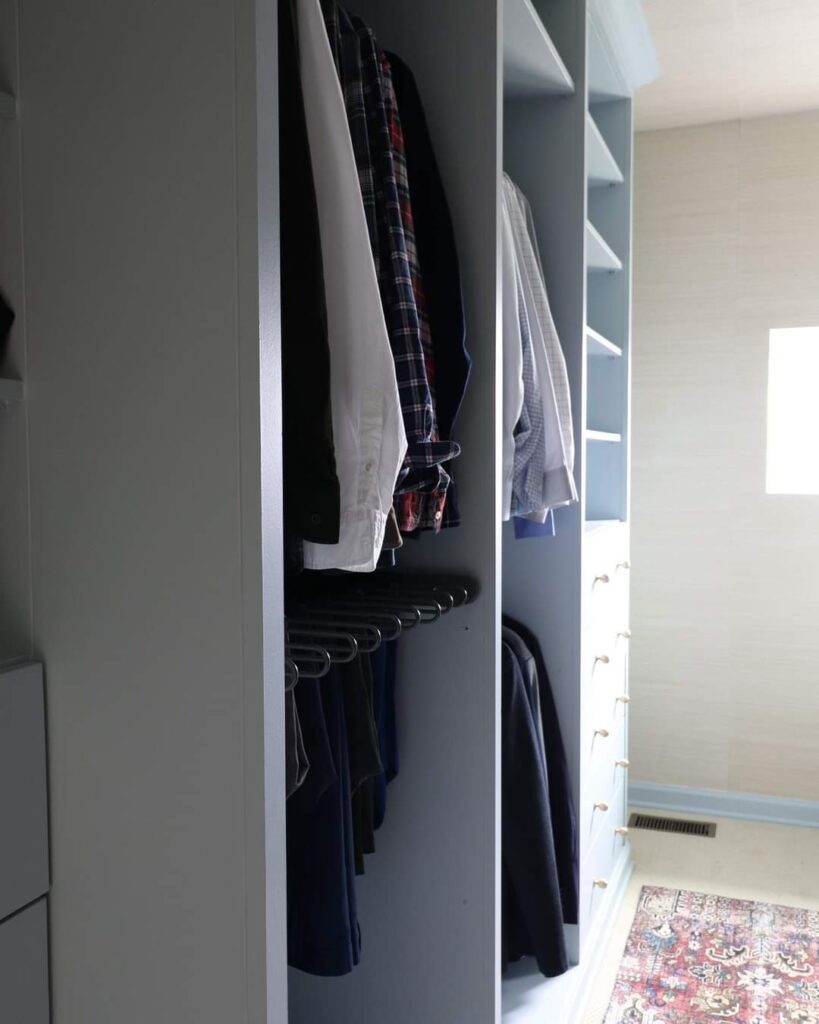
On the right side of the closet, there are fewer built-ins because we have the bench in the back corner. This side of the closet features 13 3/4″ deep units (the other side is mostly the 22 7/8″ depth).
This means that the clothing rods come out, rather than going across the wardrobe unit. Because these rods have an open area all the way to the floor below them I can keep my long dresses here.
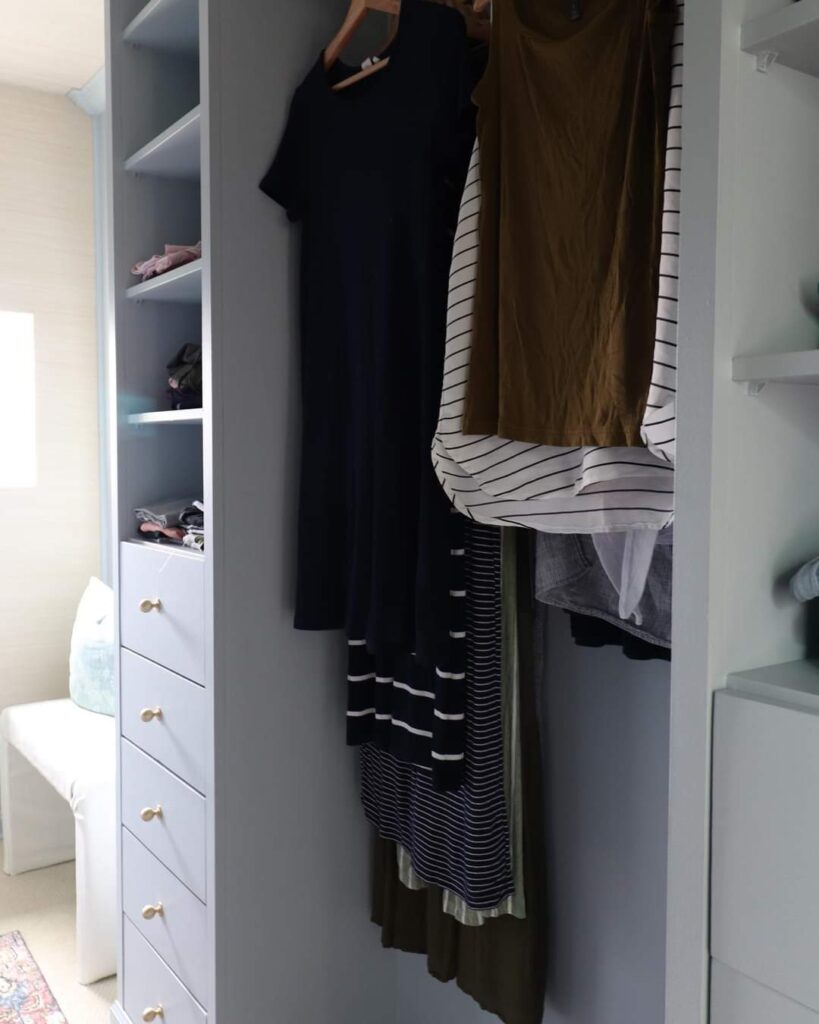
There’s also a mix of drawers and shelves.
On the left side of the closet is where TJ keeps most of his clothes. We incorporated deeper units in this section so he could fit normal clothing rods for his hanging work clothes. We also added the pants pull-out section to keep his work pants.
What I love about the Pax system
- Fully customizable – With or without doors, lots of drawers, or lots of shelves…the configuration is completely up to you.
- Tons of interior organizers – IKEA calls them Komplement, which is fitting. We incorporated drawers and the pull-out plans hangers, but they have tons of other creative options (which I’ll describe a little more below).
- You can paint them and make them look built-in – I love that with a little work and creativity, you can make the IKEA wardrobes look built-in.
- Online planner – The online planner tool helped save us a TON of time when designing our closet so we could get the best configuration for our closet.
Other features of the IKEA Pax closets that we didn’t incorporate into our closet
There are so many cool things that the Pax closet organizers can incorporate and we barely scraped the surface on ours.
Here are some other features that you may want to think about adding to your IKEA walk in closet:
- Interior lighting mounted inside of the wardrobes
- Pull-out trays with felt inserts for separating jewelry, sunglasses, and more.
- Metal pull-out shoe shelves with two levels so you can keep boots and higher shoes in the front with lower ones in the back
- Mesh baskets that pull out can be used instead of drawers so you can see what is inside and they get airflow
- Pull-out hanger (kind of like a small coat rack) that can be mounted on the inside panel of one of the wardrobes and pulled out when you need to grab something. These are great for holding ties, scarves, belts, and more.
- Drawers with glass fronts so you can see the contents
- Glass shelves, which work great when you’re using the interior lighting so it doesn’t blocked by shelves
- Valet hooks that stick out from the outside corner of your wardrobe – great for setting out tomorrow’s clothes

IKEA Walk In Closet Sources
Even though it took a ton of time and energy, we’re so happy with how our IKEA walk in closet turned out with the Pax system.