
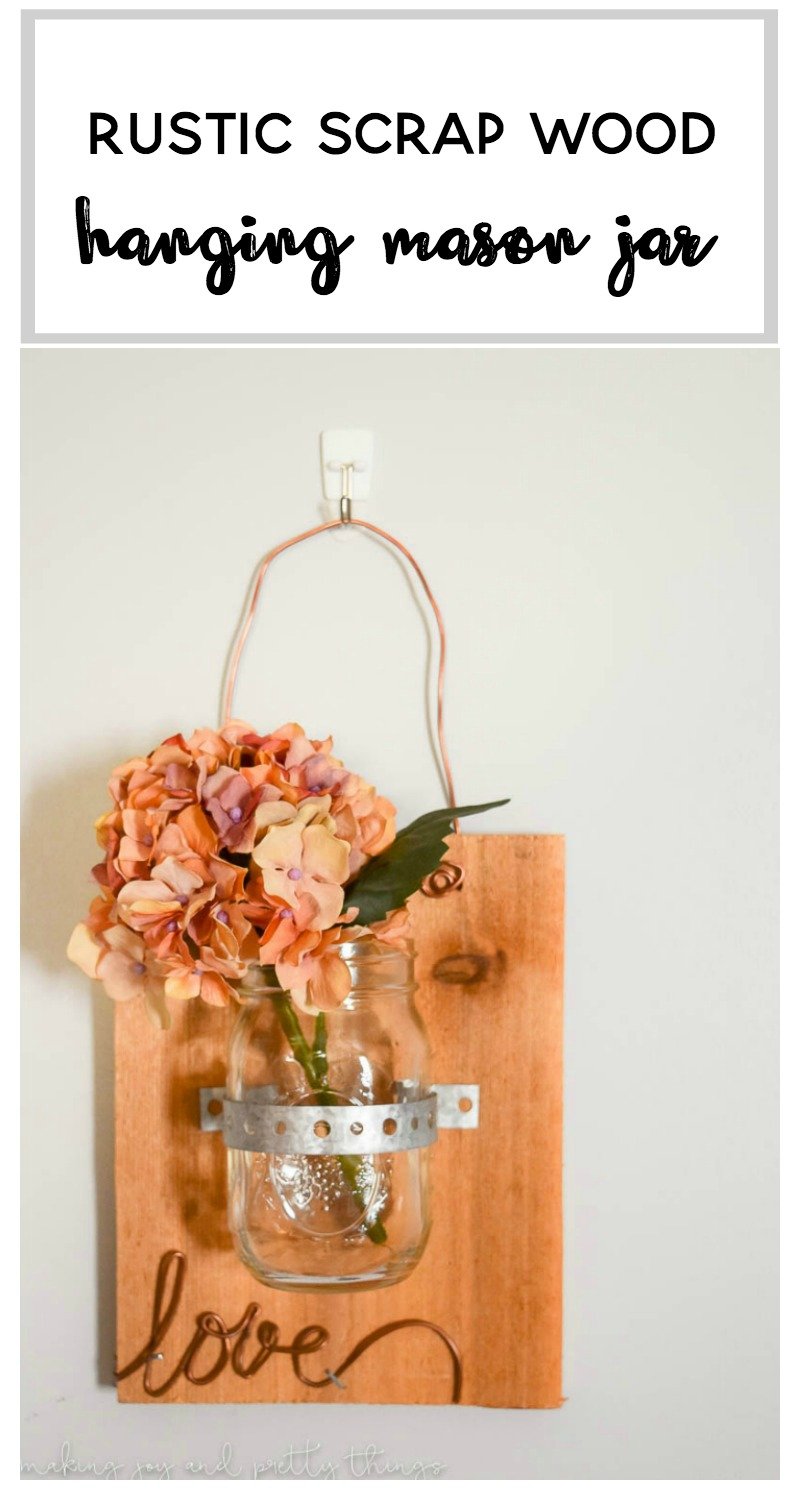
Rustic Scrap Wood Hanging Mason Jars on Wood
Looking for an interesting way to hang some floral decorations in your home? Try this DIY Hanging mason jars on wood tutorial and add some flare to your wall space!
I am so excited to share with you all the last DIY in my little craft space command center: rustic scrap wood hanging mason jars on wood!
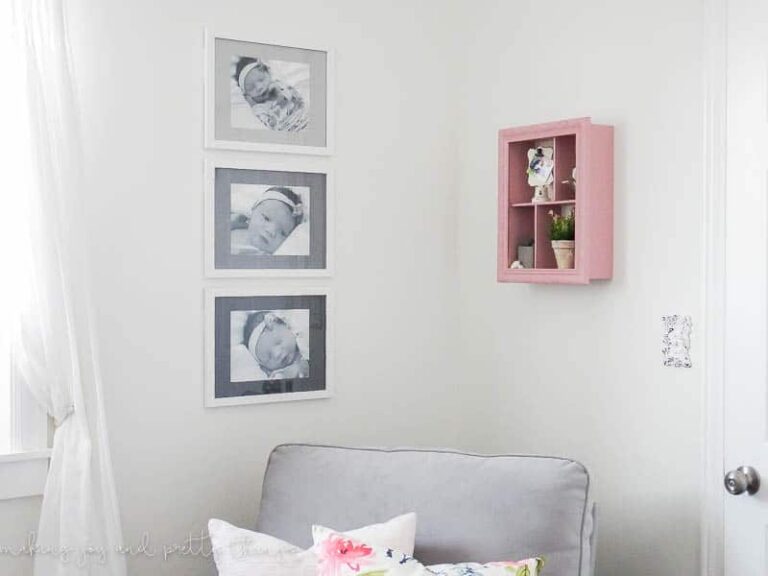
If you missed a few recent posts, I’ve been finishing a mini gallery wall/craft command center above my craft desk. I needed items that could be both pretty and functional, and of course budget friendly.
So far I’ve completed a DIY Memo Board and some DIY Rustic Clipboards.
Oh, and there’s that little pallet sign, too. I’ll be sharing on Monday on kenarry.com –> a website I’ll be contributing to for a while!!! Eeekk!!! I’m SO excited to have another guest posting opportunity!
Here’s the full craft space:

This post contains affiliate links. Please, click here to read my disclosure policy.
I completely love how all the projects turned out. Best part? The majority of the items I already had on hand! SUPER budget friendly 🙂
Supply List for Hanging Mason Jars on Wood
- Cedar Plank (cut to 7 1/4″ wide by 9 1/4″ tall – or really whatever size you want)
- Copper Wire (this looks similar to what I used, I don’t expect you to have actual copper wire in your house)
- Mason Jar (mine was 16oz)
- Drill
- Pipe Strapping
- Tin Snips
- Needle Nose Pliers
- 1/4″ screws
Step 1. Cut Cedar Plank Wood to Size
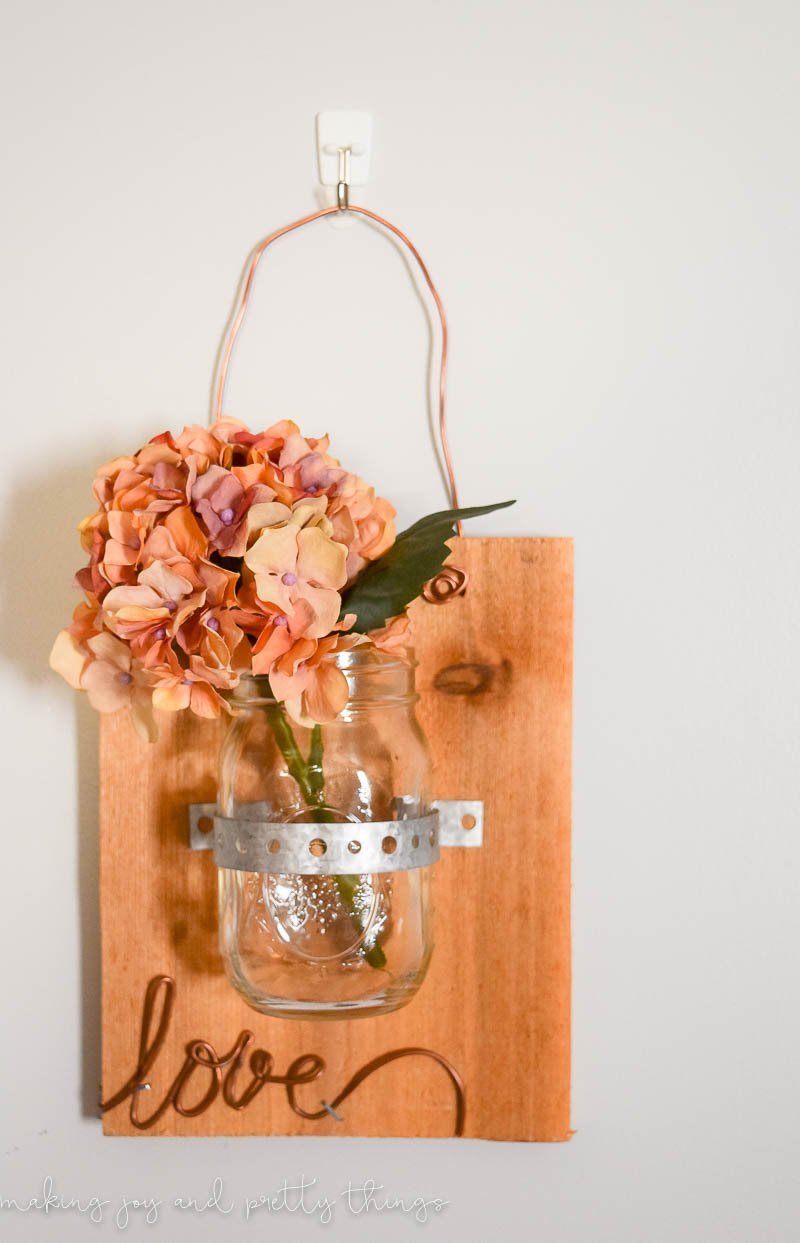
First, we cut the cedar plank down to 9 1/4″ high and kept its original width (~71/4″). I didn’t sand, stain, or finish the wood in any way. I love the rustic, natural texture of cedar. It really makes a statement just on its own.
Step 2. Wrap the Mason Jar with a Pipe Strap
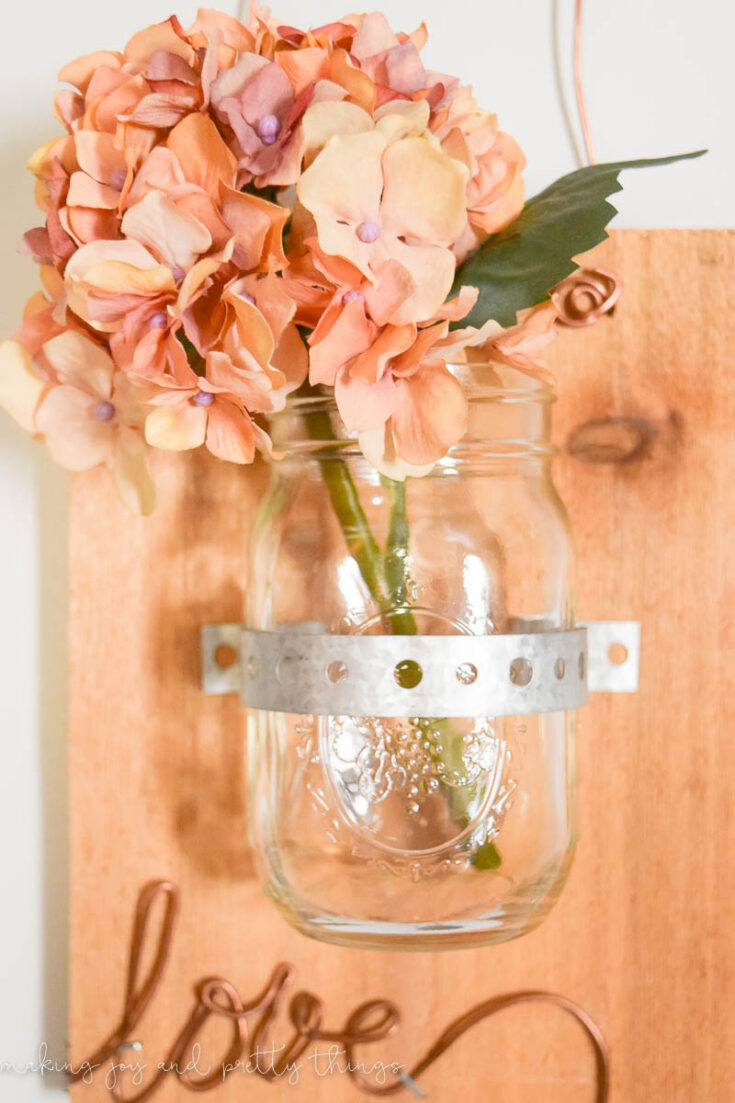
Next, we fit the pipe strapping around the mason jar. It needs to fit snugly so that the mason jar doesn’t fall out since there’s nothing else holding it in place. We used the tin snips to cut the strapping down to size (be careful! very sharp!)
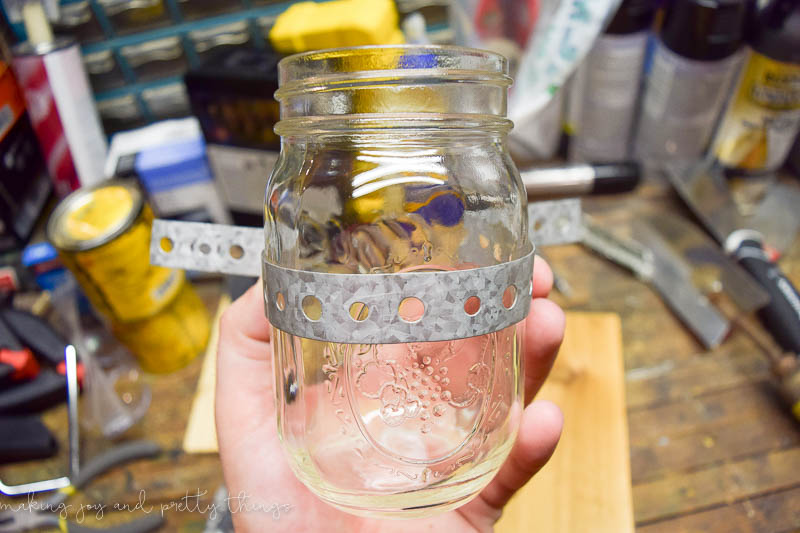
You can see the pipe strapping is wrapped around 3/4 of the mason jar before coming to a point on the cedar plank. Once we had the shape fitted, my husband drilled holes where one of the holes in the strapping was.
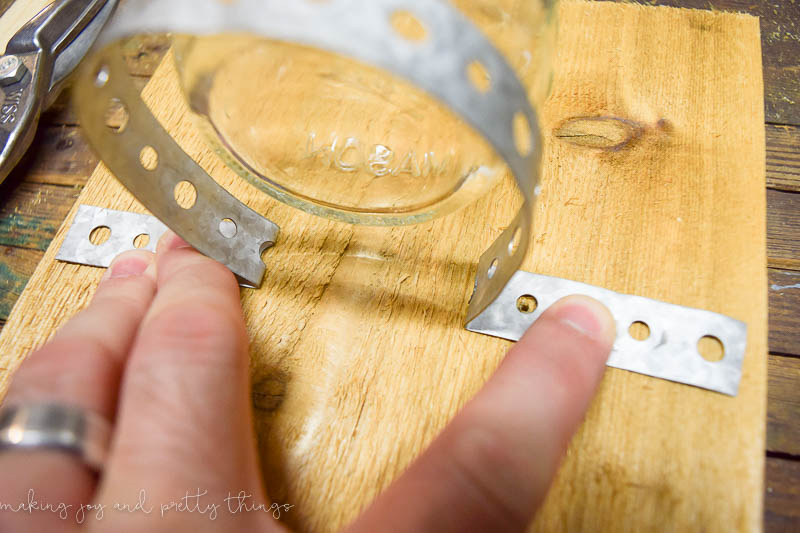
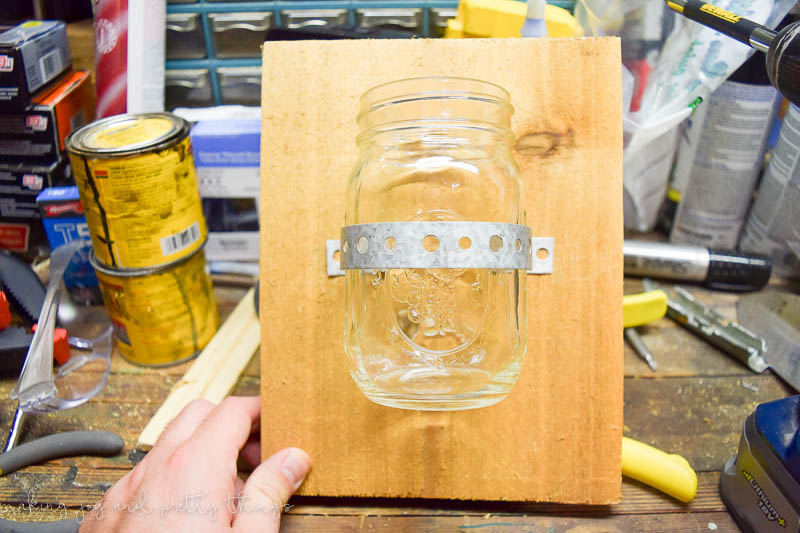
Step 3. Attach the Pipe Strap to the Wooden Plank
Using 1/4″ screws, he screwed one side of the strapping in and with the mason jar in place, wrapped the strapping around the mason jar and screwed in the other side. It was a tight fit! That mason jar isn’t going anywhere!
Step 4. Drill Holes in Wood for Copper Wire
Next, he drilled holes 1 3/4″ in from either side of the plank and 1″ from the top of the plank for me to insert the copper wire.
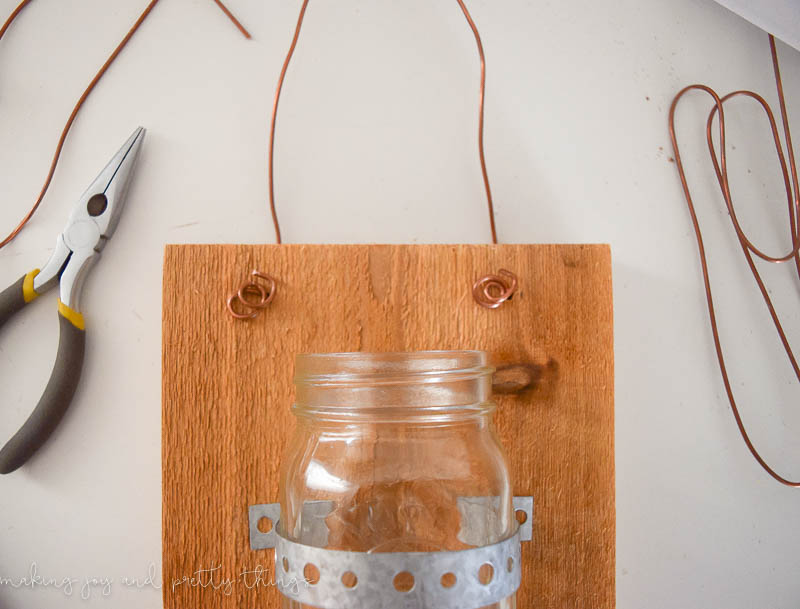
I inserted the copper wire from the back of the plank, leaving about 2″ in the front. I then used the needle nose pliers to twist the copper wire around itself about 3 times.
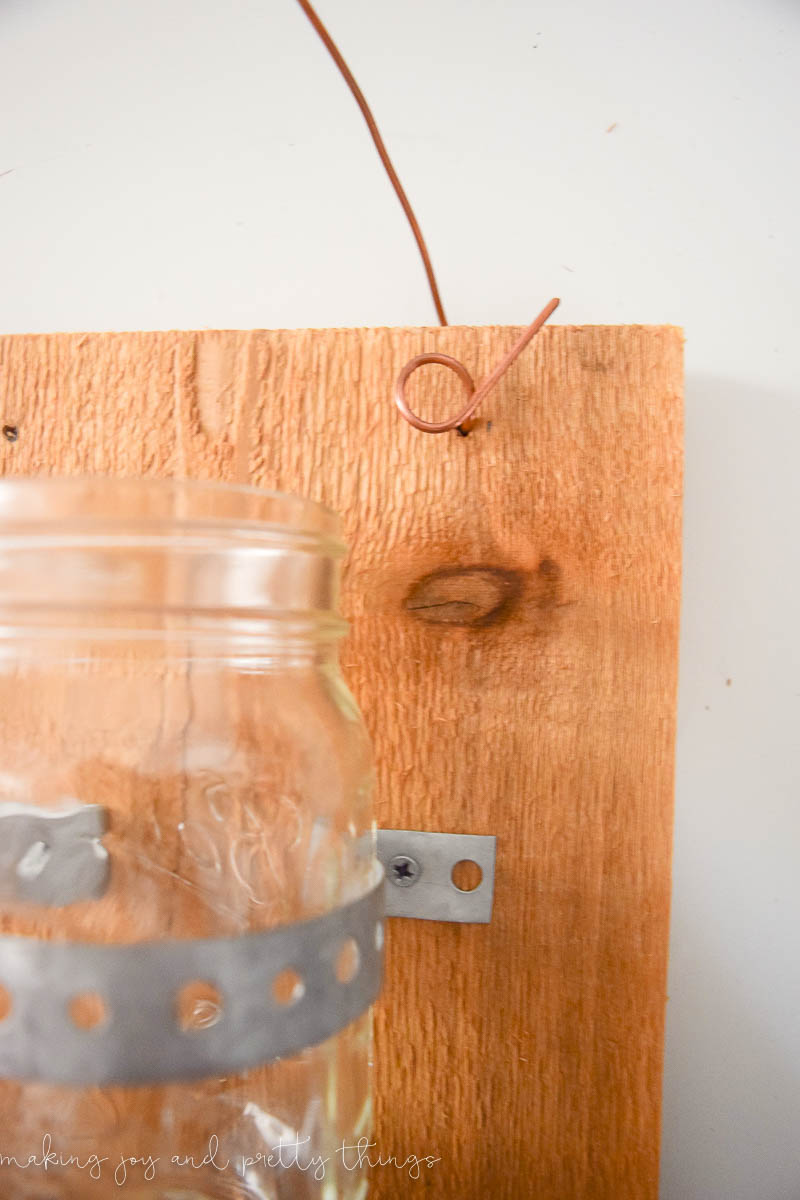
Leaving a loop at the top for hanging, I repeated the same procedure on the other side.
I was just going to leave it at that. Of course, that would be too easy…
Step 5. Adding “Love” to Hanging Mason Jars on Wood
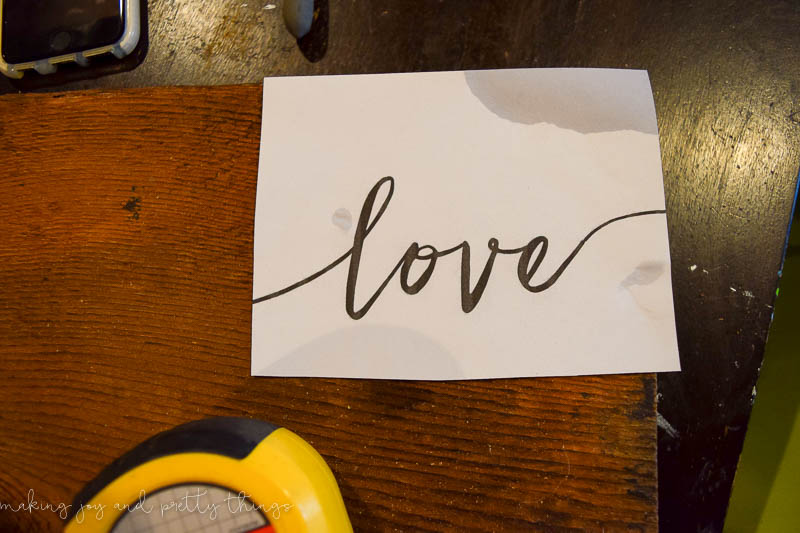
I printed out the word “love” and used it as a guide to form the word love out of the remaining copper wire.
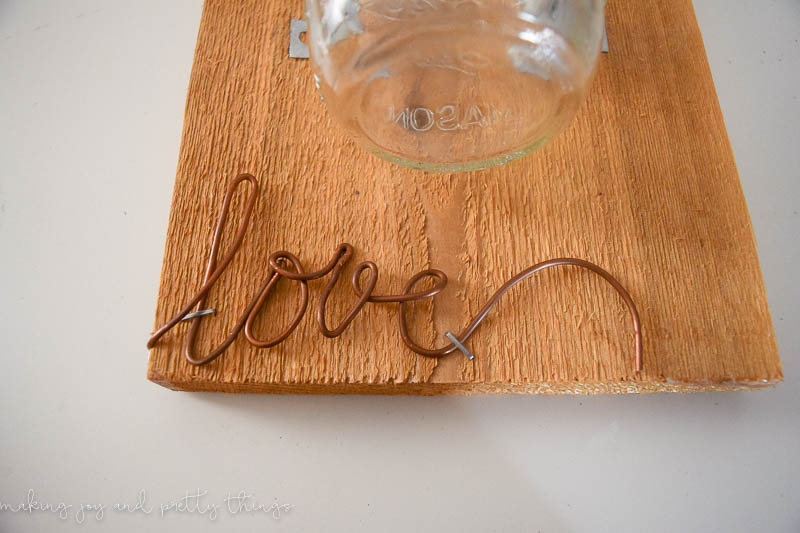
Unfortunately, I don’t have any pictures of this process because it is HARD WORK but its well worth the effort. The wire is not easy to manipulate (even with the needle nose pliers) and it’s sharp. Be careful!!
This is the guide I used. Though honestly, it’s too hard to follow intricate curves and I just made my own version. I guess because the wire isn’t meant to form pretty cursive words….
Either way, I think it looks absolutely perfect! To keep with the rustic look, I used a staple gun to attach the “love” to the plank.
I added in a little faux fall hydrangea and that’s it! I used a little 3M clip thing to hang it in my command center.


So glad that area is done and perfect timing as well! I am participating in the One Room Challenge which starts next week! We will be redoing an entire room in our home in just 6 weeks. I need all the organization I can get! Can’t wait to share it with you 🙂
Wishing you a joyful day!

DIY Hanging Mason Jars on Wood
Looking for an interesting way to hang some floral decorations in your home? Try this DIY Hanging mason jars on wood tutorial and add some flare to your wall space!
Materials
- Cedar Plank
- Copper Wire
- 16 oz Mason Jar
- Pipe Strapping
- 1/4" screws
Tools
Instructions
- Cut Cedar Plank Wood to Size
- Wrap the Mason Jar with Pipe Strap
- Attach the Pipe Strap to the Wooden Plank
- Drill Holes in Wood for Copper Wire
- Add "Love" to Hanging Mason Jar

hey girl love the mason jar! So cool!
Thanks Shawna! You’re so sweet.
So, so cute Sarah!
Thanks so much Kristi!! I’m so glad you like it!
So cute Sarah! Love mason jars and such a sweet way to use one!
Aw thanks, Kendra! I’m so glad you like the mason jar craft. I love mason jars,too!!
What a cute and easy DIY! I love how your work station is coming together. Looks so pretty!!
Thanks Sabrina! I’m so glad you like my little command center / craft area.
What a cute little desk space! My craft area is wherever I can find space, lol 🙂 The wire words at the bottom are really cool.
That’s how my craft space was too!! Then my husband put an end to that and built the little desk 🙂 I’m glad you like the wire “love”, I think it’s my favorite part.
I always wondered what people used to attach the jars to the wood: strapping. Makes sense, haha! It would be so cute to put real flowers in the jar during the spring and summer.
We of course had strapping in our basement because who doesn’t? Haha. And yes! A pretty little daisy would be perfect for summer.