
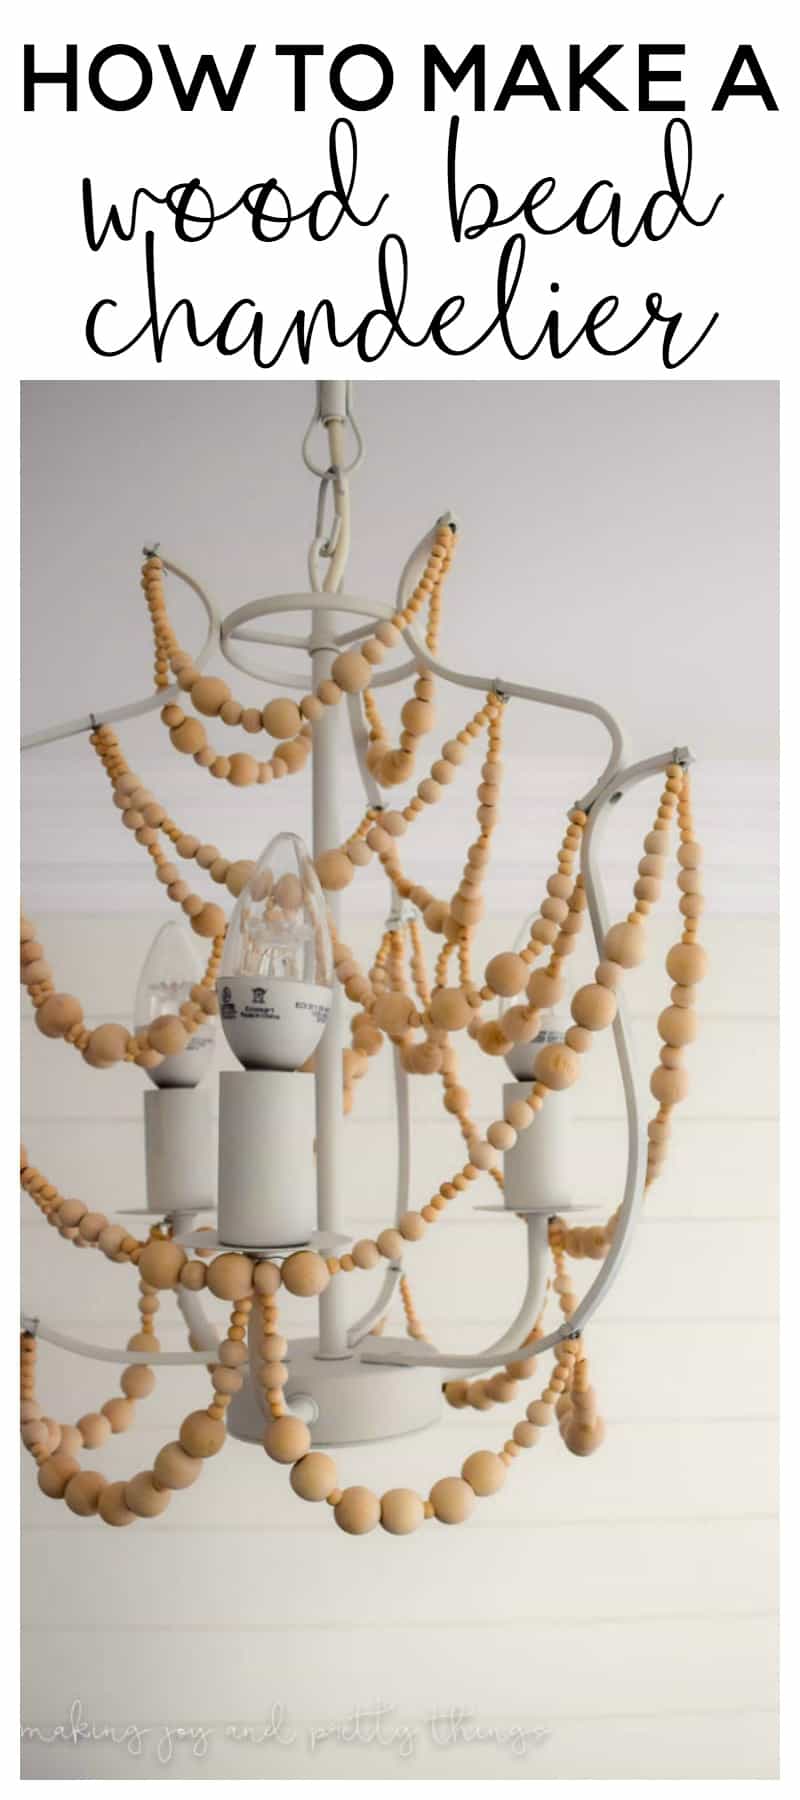
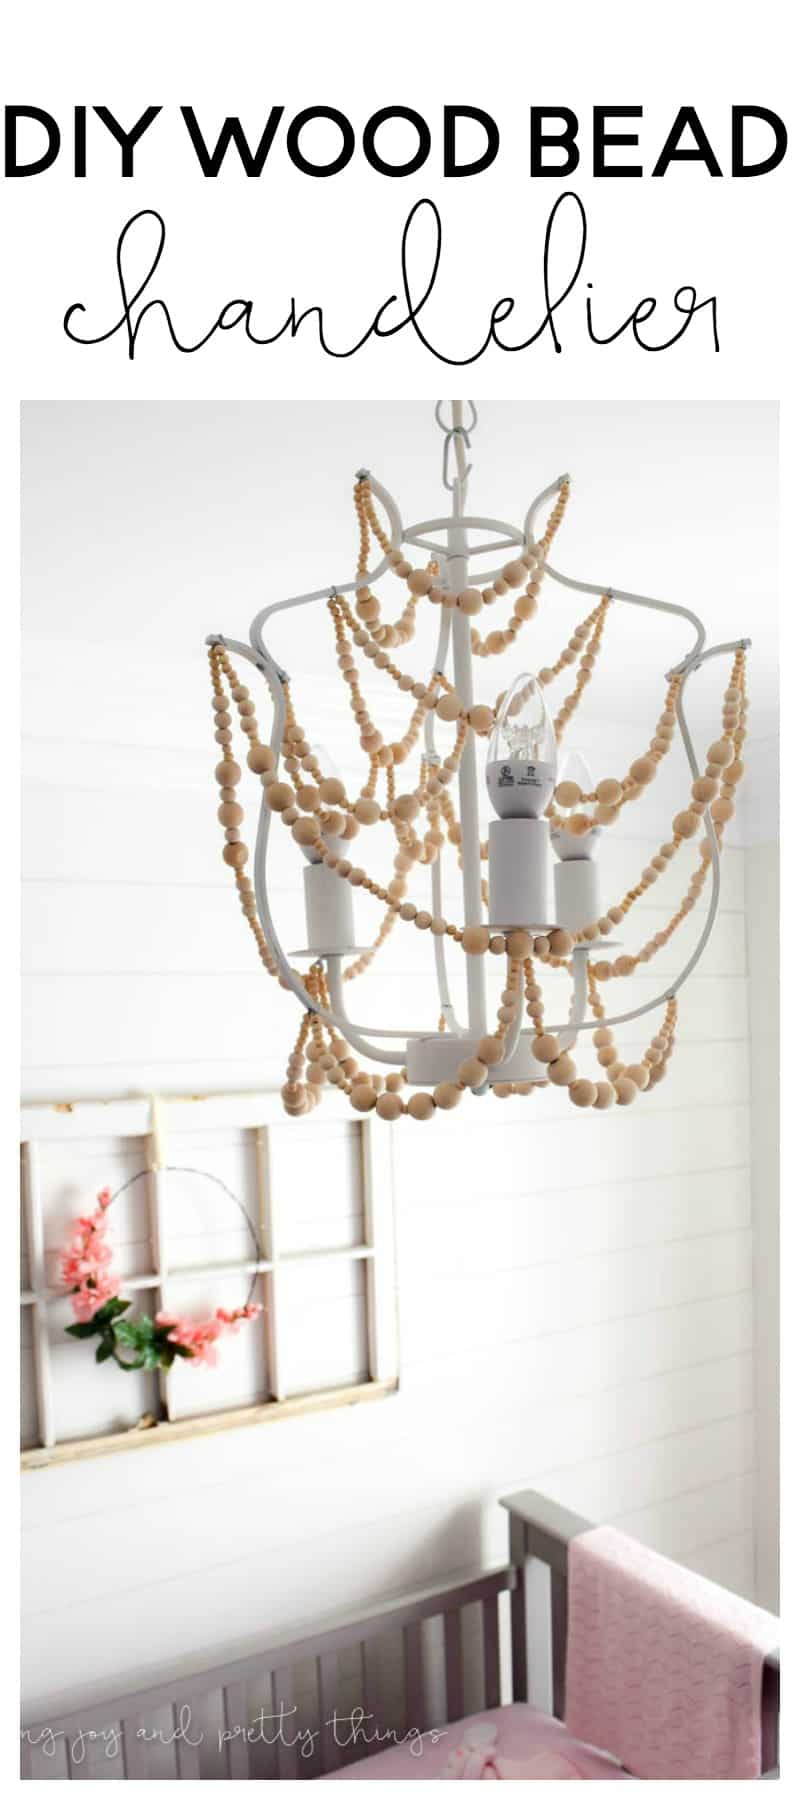
How to Make a Wood Bead Chandelier
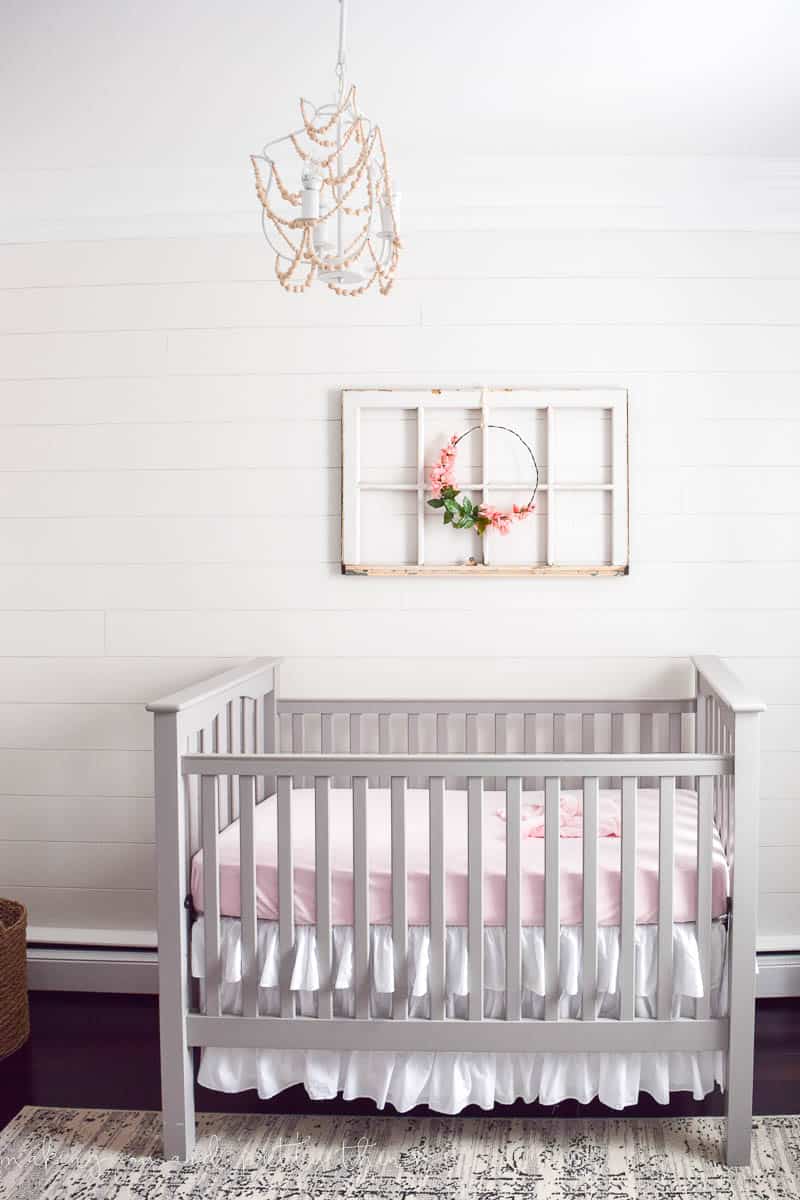
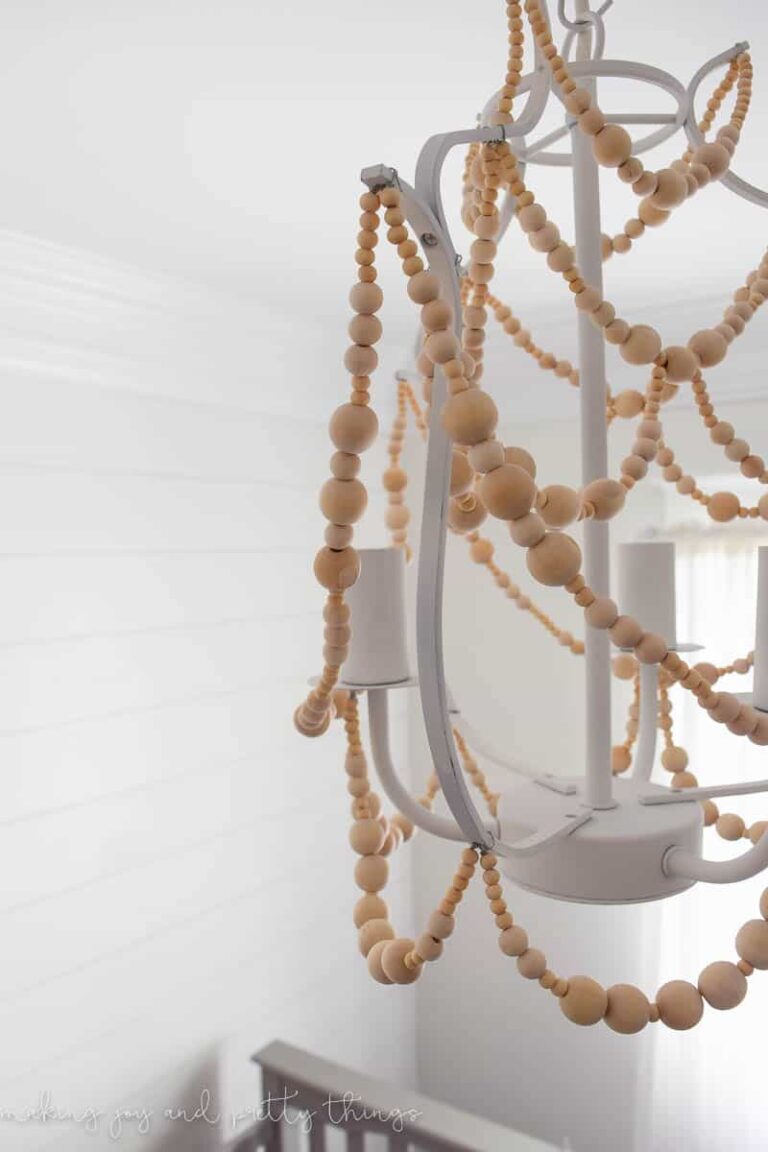
Wood bead chandeliers add so much rustic style to any space but can be extremely expensive. See how I transformed a plain, budget-friendly IKEA chandelier into a farmhouse-style wood bead chandelier for our farmhouse girl’s nursery.
Hello, friends!
It feels like it’s been forever since we shared our farmhouse girl’s nursery reveal.
Well, maybe that’s because it has been forever and STILL no little girl has arrived. I’m tired, uncomfortable, and generally annoyed. But, at least I have this sweet room to look at 😉
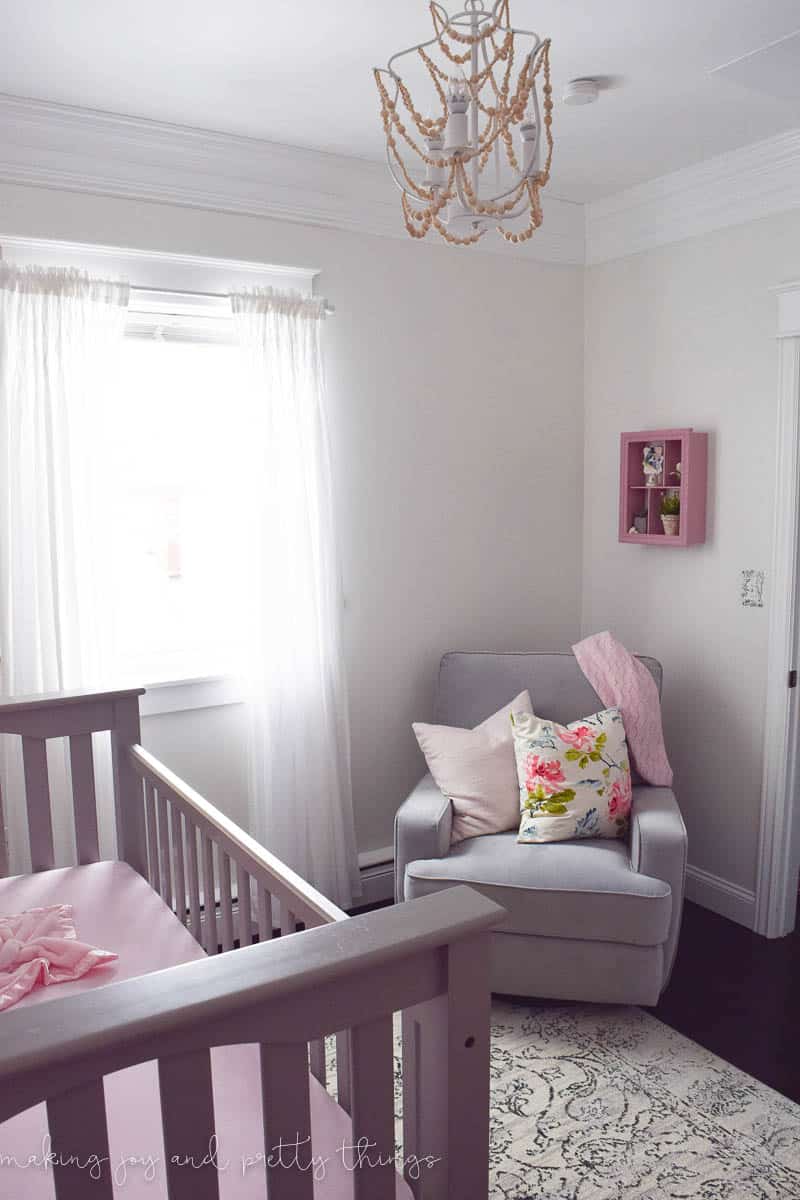
Today we’re sharing the process of how I made the wood bead chandelier that is in her nursery!
This post contains affiliate links. Please, click here to read my disclosure policy.
How to Make a DIY Wood Bead Chandelier: Step-by-Step Tutorial
My inspiration
If you remember back when I shared my design plan for the nursery, I was crushing on this wood bead chandelier that was wayyyy out of budget.
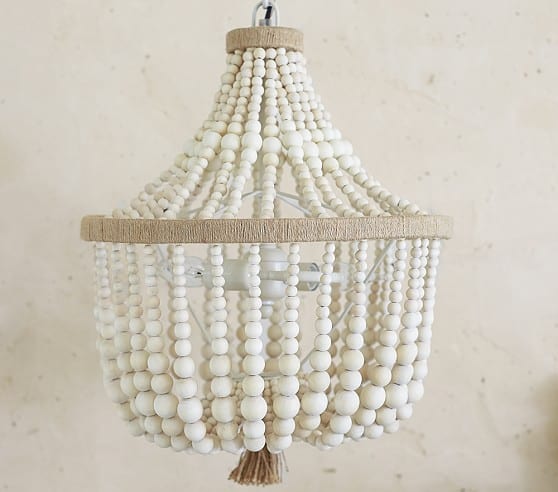
But, I was determined to have a wood bead chandelier in our nursery. It was just the absolutely perfect addition to the space.
I’m so excited to show you exactly how I made this wood bead chandelier using a cheap chandelier from IKEA. It was SO much easier than I originally thought it would be. Honestly, the hardest part was coming up with a pattern for the beads and I’ve done that for you!
With a pattern already determined, you could really complete the entire chandelier in an afternoon 🙂
Supplies needed to make a DIY wood beaded chandelier:
- IKEA chandelier (which is no longer sold, BUMMER! You could probably find something cheap from a thrift store though!)
- Chalky Finish Spray Paint
- Tweezers or pliers
- Scissors
- Wood Beads
- 1 package of 16mm (approximately 200 beads)
- 2 packages of 10mm (approximately 600 beads)
- 3 packages of 6mm (approximately 600 beads)
- Wire
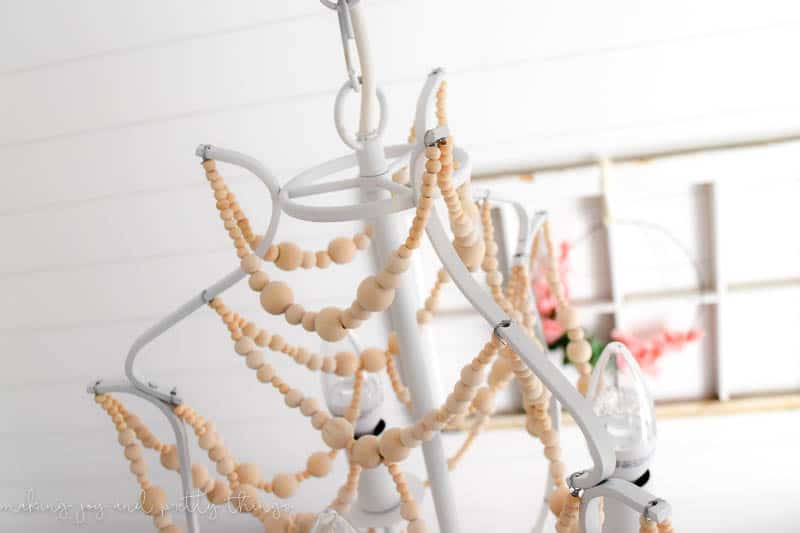
Step 1: Paint the Chandelier Frame
First, you remove all of the crystals from the IKEA chandelier until you’re left with the metal base. Next, tape off the openings for the lightbulbs!
Grab your chalky finish spray paint and go to town! We used an entire can of spray paint to cover the chandelier. Luckily, it covered really well!
Once the base is spray painted white, it’s on to the fun part – the beads!
Step 2: Put beads on wire
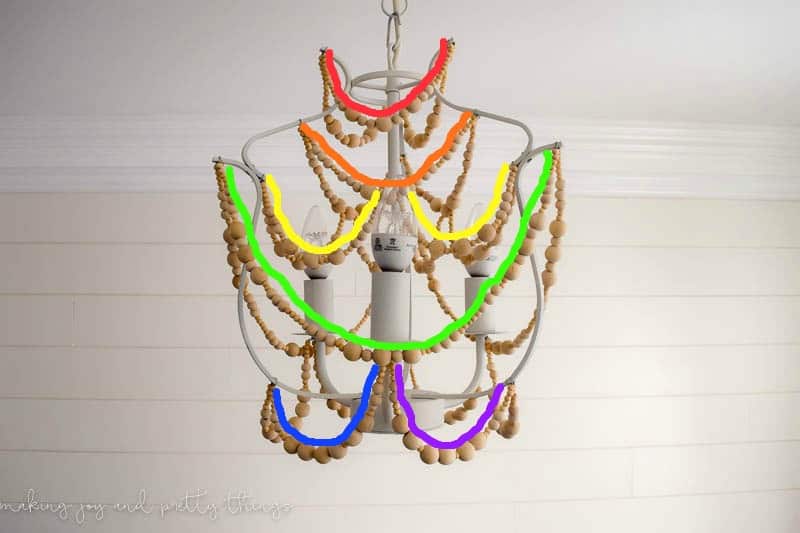
I’m going to list the pattern by bead size for each row or section of the chandelier. I created this diagram below to color code each of the sections (enough sections for a full rainbow!).
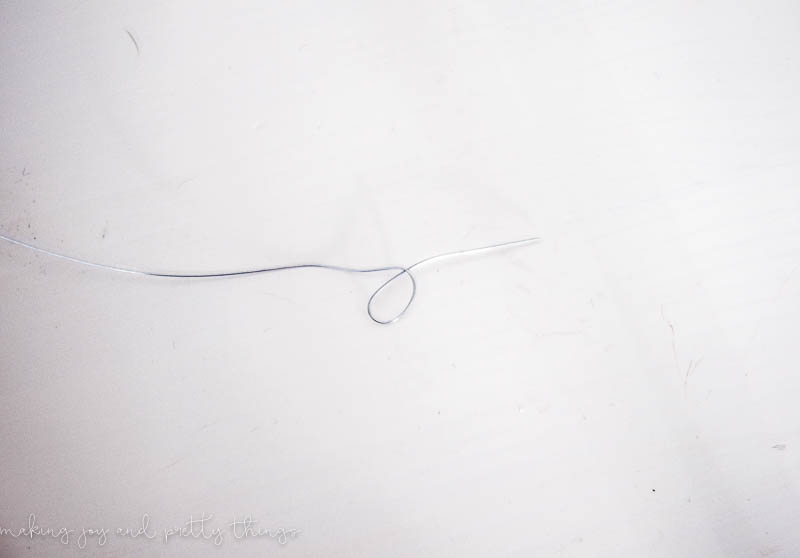
For each section, I would pull out and cut a long piece of the steel wire. I honestly never measured the wire, just put it up against the section where it was going to be placed to get a rough estimate of how much I needed. Always better to overestimate!
At one of the ends of the steel wire, I rolled it into a loop so I could place the beads on the wire without them falling off.
Follow These Bead Section Patterns:
Now, here is the pattern for each section!
RED: 6-6-6-6-6-6-6-6-6-6-10-10-16-10-10-16-10-10-16-10-10-6-6-6-6-6-6-6-6-6-6
ORANGE: 6-6-6-6-6-10-10-10-6-6-10-10-10-16-6-16-6-16-10-10-10-6-6-10-10-10-6-6-6-6-6
YELLOW: 6-6-6-6-6-10-10-10-6-6-16-6-6-16-6-6-16-6-6-10-10-10-6-6-6-6-6
This pattern is repeated twice. After doing this pattern once, you stick the wire through the bolded 16mm bead from the orange section, and repeat the pattern on the other side.
GREEN: 6-6-6-6-6-10-10-10-6-6-16-6-16-6-16-6-6-10-10-10-6-6-6-6-6-10-10-10-6-6-16-10-16-10-16-6-6-10-10-10-6-6-6-6-6-10-10-10-6-6-16-10-16-10-16-6-6-10-10-10-6-6-6-6-6
BLUE: 6-6-6-6-6-10-10-6-6-16-16-6-16-16-6-16-16-6-6-10-10-6-6-6-6-6
PURPLE: 6-6-6-6-6-10-10-6-6-16-16-6-16-16-6-16-16-6-6-10-10-6-6-6-6-6
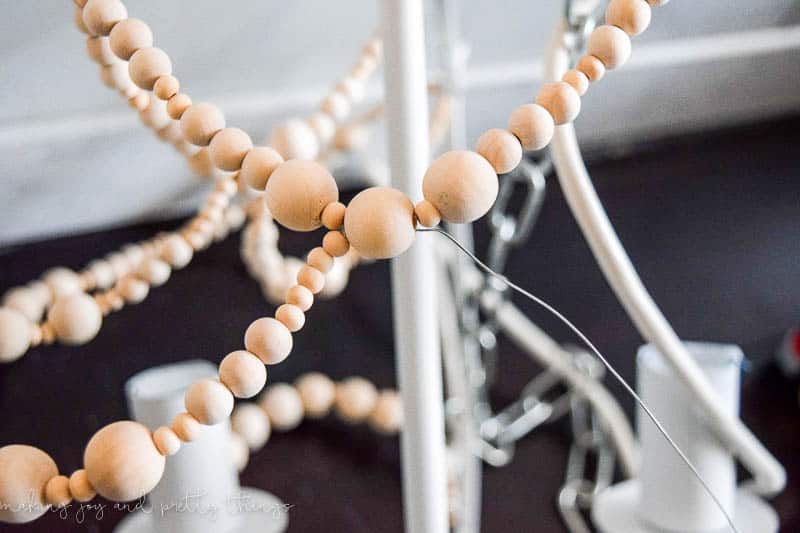
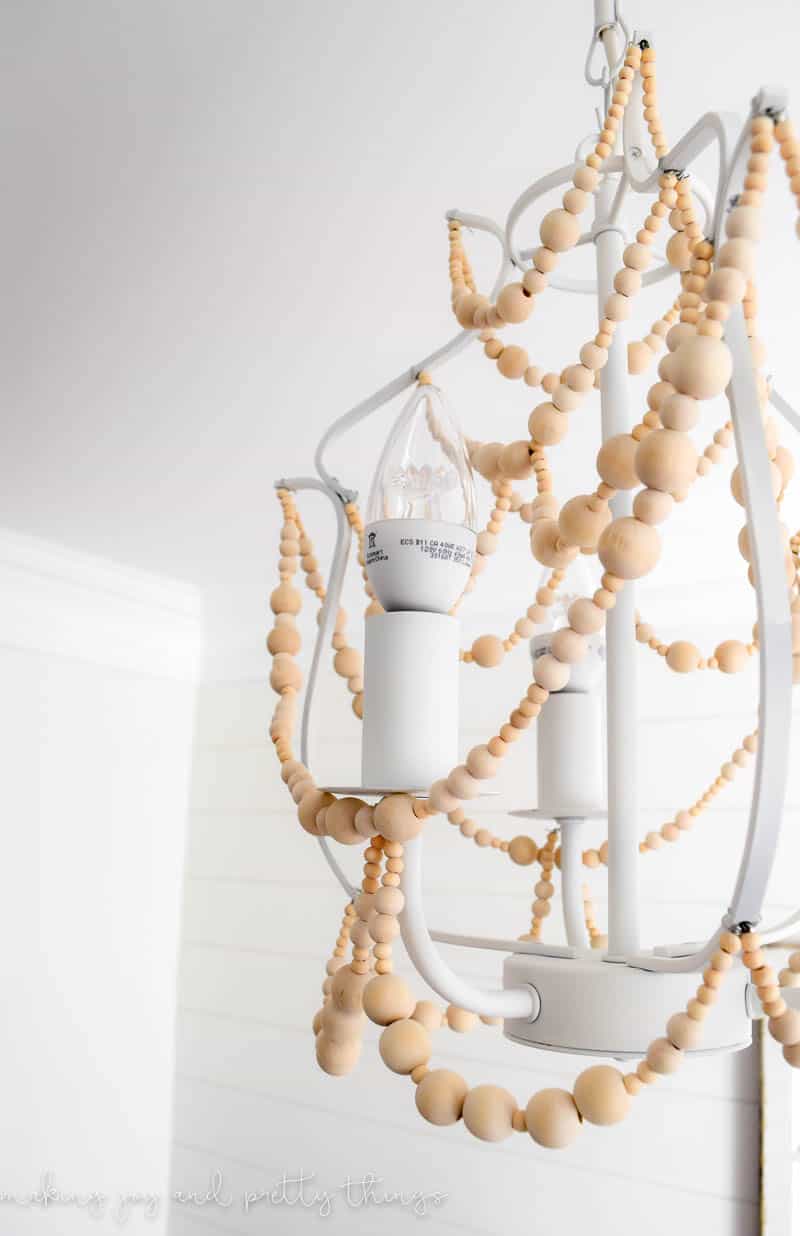
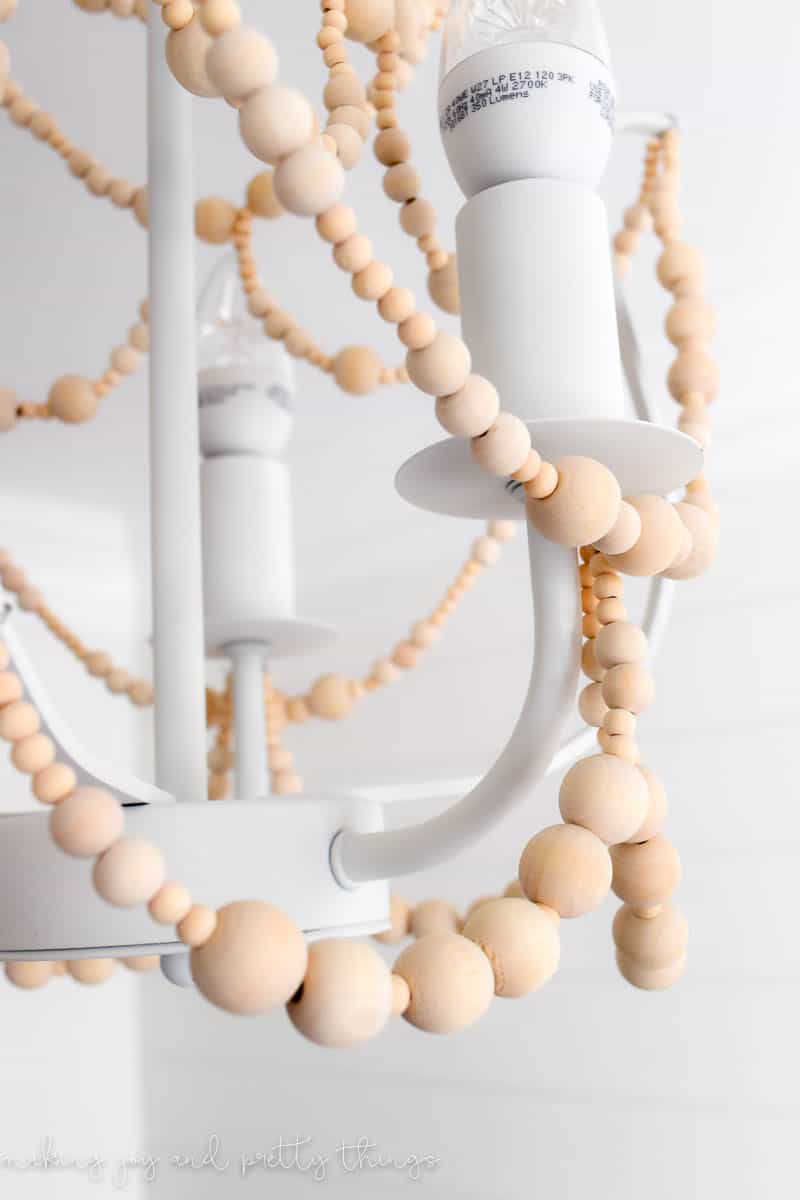
Step 3: Attach the Wood Bead Strands to the Chandelier
Once you have a row of beads strung onto the steel wire, it’s time to attach it to the metal IKEA chandelier base. There are holes where they had connected the little crystal pieces that I used to attach the steel wire.
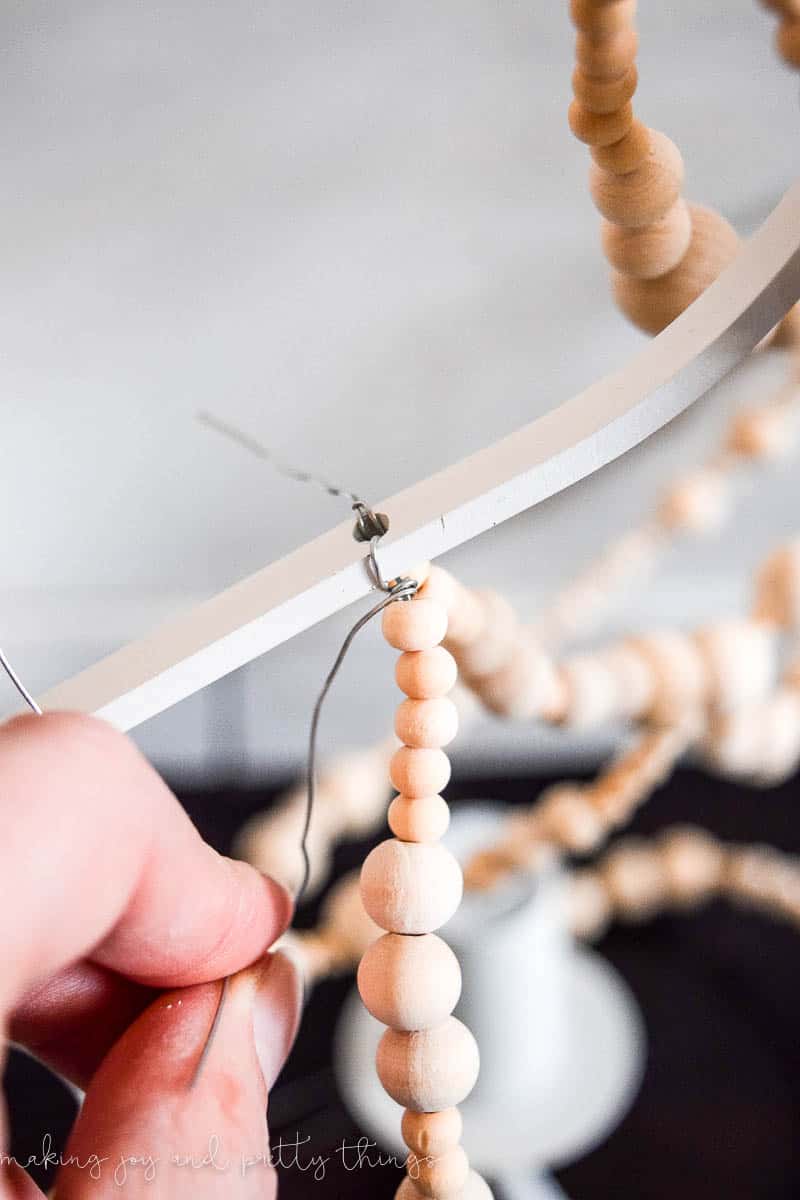
First, stick the steel wire up through the bottom of the hole.
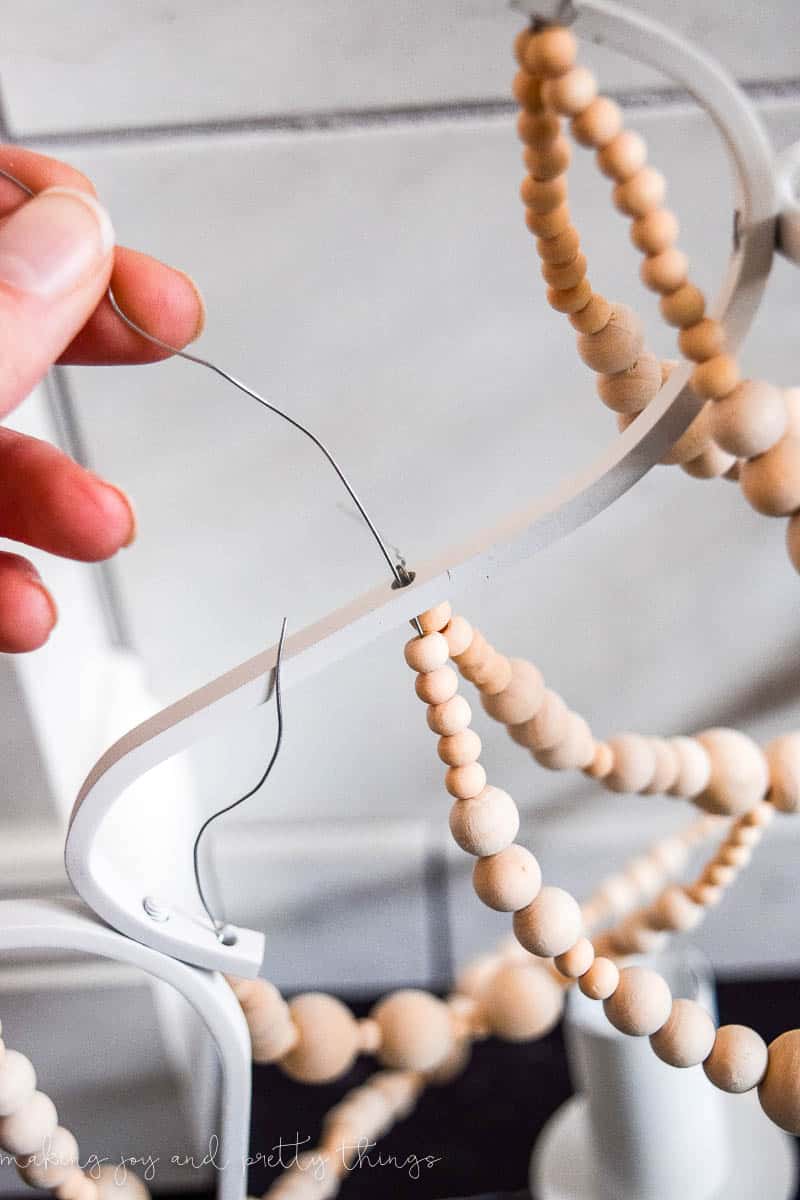
Then, pull it through tightly and wrap around itself several times.
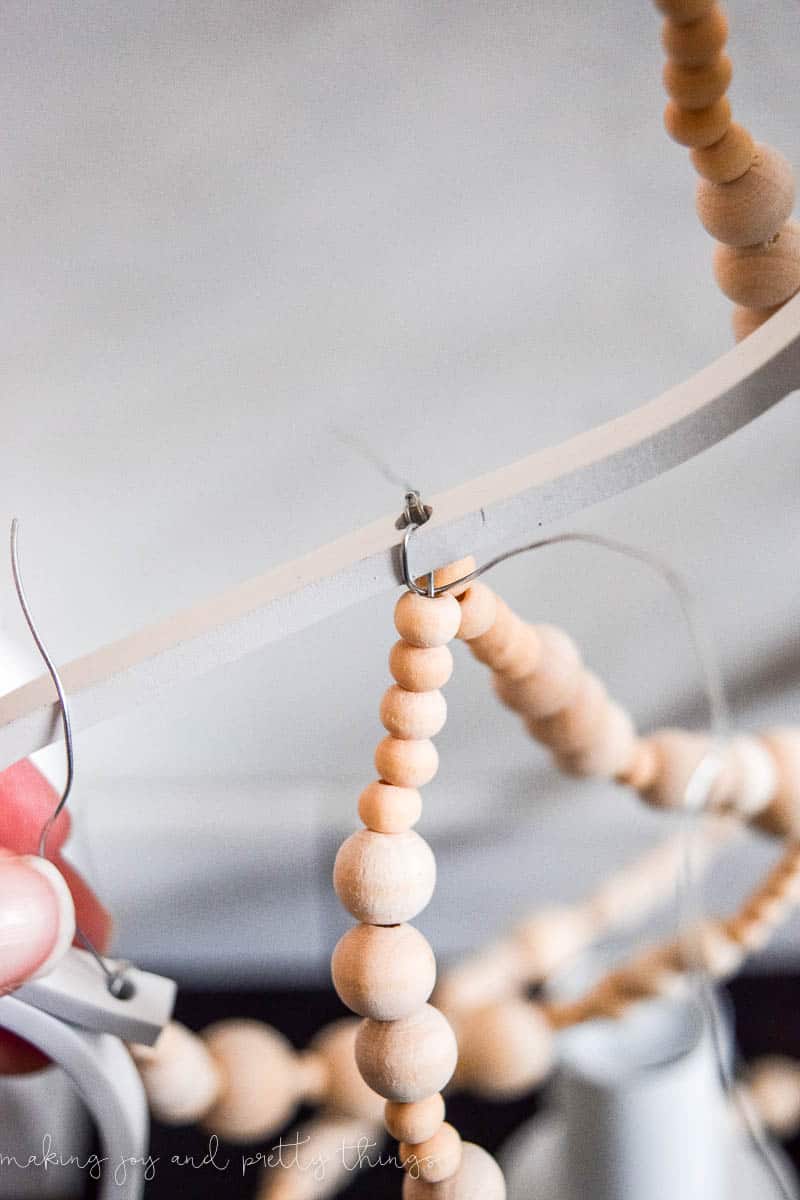
Then, stick the end back up through the hole. This part was a little difficult so I used pliers to grip the end and pull completely through.
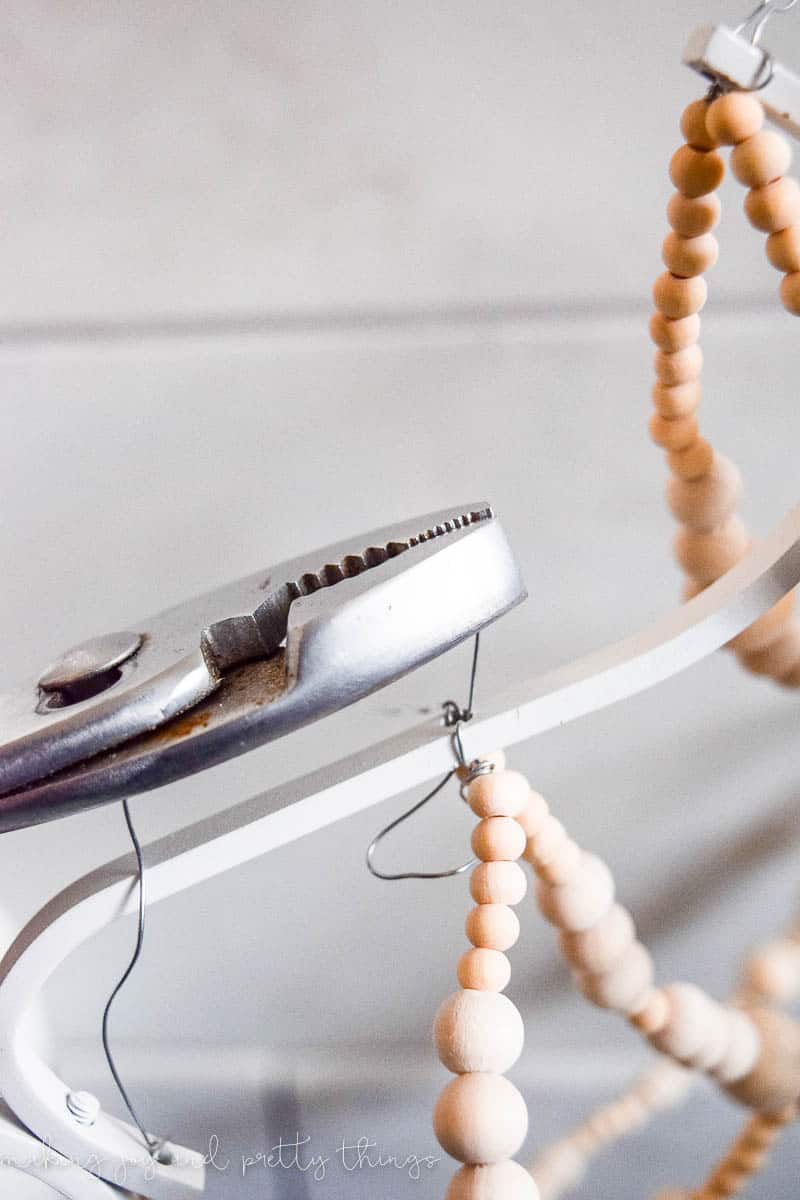
Last, I trimmed the end of the steel wire and pushed the cut edge down so it wasn’t visible.
Repeat those steps for each of the sections of beads.
(Remember the yellow section is a bit different – see the yellow section details)
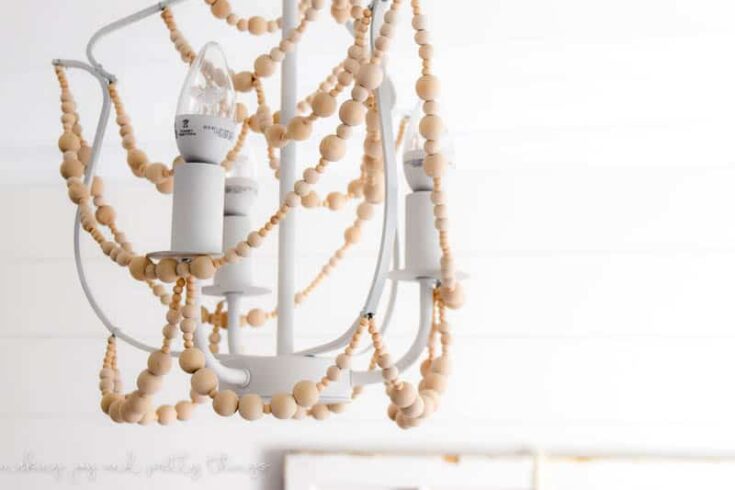
And, that’s it!! Not too bad, right?!
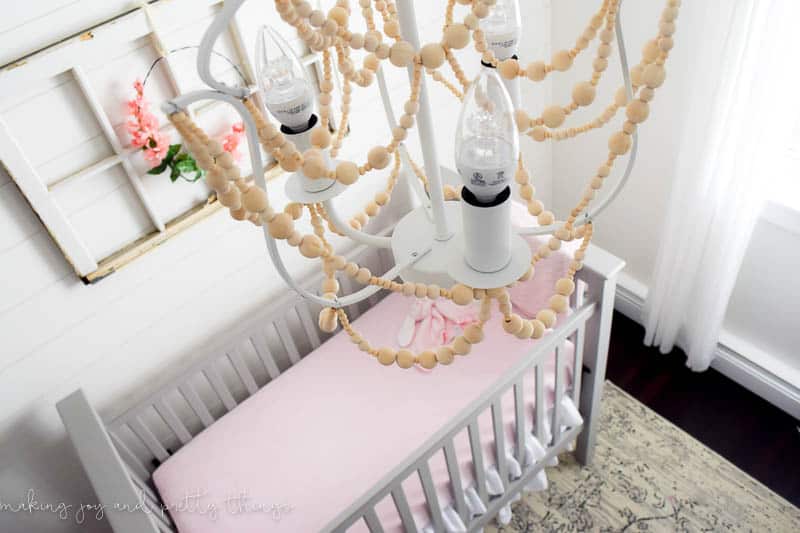
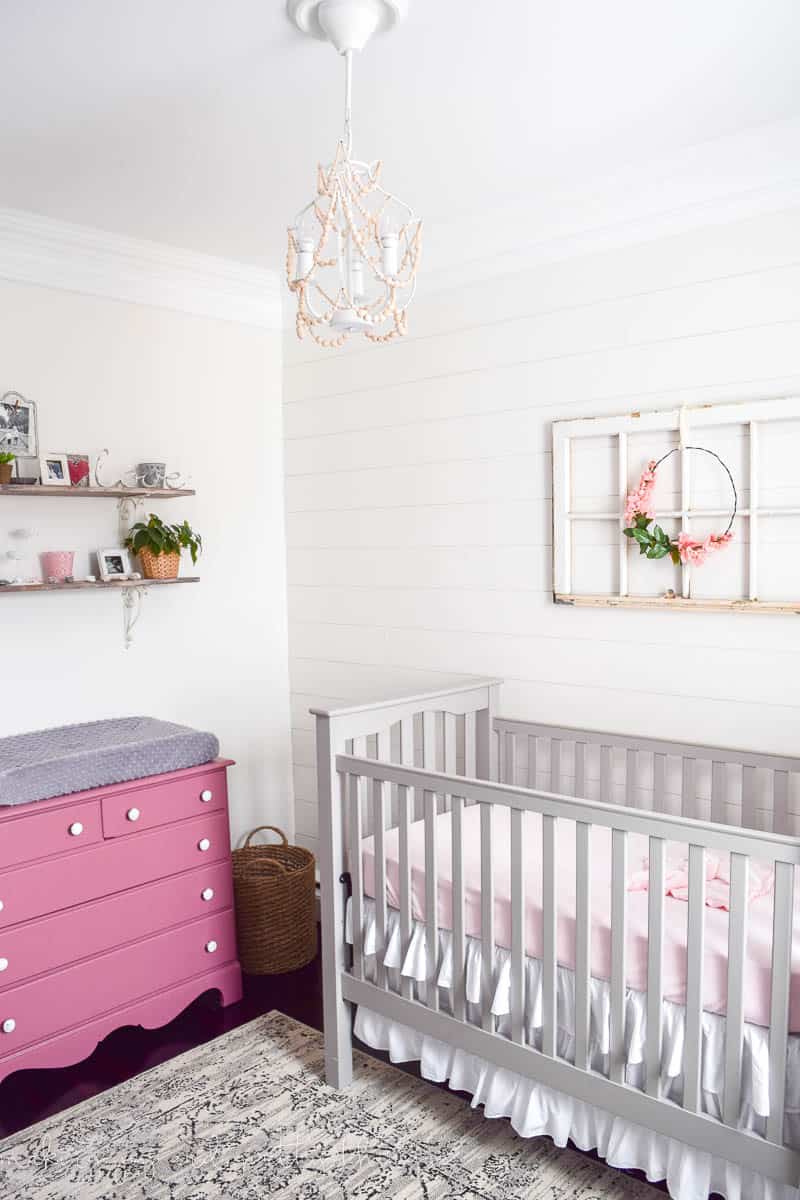
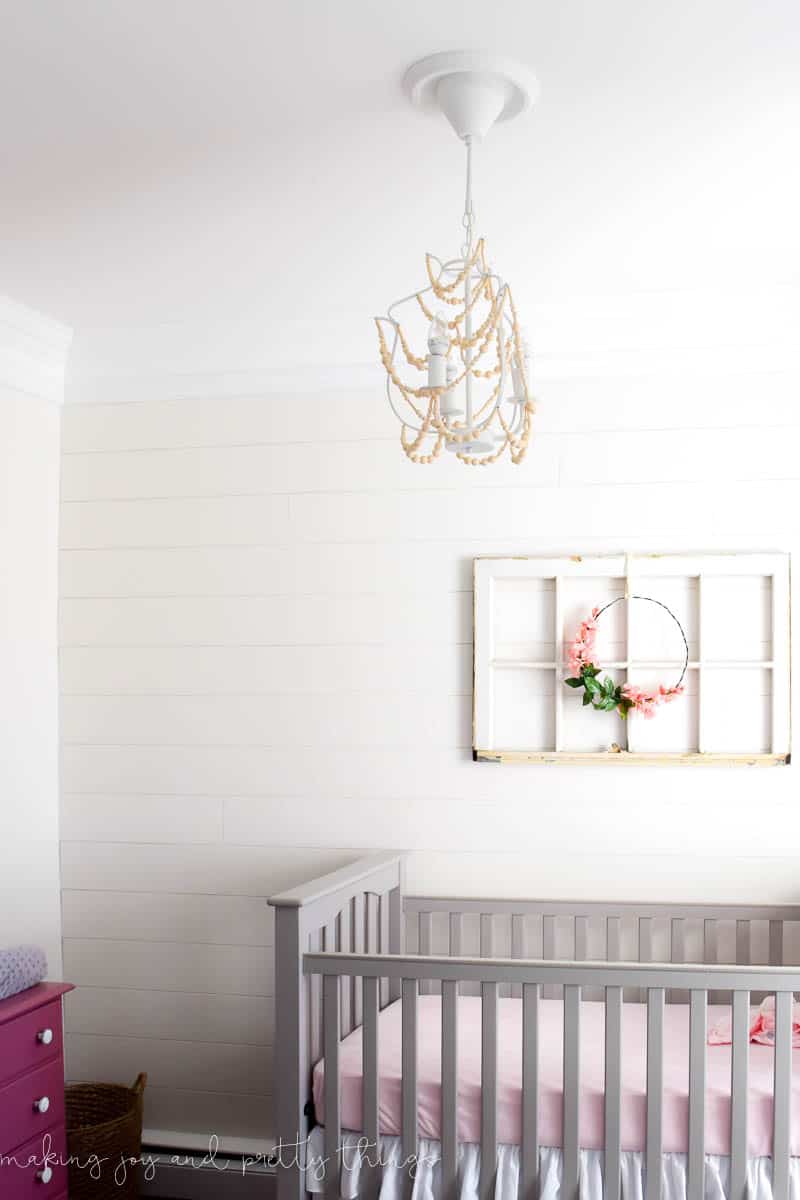
I absolutely LOVE how it looks in her room. It’s the perfect touch of farmhouse style!

Like it?! Pin it for later <3
Remember to check out our full farmhouse nursery room makeover!
Wishing you a joyful day!

Want to see more of our farmhouse girl’s nursery?
- Farmhouse Girl’s Nursery: The Design Plan
- Farmhouse Girl’s Nursery: Week 1 Progress
- Farmhouse Girl’s Nursery: Weeks 2 and 3 Progress
- Farmhouse Girl’s Nursery Week 4 Progress
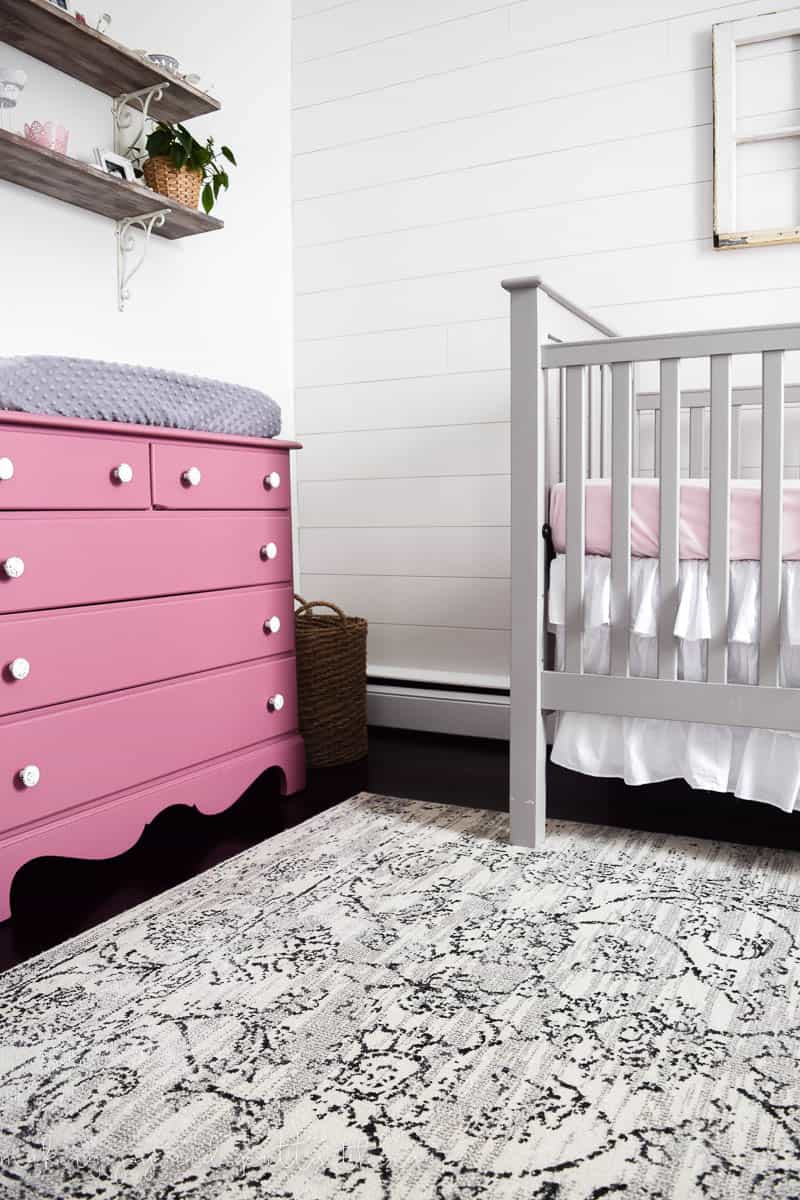
- A Farmhouse Nursery Dresser Makeover
- Personalized Nursery Wood Slice Name Sign
- Floral Wallpaper Ideas for Girl’s Bedrooms and Nurseries
- Lazy Girl’s DIY Typography Art
- DIY Wood Block Candle Holders
- How to do an Old Curtain Rod Update
- How to Make a DIY Triangle Shelf Planter
- How to Make a DIY Shadow Box
- Monthly Baby Photos: How to Make a DIY Letterboard
- How to Make a Wood Bead Chandelier
- Simple Floral Farmhouse Wreath
- Rustic DIY Planter using Book Pages
- How to Make Your Own Rustic String Art
- DIY Fabric Flower Garland
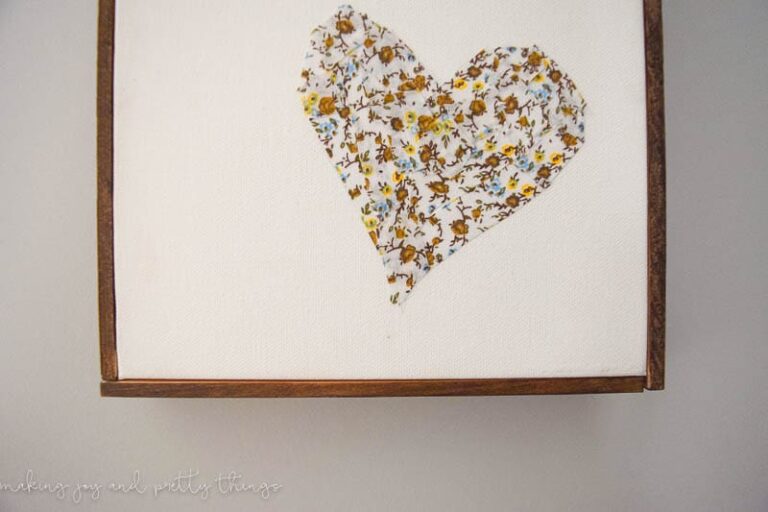
- DIY Wood Bead Hearts
- Farmhouse Girls Nursery Reveal!!
DIY Wood Bead Chandelier
If you love farmhouse style, you'll love this DIY wood bead chandelier! Strands of wood beads hang on a budget-friendly painted IKEA chandelier frame. Learn how to make this farmhouse fixture!
Materials
- Crystal chandelier
- Chalky Finish Spray Paint
- Tweezers or pliers
- Scissors
- 200 16mm wood beads
- 600 10mm wood beads
- 600 6mm wood beads
- Wire
Instructions
Step 1: Paint the Chandelier Frame
- Remove all of the crystals from the chandelier until you’re left with the metal base.
- Tape off the openings for the lightbulbs.
- Spray paint the entire body of the chandelier with the white chalky finish spray paint. Let dry completely.
Step 2: Get Read to Bead!
- Create the strands of beads following the patterns below. (Note: they are color-coded in accordance with the picture below.)
RED: 6-6-6-6-6-6-6-6-6-6-10-10-16-10-10-16-10-10-16-10-10-6-6-6-6-6-6-6-6-6-6
ORANGE: 6-6-6-6-6-10-10-10-6-6-10-10-10-16-6-16-6-16-10-10-10-6-6-10-10-10-6-6-6-6-6
YELLOW: 6-6-6-6-6-10-10-10-6-6-16-6-6-16-6-6-16-6-6-10-10-10-6-6-6-6-6
- Note on YELLOW section: This pattern is repeated twice. After doing this pattern once, you stick the wire through the bolded 16mm bead from the orange section and repeat the pattern on the other side.
GREEN: 6-6-6-6-6-10-10-10-6-6-16-6-16-6-16-6-6-10-10-10-6-6-6-6-6-10-10-10-6-6-16-10-16-10-16-6-6-10-10-10-6-6-6-6-6-10-10-10-6-6-16-10-16-10-16-6-6-10-10-10-6-6-6-6-6
BLUE: 6-6-6-6-6-10-10-6-6-16-16-6-16-16-6-16-16-6-6-10-10-6-6-6-6-6
PURPLE: 6-6-6-6-6-10-10-6-6-16-16-6-16-16-6-16-16-6-6-10-10-6-6-6-6-6
Step 3: Attach the Wood Bead Strands to the Chandelier
- To attach the strands of wood beads to the chandelier, use the drilled holes where the crystals were previously attached.
- First, stick the steel wire up through the bottom of the hole.
- Then, pull it through tightly and wrap around itself several times.
- Then, stick the end back up through the hole. This part was a little difficult so I used pliers to grip the end and pull completely through.
- Last, I trimmed the end of the steel wire and pushed the cut edge down so it wasn’t visible.
- Repeat those steps for each of the sections of beads.

Ahhh, the long awaited wood bead chandelier! It turned out amazing and it goes perfectly in her farmhouse nursery. Now you just need a baby girl 🙂
Haha yep!! Thanks Chelsea!
I am IN LOVE with this and beaded chandelier’s I have been dreaming about one since I’ve seen yours.
I am in the middle of a room re-do so I’m thinking down the road I may need to do exactly this!
*all the heart eyes* Great job!
Aww thanks so much Lauren!!!
I’ve been looking forward to this tutorial — Pinning! And don’t be surprised if you see one in my home in the future haha!! 🙂
Yay, it’s finally chandelier time!! I was waiting for this!
It turned out amazing!
Aww thanks Vanessa!! I’m so happy with how it looks in the nursery!
What a great idea. I love the whole wooden bead thing…thanks for the tutorial!
Aww thanks so much Lynn!!!
Such a fun and unique piece!
Thanks Shani!
What a beautiful chandelier! So perfect for your sweet nursery!
Aww thanks so much Sam!!
Love your determination to make something exactly the way you wanted.Very sweet chandelier!
This is awesome! I have seen lots of the beaded chandeliers on Pinterest, and was contemplating making one myself. Love that you did this for the nursery! Pinning for later.
Found you at the Pin Junkie Pin Party. I just started a new link up on my EyeLoveKnots blog, and would love if you came to link up with us! This month there is a giveaway for some sock yarn as requested in last month’s link up, but drop me a line and let me know what you’d like to see on future link ups 🙂
Alexandra of EyeLoveKnots
Super Crafty Sunday Link Up #2: http://eyeloveknots.blogspot.com/2018/02/super-crafty-sunday-link-up-2-crochet-n.html