DIY Pallet Crate
Have you ever looked at a pallet and wondered about all the things you could make? This tutorial is a great idea and shows you how to make a DIY Pallet Crate to carry whatever you need or just to use as a decoration.
I am so excited to share this DIY pallet crate with you made by my friend Sabrina. She is a super-talented DIYer and this crate came out just perfect!
Be sure to let her know how much you love it below!
Hi Everyone,
This is Sabrina over from Meet Our Life and I am so happy to be here today. I don’t know about you but I have a thing for trays and crates.
So naturally, whenever I was looking for a solution to store our cookbooks I immediately thought of a crate, a dutch tulip crate to be exact.
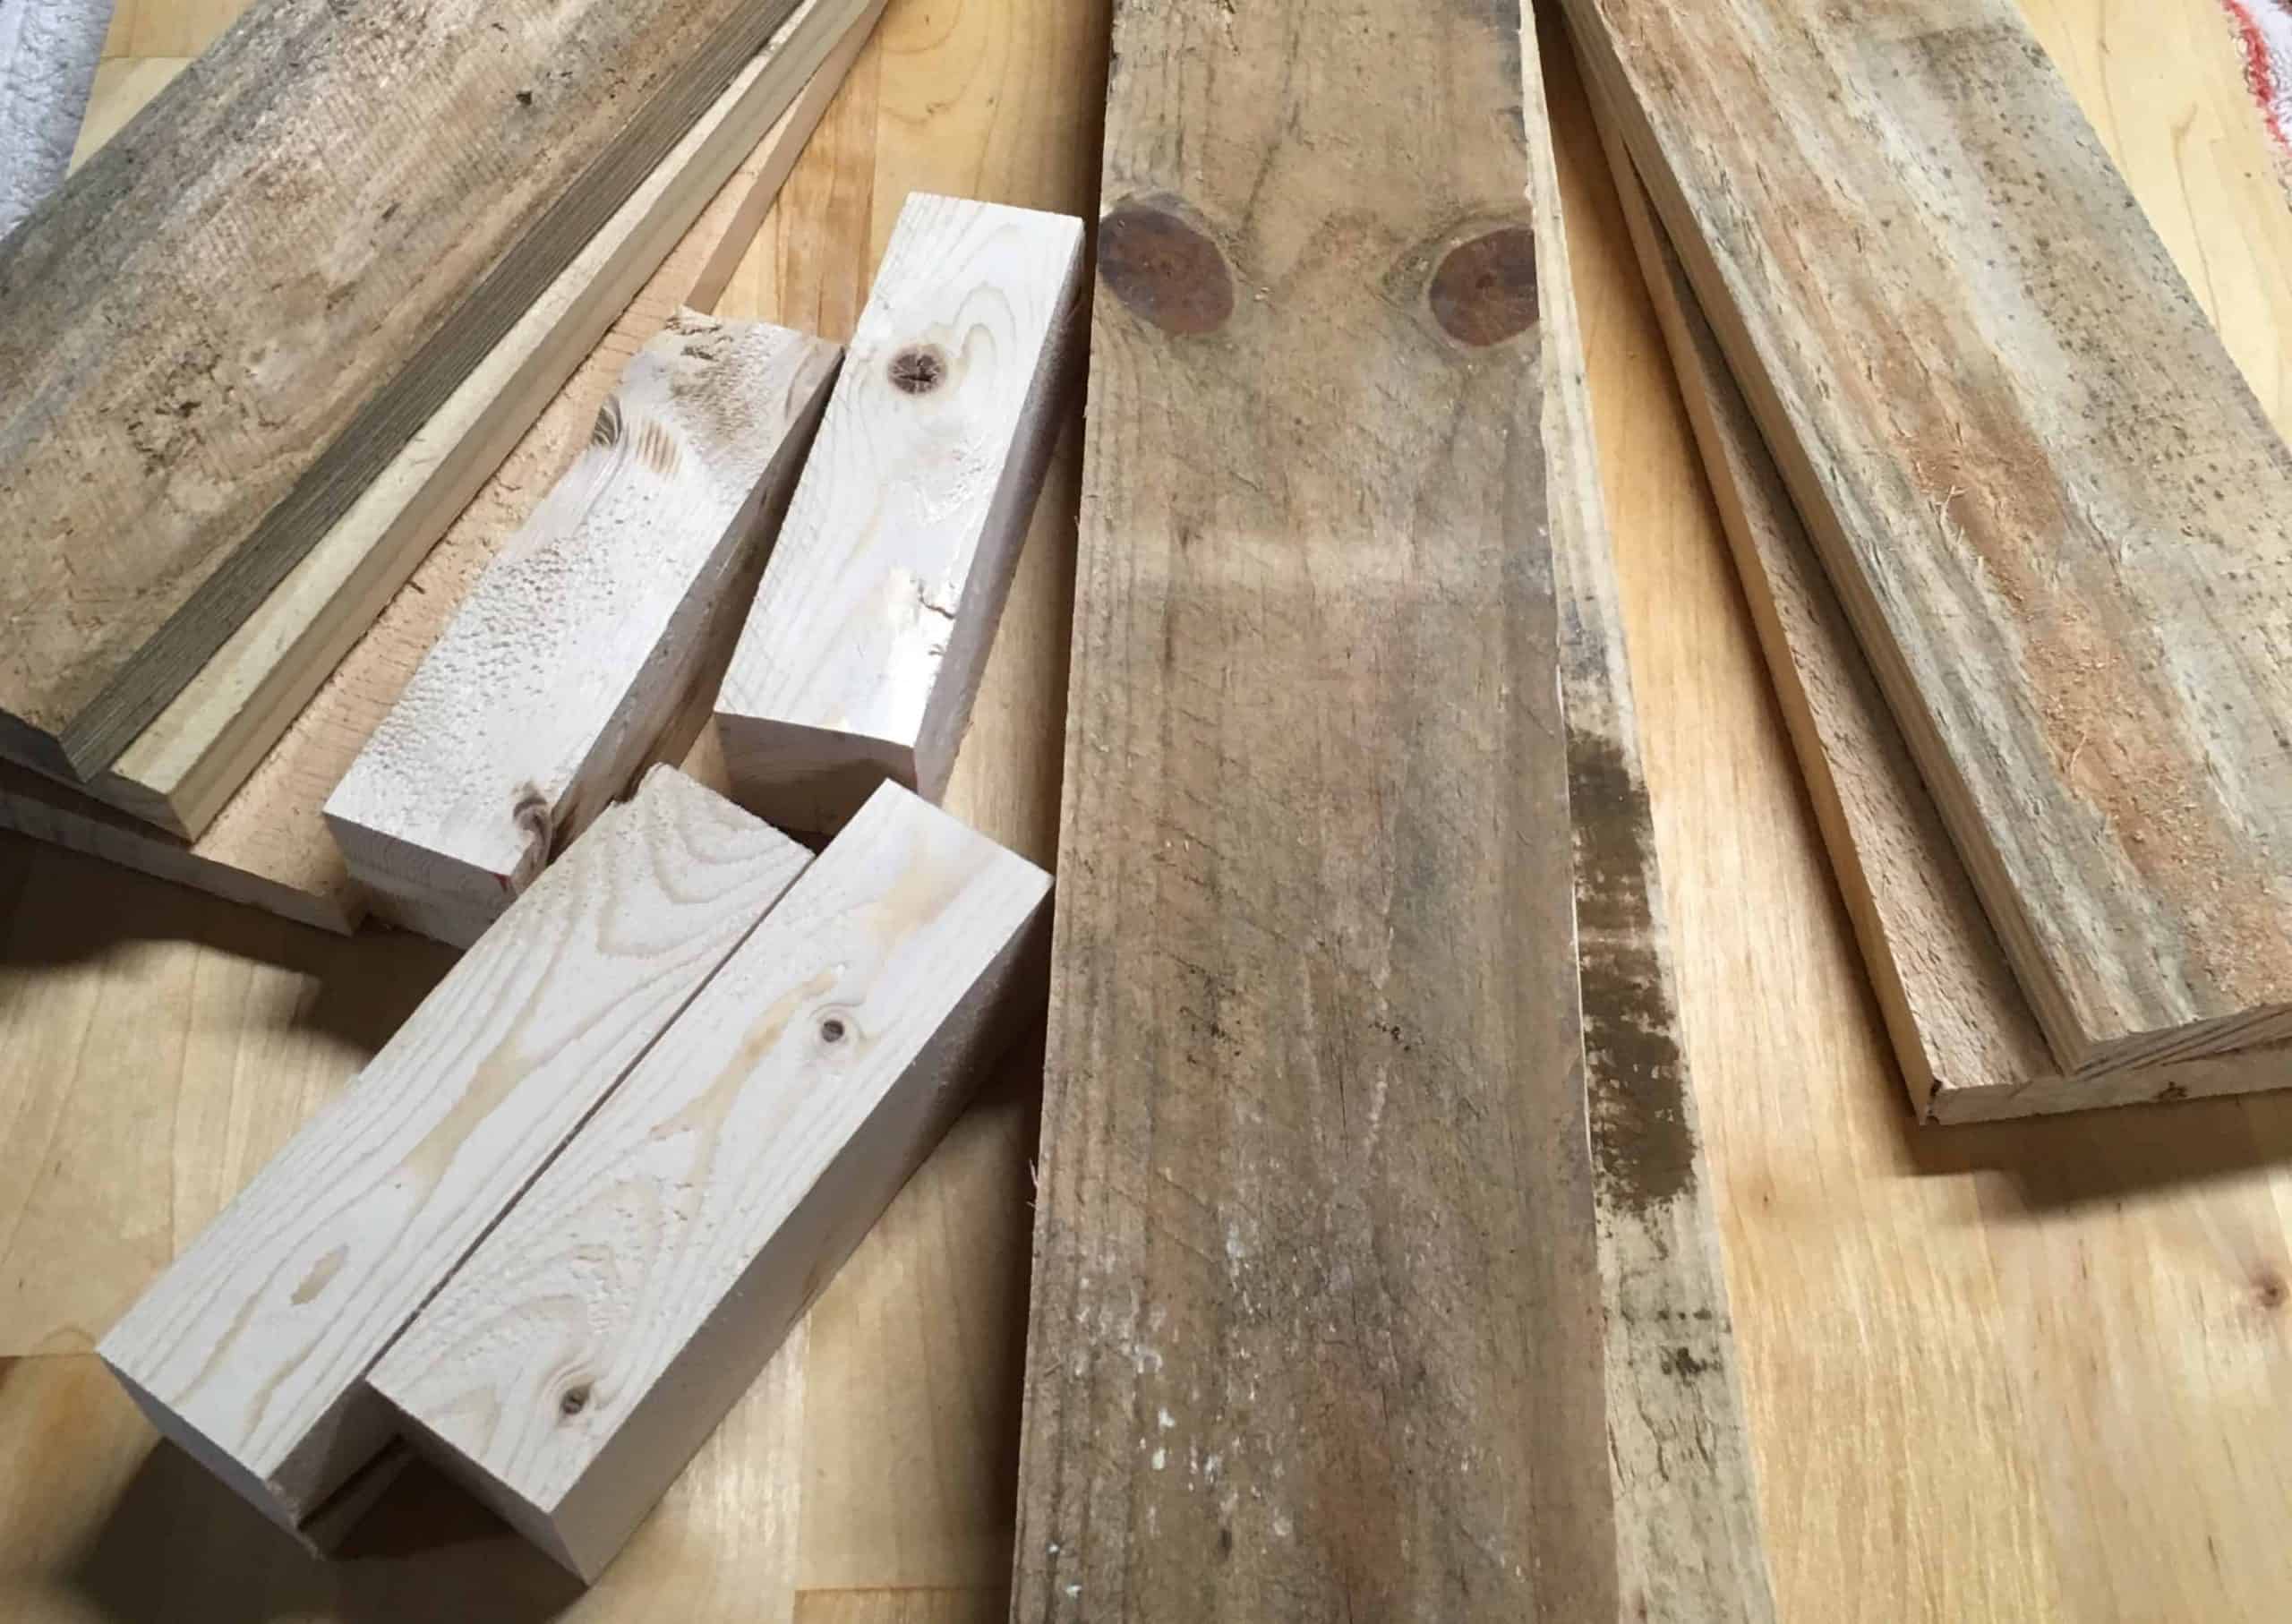
Supplies for DIY Pallet Crate
For the outside frame you need:
- 2 slats (3″ x 18″)
- 2 slats (3″ x 11″)
For the inside you need:
- 4 square pieces ( “x ” ) and 4 1/2″ long
For the bottom you need:
- 3 slats ( 2″ x 12 1/2″)
- 12 1/2″ x 18″ wire mesh
- nail gun
- staple gun
- table saw
- miter saw
Step 1. Cut pieces for DIY Pallet Crate
Hubby and I used old pallet wood that we had lying around. So we started by ripping the pieces with our table saw and then cut our pieces to the desired size with the miter saw.
Some lumbar yards or home improvement stores might offer to cut pieces of wood for you. Which is really helpful in case you don’t have the necessary tools.
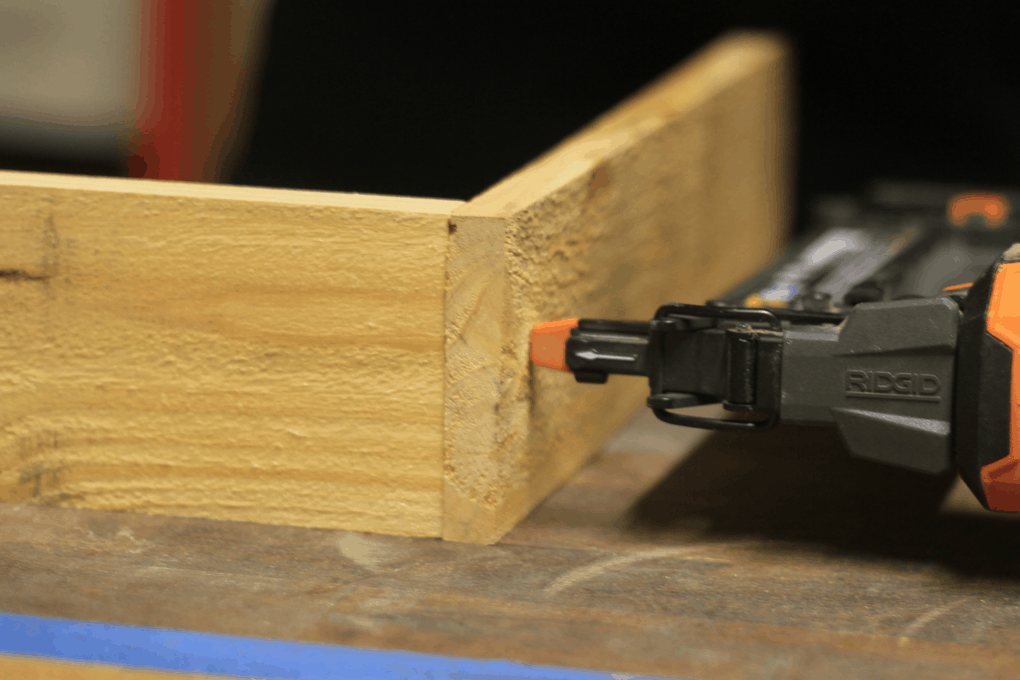
Step 2: Put Frame Together with Finish Nailer
The next step after cutting our wood was to put the frame together. We used the 2 longer slats for the sides and the shorter ones for the ends.
I started by nailing the shorter piece inside the longer piece to make the crate wider. We continued until all the pieces were nailed together and we were left with a rectangle frame.
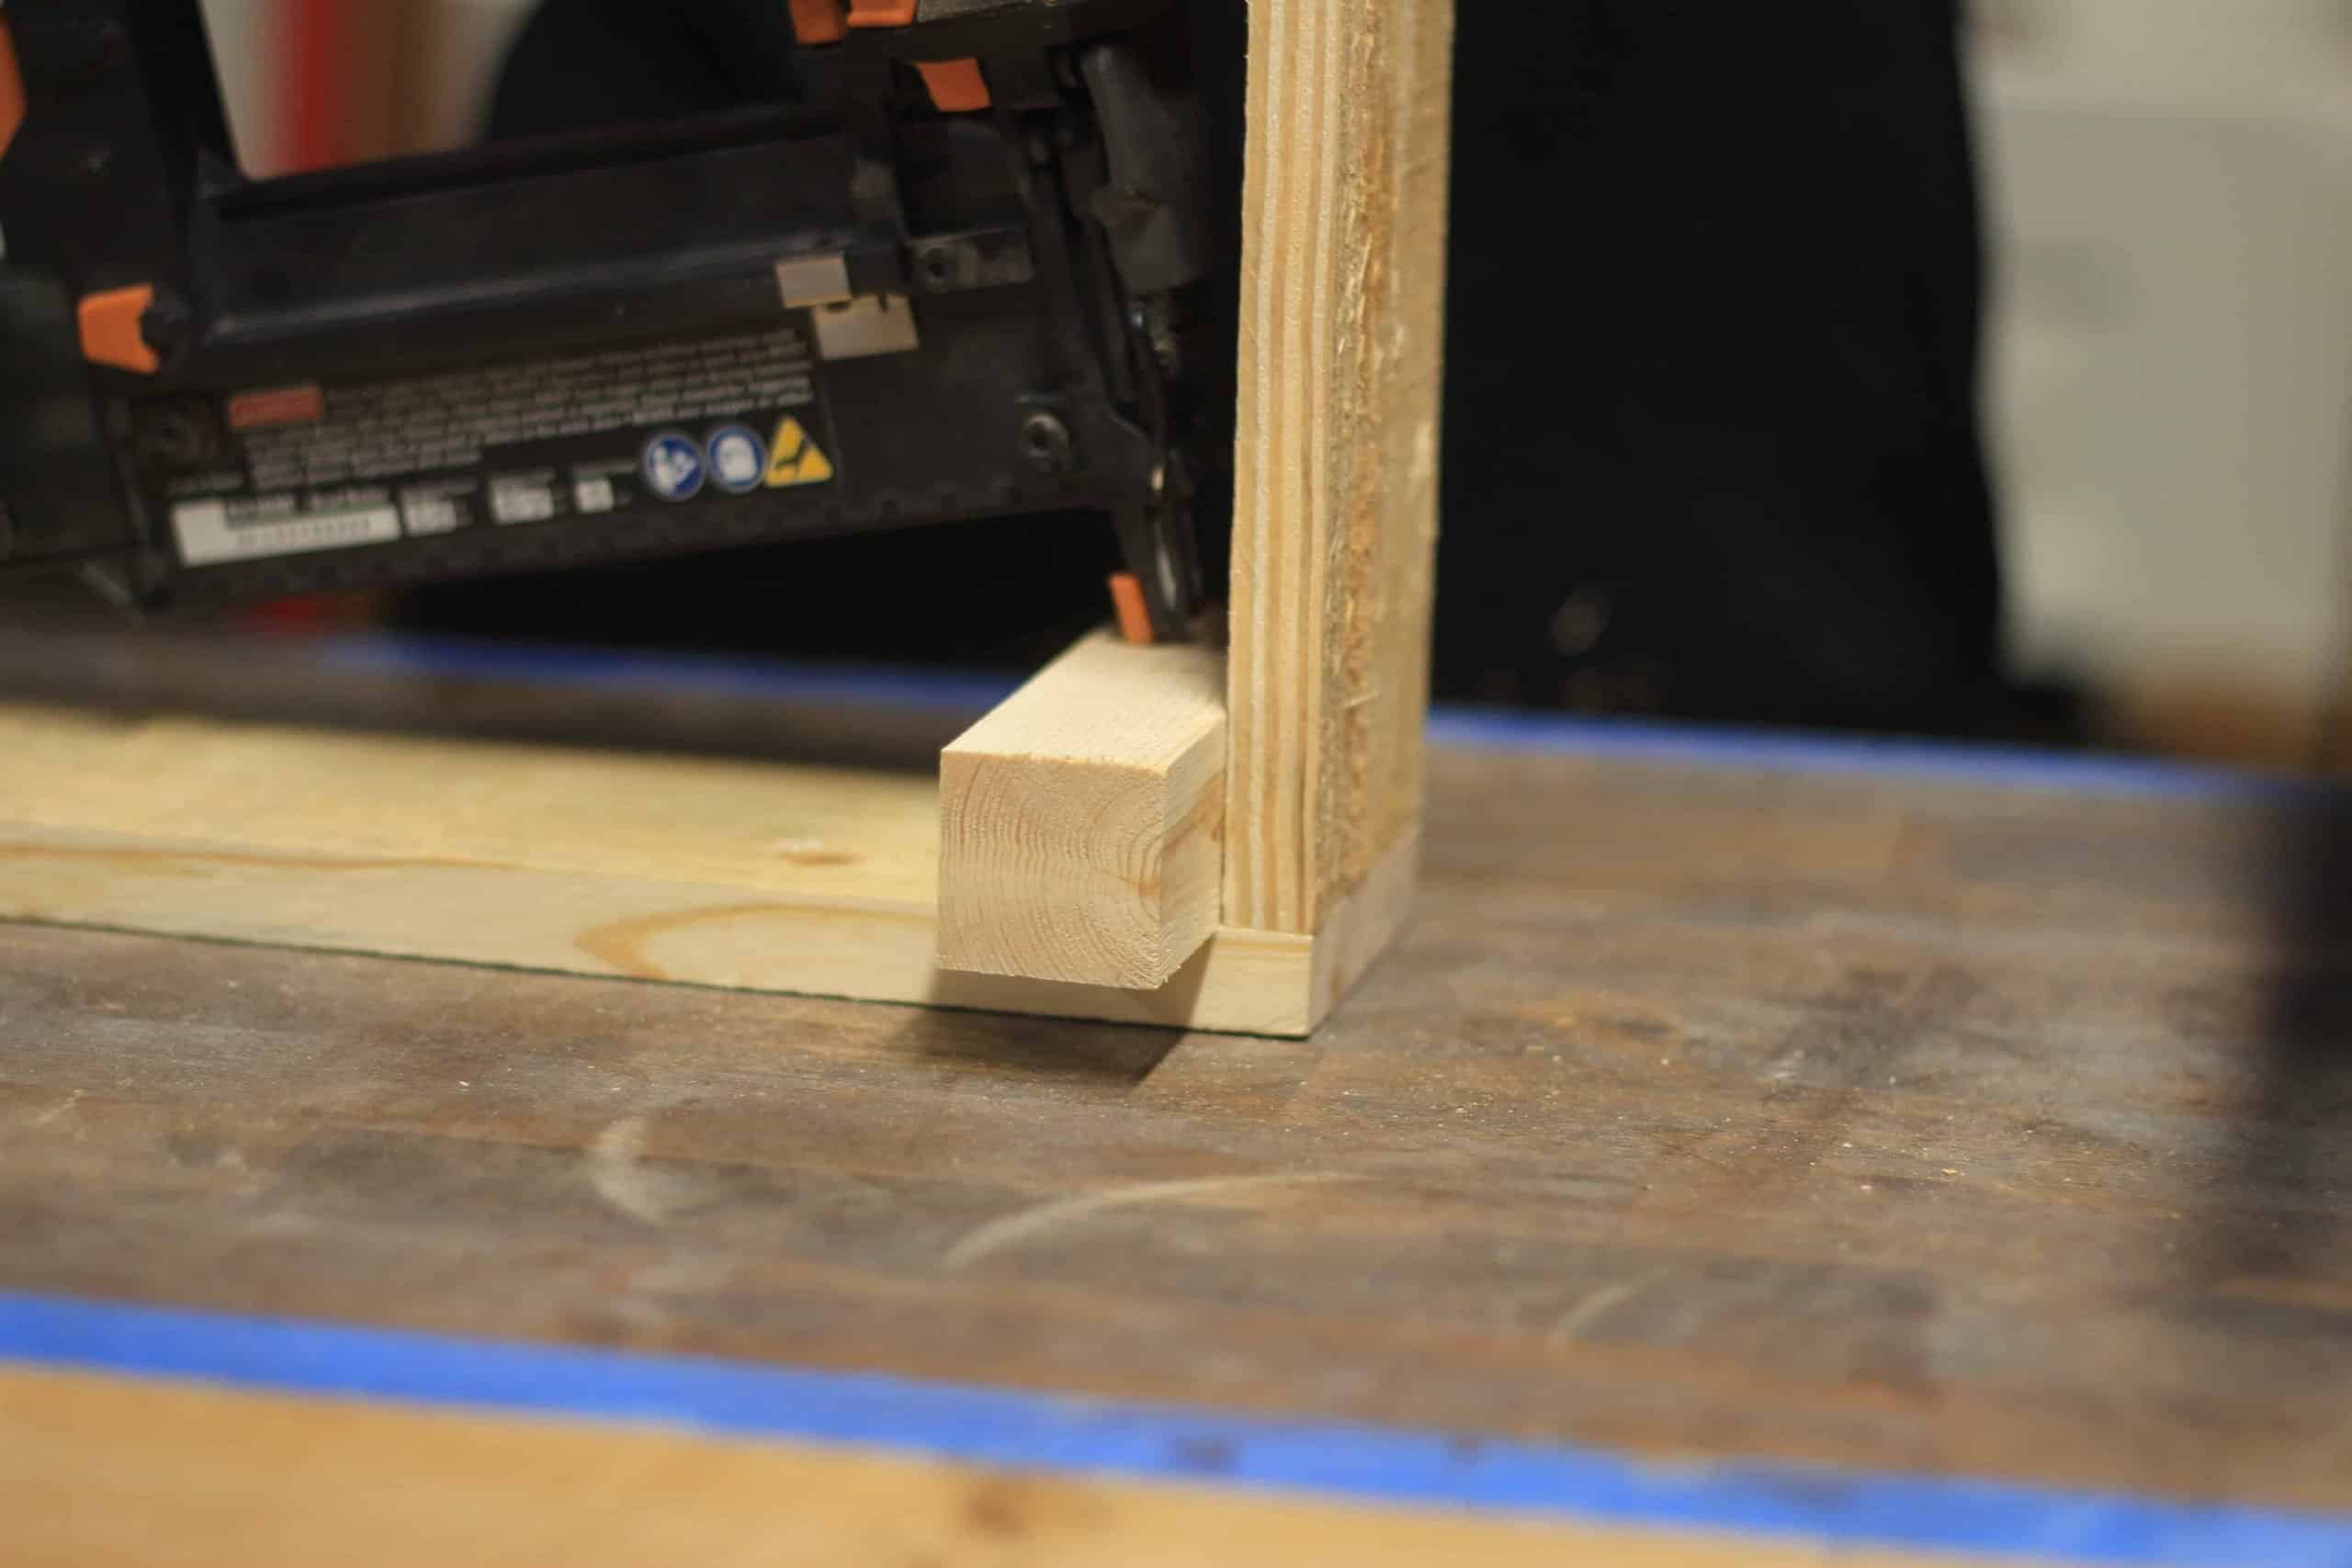
Step 3: Attach Square Pieces
Once the frame is done we went ahead and nailed the square pieces into place. Make sure that you line up all the pieces at the bottom before you nail them together.
After I lined them all up nailed the square pieces to each side.
Step 4: Adding Wire to the DIY Pallet Crate
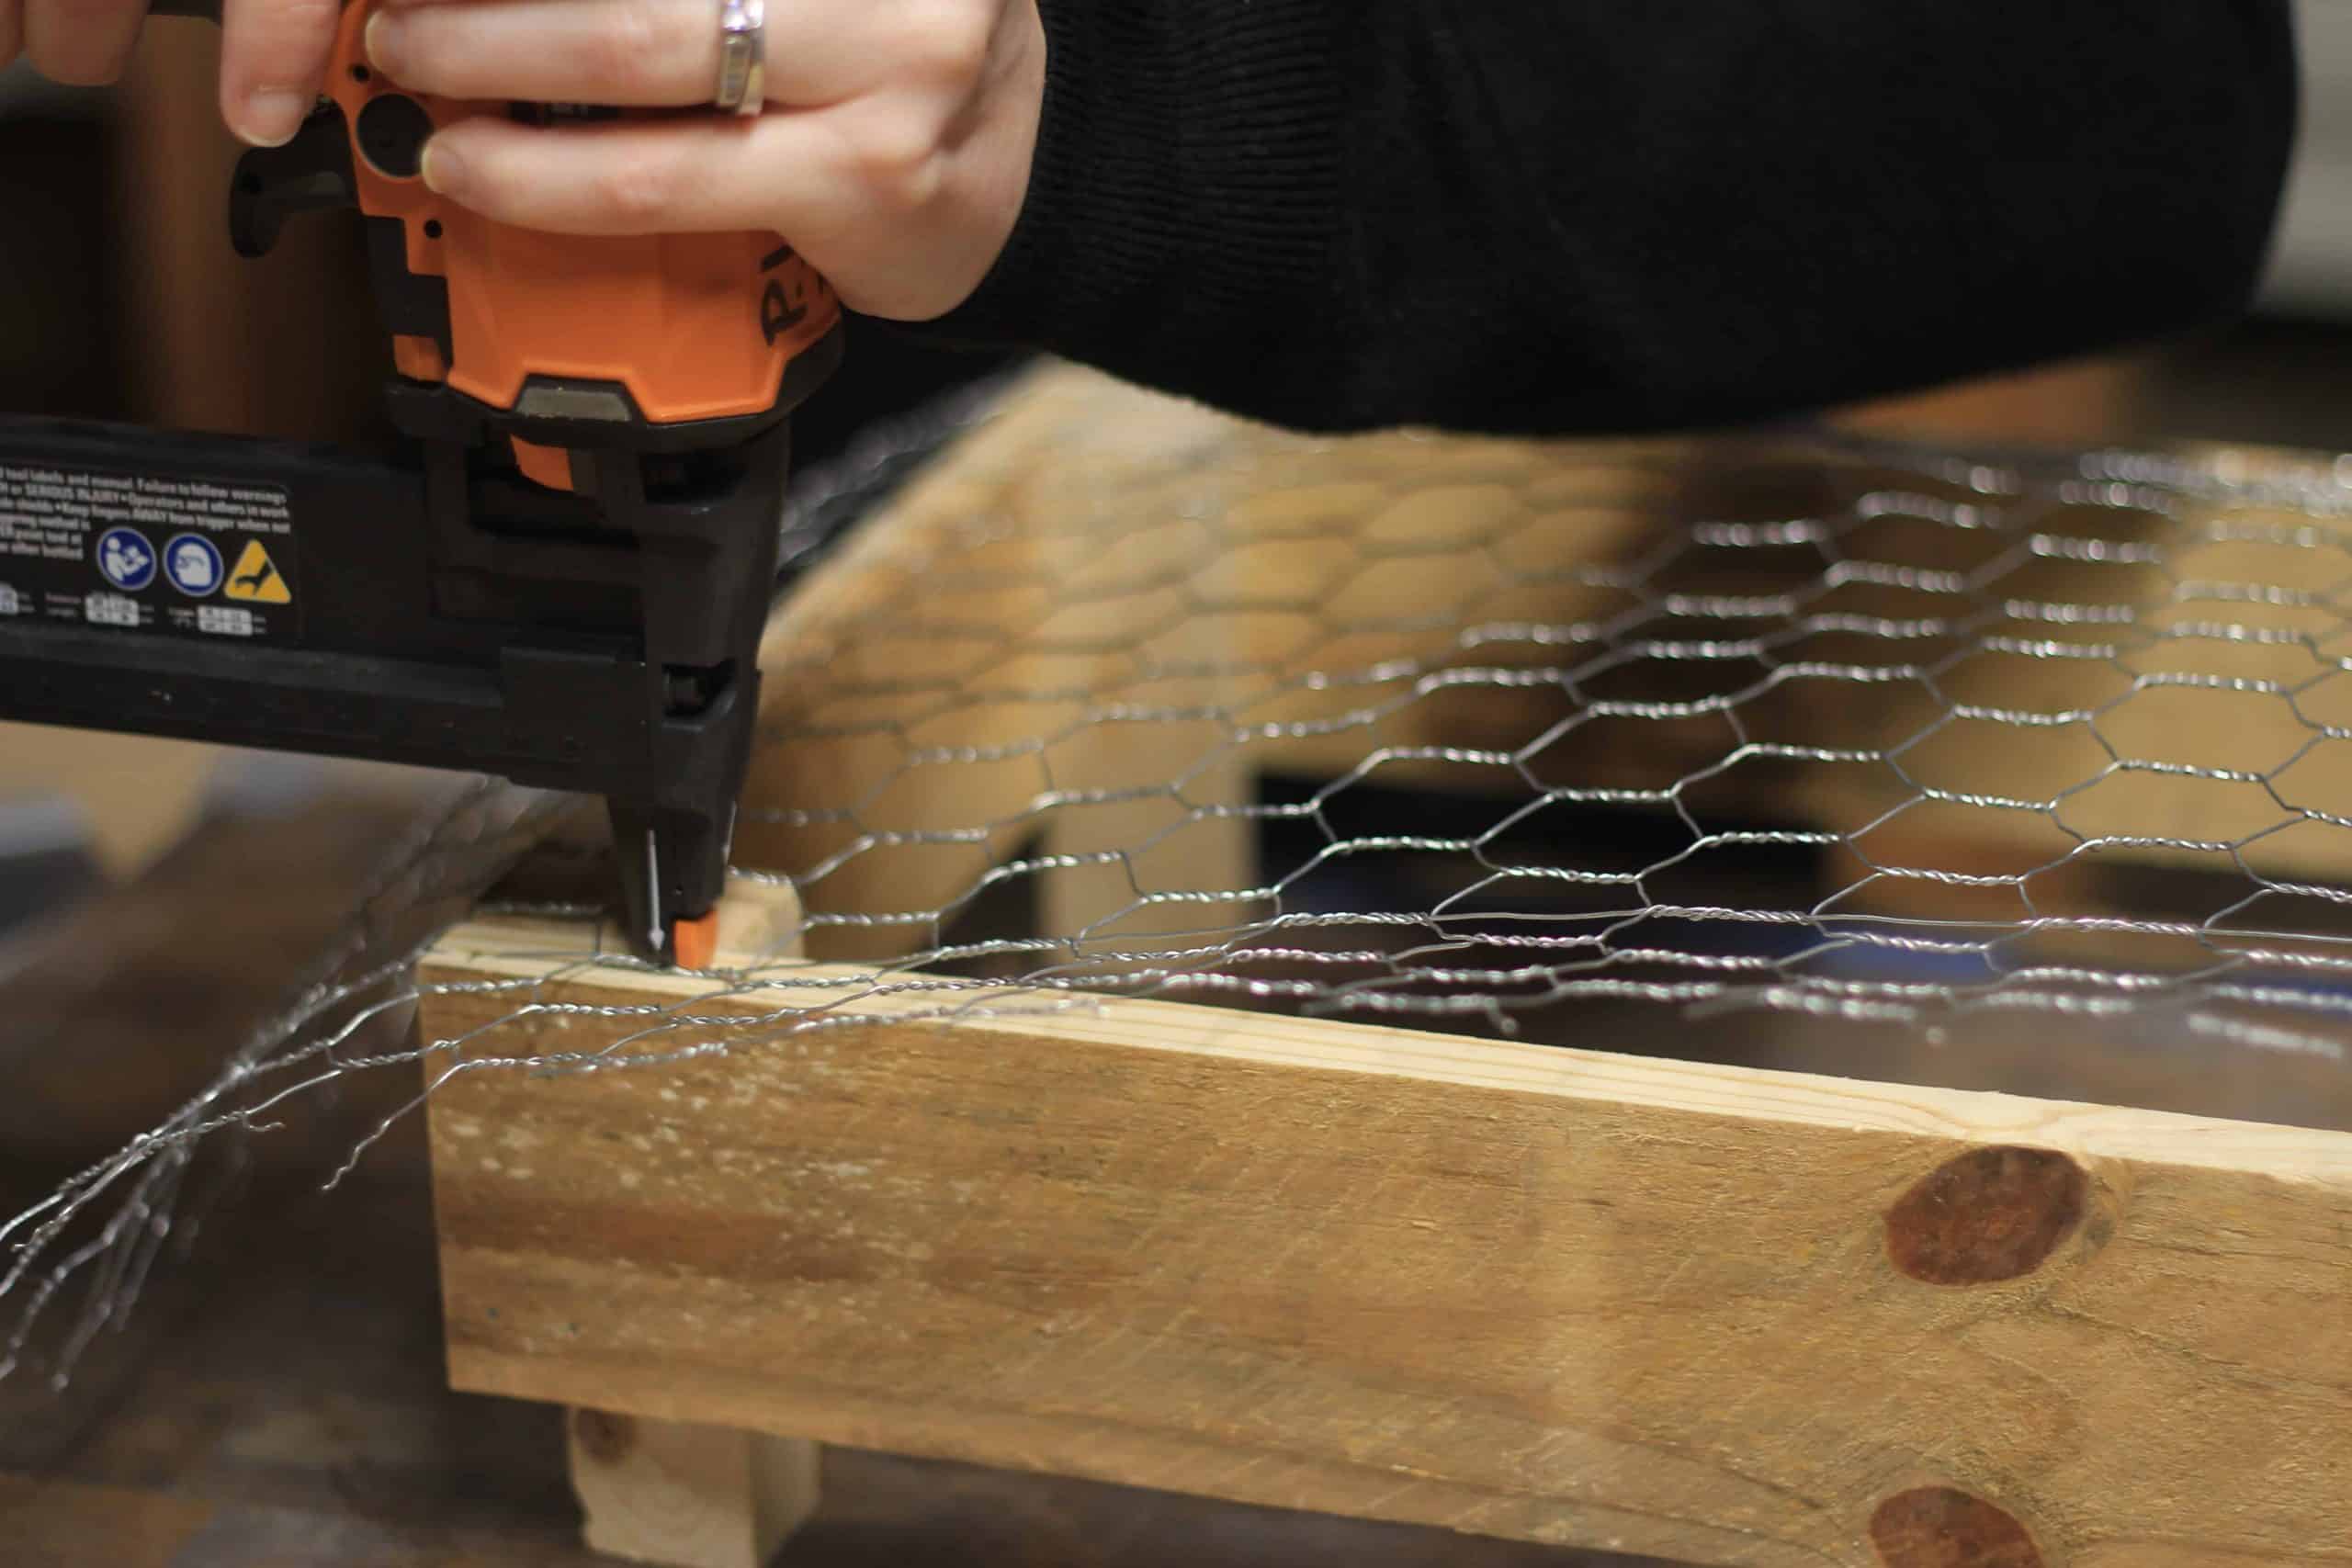
Now that we have nailed all our pieces together we turned the crate with the bottom side up. First I placed the mesh onto the frame. Then I used the staple and started by stapling the corners first.
I readjusted the wire after each corner to make sure it stay aligned. Once the corners were done I moved on by going down from one corner to the other.
Step 5: Add Bottom Slats to the Crate
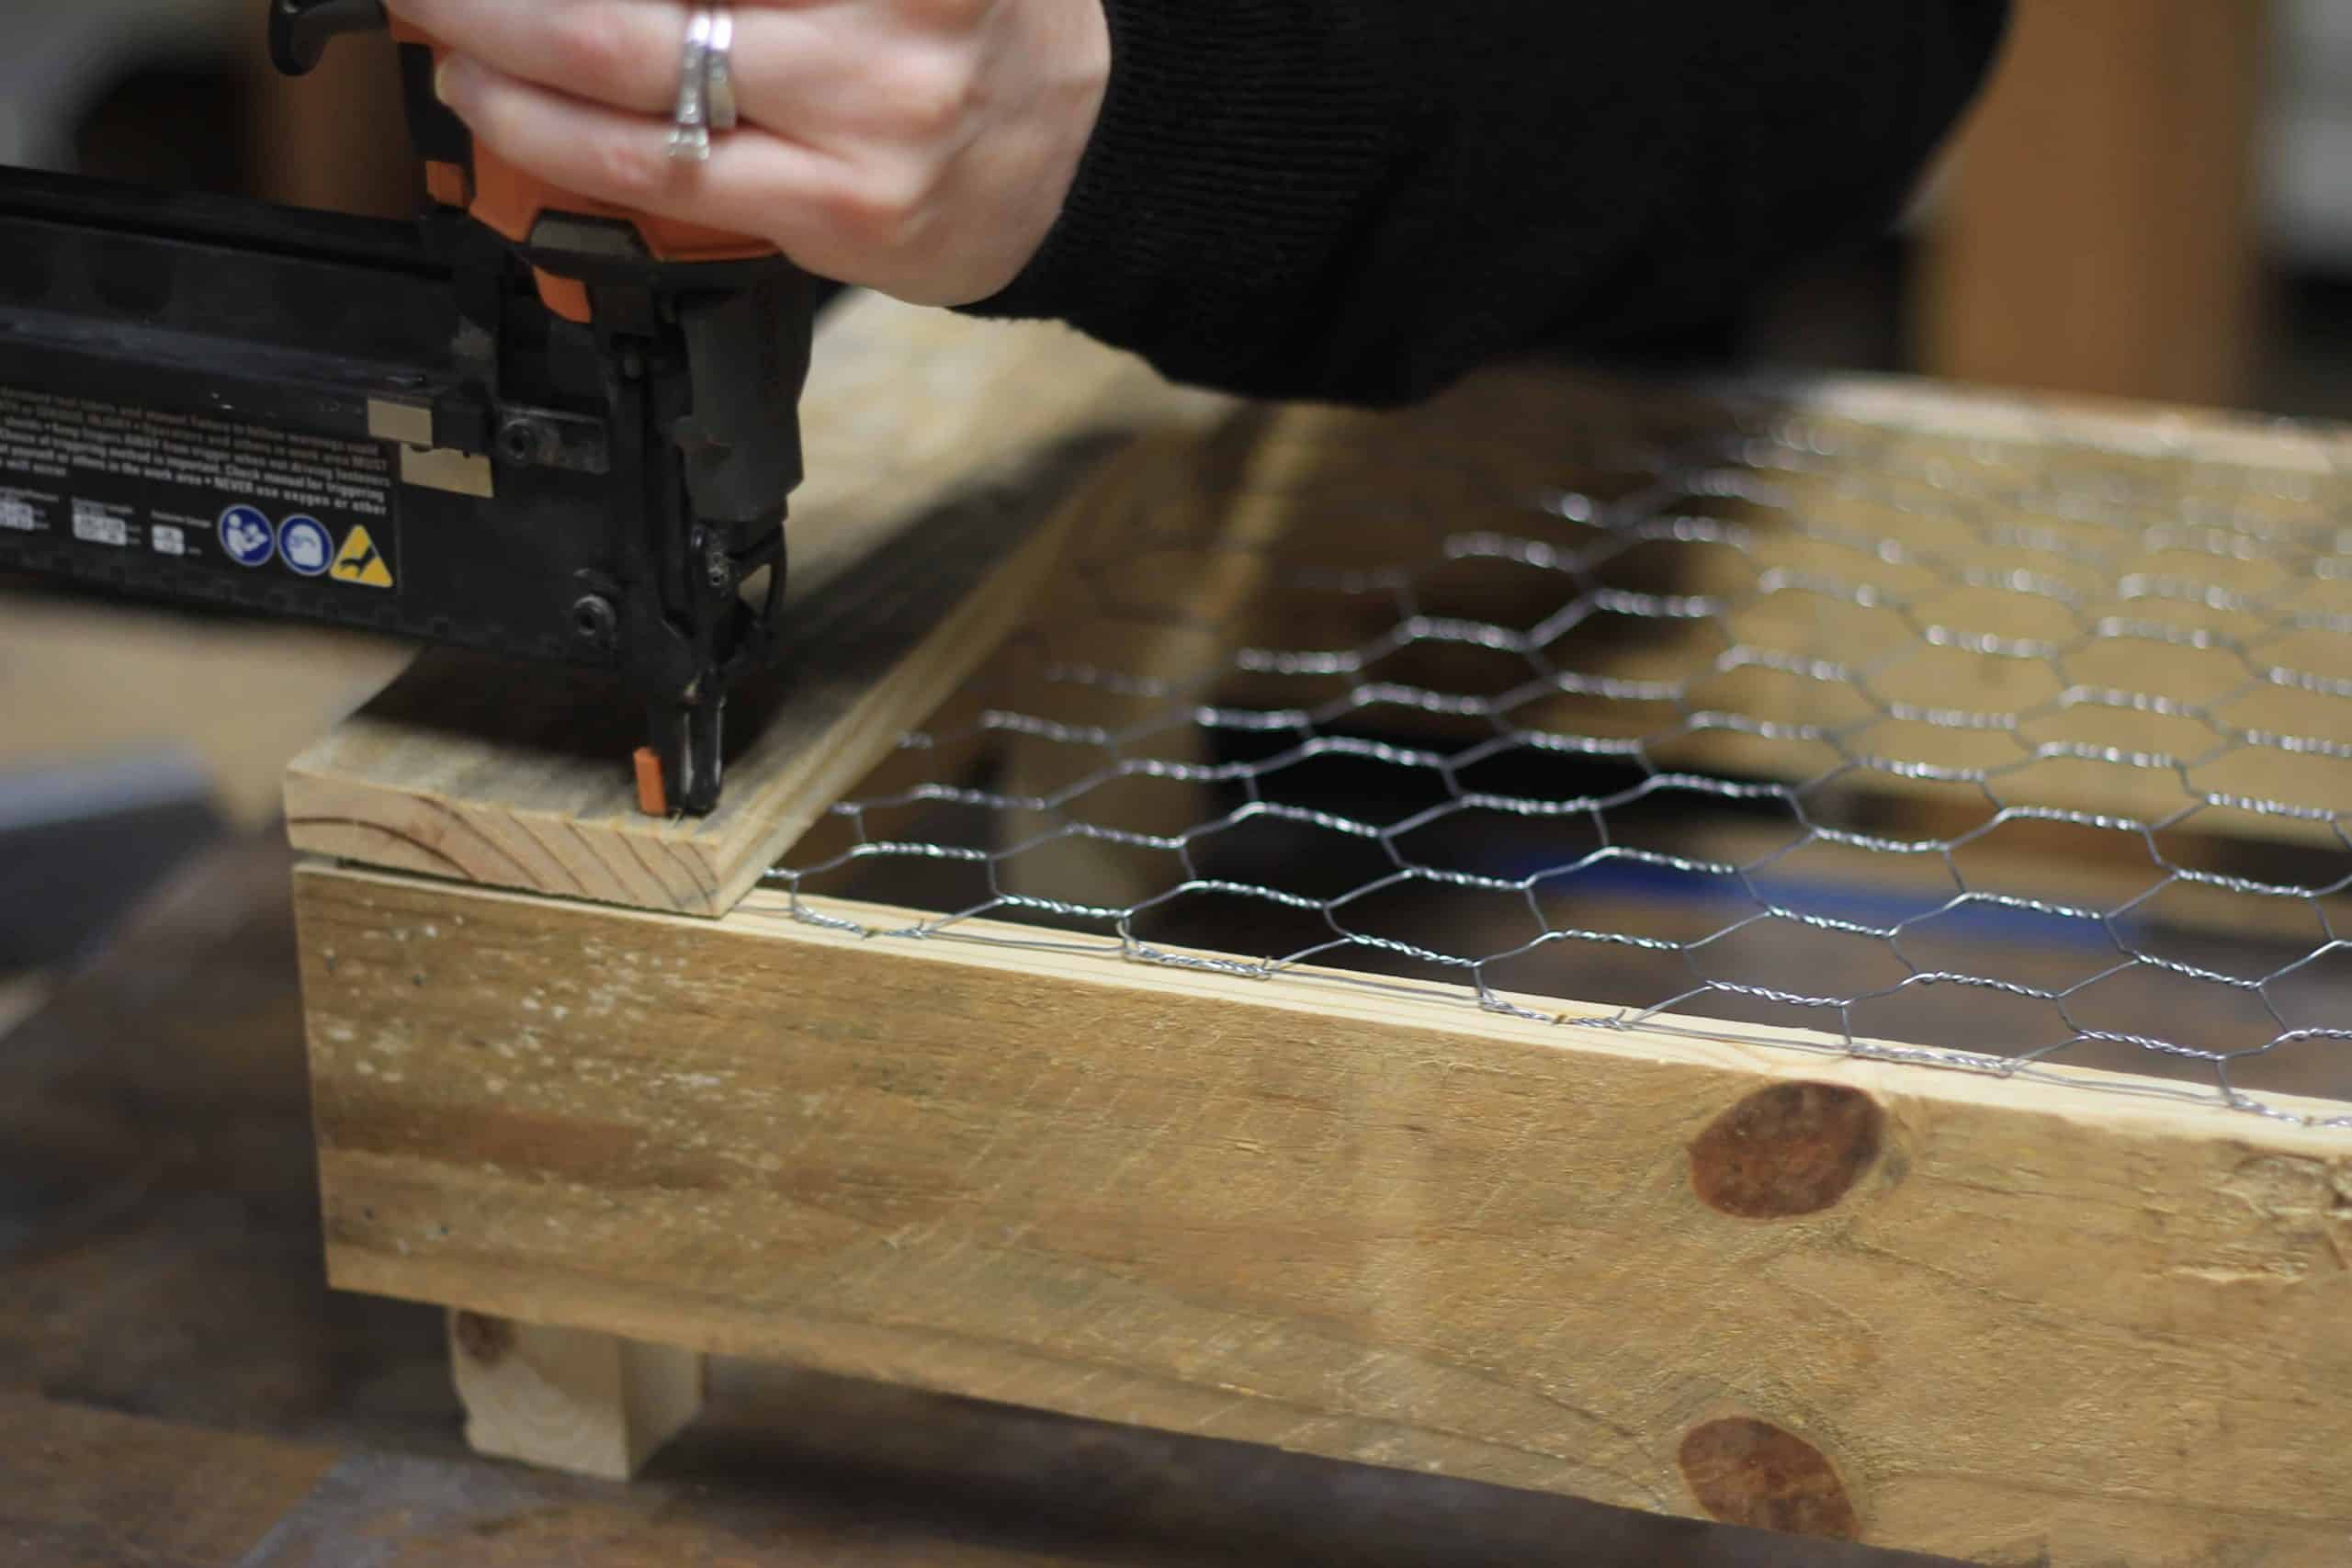
The last and final step is to nail the three 2″ x 12 1/2″ slats to the bottom. I placed two of them on the far outside corners and nailed the last one in between the two corner slats.
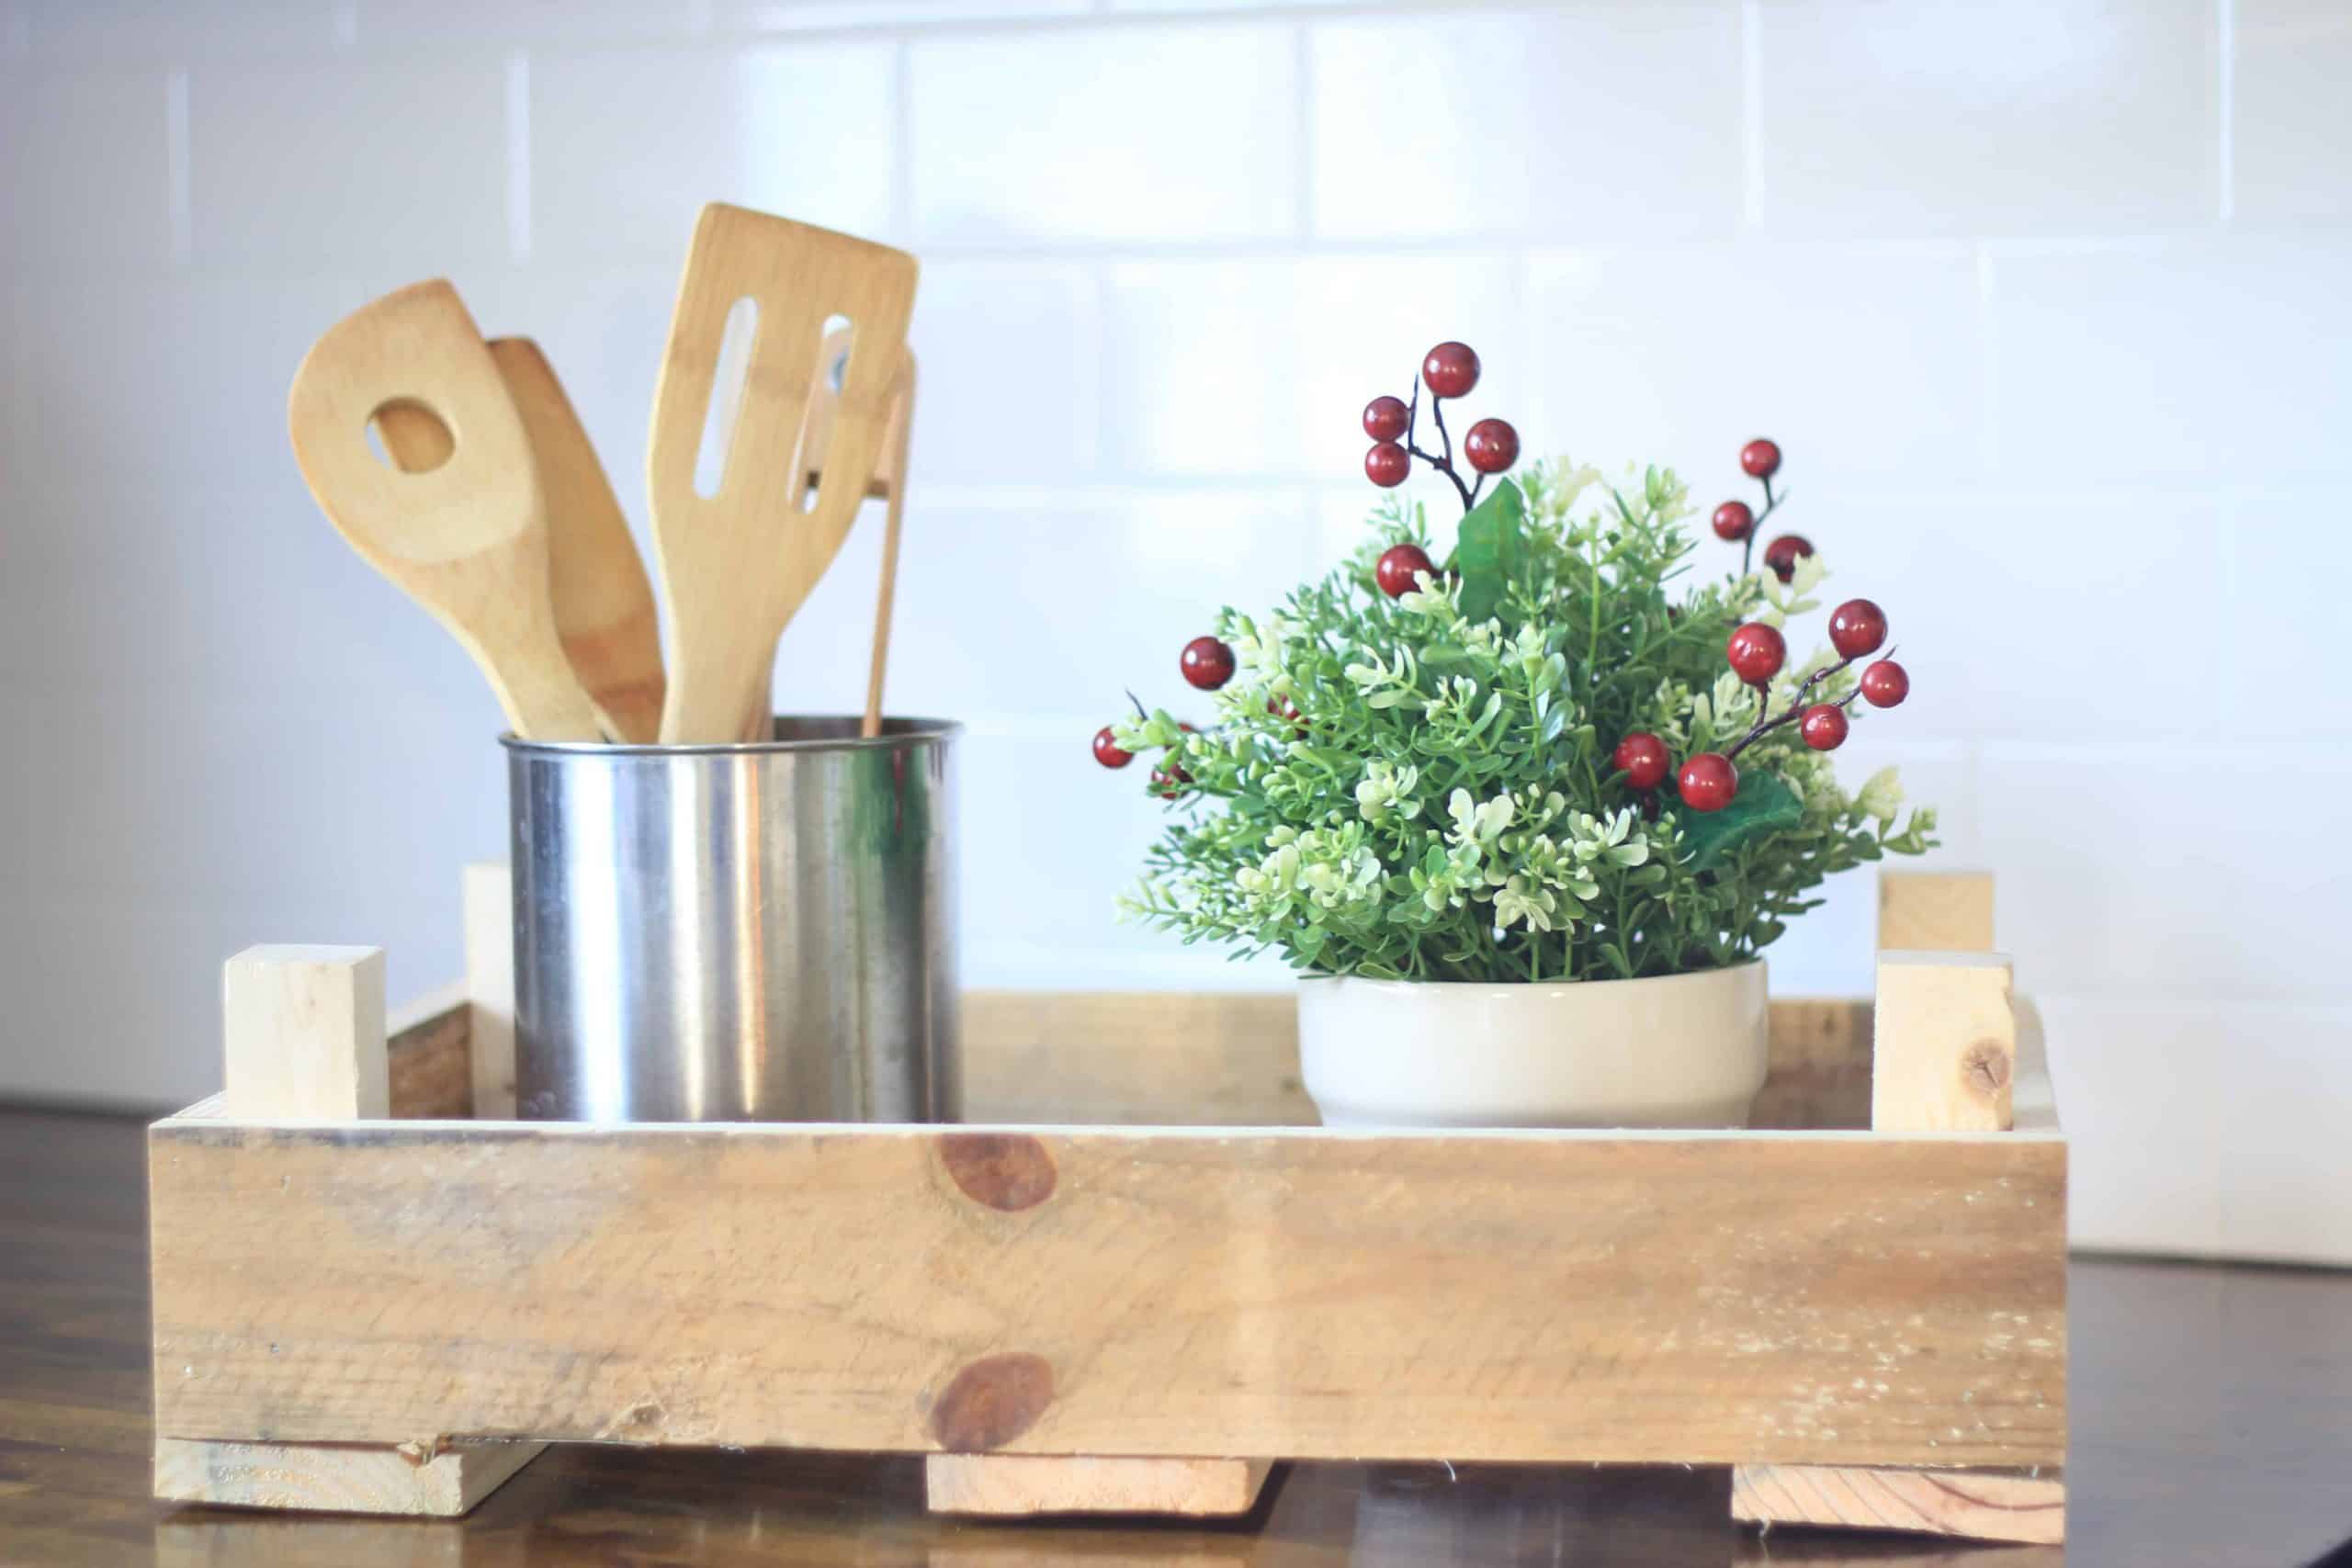
And there you have it. This was such an easy and fun tutorial and I am so excited about how well it turned out. The best part is you can use the crate for pretty much anything.
As always thanks so much for stopping by and happy DIY’ng!
Sabrina
Wasn’t that just the cutest little DIY pallet crate? I love the way it comes together so simply that even I could handle making it!
Now that you have your crate made check out these other DIYs to decorate that crate!
- These painted mason jars from Making Manzanita would go perfectly in the crate!
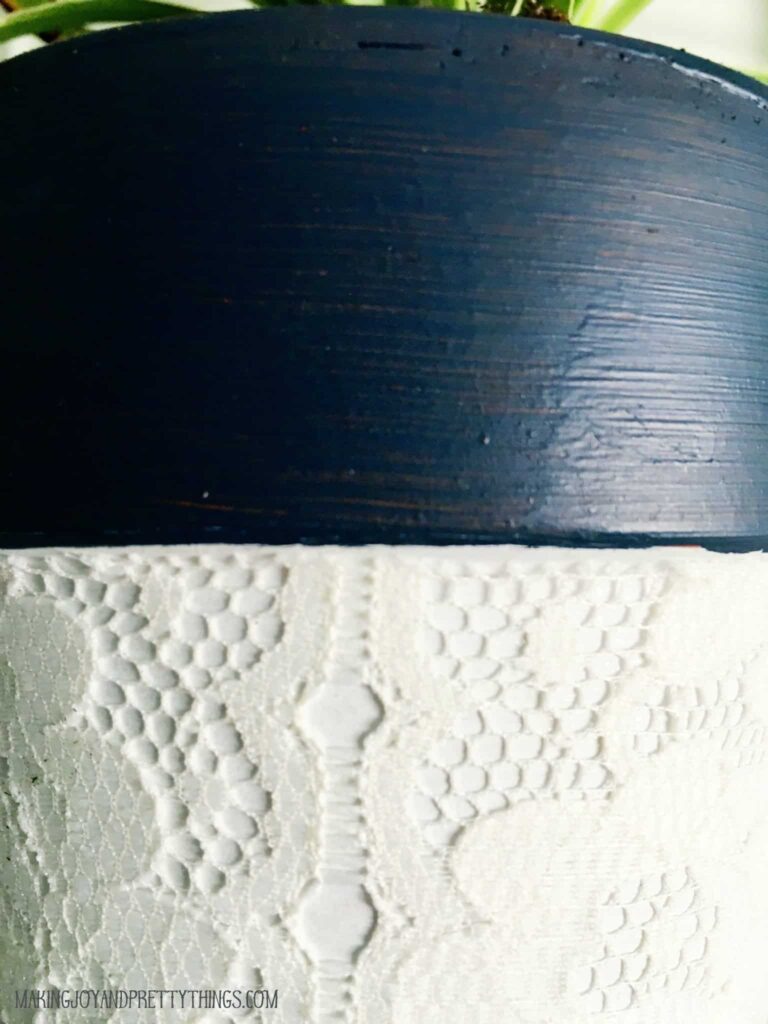
- My DIY black aged pottery would be great to put some floral touches in the crate.
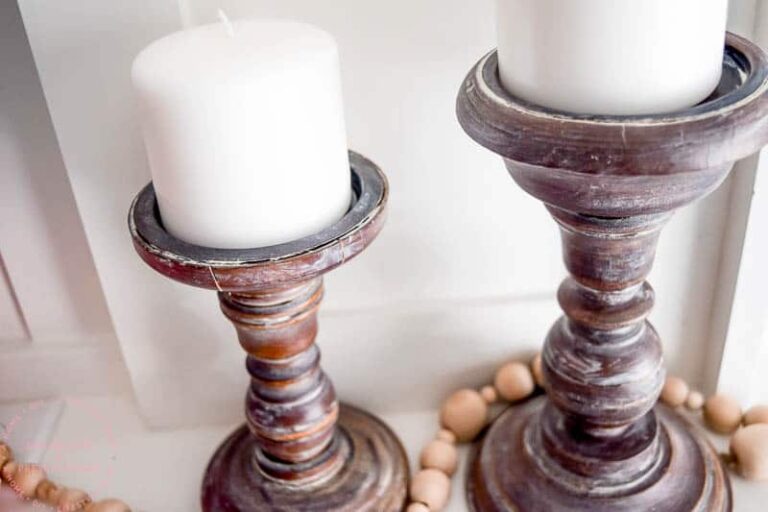
- I also think these DIY Wood Block Candle Holders would go great with this too.
What would you put with/in your new crate?
Wishing you a joyful day!

DIY Pallet Crate

A pallet crate DIY with left over pallet wood and wire mesh to hold just about anything or use as a decoration around the home
Materials
- 2 slats (3" x 18")
- 2 slats (3" x 11")
- 4 square pieces ( 1" x 1") and 4 1/2" long
- 3 slats ( 2" x 12 1/2")
- 12 1/2" x 18" wire mesh
Tools
- nail gun
- staple gun
- Table Saw
- Miter Saw
Instructions
- Cut Pieces for DIY Pallet Crate
- Put Frame Together with Brad Nailer
- Attach Square Pieces
- Adding Wire to the DIY Pallet Crate
- Add Bottom Slats to the Crate


Sabrina, I am loving this crate! Your tutorial was so easy to follow and I know I will be making one of these soon 🙂
Best,
Kelly