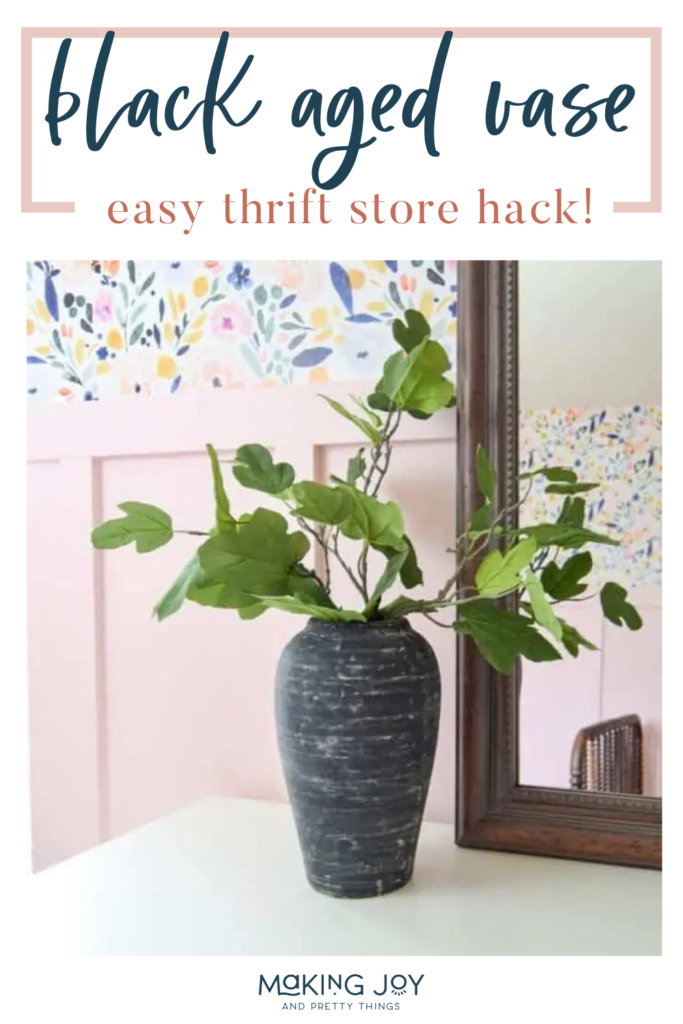
DIY Aged Black Pottery Using a Vintage Vase [Thrift Store Challenge]
One of my favorite current design trends is vintage pottery! But, I wanted to create my own vintage look for a fraction of the price. See how I turned a thrift store find into a DIY Vintage Vase!
I’m so excited to be participating in a fun challenge hosted by Amanda from Love & Renovations – THRIFT SHOP CHALLENGE!
The challenge is pretty simple – find a treasure from a thrift shop that needs a little lovin’.
I went to a few thrift stores around our home and was pleasantly surprised by the amount of stuff (mixed with junk) to select from.
Truthfully, I was extremely tempted by many, many, many old dressers. They were being sold for a fraction of their worth (in my opinion, at least). But I just didn’t have a place for any of them right now.
I decided to go with a smaller project like a vase or lamp. There were several lamps that were tempting but had electrical wires/pieces from 1800. I wasn’t about to add “rewire a lamp” to my list of things to do.
Well, I stumbled upon this guy for just a few dollars:

And it’s perfect to turn into DIY aged black pottery!
Aged Pottery: My Inspiration
Have you been seeing vintage pottery popping up everywhere?
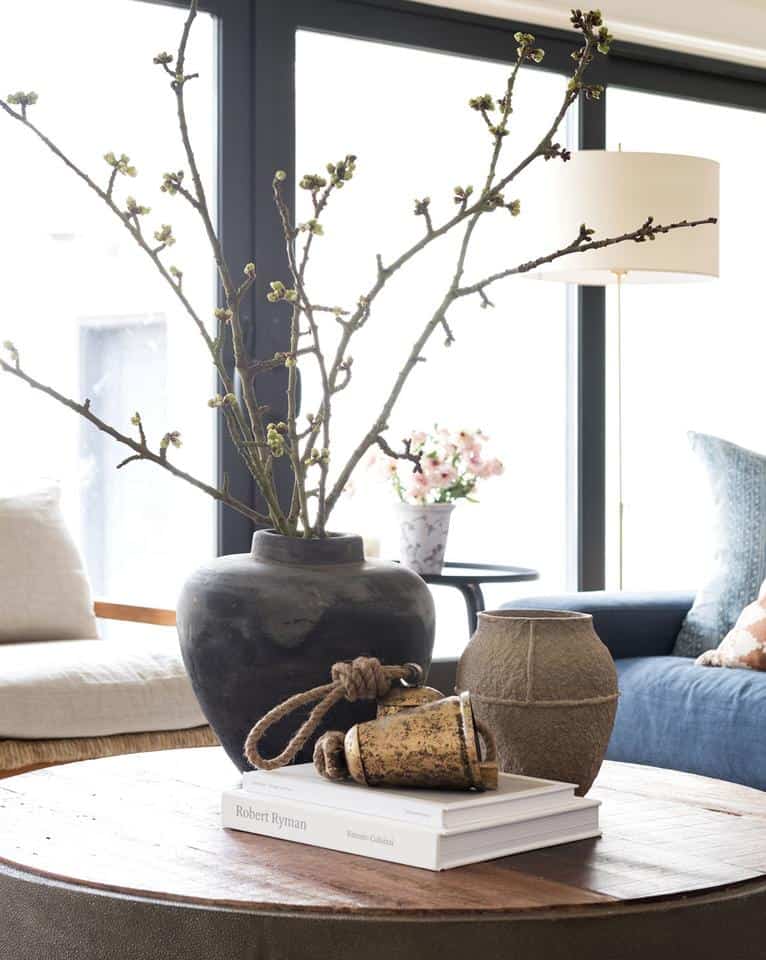
I know it’s been catching my eye all over Instagram and my favorite home decor accounts. I’ve seen vintage vases retailing for hundreds of dollars (Like the gorgeous one shown below) but I knew I could DIY my own for a fraction of the cost.
The vase I found at the thrift store was the perfect shape and had the perfect texture to transform it into a vintage-looking vase.
I followed along with Whitney on Instagram as she did a DIY Vintage Vase and wanted to mimic that process for myself.
Should have just followed her tutorial from the beginning because mine #failed. But that’s ok, sometimes a DIY doesn’t go as planned and you just start over.
DIY Aged Black Pottery: Step-by-Step
This post contains affiliate links. Please, click here to read my disclosure policy.
Materials needed
- Vase – I LOVE that my vase already had texture to it. It would be a lot harder to get a vintage look without texture already on the vase, so look for that when you’re thrifting
- Garden Lime
- This is used to make the lime wash. Mix 1/4 cup of water with 1/4 cup of garden lime. MIX WELL. It will eventually turn into a sludge/mud type consistency. You could even go with a little less water, definitely not any more water though.
- 3 Paintbrushes you don’t mind throwing away
- Plaster of Paris
- Mix 1/4 cup of water with 1/2 cup of plaster. Mix well.
- 100 grit sandpaper
- Black Paint, similar
- Pick a matte or chalk finish
Take 1 (my first try that didn’t work)
I’m going to cover what I did first that didn’t work. Then, what I did to fix it. And, finally, what I would suggest you do.
First, I painted the vase with matte black paint and let it dry overnight.

Next, I applied the lime wash using an old paintbrush. To make the lime wash, mix 1/4 cup of water with 1/4 cup of garden lime.
Make sure you mix this really well. It takes a while to dissolve, and the longer you mix, the thicker it gets and the better it goes on.

I let that sit for 3 minutes, then gently wiped it off with a dry paper towel.
Well, this is what happened.

WOMP WOMP.
The lime wash had basically completely taken the black paint off with it.
I thought I could skip the plaster step since the vase already had such a great texture to it. That’s a hard no.
Sooo….
Take 2 – What Actually Worked
Step 1: Paint the vase.
I started by just painting over the mess that was left from the failed attempt with the same black paint. It’s really thick and covers really well.
Step 2: Mix & apply the plaster, then sand down.
Then, I mixed up the plaster (1/4 cup water + 1/2 cup plaster) and applied it liberally with another old paintbrush.
It goes on really thick, too. I let it dry for a few hours and then sanded it down using 100 grit sandpaper. Wear a mask because it gets really dusty.
I had hoped to skip this part from the tutorial I saw on Instagram because the vase itself already had so much texture.
I thought the plaster would just add the texture. And, maybe if the vase wasn’t a shiny finish I wouldn’t have needed the plaster.
But, in order for the black paint to stick after the lime wash, I needed the plaster.

Step 3: Apply another coat of black paint.
After dusting off the excess plaster dust, I applied another coat of black paint over top.
Step 4: Mix and apply the lime wash.
Then, it was on to the lime wash again. I used the same lime wash I had mixed up earlier and it was SUPER thick. Which actually worked out really well.

Step 5: Wipe off the lime wash.
I followed the same process as before. Let it sit on for 3 minutes. It looks like it’s completely dry at the end, but it still wipes off pretty easily.
Wipe VERY gently. There were some spots that STILL came through all those layers to the original vase. But they were so small that you really can’t see them.
Once I had wiped the lime wash off, I did have to go back over it with a wet paper towel a few hours later because it looked too “muddy” to me. But that’s just a personal preference.
Tips for making the perfect DIY aged black pottery: what I would do differently
I obviously learned a few lessons from this DIY project. If I did this again, this is the other of what I would do. Aka what you should do if you try this.
- Black Paint
- Plaster
- Black Paint again
- Lime Wash
- Wipe off lime wash
PHEW! I promise it’s not as difficult as my 100-step process was.
Even still, I LOOOOOVE how it looks.


It’s the perfect addition to miss Evie’s big girl room! I added in some faux stems from Target and a pretty arched mirror I’ve been eyeing up along with her dresser we just finished.


Don’t miss more DIY crafts here:
- 5 Ways to Update Your Fireplace
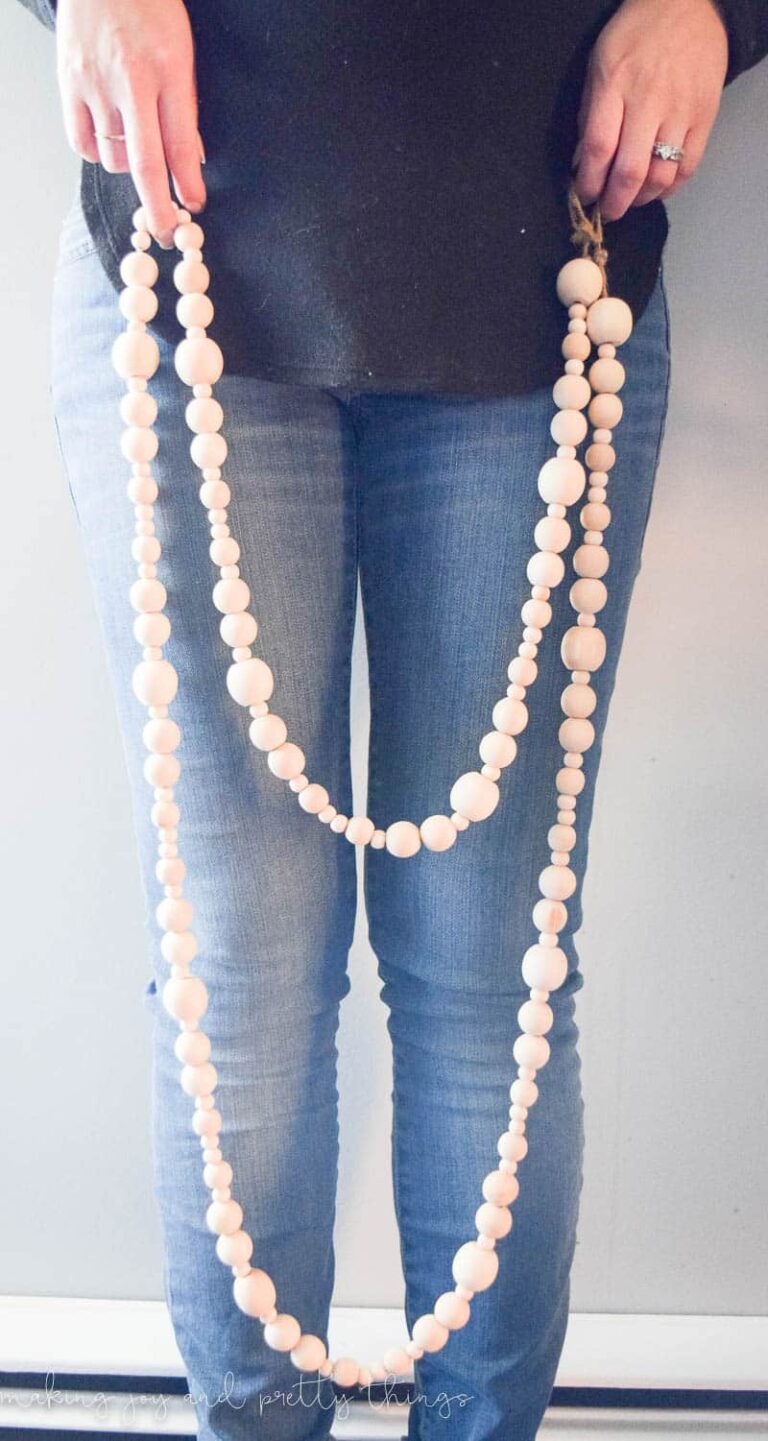
- DIY Oversized Wood Bead Garland
- Farmhouse Style Upcycle: DIY Chalk Painted Tray
- How to Make a Wood Bead Chandelier
Remember to check out everyone else’s thrift shop makeovers!
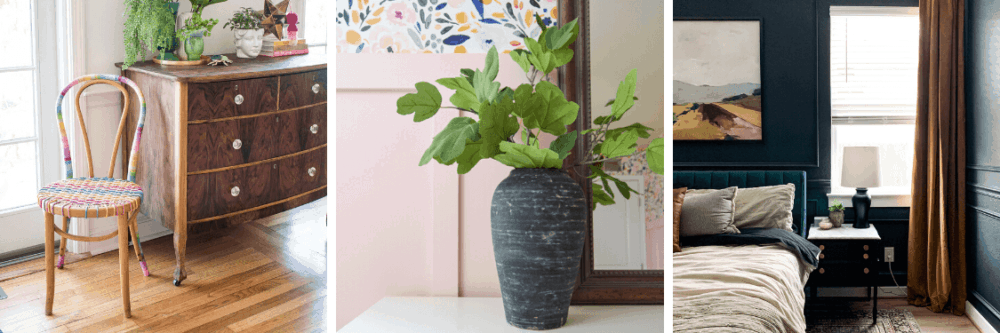
At Charlotte’s House // Making Joy & Pretty Things // Love & Renovations
Making Manzanita // Small Stuff Counts // Green With Decor // Holland Avenue Home
DIY Aged Black Pottery

Vintage pottery is all the rage in decor right now! Learn how to make this DIY aged black pottery using plaster, paint, and a lime wash.
Materials
- Vase (one that already has a bit of texture on it)
- Garden Lime
- 3 Paintbrushes
- Plaster of Paris
- 100 grit sandpaper
- Black Paint (matte or chalk finish)
Instructions
- Paint the vase. I recommend using a matte or chalk finish black paint.
- Mix the plaster. Mix 1/4 cup of water with 1/2 cup of plaster, mix WELL.
- Apply the plaster liberally with an old paintbrush, then let dry for at least a few hours.
- Sand down the plaster using 100-grit sandpaper.
- Apply another coat of black paint. Make sure clean up all the plaster dust.
- Mix the lime wash. Mix 1/4 cup of water with 1/4 cup of garden lime. MIX WELL. It will eventually turn into a sludge/mud-type consistency. You could even go with a little less water, definitely not any more water though.
- Apply the lime wash - it's OK if it's super thick, this helps. Let sit for 3 minutes, then wipe off. Wipe VERY gently.