
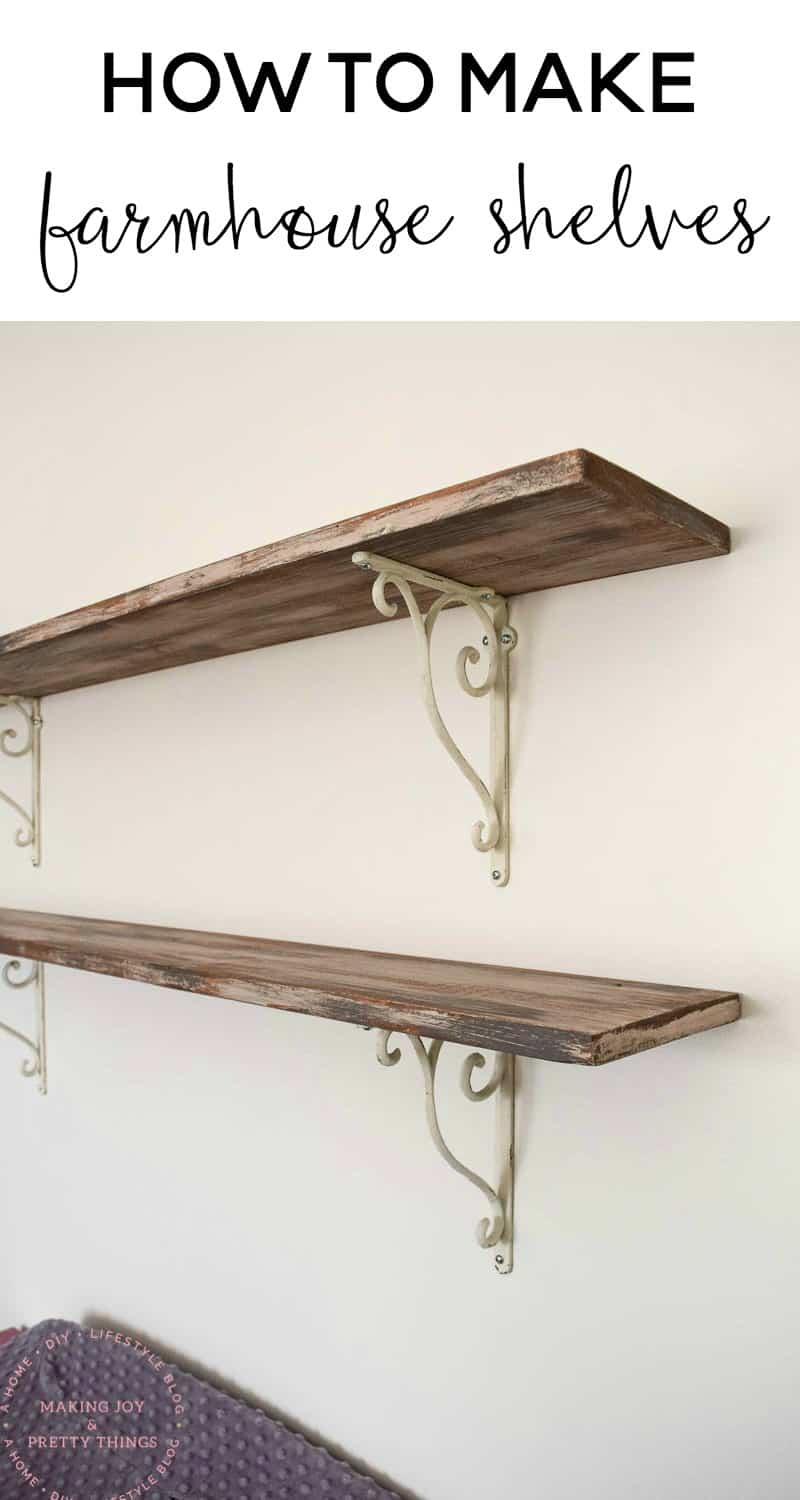
How to Make DIY Rustic Shelves in a Farmhouse Style
Learn how to make DIY rustic shelves in a distressed farmhouse style even if you don’t have old reclaimed barn wood!
Hello, friends and welcome to this tutorial on DIY rustic shelves!
It feels SO good to be done with our farmhouse girl’s nursery. I have so many projects from the nursery to share and I promise I’ll get to all of them!
Adding a Farmhouse Touch to a Nursery
One of my goals for her room was to make open farmhouse-style shelving that anyone can make. If you remember, last summer I made some farmhouse shelves for our dining room using reclaimed barn wood.
While I absolutely LOVE these shelves, I realized that not everyone might have access to old wood. I still believe that using barn wood or some other kind of reclaimed wood makes for the best rustic farmhouse-style shelves.
(If you do have reclaimed wood, here’s how I cleaned and refinished ours!)

But, if you can’t find any reclaimed wood, I have a solution 🙂 AND you can get all the products you need at your local home improvement store or online!
Now, on to the project!!
This post contains affiliate links. Please, click here to read my disclosure policy.
How To Build DIY Rustic Shelves
Supplies for DIY Rustic Shelves
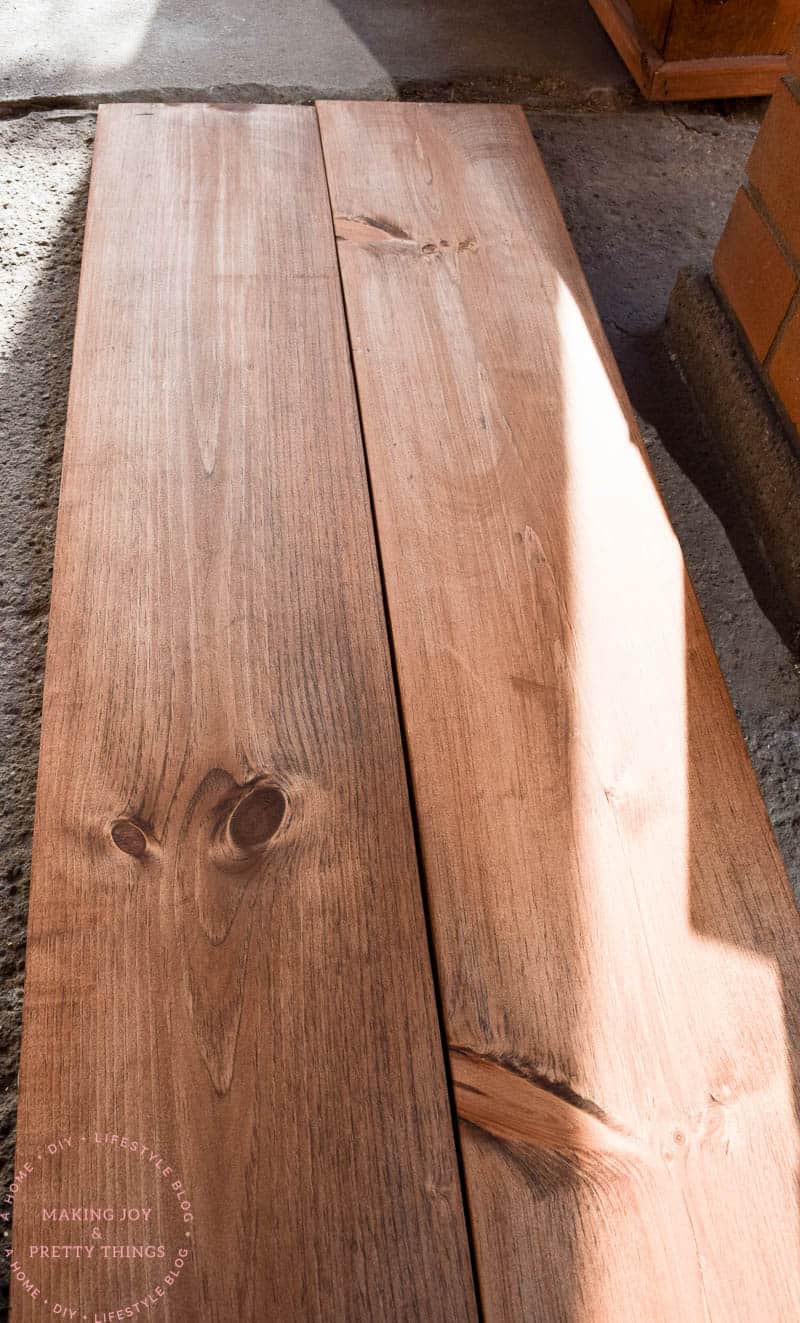
Step 1: Stain the Shelves to Start the Rustic Process
For our shelves, I used one of these pine boards cut in half making each shelf 4ft long. I love the look of pine for rustic projects.
The natural grain in the wood coupled with imperfections (such as knots) really makes the wood the perfect choice.
We applied one coat of Minwax Golden Oak stain to each board. Remember to do this to all sides and end of the boards since all will be visible. Also, it doesn’t have to be perfect since you’ll be covering the stain with paint!
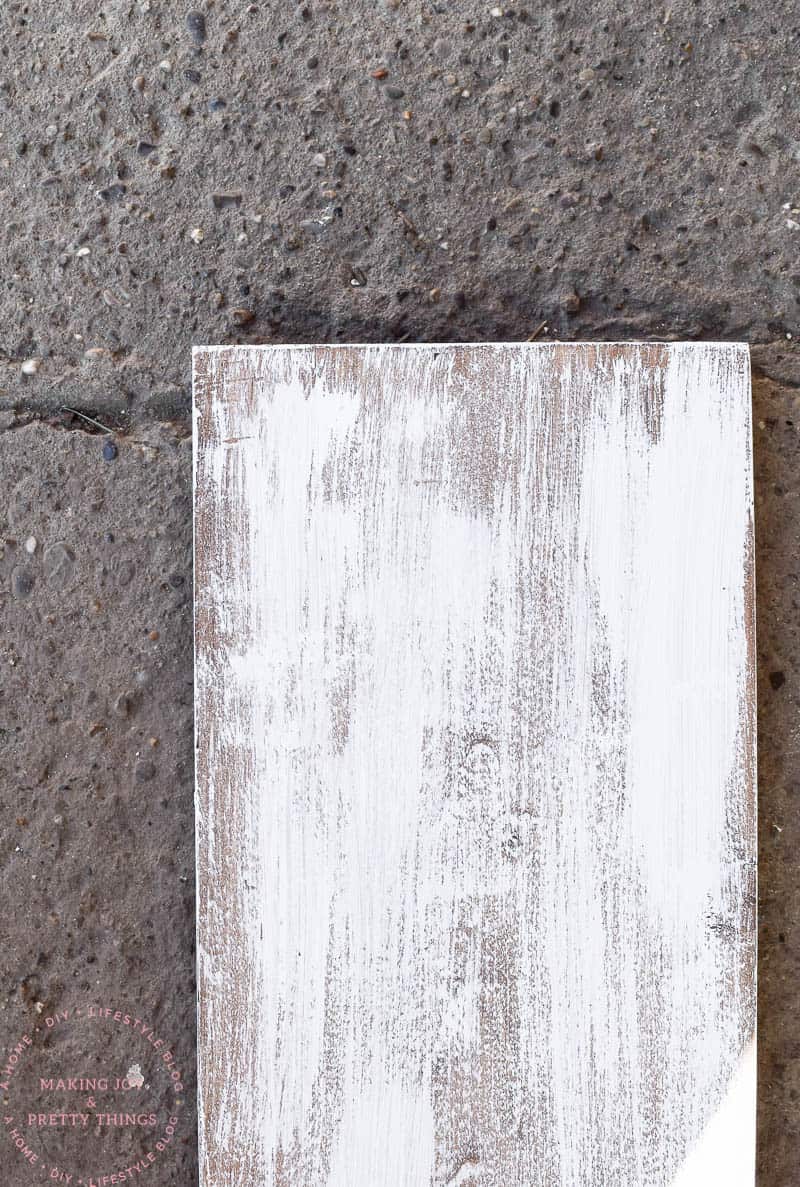
Step 2: DIY Dry Brush the Shelves to Make Them Rustic
Once the stain was dry, I used dry brushed two different color paints onto the wood (again on ALL sides). I love to dry brush. It’s almost like an art. It’s messy and there’s no exact “method”, no right or wrong way to dry brush.
In general, I dip my brush into the paint, wipe off the excess against the inside of the can, and ever so gently brush onto the wood. The brush barely touches the wood.
The first color was … you guessed it! Rustoleum Chalked Paint in Linen White. I dare you to find a project I didn’t use this paint on 😉
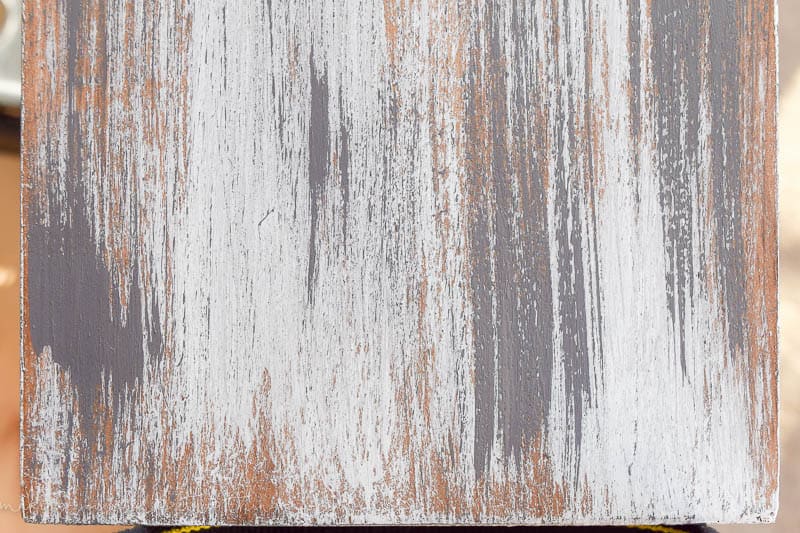
The second color was another favorite: General Finishes Milk Paint in Driftwood.
If you don’t have these exact paints, use the flat white and gray paints you have on hand!
Step 3: Sand Smooth the DIY Rustic Shelves
Even though I carefully dry brushed the paint on, you still end up with some areas that are too concentrated in paint or that just look too “painted”. If that makes sense.
You want the paint to look like it has been there for years like it would on old barn wood.
So, I grabbed some fine sandpaper and thoroughly sanded all sides of the wood. Once sanded, make sure to wipe the wood off with a tack cloth or wet paper towel.
Step 4: Light Stain Coat the Shelves
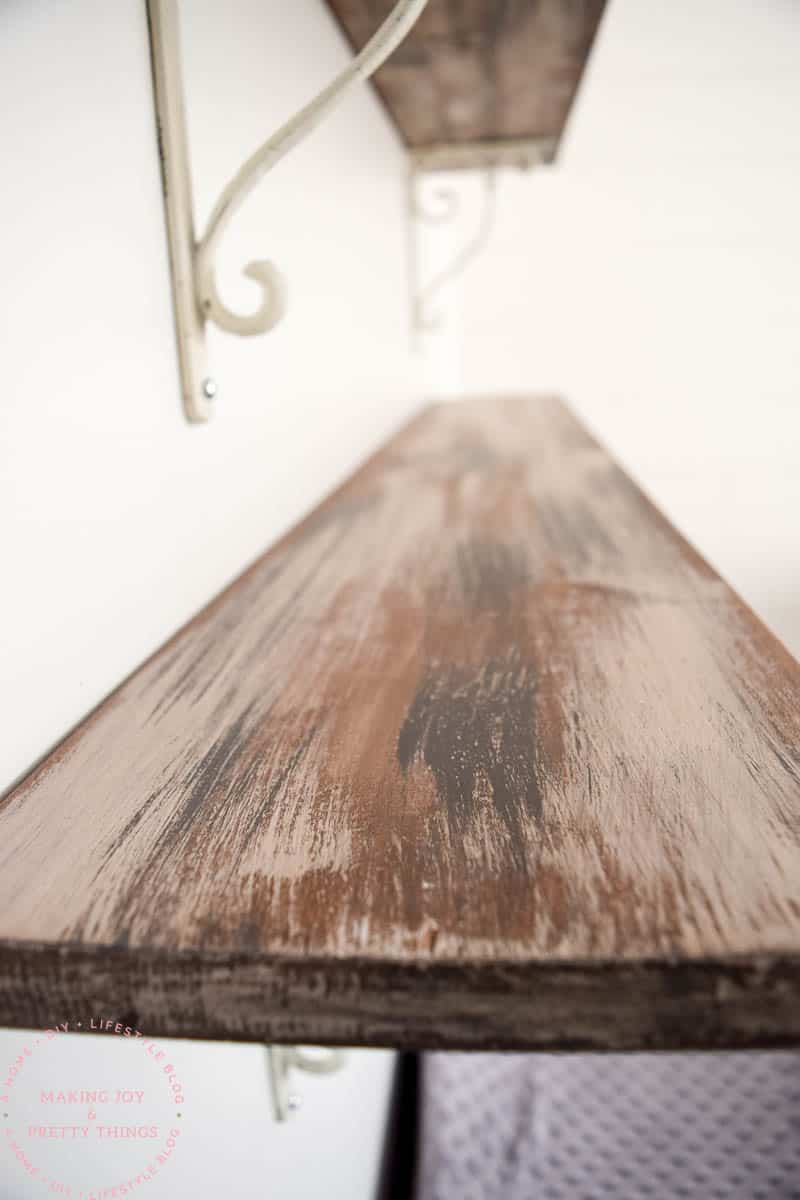
The final step is to apply a very very thin coat of the same stain you used in step one. The idea is to again make the dry brushed paint look like it belonged on the wood like it’s been there for years.
The additional coat of stain is the perfect finishing touch to the wood!
I didn’t end up applying a top coat or sealer of any kind just because these shelves are purely decorative. It may not be a bad idea to apply a top coat!
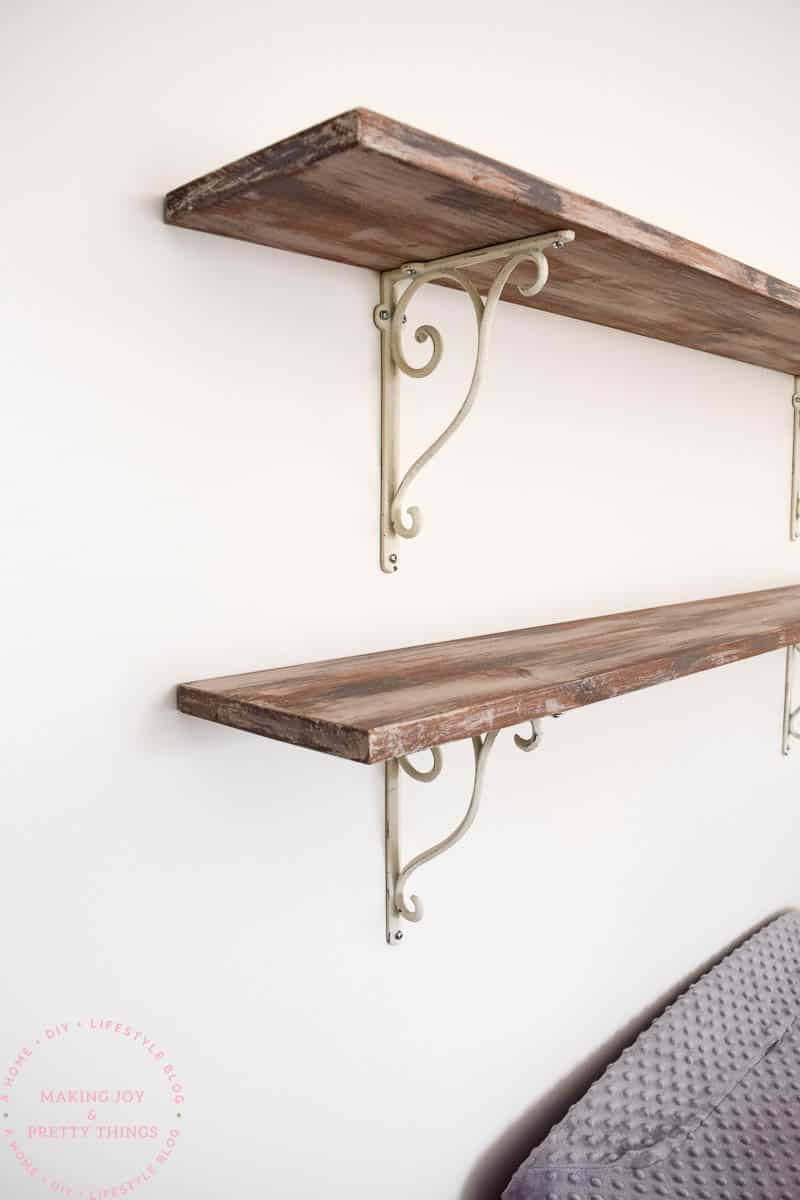
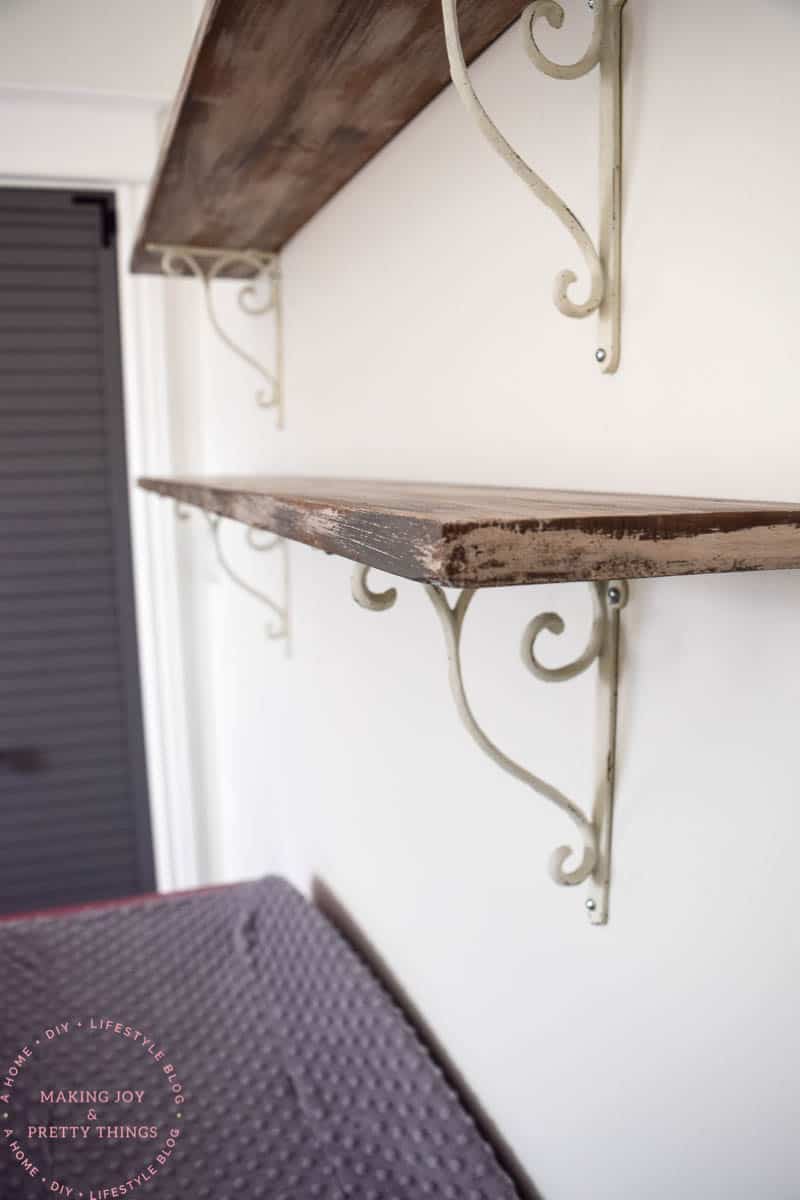
I absolutely LOVEEE how the shelves turned out! They look so very rustic and farmhouse-y and perfect in her nursery.
Some areas you can see more of the gray paint and some areas you see more of the white paint. It’s random and imperfect.
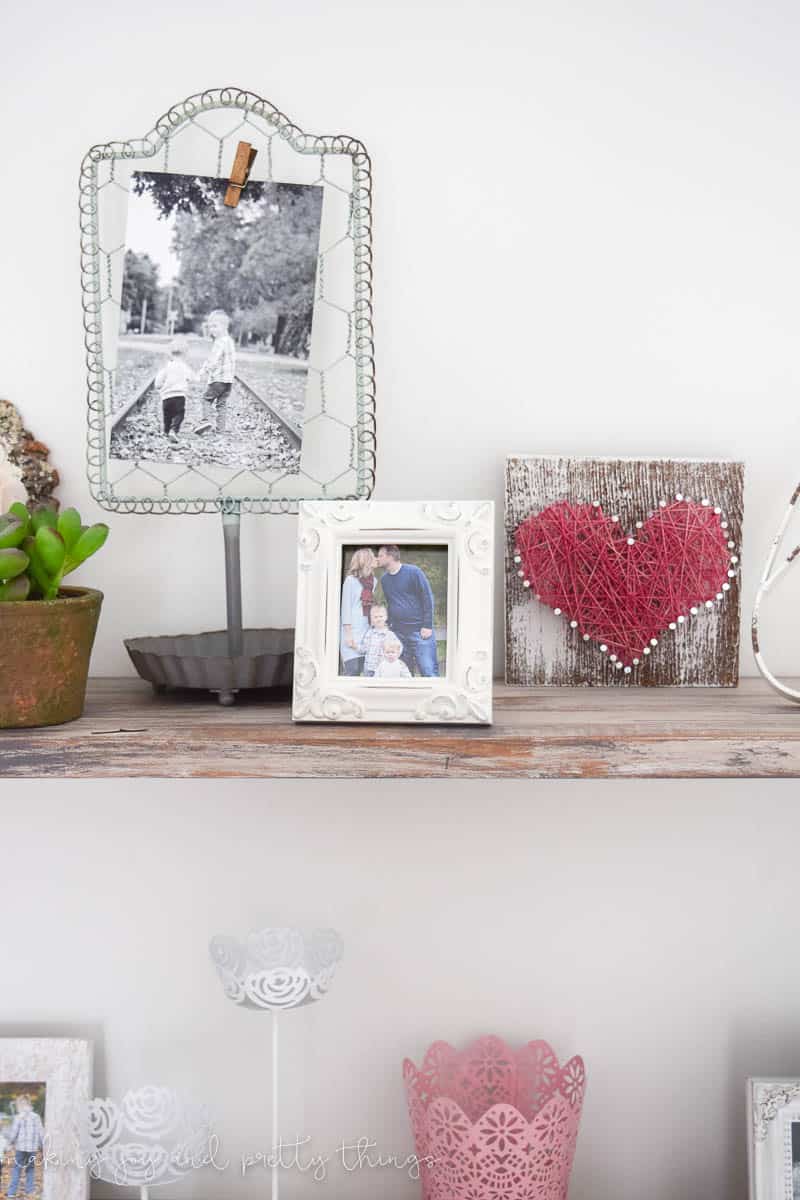
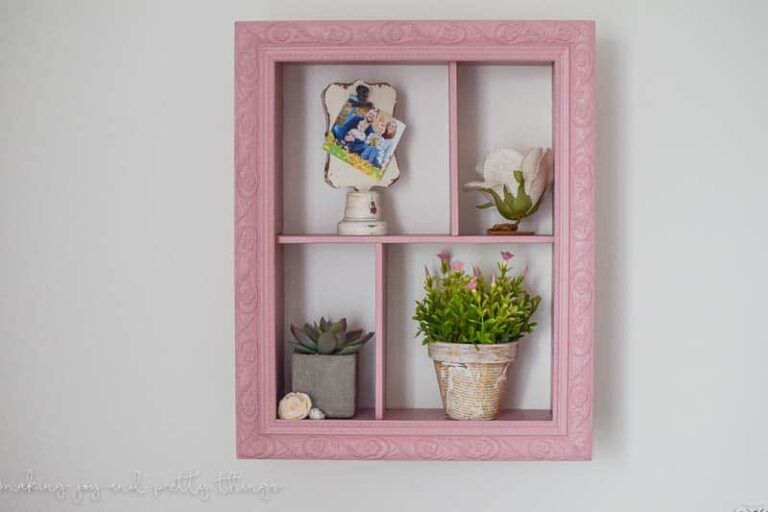
Rustic shelves decorated
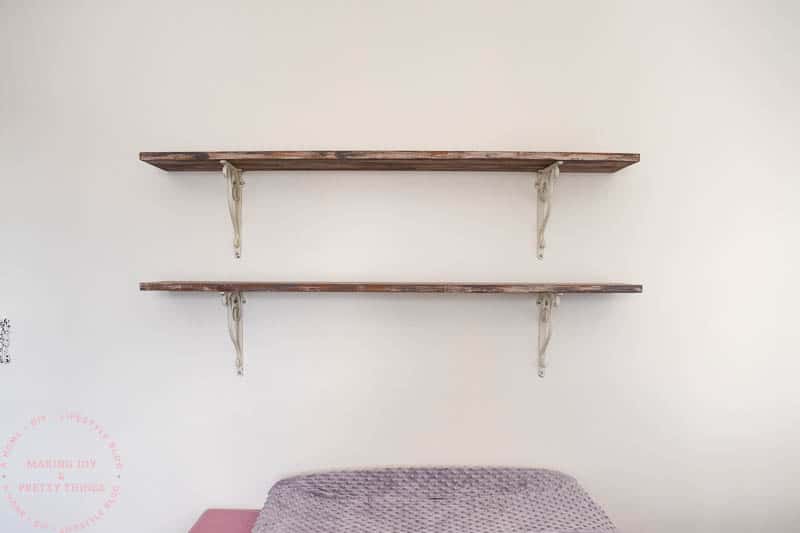
In case you missed the full reveal, here’s what they look like now all styled and pretty!
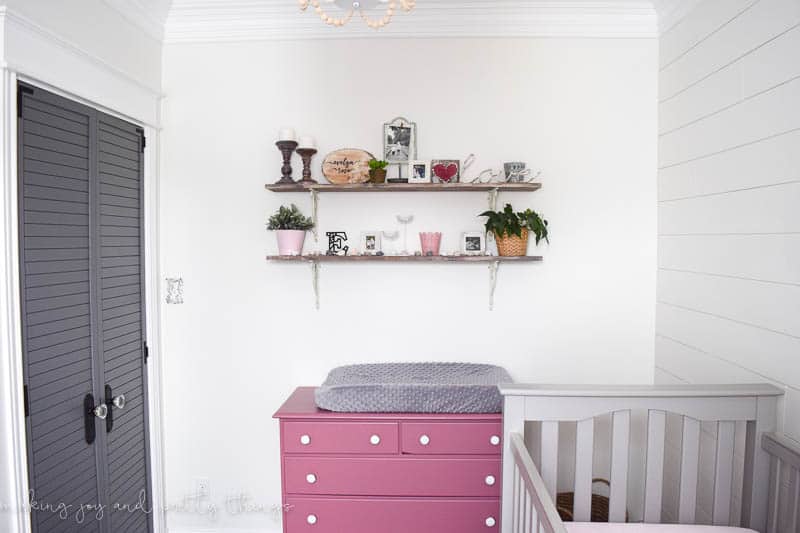
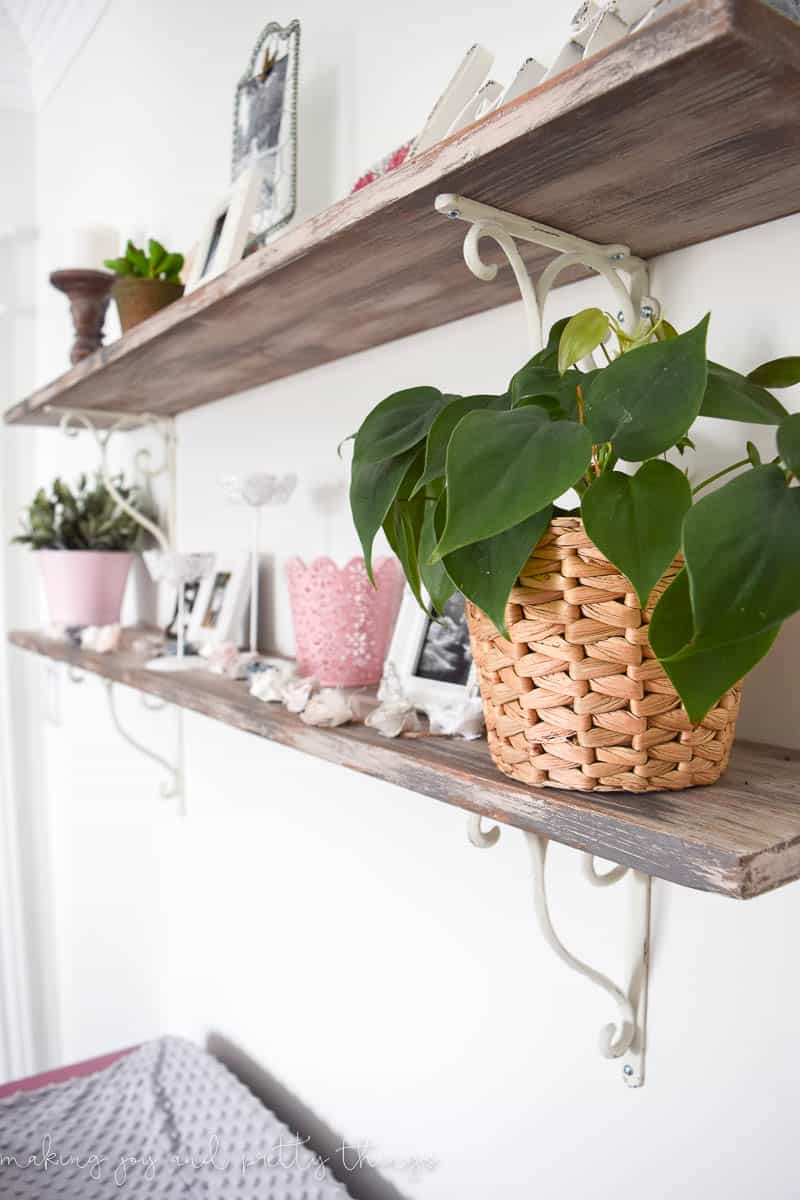
Didn’t these DIY rustic shelves just turn out so incredibly well? I absolutely love the farmhouse look and decorating them to tie into the rest of the nursery was a joy.
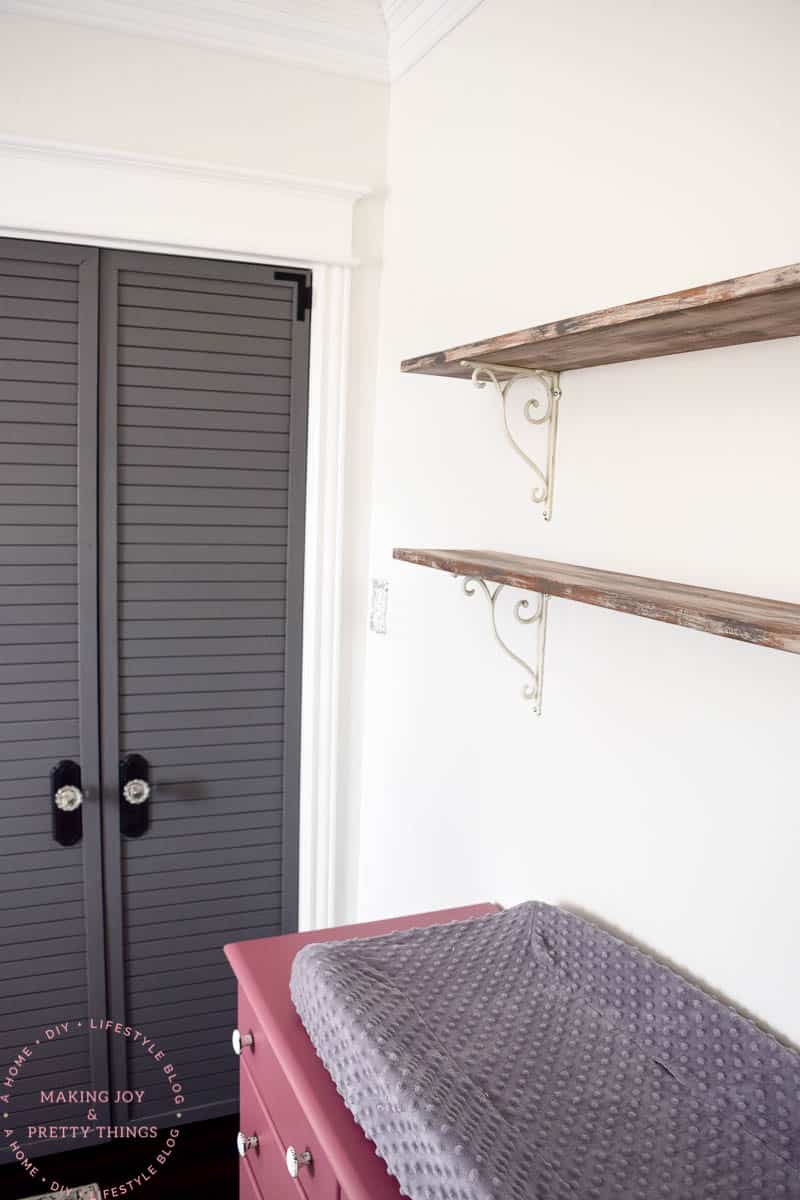
I have all the items listed in the reveal post that I used to style the farmhouse shelves. These are the brackets we used to hang them!
Check out these other farmhouse nursery reveals:
- Baby Boy Nursery Reveal by Farmhouse Living
- Baby Girl Nursery Reveal by Making Manzanita
Wishing you a joyful day!

How To Make DIY Rustic Shelves

Make these DIY Rustic shelves that are stained, painted, and sanded to a farmhouse-style look.
Materials
Instructions
- Stain wood
- Dry brush wood with two layered colors of paint (white then gray)
- Lightly sand wood
- Apply light coat of stain over wood
- Hang on shelves on metal brackets on wall
Want to see more of our farmhouse girl’s nursery?
- Farmhouse Girl’s Nursery: The Design Plan
- Farmhouse Girl’s Nursery: Week 1 Progress
- Farmhouse Girl’s Nursery: Weeks 2 and 3 Progress
- Farmhouse Girl’s Nursery Week 4 Progress
- A Farmhouse Nursery Dresser Makeover
- Personalized Nursery Wood Slice Name Sign
- Floral Wallpaper Ideas for Girl’s Bedrooms and Nurseries
- Lazy Girl’s DIY Typography Art
- DIY Wood Block Candle Holders
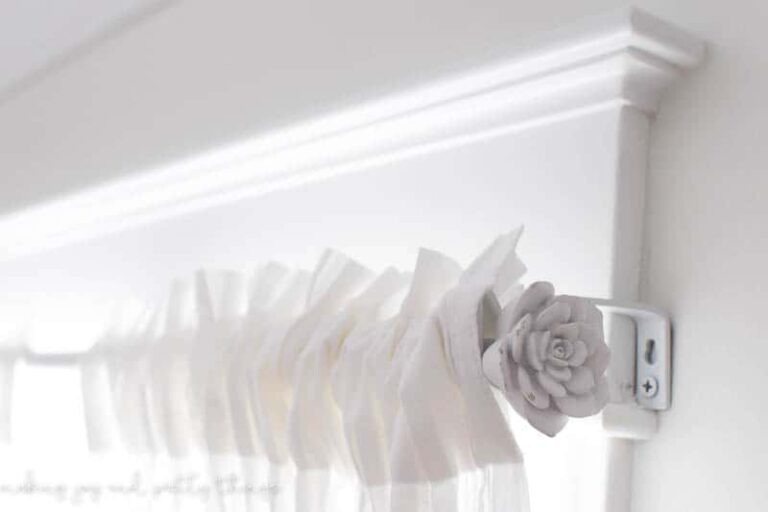
- How to do an Old Curtain Rod Update
- How to Make a DIY Triangle Shelf Planter
- How to Make a DIY Shadow Box
- Monthly Baby Photos: How to Make a DIY Letterboard
- How to Make a Wood Bead Chandelier
- Simple Floral Farmhouse Wreath
- Rustic DIY Planter using Book Pages
- How to Make Your Own Rustic String Art
- DIY Fabric Flower Garland
- DIY Wood Bead Hearts
- Farmhouse Girls Nursery Reveal!!


Great tutorial, the only thing I would add is to take a small round craft brush and dab some chalk paint on the screw heads. You will still be able to remove them when needed but they will not show so much.
Hi Dobie! Thanks so much for the suggestion. I had actually considered painting the screws then decided I didn’t mind them showing like that. But, that’s definitely a great option! Have a great day!
Beautiful, Sarah! I’ve learned a lot from seeing how you do farmhouse painting.
Thanks Lora!!
Thank you for the great tutorial, Sarah. I love how it turned out!
XO, Vanessa
Thanks so much Vanessa!
They look great Sarah! I don’t have access to any barn wood so it’s really helpful to know what to do to make new wood look old. 😉
Thanks so much Shani!!
Love them!!! Where did you find those brackets?
Home Depot! Ordered them online though