
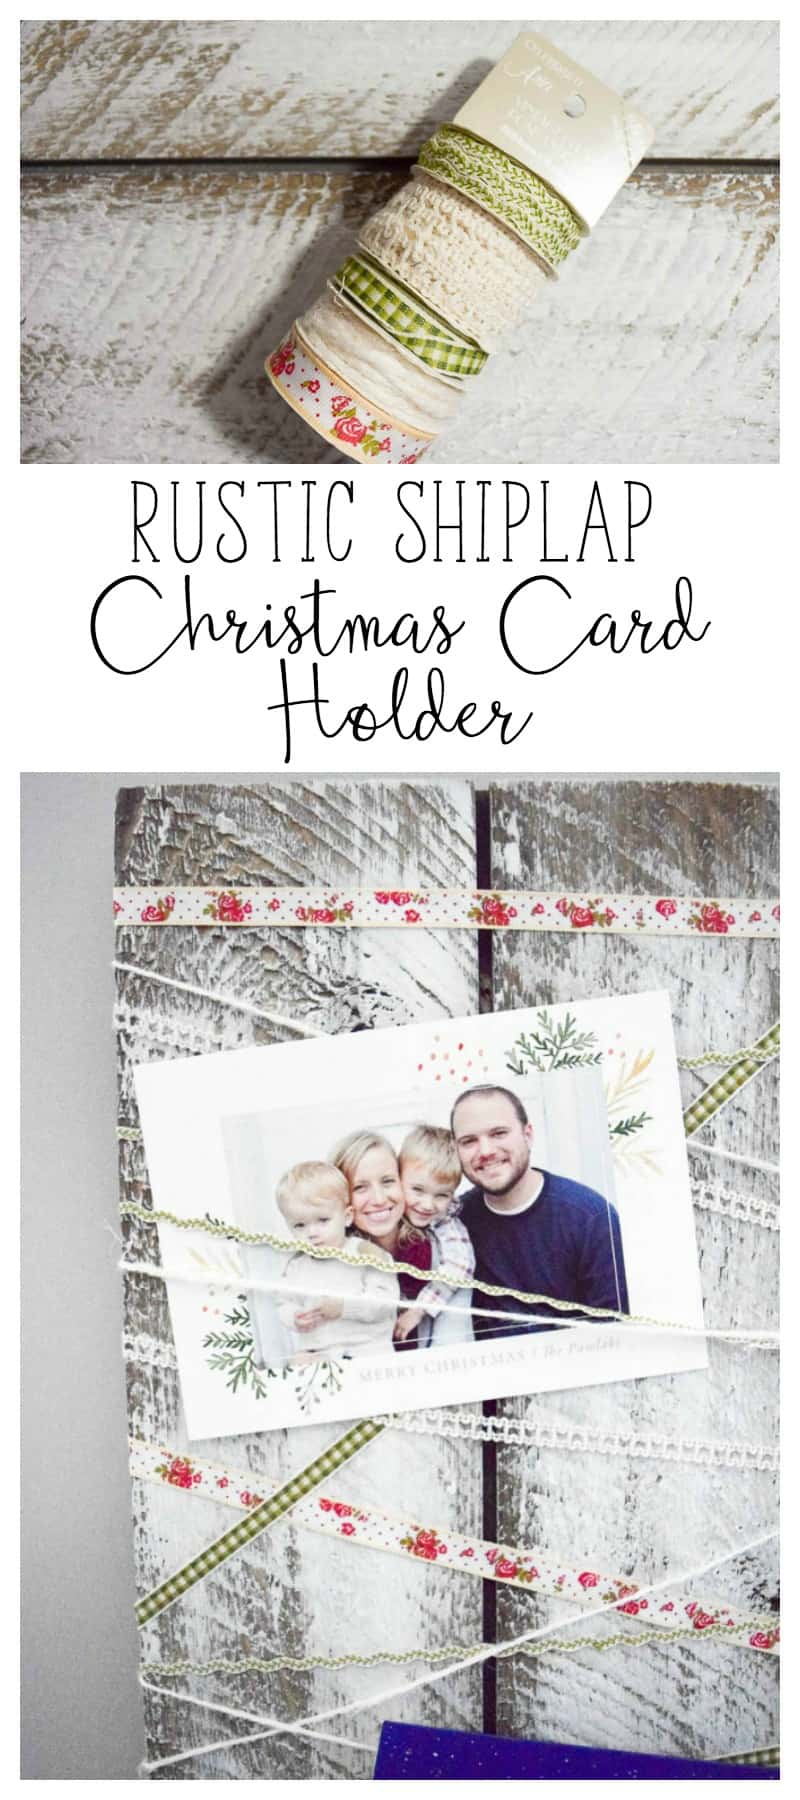
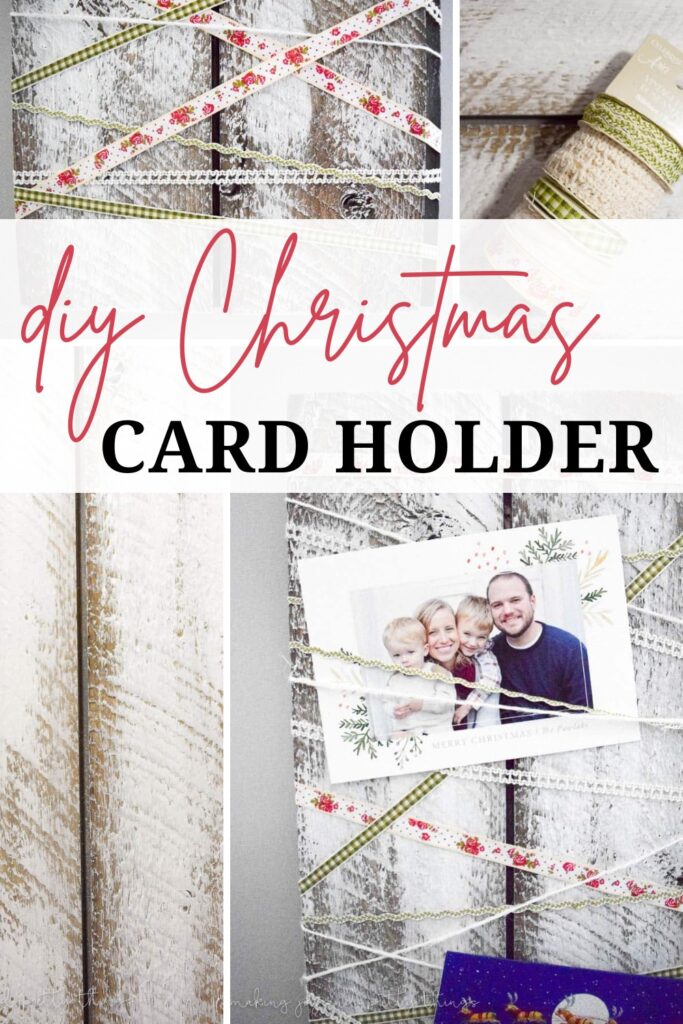
Rustic Shiplap DIY Christmas Card Holder
This rustic shiplap DIY Christmas Card holder was SO easy to make and is perfect for adding some farmhouse style to your Christmas decor.
Can you even believe it’s just 3 short weeks until Christmas?? This time of the year certainly flies by. Get ready for the Christmas season with this DIY Christmas card holder!
I remember being in college and feeling that it *should* be Christmas time. If I had to study for one more test my brain would explode. I needed that break.
Now, the seasons all seem to jumble together. Wasn’t it just June? Wasn’t I just at the beach? There never is that break and it’s been hard to adjust to, even though I’ve been out of school for 6 years (pharmacy school is a 6-year program, boooo).
I don’t ever feel like it *should* be Christmas. Or it *should* be June. I’m constantly struggling to keep up with the current day, let alone the season.
Making a Conscious Effort to be Present in the Christmas Season
Instead of buying everything 2 days before Christmas and staying up late wrapping ALL of the presents, we got a head start by ordering Christmas cards in November.
My husband and I got to go on a 3-hour afternoon date (which is basically unheard of) sans children to shop for our sweet kiddos and other family members. I’ve been spending time with the kids (mainly Liam) making gifts and talking about what gifts he would like to give others.
We went on our family excursion to get a Christmas tree. Even if I spent most of the time chasing Charlie through the trees, it was something we did as a family together.
We decorated and hung Christmas lights. My husband dusted off his 25 Christmas Lego sets (I don’t think I’m even exaggerating there) and put his Lego train under the tree.
He spent a good 2 hours with our little boys playing with the Lego train.
All of these little things that we normally breeze through without a second thought we have done more slowly, more intentionally. I can’t tell you the difference it’s made!
When Christmas morning comes, I’ll feel like it’s time. I’ll be ready this year.
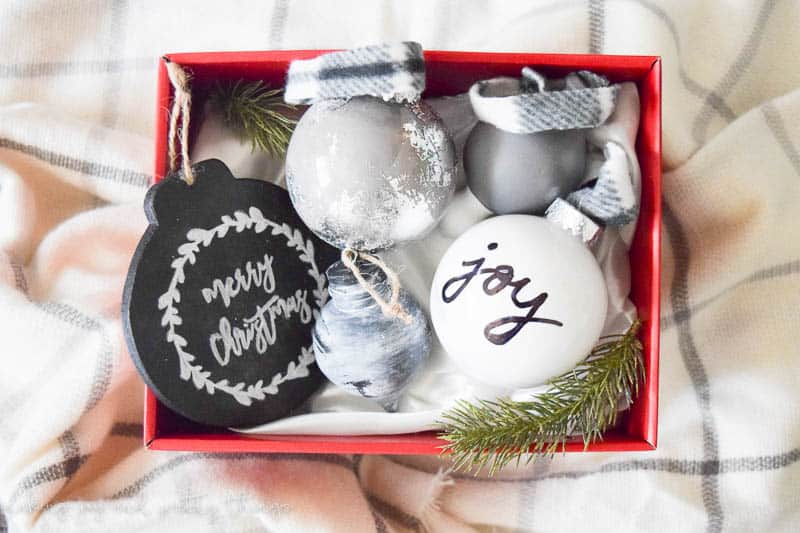
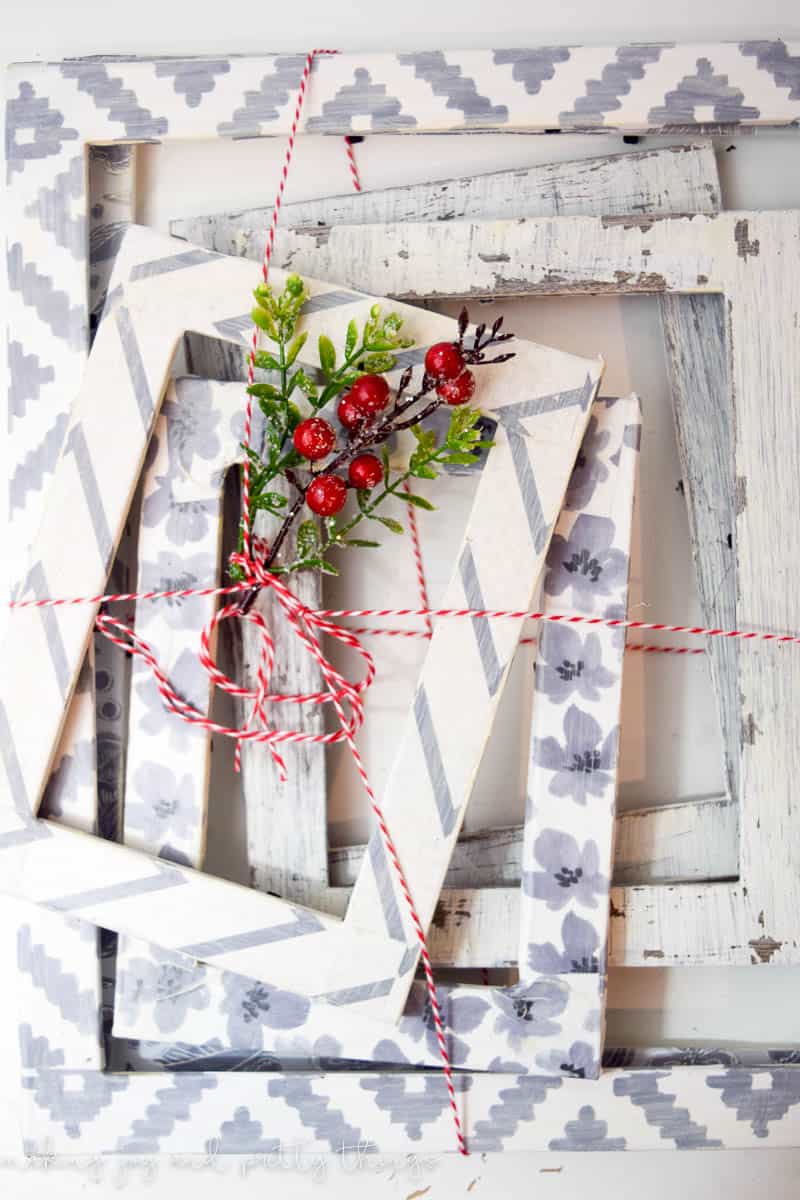
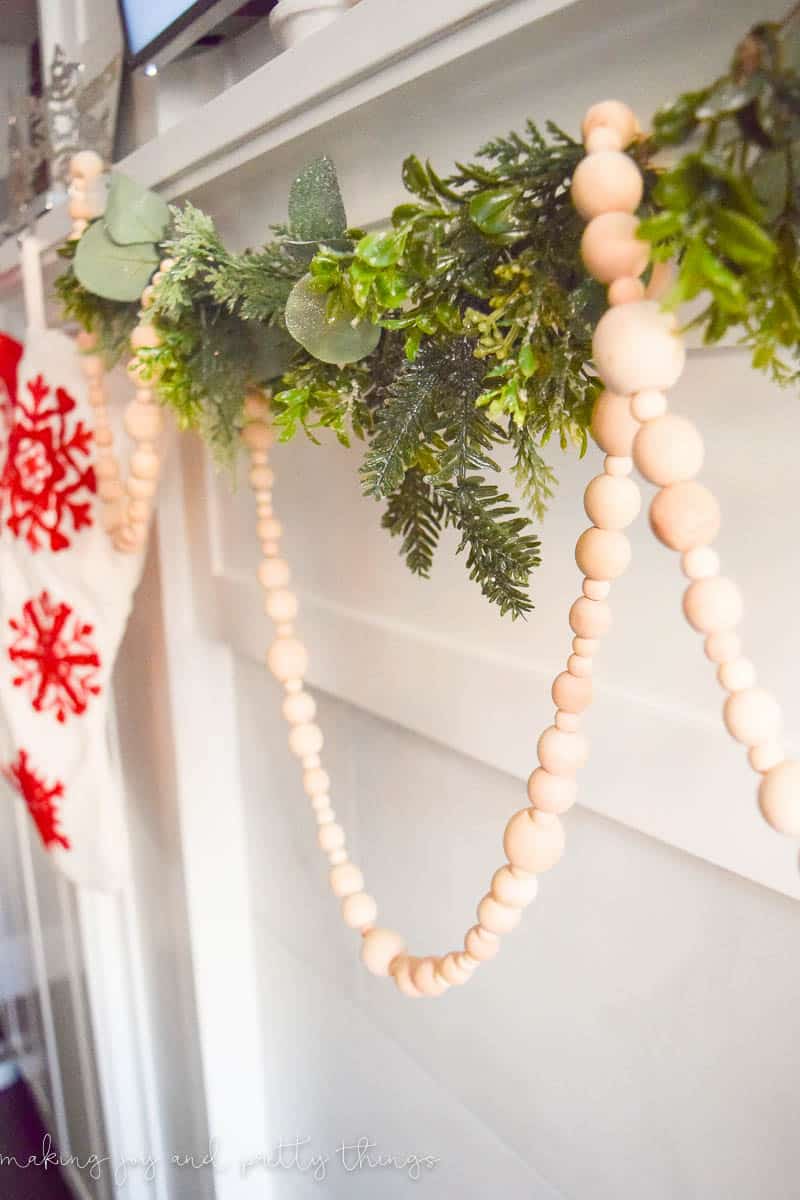
It also helps that I’ve been making all the Christmas crafts. I’m making more than I can blog about! It’s borderline insanity.
Crafting for the Christmas Season
Here’s a couple so far:
So, today I’m sharing a rustic farmhouse-style Christmas card holder.
I don’t know about you, but our Christmas cards always end up smashed together on the refrigerator, falling all over the floor, or stacked up on the kitchen counter somewhere.
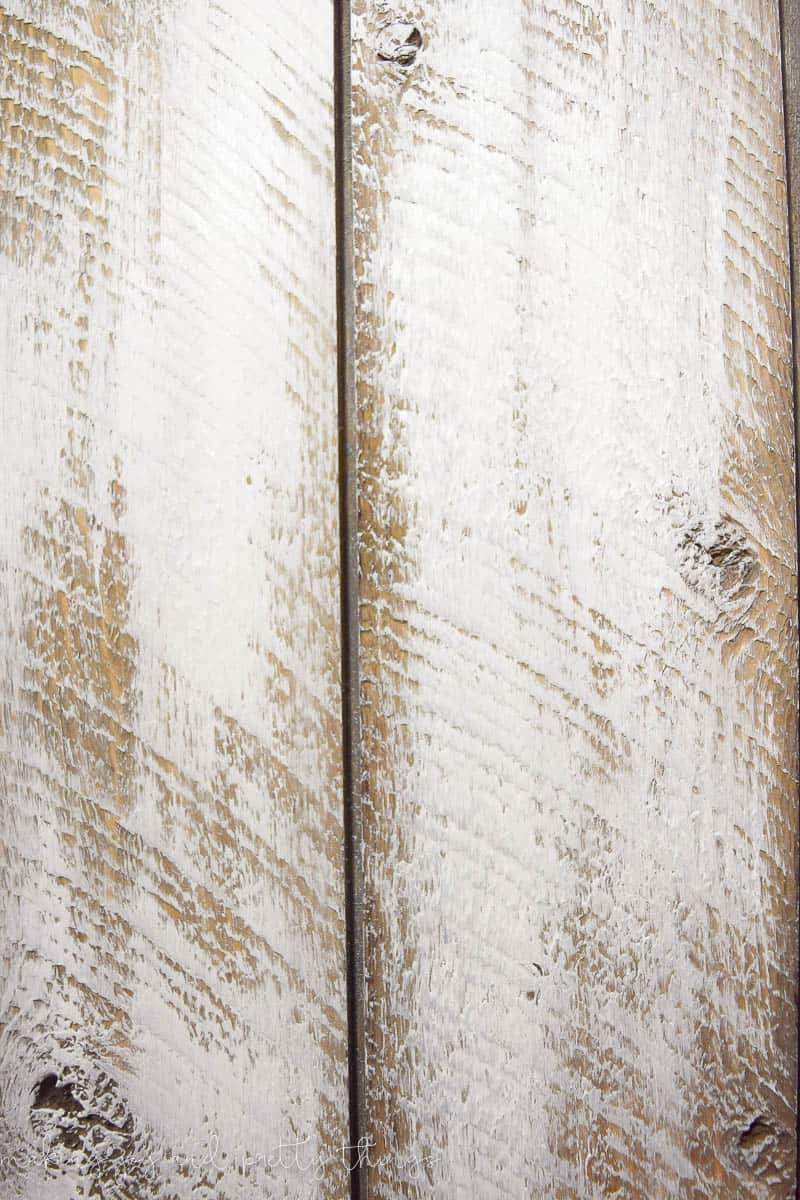
I knew the general idea of what I wanted to make and told my husband to get some pieces of wood from Home Depot. Then, he reminded me we had leftover shiplap from the shiplap sign I made a few months ago! I was SO excited!
DIY Christmas Card Holder: Step-by-Step Tutorial
This post contains affiliate links. Please, click here to read my disclosure policy.
Supplies for DIY Christmas Card Holder
Step 1. Find some Shiplap Board and Attach
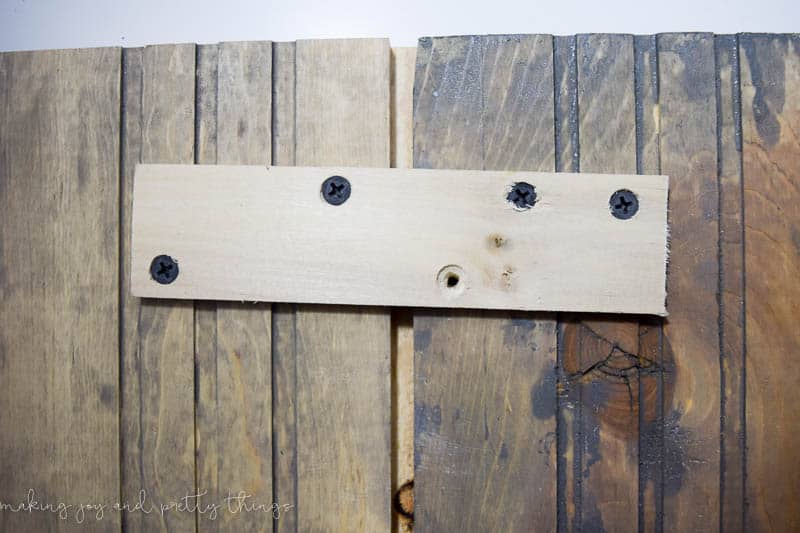
We had exactly 2 feet left of each board. He used a little piece of wood screwed into the back of both pieces to keep them together.
Step 2. Paint the DIY Christmas Card Holder
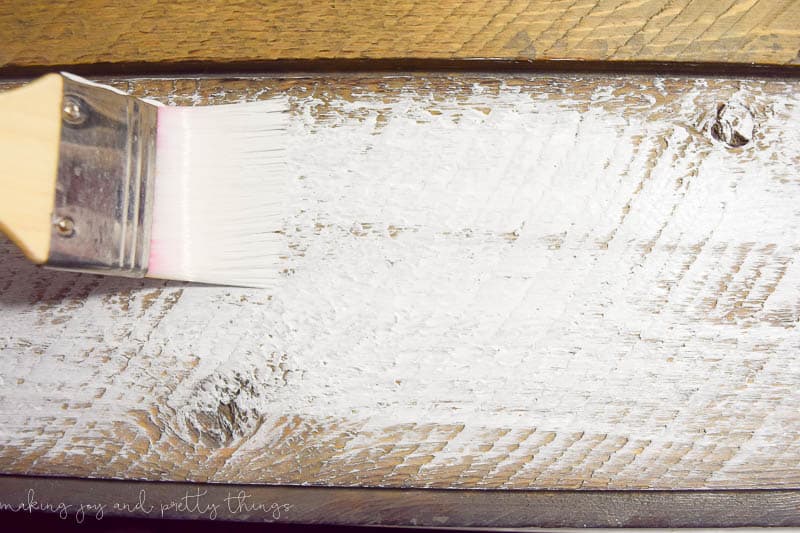
I spread some of my favorite Chalked Paint in Linen White over the top of the shiplap. It was completely random and blotchy. My kinda style 😉
Always use just a little bit of paint on your brush. You can always go back and add more.
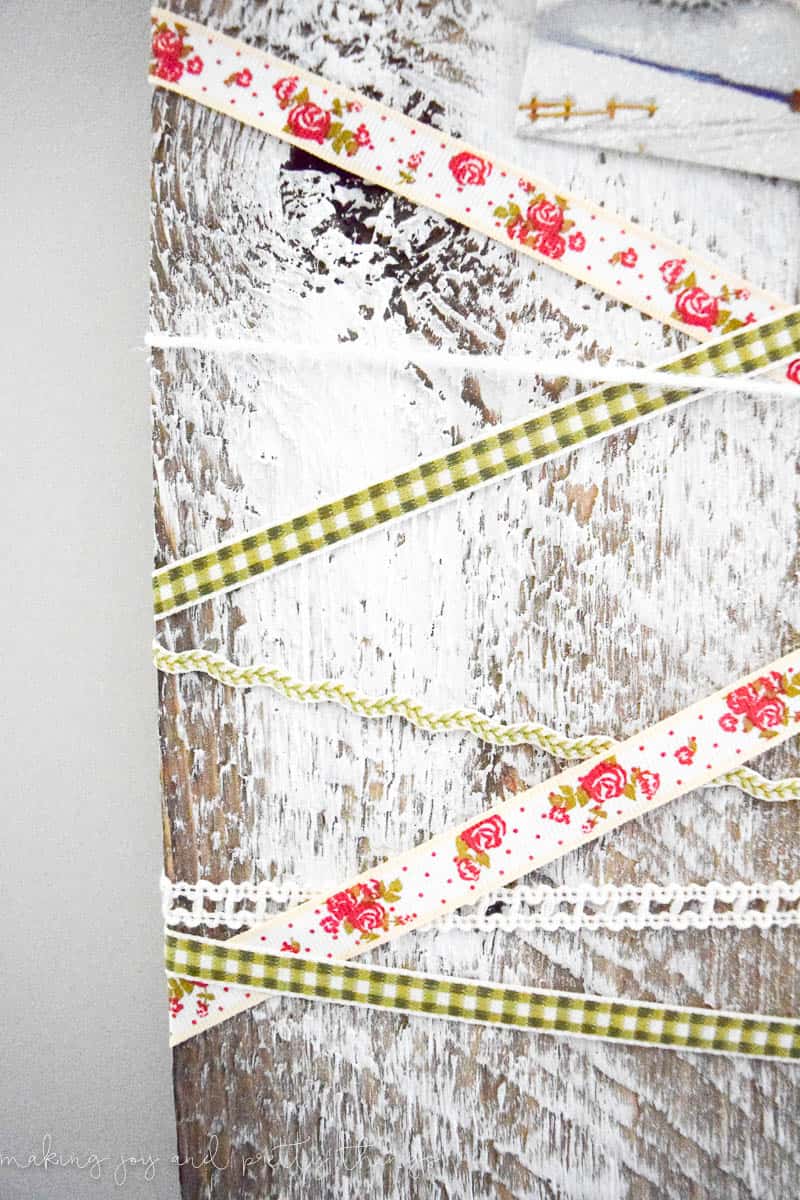
I picked up the cutest set of vintage ribbons from Michaels. I love these little sets they have on end-caps because all of the pieces go together. You don’t have to sit comparing different ribbons to find the perfect coherent group. It’s already done for you!
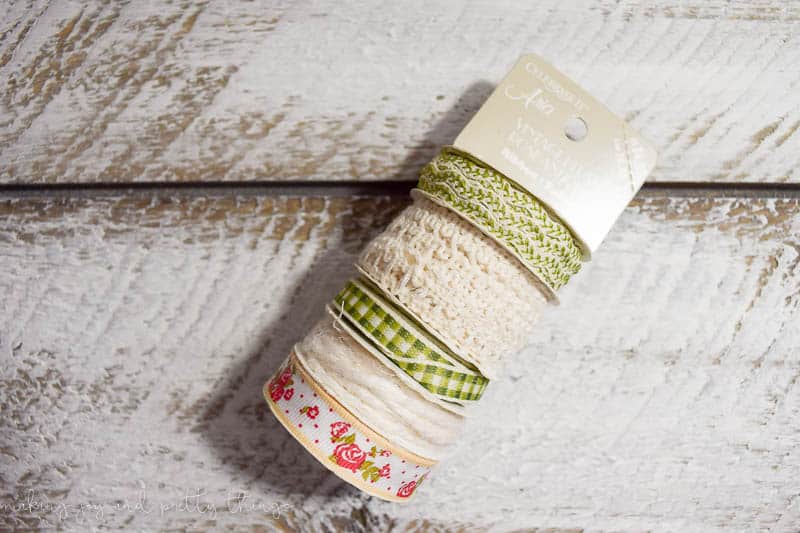
I wasn’t even sure I was going to use the rose ribbon since it didn’t look very “Christmas-y” to me. But, I decided the pinkish red would be a nice pop of color from the beige and greens.
Step 3. Wrap the Christmas Card Holder with Ribbon
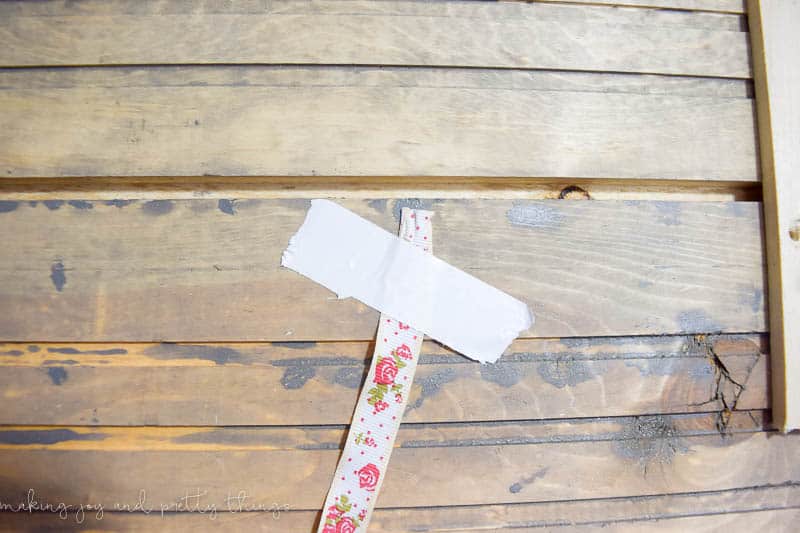
I started by using duct tape (real technical here) and taped the beginning of a piece of ribbon to the back of the shiplap.
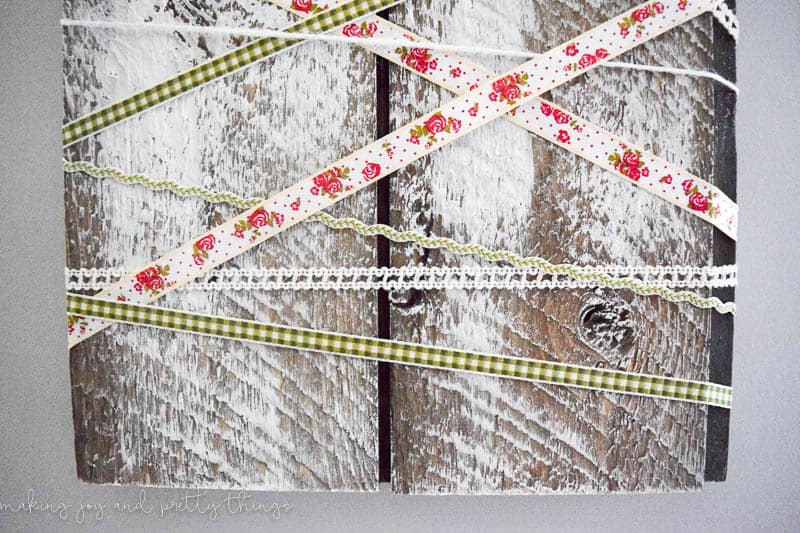
Then, I wrapped the piece around the entire card holder 3 or 4 times. I didn’t start or end in any particular place (i.e. each piece didn’t go from the top to the bottom of the cardholder).
I also ensured the pieces weren’t all going in the same direction. Some went diagonally, some went straight across. It varied.
After the 3 or 4 loops, I duct-taped the end of the rope to the back of the shiplap.
Once I had done 3 or 4 loops with each of the 5 types of ribbon, I used what was left of the ribbon to fill in the gaps.
Still, duct taping as I went (which sounds ridiculous, right?) I added in some green where it was too beige, made sure to fill in any gaping holes I had, and made sure there was enough variation in the placement of the ribbon.
As you can tell, there is no exact science to this. It sounds like I just wrapped some ribbon around some shiplap. And that’s exactly what I did 😉
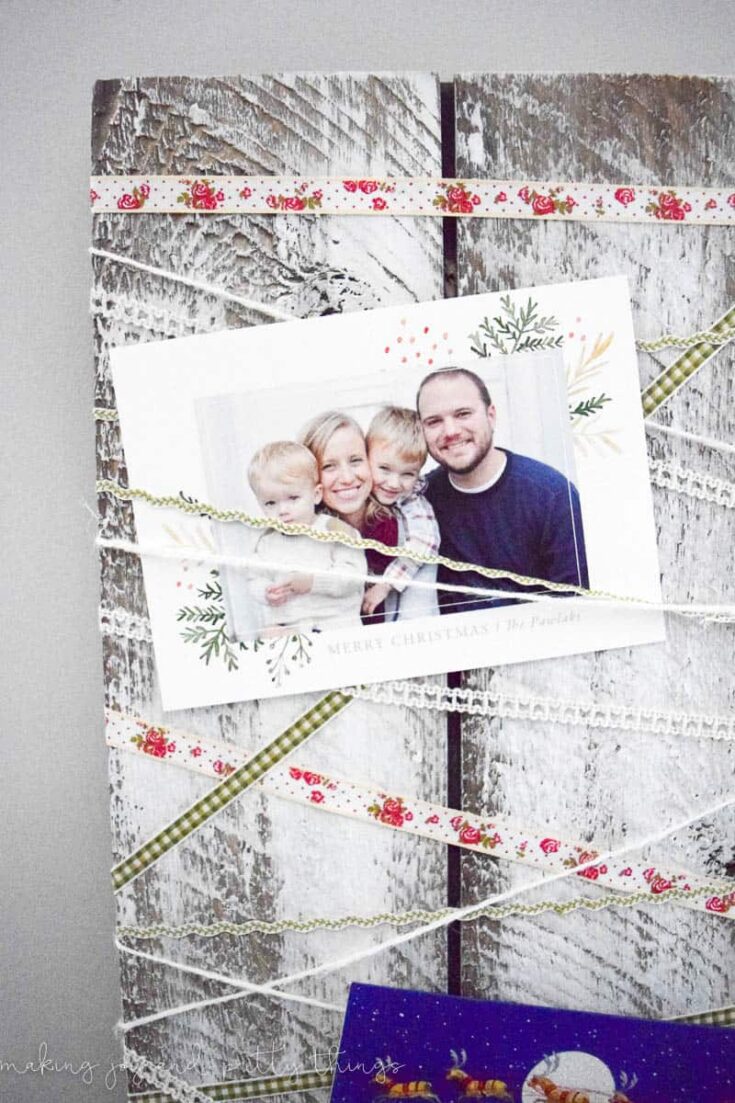
Step 4. Add the Christmas Cards

But, it turned out PERFECT!
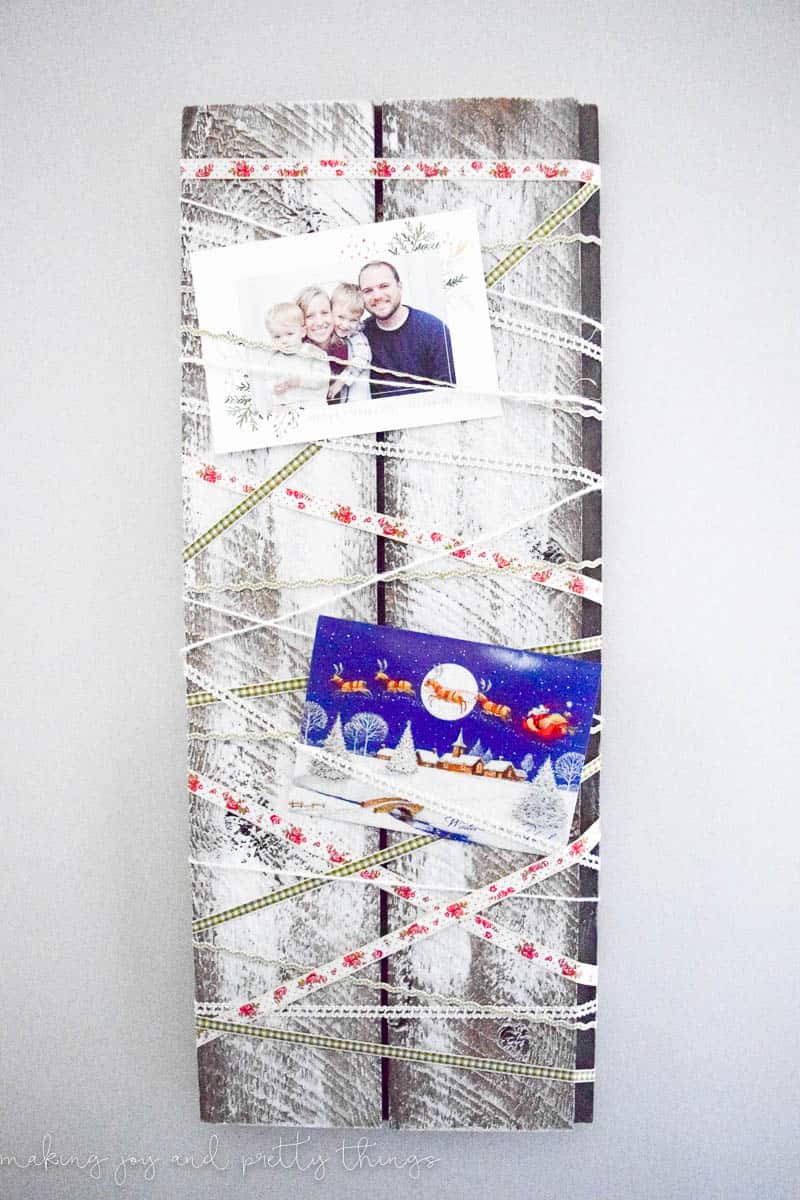
It’s rustic, it’s farmhouse, and it somehow also has a soft feel to it because of the ribbons.
I’m so glad I ended up using the rose ribbon. It’s the perfect touch!
How is your holiday season going so far? Do you feel present or like it’s all passing by in a blur?
Now that you have the DIY Christmas Card Holder made how about some cards to go along with it?
- Printable Christmas Cards | Practically Functional
- Paint Chip Christmas Cards | One Little Projects
- Bakers Twine Christmas Cards | The Country Chic Cottage
Do you have a more traditional Christmas card holder at home or are you looking to make one this year? Be ready for some more Christmas posts in the coming days 🙂
Wishing you a joyful day!

Want to see more Christmas ideas?
- 59+ DIY Christmas Countdowns To Add Joy To Your Holidays
- 9 DIY Stocking Initial Tags You Can Make
- Easy Book Advent Calendar with Free Printable Labels
- Decorating Our Dining Room for Christmas
- How to Make a Modern Christmas DIY Stocking Holder
- We Cut Down our own Christmas Tree at Grupps Tree Farm
- 20 DIY Wreaths for Winter
- DIY Winter Wreath in Gold and White
- 25 Free Printable Christmas Gift Tags
- How to Make Your Own Faux Garland
- DIY Rustic Corbels for Bookends
- Christmas Traditions: Decorating the Tree
- DIY Farmhouse Style Ornaments
- Rustic Gift Wrap Ideas Using Pinecones
- Rustic Shiplap DIY Christmas Card Holder
- 20 DIY Farmhouse Christmas Ornaments
How to Make a DIY Christmas Card Holder
This rustic shiplap DIY Christmas Card holder was SO easy to make and is perfect for adding some farmhouse style to your Christmas decor.
Tools
Instructions
- Find some Shiplap Board and Attach
- Paint the DIY Christmas Card Holder
- Wrap the Christmas Card Holder with Ribbon
- Add the Christmas Cards


Cute idea! I’ll be putting all of ours on our mantel, otherwise I’d make something like this!
Thanks Ariel!! The mantle is such a perfect place for Christmas cards, too!
Great idea, love this!
So cute! I love how that turned out! 🙂
Thanks so much Amanda!
Thanks Roxanne!
Love this!! Well, I started to make one – something similar with the criss-cross on a cork board and held the twine together with thumb tacks. It all came crashing down once I hung the pictures – too many on one board. I gave up on the idea. Washi tape sounds like a stronger option!! I love the rose ribbon too – looks very festive. It looks like you have been doing a lot while still getting that family time. That is the best!!!
I haven’t had any problems with the cards falling. I think since I wrapped the ribbons so tightly AND they’re each being held up by 3 or 4 ribbons, since they’re so close together. You should definitely try it out!!
Love this, Sarah — simple but beautiful!! Pinning!
Thank you SO much Lora!!
Beautiful! Love this idea.
Thanks so much Rachel!!
That is a really cute idea! Love it!
Thanks for sharing it with us.
XO, Vanessa
Aww thanks Vanessa!! I’m glad you like the card holder!
This is a wonderful idea for Christmas cards. It could also be used in a kids room for them to display art and pictures without lots of pins or tape!
I wish I had a Christmas card holder but we usually just end up taping them to the pantry door, haha! I love all the ribbons you used and the rose one is perfect.