Simple Farmhouse Decor: Mini DIY Basket Labels
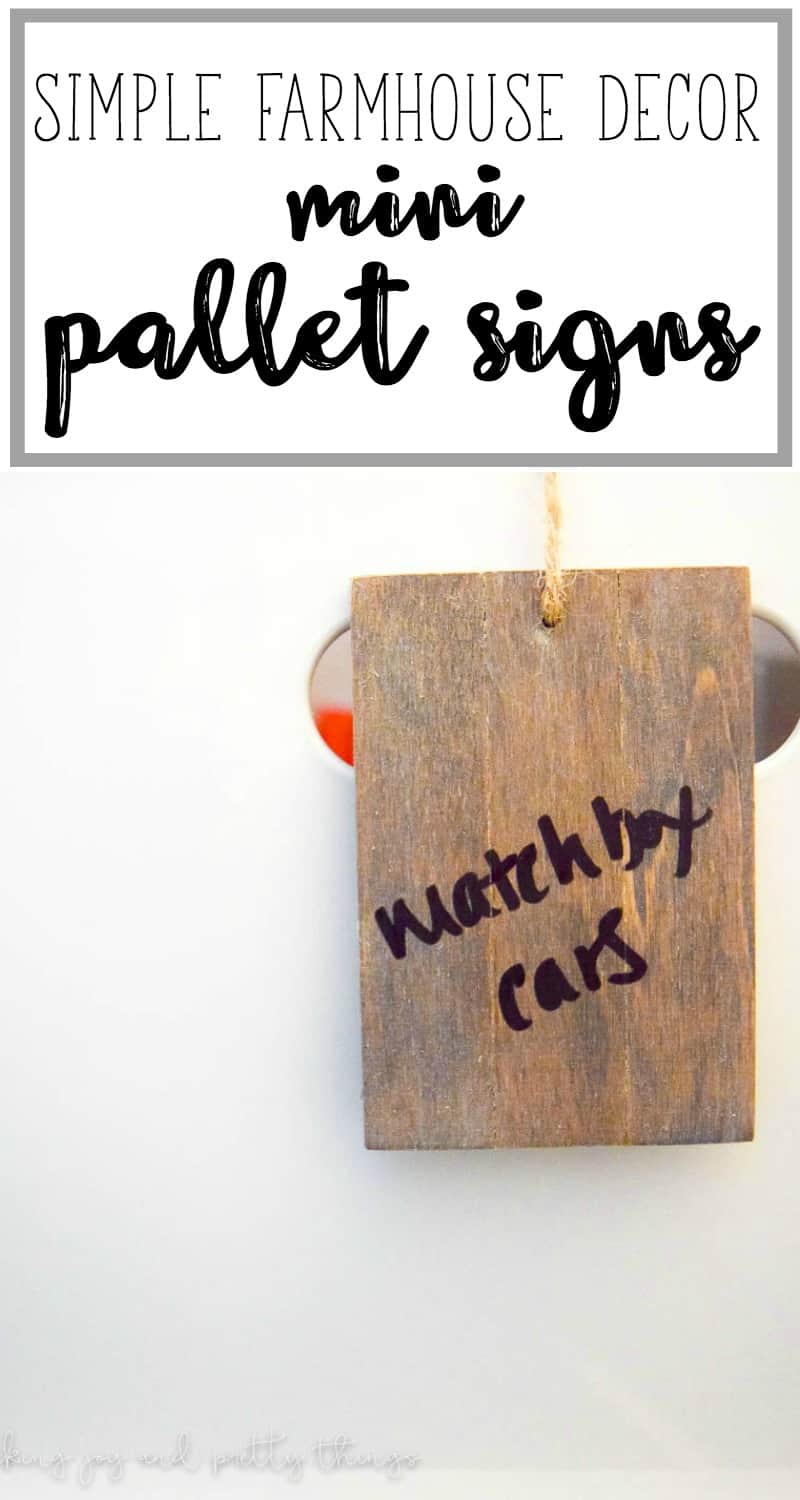
Make the sweetest mini pallet signs to use as DIY basket labels with only a few supplies – the perfect way to add simple farmhouse decor and organization to your home.
Hi friends!
Welcome back to another month of simple farmhouse decor – a series on the first Sunday of the month where I share an easy DIY to get that fixer upper look!
Here are some of the projects I’ve completed in the past:
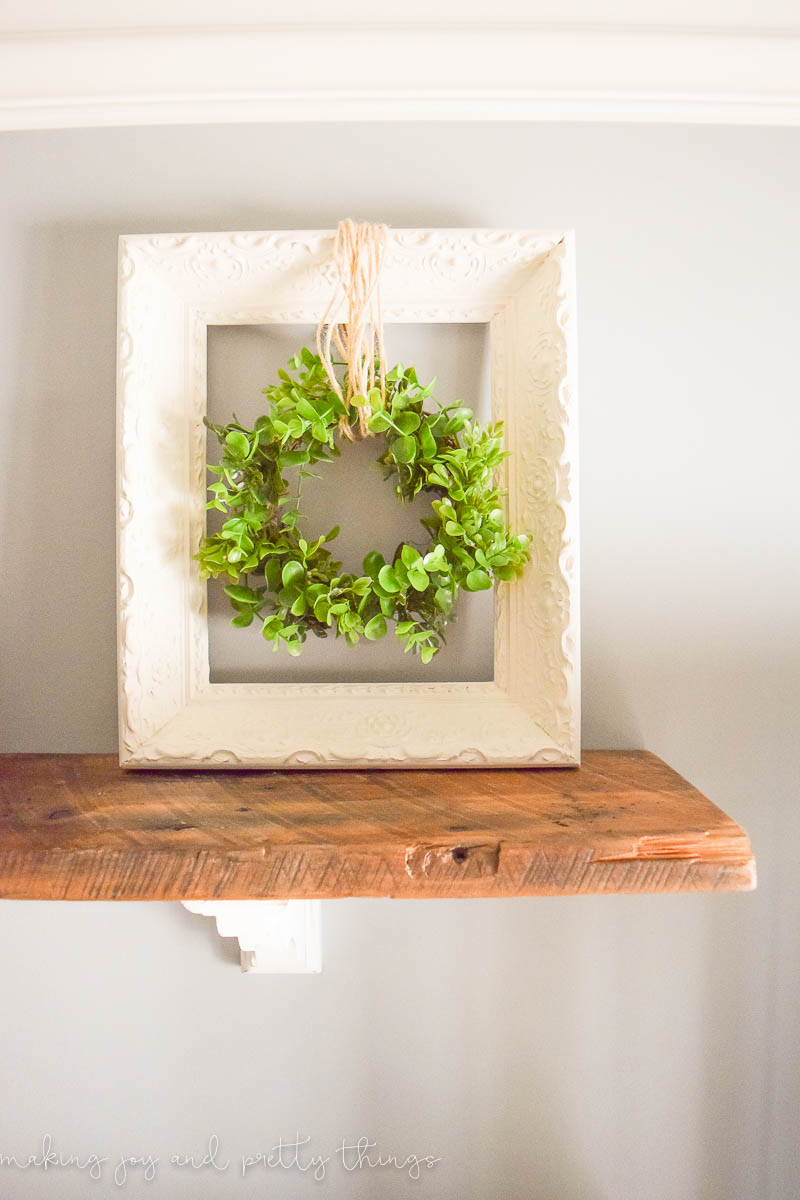
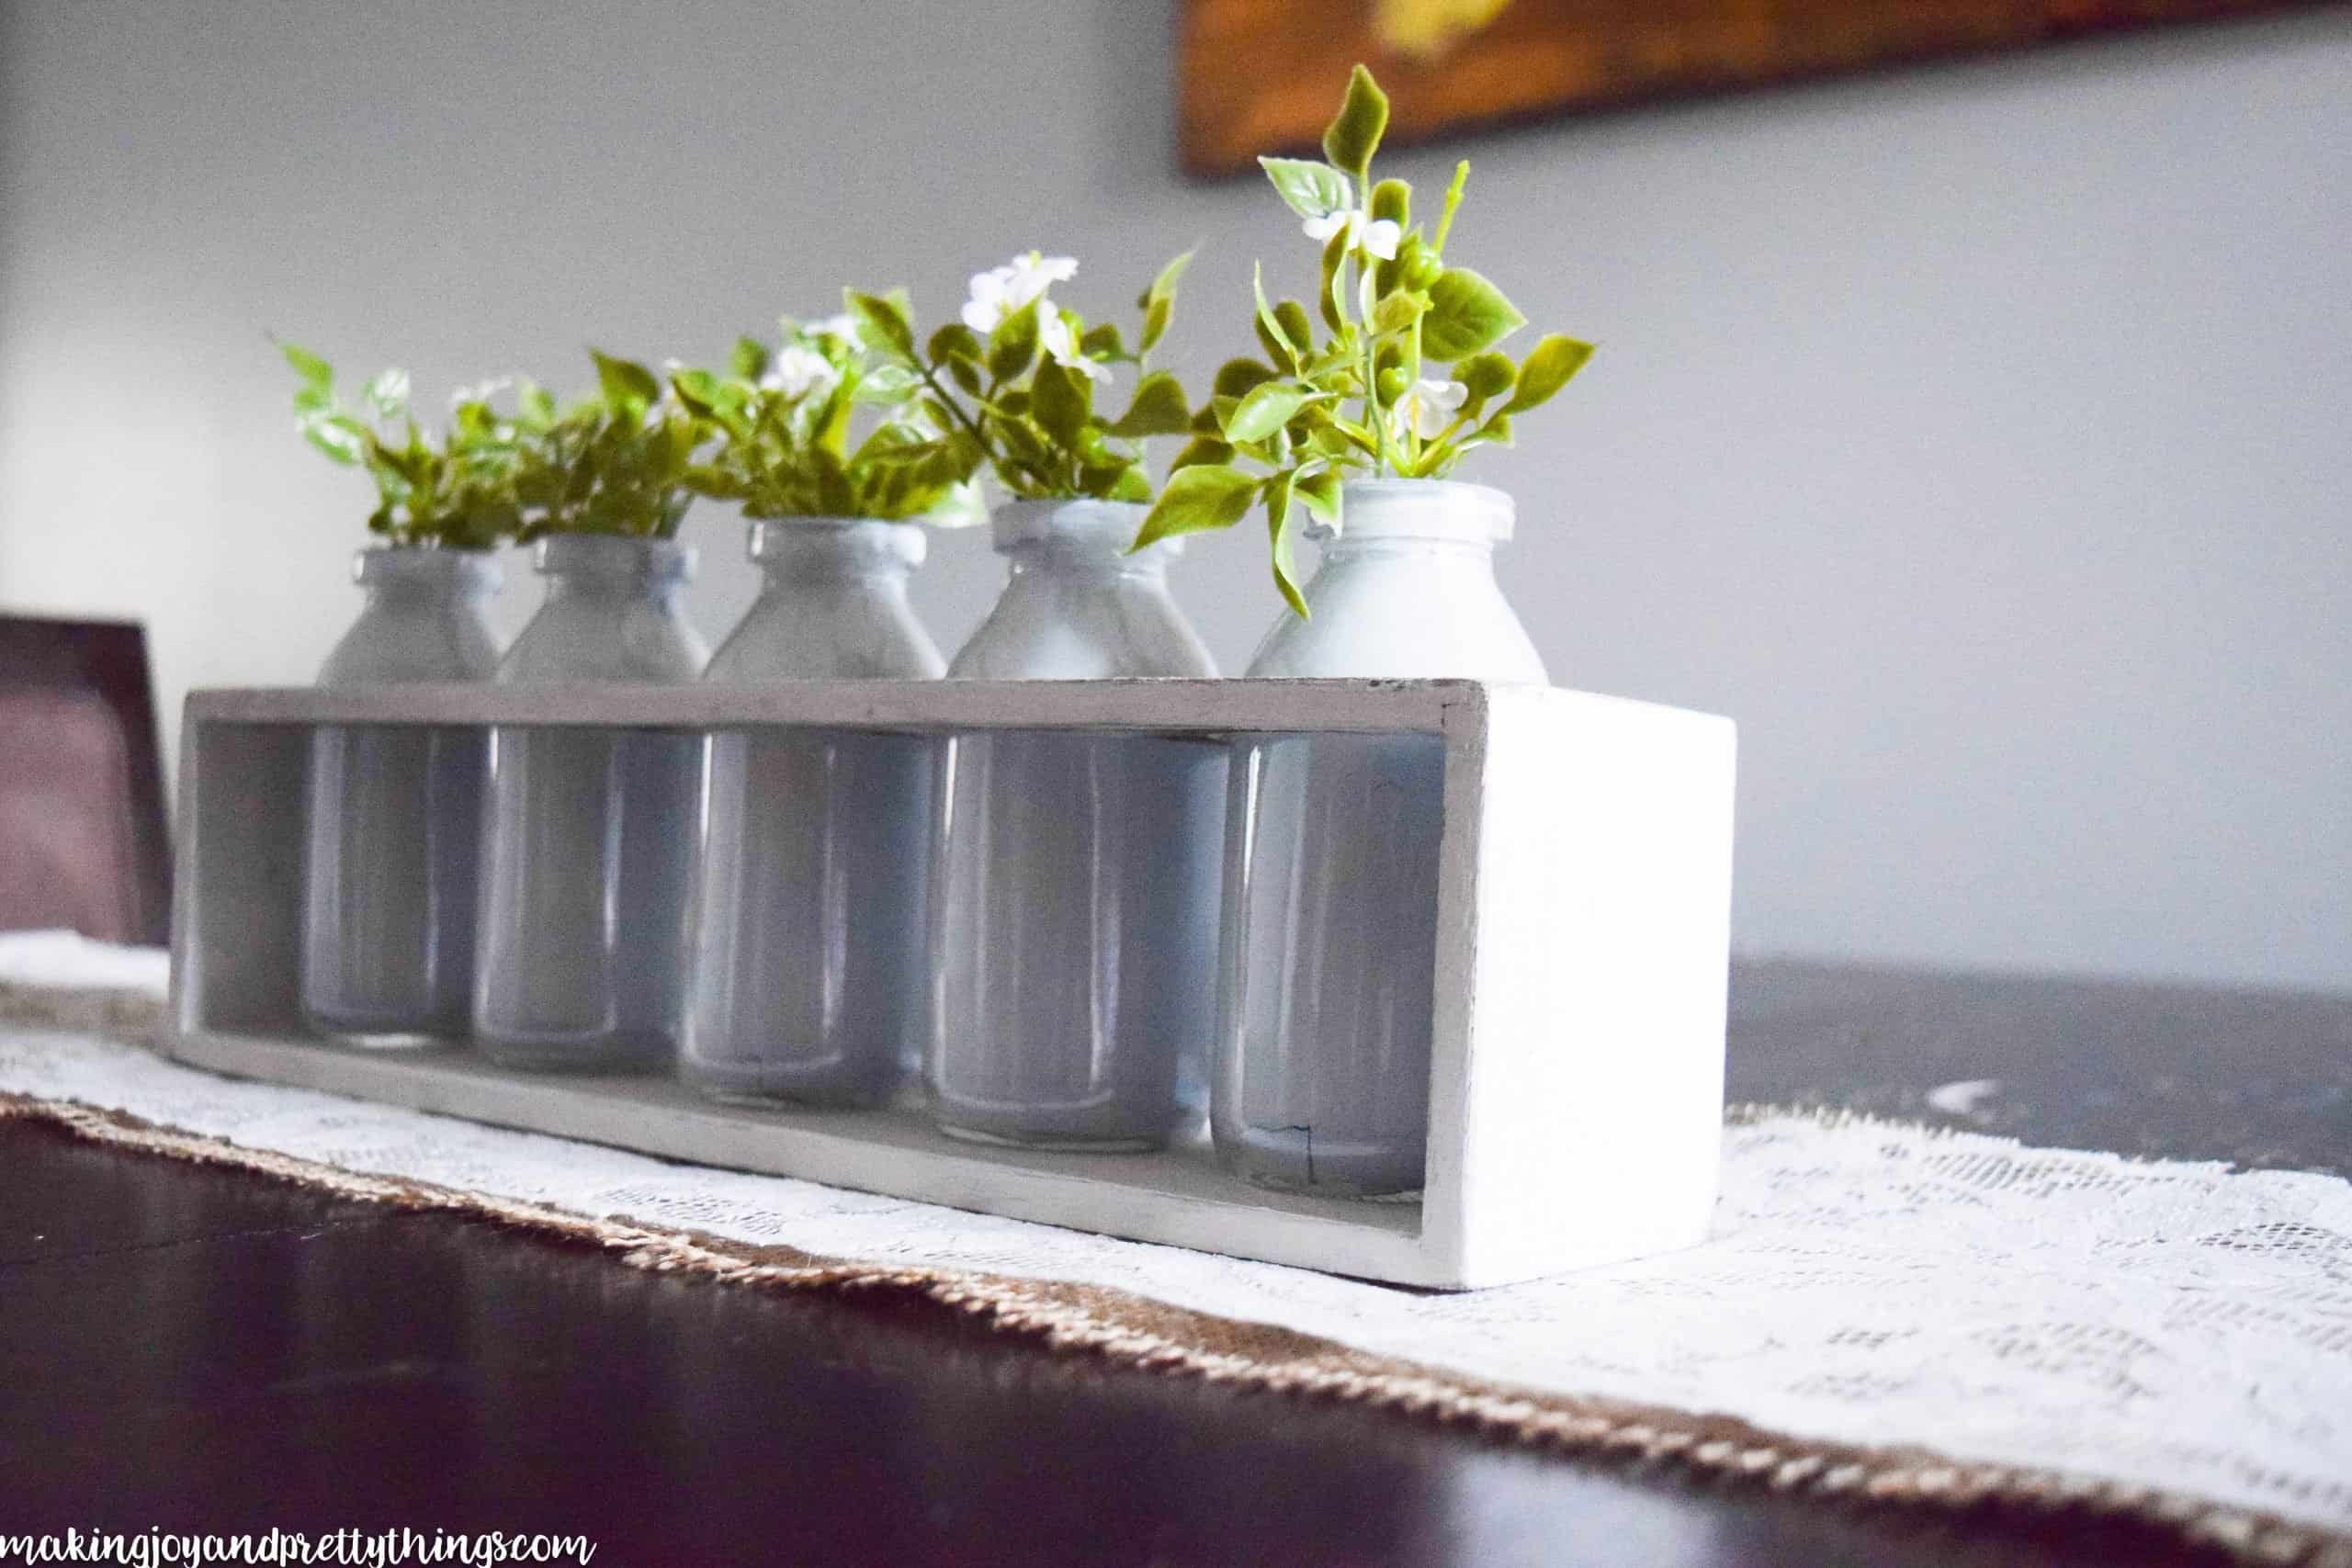
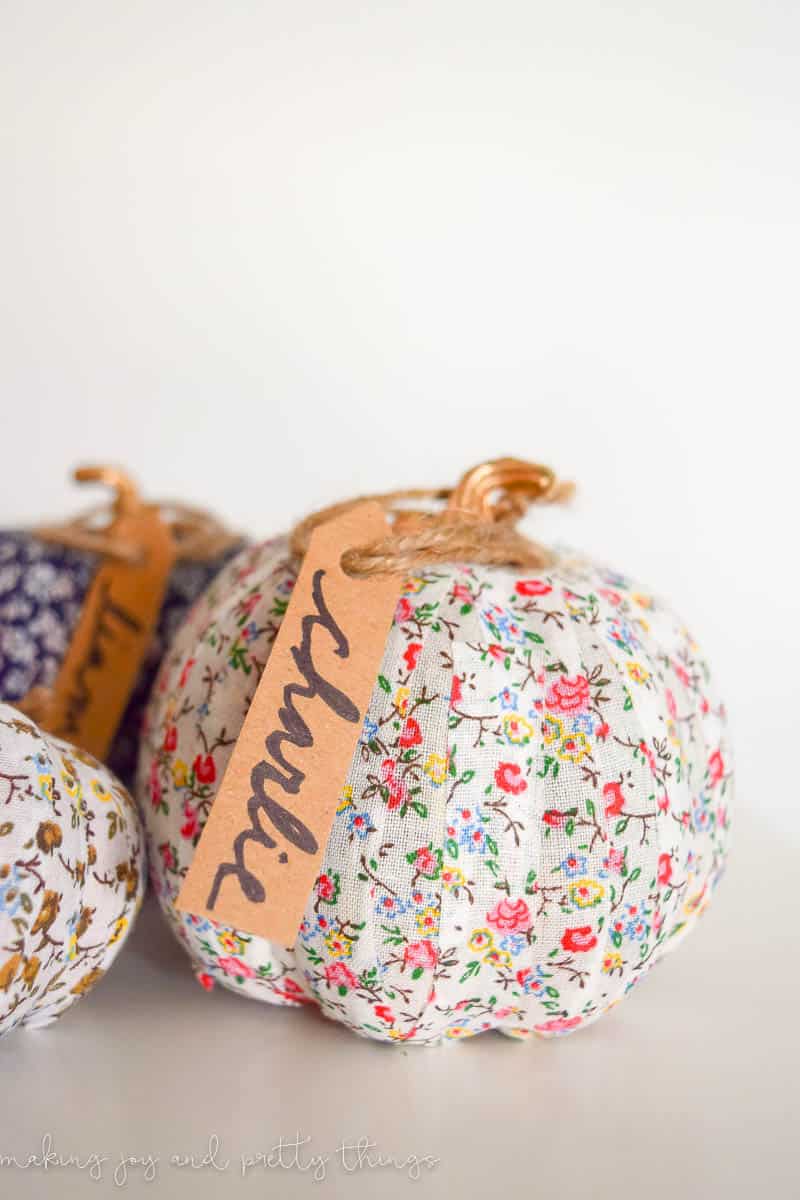
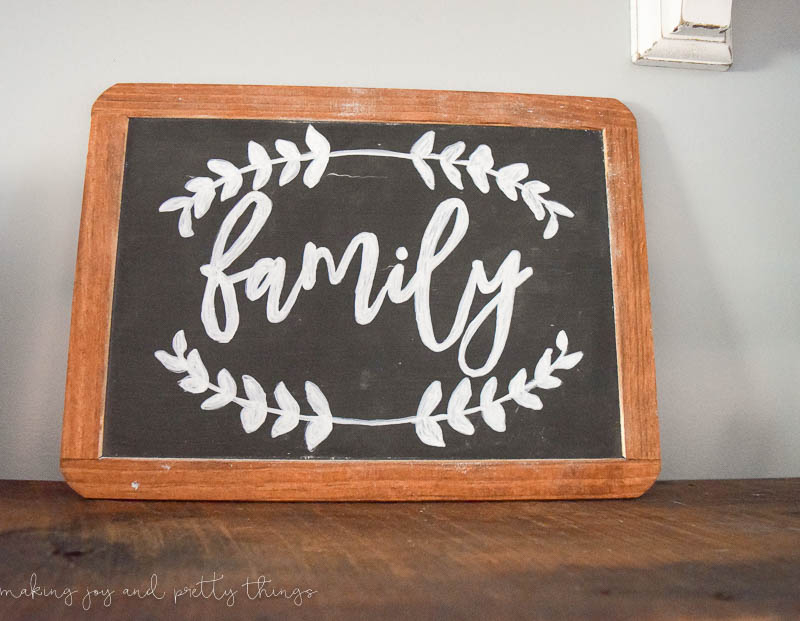
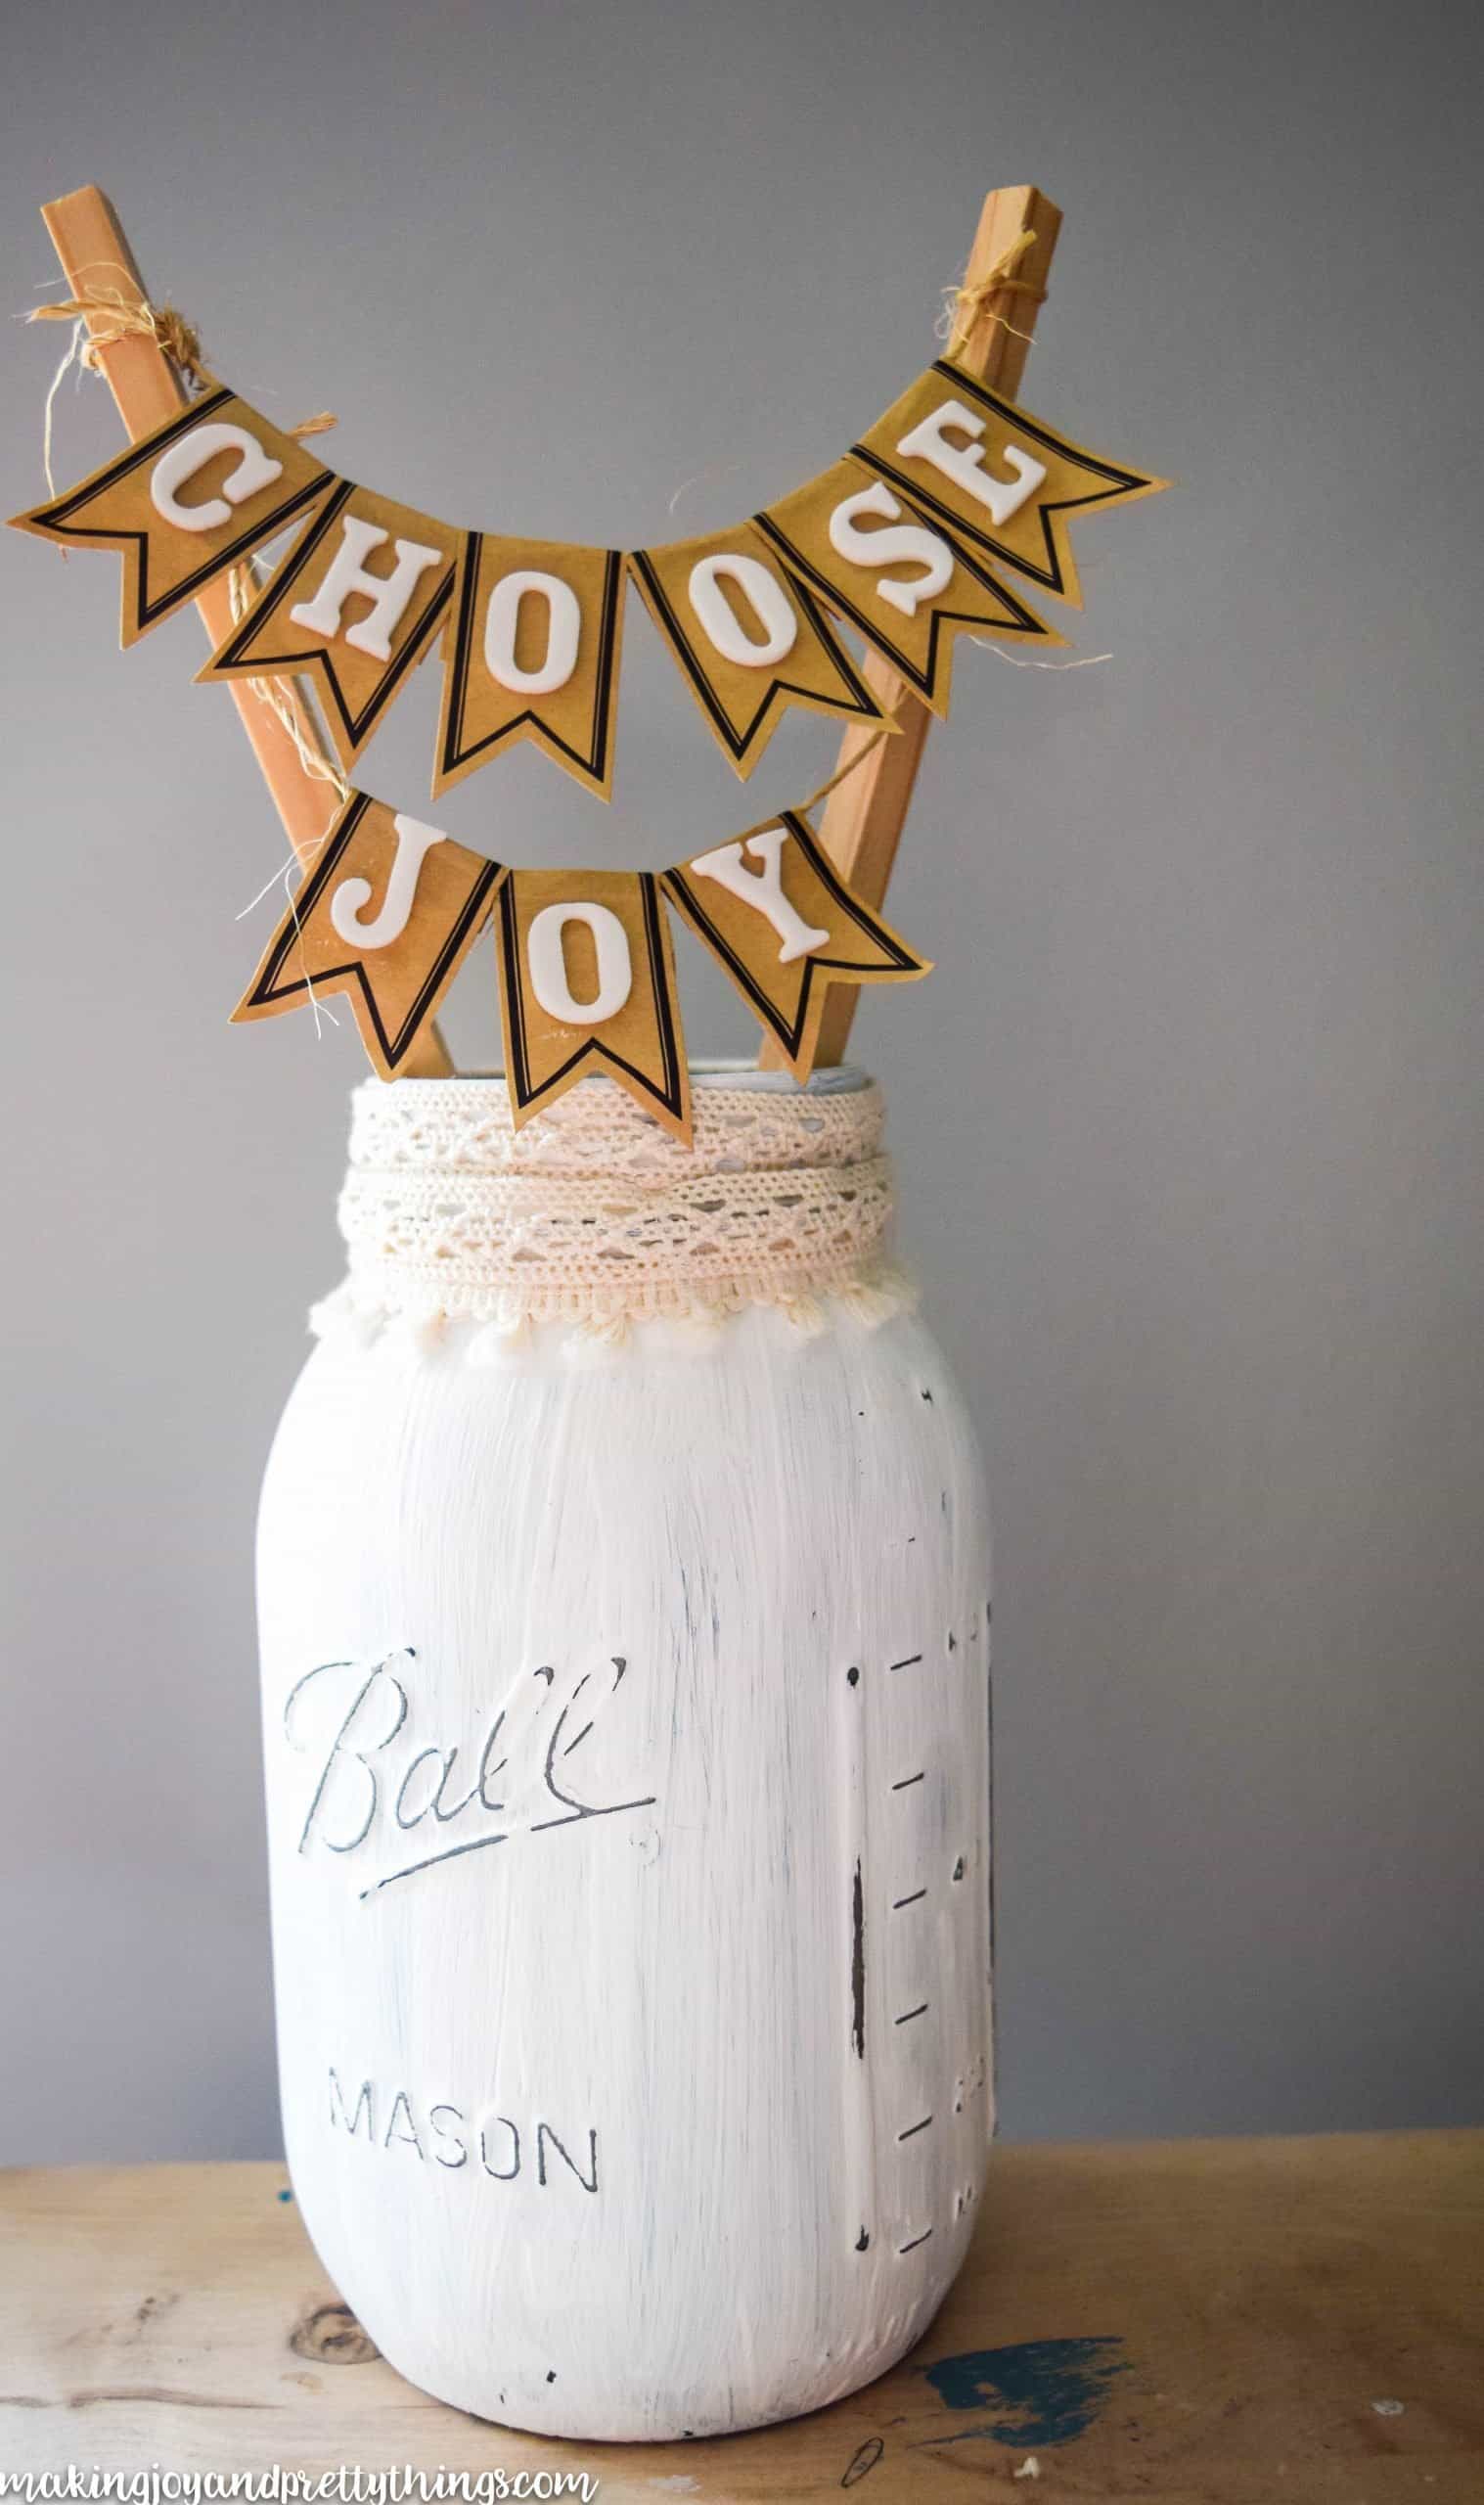
DIY Rustic Picture Frame | Simple Summer Farmhouse Centerpiece | Fabric Washi Tape Pumpkin Place Setting | DIY Lettered Chalkboard Sign | Mason Jar “Choose Joy” Display
If you’ve been following along recently, you know that we are in the middle of a crazy, insane, 6-week challenge called the One Room Challenge. We are making a shared boys’ bedroom for both boys (I guess that’s obvious, right?!)
My whole farmhouse, rustic decor, and DIYs have been put on hold while we finish up the room … THIS WEEK! Gosh, I am SO excited to be done.
Check out our progress so far here:
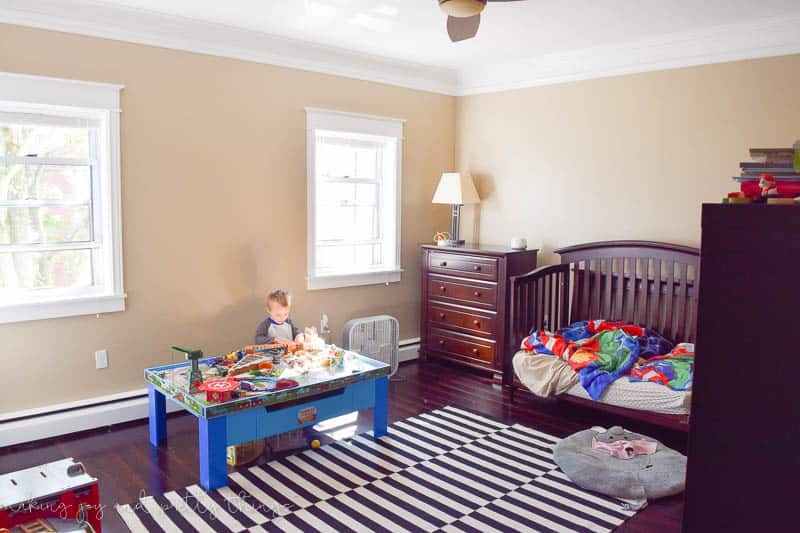
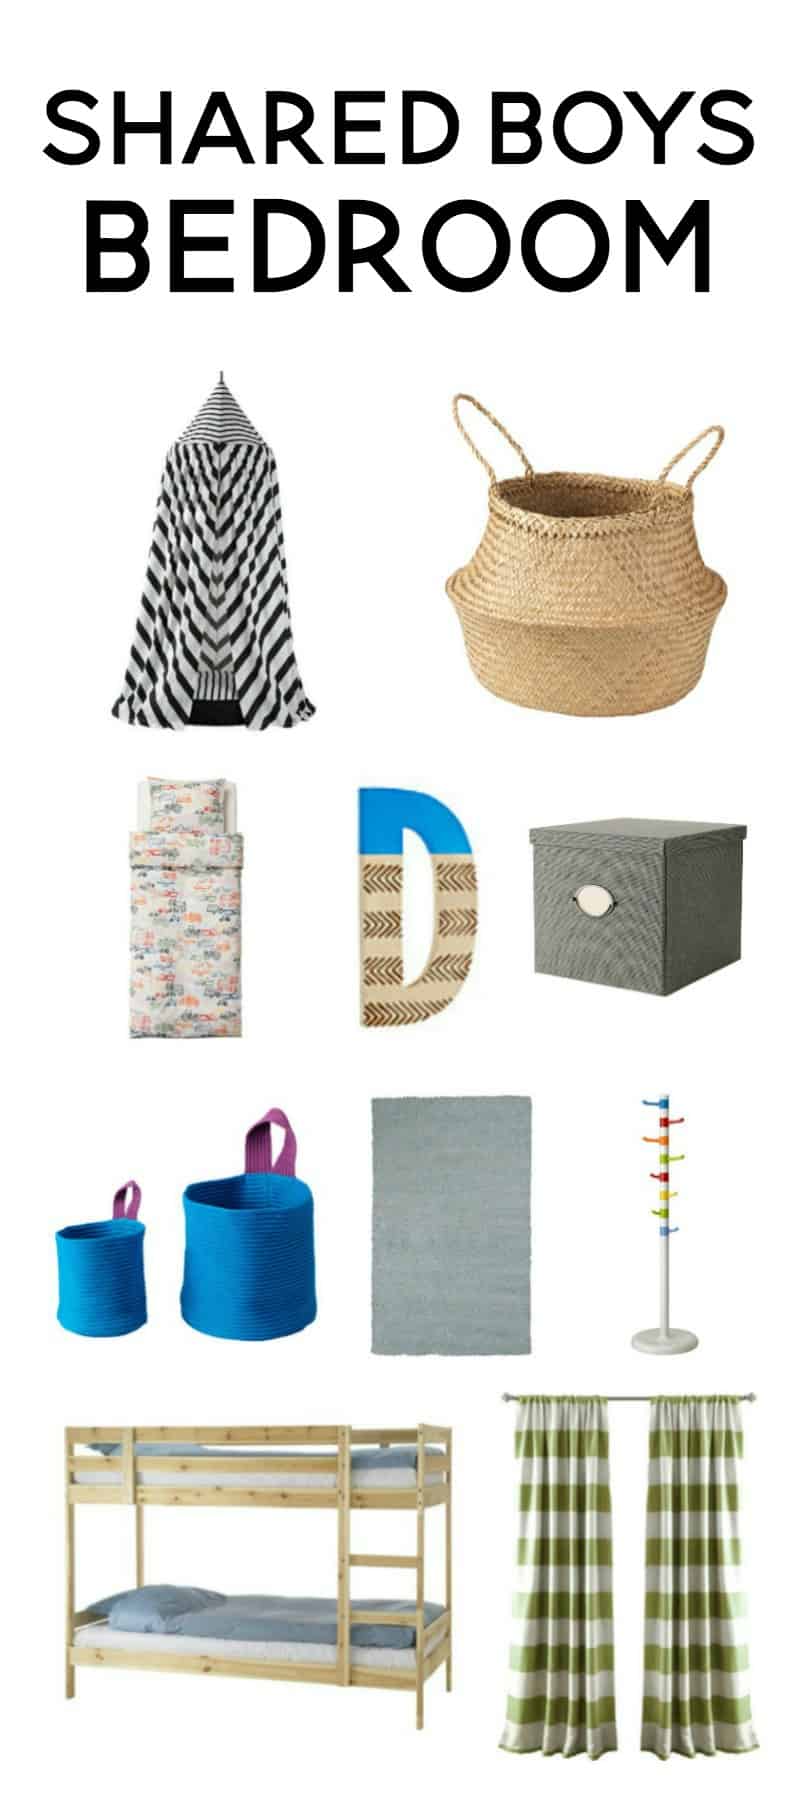
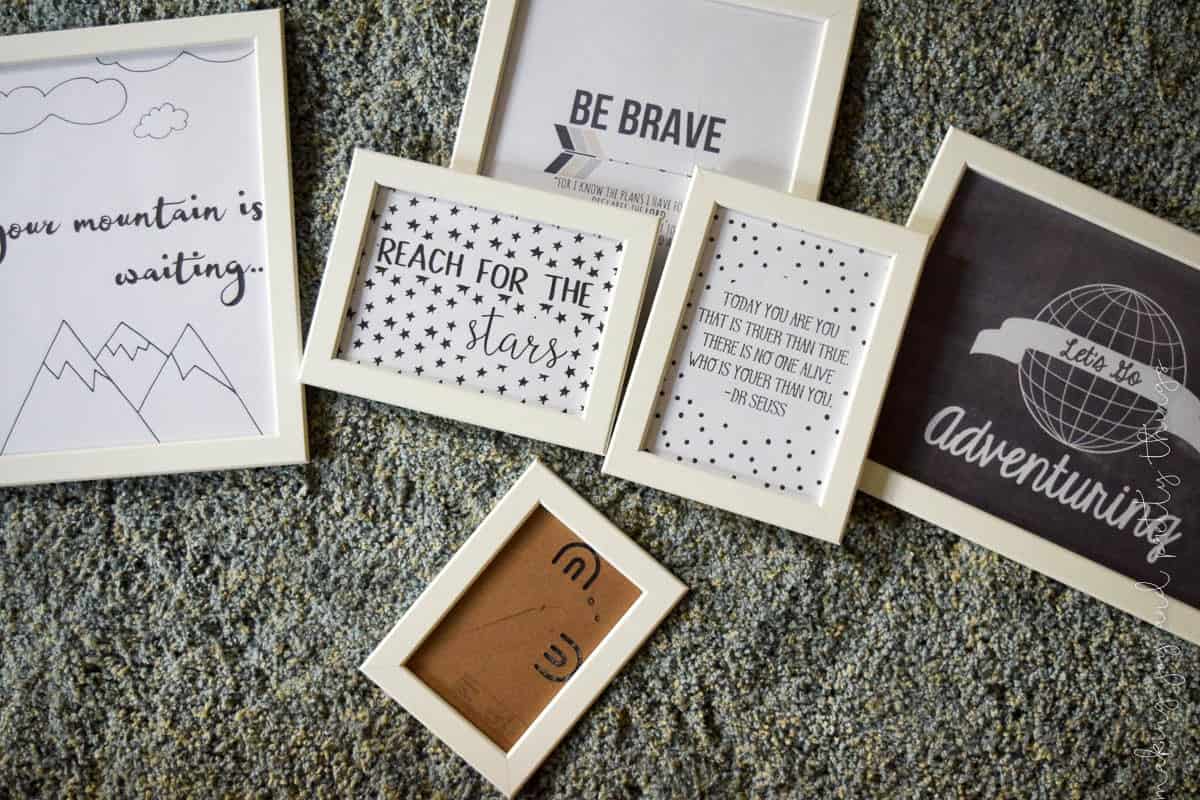
- One Room Challenge {Week 6}: A Shared Boys Bedroom Reveal
- One Room Challenge {Week 5}: Finishing Touches
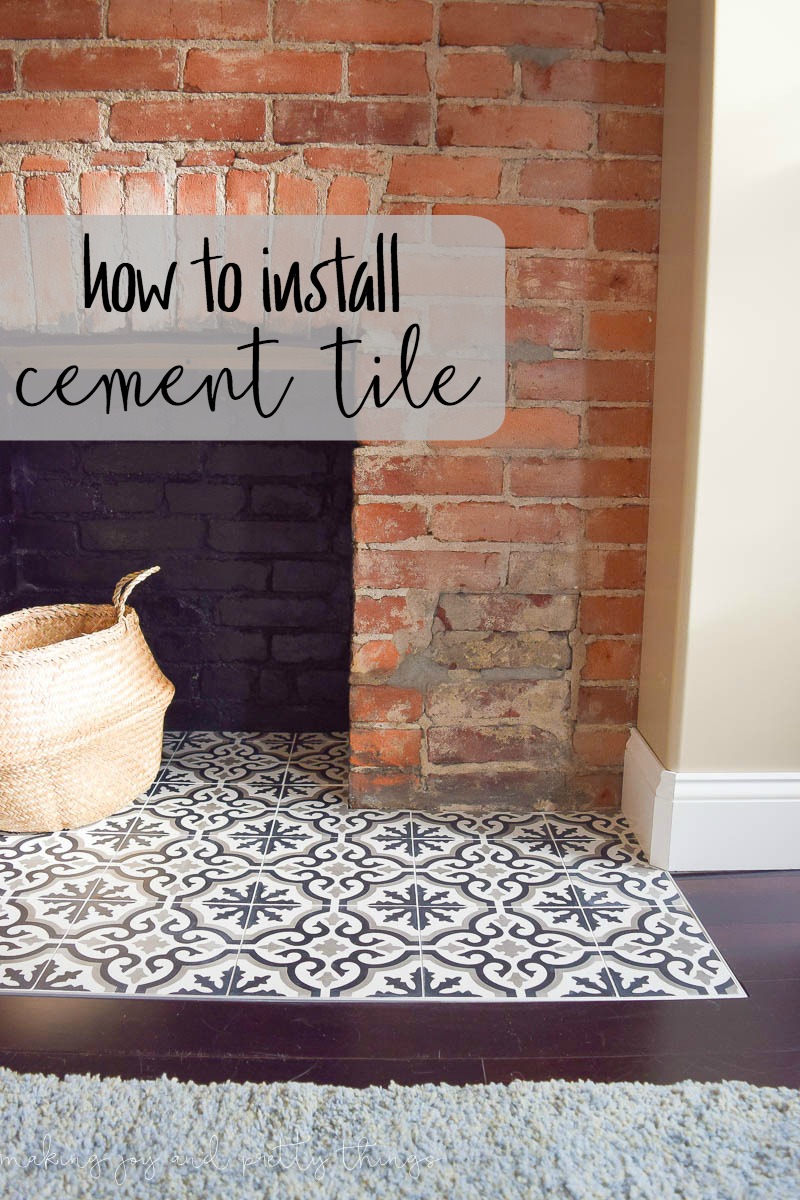
- One Room Challenge {Week 4}: How to Install Cement Tiles
- One Room Challenge {Week 2}: Inspiration and Design Plan
- One Room Challenge {Week 3}: Shared Boys Bedroom Progress
- One Room Challenge {Week 1]: A Shared Boys Bedroom
But, knowing me, I couldn’t complete an entire room without including at least one farmhouse decor DIY. It’s basically a mortal sin.
Hence, DIY basket labels 🙂 Bonus! They are SO simple to make and cost just a few dollars.
This post contains affiliate links. Please, click here to read my disclosure policy.
How to Make Basket Labels from Mini Pallet Signs
Supplies Needed for DIY Basket Labels
- Mini Pallets (similar)
- Stain (any dark stain will do – my favorite is dark walnut)
- Brush
- Folk Art Home Decor White Wax
- Paper Towel
- Black Sharpie
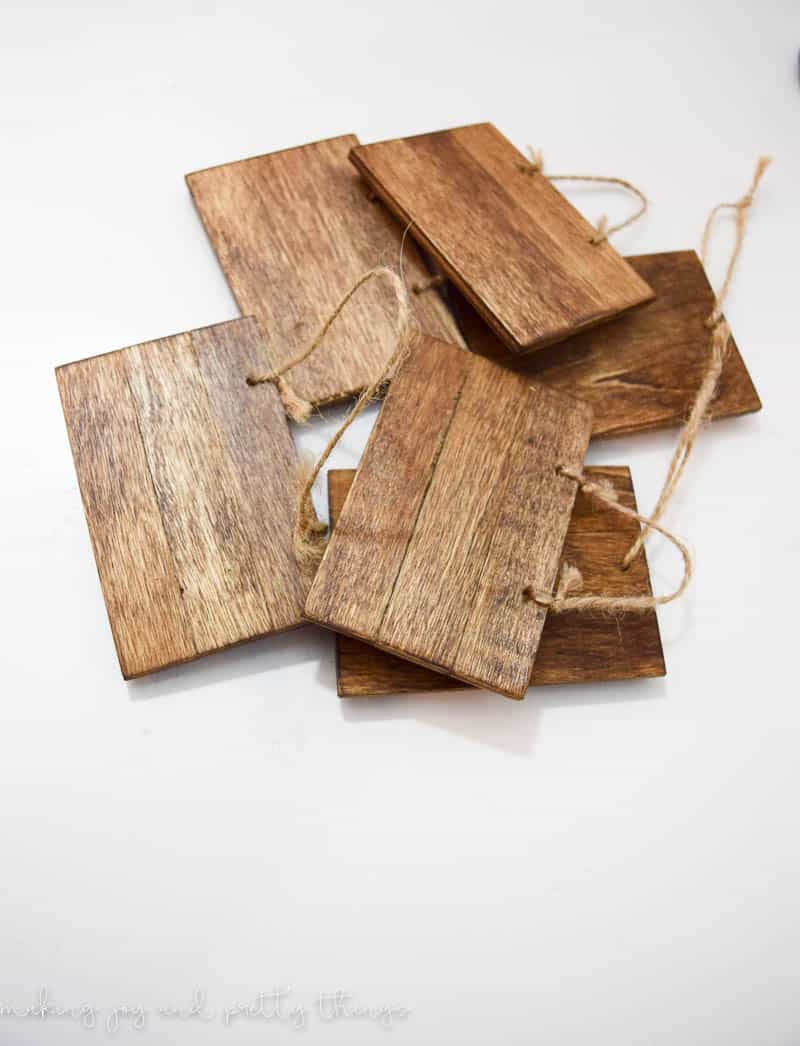
Step 1: Stain wood.
First, apply your dark stain all over the mini pallet (front and back). This was done using an old paint brush.
Step 2: Apply white wax coating.
Once dry, use another old paint brush to apply the white wax. No need to cover the entire surface; a very little bit will do.
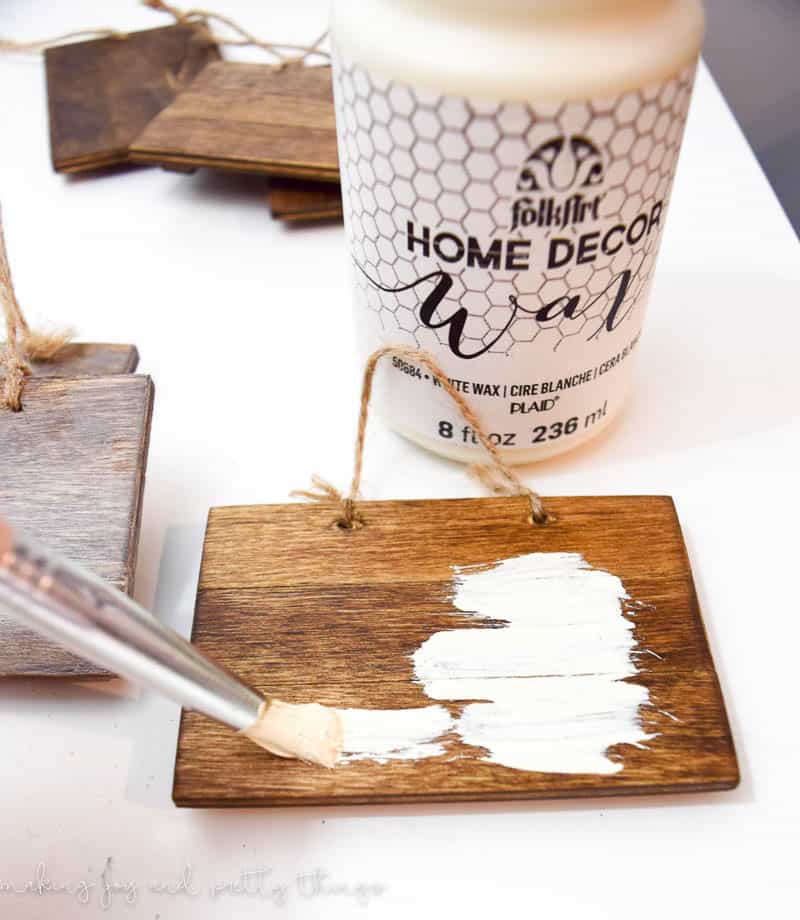
Step 3: Wipe off excess white wax.
Immediately after applying a little wax, wipe the excess off with a clean paper towel. Make sure to wipe in the same manner (i.e. side to side or up and down) and rub the excess wax evenly over the whole surface.
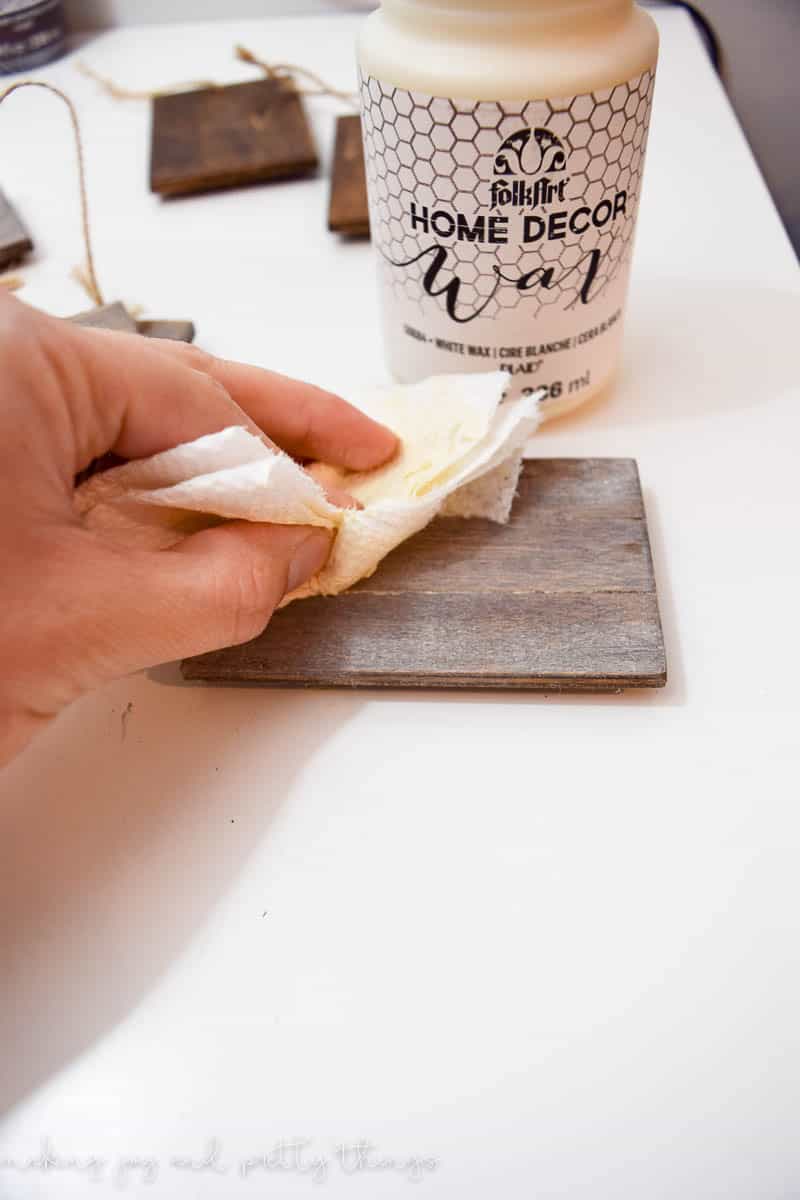
You end up with the sweetest hint of whitewash. Ahh don’t you love rustic DIYs??
Step 4: Use a marker to label the wood.
Lastly, use your black sharpie to write whatever basket you are labeling. For the kiddo’s room, I’m creating DIY basket labels for craft supplies and toys.
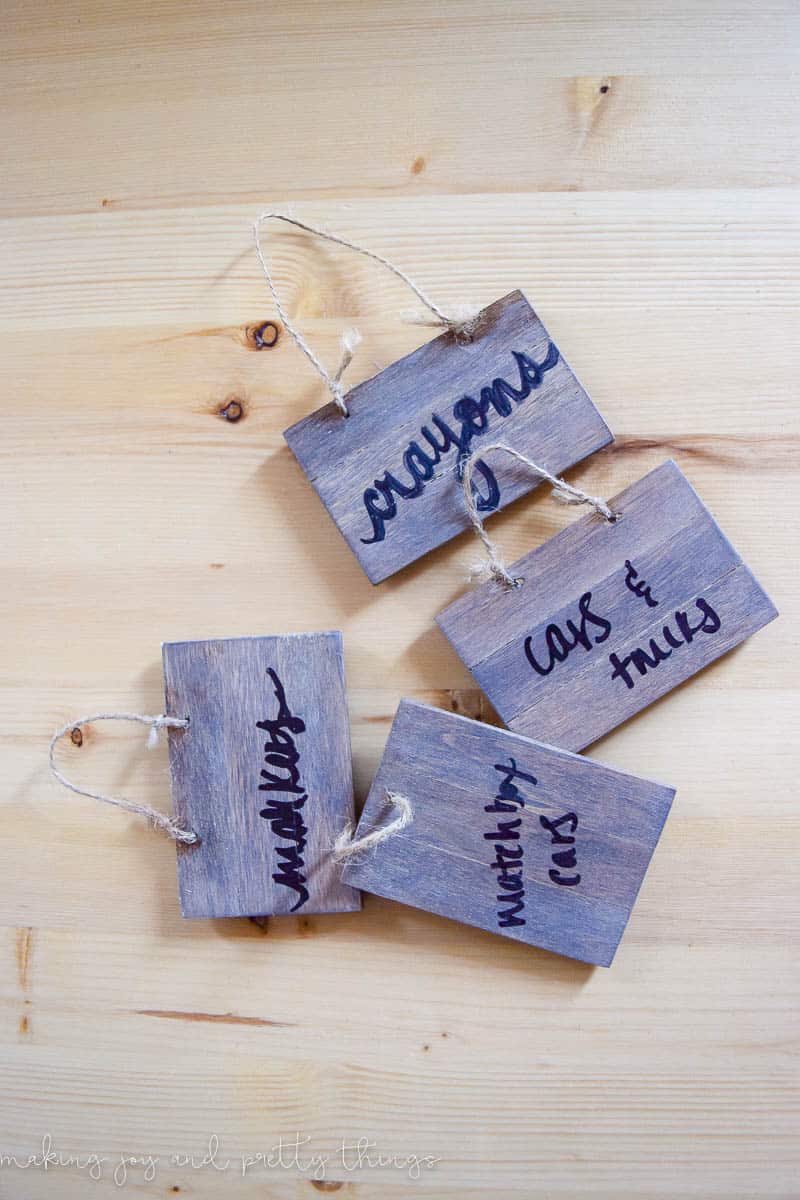
I free-handed them (YIKES!) and kind of wish I had done an image transfer to get a nice pretty font. But, I still think they look pretty farmhouse chic!
The Final Product: Farmhouse Style DIY Basket Labels!
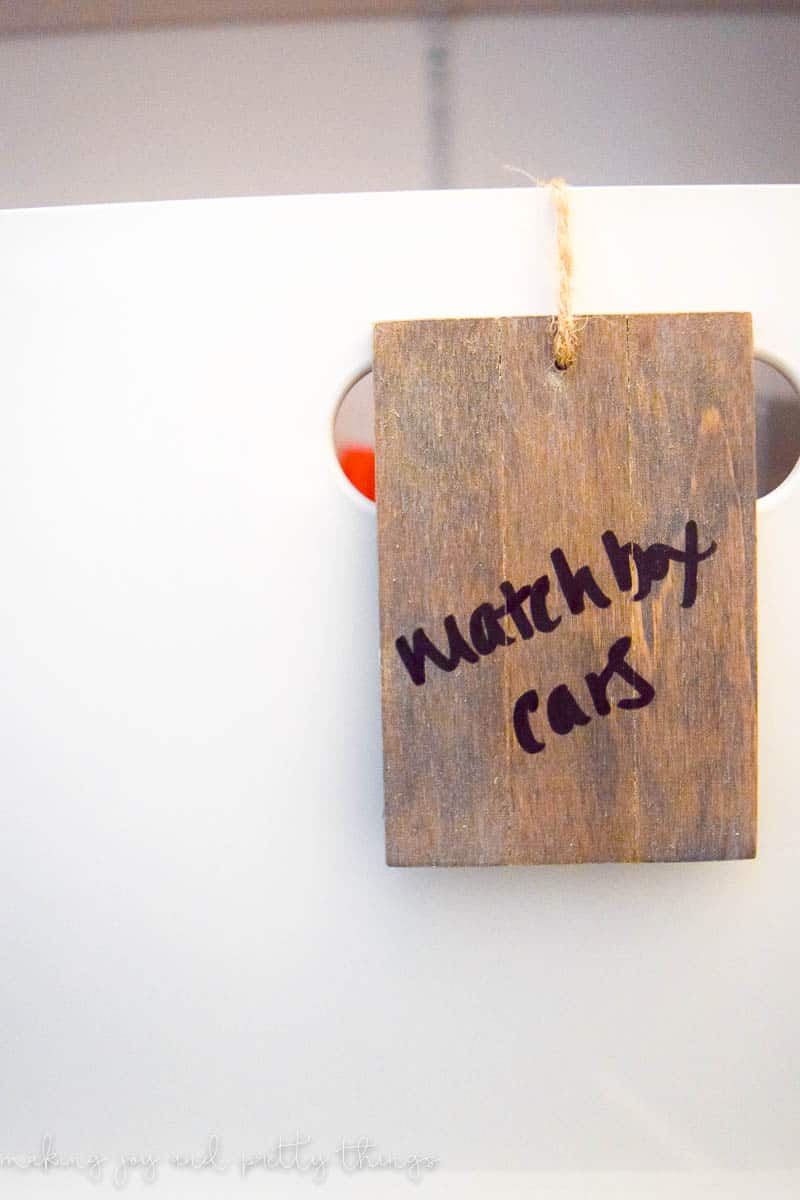
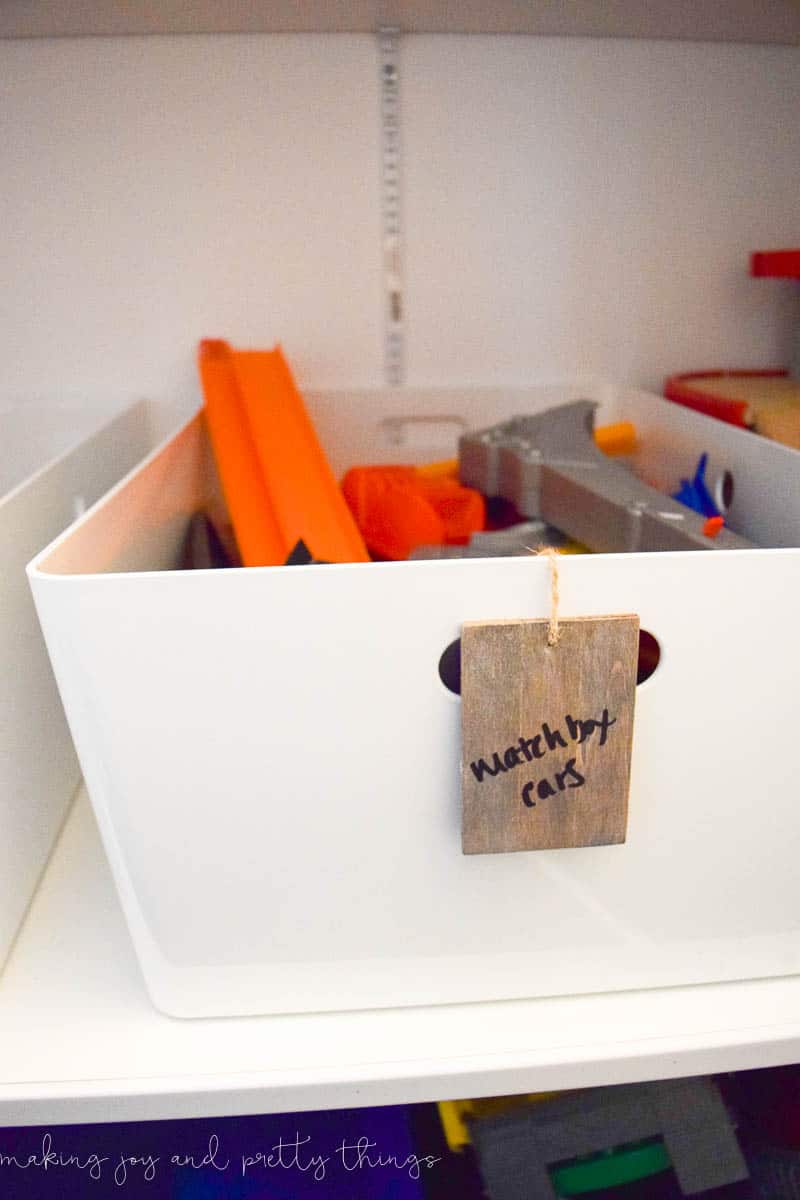
Alright, friends! Back to getting the shared boys’ bedroom completely DONE!! I cannot wait!
Remember to check back on Wednesday to see the entire shared boys bedroom reveal!
Wishing you a joyful day!

Farmhouse Style DIY Basket Labels
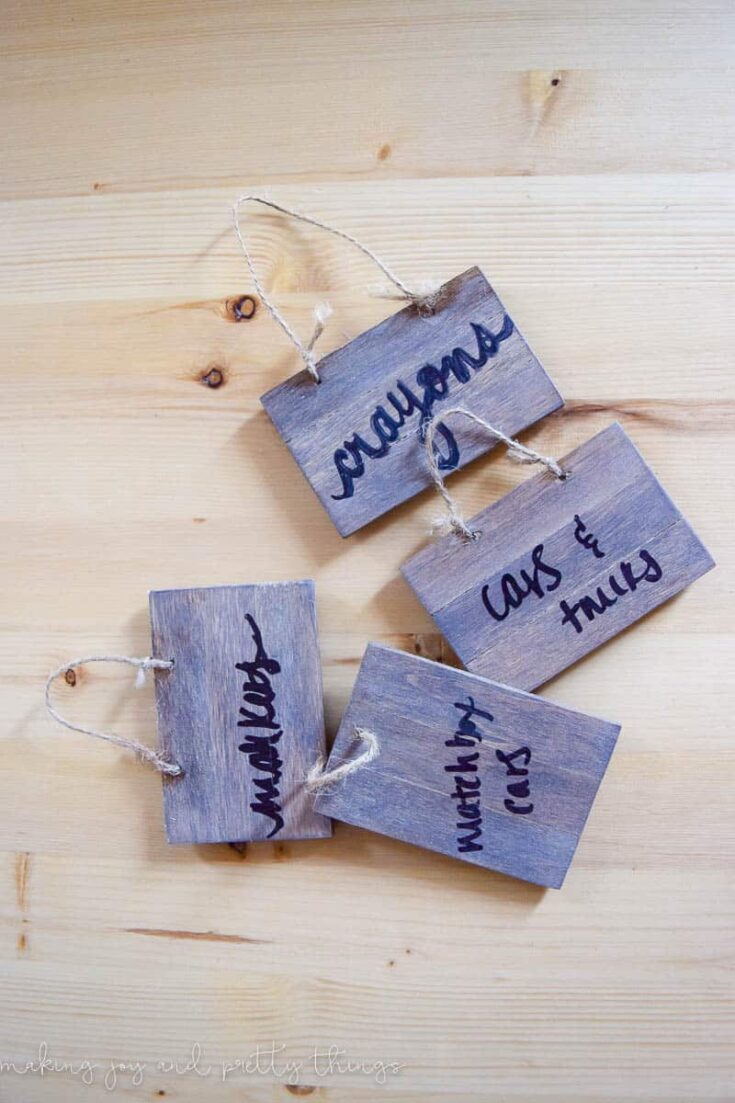
Stay organized with these easy-to-make DIY basket labels! These farmhouse-style basket labels only need a few supplies and help organize anything from toys to decor and more.
Materials
- Mini Pallets
- Dark wood stain
- Paint brush
- Home Decor White Wax,%2034860%20White%3C/a%3E%3Cimg%20src=%22//ir-na.amazon-adsystem.com/e/ir)
- Paper Towel
- Black Sharpie
Instructions
- Stain the mini wood pallets. I choose a dark walnut stain. Allow to fully dry.
- Apply the white wax coating using a paintbrush. You don't need a lot, and you don't need to cover the whole piece of wood.
- Wipe off the excess white wax using a paper towel. This gives the pallet a whitewashed effect. Allow to dry.
- Use a black permanent marker to label each piece of wood with whatever you need labeled.

hey girl such a cute idea! Have a great day!
Aww thanks Shawna! I’m so glad you like them!
These look so pretty and so easy to make. What a great little farmhouse diy!!
Thank you Sabrina!! I love how they add just a touch of farmhouse to an otherwise modern room
sweet little labels for sweet little boys!
Thanks, Colette!!
What a cute idea – I love it!
XO! Vanessa
Thanks, Vanessa!! I love how they add a little farmhouse-style to the room.
I’m a huge fan of pretty labels! Love these 🙂
Thanks so much Lora!
Way to stay true to the farmhouse style!
Thanks Shani!